Want to add a featured photo to your WordPress post or page but unsure how to do it? You should read through this guide as it illustrates various ways to achieve that.
Option 1: Add Featured Photo Through Block Editor
The major way to set a featured image in WordPress is via the WordPress block editor. The subsequent steps and screenshot images demonstrate how to achieve that.
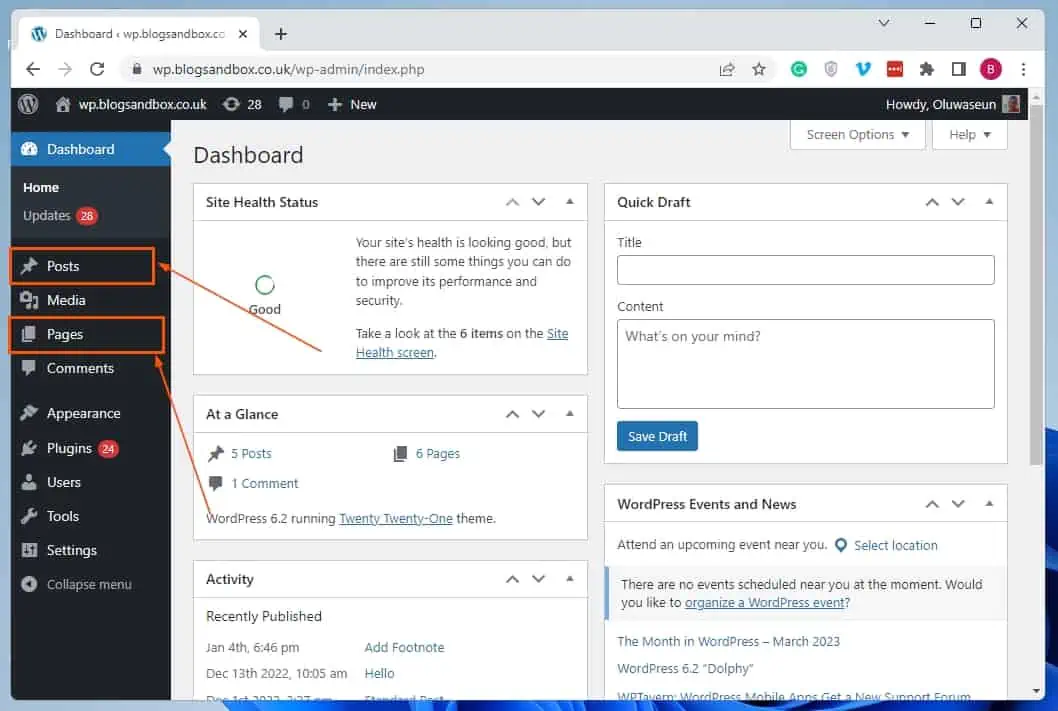
- Sign in to the backend of your WordPress site. Then, depending on where you wish to add a featured image, select Posts or Pages among the menus on the left pane.
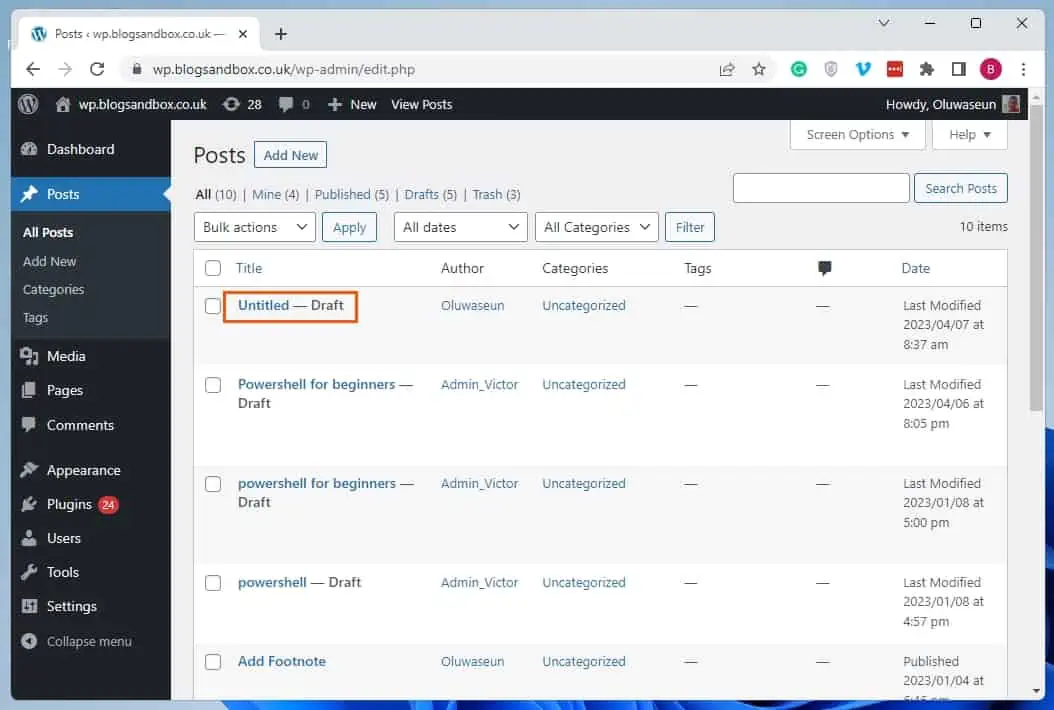
- Now, select the title of the post/page where you wish to set a featured image to open it. I will open an untitled post on our WordPress site for this demonstration.
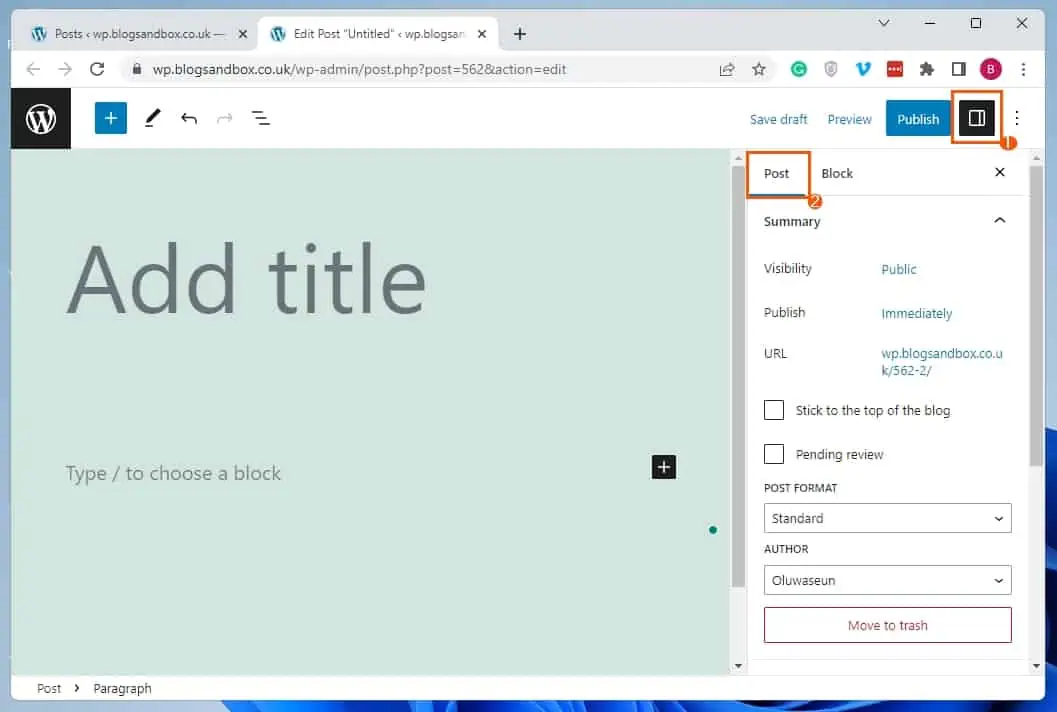
- When the post/page opens, select the Settings icon at the top right corner. Then, switch to the Post tab.
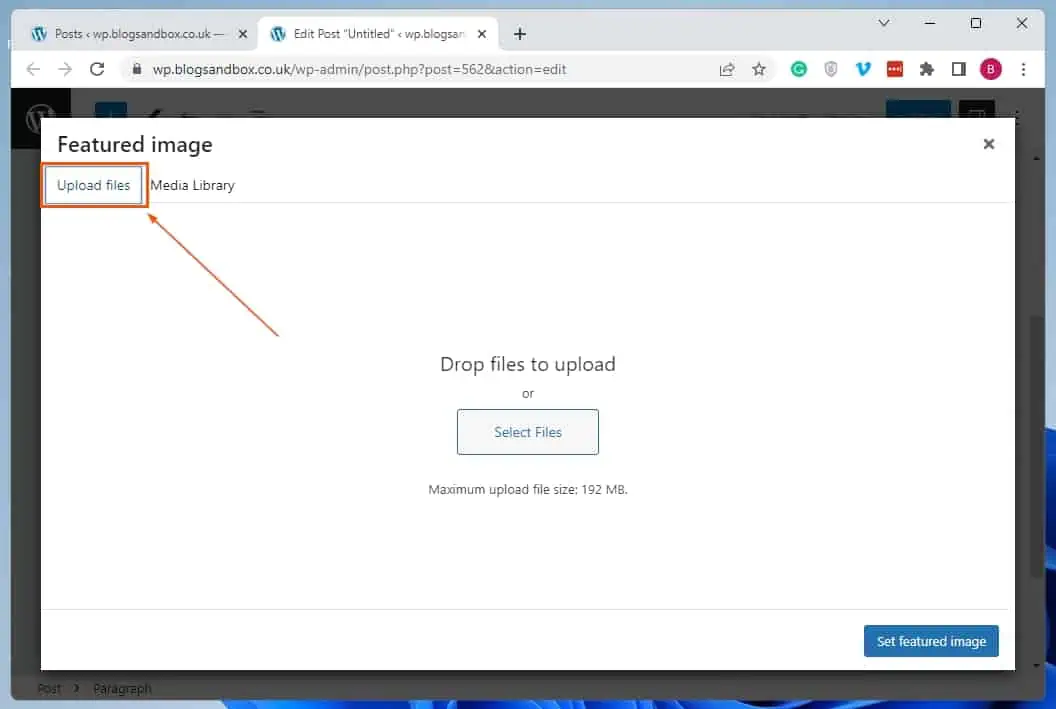
- In the Post tab, select the Set featured image box under Featured image.
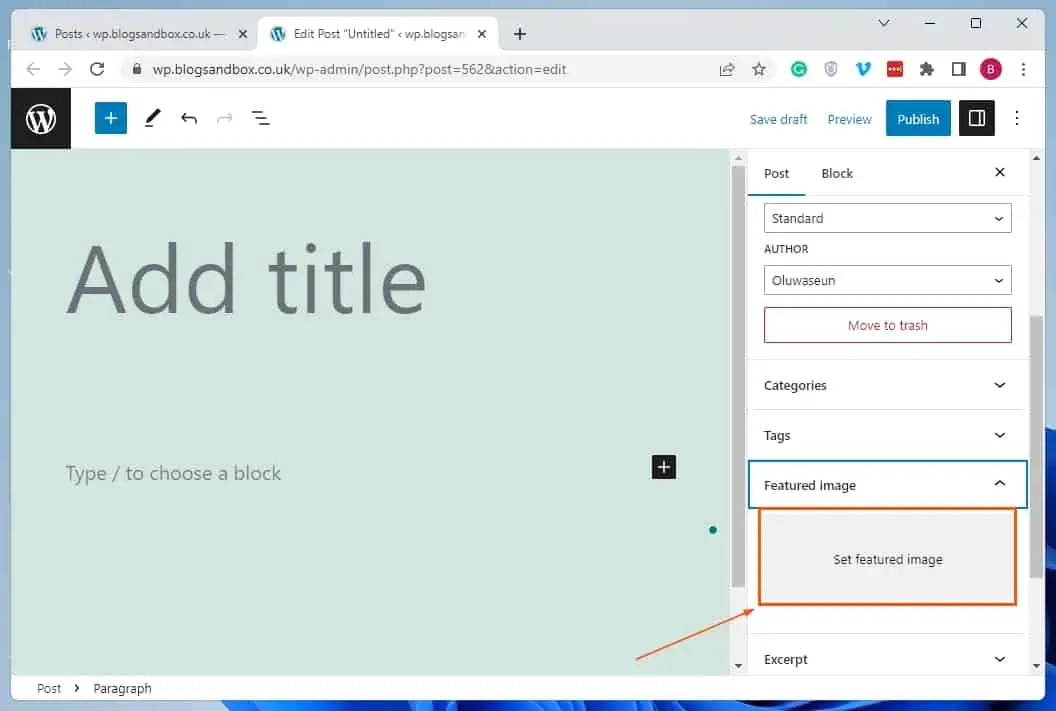
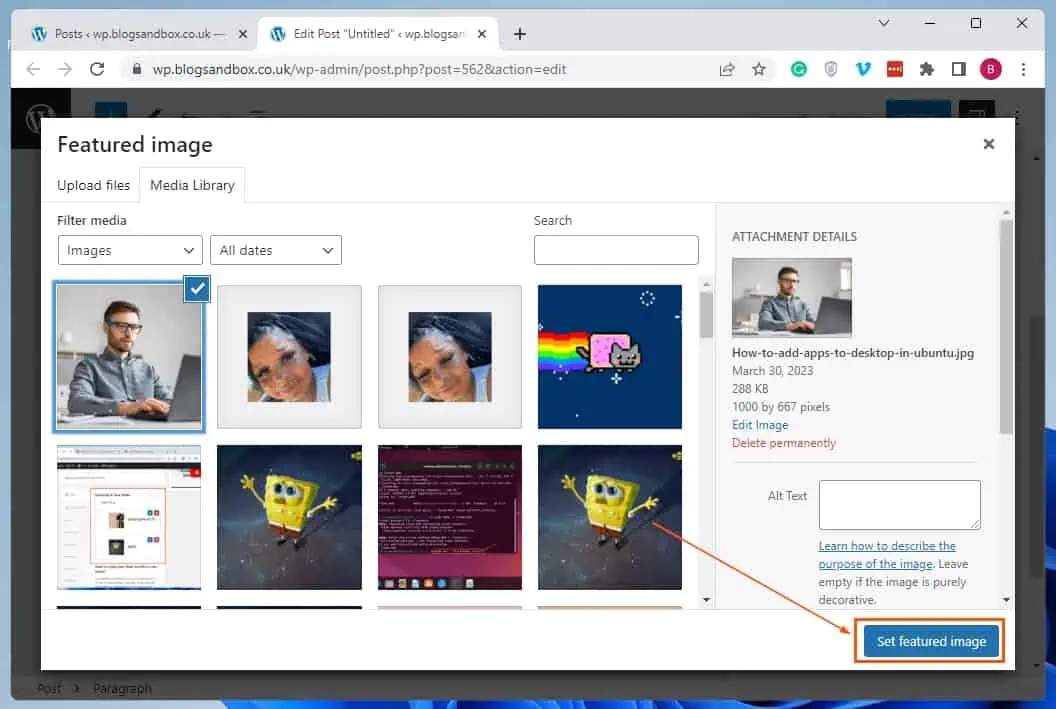
- Consequently, you will be directed to your WordPress media library. Thus, you can select the image you wish to set as the featured image, then click Set featured Image.
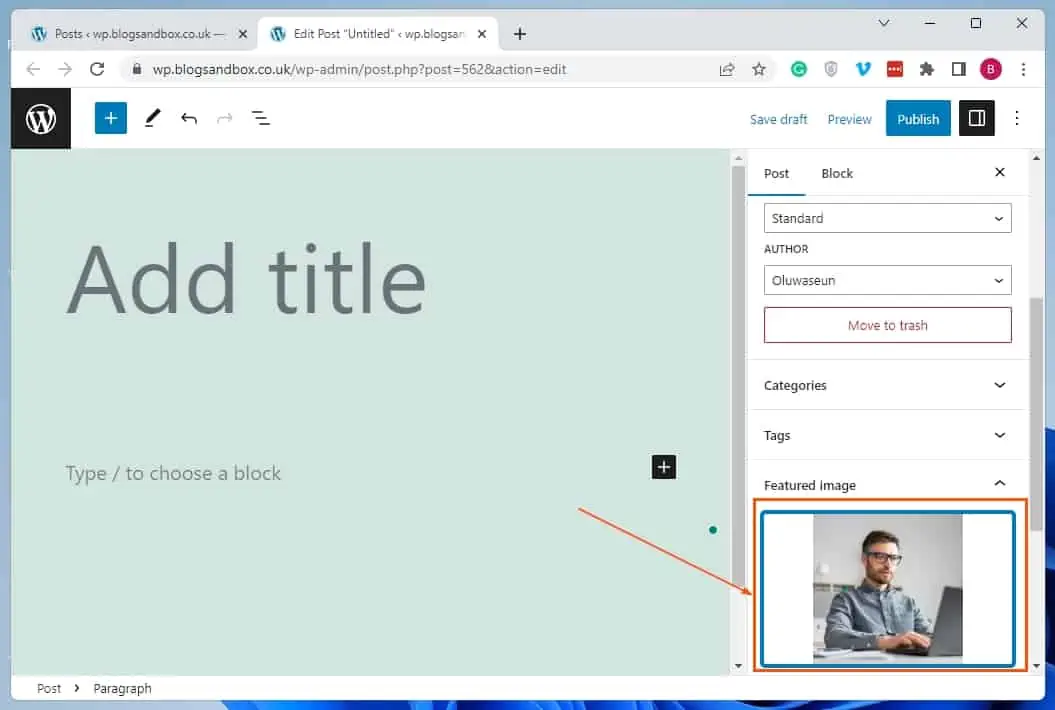
- After doing all that, the selected picture will be set as the featured image.
Option 2: Set Featured Image Using a Plugin
Another way to upload a featured image in WordPress is with the aid of a plugin called Featured Image from URL (FIFU). As the name suggests, this free plugin allows you to add a featured image in WordPress using the image’s URL.
So, the first sub-section below will demonstrate how to install and enable this plugin in WordPress. Meanwhile, the second sub-section will teach you how to use the plugin to set a picture as a featured image in WordPress.
Step 1: Install and Activate the Featured Image From URL (FIFU) Plugin
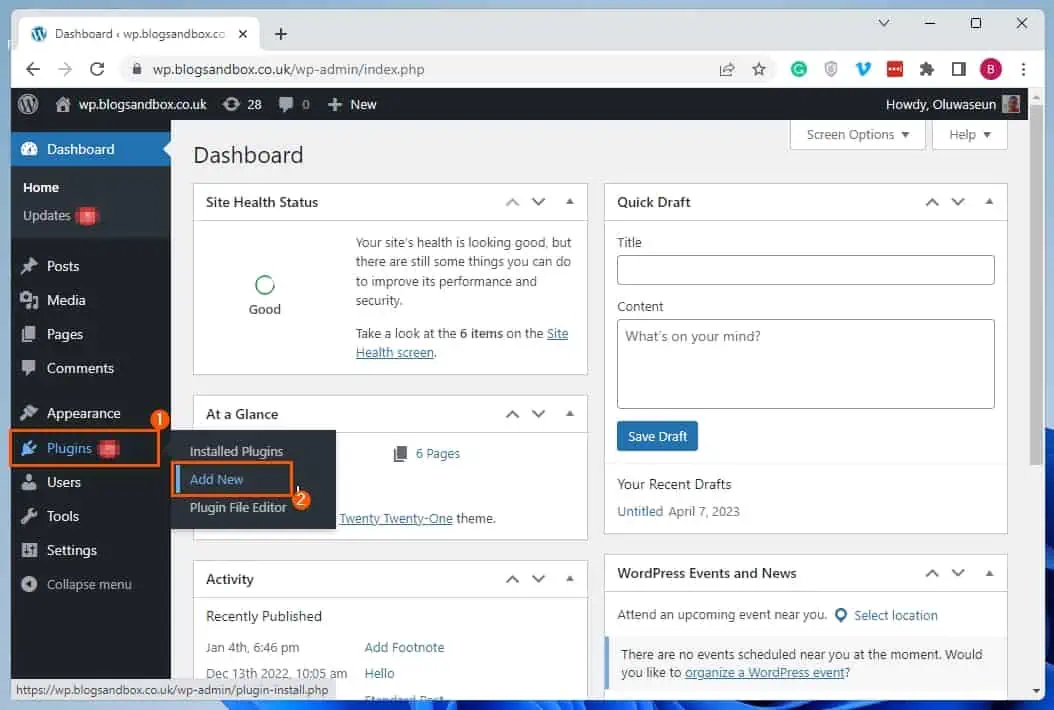
- Log into your WordPress site’s backend dashboard as an administrator. Now, hover your mouse cursor on Plugins among the menus on the left pane, then left-click Add New.
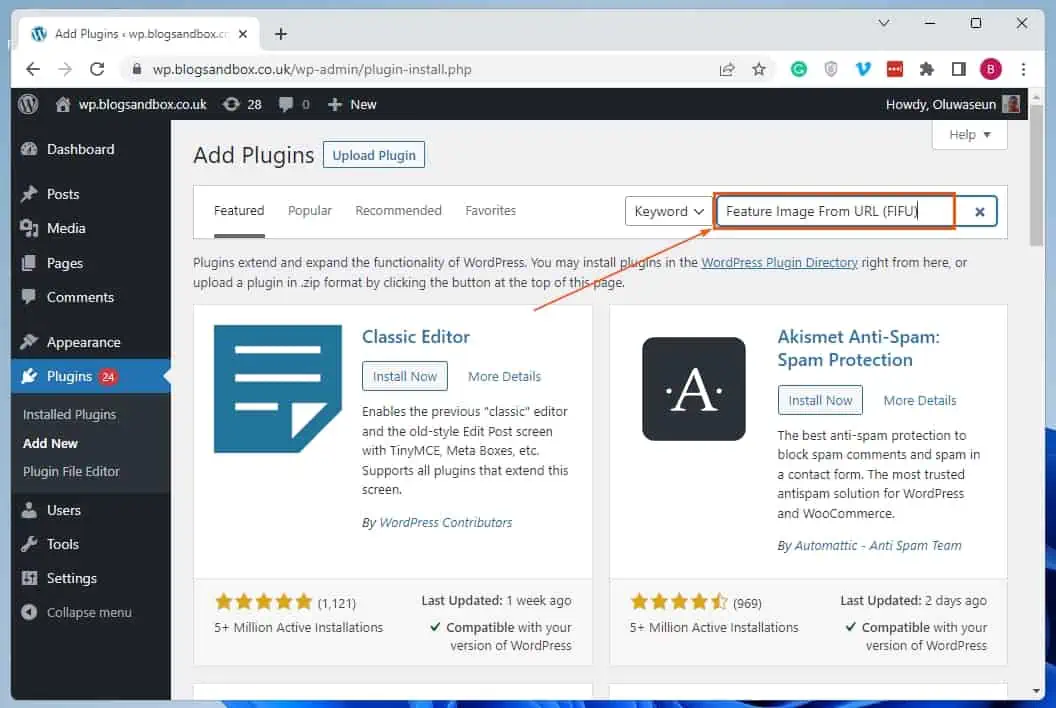
- Afterward, type “Featured Image From URL (FIFU)” in the search field on the Add Plugins page.
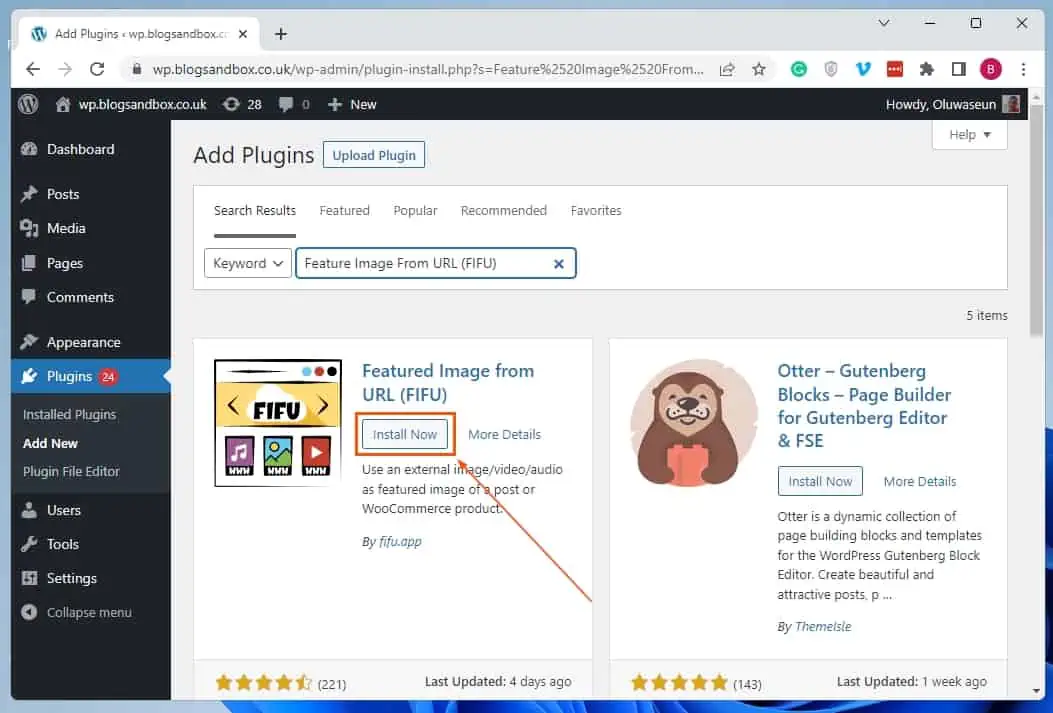
- Then, click Install Now on the Feature Image From URL (FIFU) plugin from the search result.
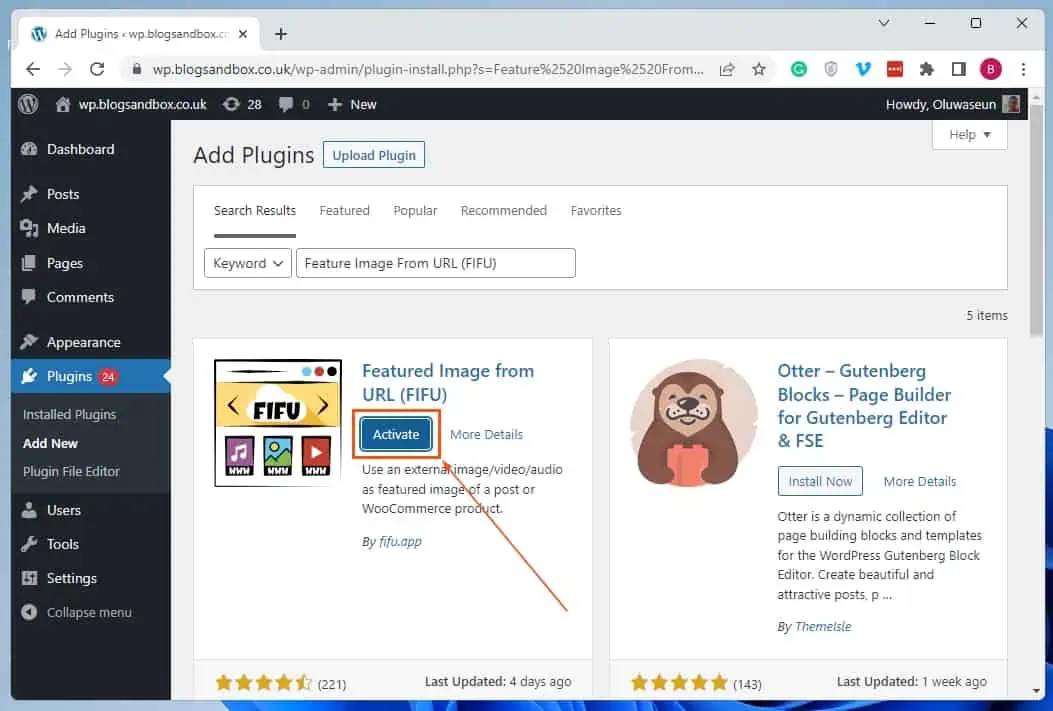
- Following that, click the Activate button on the plugin to enable it on your WordPress site.
Step 2: Add Featured Photo Using the Featured Image From URL (FIFU) Plugin
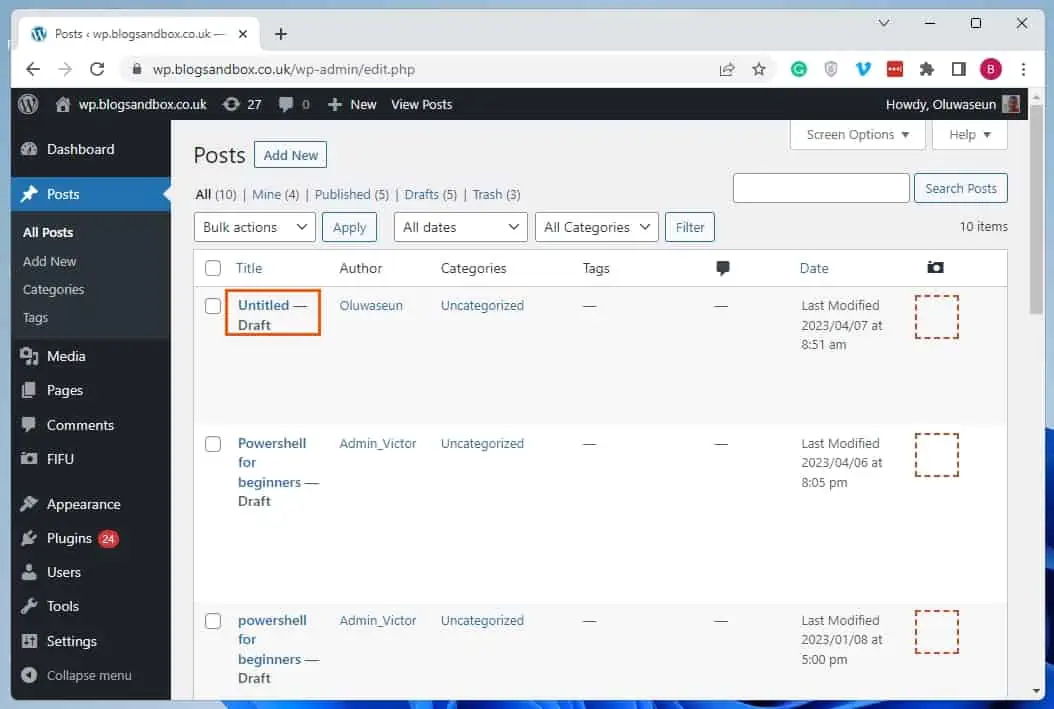
- After activating the plugin, ensure you’re still logged in to your WordPress site’s backend as an administrator. Then, select Posts or Pages among the menus on the backend’s left pane, depending on where you wish to set a featured image.
- Now, left-click the title of the post/page where you wish to add a featured photo to open it. For this demonstration, I will open an untitled post on our WordPress site.
- When the page/post opens, select the Settings icon at the top right corner. Then, switch to the Post tab.
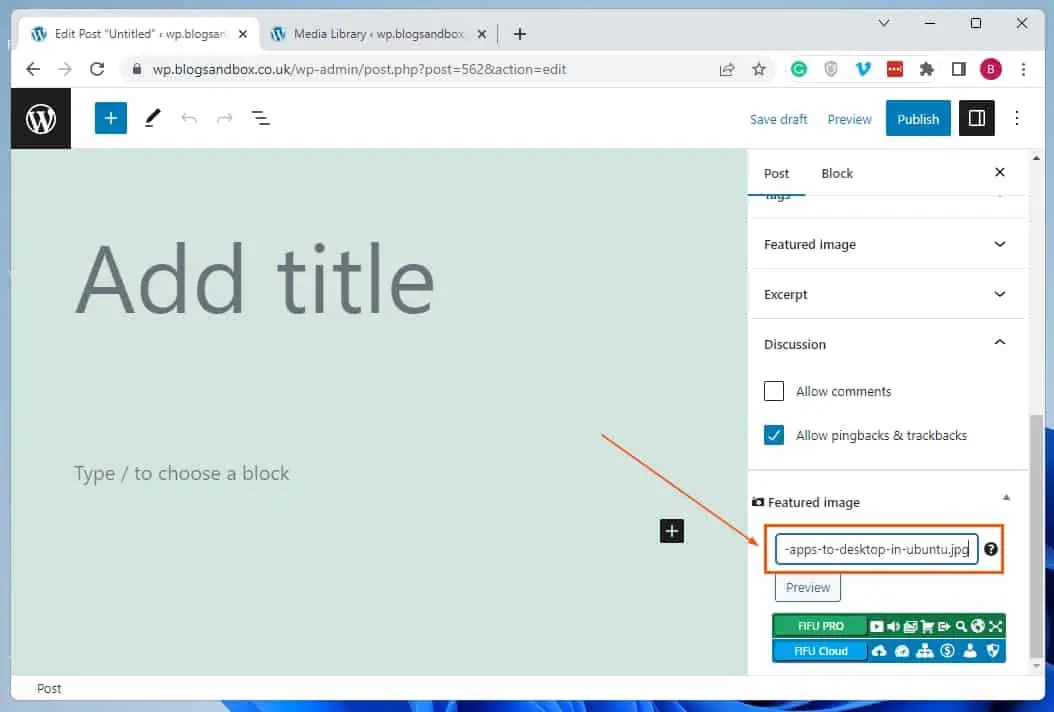
- Then, in the Post tab, you will see a Featured image section with a URL input box. Hence, input the URL of the image you wish to set as a featured image in the input box.
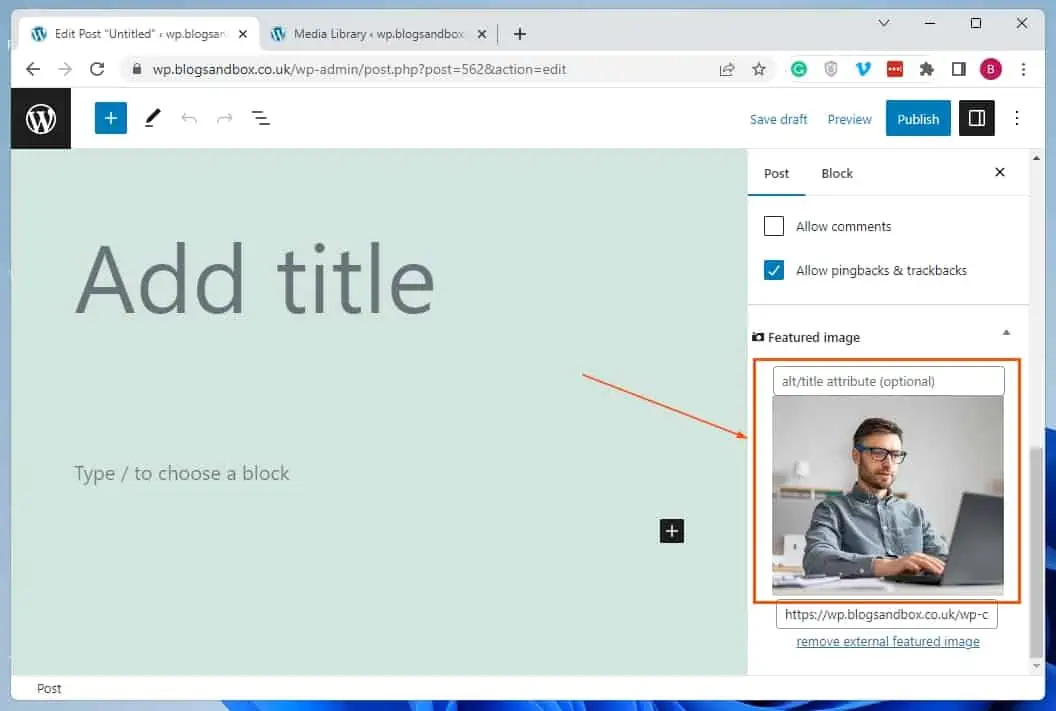
- After doing that, click the Preview button under the URL input box to preview the image. Consequently, the image should appear in the Featured image section – see the second screenshot below.

Frequently Asked Questions
A featured image in WordPress is the primary image for a WordPress post or page. Featured images enhance user engagement and pageviews because they represent the content, mood, or theme of a post/page.
Besides, search engines and social media platforms use featured images and display them in search results or social media news feeds.
To add a featured photo to a WordPress post, follow the steps below.
a) Sign in to the backend of your WordPress site.
b) Then, select Posts among the menus on the left pane.
c) Now, select the title of the post where you wish to set a featured image to open it.
d) When the post opens, select the Settings icon at the top right corner. Then, switch to the Post tab.
e) In the Post tab, select the Set featured image box under Featured image.
f) Consequently, you will be directed to your WordPress media library. Thus, you can select the image you wish to set as the featured image, then click Set featured Image.
The featured image serves as a post’s or page’s primary image. It appears before or alongside the title of the post/page.
Cover images, on the other hand, are images in the body of the post or page. They are mostly used to divide several sections of lengthy content.
A featured image grabs viewers’ attention using eye-catching visuals representing the post content. Doing so helps increase your website’s traffic and engagement.
Yes, a featured image help with SEO as they grab viewers’ attention, encouraging them to click on your post.
Conclusion
The featured image is a representative image that appears alongside the post/page title. Thus, adding a featured image in WordPress is essential for any blog or website that wants to optimize its visual appeal and user engagement.
Fortunately, we demonstrated multiple ways to set a featured image in WordPress in this guide. To be more specific, this guide taught us how to add a featured image in WordPress through the block editor.
We also learned how to perform this task by using a plugin.
Hopefully, you found this guide interesting and helpful. If you did, click on “Yes” beside the “Was this page helpful” question below.
You may also express your thoughts and opinions by using the “Leave a Reply” form at the bottom of this page.
Finally, visit our WordPress & Websites How-Tos page for more WordPress guides.
![WordPress Lost Password Redirects to Page Not Found [Fixed]](https://www.itechguides.com/wp-content/uploads/2024/03/WordPress-Lost-Password-Redirects-to-Page-Not-Found-Fixed.webp)