If you receive the “Windows could not automatically detect this network’s proxy settings” when you run network troubleshooter, use the options discussed in this guide to fix the problem.
Option 1: Check Automatic Proxy Setup
Windows 10 includes proxy setup within Windows settings. This is the first place to look.
Here are the steps:
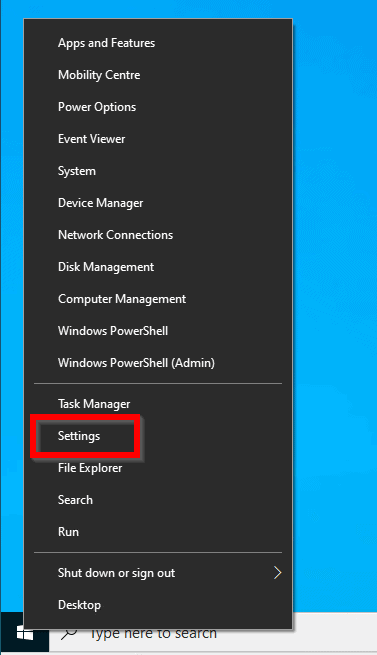
- Right-click Window 10 start menu and click Settings.
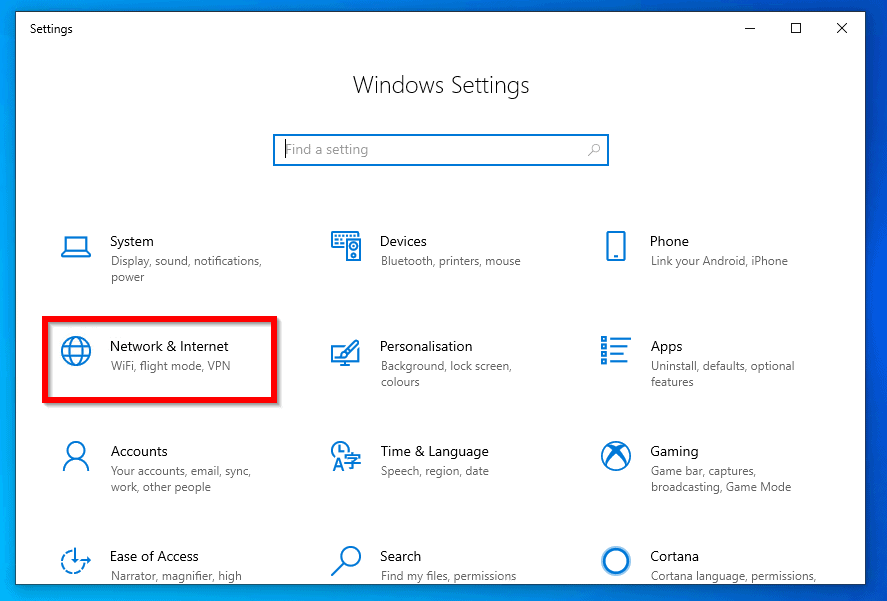
- When Settings opens, click Network & Internet.
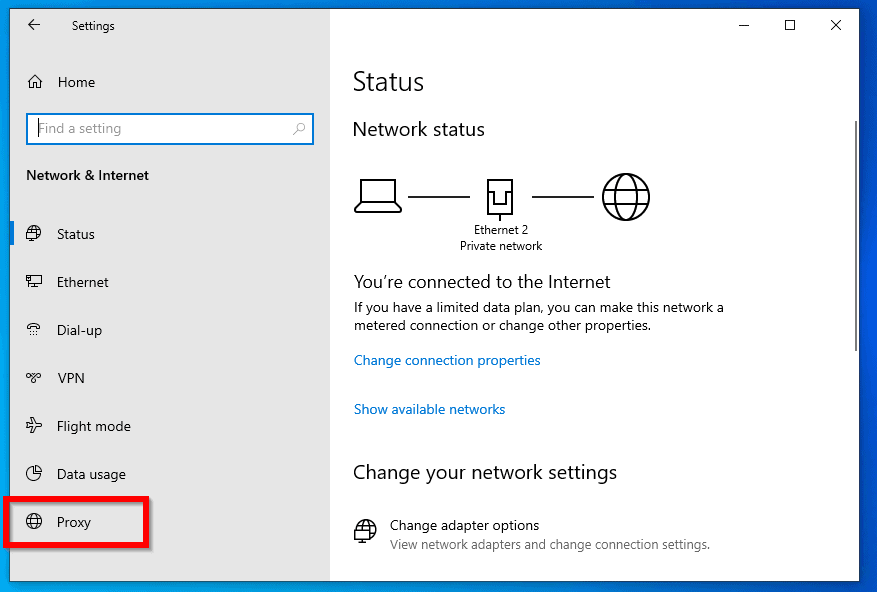
- Then click Proxy.
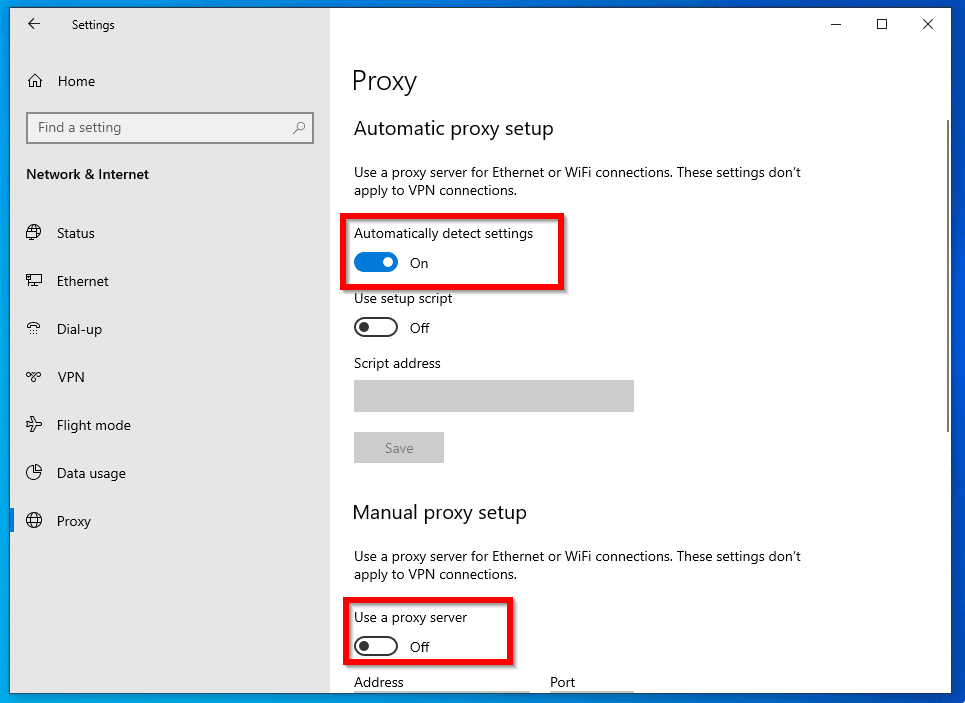
- Refer to the image below. For most settings: Automatically detect settings should be on. On the Manual proxy setup section, Use a proxy server should be off.
- If you are a home user, ensure that yours is set up as shown in the image. For office users, contact your network administrator.
If you made changes to the proxy setup above, check whether you can connect to the internet. But, your settings is exactly as shown above, try the next fix in this guide.
Option 2: Reset the Network Adapter
The next easy fix for “Windows could not automatically detect this network’s proxy settings” is to perform a network reset.
A reset will remove all network drivers and restore them to the original state. Unless your computer is infected by a malware or otherwise badly damaged, this should fix the problem and get you back on the internet!
Here are the steps:
- Follow the steps in Method 1 until you get to Network status.
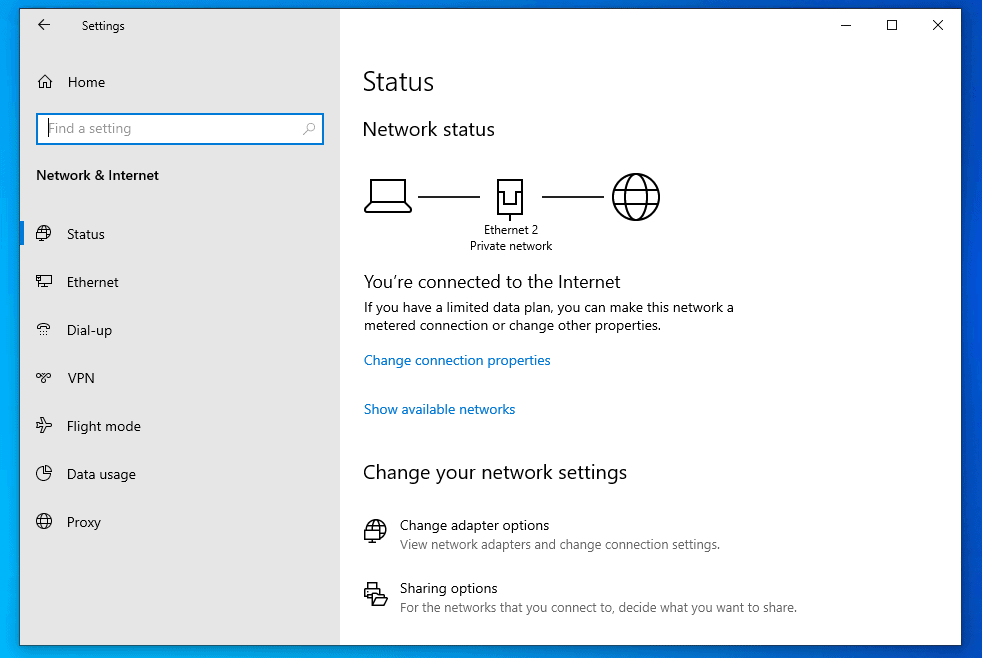
- Then scroll down until you get to Network reset.
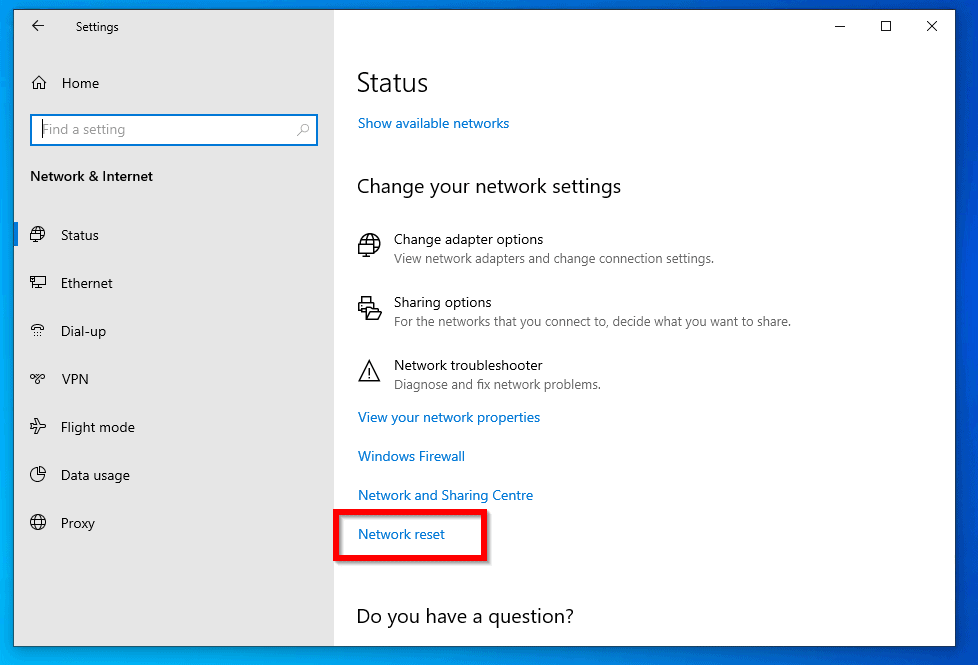
- Click Network reset.
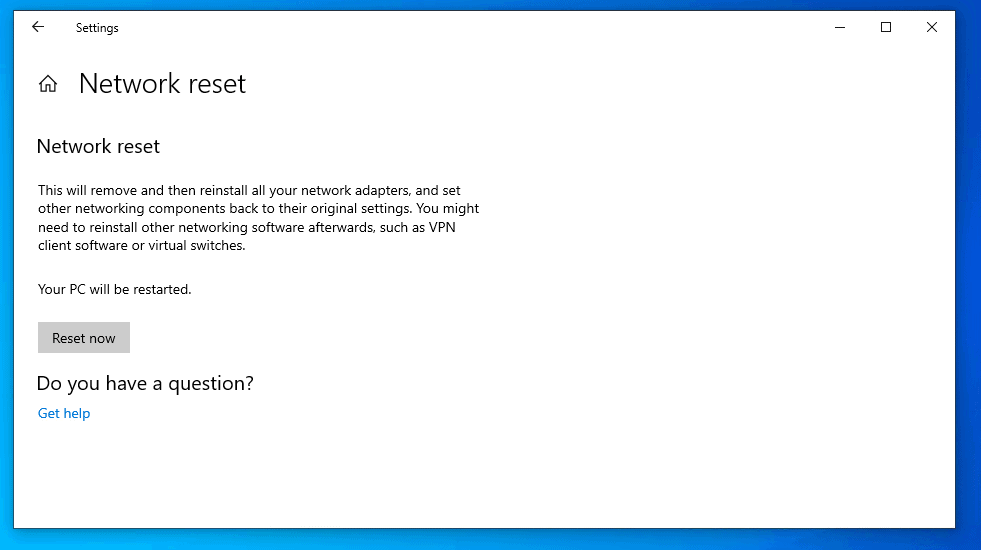
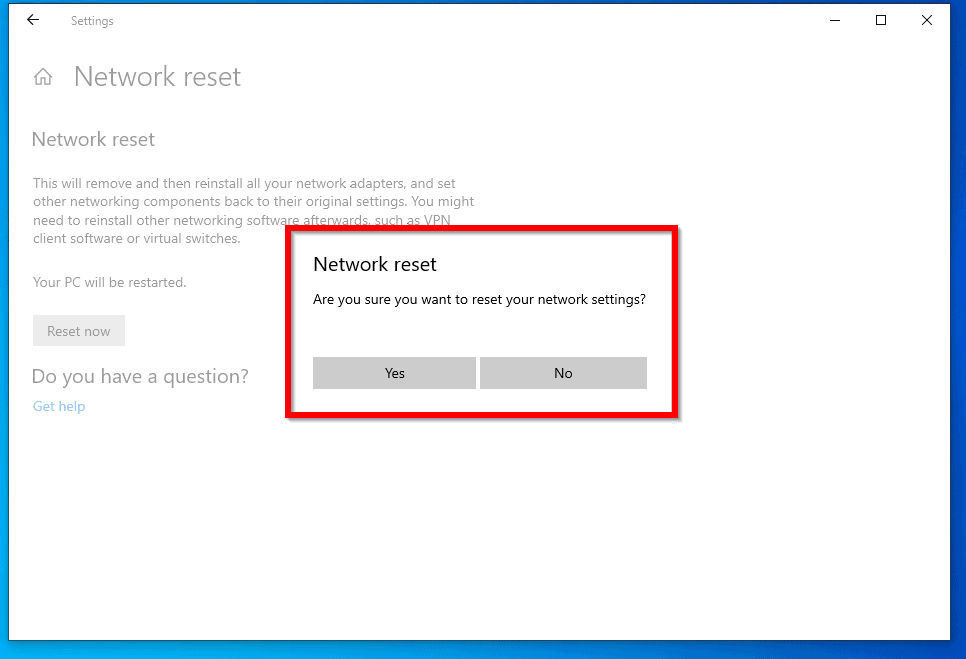
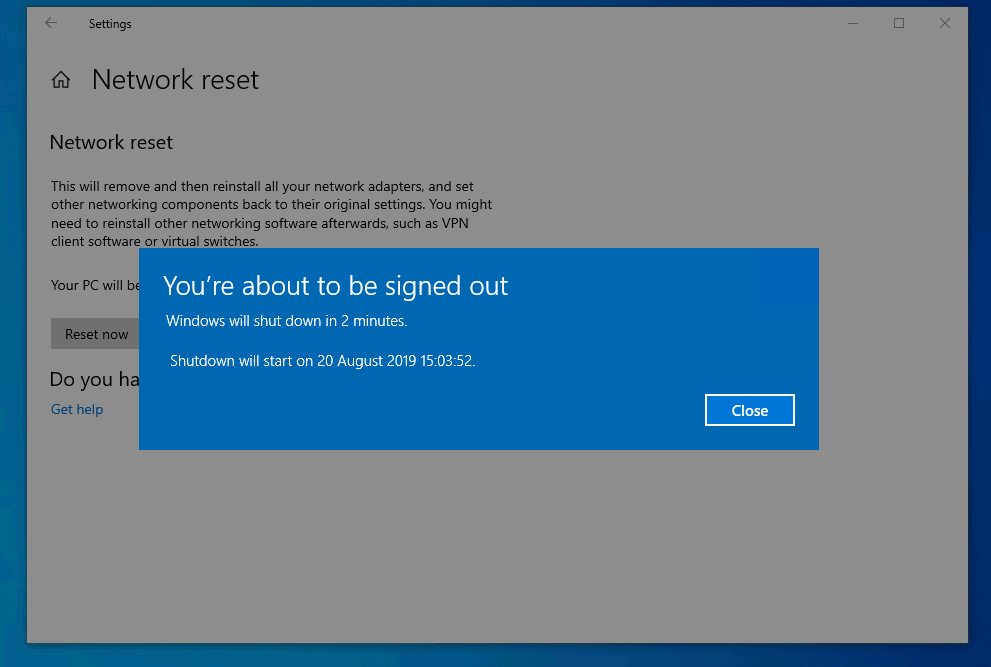
- Then click Reset now. On the Network reset confirmation, click Yes.
After sometime your PC will restart. You will receive a shutdown notification prior the restart.
When the network reset is completed, try connecting to the internet. If the problem is still not resolved, try the next fix.
Option 3: Run the Malware Removal Tool
If the last two fixes have not resolved “Windows could not automatically detect this network’s proxy settings” error then there may be more trouble!
My next fix is to Download and Run Microsoft’s Malicious Software Removal Tool (MSRT). Follow the last link for details.
Once you run the malware removal tool, reboot and check whether the problem is resolved. If it is still not fixed, then you need to repair, reset or restore Windows 10!
The last 3 recommended fixes is intended to repair or restore your operating system.
Here they are.
Option 4: Run the DISM and SFC Commands
This method resolves most Windows 10 problems. I suspect that whatever triggered “Windows could not automatically detect this network’s proxy settings” error, the commands below are likely to fix it!
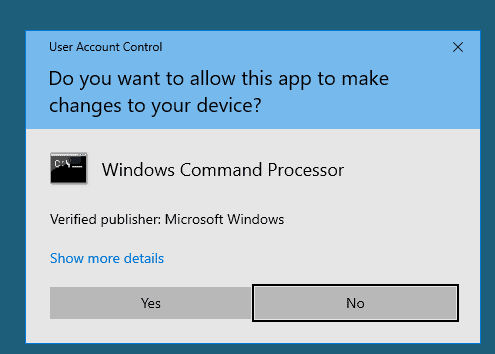
- Search Command Prompt. Then right-click it and select Run as administrator.

- Respond Yes to the User Account Control prompt.
- At the Command Prompt, type the command below (preferably, copy and paste). Then press enter.
DISM.exe /Online /Cleanup-Image /Restorehealth
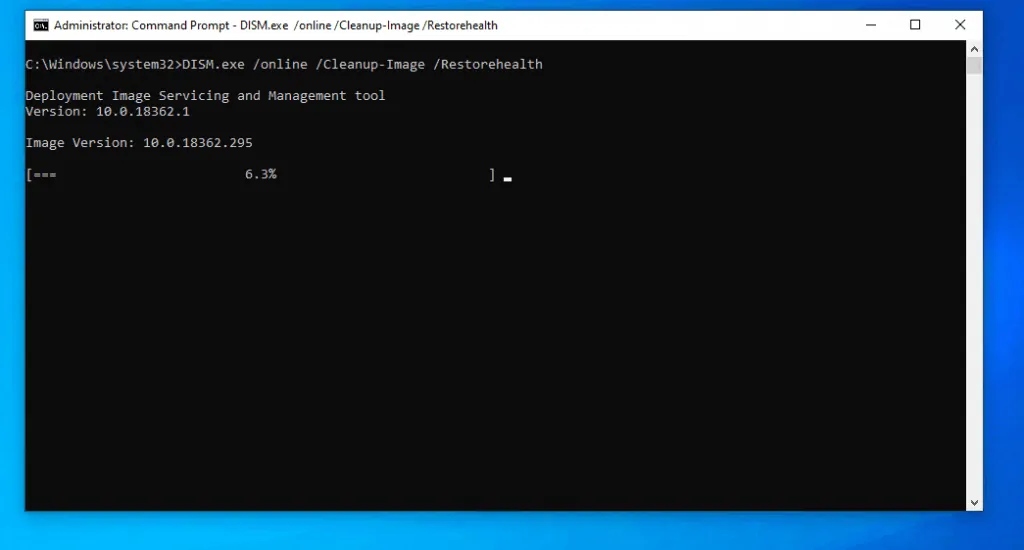
- Wait for the DISM command to complete. Then on the same command prompt type this command and press enter.
SFC /ScanNow
When the SFC command completes, restart your computer. If this does not fix “Windows could not automatically detect this network’s proxy settings” error, then try the last 2 fixes in this guide.
Option 5: Use System Restore
Most users that received “Windows could not automatically detect this network’s proxy settings” resolved it by performing a system restore.
Steps to restore Windows 10 to a previous restore point:
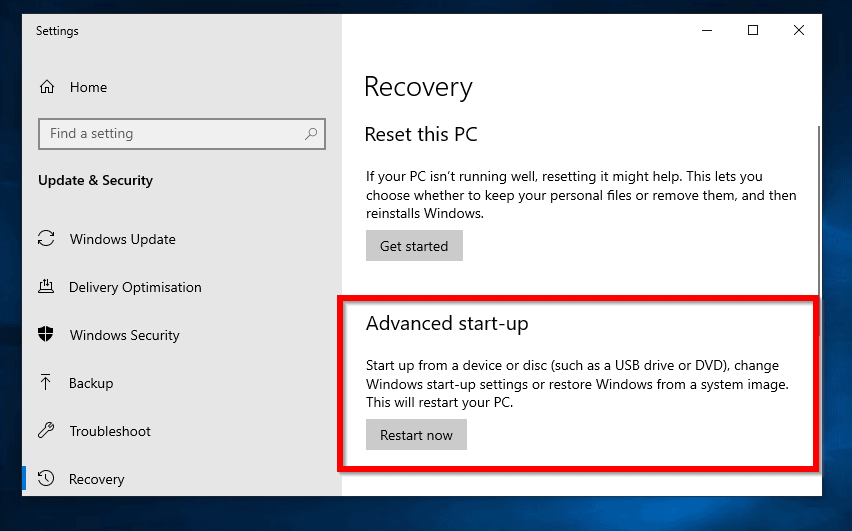
- Search Recovery. Then click Recovery options.
- On the Recovery settings, Advanced start-up section, click Restart now.
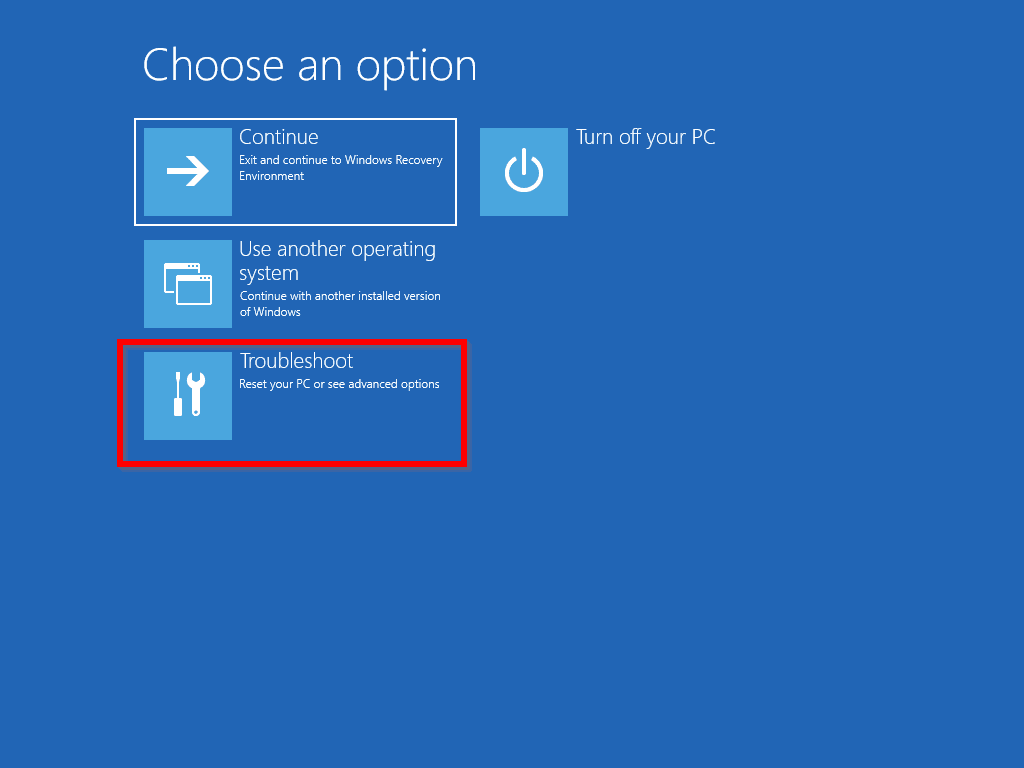
- When Windows 10 boots to recovery environment, click Troubleshoot.
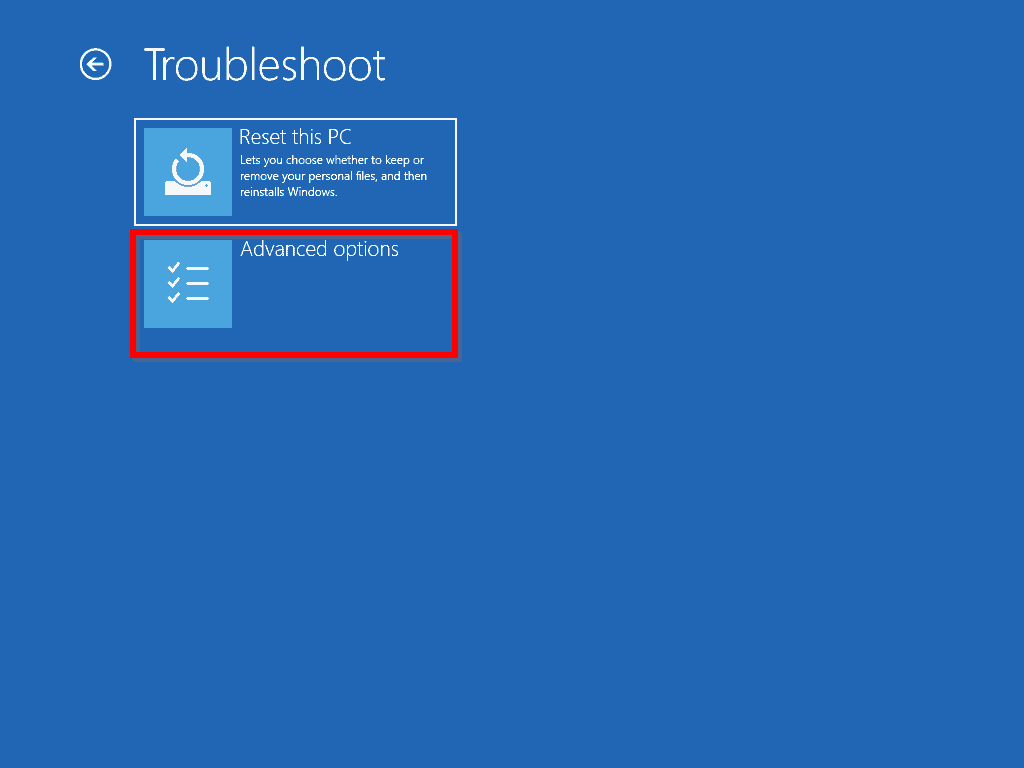
- Then on the Troubleshoot screen, click Advanced options.
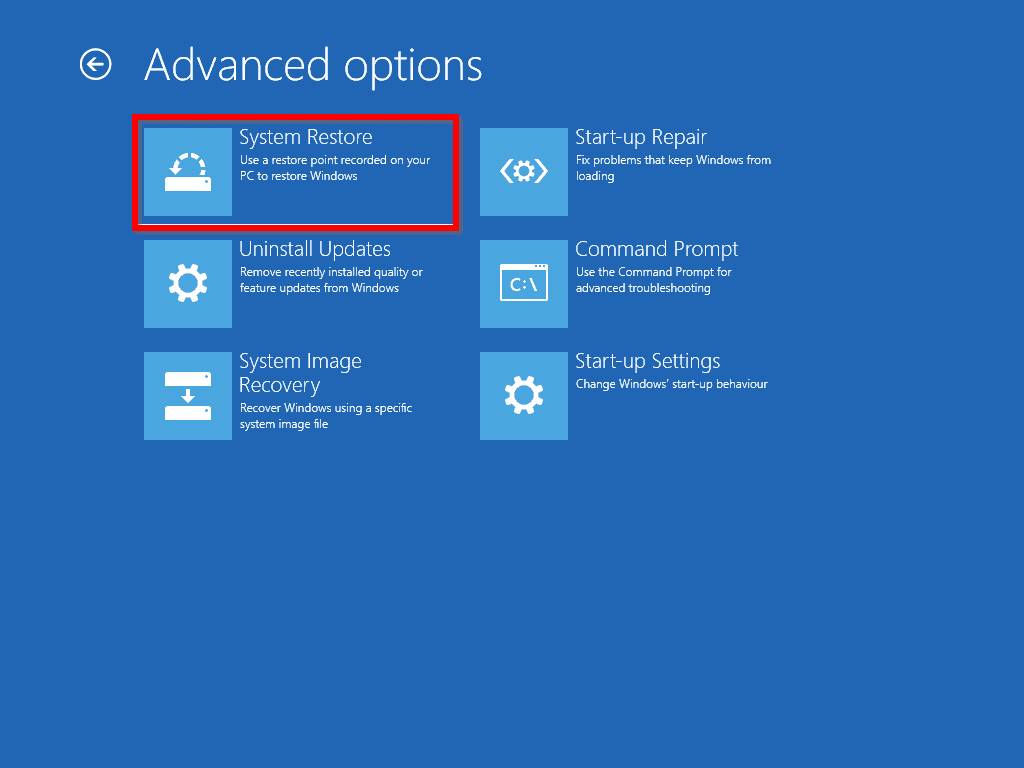
- On the Advanced options screen, click System Restore. Windows will take sometime to load the next screen.
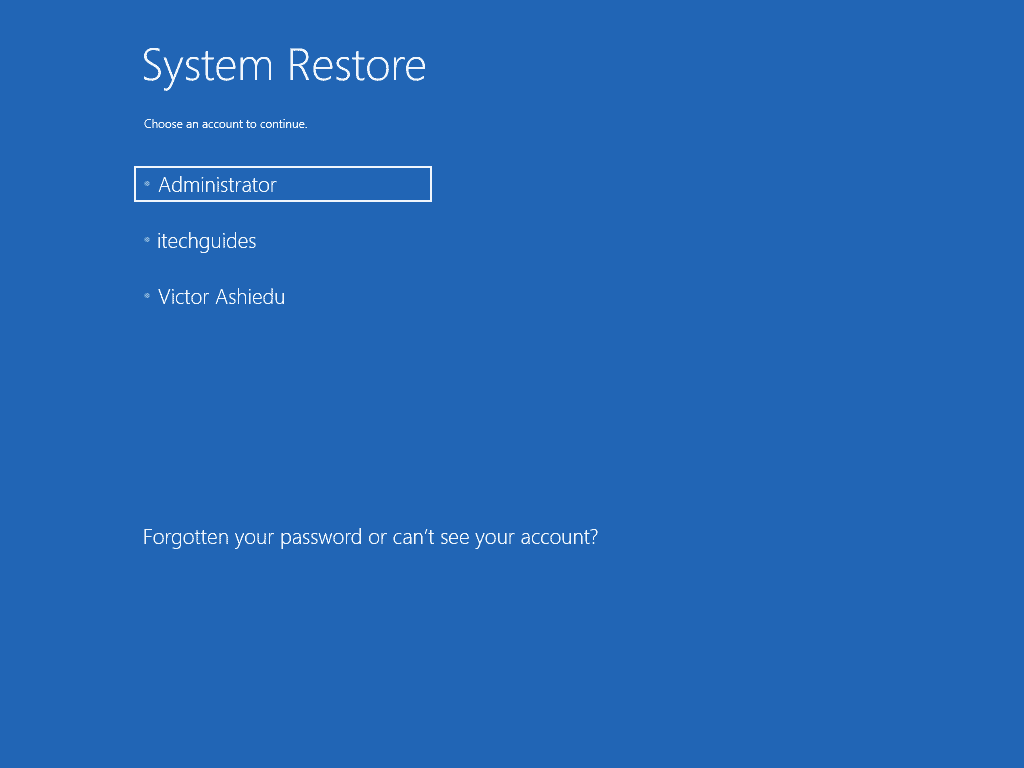
- System Restore will then display all users on the computer. Select the user with administrative privilege to perform the restore. Then enter the password for the account you selected and click Continue.

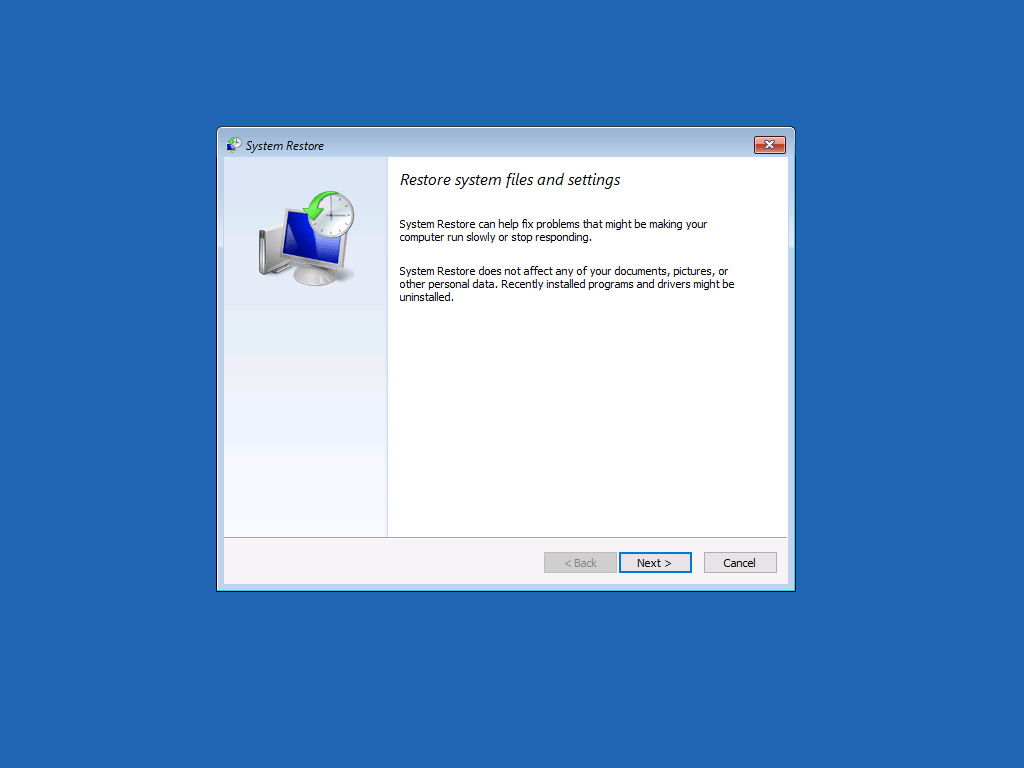
- The system restore wizard will load. Click Next.
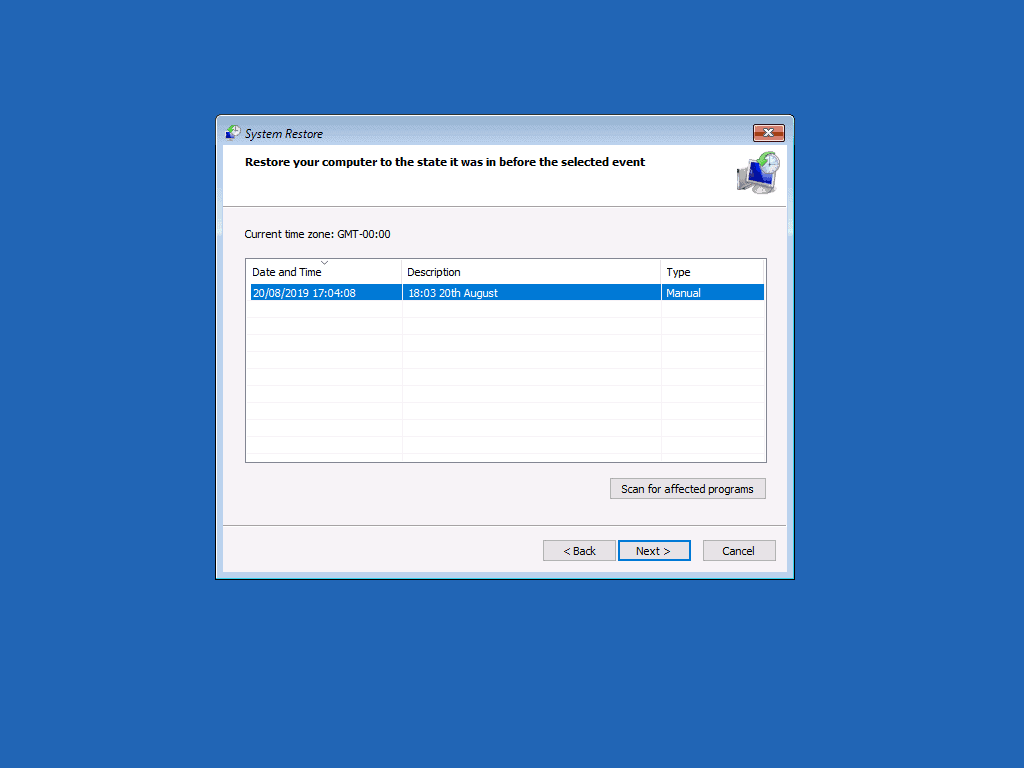
- Select a restore point and click Next.
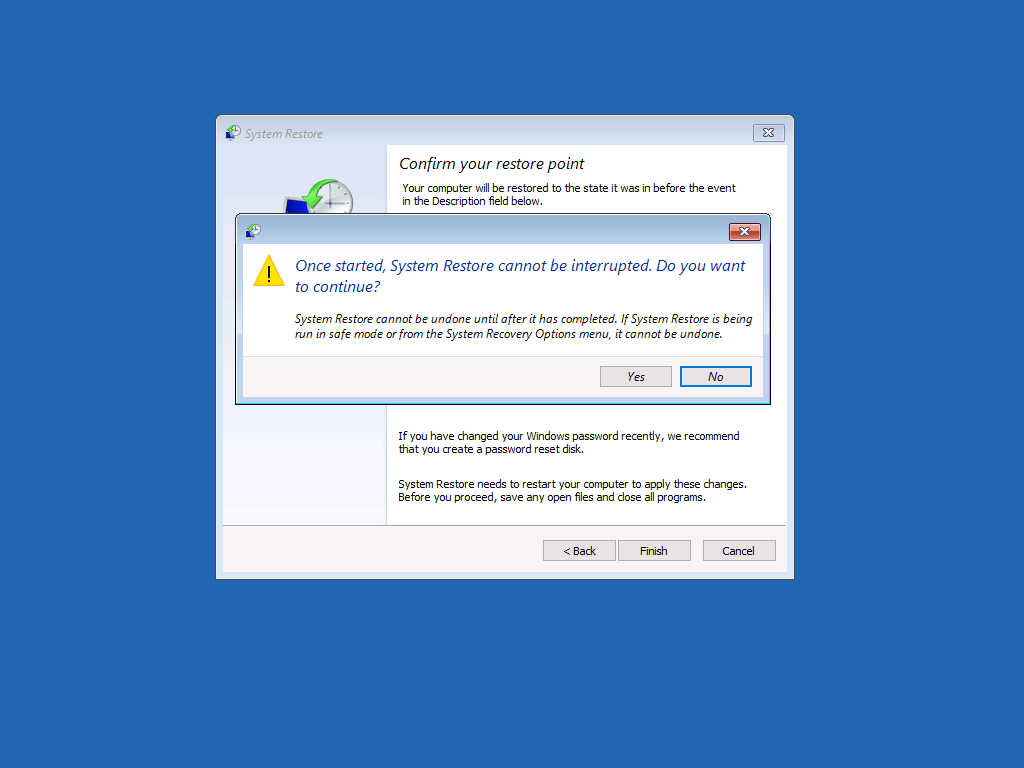
- To initiate the restore, click Finish. Then to confirm the restore, click Yes.
When the restore completes, “Windows could not automatically detect this network’s proxy settings” should be resolved – assuming whatever caused the error happened after the restore point was created!
If the error is not fixed then you may have to reset your PC.
Option 6: Reset Windows 10
When you reset your PC using the steps in this section, you will have to reinstall all your applications. Your data will not be lost. Please select your options carefully.
Steps to reset your PC.
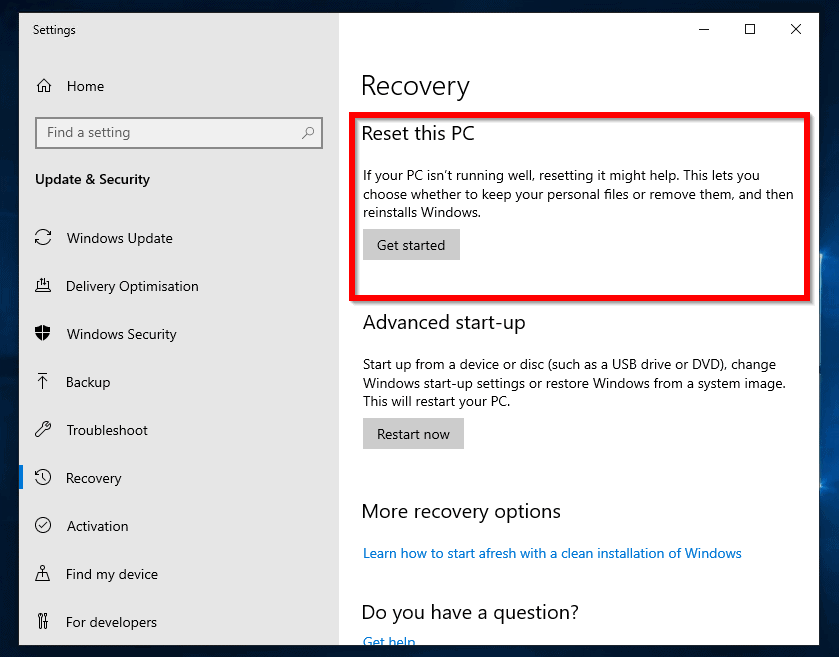
- Whiled logged in to your computer, search for Recovery. Then click Recovery options.
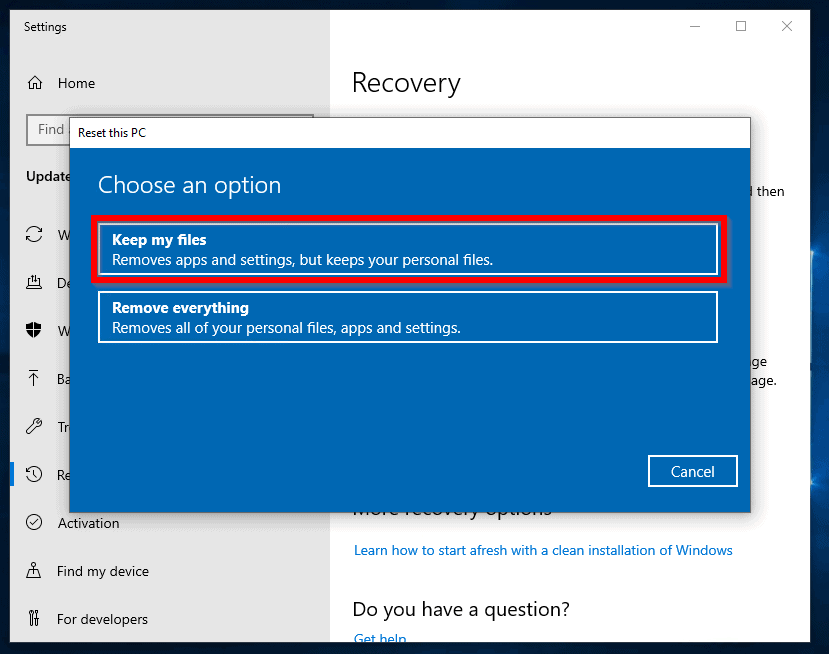
- At Recovery options settings, on the Reset this PC section, click Get started.
- On the Chose an option page, select Keep my files.
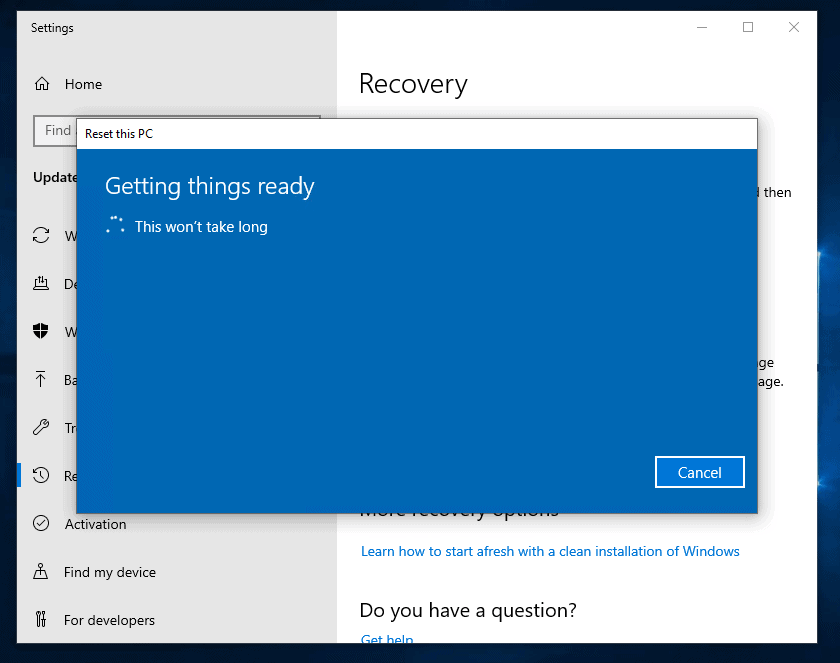
- The reset process will commence. Wait…
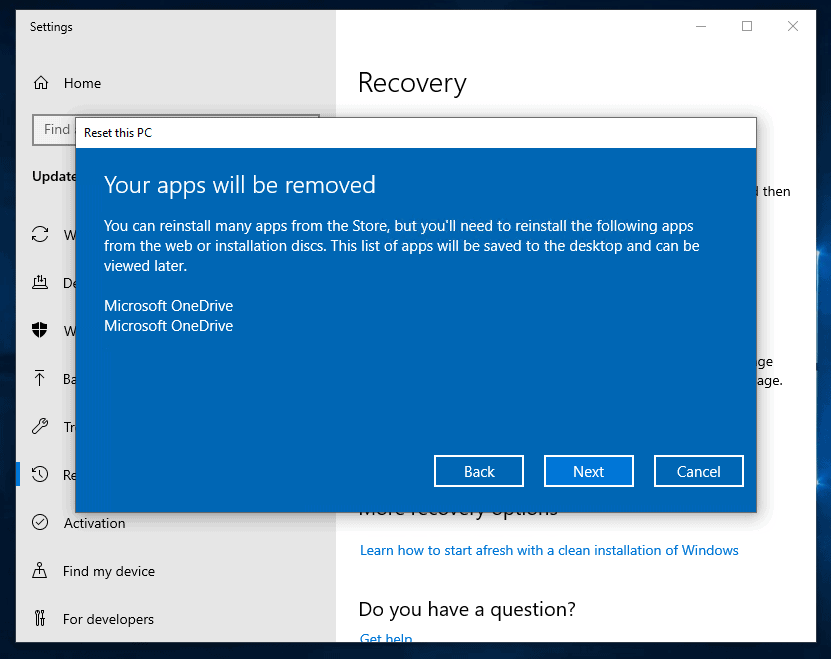
- At the next prompt, click Next.
- Then, to start the Reset click Reset.
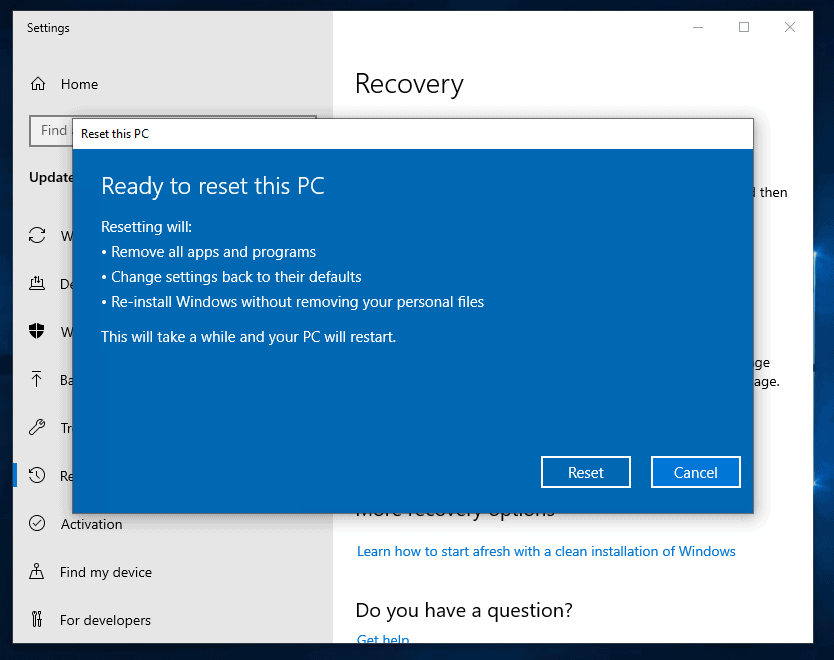
- Now wait for the Reset to complete.
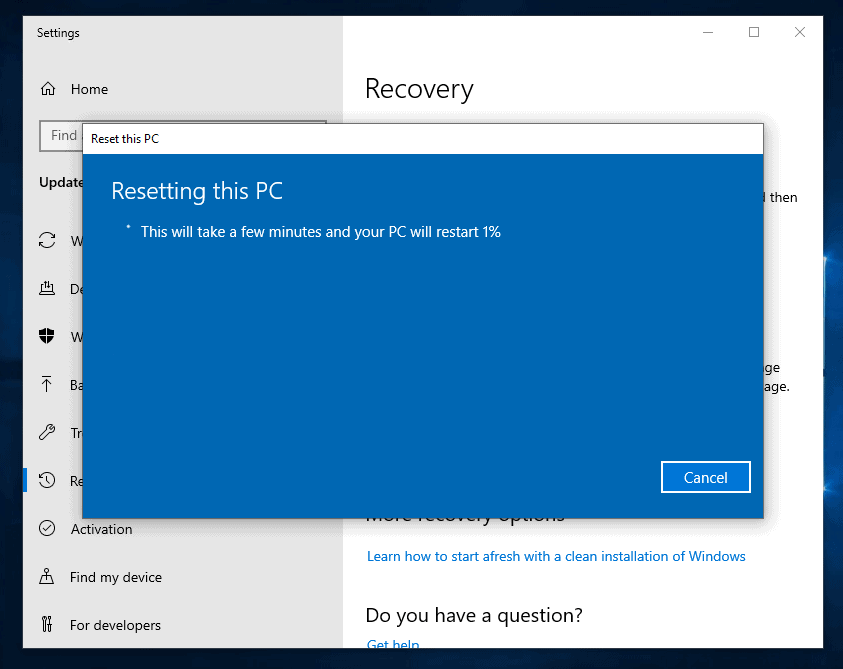
When the reset completes, “Windows could not automatically detect this network’s proxy settings” should be fixed for good.
Conclusion
I am confident that one of the 6 fixes discussed in this guide has resolved this Windows 10 network problem for you. Kindly let me know the option that worked for you by responding to the “Was this page helpful?” question below.
Finally, if you want more Windows 10 fixes, visit our Windows 10 Fix It page.