Do you want to learn the SFC (System File Checker) command beyond its popular /scannow parameter? This guide is a deep dive into the SFC command with examples.
Overview
With your PC exposed to viruses and malware, sometimes, some Windows system files may be corrupt. Additionally, the files may even be replaced with incorrect, non-Microsoft versions.
The SFC scans your PC and detects if any of the protected Windows files are corrupt. Then, if it determines that a protected Windows file is corrupted or overwritten, it replaces the incorrect versions with the correct Microsoft versions.
Specifically, when you run SFC with the /scannow parameter, SFC scans all protected system files. Then, if it finds a corrupted system or one with the wrong version, it replaces corrupted files with a cached copy.
Cached copies of Windows system files are located in a compressed folder, %WinDir%\System32\dllcache.
Finally, most times, before you run SFC with the /scannow parameter, it is recommended to run – DISM.exe /Online /Cleanup-Image /RestoreHealth – first. More on this is in the examples section of this guide.
Syntax And Parameters of the System File Checker Command
The syntax of the SFC (System File Checker) command is:
SFC [/SCANNOW] [/VERIFYONLY] [/SCANFILE=<file>] [/VERIFYFILE=<file>] [/OFFWINDIR=<offline windows directory> /OFFBOOTDIR=<offline boot directory> [/OFFLOGFILE=<log file path>]]
In the table below, I have explained each parameter and switch included in the command syntax above.
| Parameter Name | SFC Parameter Meaning/Notes |
|---|---|
| SCANNOW | This is the most popular parameter of the SFC (System File Checker) command. When you run SFC with the /Scannow parameter, it scans the integrity of all protected system files and repairs files with problems when possible. |
| VERIFYONLY | The VERIFYONLY parameter scans the integrity of all protected system files, but it does not repair the files. |
| VERIFYFILE=<file> | This parameter verifies the integrity of the file with the full path to the file. When you use the VERIFYFILE=<file> parameter, it does not perform any repair operation. |
| SCANFILE=<file> | Unlike the VERIFYFILE=<file>, the SCANFILE=<file> parameter scans the integrity of the specified file, then repairs the file if it identifies problems with the file. |
| OFFWINDIR=<offline windows directory> | If you want to perform an offline repair, use the OFFWINDIR parameter to specify the location of the offline windows directory. |
| OFFBOOTDIR=<offline boot directory> | You can also use this parameter to perform an offline Windows systems files repaid. Use the OFFBOOTDIR parameter to specify the location of the offline boot directory. |
| OFFLOGFILE=<log file path> | Like the last two parameters, OFFLOGFILE is also for performing an offline repair. Use this parameter to enable logging optionally by specifying a log file path. |
| /? | Run the SFC /? command to display SFC help at the command prompt. |
Some SFC Command Examples
Now that you know a bit about the SFC (System File Checker) command, it is time to dive into some examples. In this section, I’ll show you other ways to run the System File Checker command beyond using its SCANNOW parameter.
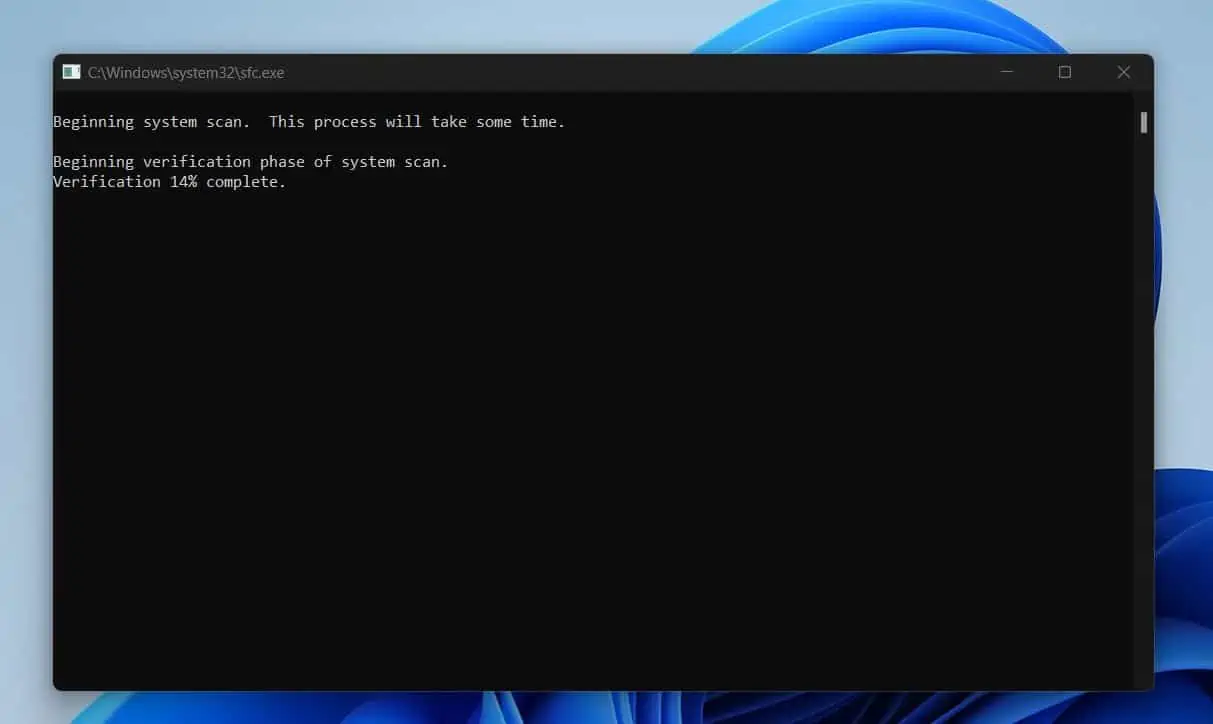
Example 1: Run SFC /SCANNOW System File Checker Command
Having read this guide to this point, I suspect that you know how to run the SFC /SCANNOW. However, for any of my readers that require me to show how to do it expressly, here are the steps.
- Run command prompt as administrator.
- Then, when the command prompt opens with administrator privileges, run the SFC /SCANNOW command.
The SFC command with its /SCANNOW parameter takes a while to run. When it completes, it may return one of the following results:
- Windows Resource Protection did not find any integrity violations. This result means that your PC does not have any missing or corrupted system files.
- Windows Resource Protection could not perform the requested operation. My 4th example below shows the steps to fix this problem.
- Windows Resource Protection found corrupt files and successfully repaired them. This message will usually be followed by “Details are included in the CBS.Log %WinDir%\Logs\CBS\CBS.log.”
- Windows Resource Protection found corrupt files but was unable to fix some of them. This is also followed by “Details are included in the CBS.Log %WinDir%\Logs\CBS\CBS.log.”
I will show how to fix this problem in my fifth example below.
Example 2: Use SFC and DISM Commands to Repair Corrupt Windows Files
I hinted earlier in this guide that it is common to run SFC and DISM commands to repair most system file corruption issues in Windows.
However, most users wonder which of the commands you run first. In addition to that, people wonder about which parameters of the SFC and DISM command to use.
This Microsoft guide recommends running DISM first before running the SFC command. Specifically, you need to run DISM with its “/Online /Cleanup-Image /RestoreHealth” parameters.
Then, run the SFC command with its SCANNOW parameter.
Example 3: Run SFC Scan as an Administrator
I have answered this question in my previous examples, but since people are asking this question, I wanted to address it directly.
The convention method to run SFC scab as administrator is first to run command prompt as administrator. Then, run the SFC command in the command prompt you opened with administrator privileges.
However, you can use PowerShell to run SFC as an administrator using the Start-Process command. Here is a command that runs SFC as administrator from PowerShell.
Start-Process -FilePath "SFC.exe" -ArgumentList @("/SCANNOW") -Verb RunAs
When you run the command, Windows will display the User Account Control prompt requesting you to allow the cmd app to make changes to your PC. Click Yes.
When you click Yes, PowerShell will open an instance of CMD and run the SFC command. After running the command, the SFC window will close automatically.
Example 4: Repair a Windows System File with SFC
Apart from finding and repairing multiple protected Windows system files, SFC can only repair one system file.
To repair one protected system file with the SFC command, use its SCANFILE=<file> parameter. For example, to scan and repair kernel32.dll, run the command below.
sfc /SCANFILE=c:\windows\system32\kernel32.dll
Example 5: Fix “Windows Resource Protection could not perform the requested operation” SFC Error
If your SFC /SCANNOW command returns the “Windows Resource Protection could not perform the requested operation” error message, follow the steps below to fix the problem:
- Boot your Windows 10 or Windows 11 PC to safe mode.
- Then, check that the folder – %WinDir%\WinSxS\Temp – has the PendingDeletes and PendingRenames folders.
- Start your PC in normal mode and run SFC /SCANNOW again.
Example 6: Fix “Windows Resource Protection found corrupt files but was unable to fix some of them” SFC Error
To fix this problem, you need to repair the corrupted files manually. Follow the steps below to complete this task:
- View details of the System File Checker process to find the corrupted file.
- Then manually replace the corrupted file with a known good copy of the file.
The two links above reference a Microsoft article.
Example 7: Fix SFC Command if it is Stuck
Sometimes when you run SFC /SCANNOW, it may get stuck. Follow the steps below to fix this problem:
- Close the stuck SFC command by pressing the ctrl and x keys simultaneously.
- Then, run the following DISM commands one after the other.
Dism.exe /online /cleanup-image /scanhealth
Dism.exe /online /cleanup-image /restorehealth
After running the two DISM commands, run SFC /SCANNOW again. If it still gets stuck, try the following steps:
- Run the CHKDSK command on drive C:\, then specify the /F switch.
CHKDSK C:/f
When you run the command, Windows will ask you to restart the computer to run the command. Enter Y and press the enter key to restart your PC.
- Then, when your PC has finished running the CHKDSK command and starts your computer, log in to your PC and run the SFC /SCANNOW command again.
Frequently Asked Questions
The System File Checker (SFC.exe) command scans the protected Windows Operating System files and repairs them. SFC behaves this way if you run it with its SCANNOW parameter.
However, you can get the SFC command to behave differently by using other parameters.
Before you can run DISM or SFC command, you must open a command prompt as administrator. Then, run the two commands as shown below.
DISM.exe /Online /Cleanup-Image /Restorehealth
SFC.exe /SCANNOW
Wait for the DISM command to complete before running the SFC command.
I recommend you run DISM, then the SFC command.
No, the SFC Scannow command does not remove viruses. However, if a virus replaces protected Windows system files, SFC may be able to replace the corrupted files with the correct versions.
SFC is not better than CHKDSK, and vice versa. The two commands perform different functions.
Essentially, you run SFC if you suspect that your Windows OS has some corrupt protected files. SFC scans and replaces corrupted protected systems files if you run it with the SCANNOW parameter.
On the other hand, the CHKDSK command checks your PC’s disk for errors and fixes disk errors.
However, if you run the SFC command and it gets stuck, it may be helpful to run the CHKDSK command on the system drive and specify the /F switch.
When the CHKDSK finishes, you can try running the SFC command.
Conclusion
The SFC (System File Checker) command is a common Windows OS command. However, beyond its SCANNOW parameter, most users do not know about the other parameters of this powerful command.
Apart from its SCANNOW parameter, the SFC command has 6 other parameters. In this guide, I have discussed these parameters in detail with examples.
I hope you found the guide helpful. If you found the guide helpful, click on “Yes” beside the “Was this page helpful” question below.
You may also express your thoughts and opinions by using the “Leave a Comment” form at the bottom of this page.
Finally, to broaden your Windows command prompt commands knowledge, visit our Windows Command Prompt Guides page.