Are you searching for an article that provides step-by-step details on resizing a JPEG image in WordPress? This article is a must-read as it features multiple methods to resize a JPEG image in WordPress.
Option 1: Resize a JPEG Image Through the WordPress Media Library
The WordPress media library offers an easy option for resizing your JPEG images before adding it to a post or page. However, you will need to upload the JPEG image to the WordPress media library before you are able to resize it.
Hence, the first sub-section below will teach you how to upload an image to the WordPress media library. Then, the second sub-section will teach you how to resize a JPEG image in the WordPress media library.
Step 1: Upload an Image to the WordPress Media Library
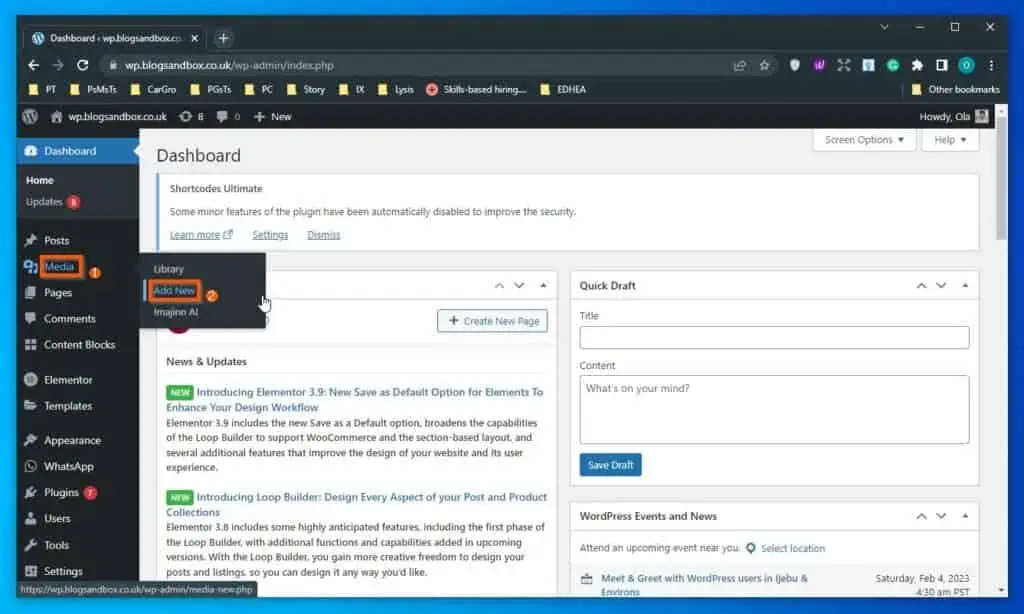
- First, use an administrator account to log in to the backend of your WordPress website. Then, hover your mouse on Media on the left pane and click Add New.
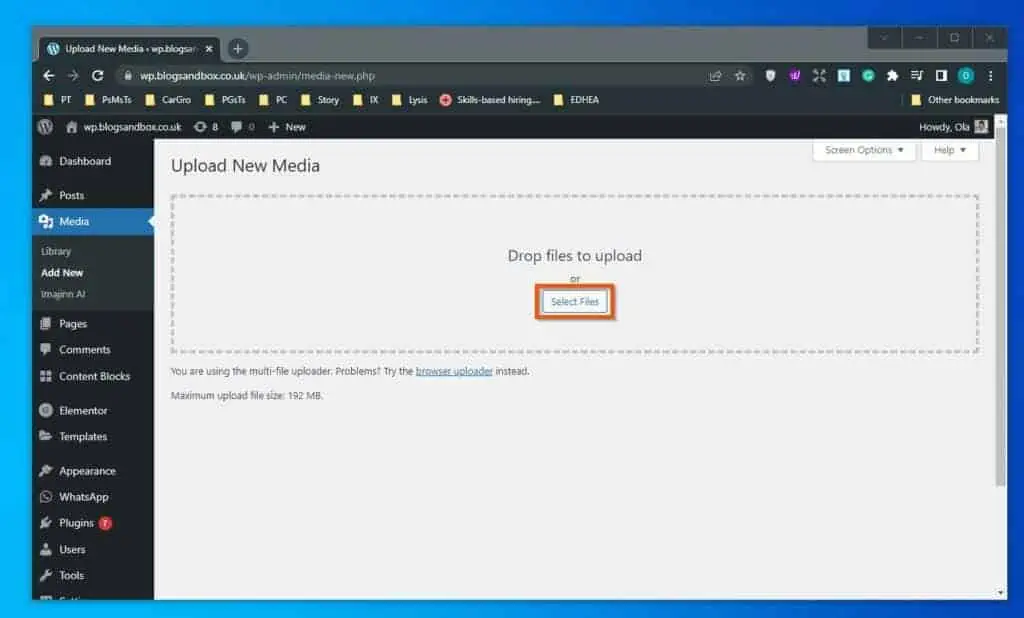
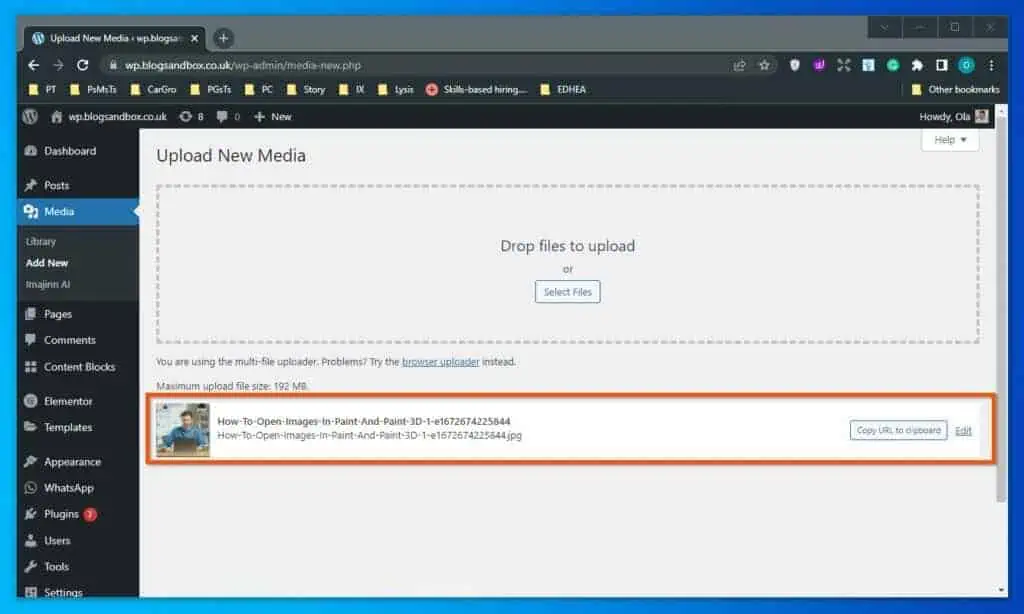
- Afterward, click the Select Files button inside the dotted rectangular box on the Upload New Media page. Consequently, the Open window should automatically appear on your screen.
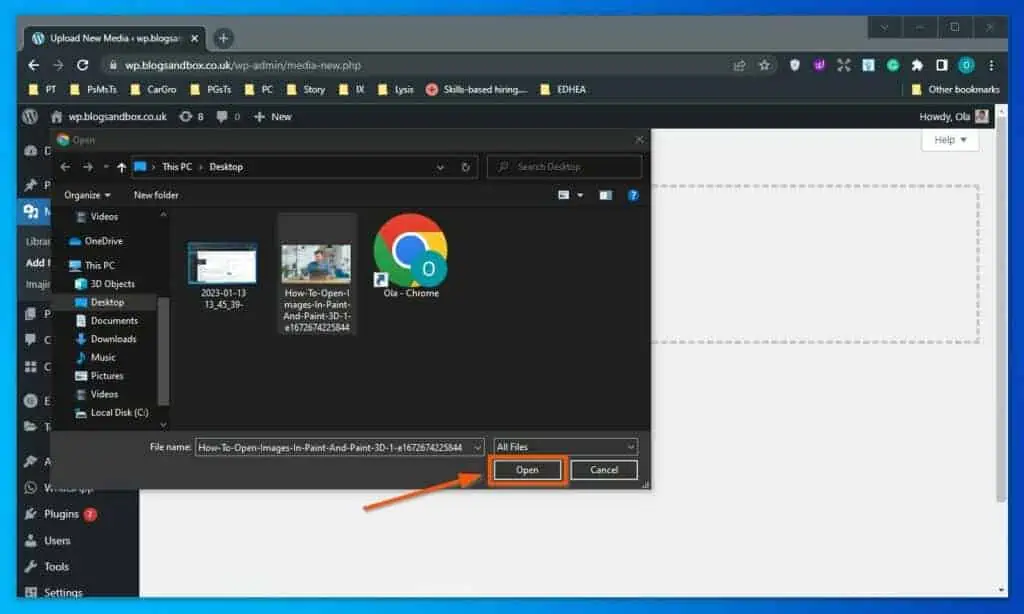
- In the Open window, navigate to the location where you stored the picture you want to upload. Then, select the picture and click the Open button at the bottom right of the window.
- Once you’ve done that, the image should be uploaded to your WordPress media library.
Step 2: Resize a JPEG Image via the WordPress Media Library
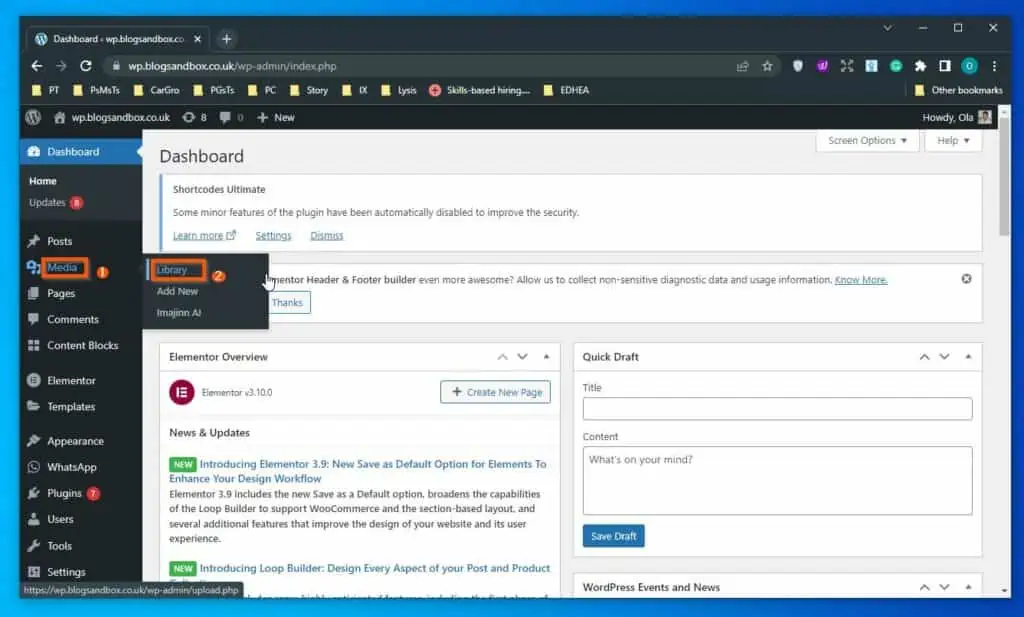
- Log in to the backend of your WordPress website with an admin account. Next, hover your mouse on Media on the left pane, then select Library.
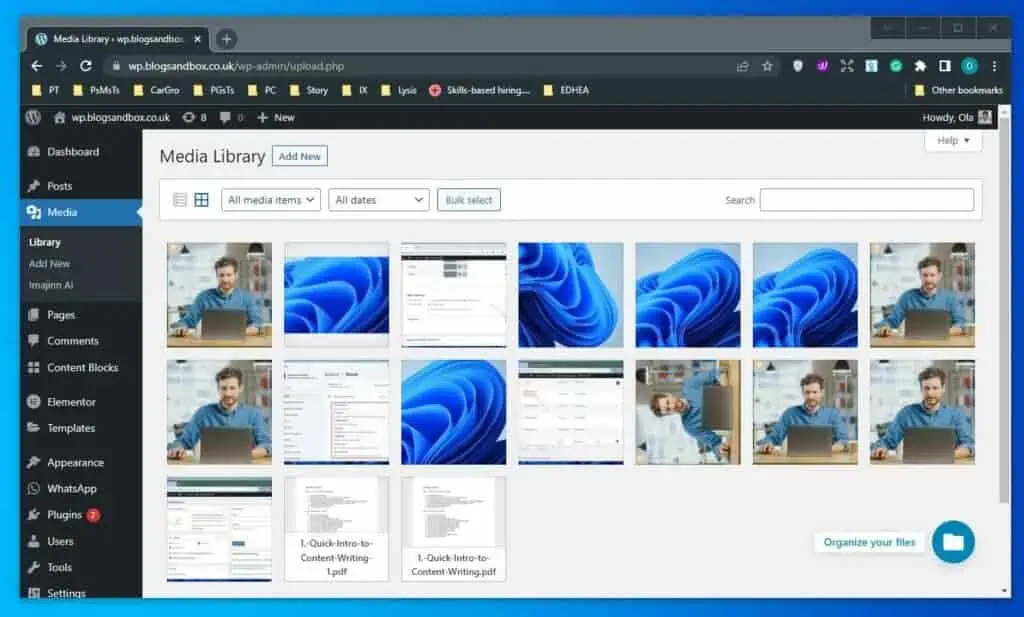
- Now, select the image you wish to resize on the Media Library page.
- Once you’ve done that, click the Edit Image button under the image on the Attachment details page.
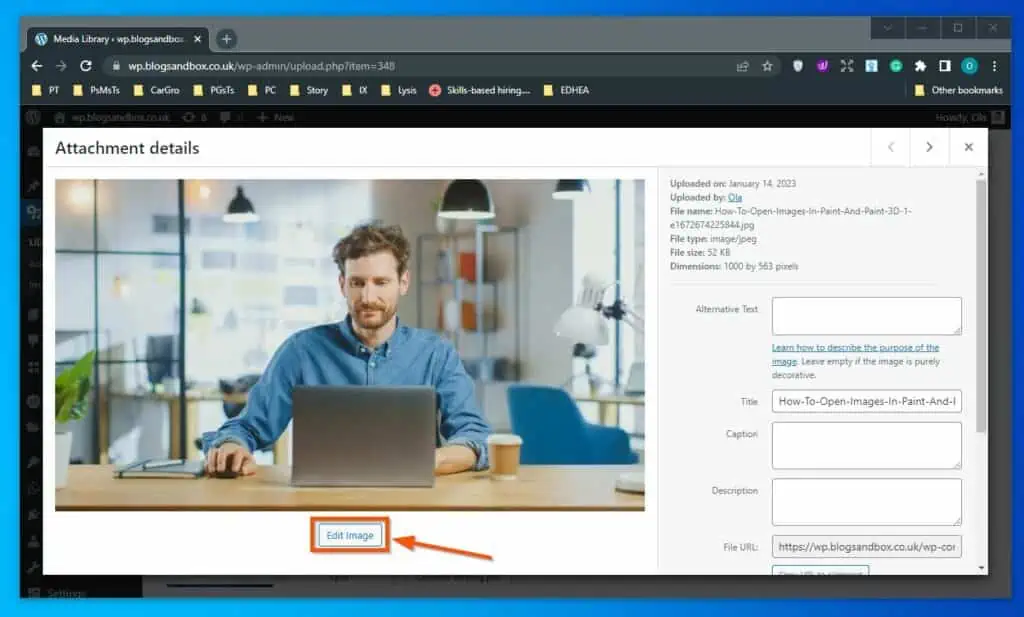
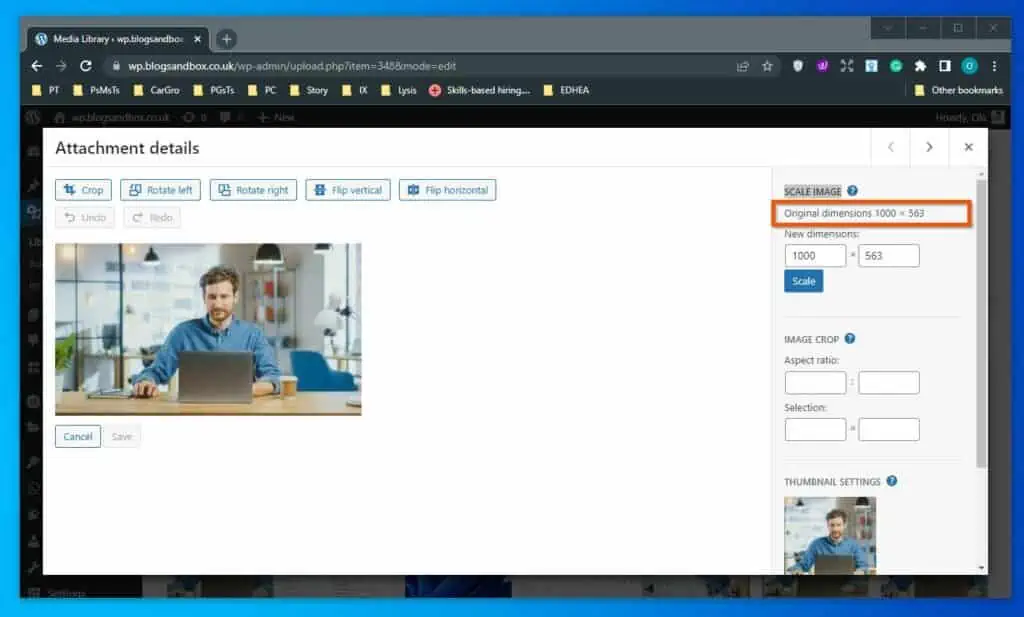
- Consequently, a new Attachment details page will open. On the right pane of this page, you will see the image’s original dimensions under the Scale Image section.
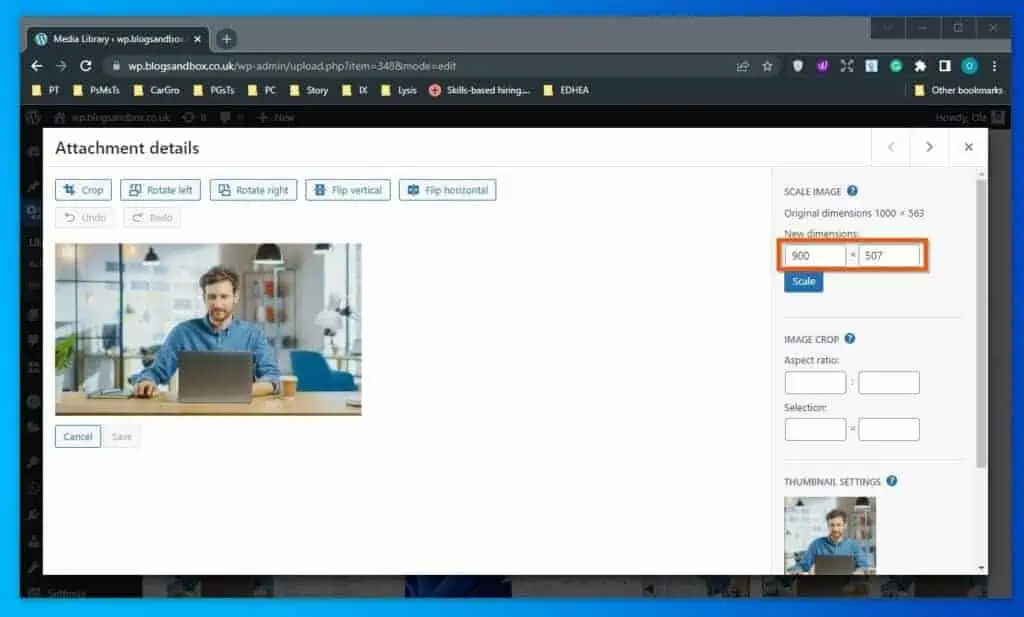
- Under that same Scale Image section, you will see New dimensions input boxes. Hence, input new width and height values for the selected image in those boxes to resize it.
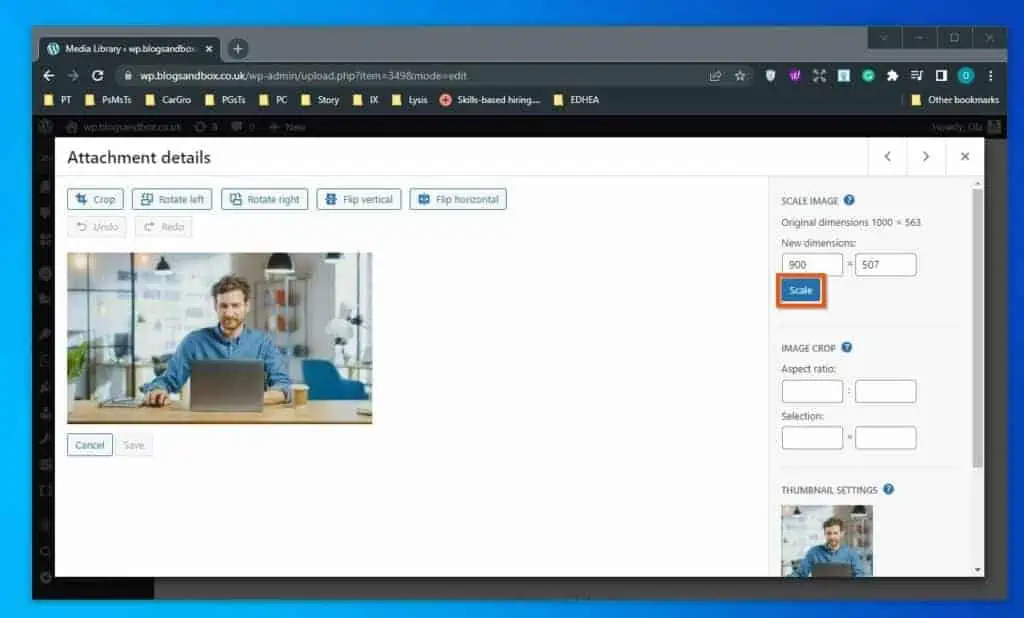
- After doing that, click the Scale button below the New dimensions boxes.
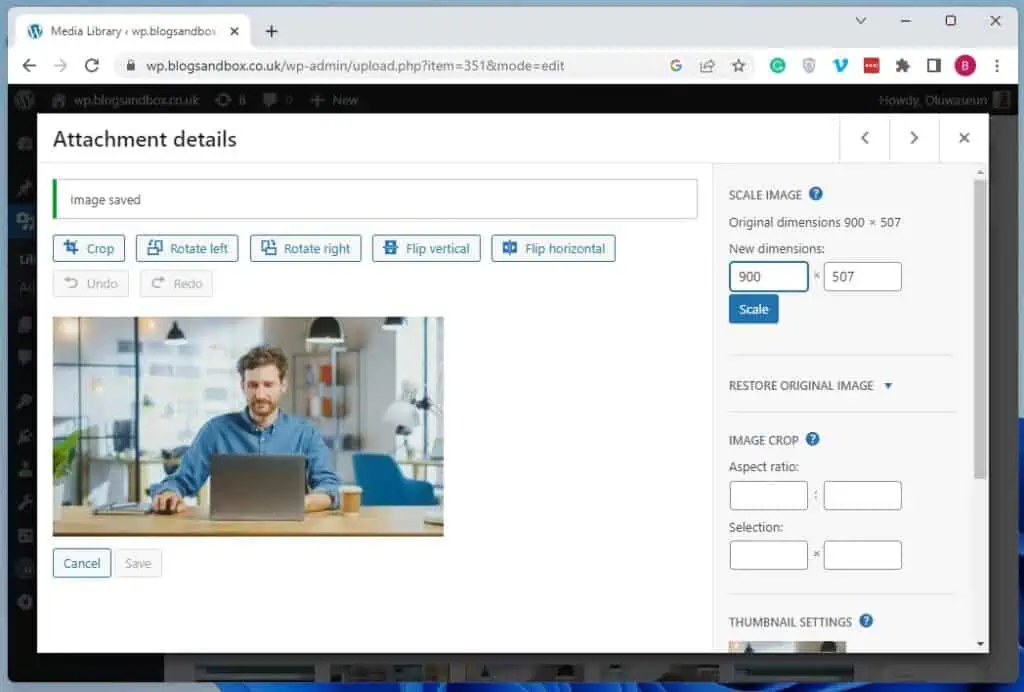
- Consequently, the image will be resized according to the width and height values you inputted in the New dimensions boxes. Also, it will automatically be saved.
Option 2: Resize a JPEG Image via the WordPress Block Editor
Interestingly, you can also resize a JPEG image using the default WordPress block editor. Follow the steps provided below to learn how to do that.
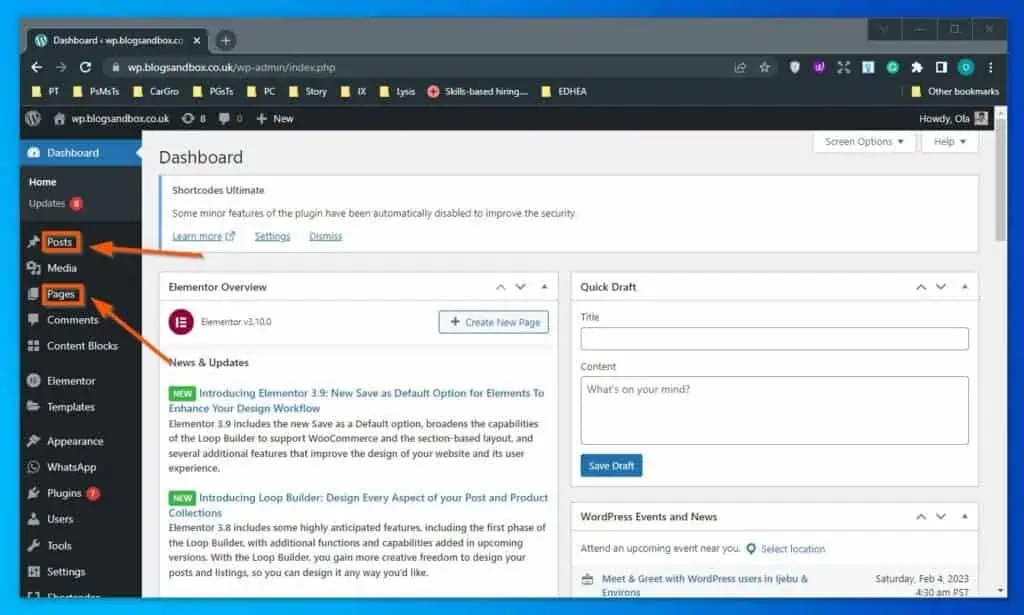
- Use an administrator account to log in to the backend dashboard of your WordPress website. Then, select Posts or Pages on the left pane, depending on where you want to resize a JPEG image.
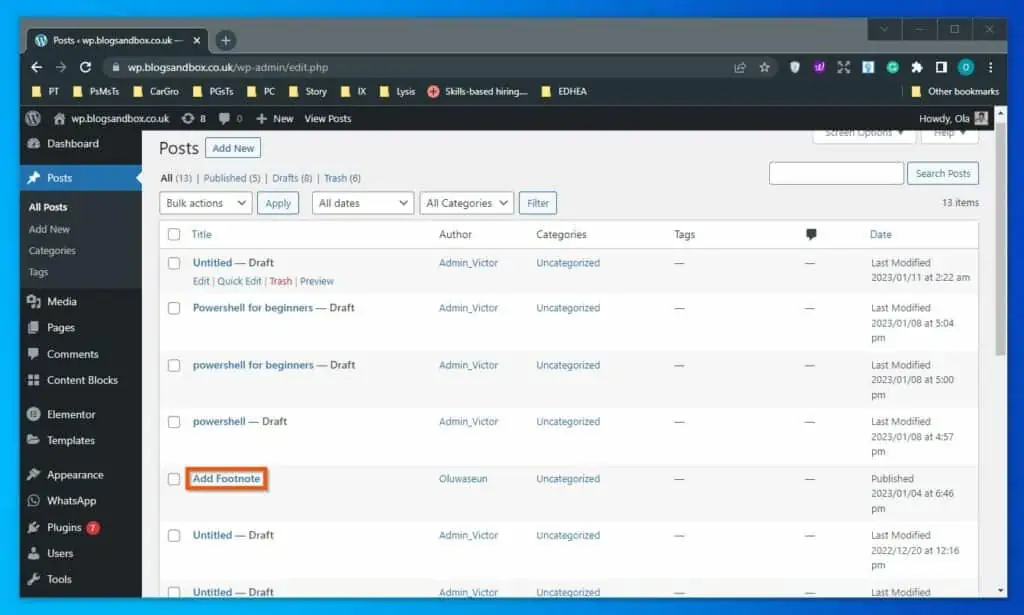
- Next, click the title of the post or page where you want to resize a JPEG image to open it. For this demonstration, we chose to open a post titled “Add Footnote.”
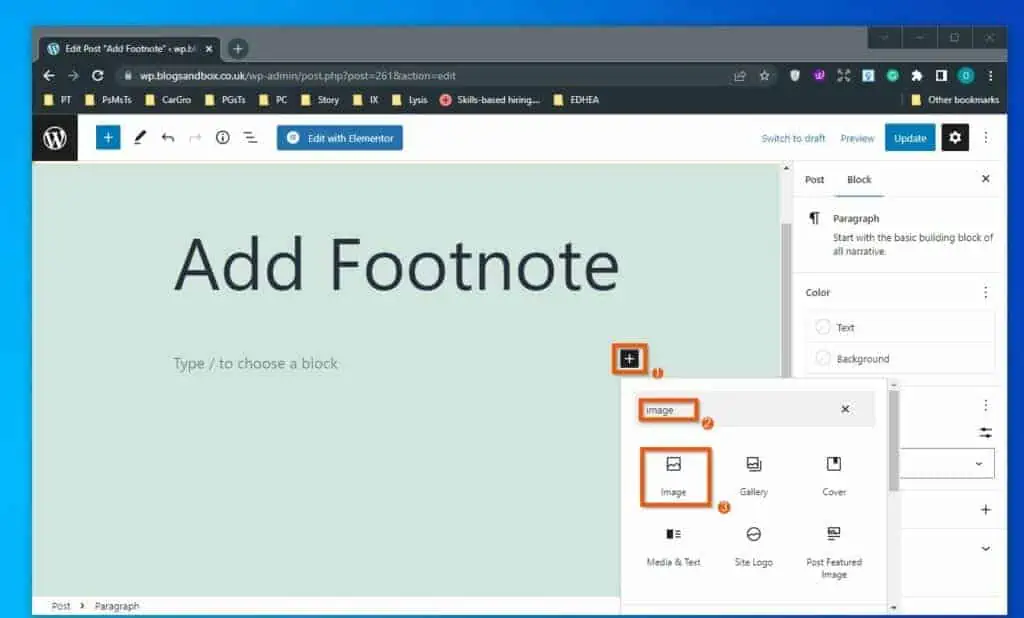
- Wait for the post or page to open, then click the Add block icon (+ sign) in the area where you want to upload the image you wish to resize. Afterward, input “image” in the search box and select the Image block from the search result.
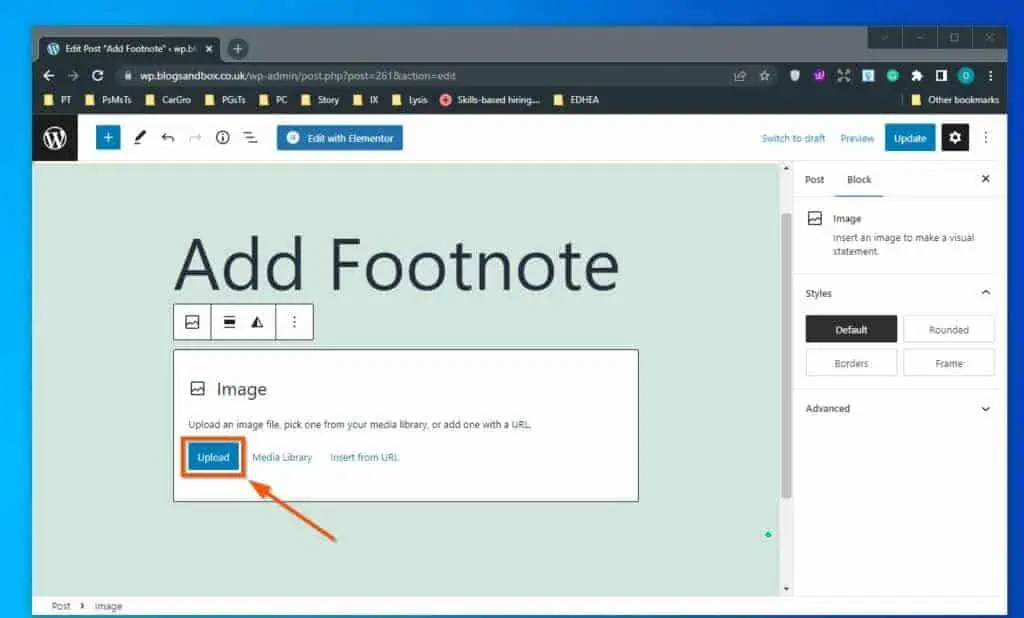
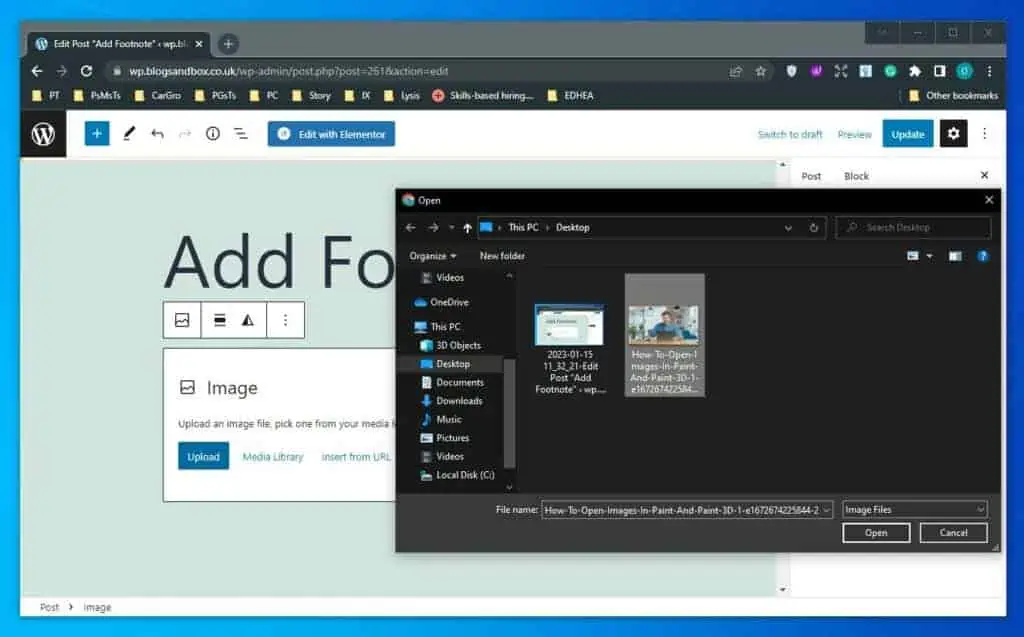
- After doing that, click the blue Upload button in the Image block.
- Consequently, the Open window will appear on your screen. Now, locate and double-click the image you want to upload in the Open window.
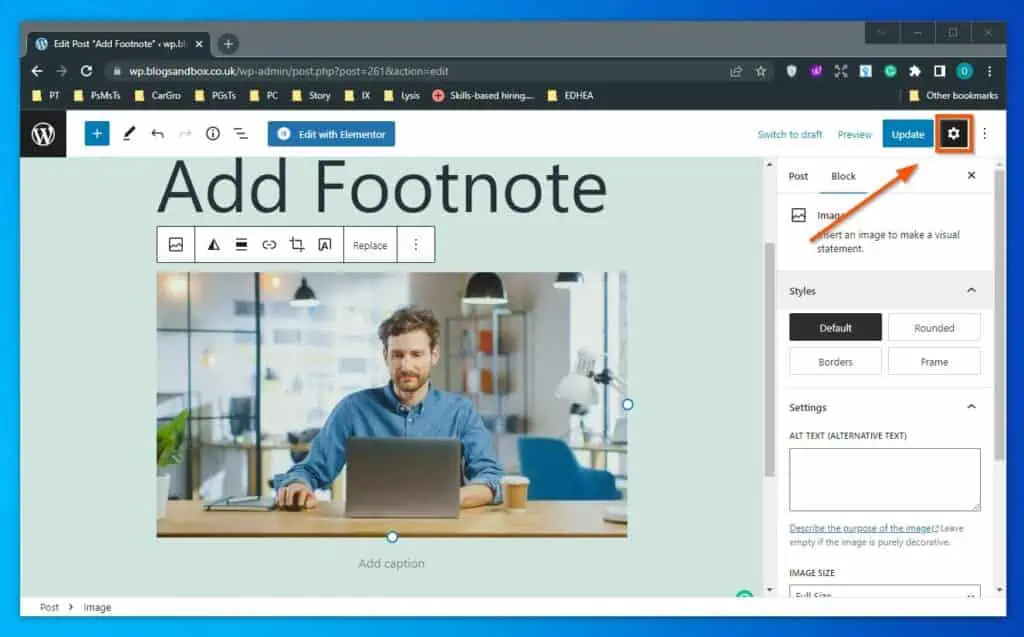
- After the image has been uploaded, select it. Then, click the Settings icon at the top right corner of the page and ensure the Block tab is selected.
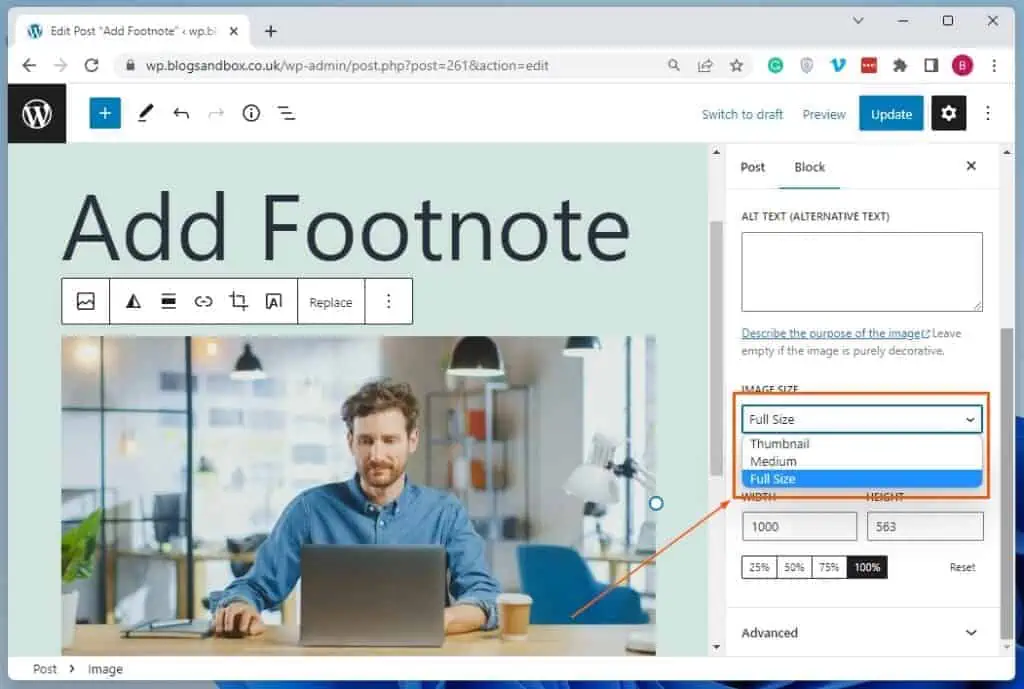
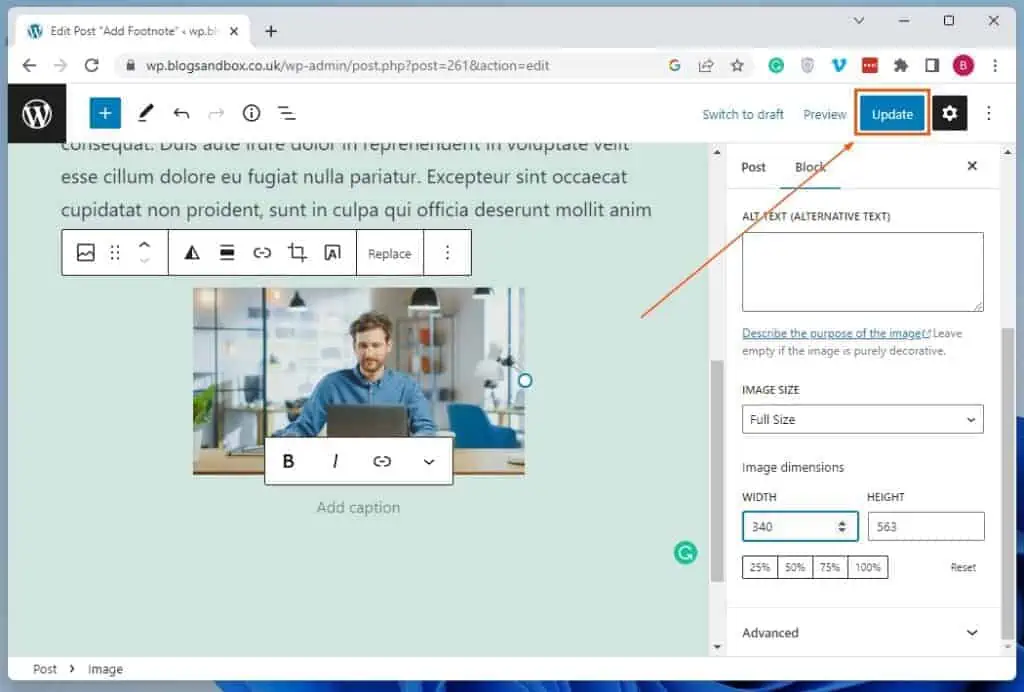
- In the Block tab, click the Image Size drop-down and select a new size for the selected image from the options that appear. Alternatively, input new width and height values in the Width and Height input boxes under Image dimensions to resize the selected JPEG image – see the second screenshot.
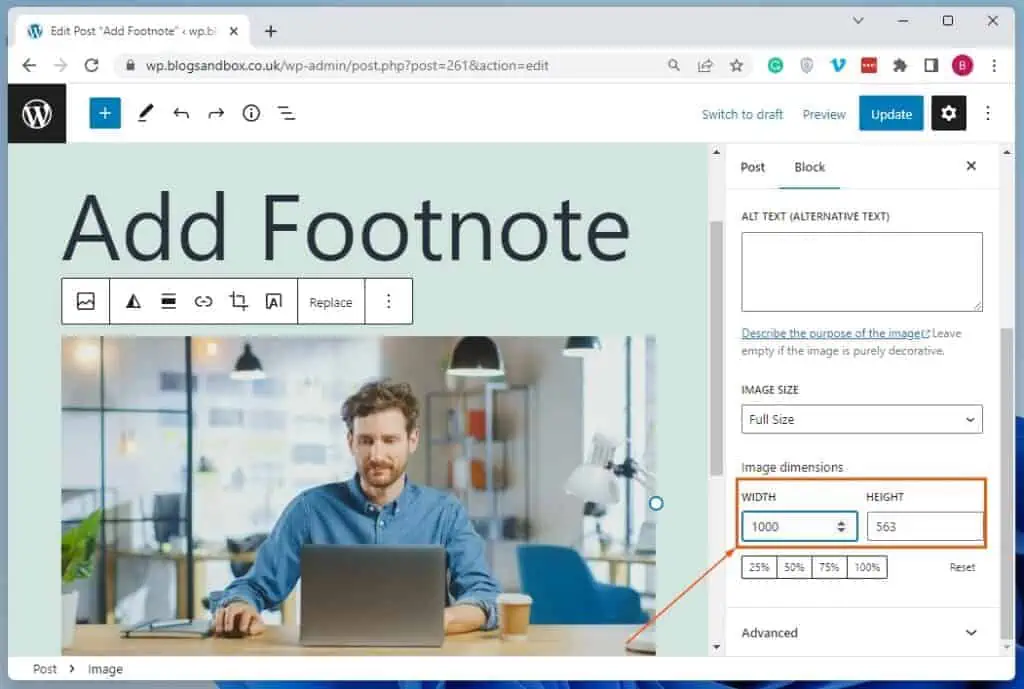
- Finally, click the Update button at the top right corner of the page to save the change.
Frequently Asked Questions
Yes, WordPress reduces image quality. To be more specific, WordPress reduces image quality by about 82% in order to improve site performance.
Yes, WordPress is totally free for developing websites or blogs. However, hosting a website developed using WordPress will cost you some money.
The maximum upload file size that WordPress supports is 192 MB.
The best image format for WordPress is JPEG or PNG.
Yes, you can upload JPEG images to WordPress. The WordPress Media Library is designed to support a variety of image file formats, including JPEG, PNG, SVG, and more.
Conclusion
Resizing images on your WordPress site is an important step in maintaining your website’s right look and feel. Fortunately, this guide has been able to demonstrate multiple ways to resize a JPEG image in WordPress.
Specifically, I explained two methods you can use to resize a JPEG image in WordPress in this guide. Hence, we learned how to perform this task through the built-in image editor in the WordPress media library.
I also provided steps to resize a JPEG image in WordPress via the default WordPress block editor.
I hope you found this WordPress guide interesting and helpful. If you did, click on “Yes” beside the “Was this page helpful” question below.
You may also express your thoughts and opinions by using the “Leave a Reply” form at the bottom of this page.
Finally, visit our WordPress & Websites How-To page for more guides like this.
![WordPress Lost Password Redirects to Page Not Found [Fixed]](https://www.itechguides.com/wp-content/uploads/2024/03/WordPress-Lost-Password-Redirects-to-Page-Not-Found-Fixed.webp)