Do you want to disable Xbox Game Bar on your Windows 11 PC but don’t know how? This guide teaches multiple methods to disable this feature in Windows 11.
Option 1: Disable Xbox Game Bar via Settings
The easiest way to disable Xbox Game Bar on your Windows 11 computer is through the Windows Settings app. The following procedures, including screenshot images, illustrate how to do that.
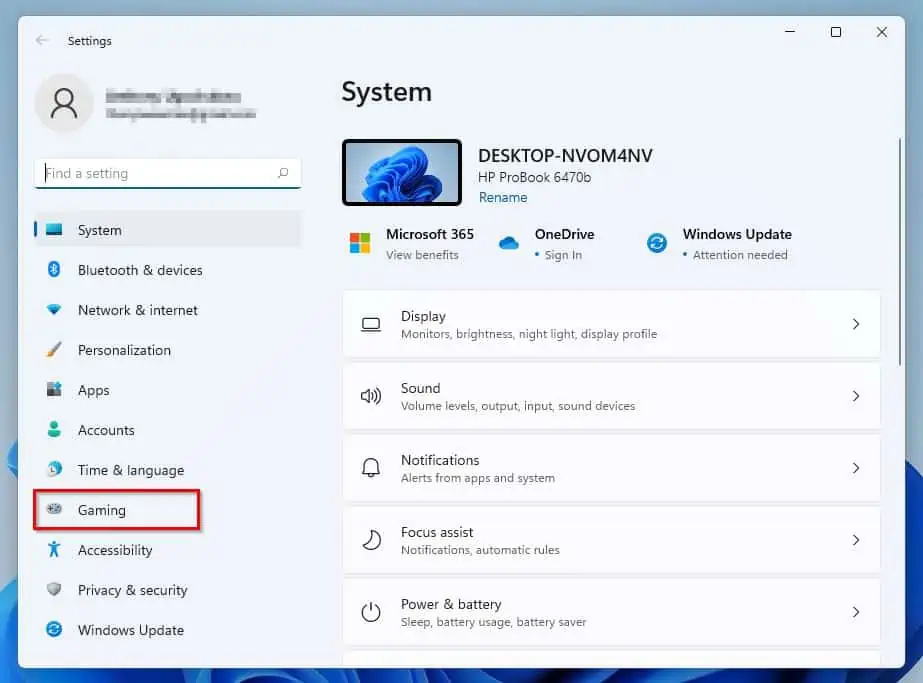
- Open the Windows Settings app in Windows 11 by right-clicking the Start menu button on the taskbar and selecting Settings. Alternatively, you can also open the Settings app in Windows 11 by using the Windows key + I keyboard shortcut.

- After opening the Windows Settings app, select Gaming on the left pane of the window.
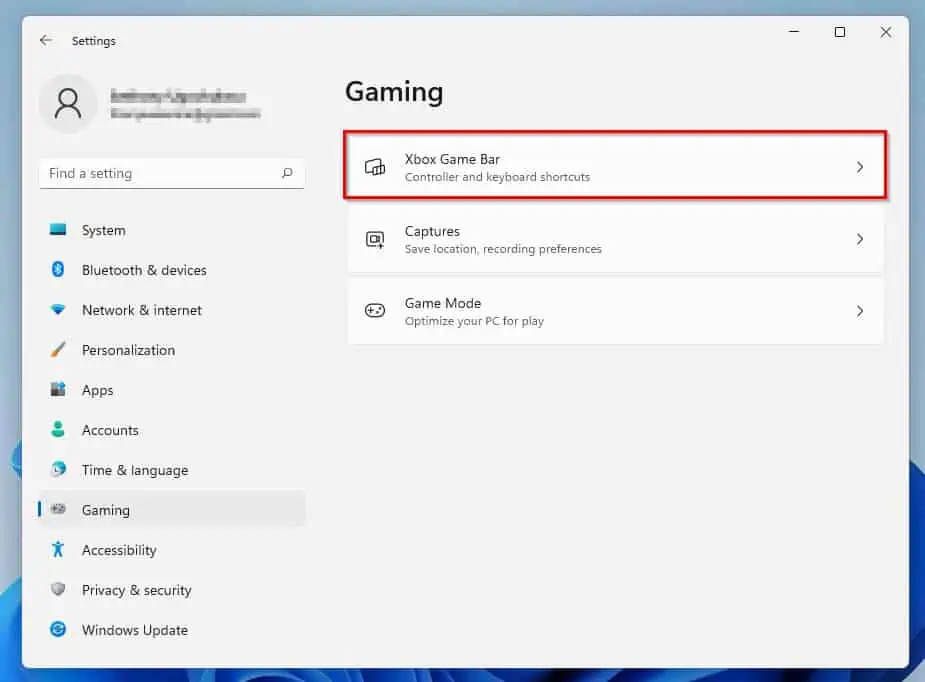
- Thereafter, select Xbox Game Bar on the right pane of the Settings window.
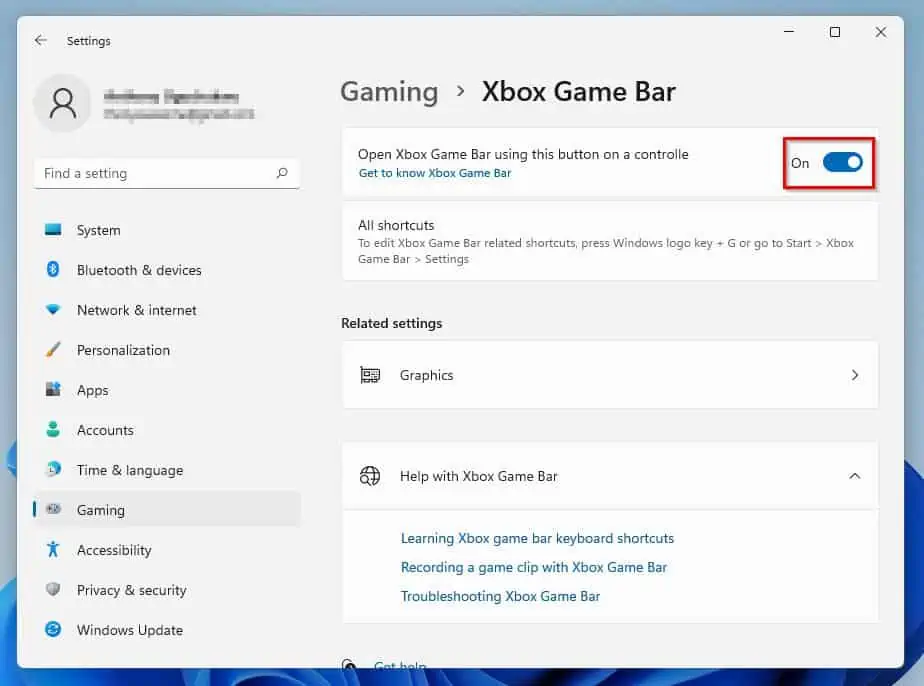
- Then, turn off the Open Xbox Game Bar using this button on a controller toggle.
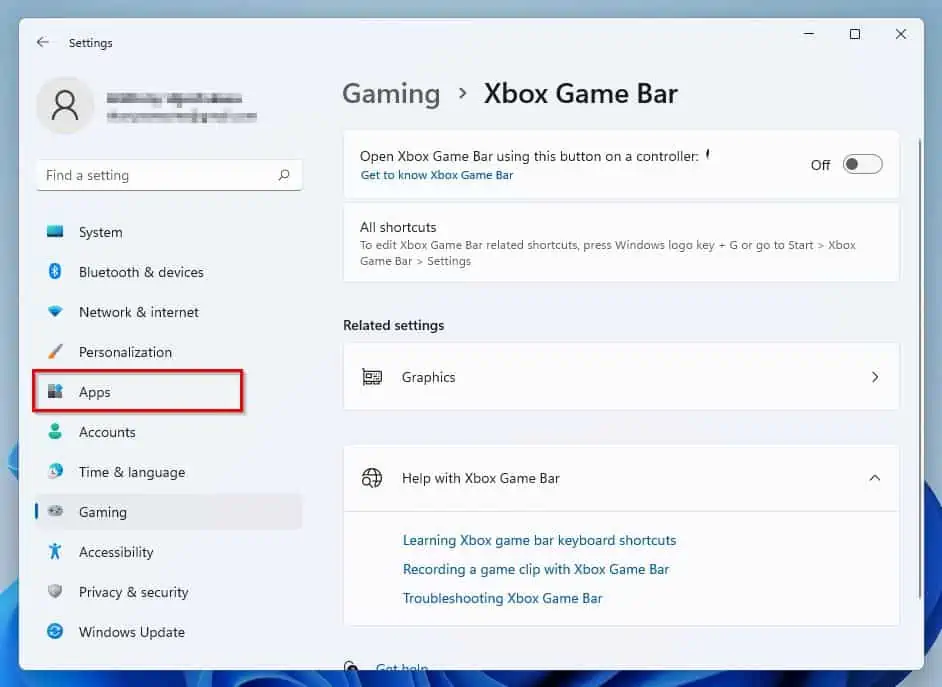
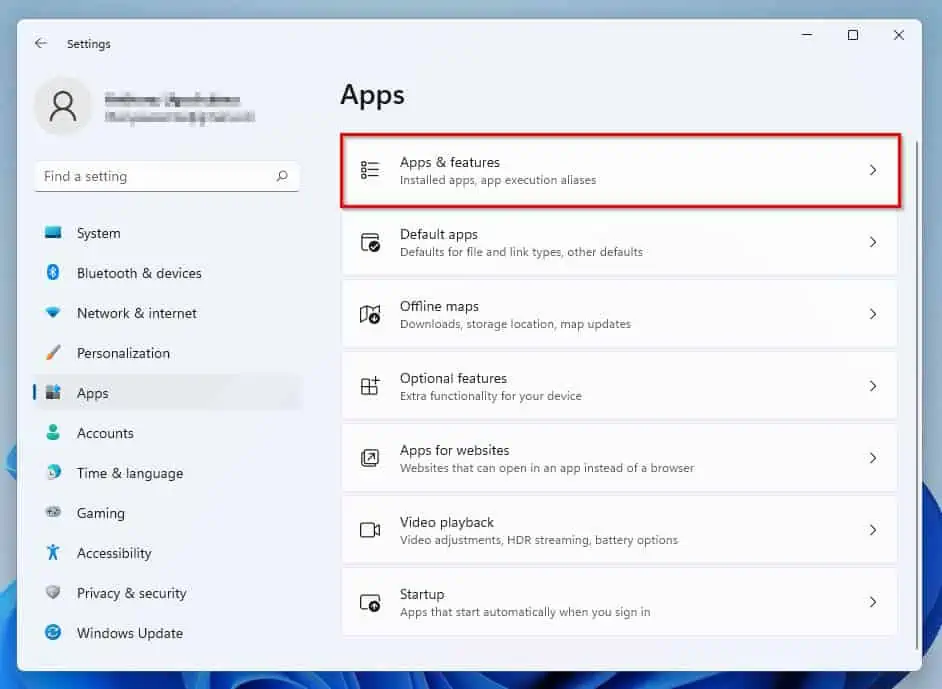
- After doing that, select Apps from the options on the left pane of the Settings window.
- Next, select Apps & features on the window’s right pane.
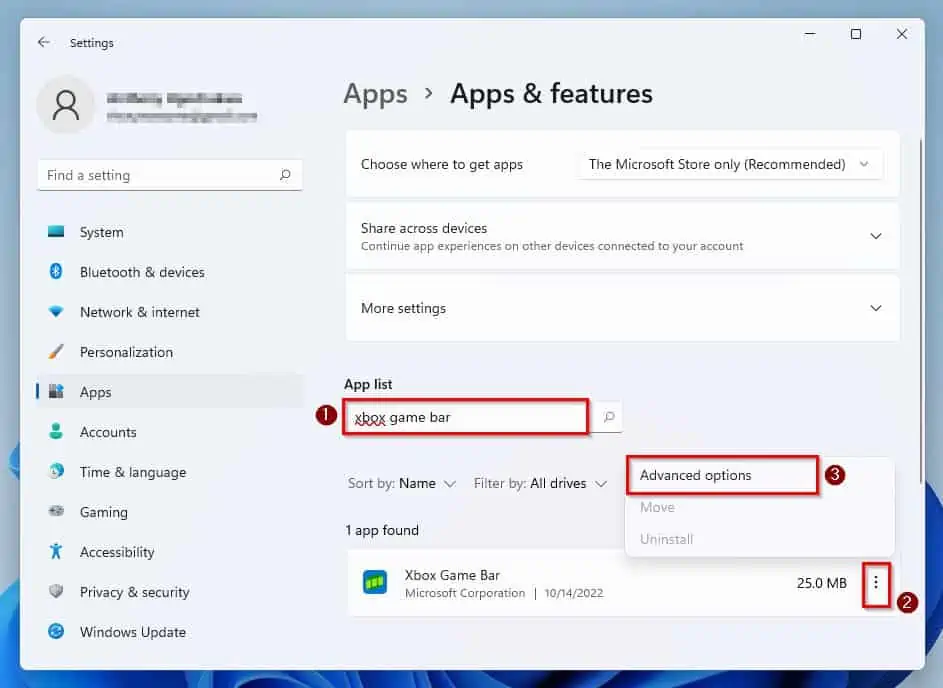
- After that, input “Xbox game bar” in the search box under App list. Then, from the search result, click the three vertical lines beside the Xbox Game Bar app and select Advanced options.
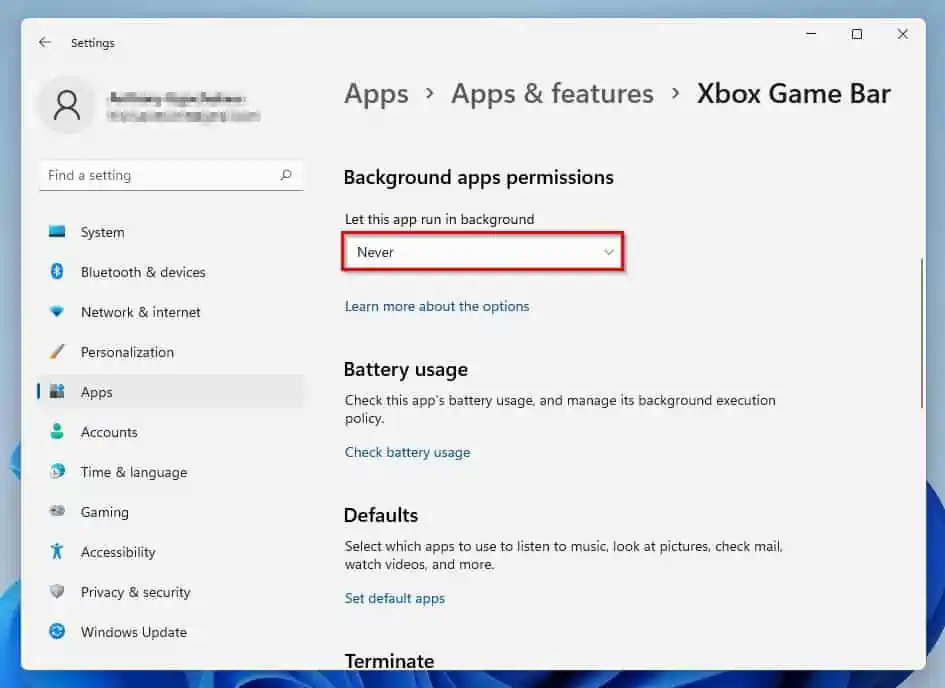
- Afterward, set the Let this app run in background drop-down to Never under the Background apps permissions category.
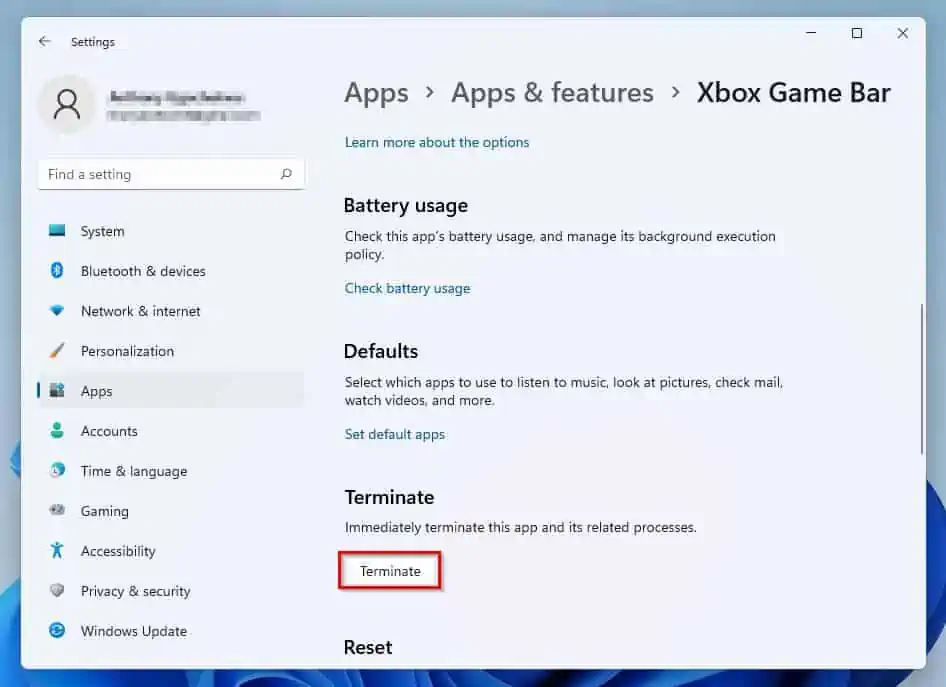
- Finally, scroll down and click the Terminate button.
Option 2: Disable Xbox Game Bar Through the Registry Editor
Do you know you can also disable Xbox Game Bar on your Windows 11 computer through the Registry Editor? Well, the subsequent procedures and screenshot images demonstrate how to do that.
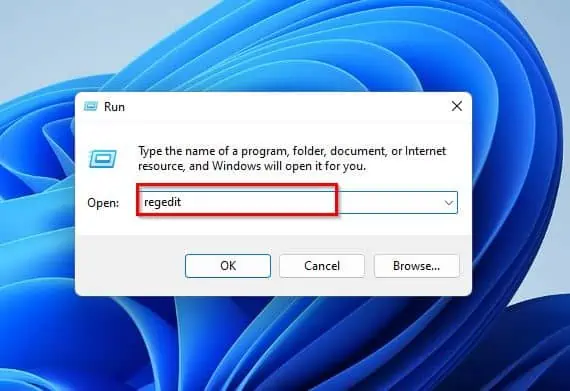
- Press the Windows + R keys on your keyboard simultaneously to open the Run dialog.

- After doing that, type “regedit” in the Run input field and press the enter key. Accordingly, a User Account Control prompt should appear on your PC’s screen requesting permission to allow the application to make changes to your computer– select Yes to proceed.
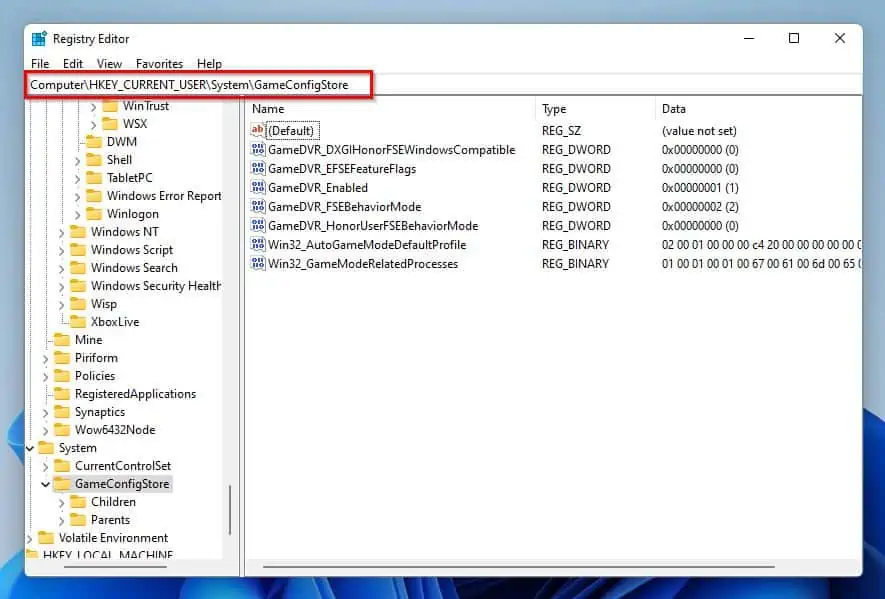
- When the Registry Editor app finally opens on your PC, navigate to the path below using the folder on the left pane. You can also copy and paste the path into the Registry Editor search box and press the enter key.
Computer\HKEY_CURRENT_USER\System\GameConfigStore
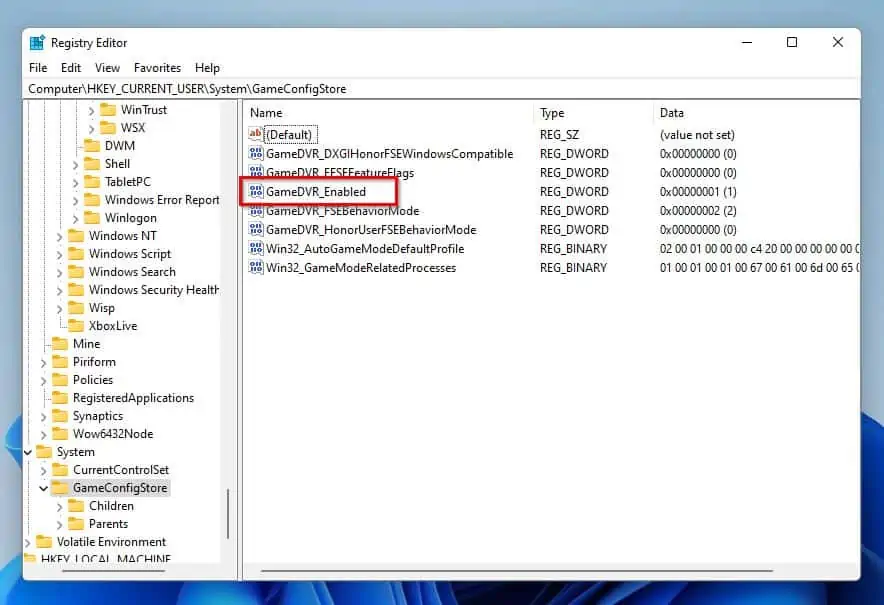
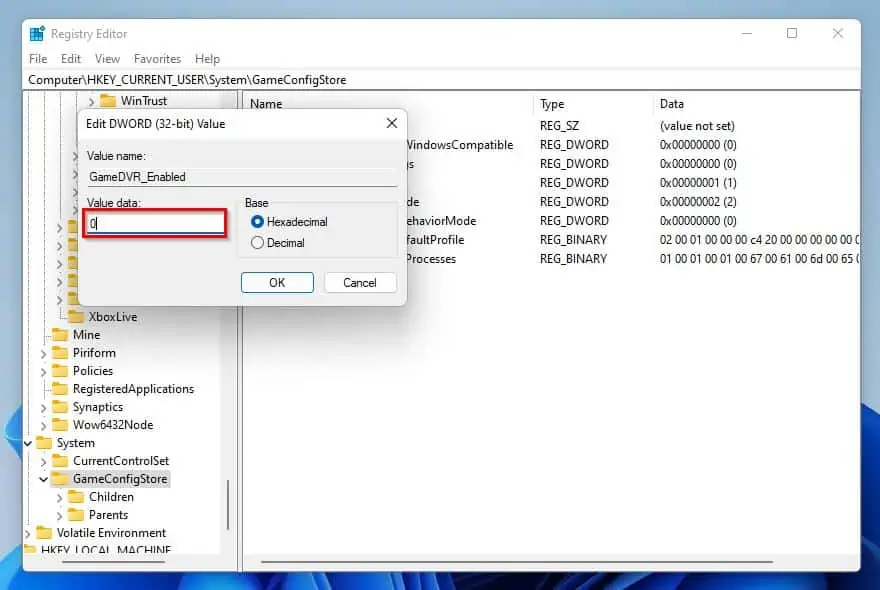
- Then, double-click the GameDVR_Enabled registry on the right pane to edit it. Hence, from the dialog box that appears, input “0” in the Value data box and press the enter key – see the second screenshot.
- After doing that, copy and paste the path below into the Registry Editor search box, then press the enter key.
HKEY_CURRENT_USER\SOFTWARE\Microsoft\Windows\CurrentVersion\GameDVR
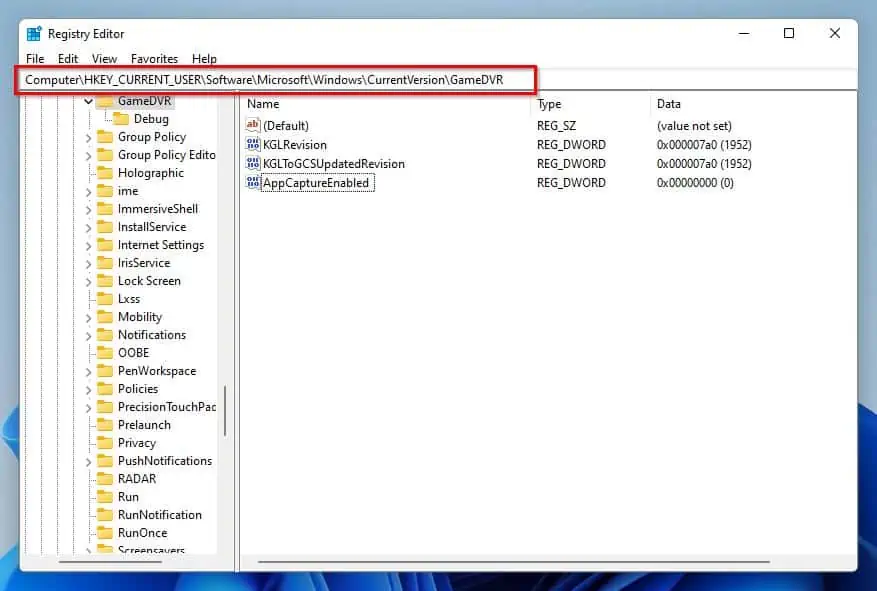
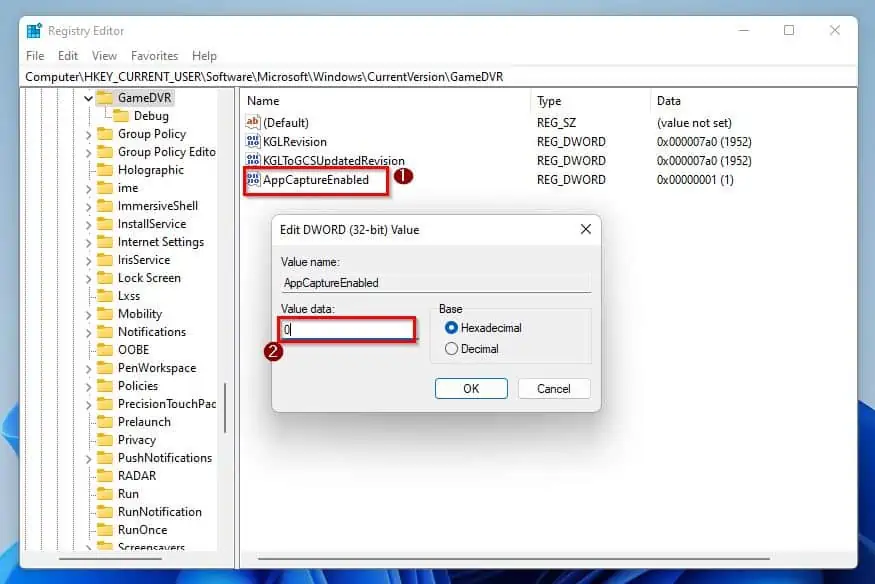
- Thereafter, double-click the AppCaptureEnabled registry on the right pane to edit it. Thus, from the dialog box that appears, set the Value data to “0” and press the enter key on your keyboard.
- Finally, restart your Windows 11 PC to effect the changes.
Option 3: Disable Xbox Game Bar Using the Local Group Policy Editor
You can also disable the Xbox Game Bar on your Windows 11 computer through the Local Group Policy Editor. However, you need to know that the Home edition of Windows 11 doesn’t feature Local Group Policy Editor.
Hence, you can only implement this method if you are using Windows 11 pro and above. So, follow the procedures below to disable the Xbox Game Bar in Windows 11 using Local Group Policy Editor.
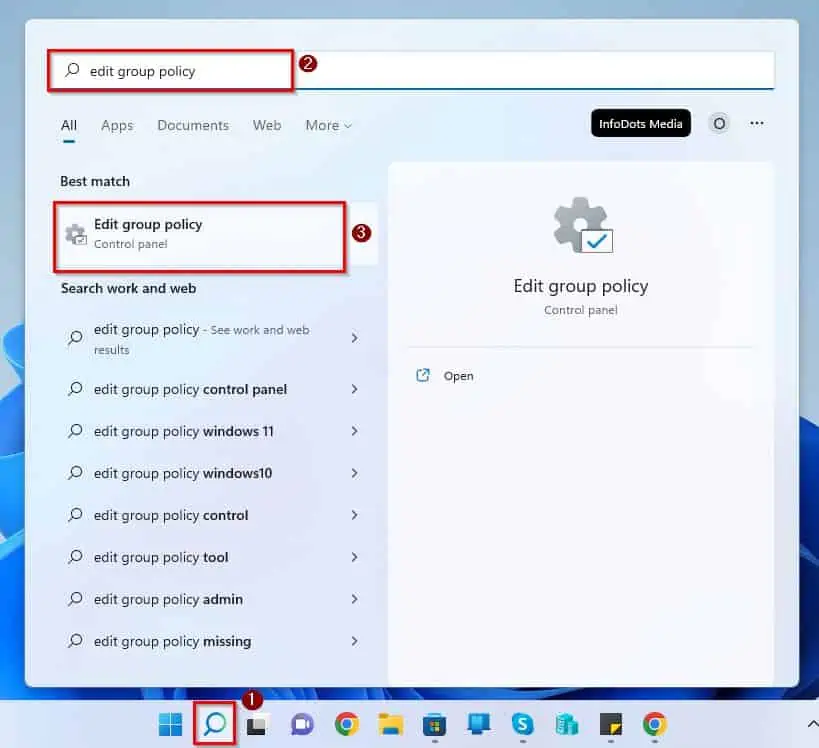
- Click the Search button on the taskbar, then type “edit group policy” and select Edit group policy under Best match.
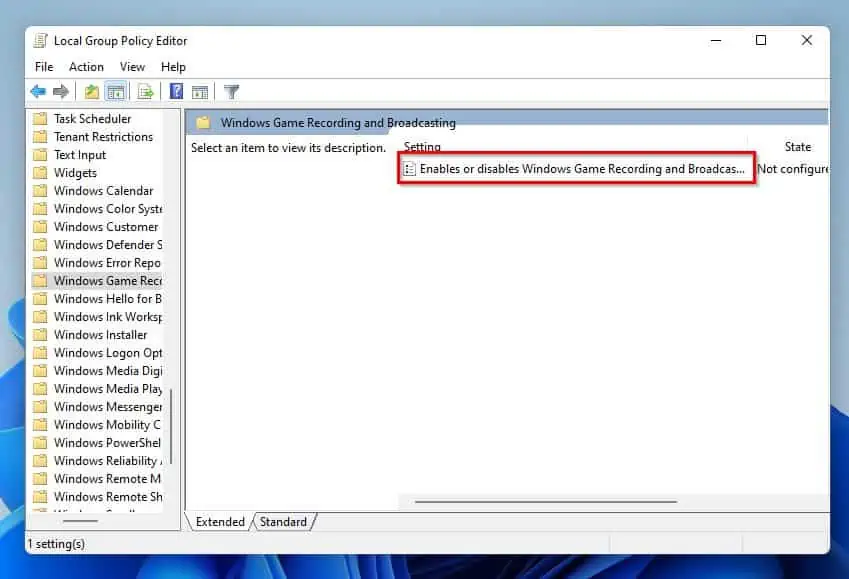
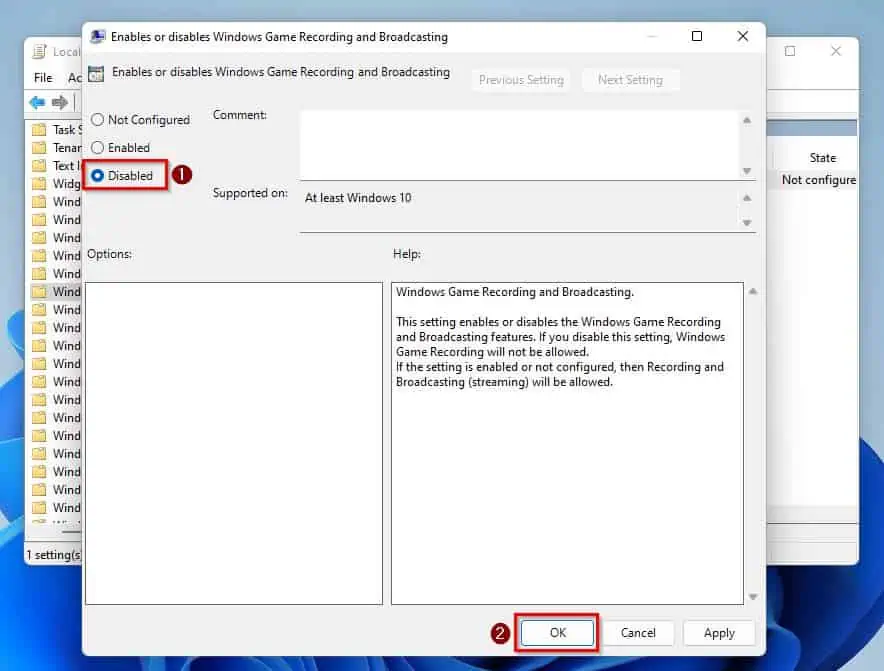
- When Local Group Policy Editor opens, navigate to the location below using the folders on the left pane. Then, double-click Enables or disables Windows Game Recording and Broadcasting on the right pane.
Computer Configuration ➜ Administrative Templates ➜ Windows Components ➜ Windows Game Recording and Broadcasting
- After that, select Disabled from the window that appears. Then, click the OK button at the bottom of the window to save the change.
- Finally, close the Local Group Policy Editor and reboot your Windows 11 computer.
Frequently Asked Questions
Xbox Game Bar is a feature that comes with Windows OS. It allows users to make screenshots and videos while playing computer games.
The keyboard shortcut to open the Xbox Game Bar while playing a PC game is the Windows key + G.
Absolutely, the Xbox Game Bar works with most PC games, including FIFA 22.
Yes, the Windows 11 operating system comes with the Xbox Game Bar.
Xbox, a video game brand, is owned by Microsoft.
Conclusion
The Xbox Game Bar is a feature specifically targeted at PC gamers for making screenshots and videos while gaming. Furthermore, this feature comes with the Windows operating system.
However, non-gaming Windows users or Windows users with low-end PCs don’t need Xbox Game Bar as it consumes resources. Fortunately, this guide included multiple methods to disable Xbox Game Bar in Windows 11.
To be specific, we learned how to disable the feature through Windows Settings and Registry Editor. Not just that, this guide also taught us to disable the feature via Local Group Policy Editor.
Hopefully, you found this guide helpful. If you did find it helpful, click on “Yes” beside the “Was this page helpful” question below.
You may also express your thoughts and opinions by using the “Leave a Comment” form at the bottom of this page.
Lastly, visit our Windows 11 How-To page to find more Windows 11 how-to guides.


