Is the Chrome browser on the Windows 10 computer constantly crashing? Worry less; this guide provides possible solutions to this problem.
Solution 1: Delete the Google Folder
A proven solution to fix Chrome if it keeps crashing in Windows 10 is to delete the Google directory folder on the PC. To perform this task, follow the procedures and screenshots below.
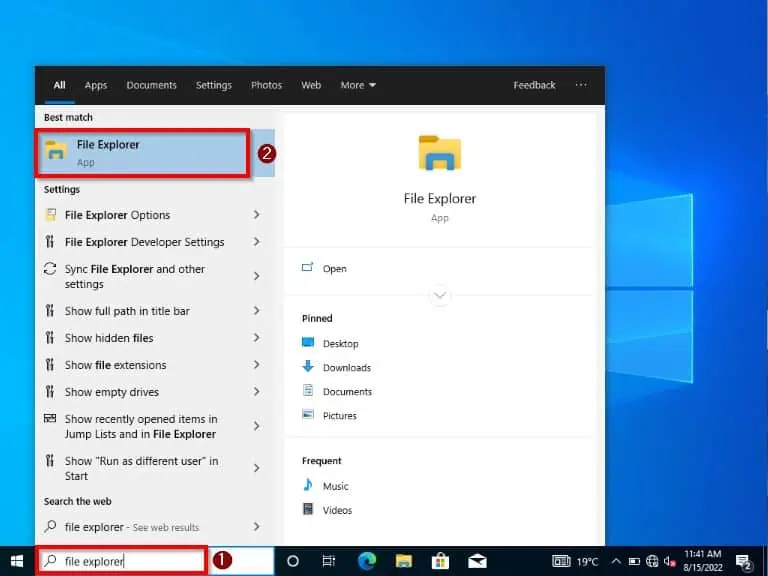
- Click the Windows 10 search field on the taskbar and type “File explorer”. Then, select the File explorer app from the search result.
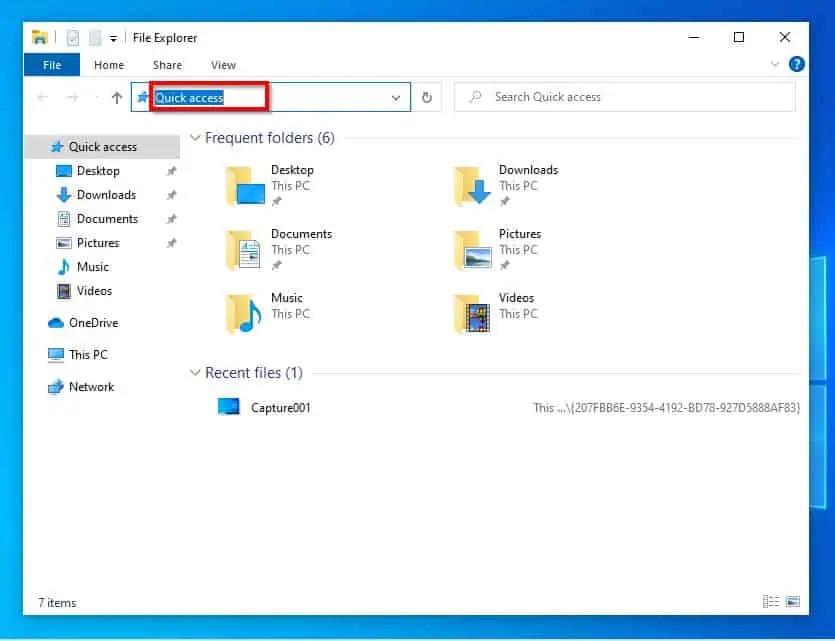
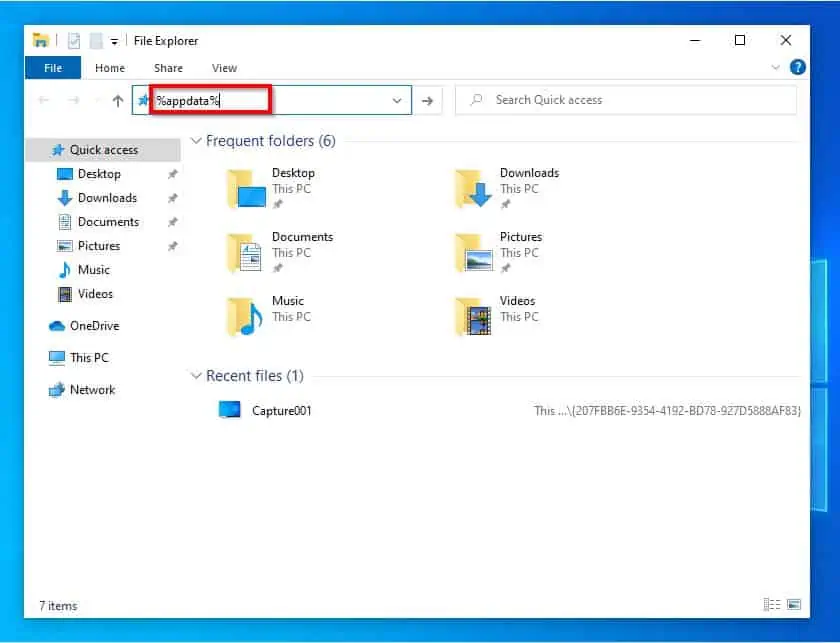
- After that, erase “Quick access” on the left search field above. Then, replace it with “%appdata%” (without the quotes) and press Enter on your keyboard.
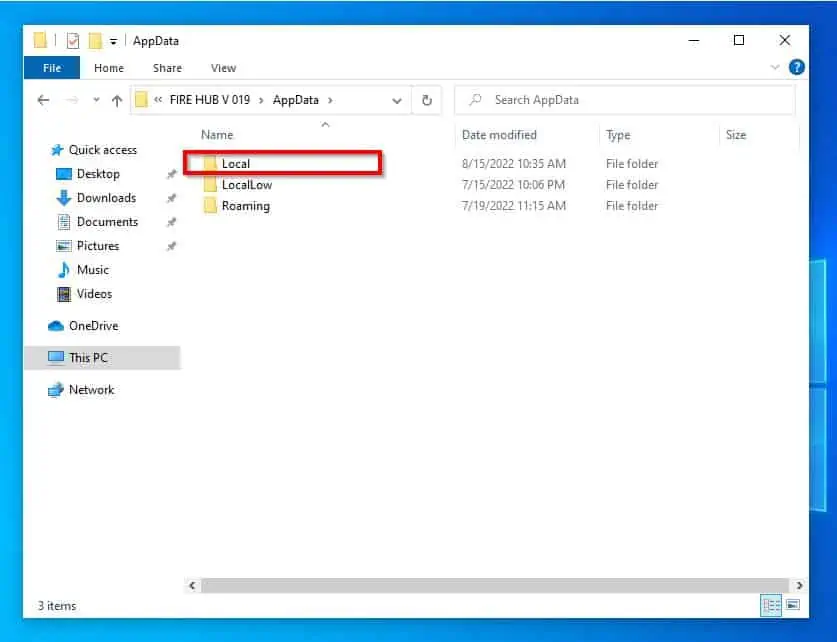
- Once you have done that, click the up arrow beside the left search field. Alternatively, you can press the Alt + Up Arrow keys on your keyboard.
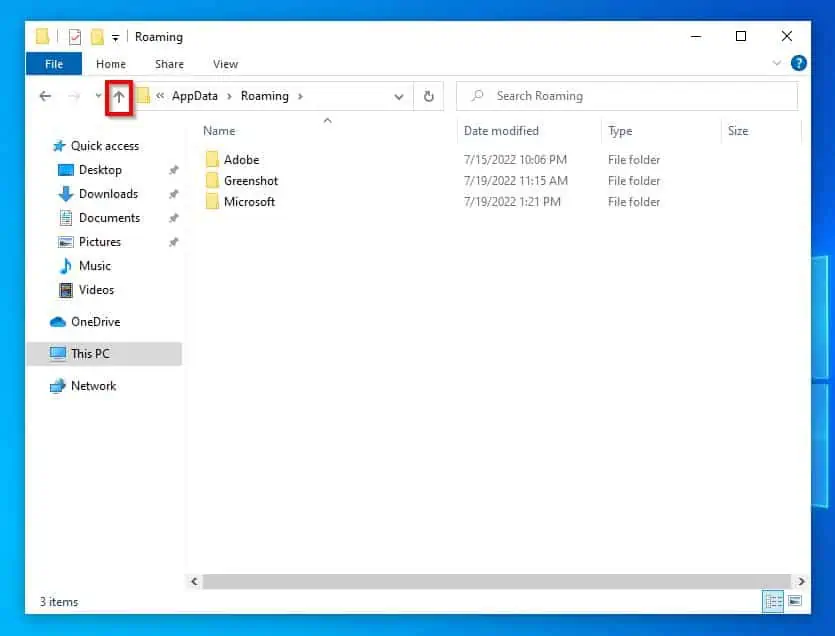
- Then, double-click the Local folder.
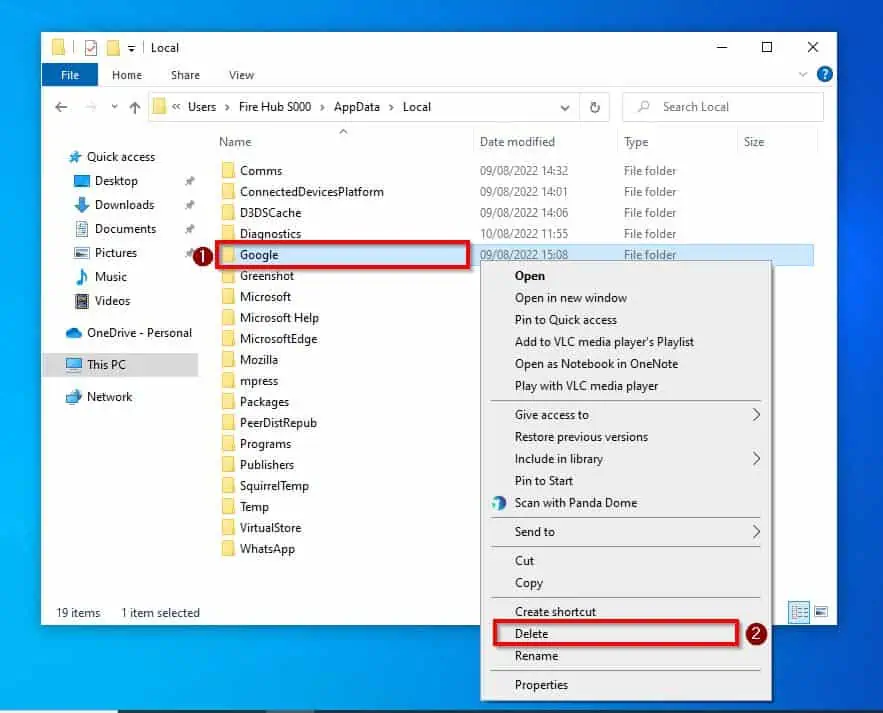
- Following that, right-click the Google folder and select Delete.
After doing all that, the Chrome browser on your Windows 10 PC should reset and stop crashing. However, if Chrome continues crashing, try the other solution below.
Solution 2: Uninstall and Re-installing Chrome
Another way to fix this problem is to uninstall and re-install the Chrome browser. To do that, follow the steps below.
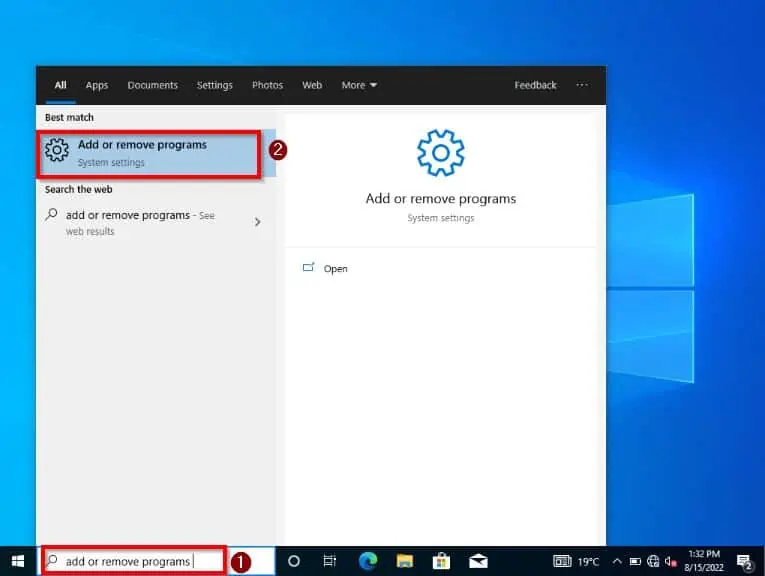
- Click the search field on the Windows 10 taskbar and type “add or remove programs”. Then, select the Add or remove programs settings from the search result.
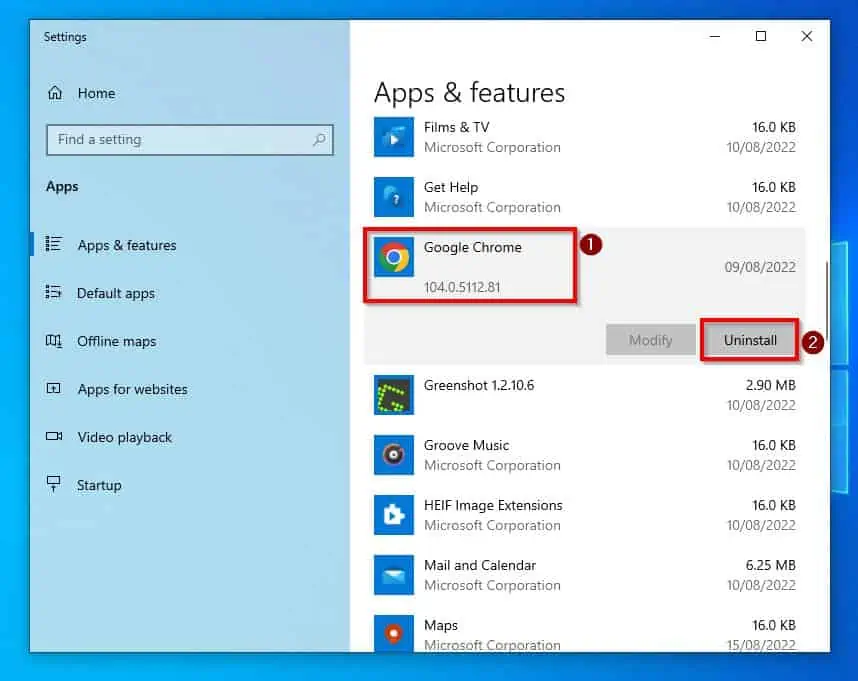
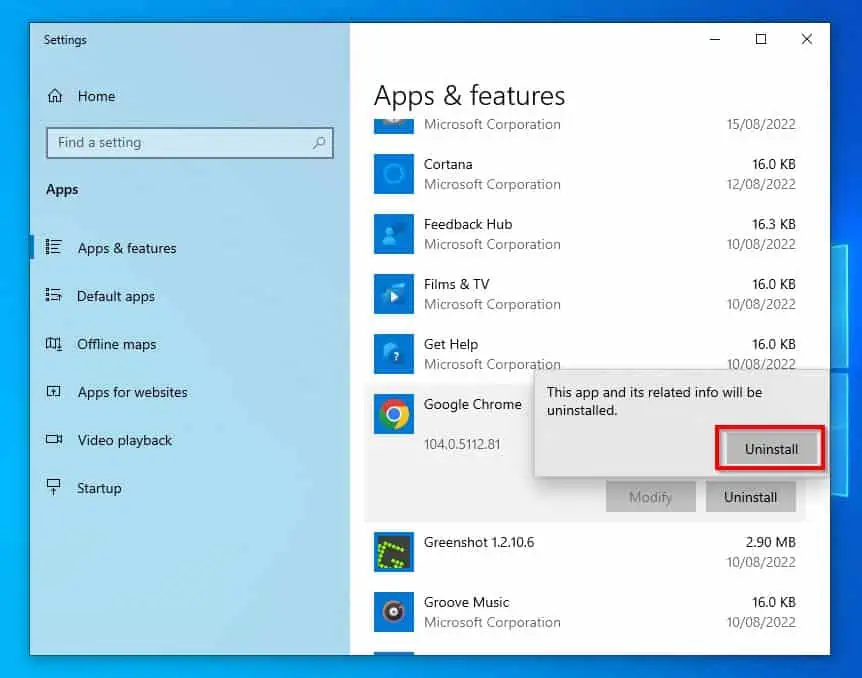
- After that, click on the Chrome app under the Apps & features category and select Uninstall.
- Once you have done that, a message will pop up saying, “This app and its related info will be uninstalled” – click Uninstall to proceed.
- Then, you will receive a User Account Control prompt asking if you want to allow the app to make changes to your device – select Yes to continue.
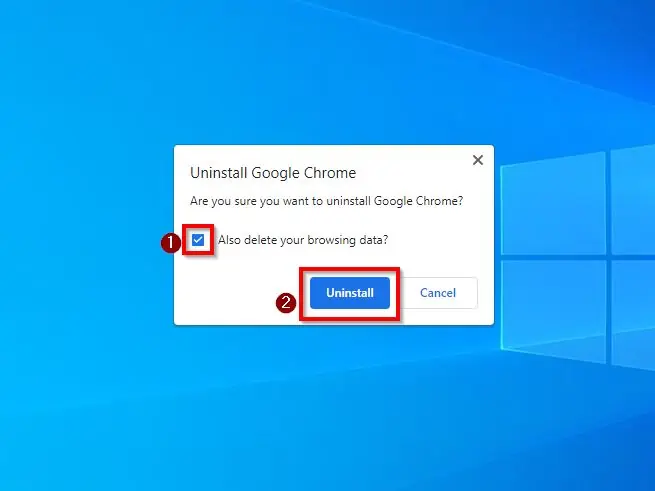
- Following that, a small Uninstall Google Chrome window will appear asking if you are sure you want to uninstall Google Chrome. Make sure the Also delete your browsing data box is checked before selecting Uninstall to proceed with the process.
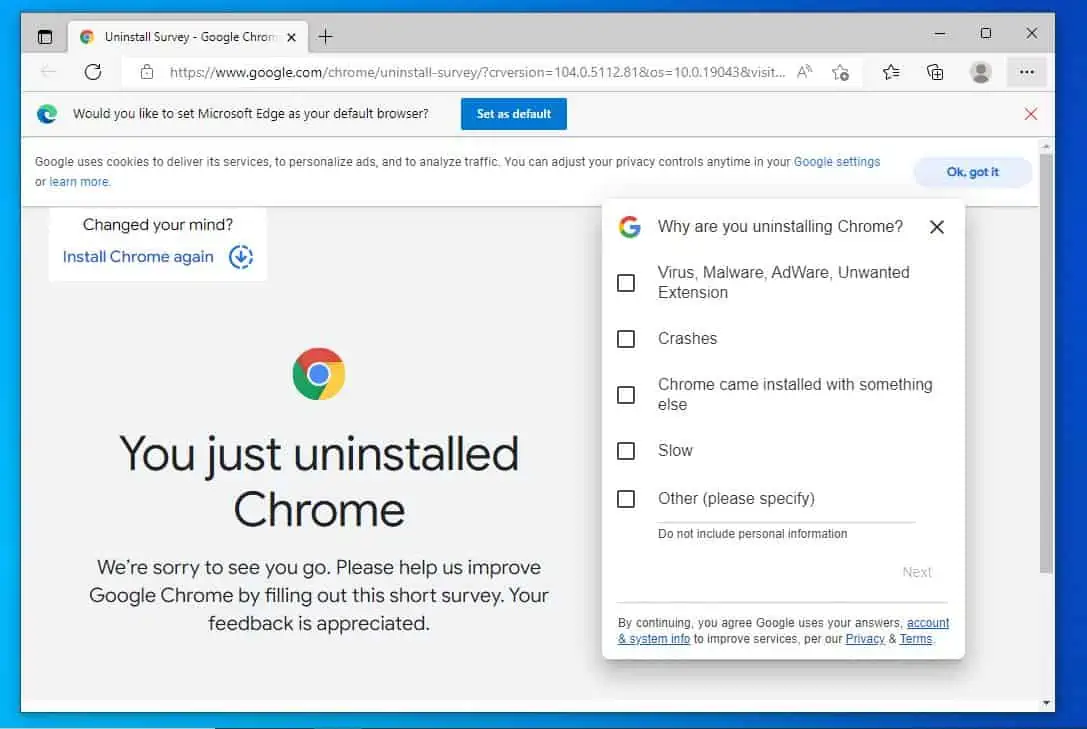
- After doing that, Google Chrome should be uninstalled on your Windows 10 PC. Hence, the Chrome Uninstall Survey web page should automatically open on your computer’s Edge (Explorer) browser.
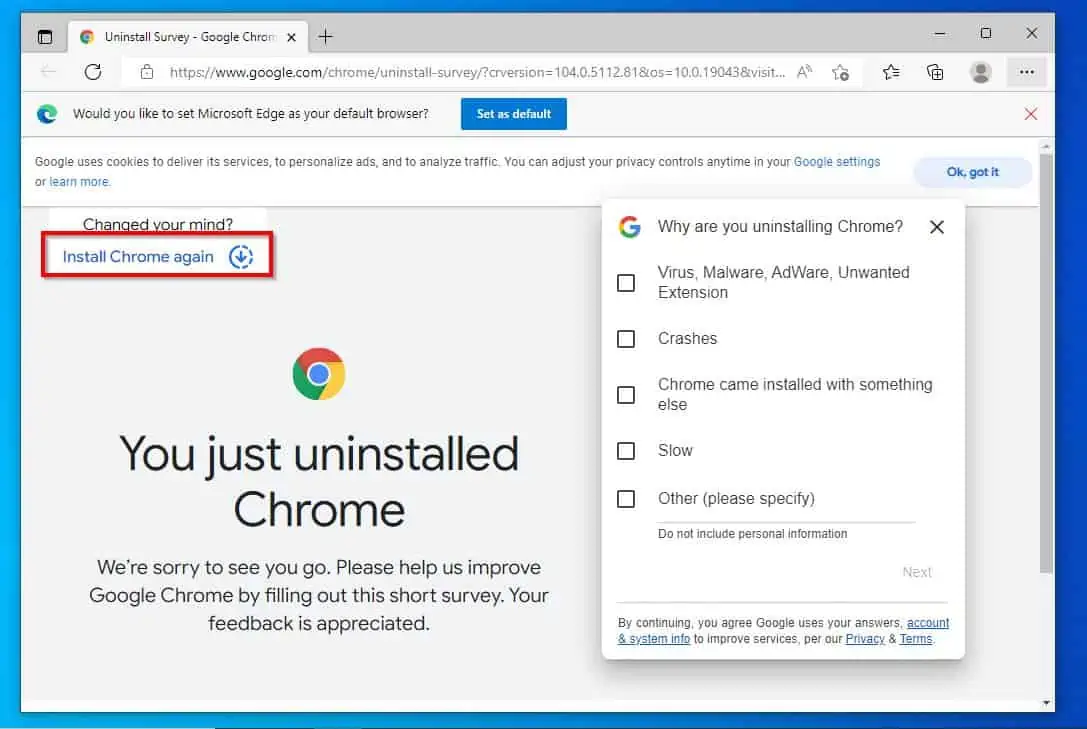
- Then, click Install Chrome again on the web page.
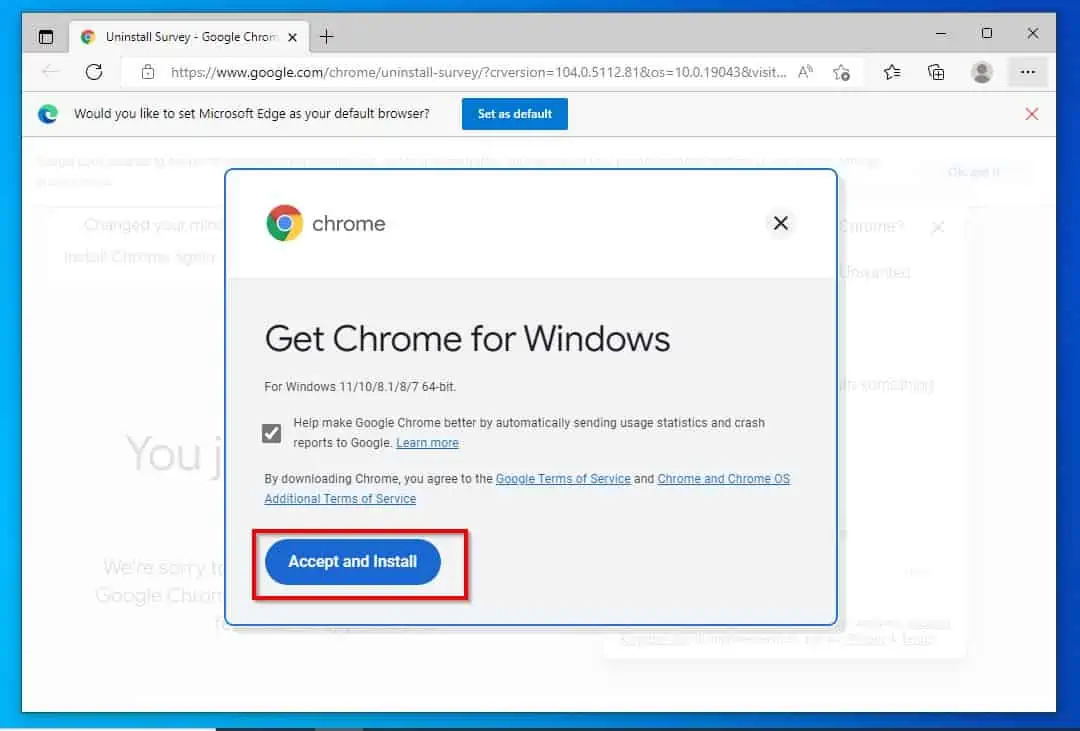
- After that, click Accept and Install.
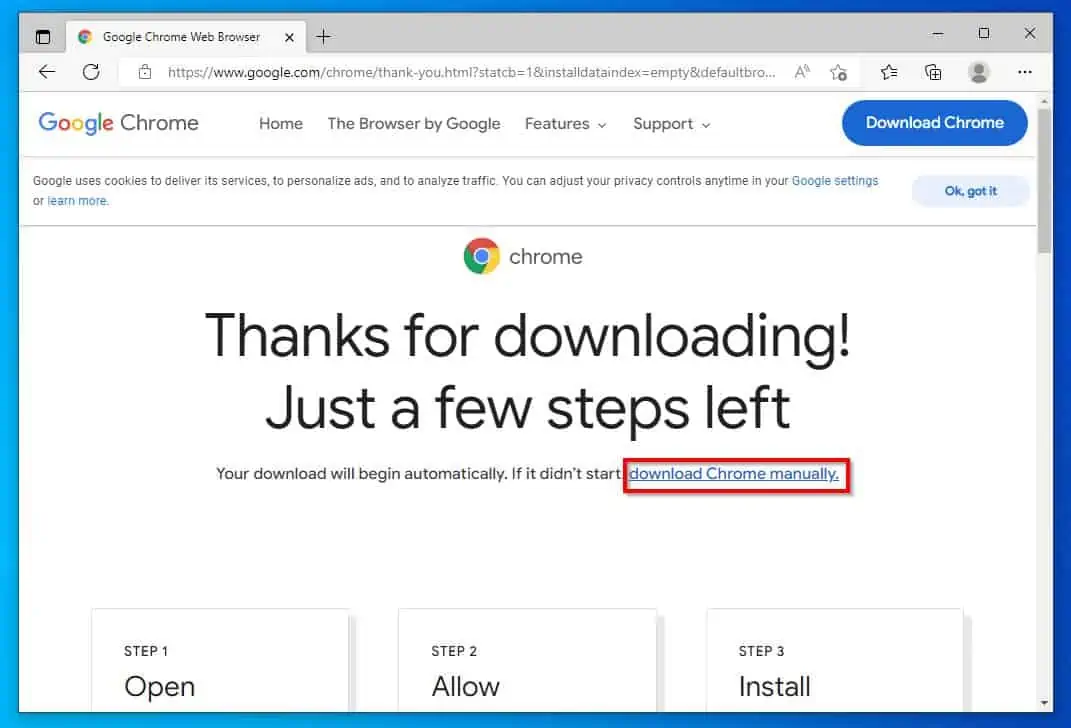
- Then, the Chrome browser installation file should automatically start to download on your PC. However, if it doesn’t start downloading after a few seconds, you can click download Chrome manually to start the download manually.
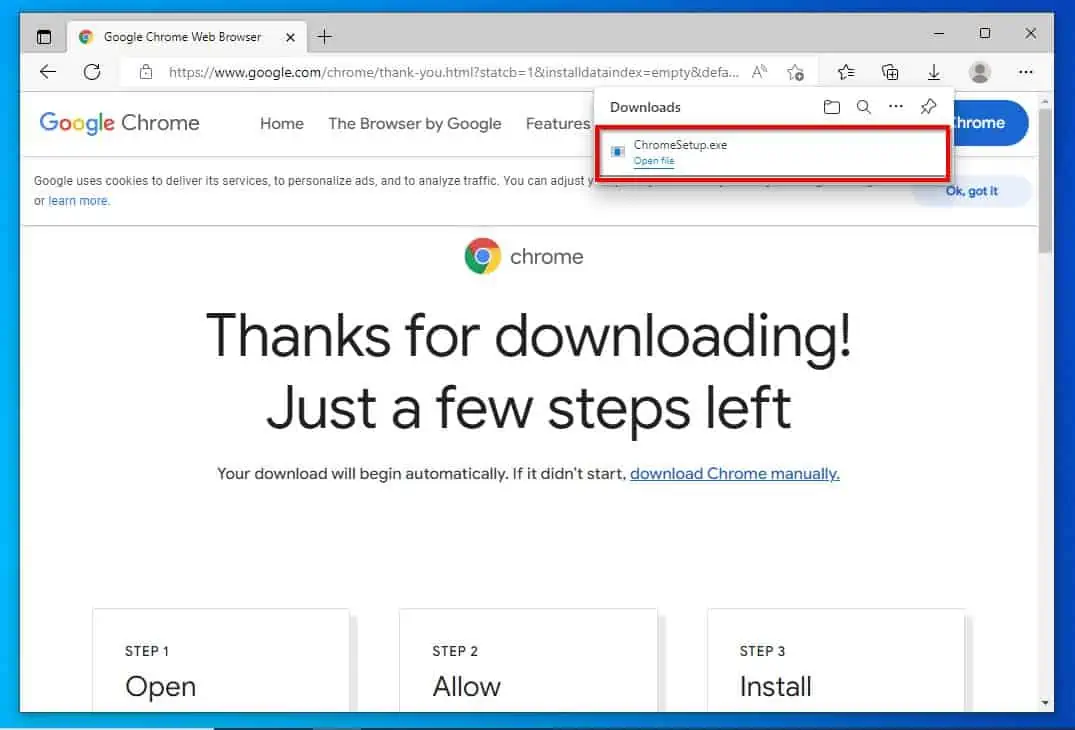
- After that, the ChromeSetup.exe file will begin downloading on your PC. When it has been downloaded, click the file on the Downloads category to start the installation process.
- Then, a User Account Control prompt will appear requesting if you want to allow the app to make changes to your computer. Click Yes to continue.
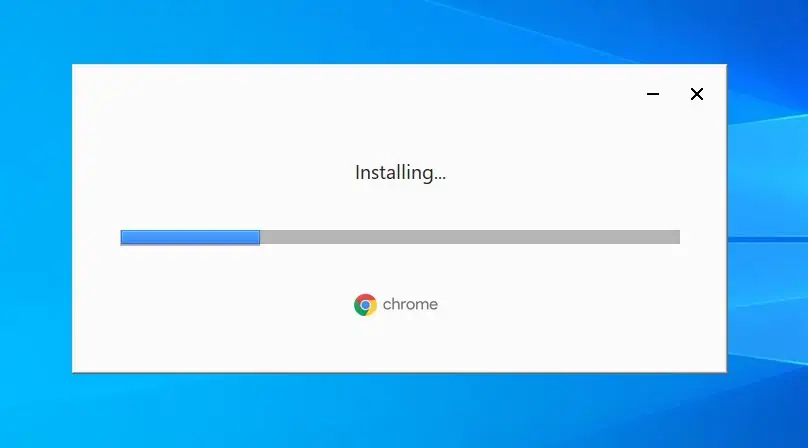
- After that, Chrome should begin downloading on your Windows 10 computer.
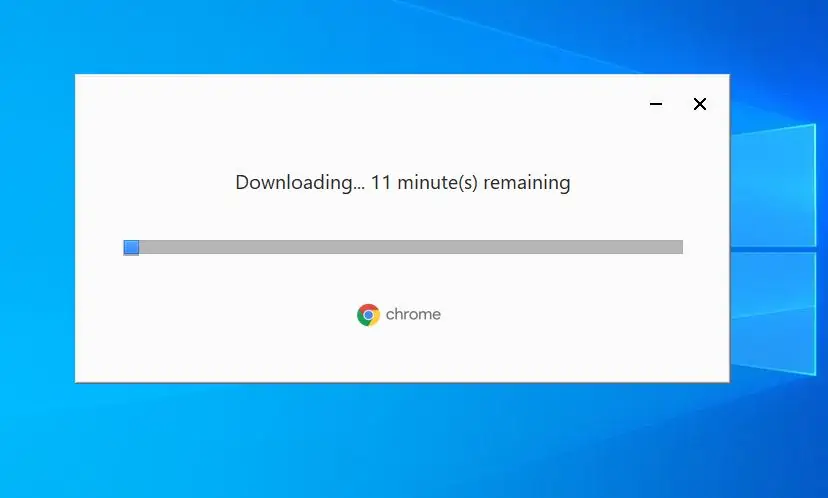
- After downloading, the Chrome browser should automatically install and open on your computer. Hopefully, that fixes the crashing issue.
Frequently Asked Questions
To clear the cache in Chrome on your Windows 10 PC, follow the steps below.
a) Press Ctrl + Shift + Del keys on your keyboard.
b) Then, choose the Time range and make sure the Cached images and files box is checked.
c) After that, click Clear data.
Chrome was released in 2008.
Follow the steps below to reset your Chrome browser in Windows 10.
a) Open your Chrome browser.
b) Click the menu button (three vertical dots) at the top right corner.
c) Then, select Settings from the options that appear.
d) After that, click Reset and clean up on the left pane.
e) Select Restore settings to their original defaults.
f) Click Reset settings.
Absolutely! Google Chrome is, by all means, a secure and safe browser.
In fact, this browser comes with features like Google Safe Browsing. This feature protects users by displaying a warning when they attempt to navigate through dangerous sites or download harmful files.
Google owns Chrome.
Conclusion
The Chrome browser on your Windows 10 PC constantly crashing is an annoying experience. Hopefully, this problem will be resolved with the fixes provided in this guide.
To be more specific, I provided two solutions to fix this problem in this guide. The first solution is to delete the Google folder on the computer.
Meanwhile, the second solution involves uninstalling and re-installing the Google Chrome browser.
I hope you found this guide helpful. If you did, click on “Yes” beside the “Was this page helpful” question below.
You may also express your thoughts and opinions by using the “Leave a Comment” form at the bottom of this page.
Finally, you may find our other Windows 10 Fix-it guides helpful.