Sharing folders allows you to grant access to resources over the network. Learn the three common methods to perform this task in Windows 10.
Option 1: Share Folders From the Folder Properties
This is the easiest way to share a folder in Windows 10 is from Folder Properties, Sharing tab.
Here are the steps:
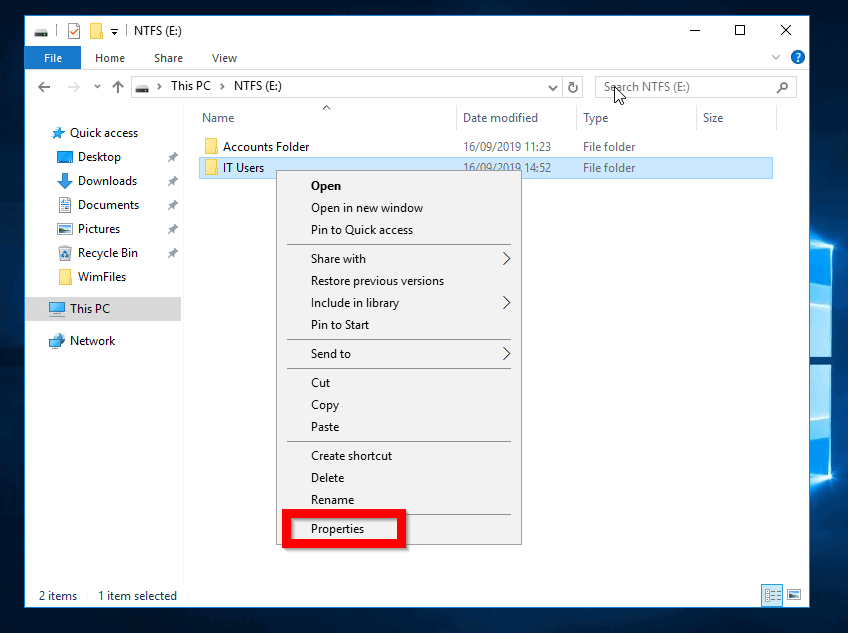
- Right-click the folder you want to share and select Properties.
- When the folder properties opens, click the Sharing tab.
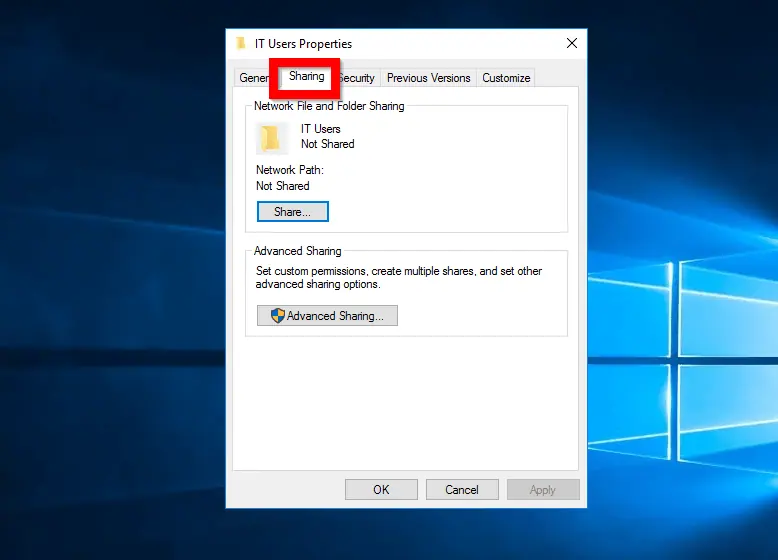
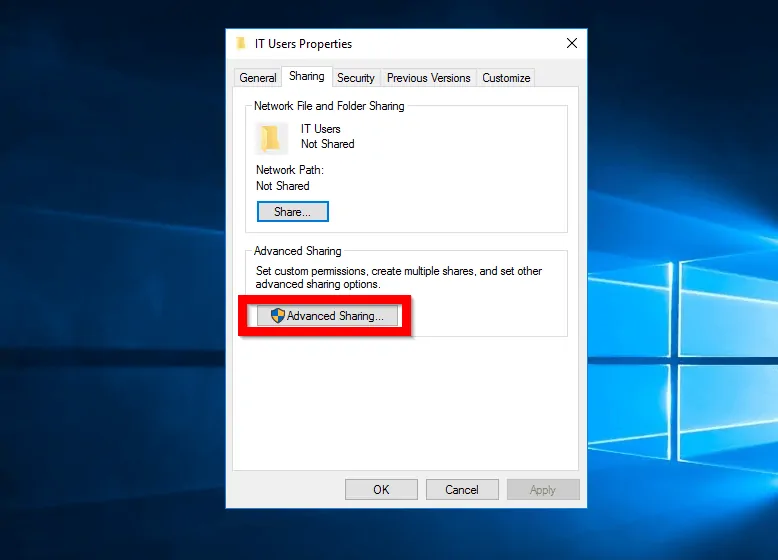
- From the Sharing tab, you have two options: Click Share or Advanced Sharing. For this guide I will demo how to share a folder with Advanced Sharing options. Click Advanced Sharing.
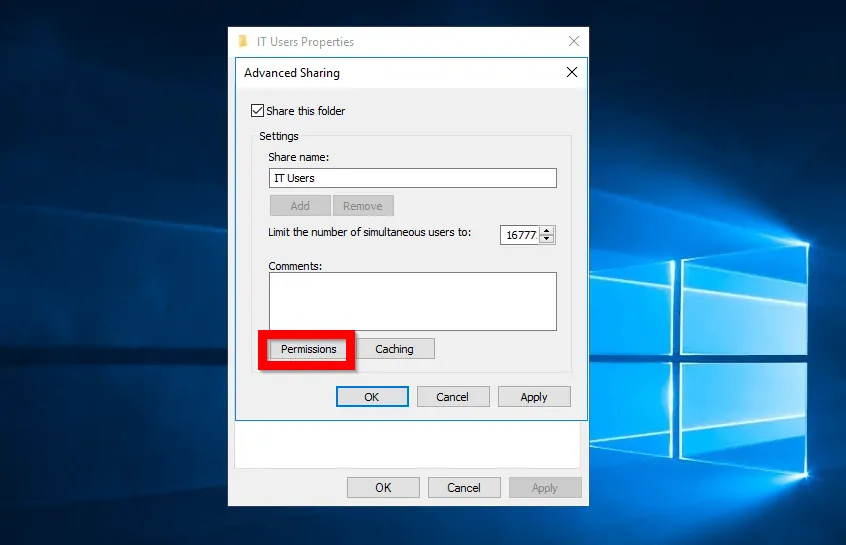
- When Advanced Sharing opens, check Share this folder. You can then modify the share name or accept the default name.
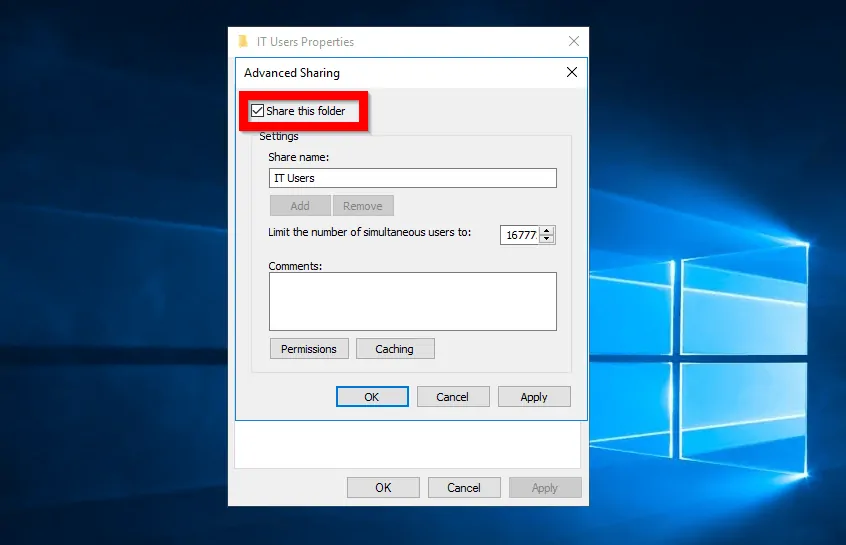
- To modify the share permission, click Permissions.
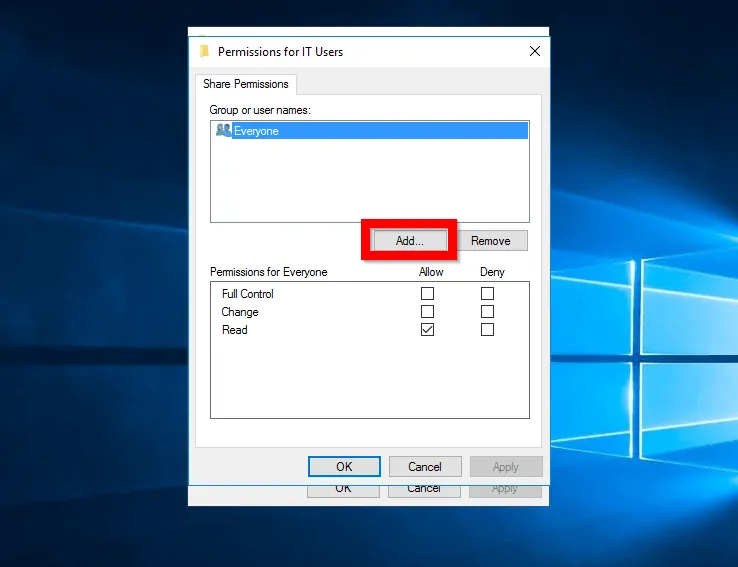
- To grant a user or group access to the share, click Add…After adding the user or group, you can modify the share permission.
Option 2: Share Folders with the NET SHARE Command
Another method to share folder is by using a command prompt.
Here are the steps:
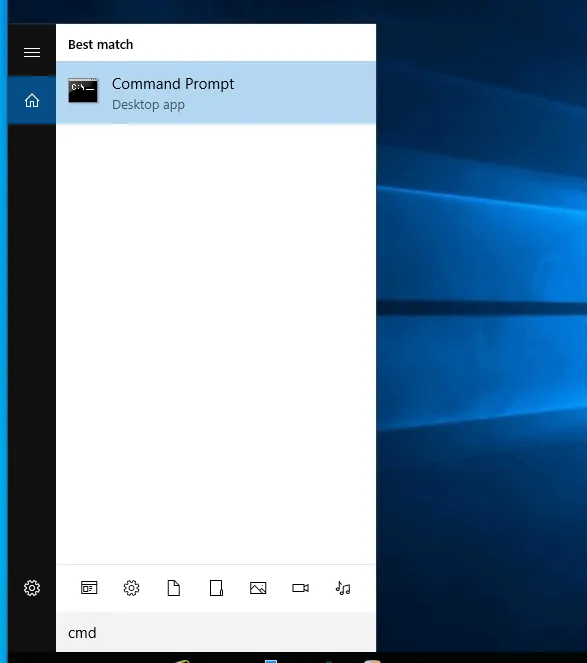
- Logon to the computer you wish to share the folder. Then search for cmd and open Command Prompt.
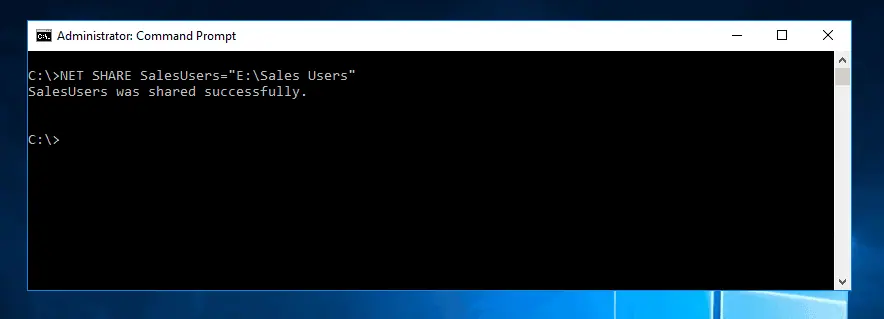
- At command prompt, type the command below. Then press enter.
NET SHARE sharename=drive path
Change
sharename to the name you wish to give the share.
drive path to the full path to the folder you want to share in the computer
Here is a real example for this demo.
NET SHARE SalesUsers="E:\Sales Users"
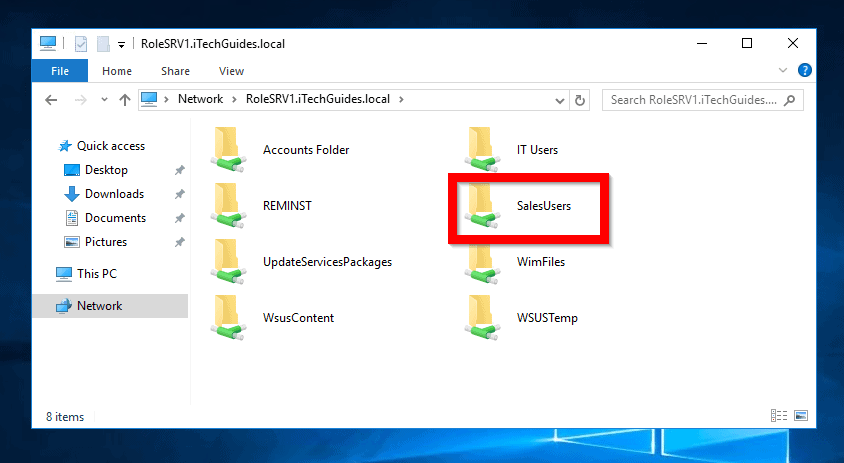
- To confirm that the last command shared the folder, open File Explorer. Then type the following:
\\ComputerName
Here is an example for my demo. All shared folders on that computer is listed, including the SalesUsers share from our last command!
Option 3: Share Folders PowerShell
You can use the New-SmbShare PowerShell Cmdlet to share a folder.
Here are the steps
- Type powershell in the search bar. Then click Windows PowerShell.

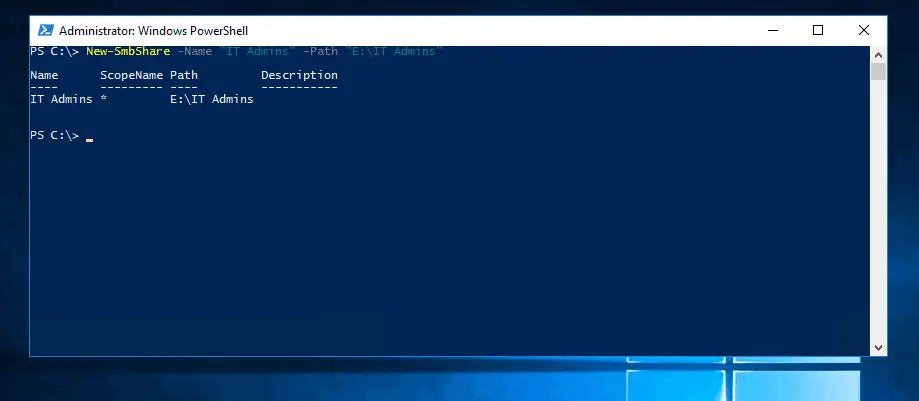
- At PowerShell command prompt, type this command. Then press enter.
New-SmbShare -Name "ShareName" -Path "Full Folder Path"
Change:
ShareName to the name you wish to give the share
Full Folder Path to the path of the folder on the local computer
Here is an actual command for this demo:
New-SmbShare -Name "IT Admins" -Path "E:\IT Admins"
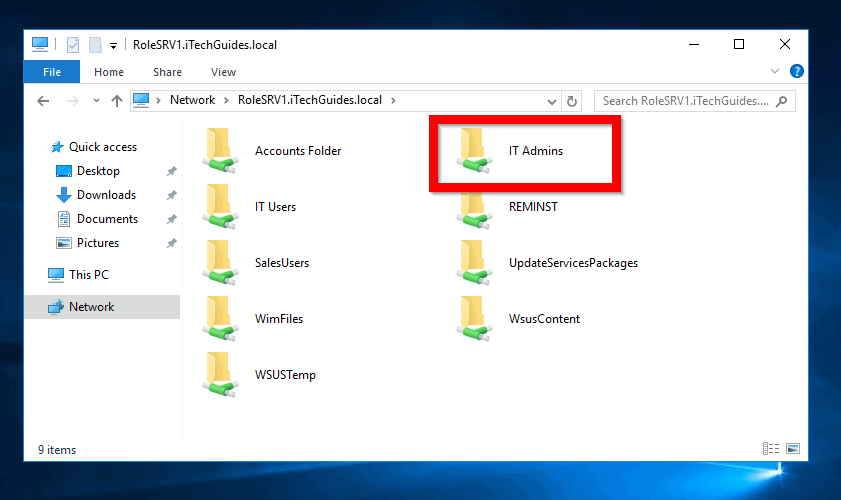
- To confirm that the last command shared the folder, open File Explorer. Then type the following:
\\ComputerName
Here is an example for my demo. All shared folders on that computer is listed, including the IT Admins share from the PowerShell command!
For more options to share a folder with PowerShell read New-SmbShare PowerShell Cmdlet.
Conclusion
In this article, I discussed three methods to share folders in Windows 10 – via a folder’s properties, command prompt, and PowerShell.
Let us know what you think about this article by responding to the “Was this page helpful?” question below.
For more Windows guides visit our Windows How To page.