This is the first of a 4-part “Routing and Remote Access in Windows Server 2016” series. Part 1 of “Routing and Remote Access in Windows Server 2016” series covers Installing Remote Access Role in Windows Server 2016
Installation Requirements
To complete the demos in this series you require two servers:
- A Domain Controller
- A Windows Server 2016 Active Directory member Server
For this particular guide you require just the member server to install Remote Access Role.
Steps to Install Routing and Remote Access Role
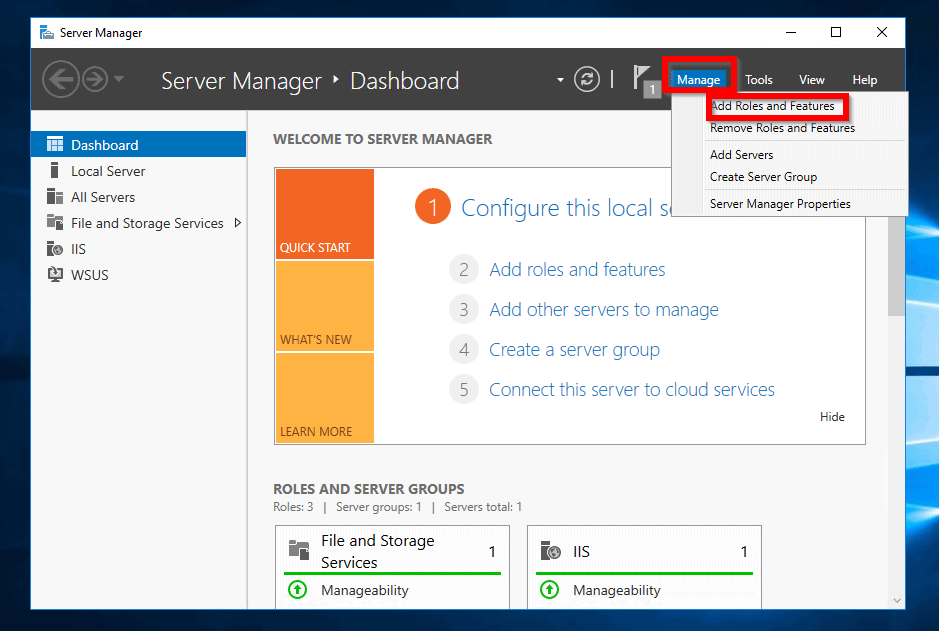
- Login to the Member server and open Server Manager.
- From Server Manager, click Manage. Then select Add Roles and Features.
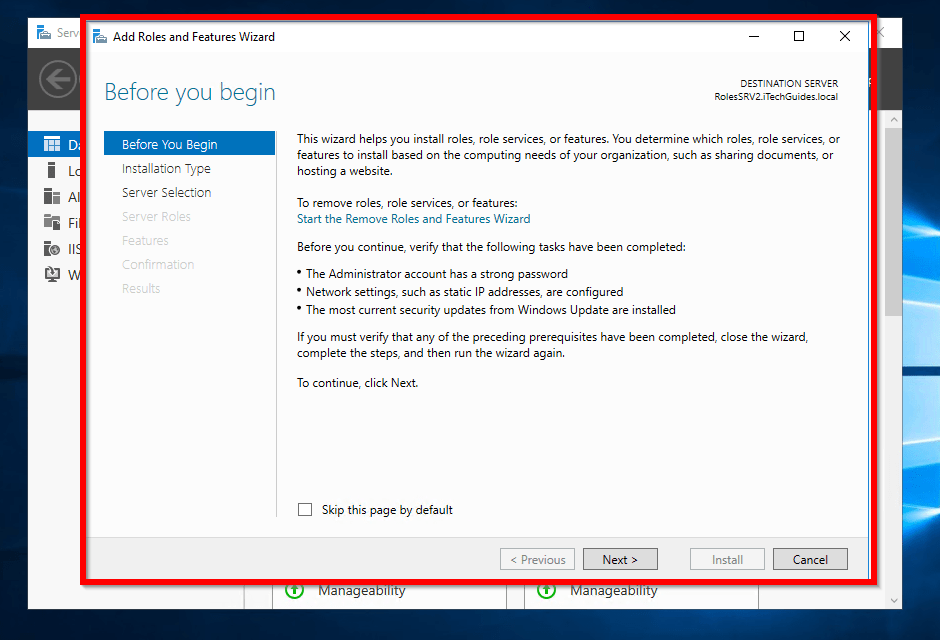
- When the wizard opens, click Next.
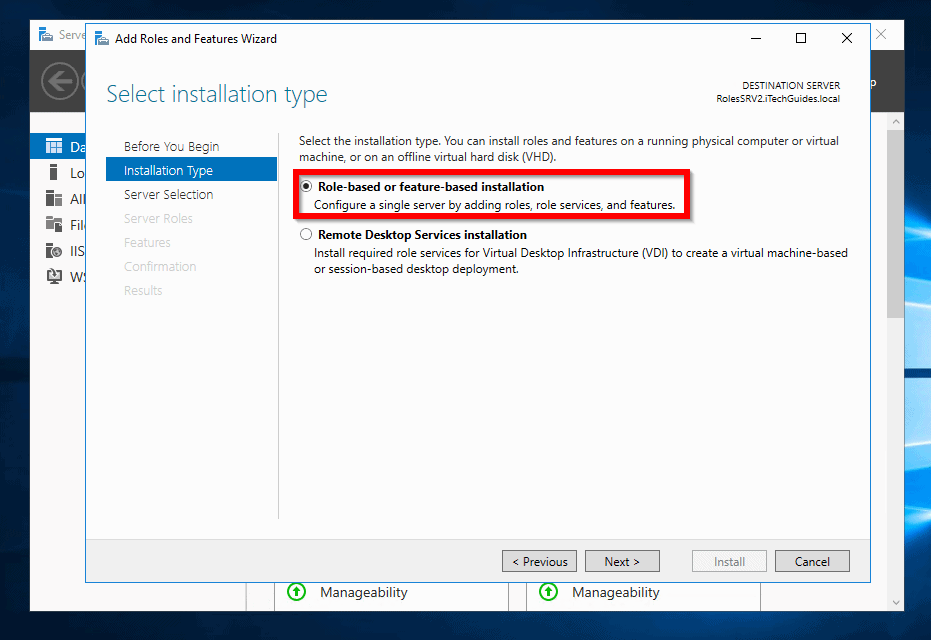
- On the Select installation type page, select Role-based or feature-based installation. Then click Next.
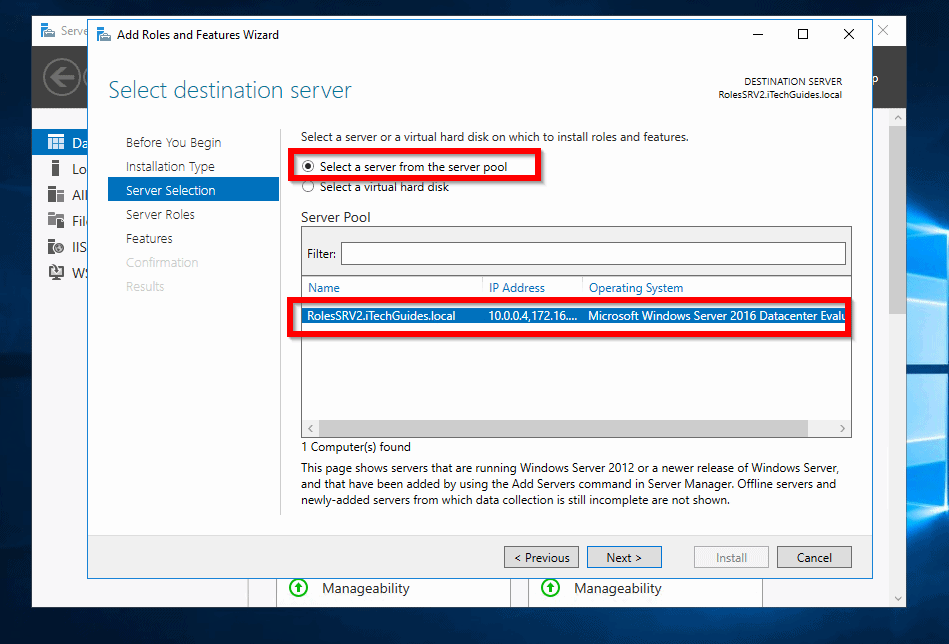
- The next page lists all servers managed from your Server Manager. Select the first option – Select a server from the server pool. Then select the server you want to install Remote Access and click Next.
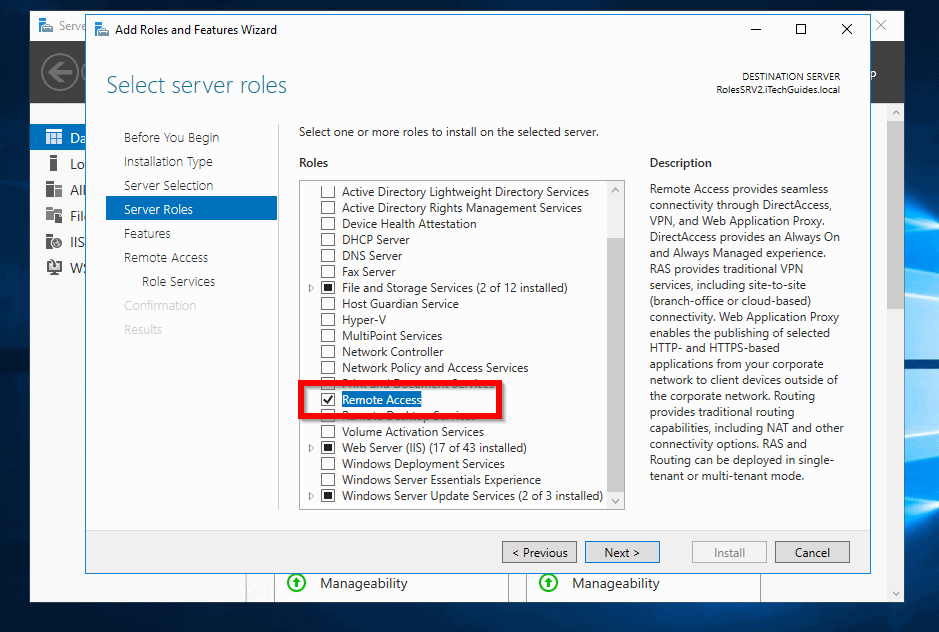
- On the Select server roles page, scroll down to Remote Access. Then check the box beside it and click Next.
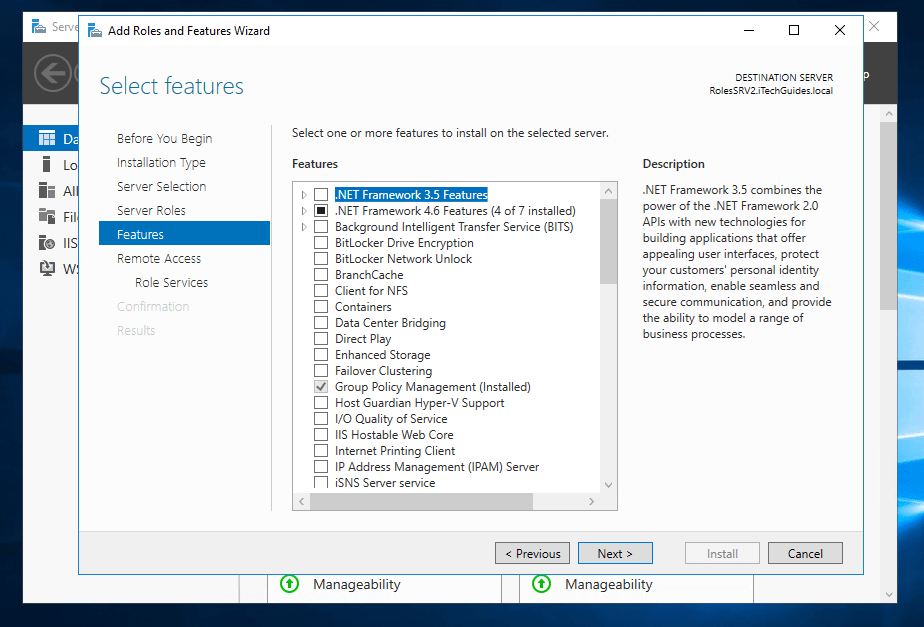
- Then on the Select features page, click Next.
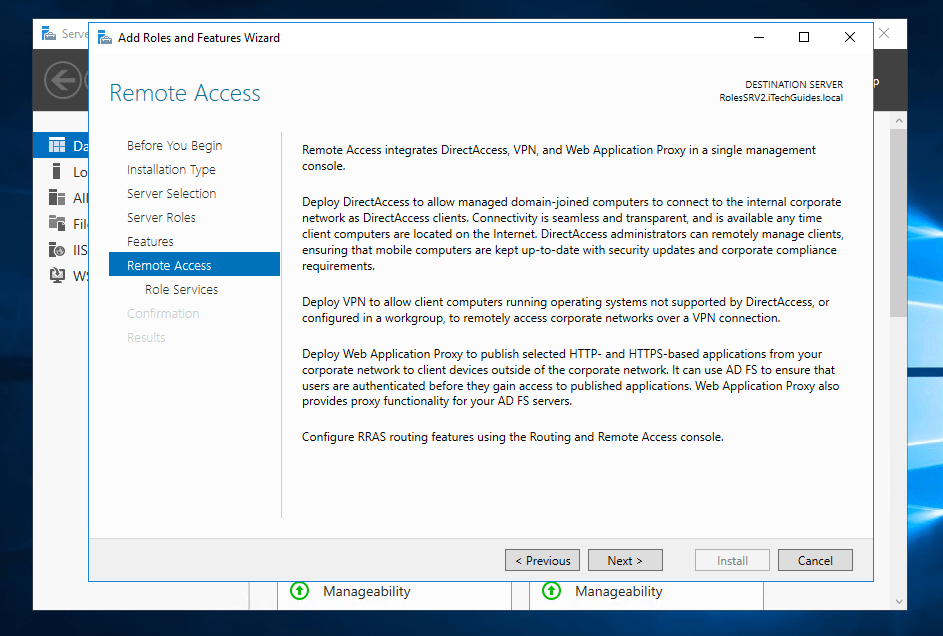
- Take some time to read about the Remote Access role services. Then click Next.
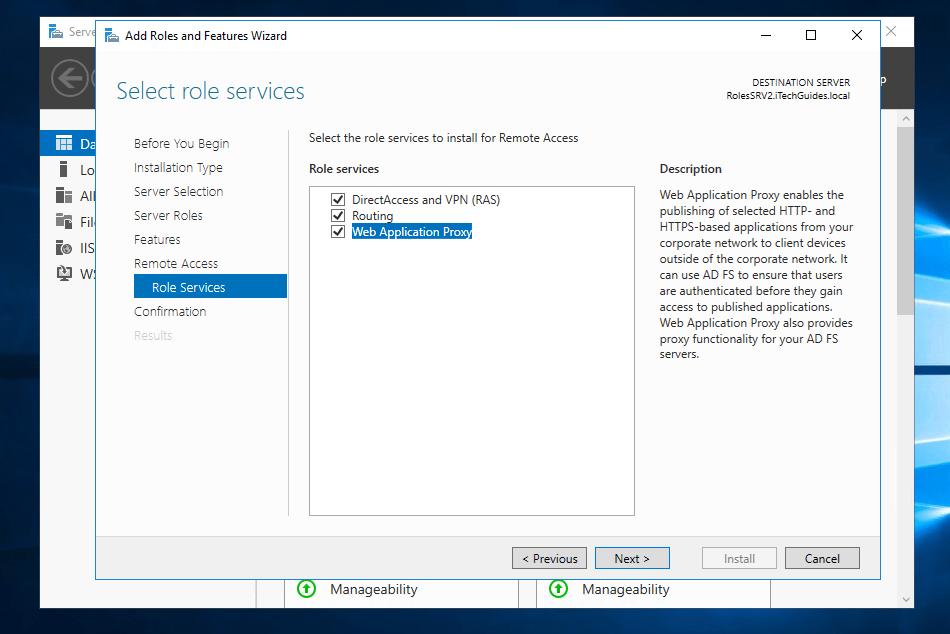
- The Select role services page is where you select the Remote Access role services you wish to install. I selected all the role services because I will be covering all of them in the “Routing and Remote Access in Windows Server 2016” series. After making your selection, click Next.
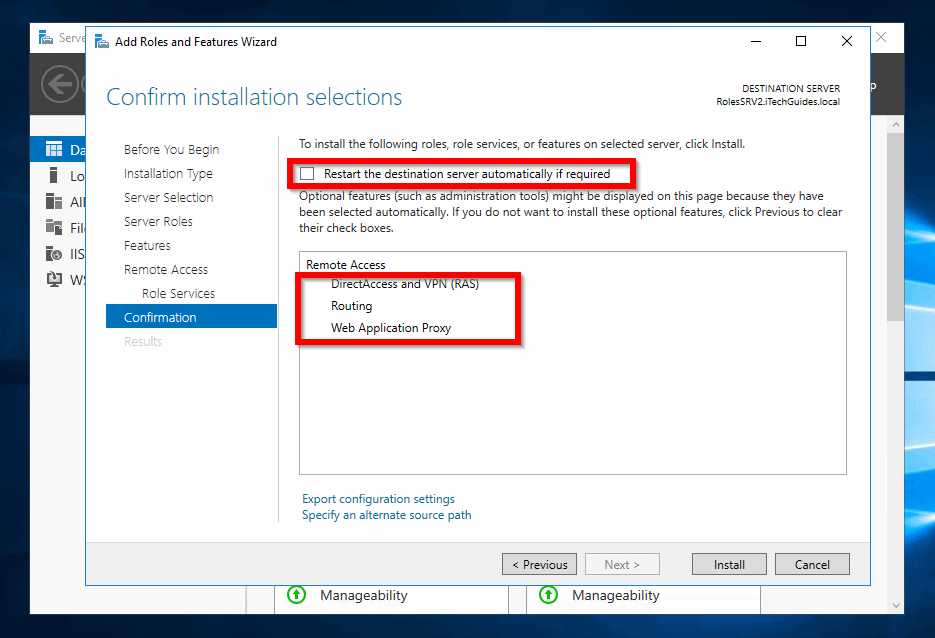
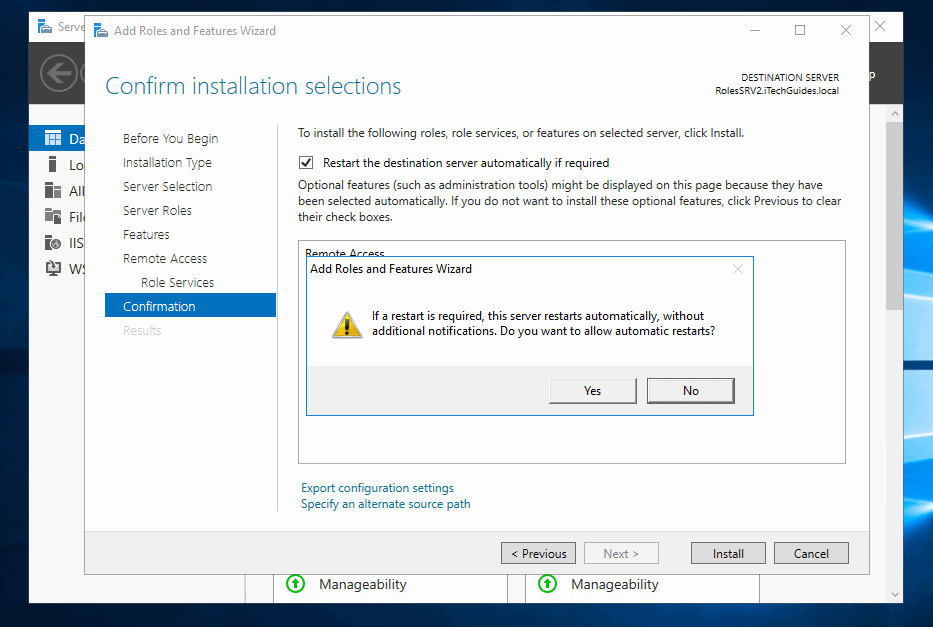
- At the Confirmation page, review your selections. Then check “Restart the destination server automatically if required”. To verify this option, click Yes to the prompt (second image below). If you want to modify the role services, click Previous. Otherwise, to proceed click Install.
If you are in a production environment, be aware that checking “Restart the destination server automatically if required” may restart your server. If you want to restart your server within a “Change Window”, DO NOT check this box. You will then be able to restart the server in your own time if required.
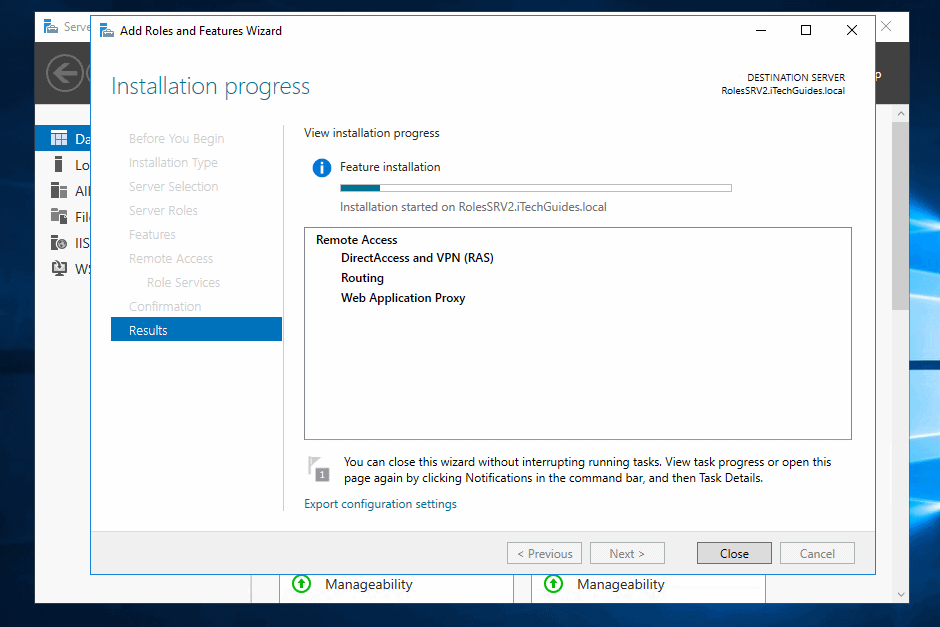
- Remote Access Role installation will commence.
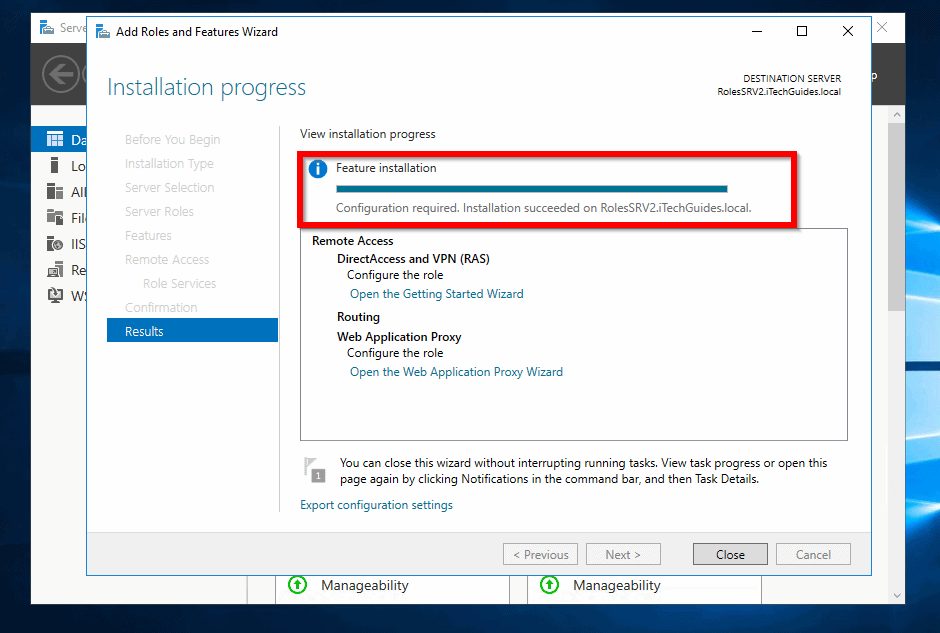
- When the installation is completed, click close.
Conclusion
When you install Remote Access Role in Windows Server 2016, you have the option to install:
- Routing, DirectAccess and VPN (RAS) or
- Web Application Proxy
In this guide, I installed the 3 role services because I need them to complete the remaining parts of this series.
Kindly let us know your thoughts about this guide by responding to the “Was this page helpful?” question below.
To read part 2 of this series click Routing and Remote Access in Windows Server 2016 (Part 2): Configure NAT.
Want more Windows Server guides? Visit our Windows Server Fix page.