This is part 2 of a 4-part “Routing and Remote Access in Windows Server 2016” series. This part covers how to configure Network Address Translation (NAT) in Windows Server 2016.
NAT allows internal clients to connect to the internet using a single public IP address.
Setup Requirements
- A Domain Controller
- An AD member server with Routing, DirectAccess and VPN (RAS) Role Services installed
The RRAS server require two interfaces:
- One interface connected to the internet (Will be used as the NAT interface)
- Another interface adapter connected to the internal network (Will share the NAT internet)
To install Remote Access, read part 1 of this series.
For NAT to work you require existing:
- DNS Server that resolves both internal and external addresses
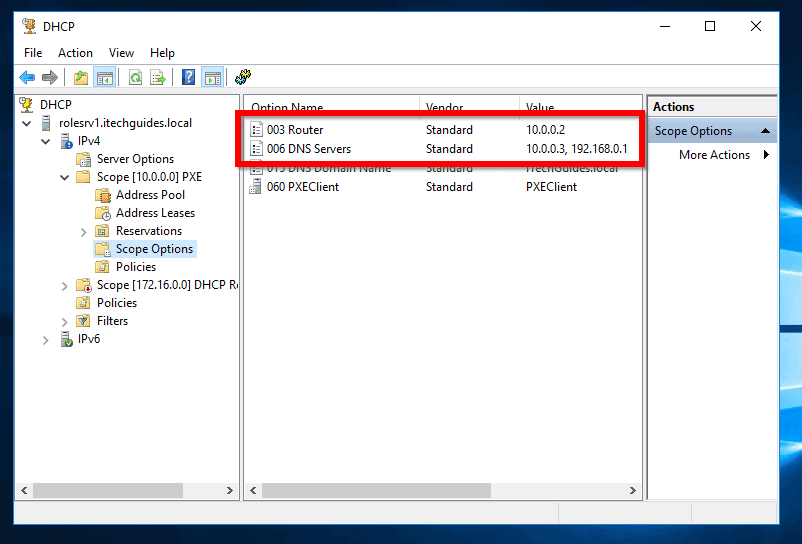
- DHCP Server with a working Scope
Configuration of these last 2 services is NOT included in this guide.
If your environment meets the above requirements, follow these steps to configure NAT.
Step 1: Enable NAT Service in Windows Server 2016
To enable NAT:
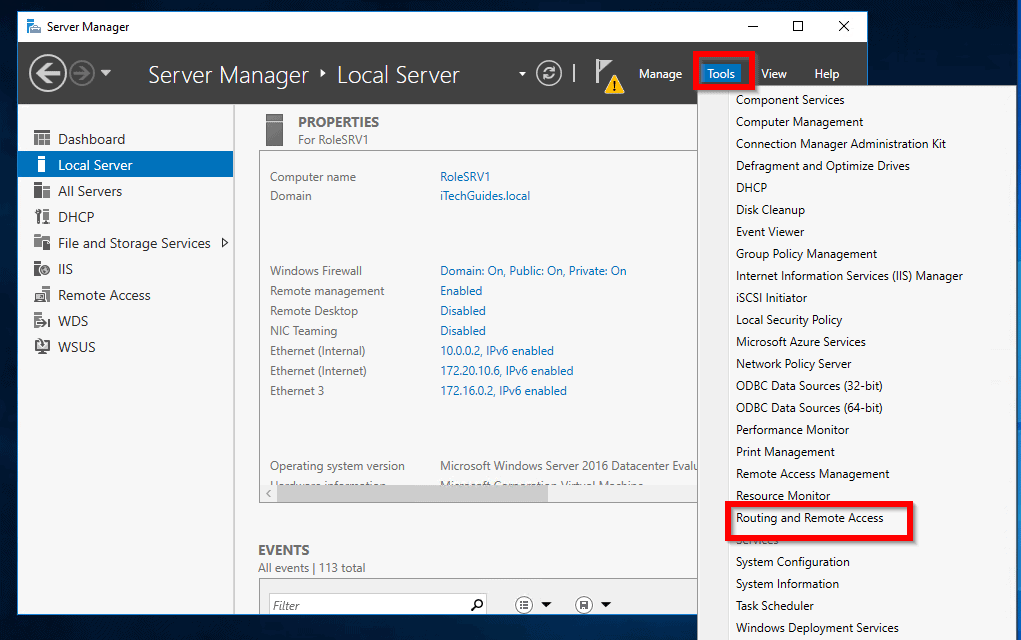
- Log on to the member server with Remote Access role installed. Then open Server Manager.
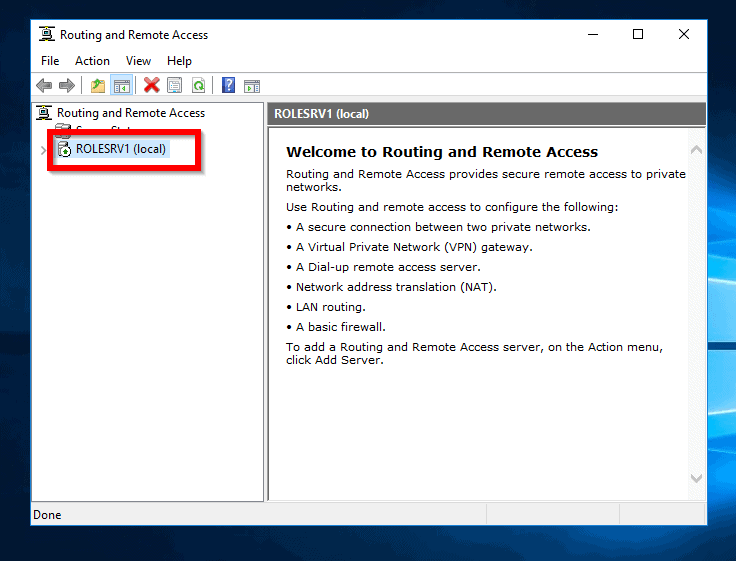
- At Server Manager, click Tools and select Routing and Remote Access.
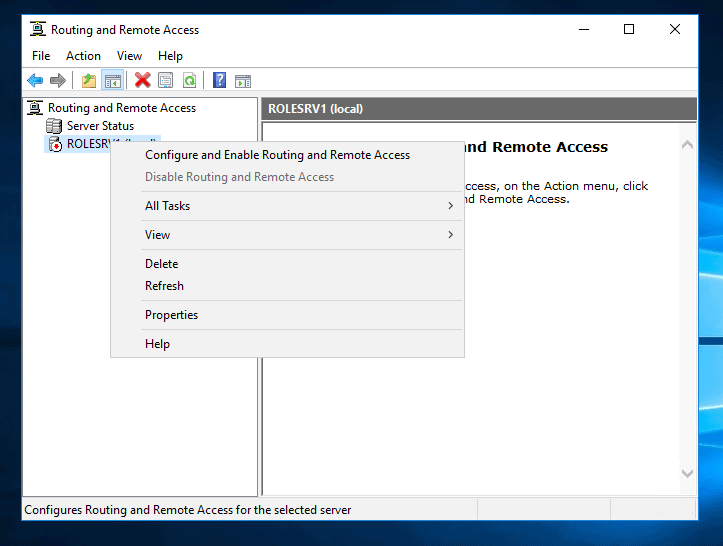
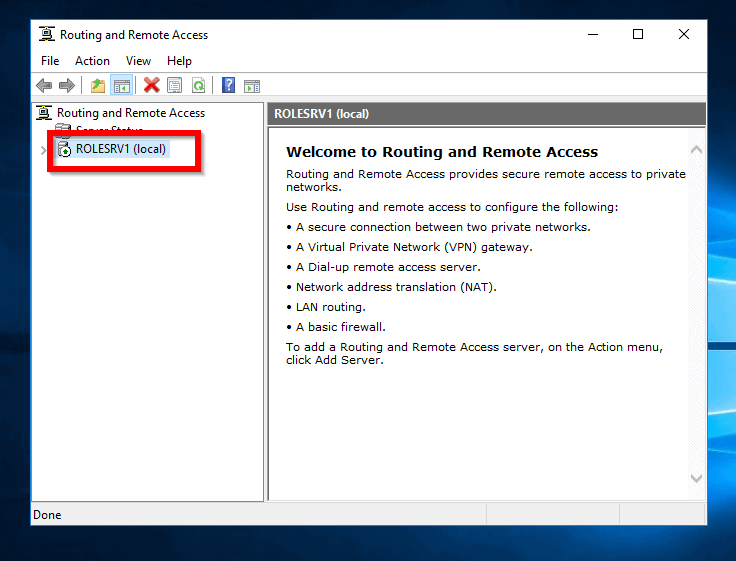
- When Routing and Remote Access settings opens, right-click the server. Then select Configure and Enable Routing and Remote Access.
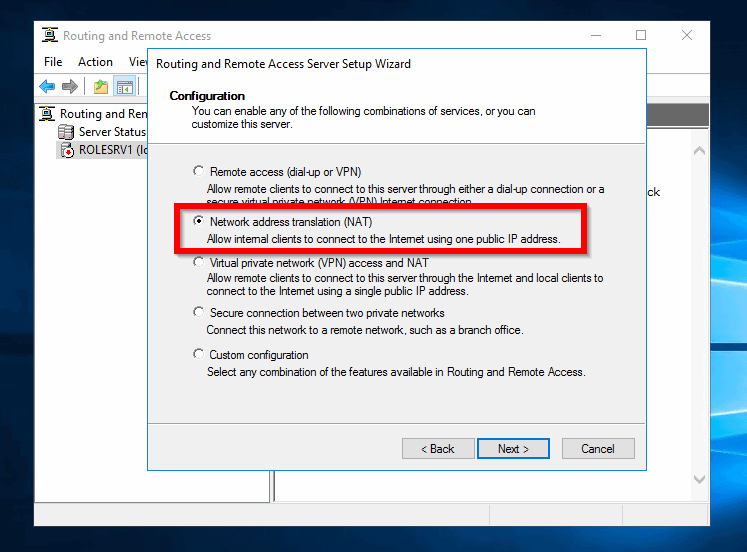
- When the wizard opens, click Next.

- On the Configuration page, select Network address translation (NAT). Then click Next.
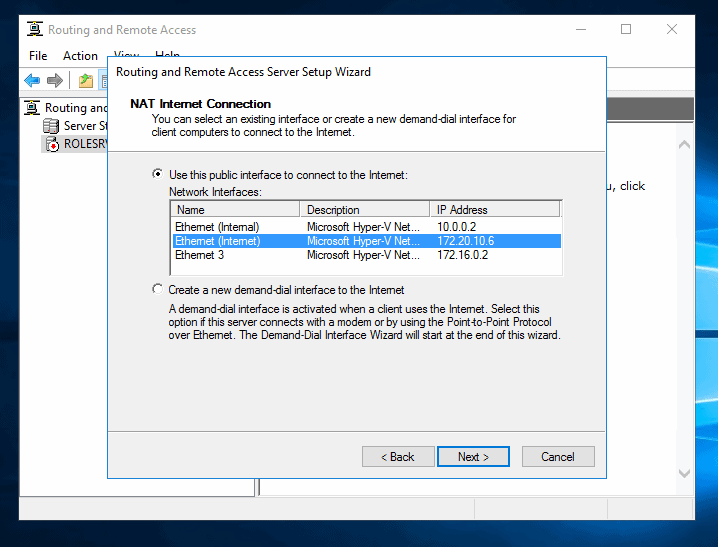
- Then on NAT Internet Connection settings, select the network interface your users will use to connect to the internet. To continue, click Next.
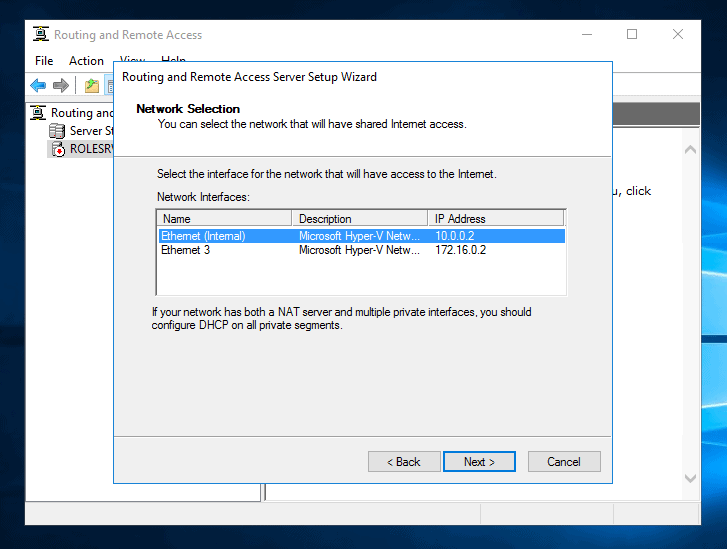
- On the Network Selection screen, select the server’s network adapter that will share the internet connection. Then click Next.
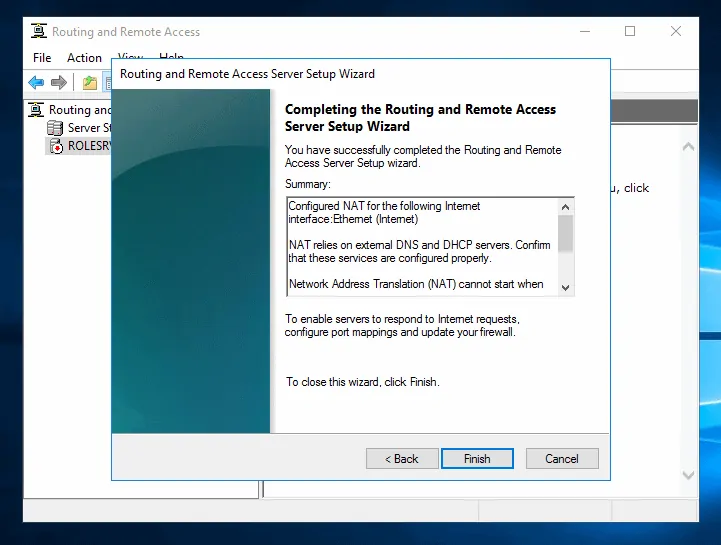
- Finally, to complete setup read the Summary provided, then click Finish.
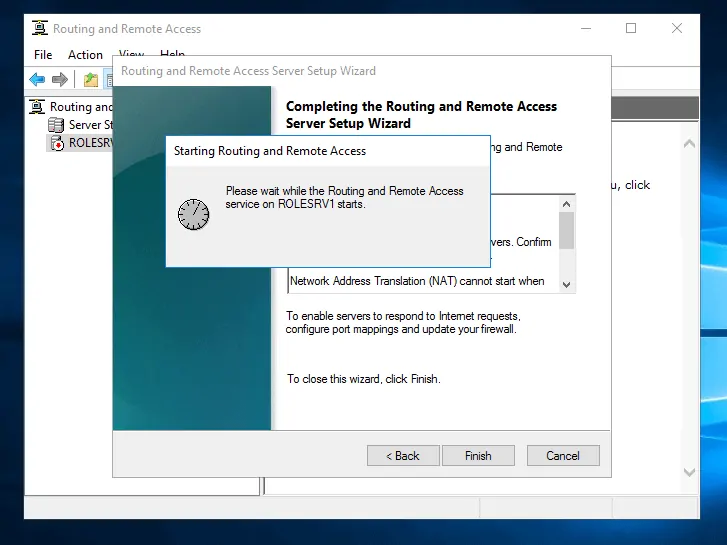
- When you click Finish, the wizard will initialize and start the RRAS service. When it completes initialization, the server will change to green (see the second image below).
- Restart the server.
Step 2: Test NAT in Windows Server 2016
The NAT configuration should allow clients on your network to connect to the internet using a single public IP.
To test that your Network Address Translation (NAT) Service in Windows Server 2016 is working:
- Logon to a Windows 10 PC that is connected to the internal network (in my lab, the PC is on the 10.0.0.0/8 network.
- To confirm the IP information of the computer, open command prompt. Then type the command below and press enter.
ipconfig /all
Here is the result of the command from a Windows 10 PC in my lab

Useful information from the IP stats:
- IPv4 address of the client is in the internal network. It does not have any other network interface. This means that it can only connect to the internet using NAT (We will confirm this later).
- The Default Gateway is set to 10.0.0.2. This is the IP address of the RRAS server.
- The DNS Server is set to 10.0.0.3. This is my DNS server that I use for Name Resolutions. This server MUST be able to resolve internet addresses.
- To confirm that the PC browses with the NAT, type the command below. Then press enter.
tracert -h 10 yahoo.com
Here is the result of the tracert command.
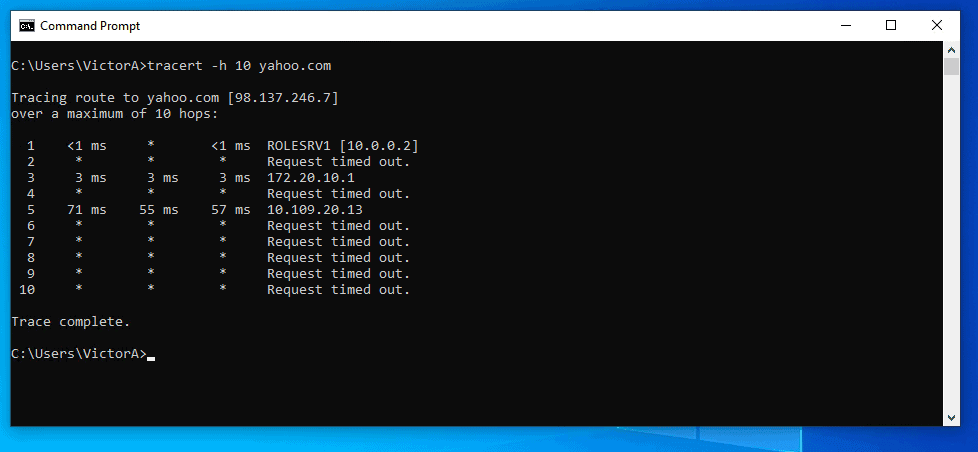
From the result:
- You can confirm that the PC connects to the internet via the NAT server (10.0.0.2)
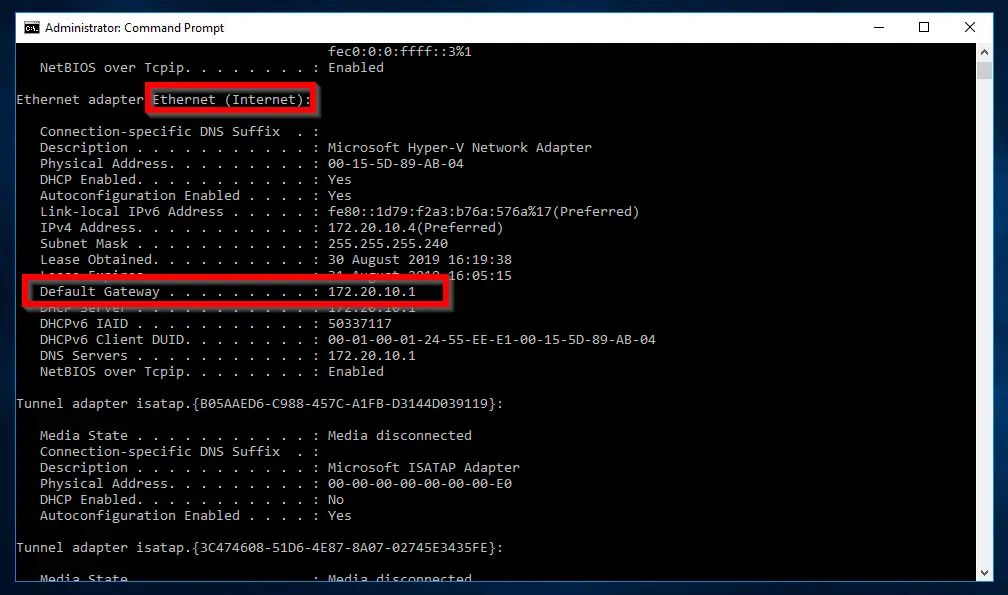
- Then it routes to the default gateway of the Internet interface (172.20.10.1). Here is the IP config result from my RRAS Server.
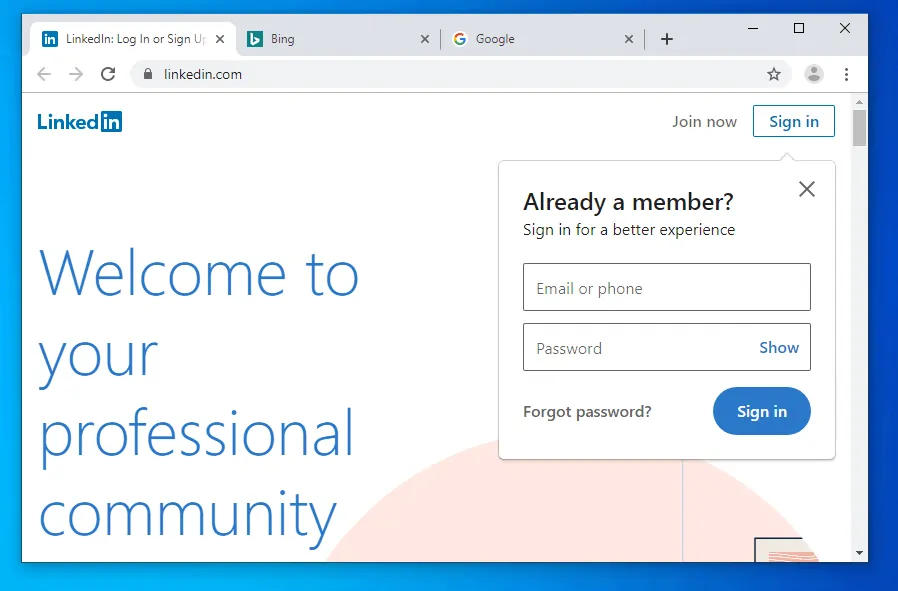
- Finally, let me open a webpage on the Windows 10 PC.
Step 3: Modify NAT Service in Windows Server 2016
Advertisements
To make changes to your NAT configuration:
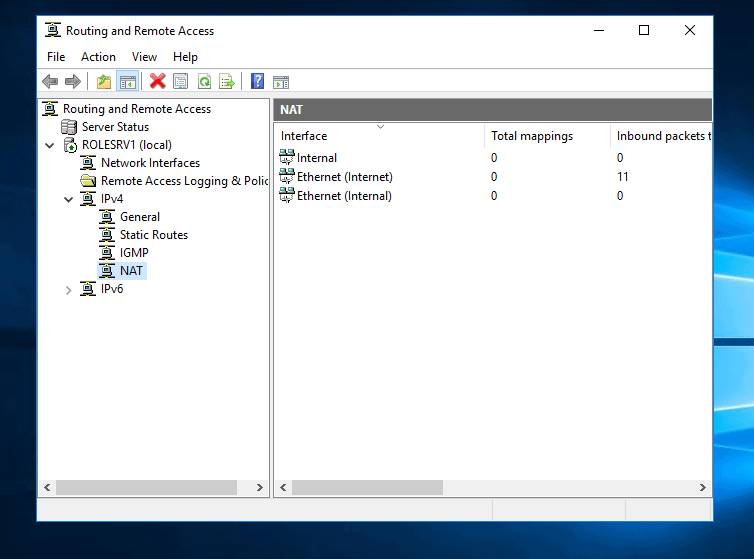
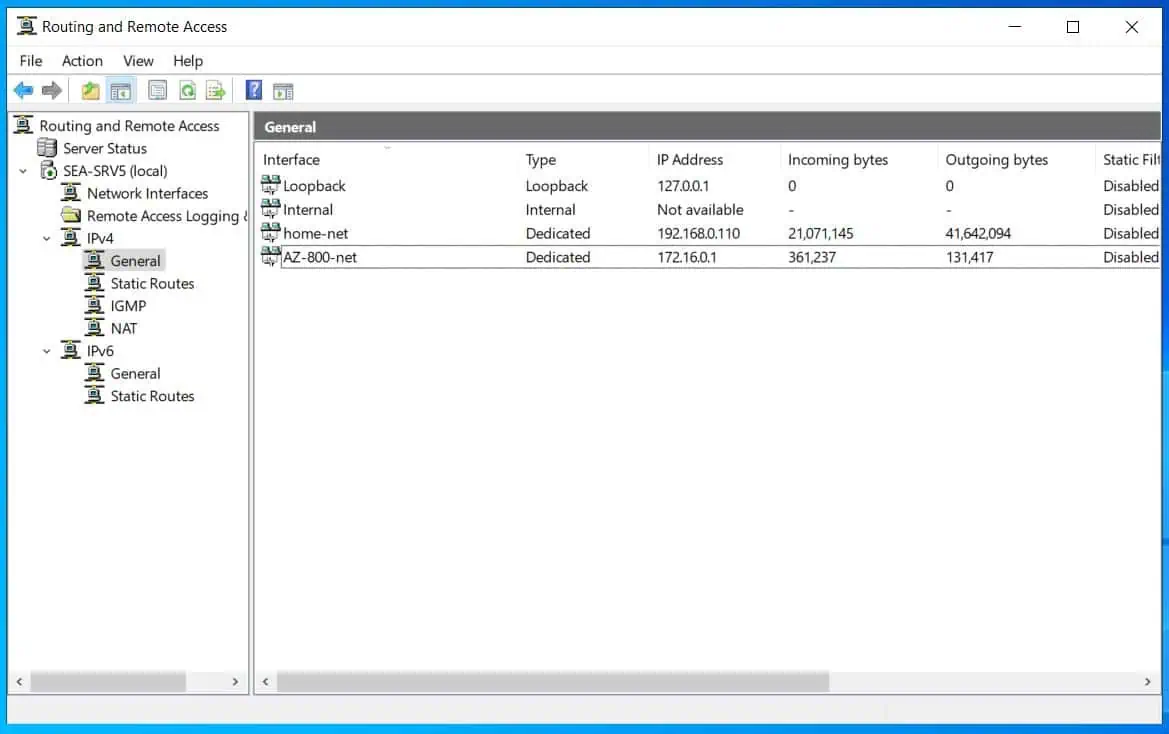
- Open Routing and Remote Access. Then expand the server
- Expand IPv4, then click NAT. You can view the activities of the interfaces, delete or make changes to the interfaces.
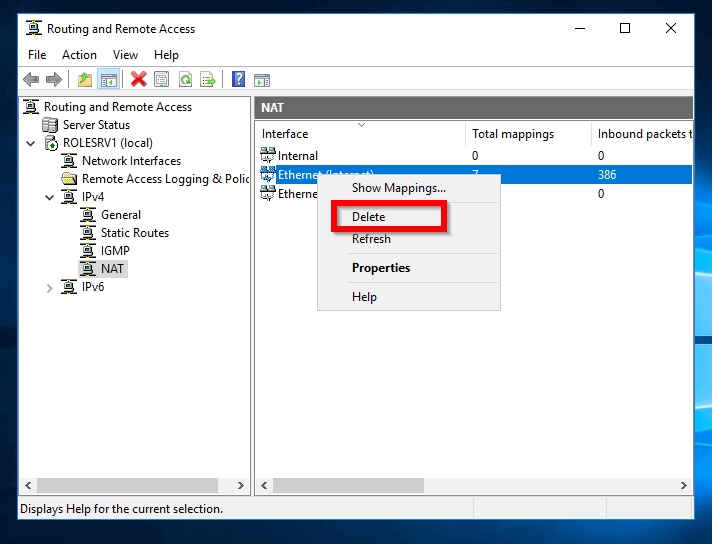
- To delete an interface, right-click the interface. Then select Delete.
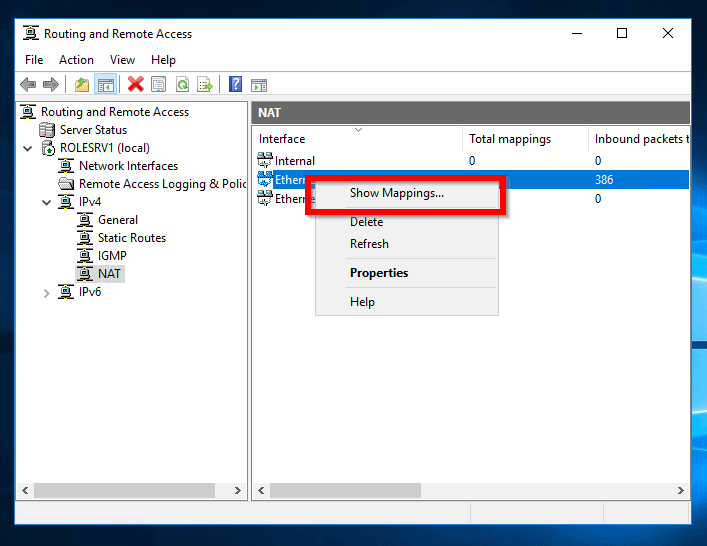
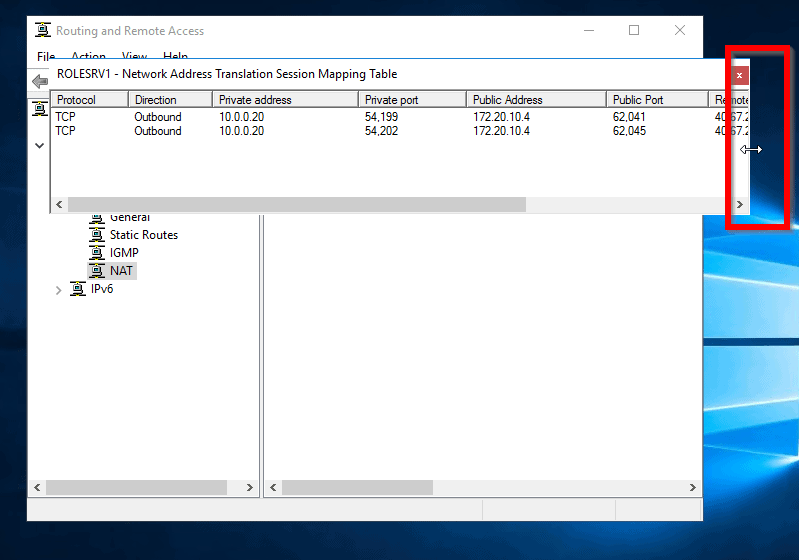
- You may also view the NAT mapping stats. To do this, right-click the interface connecting your clients to the internet. Then select Show Mappings…
- The stats will be displayed. To expand it, hover your mouse at the end (highlighted) then drag right.
Conclusion
Configuring Network Address Translation (NAT) in Windows Server 2016 is fairly easy but it provides great benefits. I hope you found this guide useful.
Kindly take 2 minutes to let us know your thoughts about this guide by responding to the “Was this page helpful?” question below.
To read part 3 of this series click Routing and Remote Access in Windows Server 2016 (Part 3): Configure VPN.
Want more Windows Server guides? Visit our Windows Server Fix page.
Thank You, but I do not see “Routing and Remote Access” under Tools on server 2016