Are you going on holiday and wondering how to create an out-of-office auto-reply? Here are the steps for Outlook, Outlook.com, and Gmail.
Option 1: Set Up an Out-of-office Auto-Reply in the Outlook App
The steps in this demo was done in Outlook for Office 365. It may be slightly different for other versions of Outlook.
Here are the steps to set out of office auto reply in Microsoft outlook client:
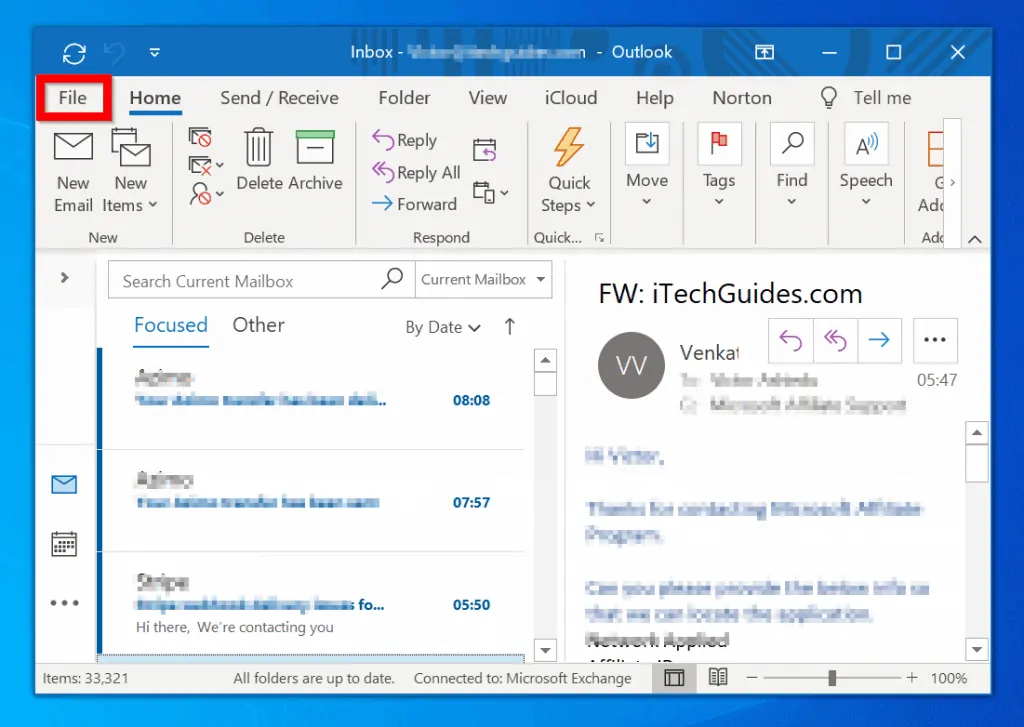
- Open Outlook and click File.
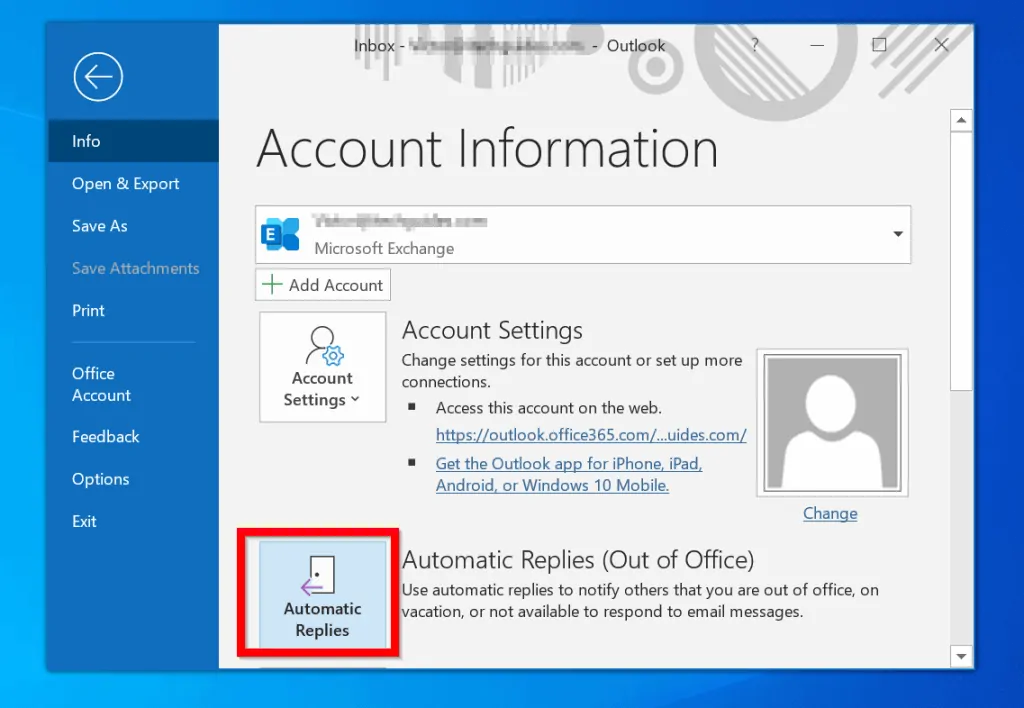
- Then click Automatic Replies.
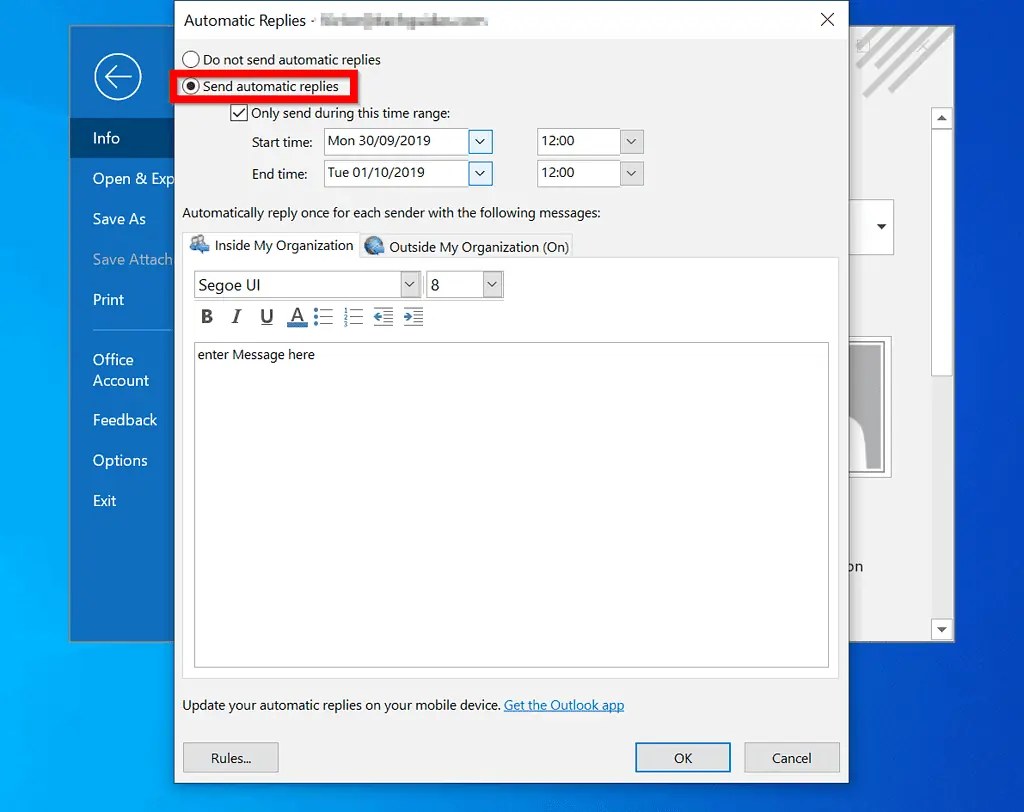
- When the Automatic Replies settings opens, click Send automatic replies.
- To send your automatic reply for a specific period, check Only send during this time range. Then specify a Start time and End time.
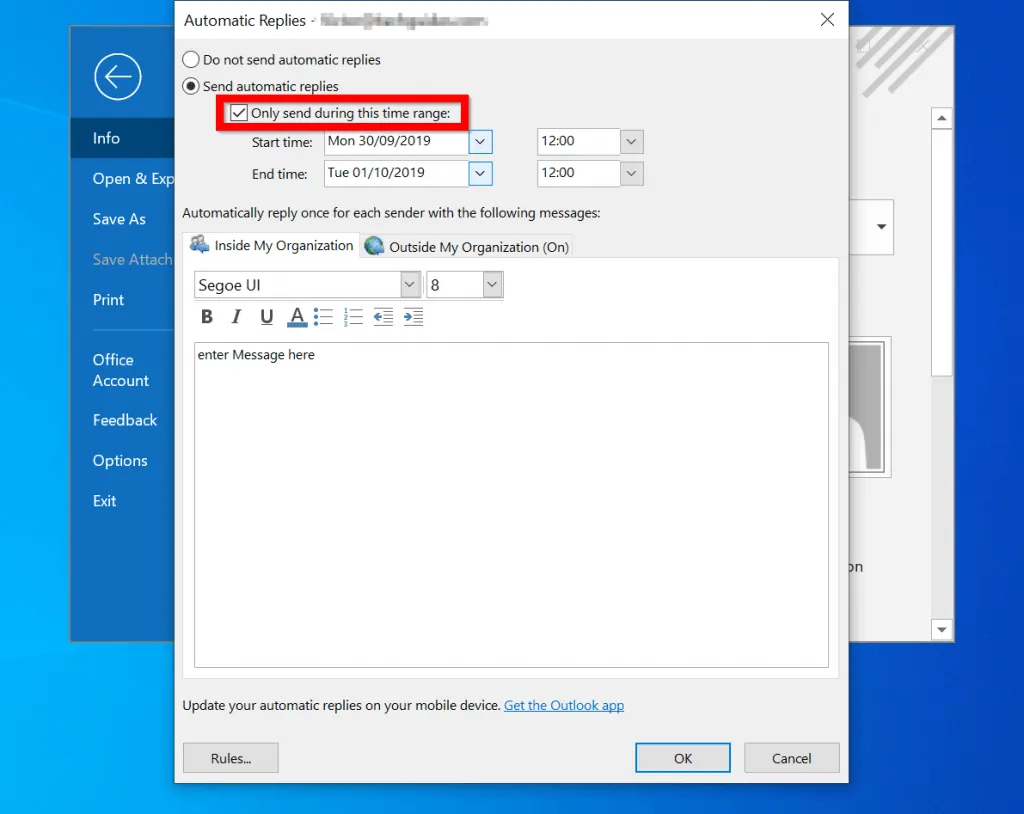
- Beneath Automatically reply once for each sender with the following messages, there are 2 tabs:
- Inside My Organization: The message you enter here will be sent to senders within your organization.
- Outside My Organization: Senders from outside your company email domain will receive this message.
- Enter the message you want to to send in the boxes provided. When you finish, click OK.
Option 2: Set Up an Out-of-office Auto-Reply in Outlook.com
If you use Outlook.com (replacement for Hotmail.com), use the steps below to set out of office automatic replies:
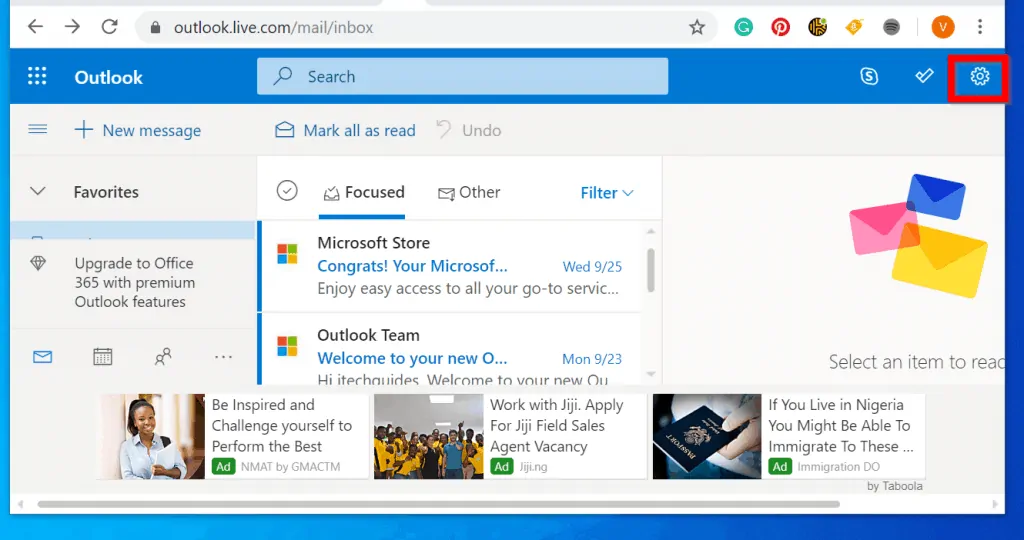
- Login to your Outlook.com email. Then on the top right corner of the page, click Settings.
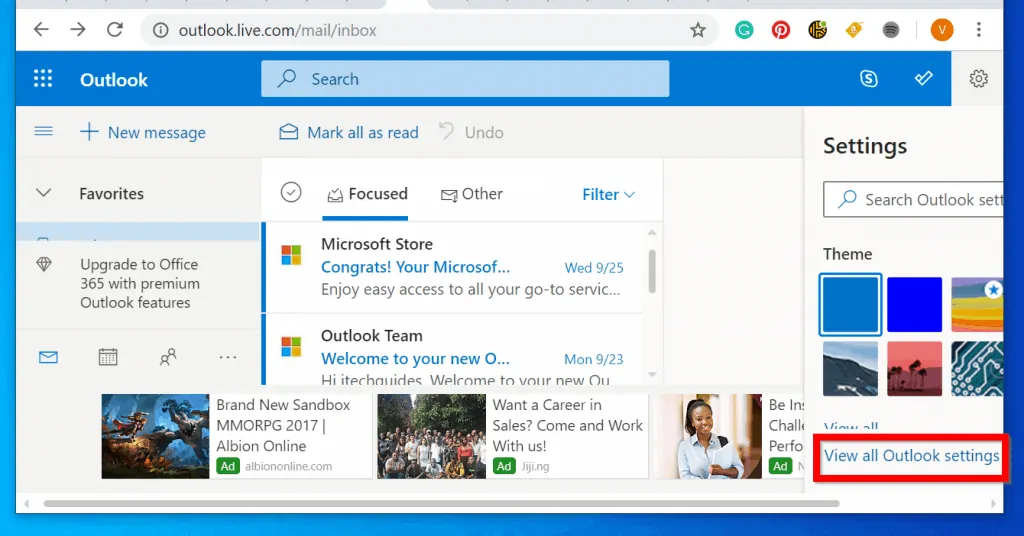
- Then click View all Outlook settings.
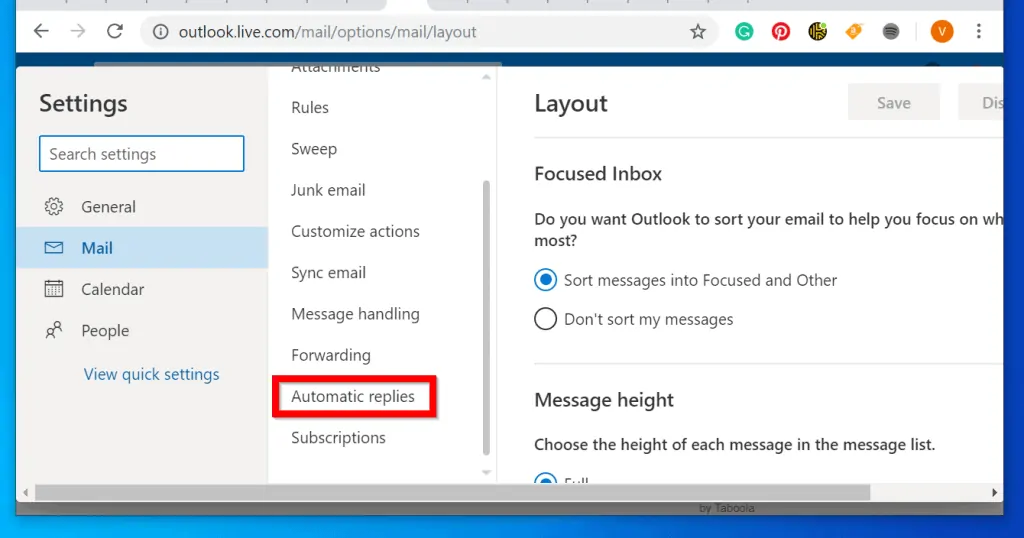
- Finally, scroll down and click Automatic replies.
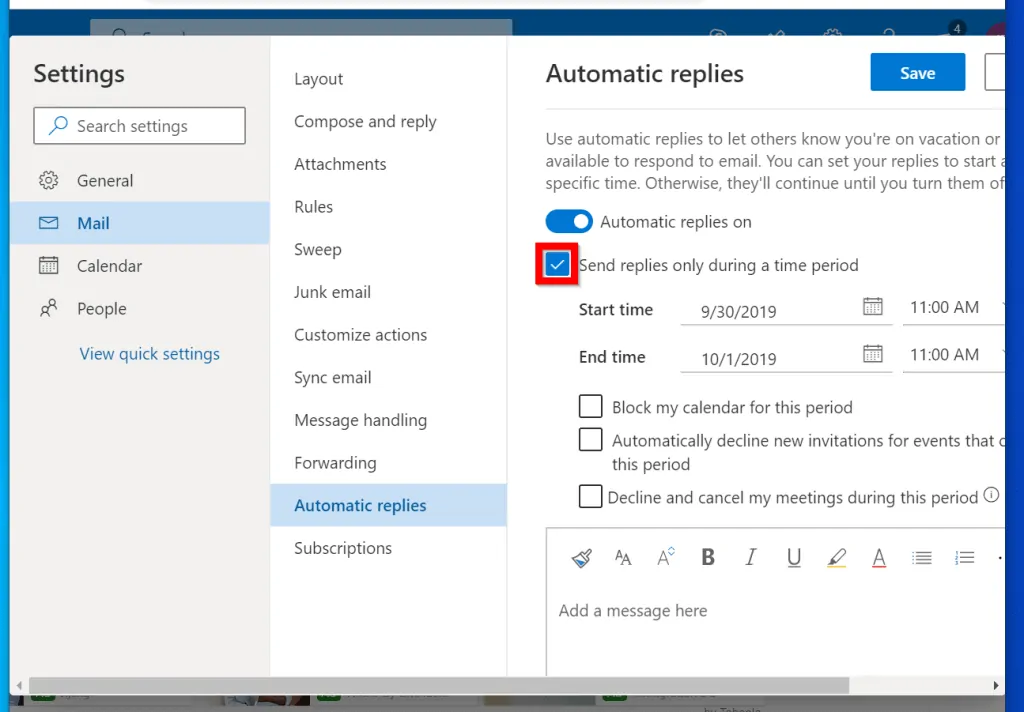
- Flip the Automatic replies on switch so it turns blue.
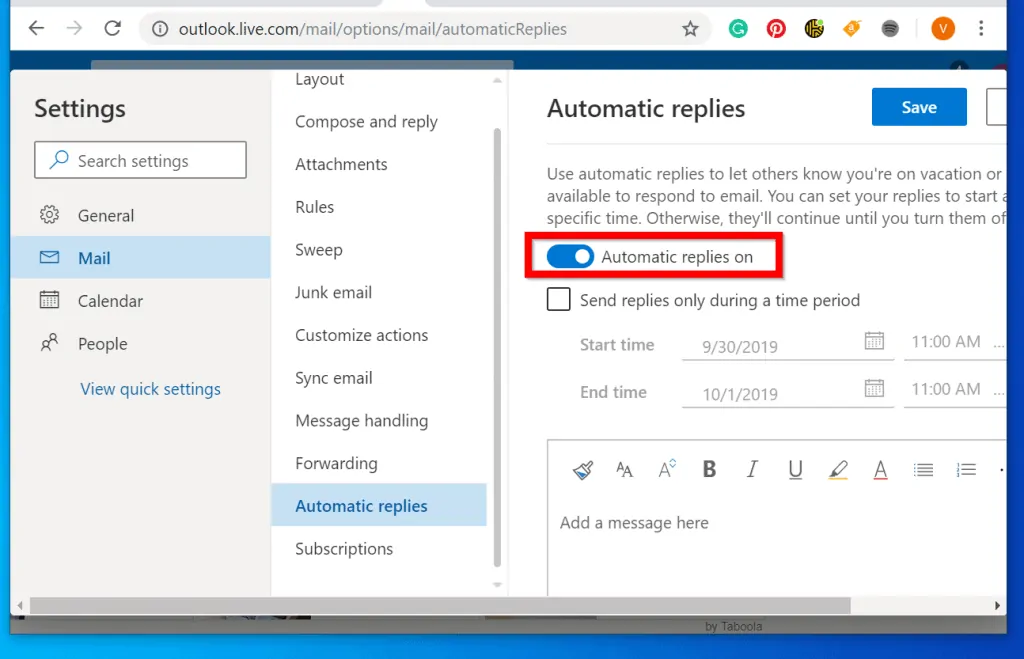
- To send your auto reply within a specific date range, check Send replies only during a time period box. Then enter the date/time range. Finally, type your auto reply message.
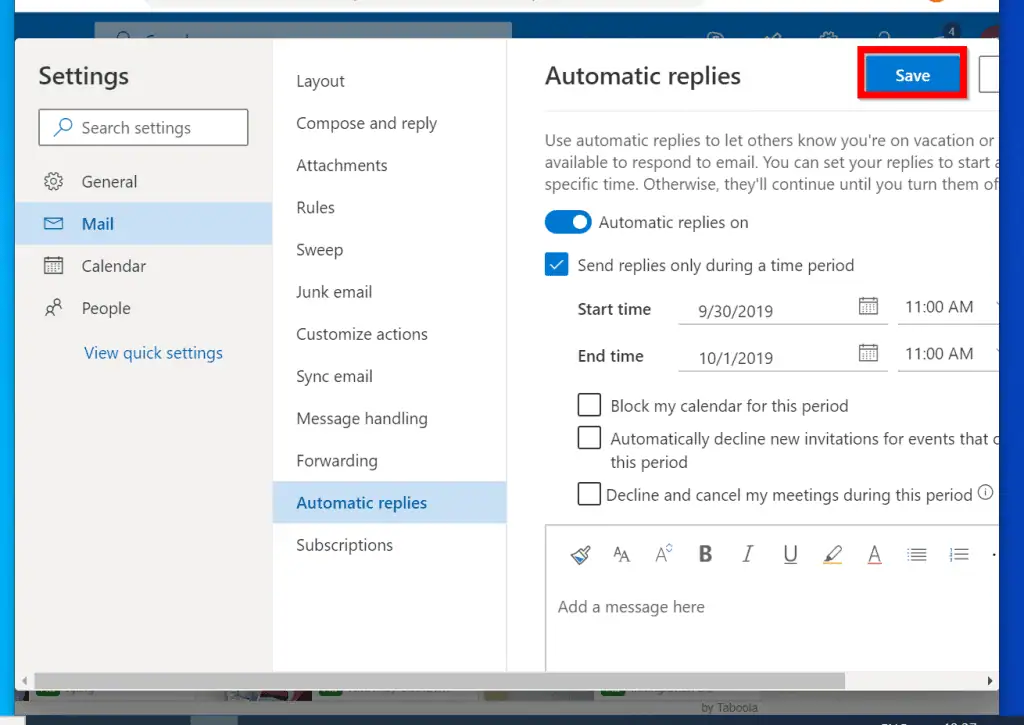
- When you finish setting your out of office auto reply, click Save.
Option 1: Set Up an Out-of-office Auto Reply in Gmail
Here are the steps to set out of office in Gmail.
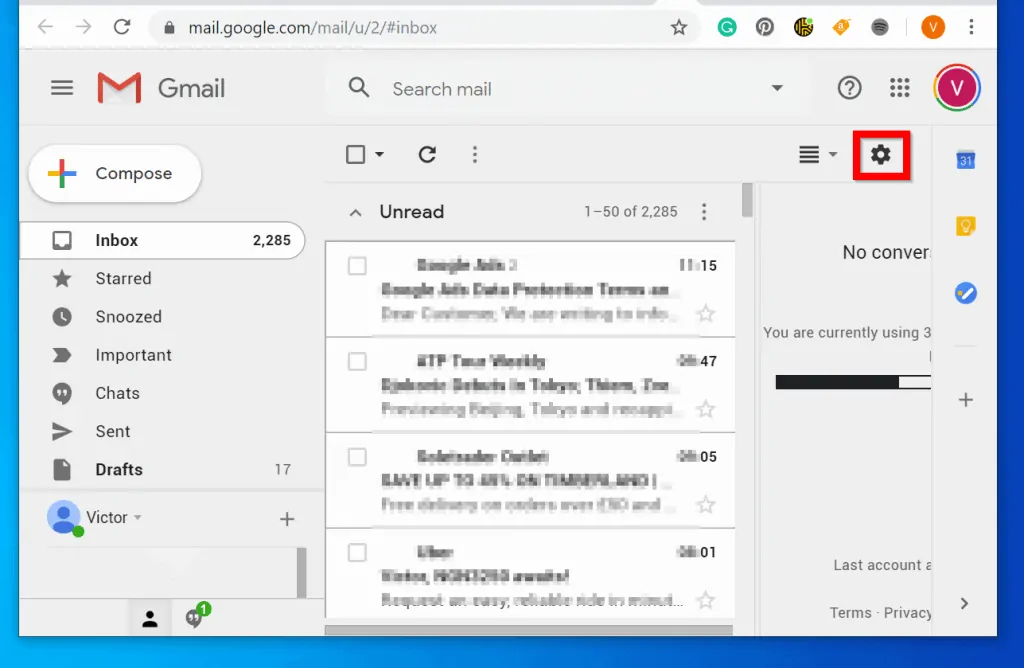
- Login to Gmail and click the gear on the top right of the page.
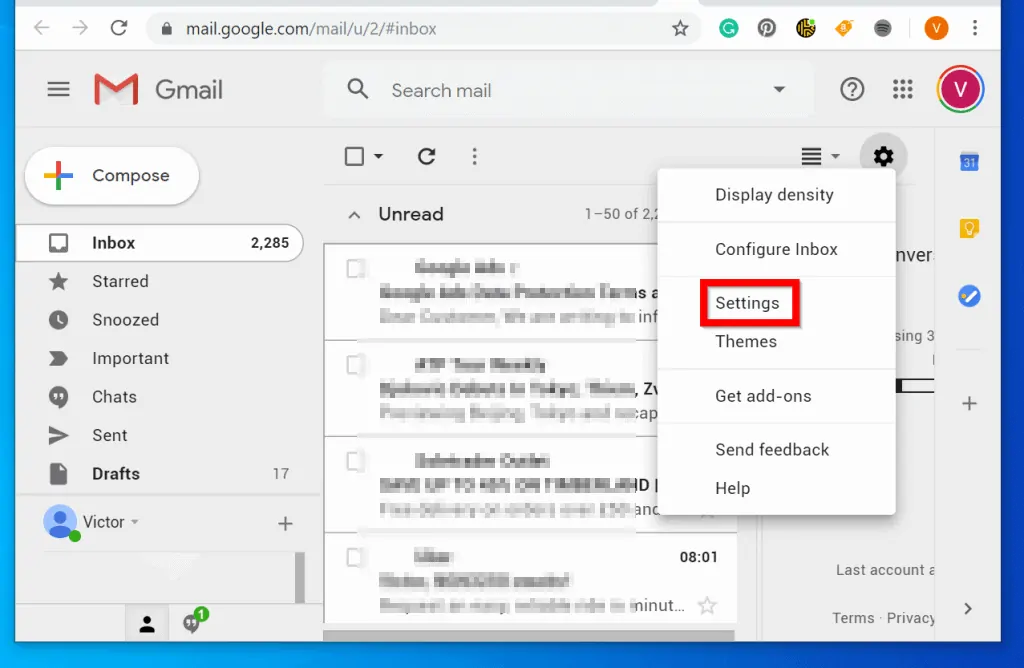
- Then click Settings.
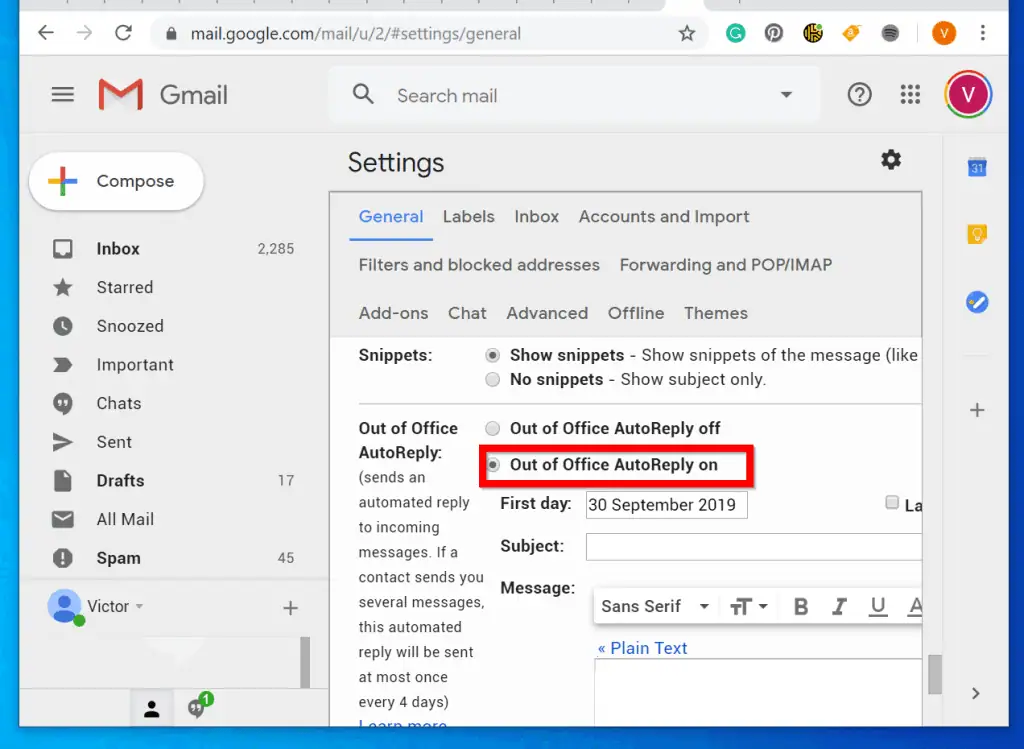
- Scroll down to the end of General tab. Then select Out of office AutoReply on.
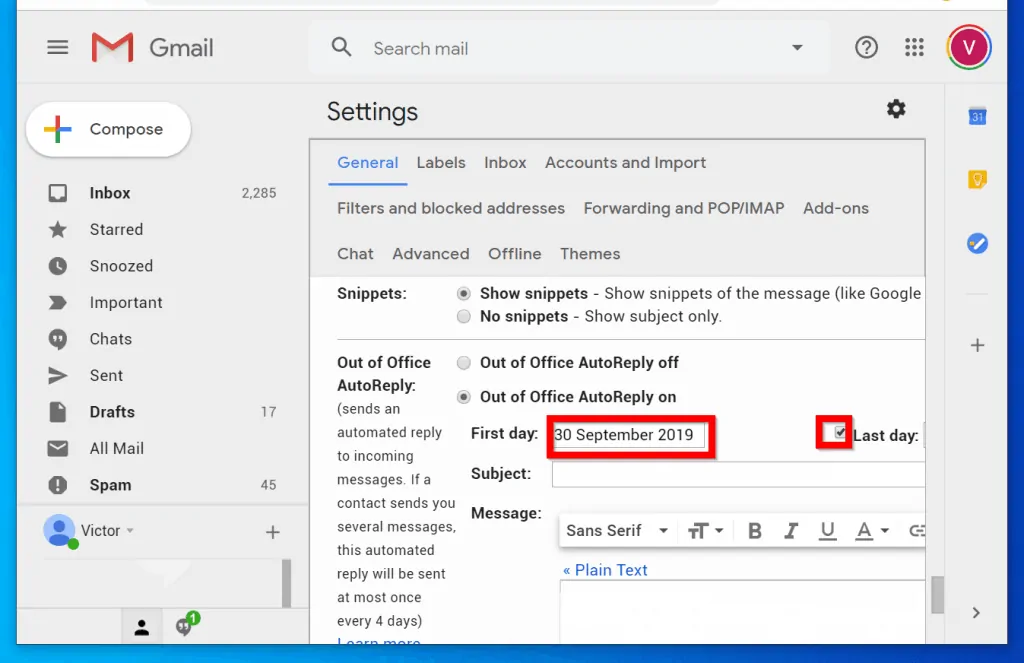
- Finally, click the date picker beside First day and select the date you want your out of office automatic reply to begin sending. To set an end date, check the Last day checkbox. Then click on the date picker beside Last day and select the last day for your auto replies.
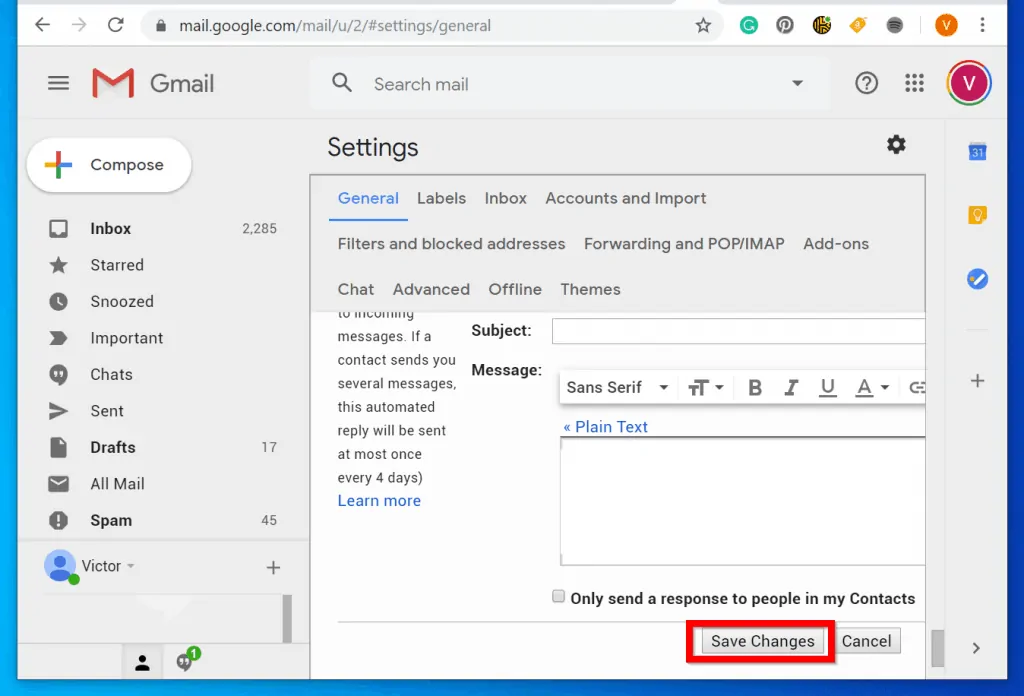
- To complete the setup, enter the subject for your message. Then type the message you want to send, scroll down and click Save Changes.
Conclusion
The methods discussed in this guide covered how to set out-of-office automatic replies for the 3 most popular email clients. I hope you found it helpful!
Please let me know your thoughts about this guide by responding to the “Was this page helpful?” question below.
For more productivity and other tech, guides visit our How To page.