This Itechguide teaches you how to set print area in Google Sheets. This is helpful if you want to print specific cells in Google Sheets.
Step 1: Open the Google Sheets Document
- Open Sheets.Google.com. Then login with your Google Account.
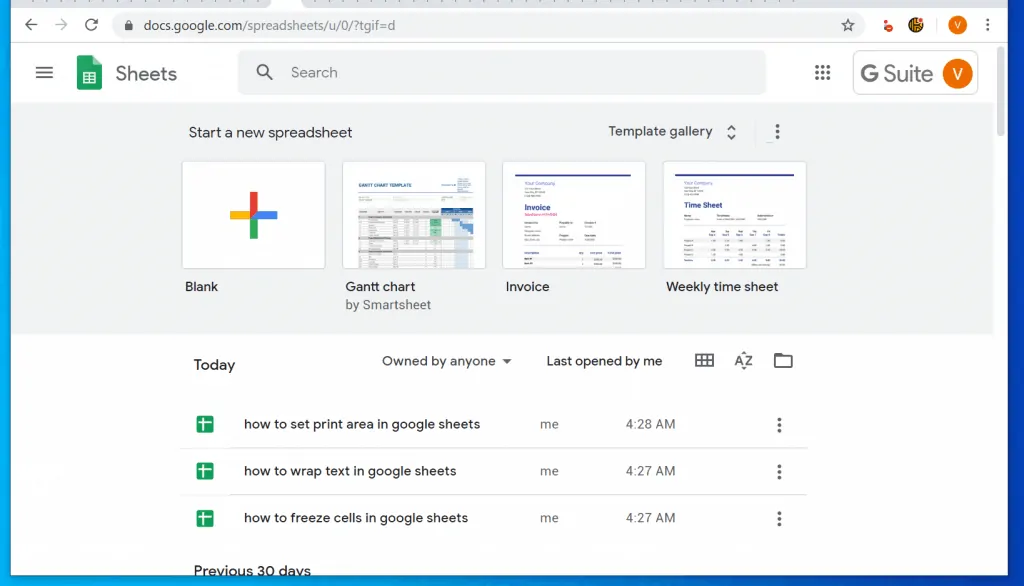
- You have two options to open your Google Sheets document. You can either open it from the list of recent documents – labelled Today, Previous 30 days, etc.
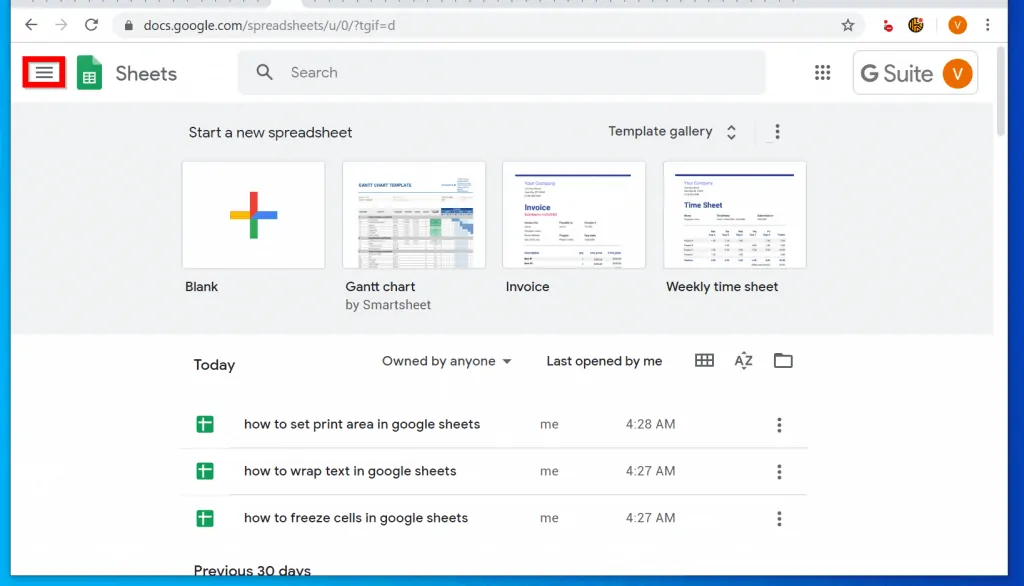
- Alternatively, you could open the document from Google Drive. To access Google Drive, click the 3 lines left of Google Sheets home page. Then select Drive.
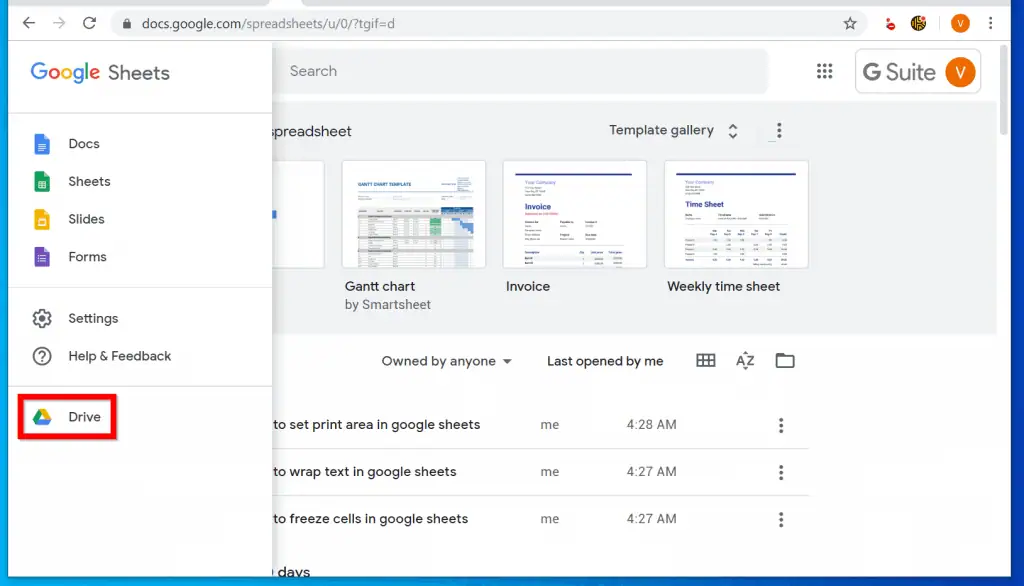
Once you have opened your document, proceed to the next step…
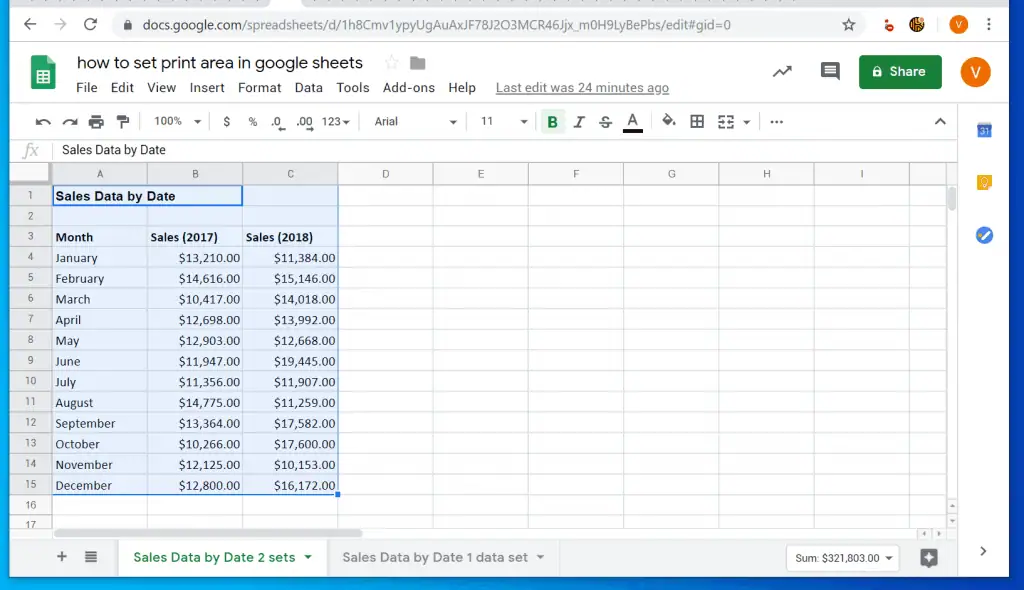
Step 2: Select Cells to Set Print Area
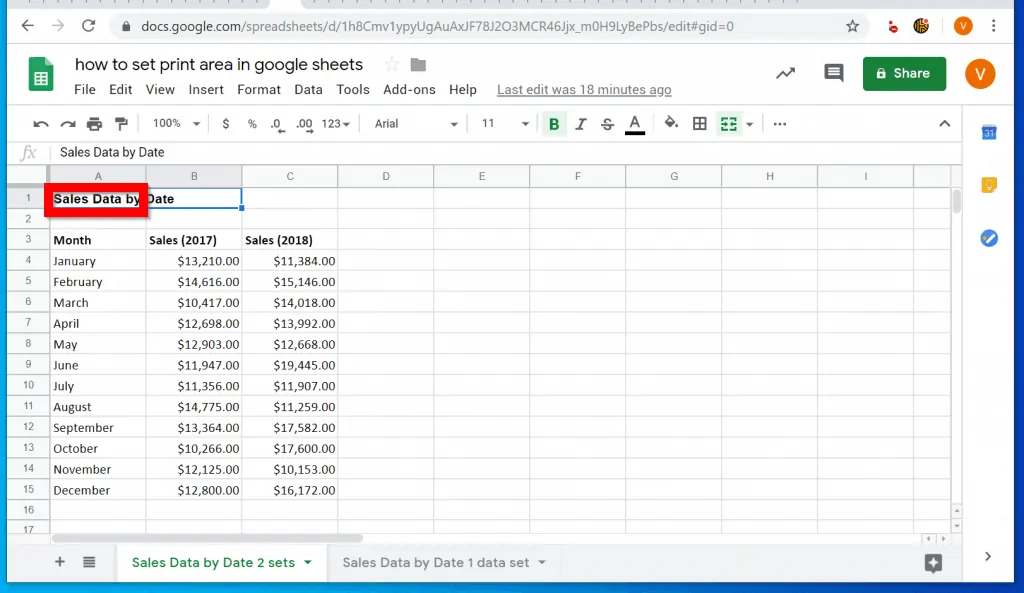
Once the document is opened, the next step is to select the Google Sheets cells you want to include in a print area. Here are the steps…
- Click on the first cell you want to be in the print area. In this example, cell A1.
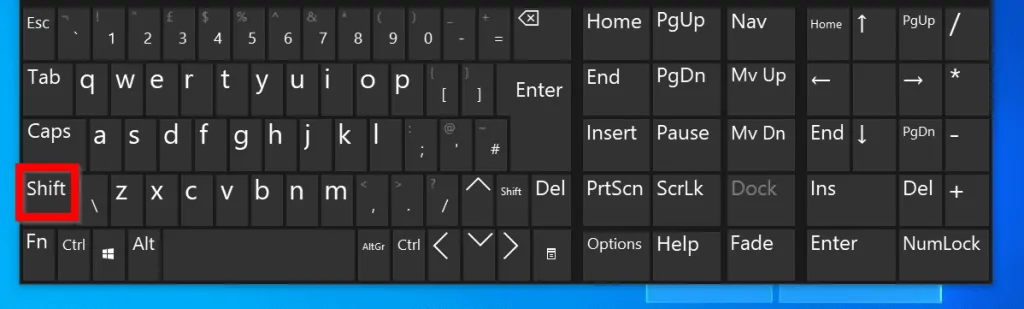
- Then press the Shift key on your keyboard.
- Finally, click the last cell you want to be in the print area. In this example, cell C15.
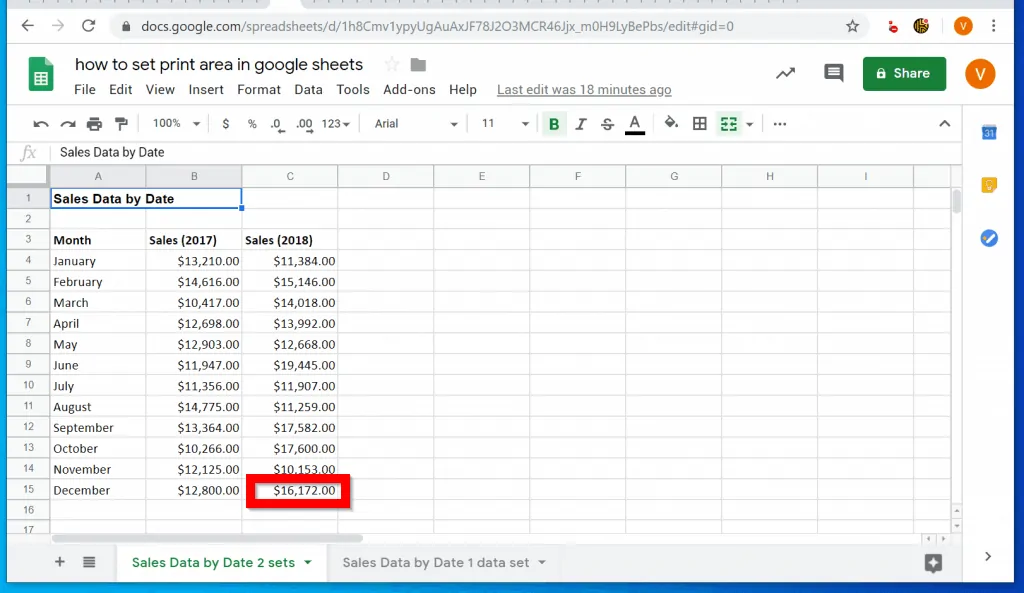
- All the cells you want in your print area will now be selected.
Another method to select the cells you want to add to a print area is to click the first cell, then drag your mouse through all the cells to the last cell.
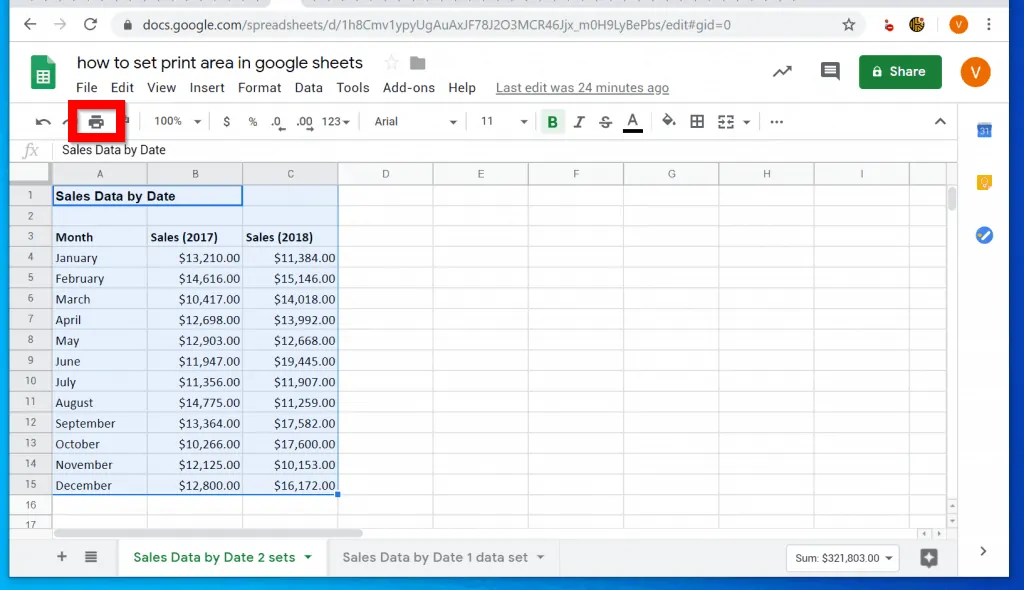
Step 3: Open Print Settings and Set Print Area
- With the cells you want in your print area selected, on the top left of Google Sheets, click the print icon. This will open Print Settings.
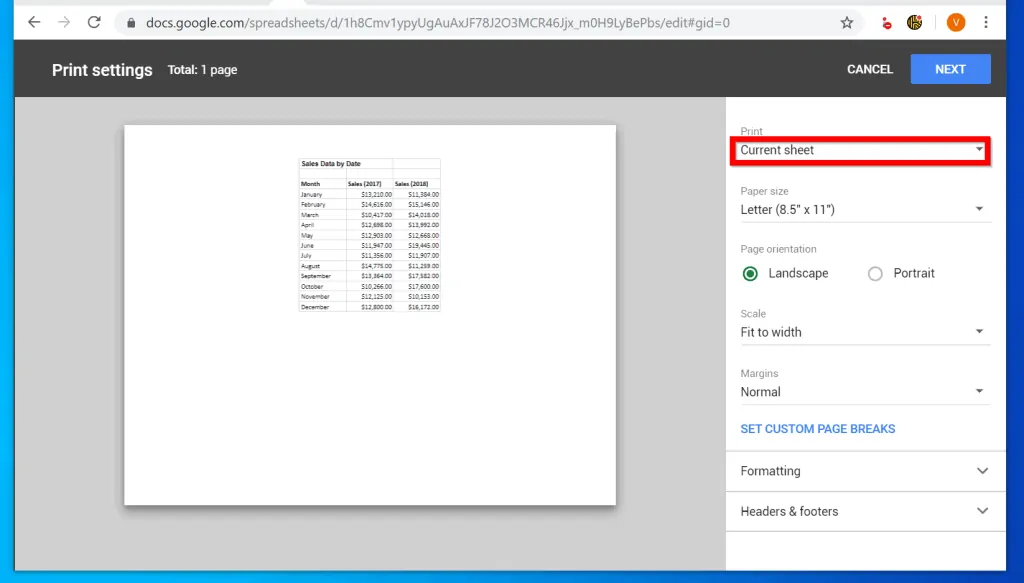
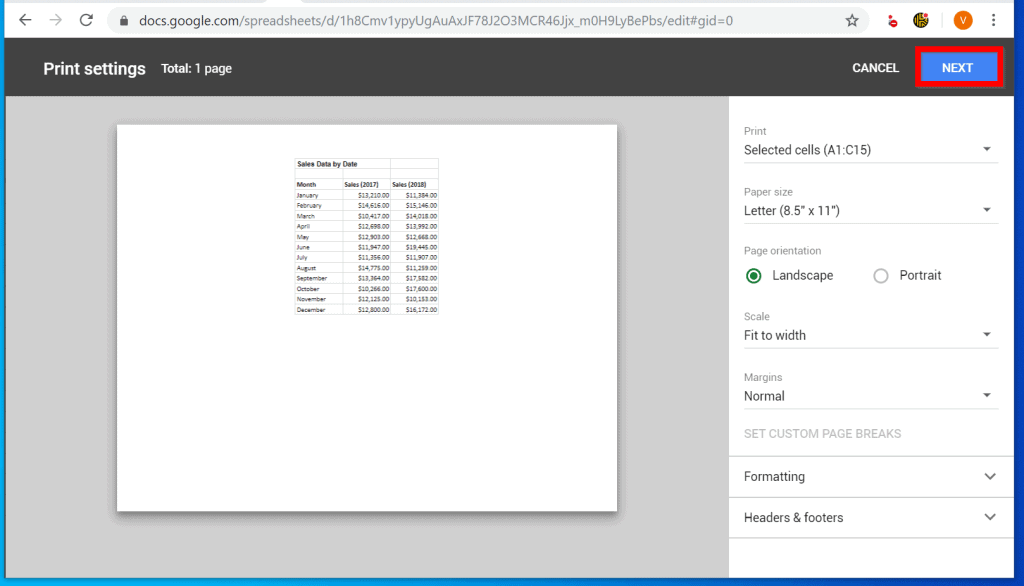
- Then, to set print area in Google Sheets, on the top right of Print Settings, click the Print drop-down and select Selected cells…(default is Current Sheet).
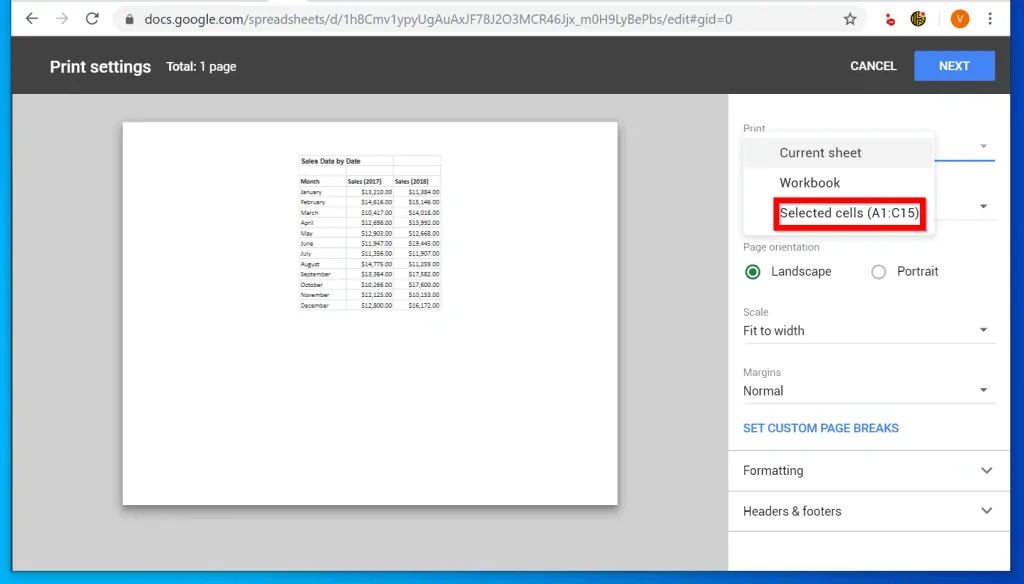
- Finally, on the top right of Print Settings (above Print drop-down), click Next.
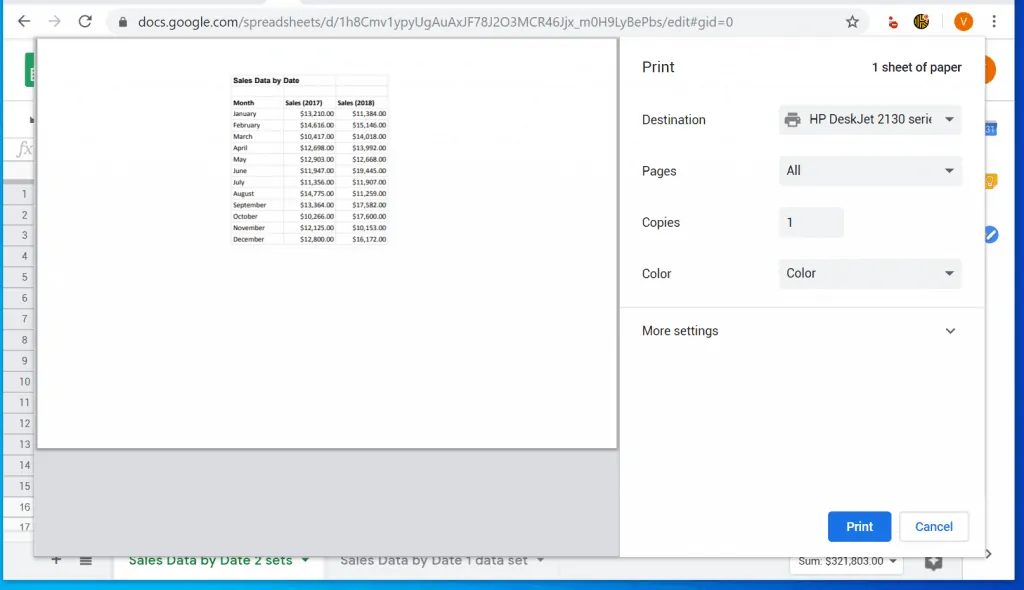
- You can then select the printer to print to and click Print. Only the selected area of the Google Sheets document will be printed!
It is this easy to set print area in Google Sheets! I hope you found this Itechguide helpful and easy to follow. If it did, click on “Yes” beside the “Was this page helpful” question below.
You may also express your thoughts and opinions by using the “Leave a Comment” form at the bottom of this page.
Finally, if you enjoyed this guide and want more Google guides, visit our Google How To page.