This Itechguide teaches you how to remove Skype from Windows 10.
Option 1: Remove Skype via Apps & Features
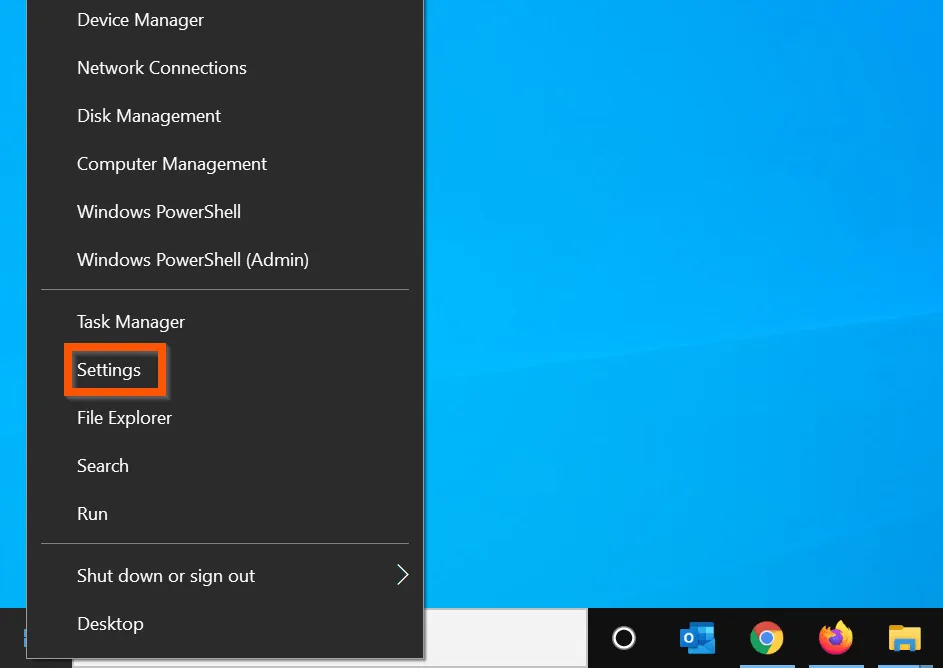
- Right-click Windows 10 Start menu and click Settings.
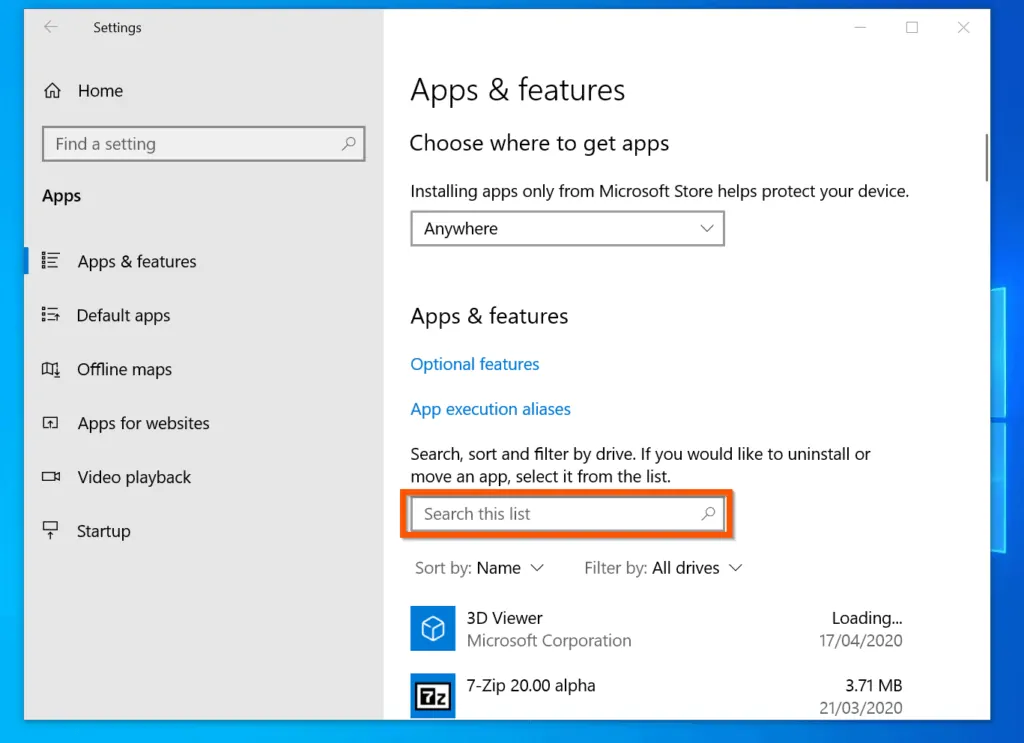
- Then, on Windows Settings page, click Apps.

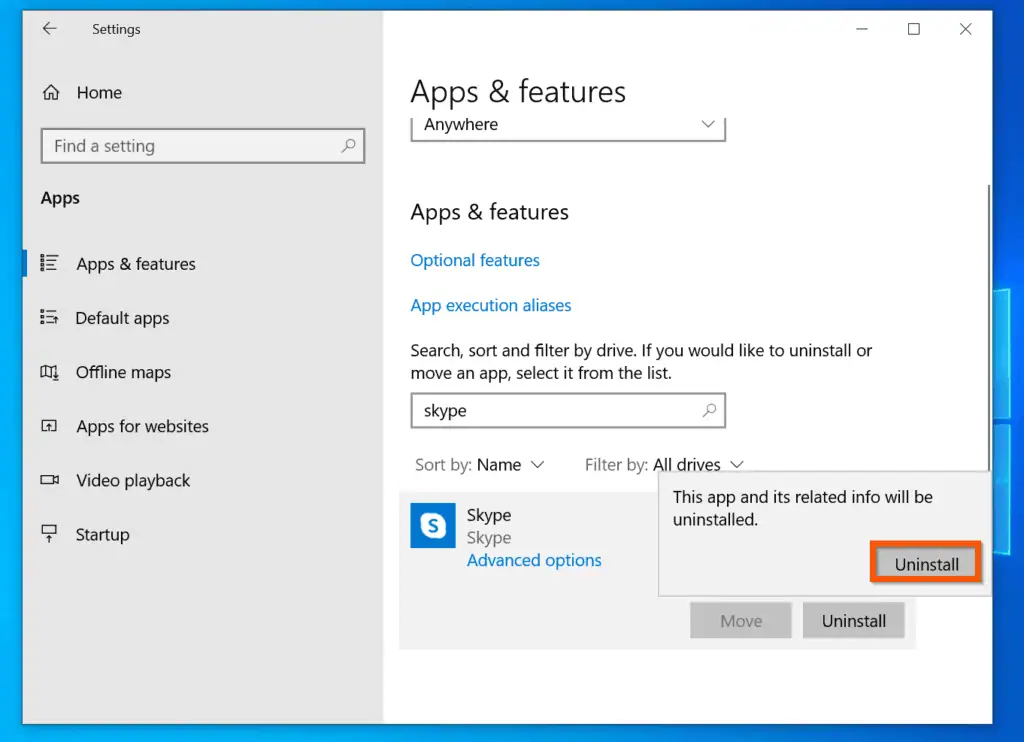
- On the Apps & Features page, enter skype in the Search this list box.
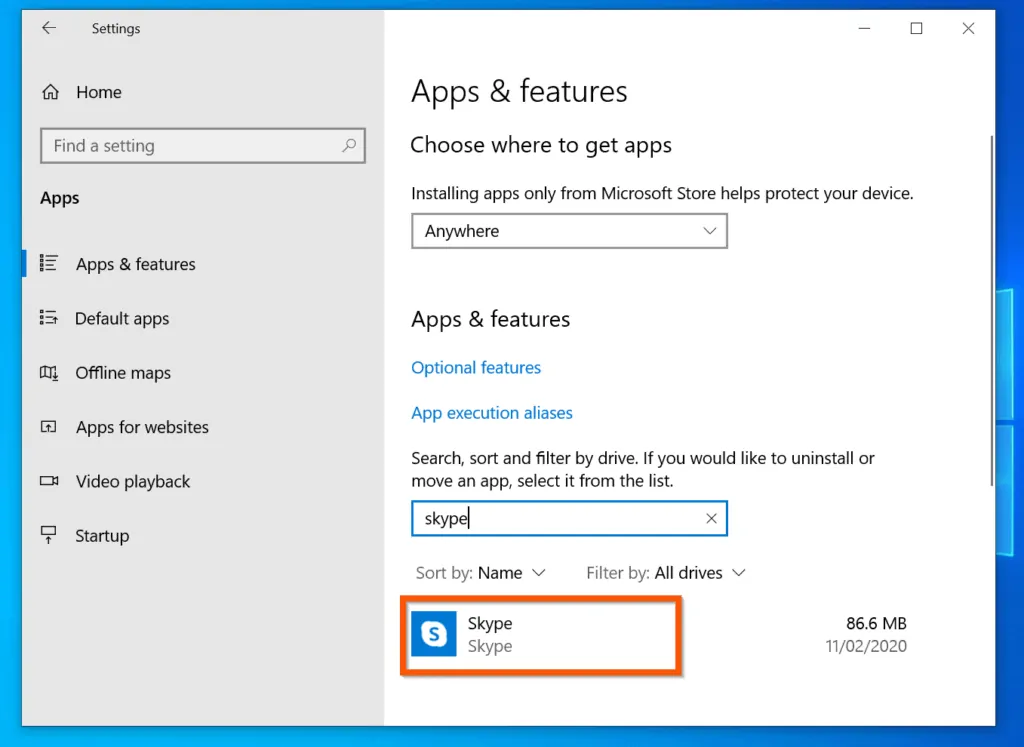
- When Skype is displayed, click on it – it will display more options.
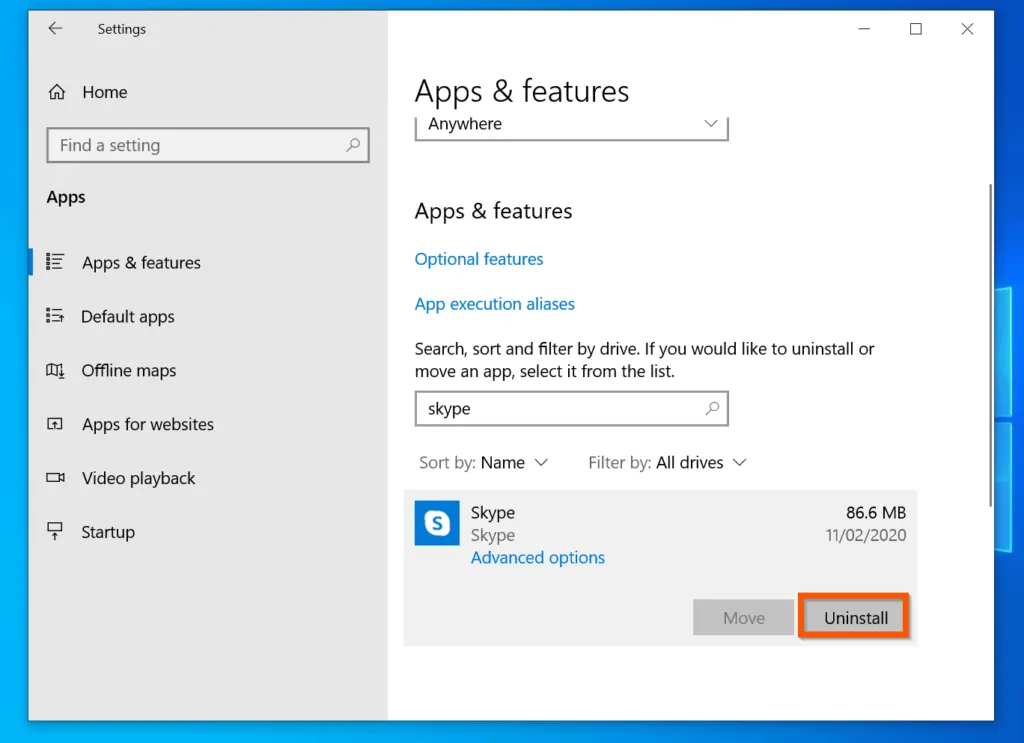
- From the displayed options, click Uninstall. The app will display an Uninstall confirmation.
- Finally, to remove Skype from Windows 10, click the second displayed Uninstall – see the second image below.
Option 2: Remove Skype with PowerShell
If you are not be able to uninstall Skype from Apps & Features, you can use PowerShell to uninstall the app. This method will also work for most built-in Windows apps. Here are the steps…
- Type powershell in the search box. Then, right-click Windows PowerShell and click Run as Administrator.
- You will receive a User Account Control requesting permission to allow PowerShell to open, click Yes.

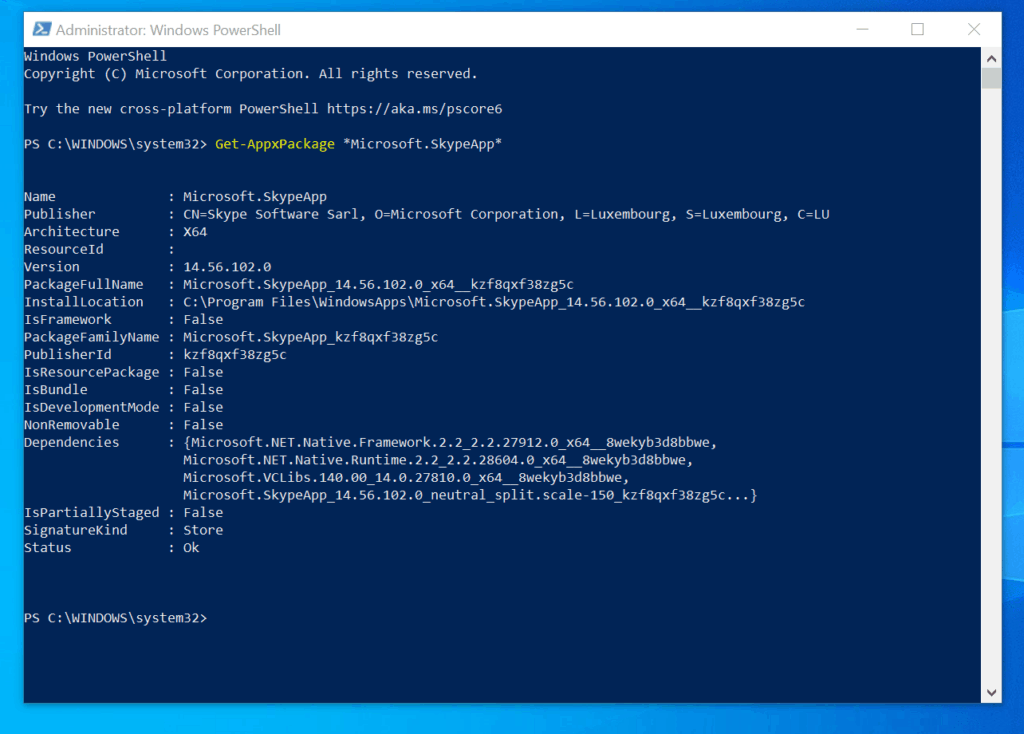
- On the PowerShell prompt, type the command below and press enter – this will display information about Skype.
Get-AppxPackage *Microsoft.SkypeApp*
The command will display information about Skype…
- The next step is to pipe the last command to the Remove-AppxPackage Cmdlet. To do this, type the command below and press enter.
Get-AppxPackage *Microsoft.SkypeApp* | Remove-AppxPackage
Another way to do this is to save the first command in a variable. Then, pipe the variable to the Remove-AppxPackage Cmdlet. Here are the two commands.
$UninstallSkype = Get-AppxPackage *Microsoft.SkypeApp*
$UninstallSkype | Remove-AppxPackage
Conclusion
I hope you found this Itechguide helpful. If you found it helpful, click on “Yes” beside the “Was this page helpful” question below.
You may also express your thoughts and opinions by using the “Leave a Comment” form at the bottom of this page.
Finally, for more Windows 10 Itechguides, visit our WINDOWS 10 HOW-TO page. You may also find our Work from Home page very helpful.


![How To Run Sysprep (Generalize) In Windows 10 [2 Methods]](https://www.itechguides.com/wp-content/uploads/2022/05/8-2.webp)