In this Itechguide, Victor teaches you how to hibernate Windows 10. The guide covers 2 steps to hibernate Windows 10.
Step 1: Add the Hibernate Option to the Start Menu
The first step to hibernate Windows 10 is to add the Hibernate option to the Windows 10 Start menu. Here are the steps…
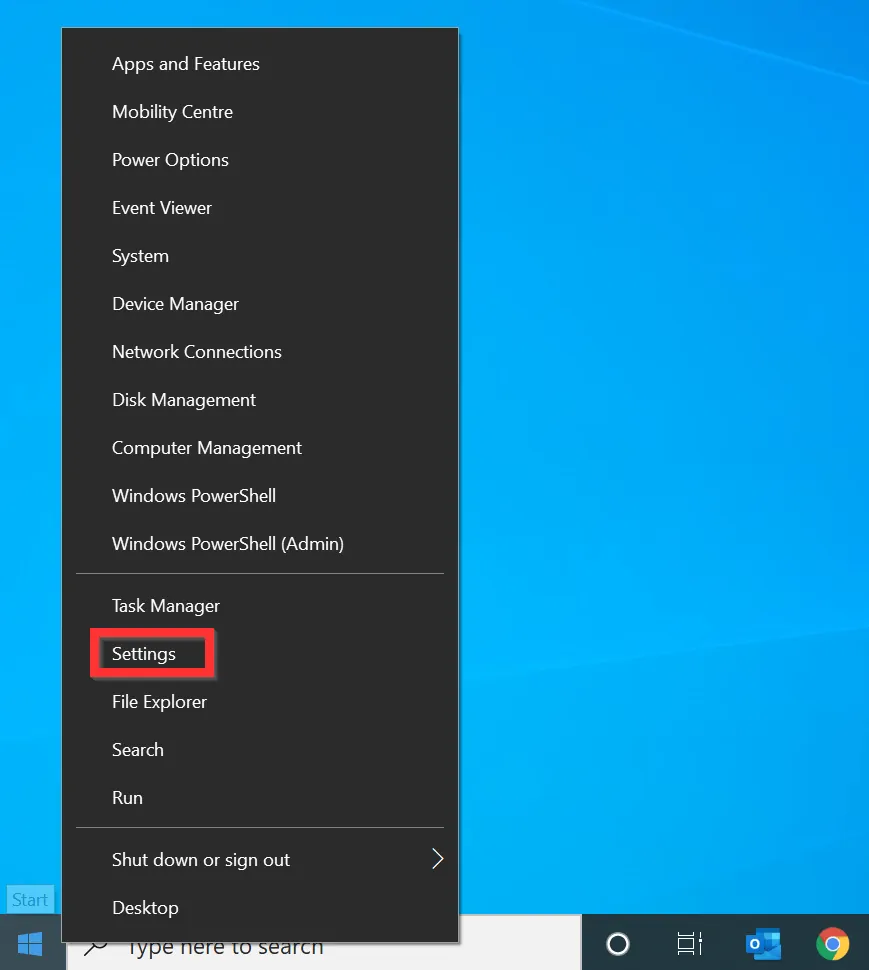
- Right-click the Windows 10 Start menu. Then, from the displayed options, click Settings.
- When the Windows Settings opens, click System.

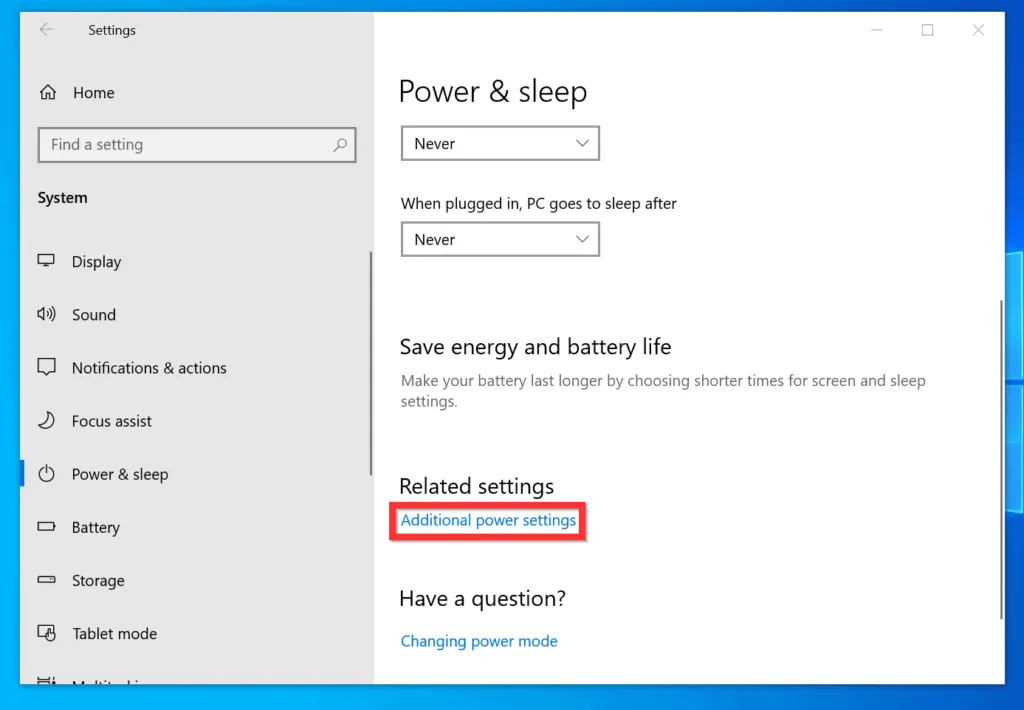
- On the left pane of System Settings, click Power & sleep.

- Then, on the Power & sleep settings, scroll down to Related settings and click Additional power settings.
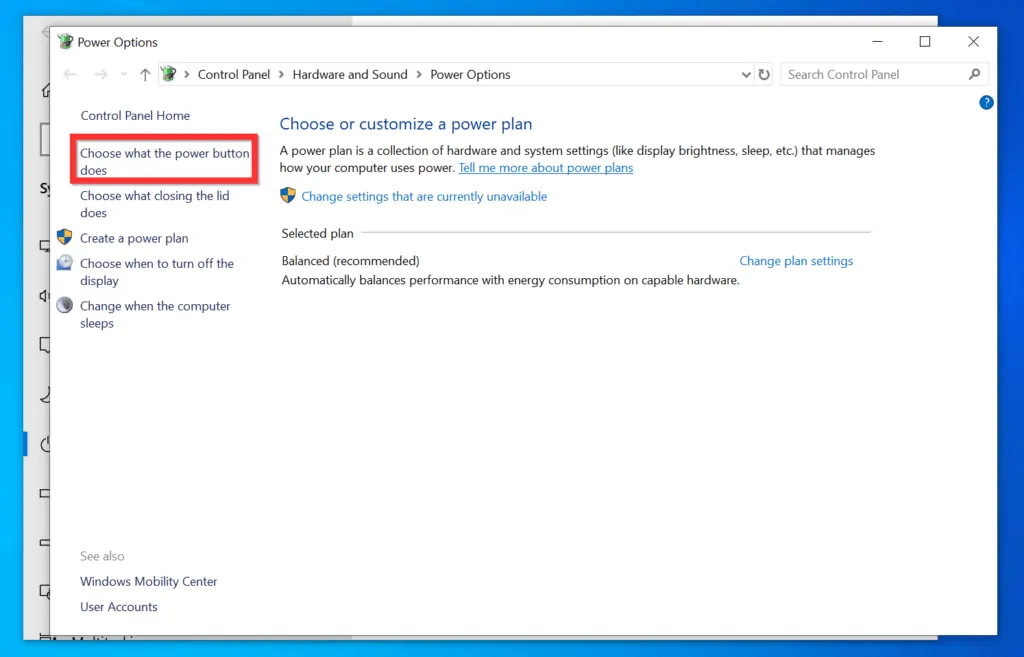
- On the left pane of the Choose or customize a power plan window, click Choose what the power button does.
You can also get to this window directly from Control Panel (Large or Small icons View) -> Power Options.
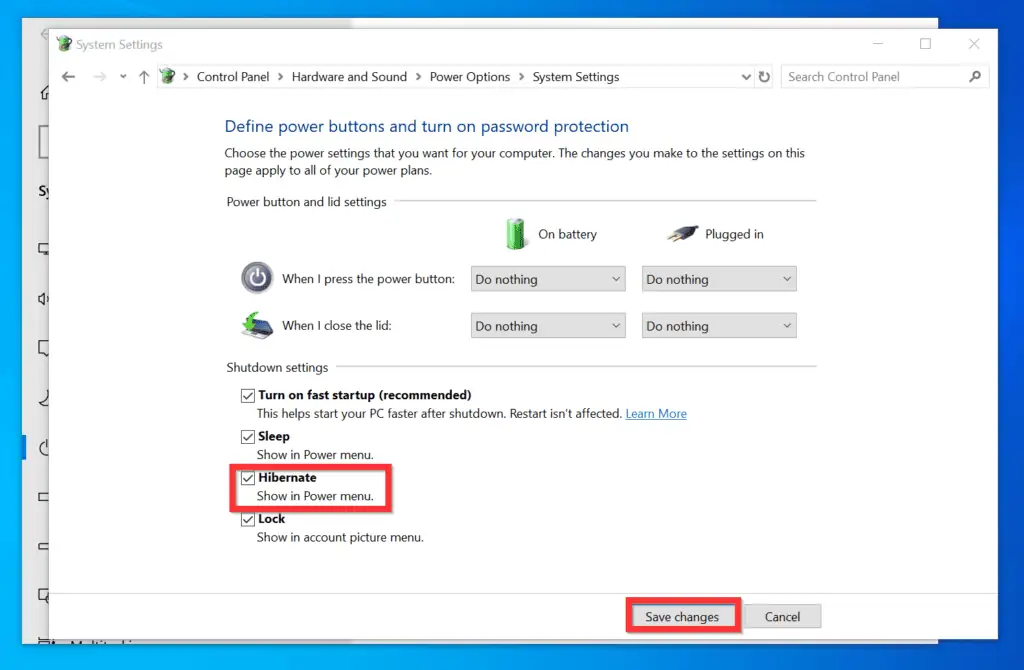
- Finally, on the Define power buttons and turn on password protection window, click Change settings that are currently unavailable.
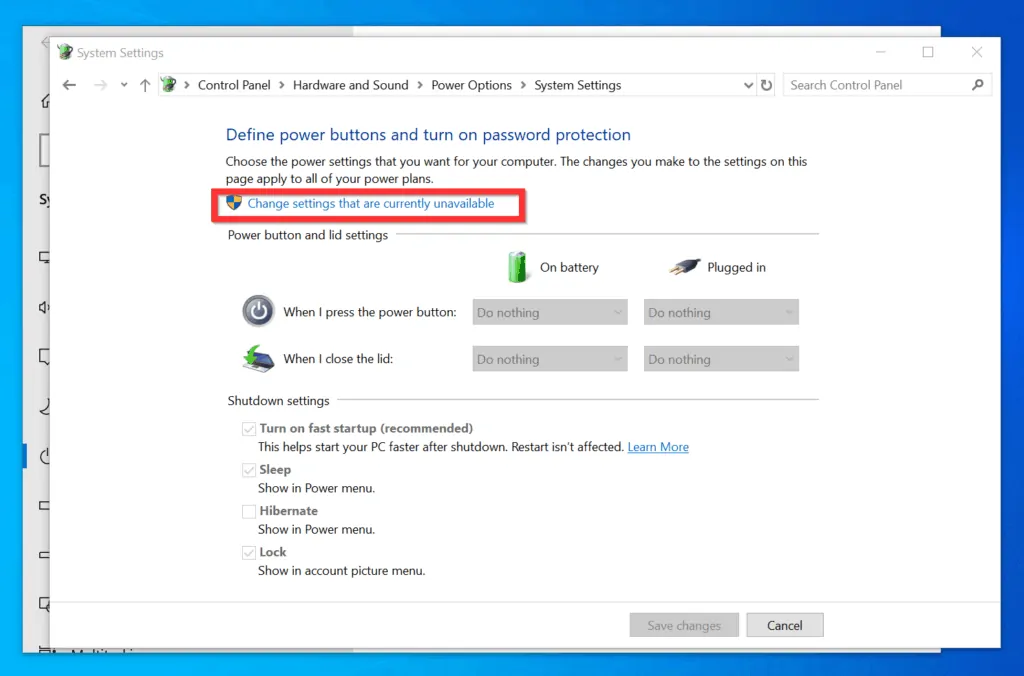
- Finally, to show Hibernate on the Windows 10 Start menu, check the Hibernate Show in Power menu checkbox. Then, on the bottom right of the window, click Save changes.
Step 2: Hibernate from Start Menu
After adding Hibernate to the Start menu, follow the steps below to Hibernate your PC.
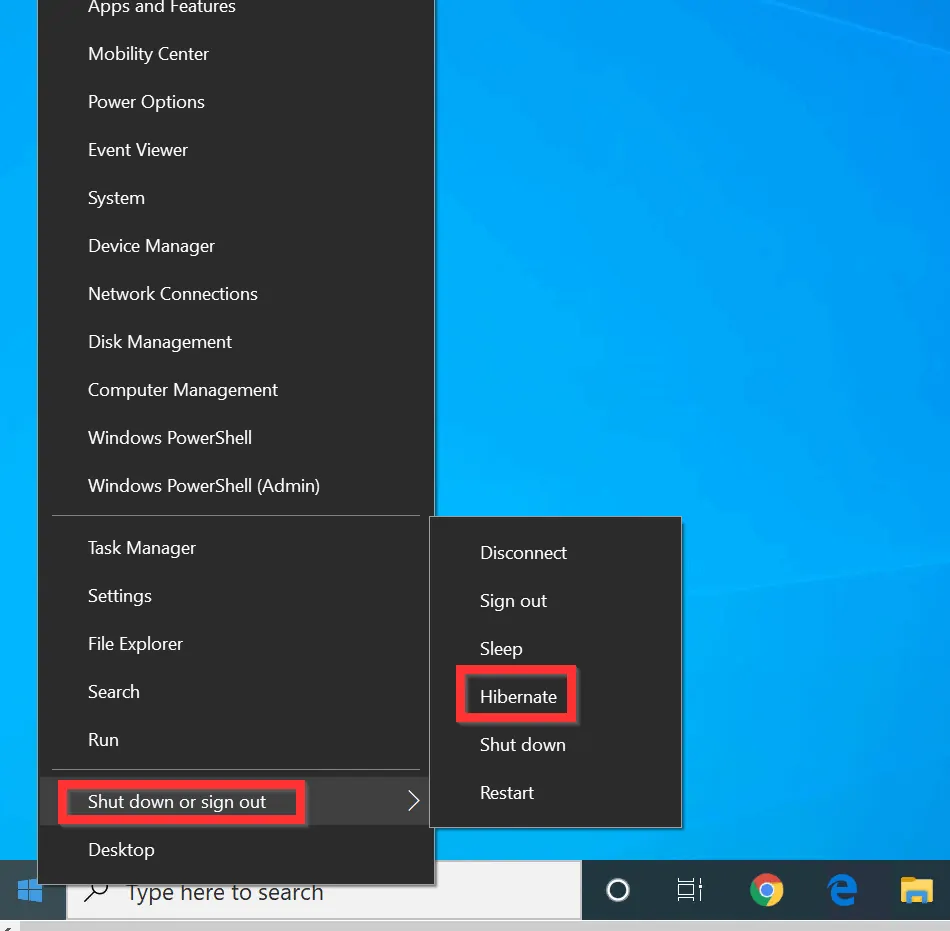
- Right-click the Start menu (Windows 10 logo on the bottom left of your desktop) and point to Shut down or sign out. Finally, from the Shut down or sign out options, select Hibernate.
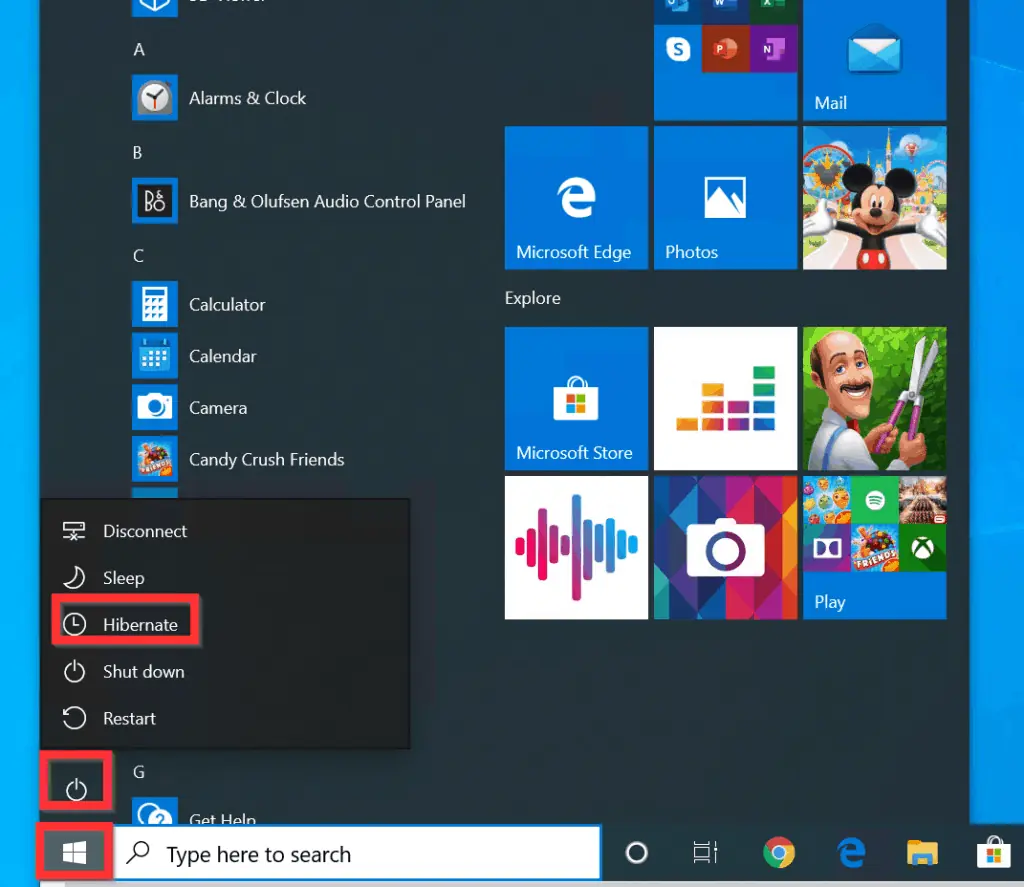
You can also Hibernate by left-clicking the start menu, select Power, and click Hibernate.
I hope you found this Itechguide helpful. If you found it helpful, click on “Yes” beside the “Was this page helpful” question below.
You may also express your thoughts and opinions by using the “Leave a Comment” form at the bottom of this page.
Finally, for more Windows 10 Itechguides, visit our Windows 10 How–To page.