This Itechguide teaches you how to add to outline in Google Docs. The guide offers steps to add to outline in Google Docs from a PC or the Apps (Android or iPhone).
Outlines in Google Docs help you navigate long documents. It automatically detects and lists headings (H1, H2, H3) from your text.
Option 1: Add to Outline from a PC
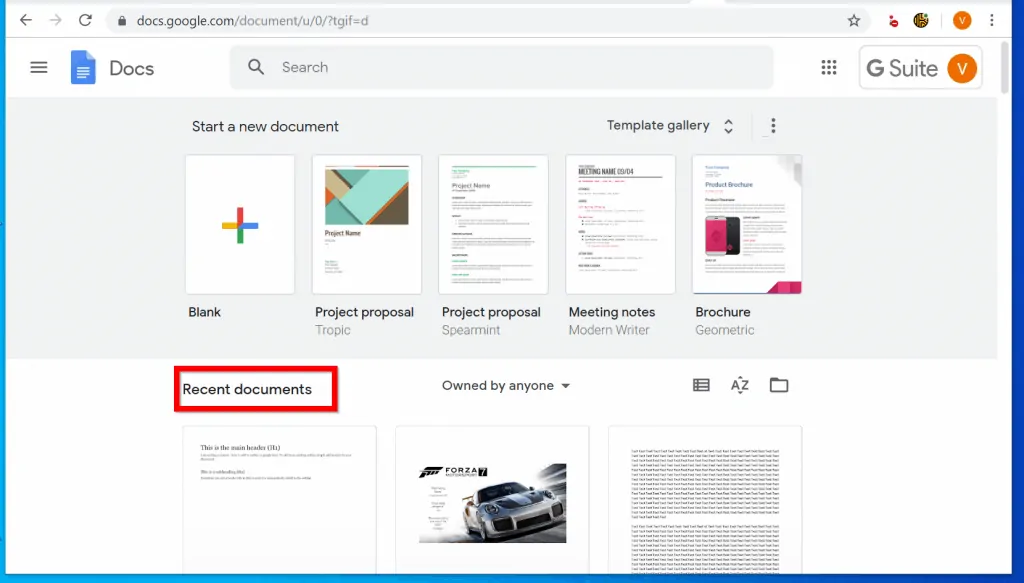
- Open Docs.Google.com from your PC. Then open the Google Docs document you want to add outline to.
- If you opened the document recently you can open it from the Recent documents group.
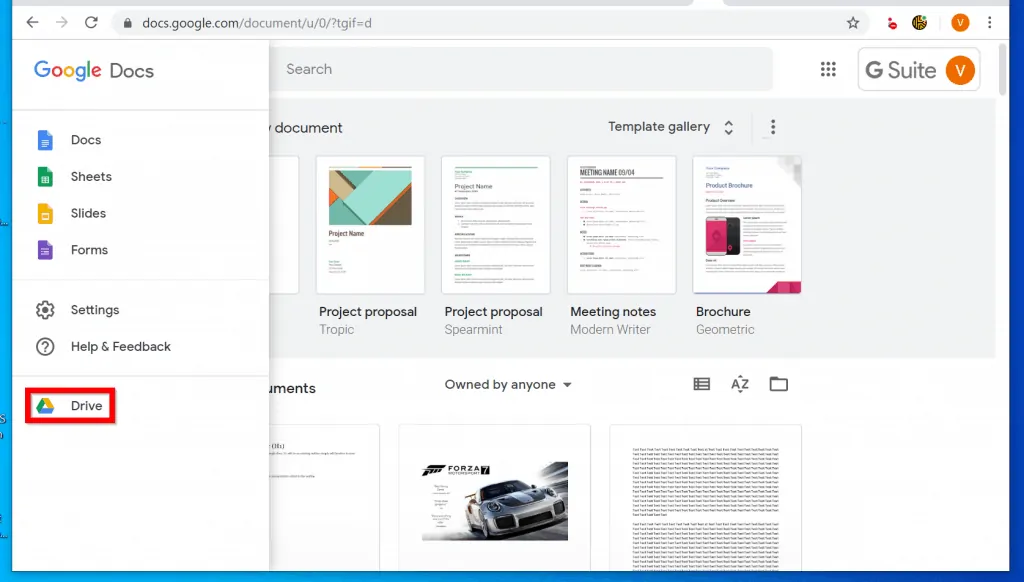
- You could also open a saved document fro Google Drive. To do this, click the 3 lines top left of Google Docs home. Then select Drive.

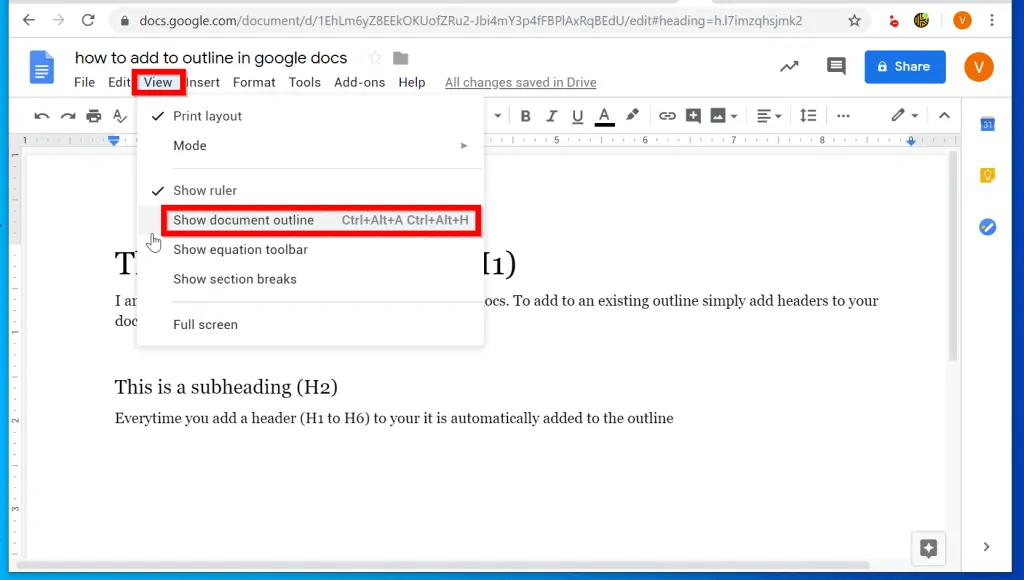
- Once the document opens, the first step is to enable Outline view. To do this, click View. Then select Show document outline.
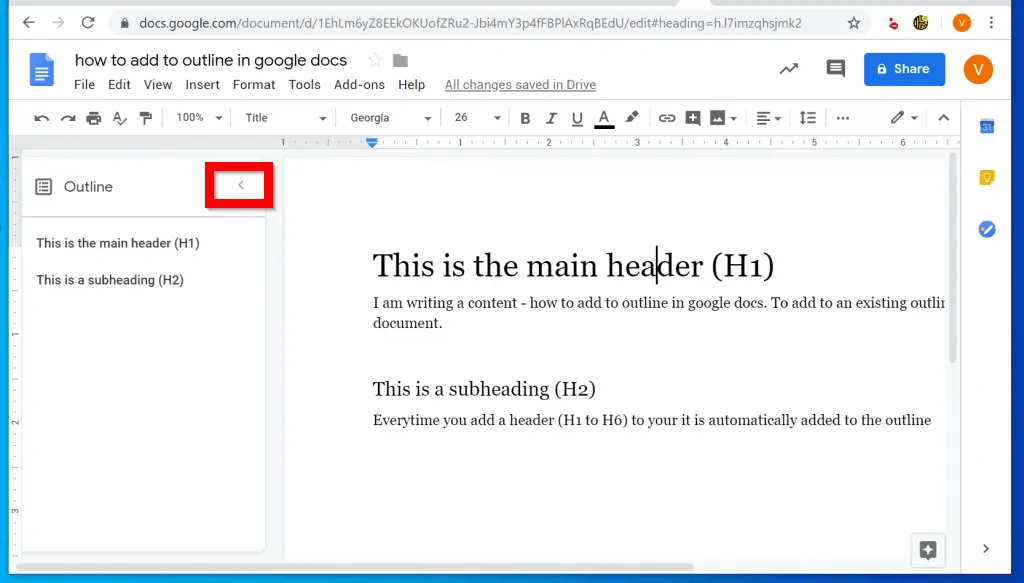
- The Outline pane will be displayed on the left side of the document. Notice that some texts in the document are automatically included the outline. In my example document below, “This is the main header (H1)” and “This is a subheading (H2)” are included.
- To minimize the Outline, click on the < beside it.
In Google docs, all H (H1, H2, H3, etc) tags are automatically included in the document outline. So, to add an outline, make the text a H tag.
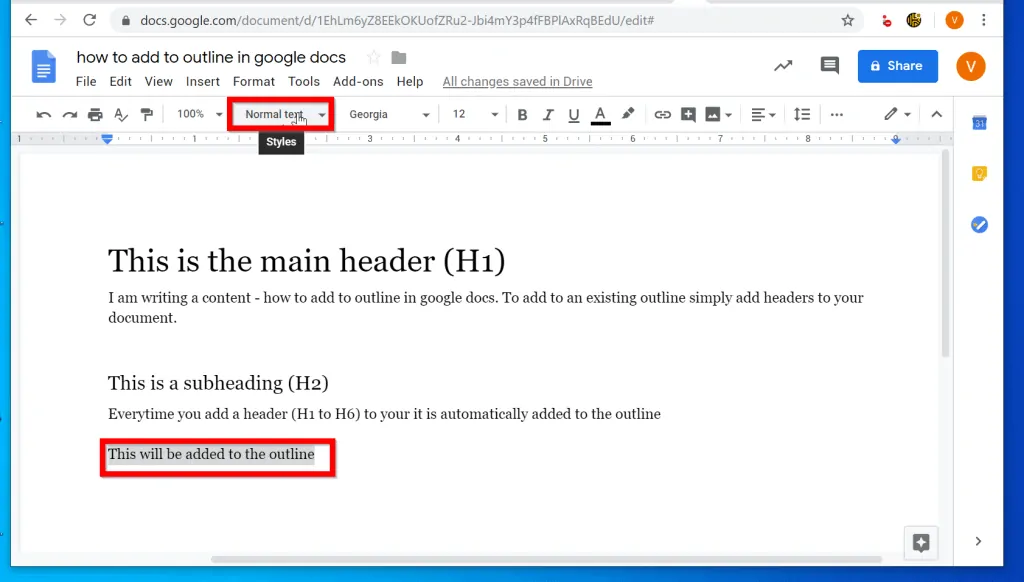
- In this example, I will include a new text and make it H2. Here is how: Type the text below. Then, highlight the whole text and click the Styles drop-down – it will normally be labelled Normal text.
This will be added to the outline
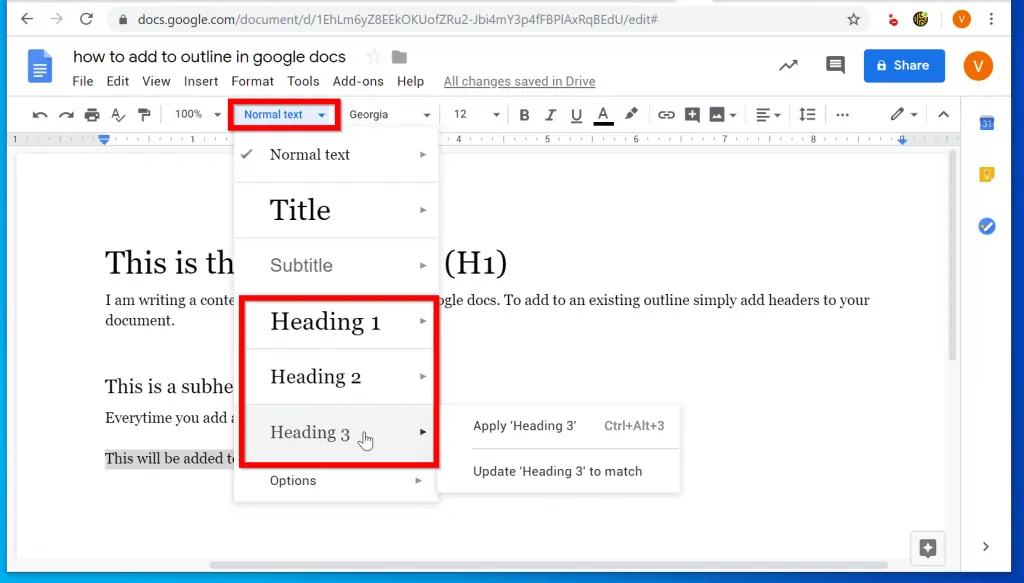
- From the drop-down options, point to either Heading 1, Heading 2 or Heading 3. Then select Apply ‘Heading x’ – x is the heading number. In this example Heading 3.
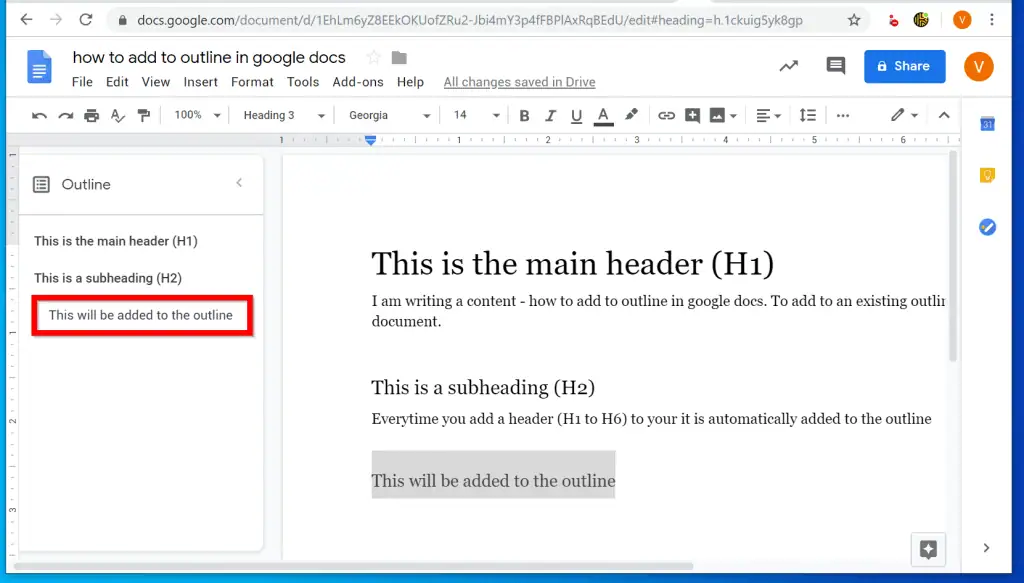
- Once you make a text a H tag, it will be added to the Outline automatically.
Option 2: Add to Outline from Android or iPhone App
The steps to add to outline is the same for both the Android and iOS apps.
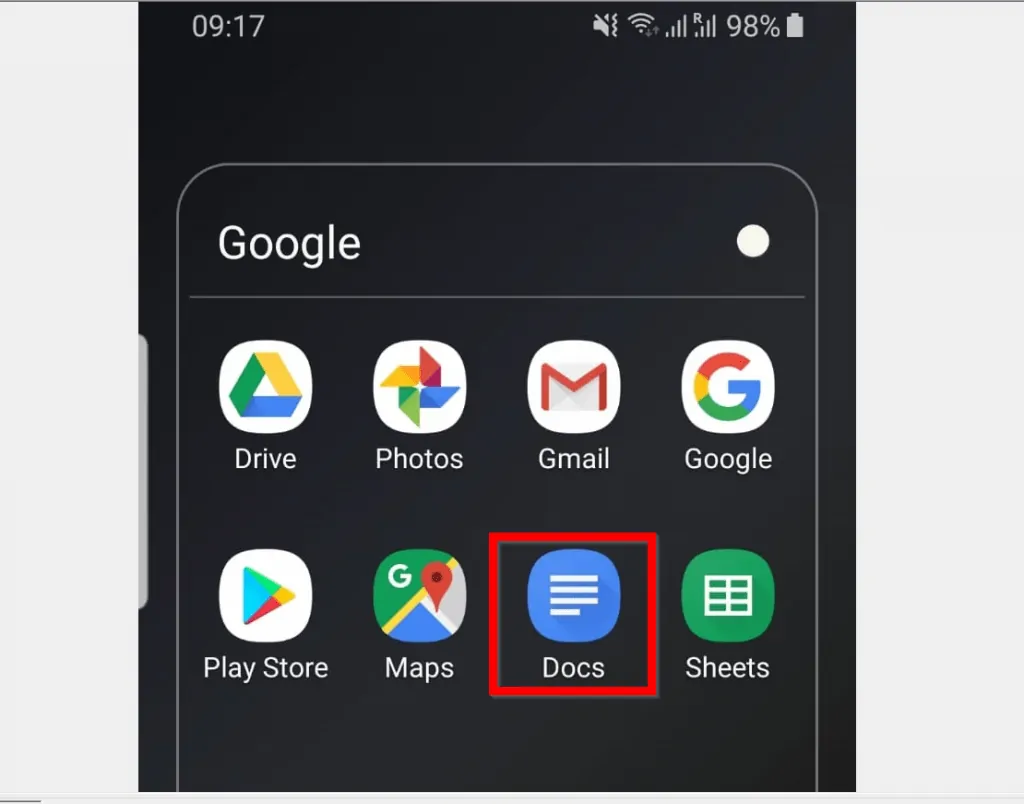
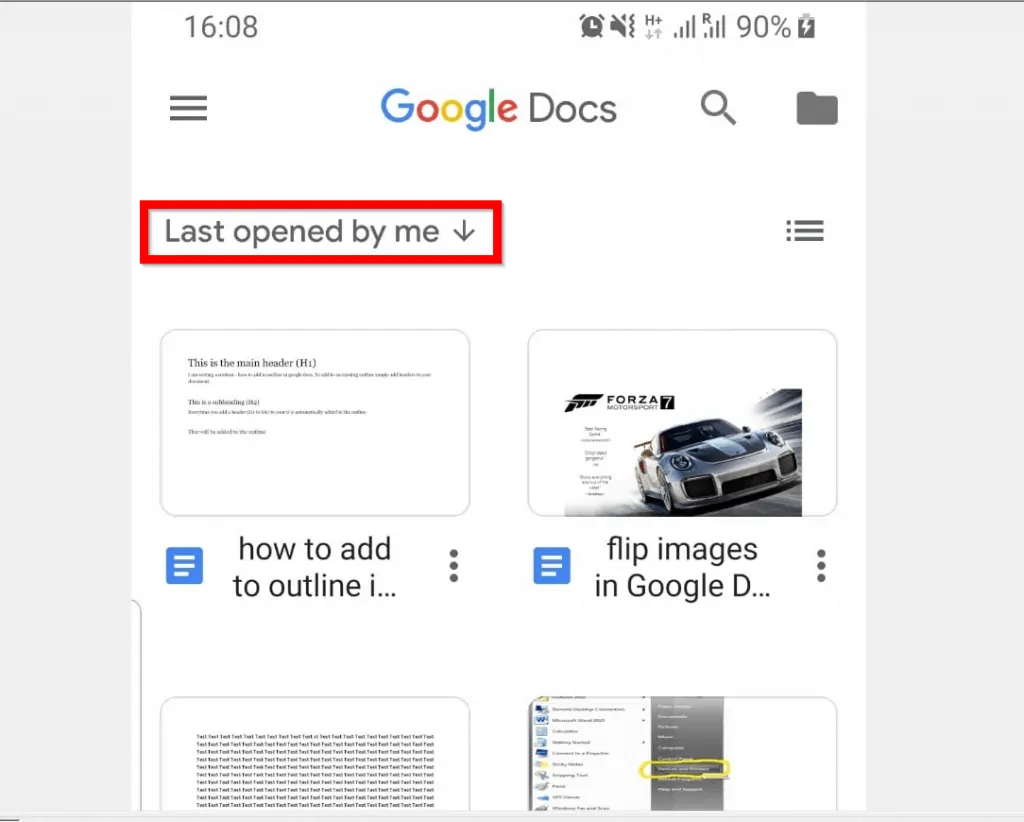
- Open the Google Docs App from your phone. Then open the document you want to add outline to.
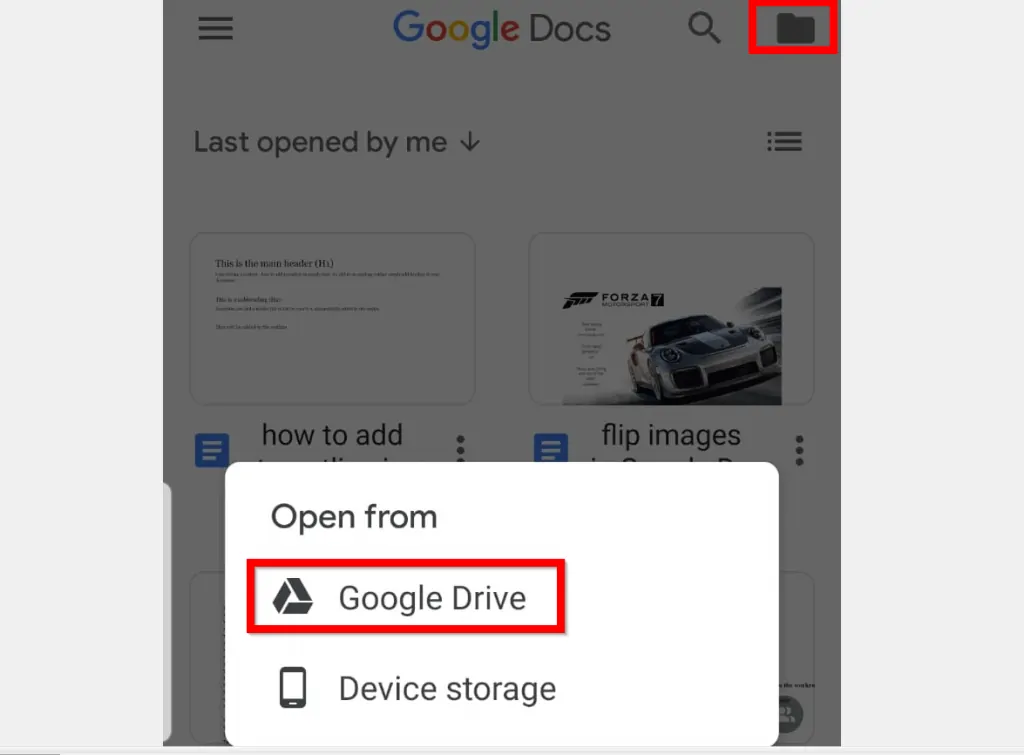
- You can open the document from Last opened by me or from Google Drive. To access Google Drive, tap the folder icon on the top right of the App and select Google Drive.
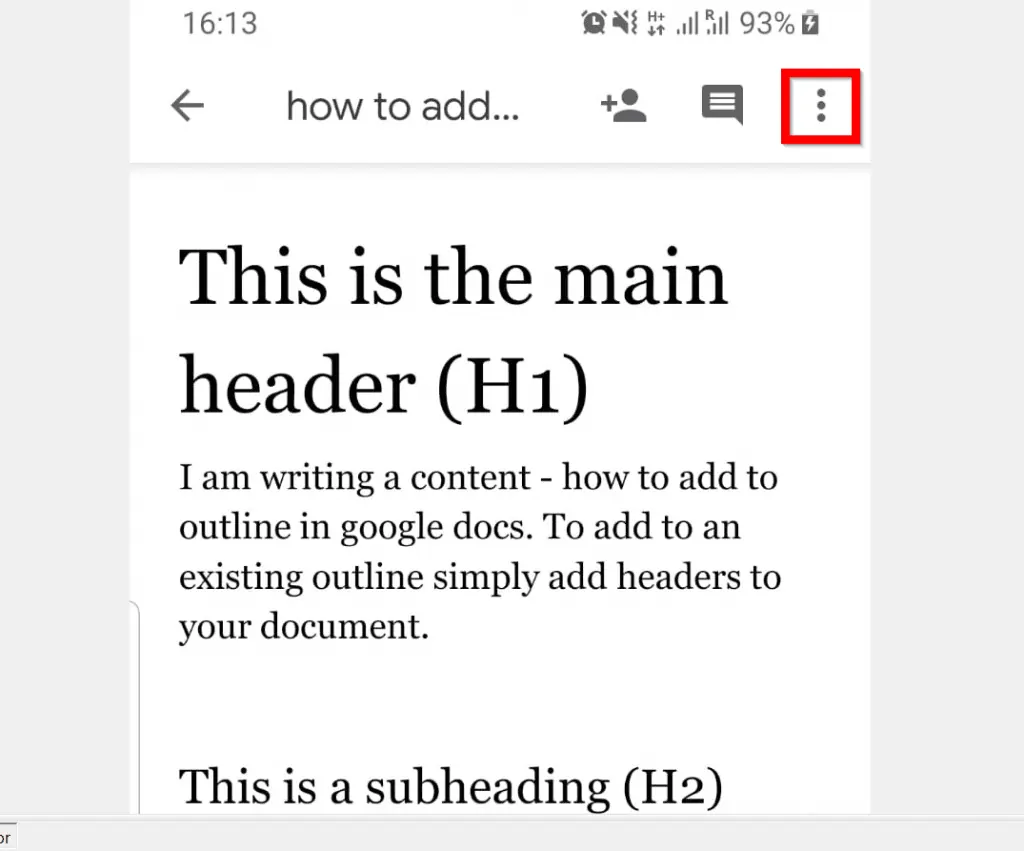
- Once the document is opened, the first step is to display the outline. To do this, click the 3 dots on the top right of the App. Then from the list of options, tap Document outline.

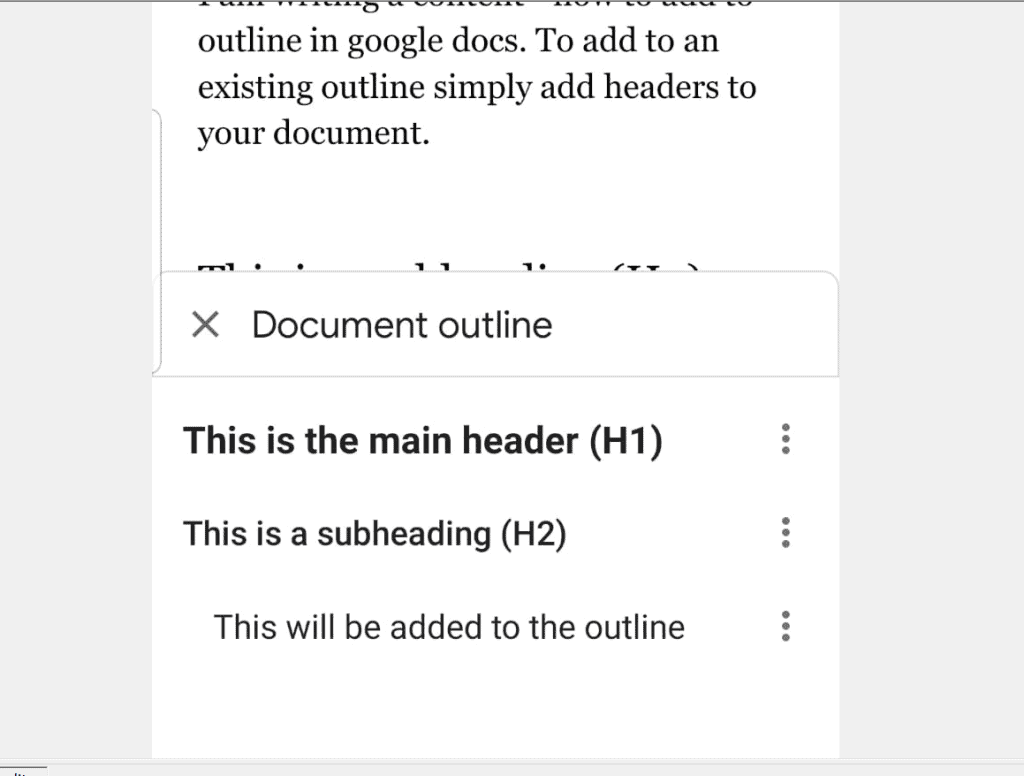
- The document will display existing outlines. The Outlines will be beneath the App.
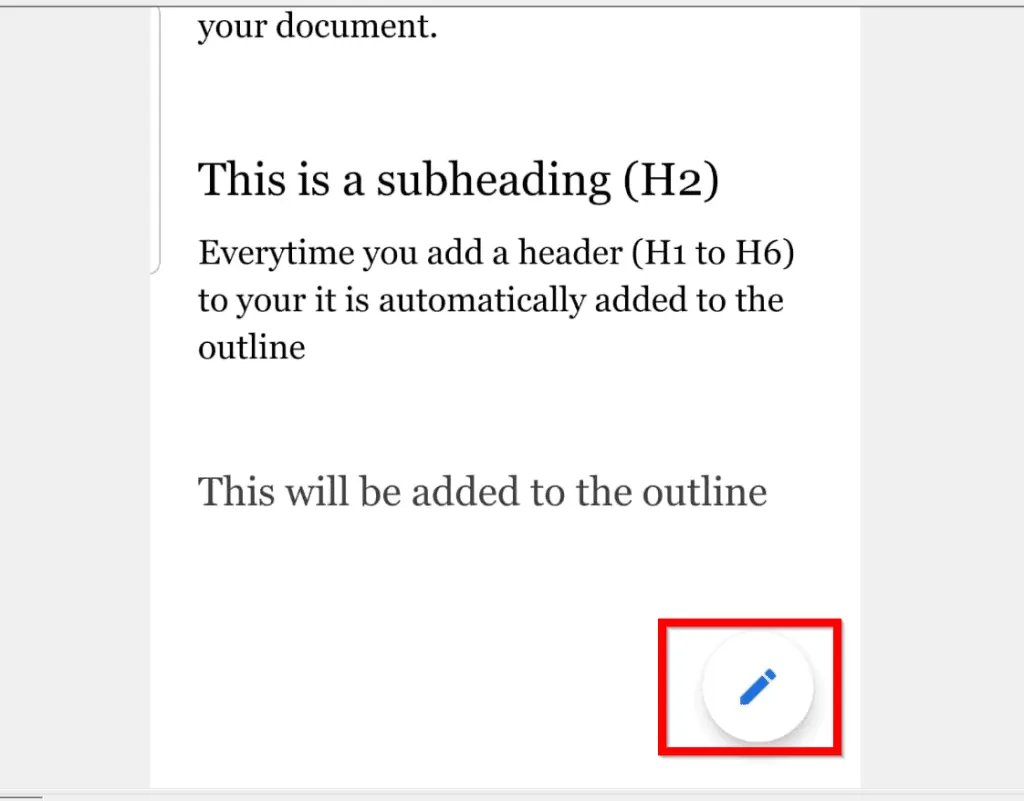
- To add to outline in Google Docs, for the Outline leave active view, tap on the document. Then click the edit button (pencil-like icon) beneath the document.
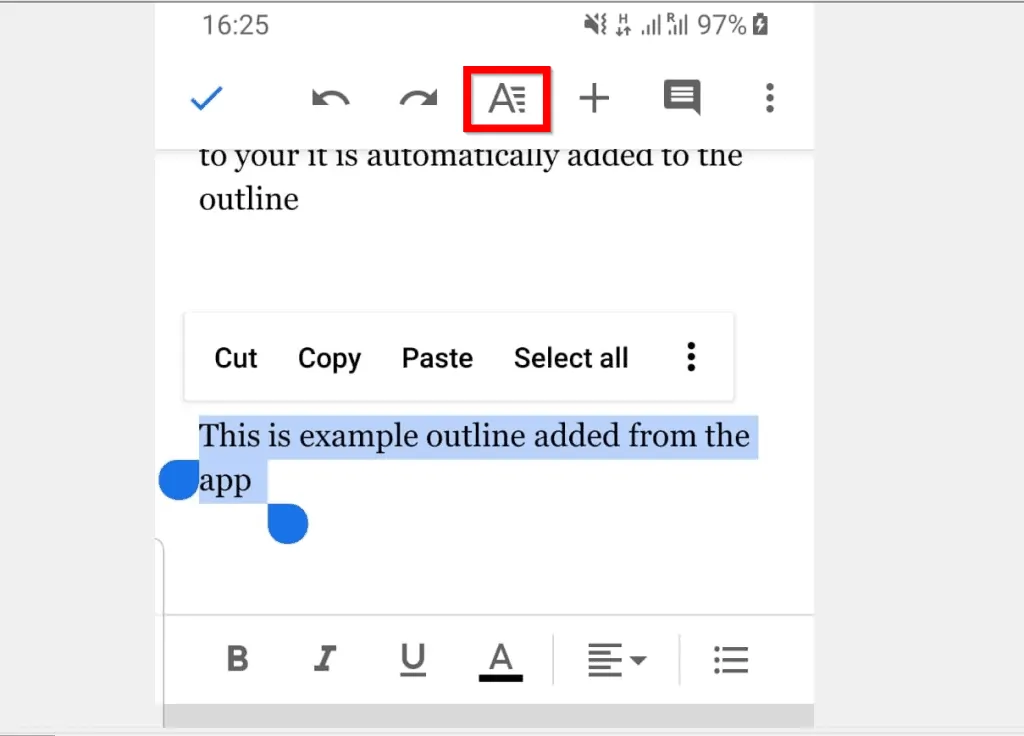
- The document will open for editing. Type the text you want to add to the outline and select it. You could select an existing text.
To select a text, double-tap on the first word in the text. Then when a blue cone appears, drag through the texts to select them.
- With the text is selected, click the Format icon on top of the App – Format icon looks like A.
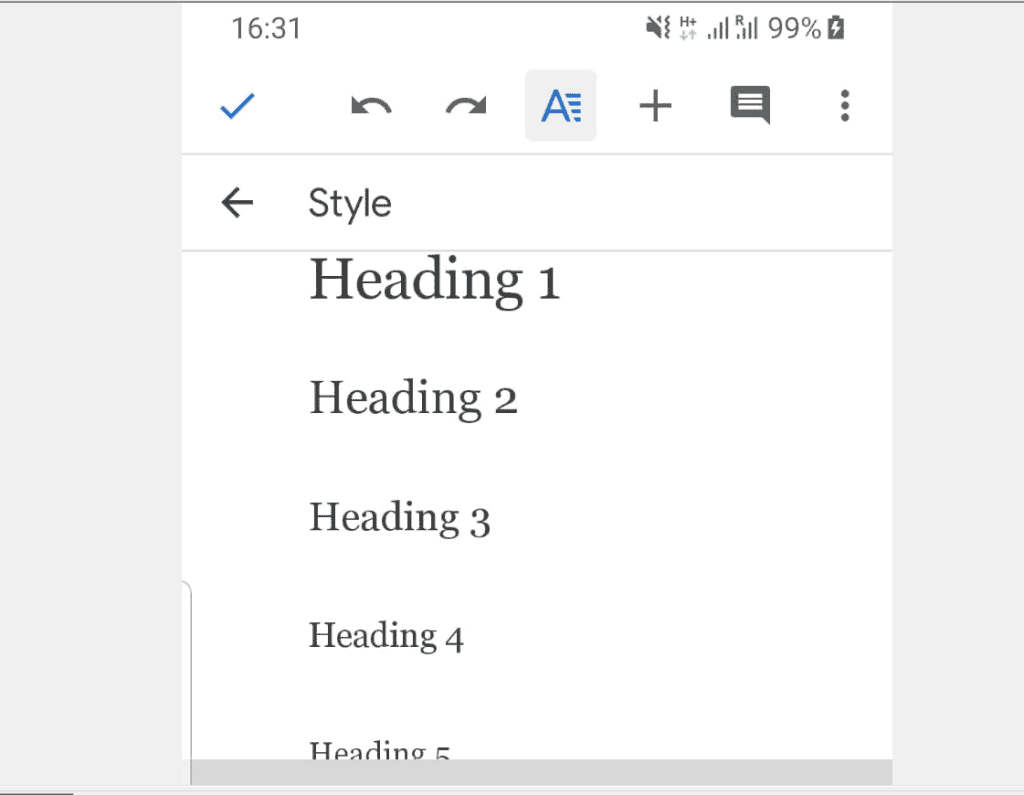
- When you click the Format icon, beneath the App, a set of options will be displayed. On the Text tab, click Style. Style will display Normal text by default.

- Finally, to add to outline in Google Docs, from the list of Styles, scroll down and select one of the H tags (H1, H2, H3, etc). For this demo, I will use H2.
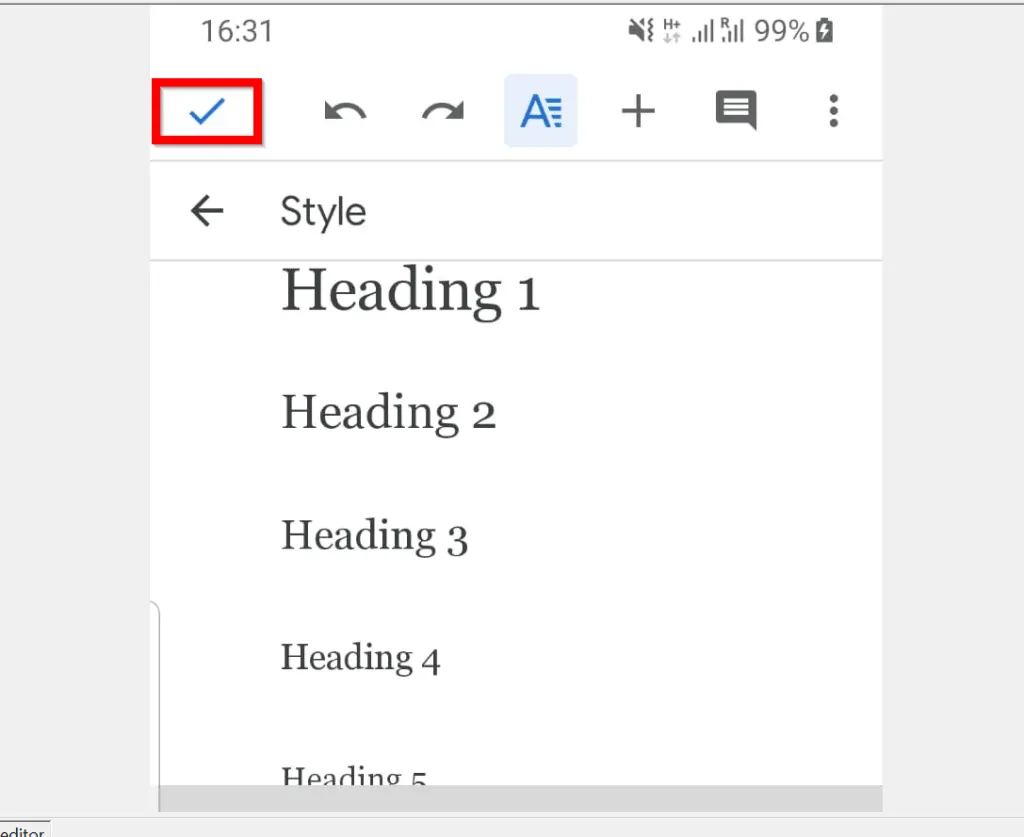
- On the top left of the App, click the blue tick – this will save your changes and return you to the document. Once you style the text as a header, it is automatically included into the document’s Outline.
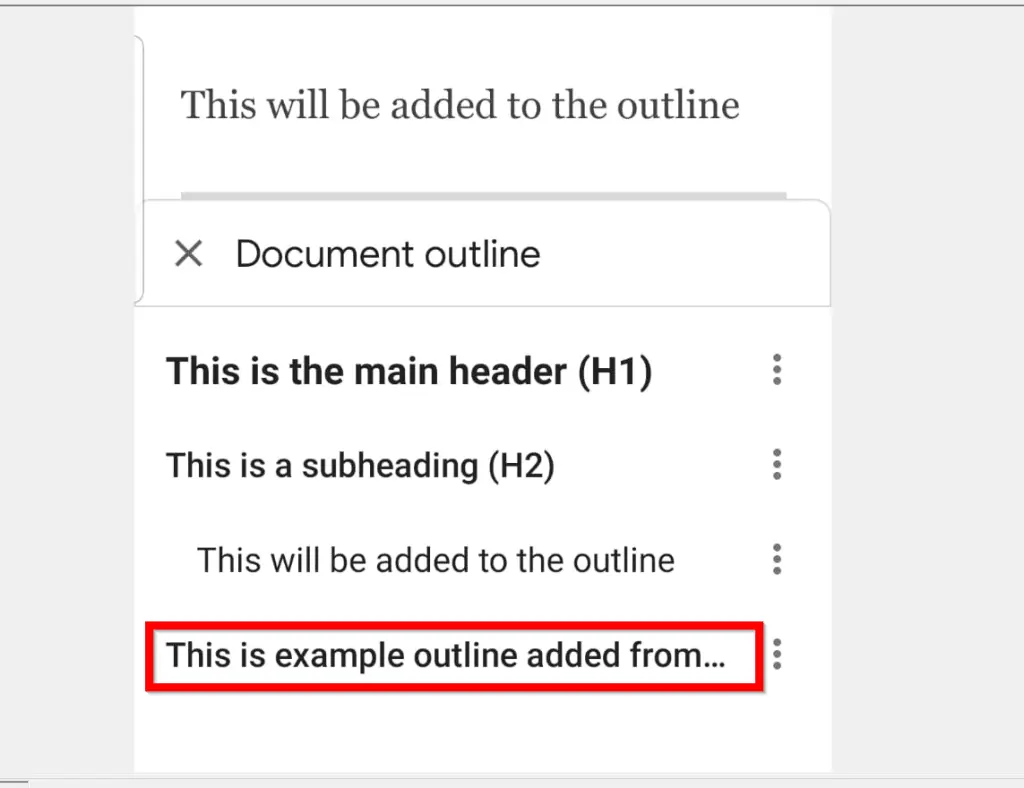
- To confirm, display outline – click the 3 dots on the top right, then click Document outline. Here is the text I added – it is now included in the outline!
I hope you found this Itechguide helpful. If it was helpful, click on “Yes” beside the “Was this page helpful” question below.
You may also express your thoughts and opinions by using the “Leave a Comment” form at the bottom of this page.
To read more Google guides, visit our Google How To page.