This Itechguide teaches you how to convert PDF to JPG on Windows 10.
Step 1: Install “Any PDF to JPG” App
The first step to convert PDF to JPG on Windows 10 is to install the app you need. Follow the steps below to install “Any PDF to JPG” App.
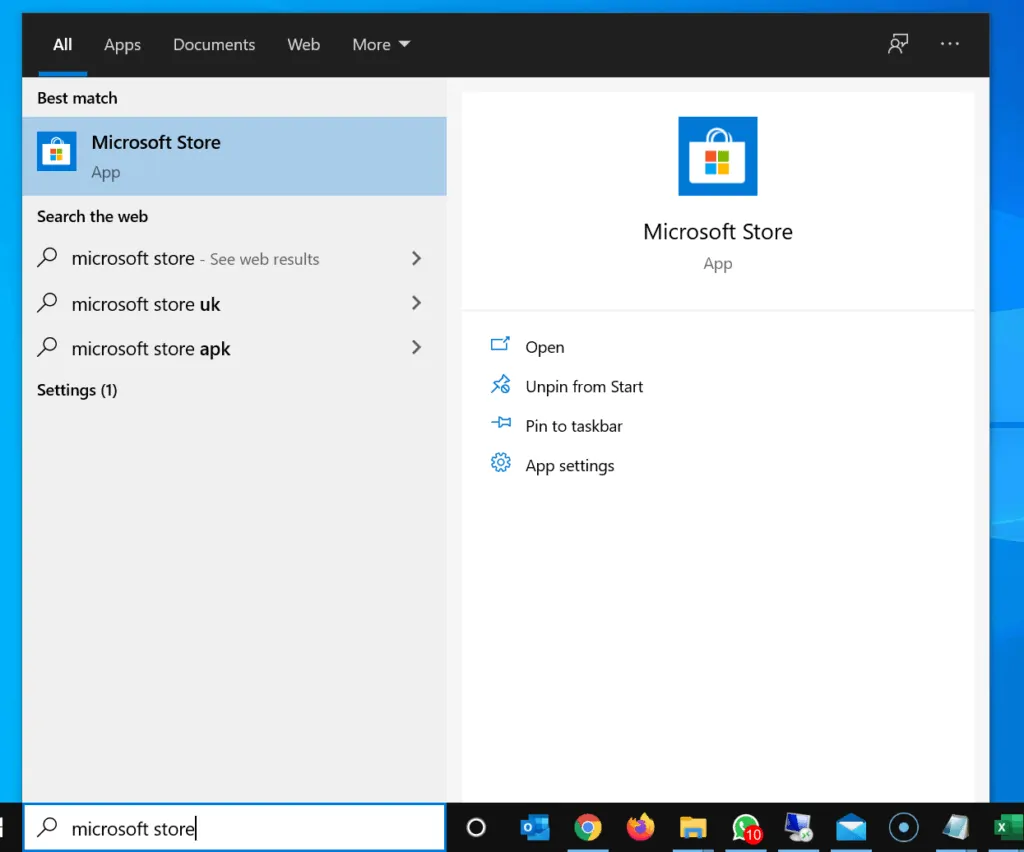
- Type microsoft store in the Windows 10 search. Then, from the search results, click Microsoft Store.
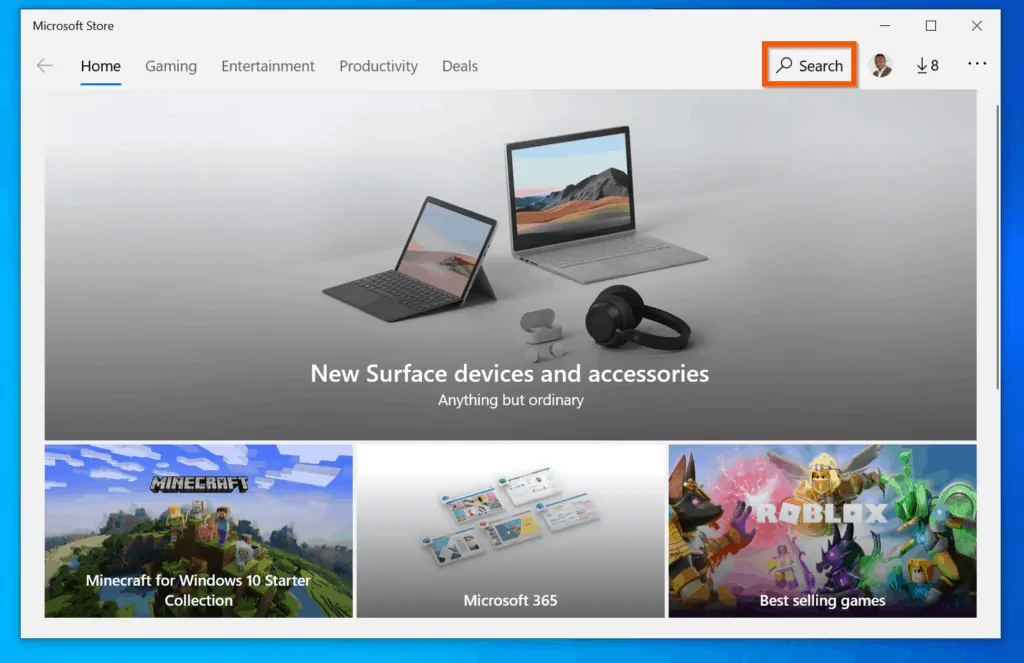
- On the top right of the Microsoft Store app, click Search.
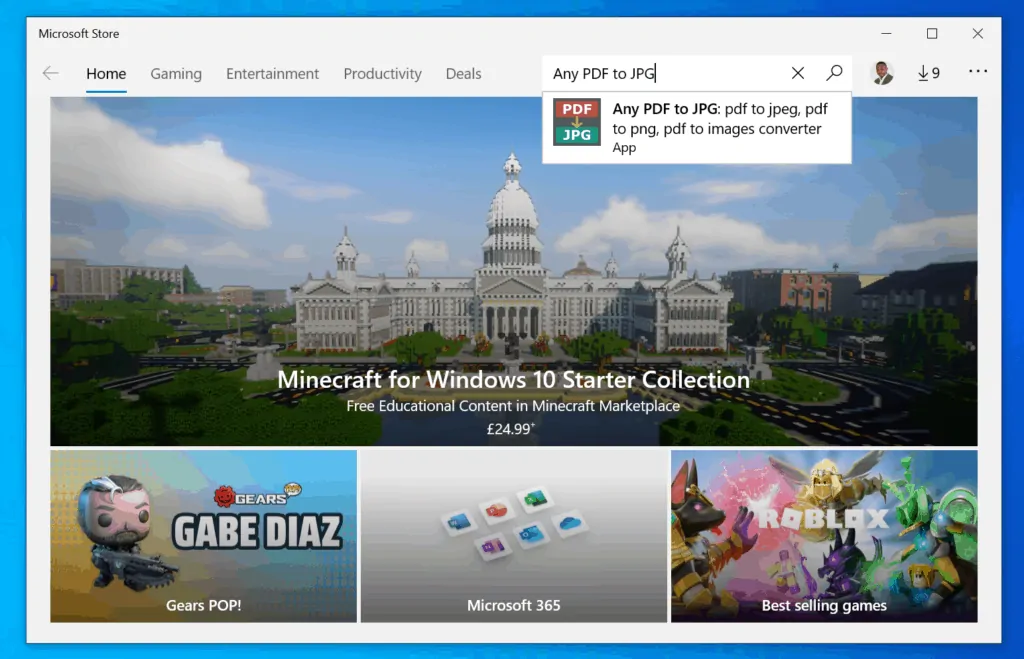
- Then, on the search box, enter Any PDF to JPG and click the app.
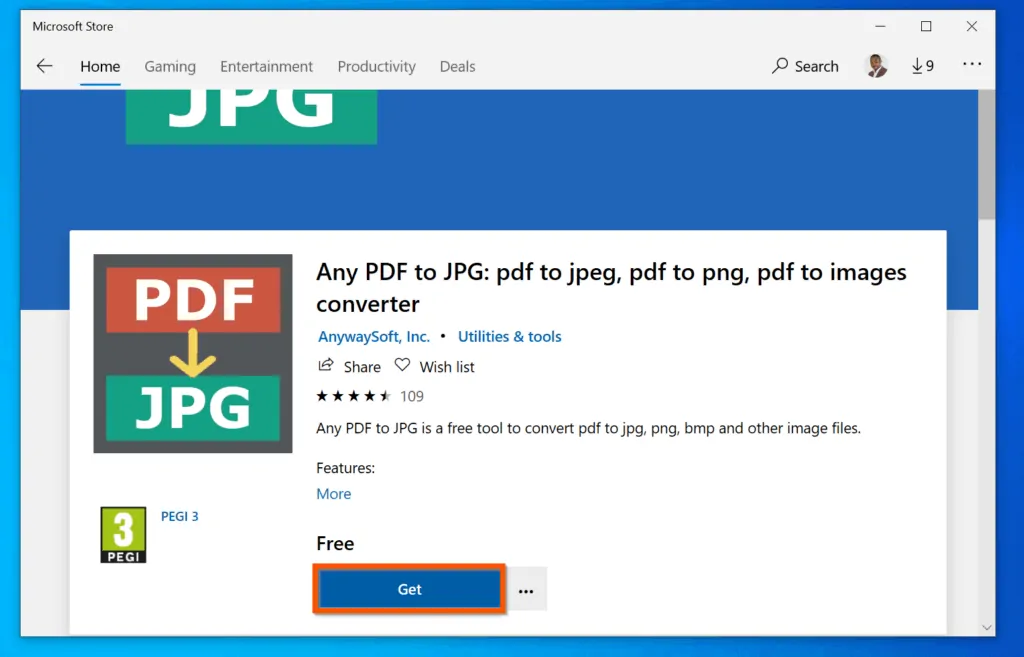
- On the app details page, scroll down and click Get. Then, wait for the app to download and install. When the app is installed, proceed to the next step in this guide.
Step 2: Use the “Any PDF to JPG” App to Convert PDF to JPG
Once you have installed the app, follow the steps below to convert PDF to JPG on Windows 10:
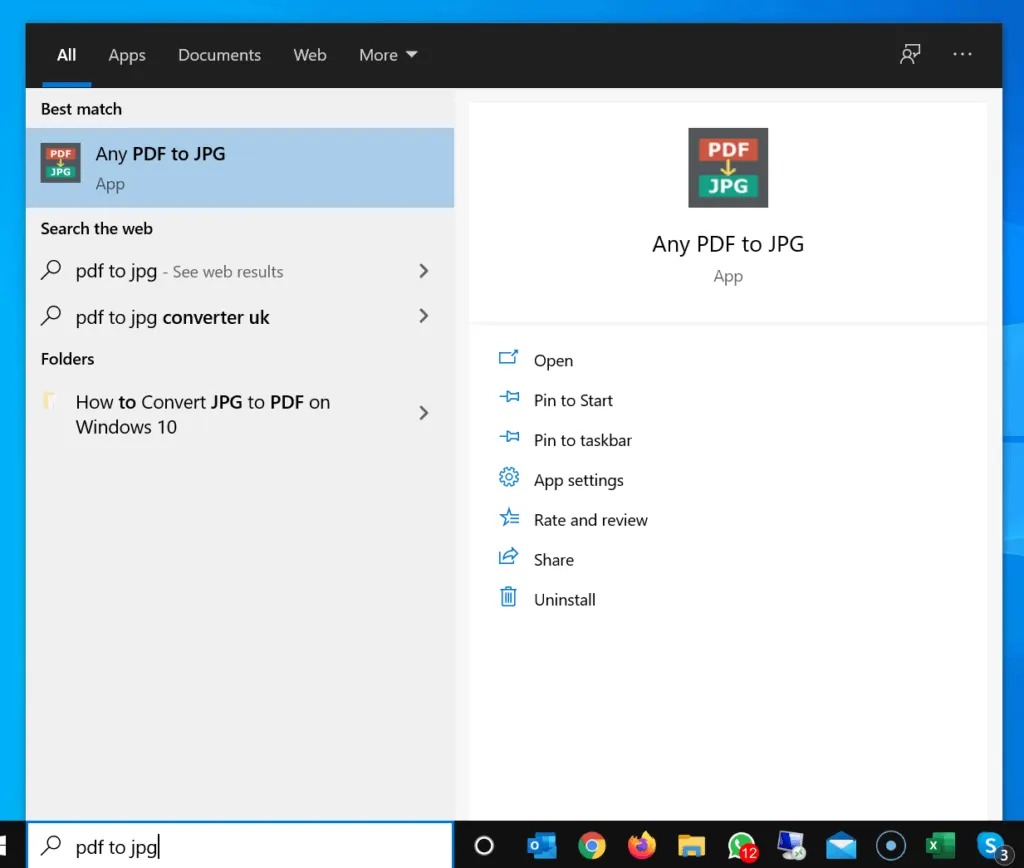
- Enter pdf to jpg in the Windows 10 search. Then, click Any PDF to JPG App
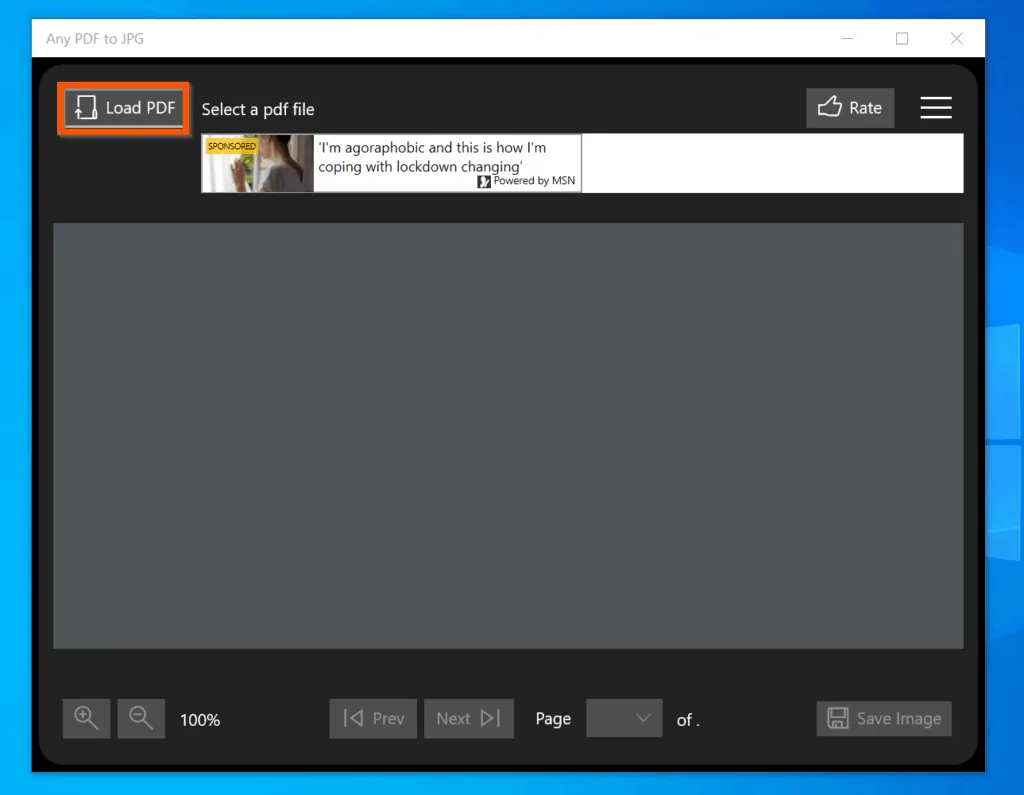
- On the top left of the app, click Load PDF.
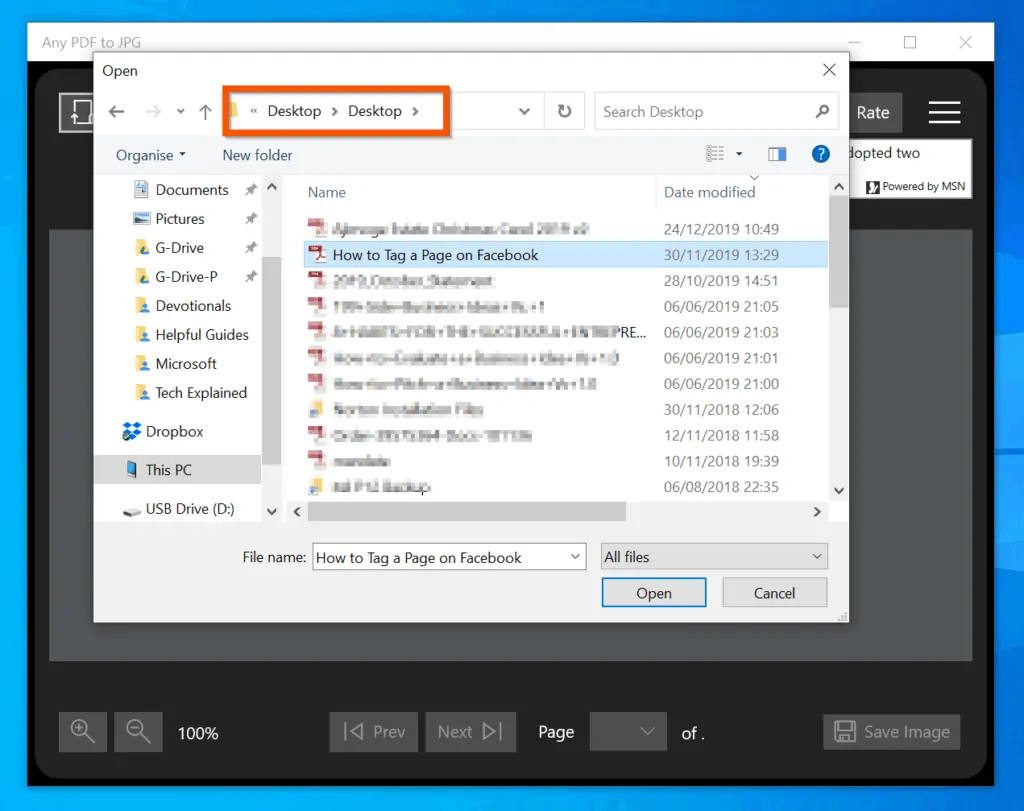
- Then, navigate to the folder you saved the PDF you want to convert to JPG and double-click the PDF. The PDF file will open on the app.
- On the bottom right of the app, click Save Image.

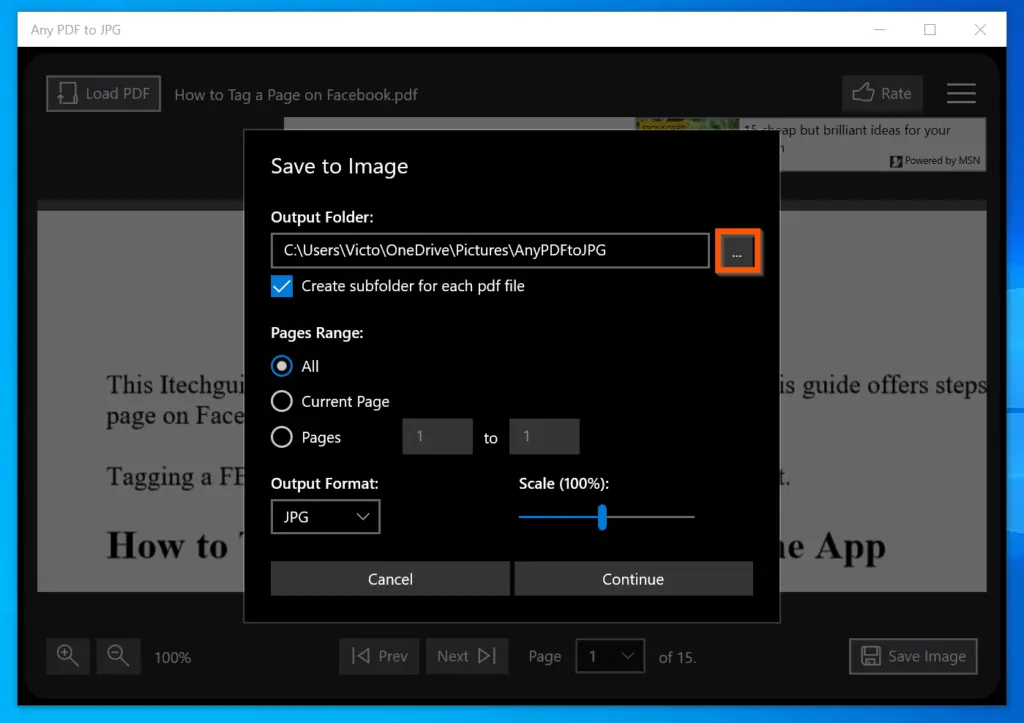
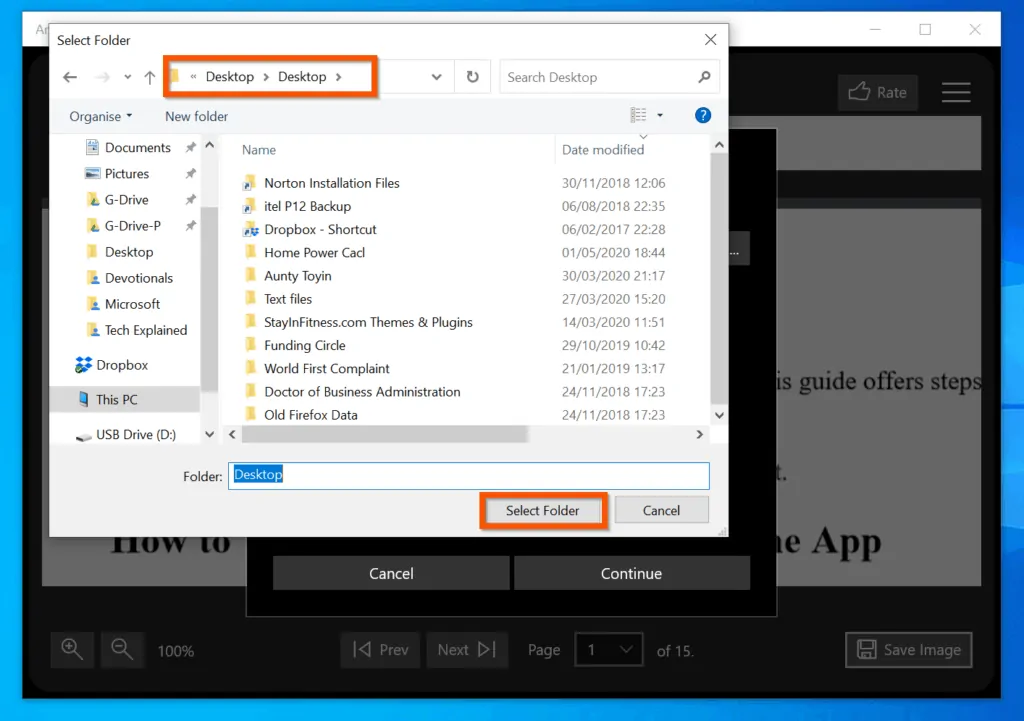
- On the Save to Image pop-up window, to change the folder to save the converted PDF, click the 3 dots on the right side of the current Output Folder path.
- Then, on the top, navigate to the folder you want to save the image. On the bottom of the window, click Select Folder.
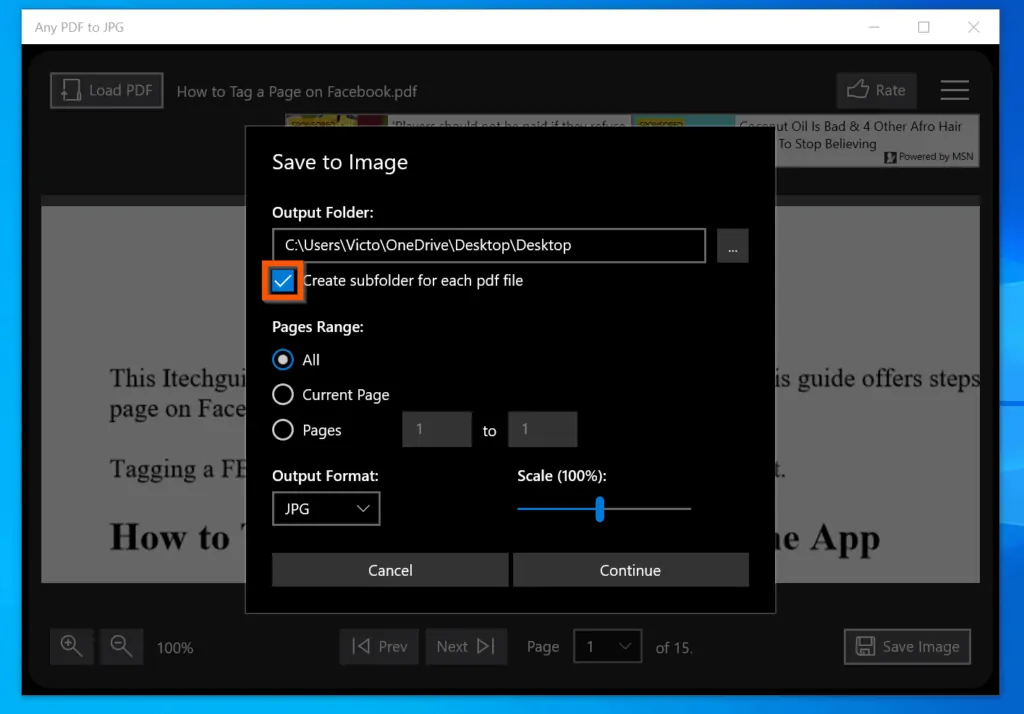
- However, if you do not want the app to create a subfolder for each converted PDF file (not recommended), uncheck Create subfolder for each PDF file.
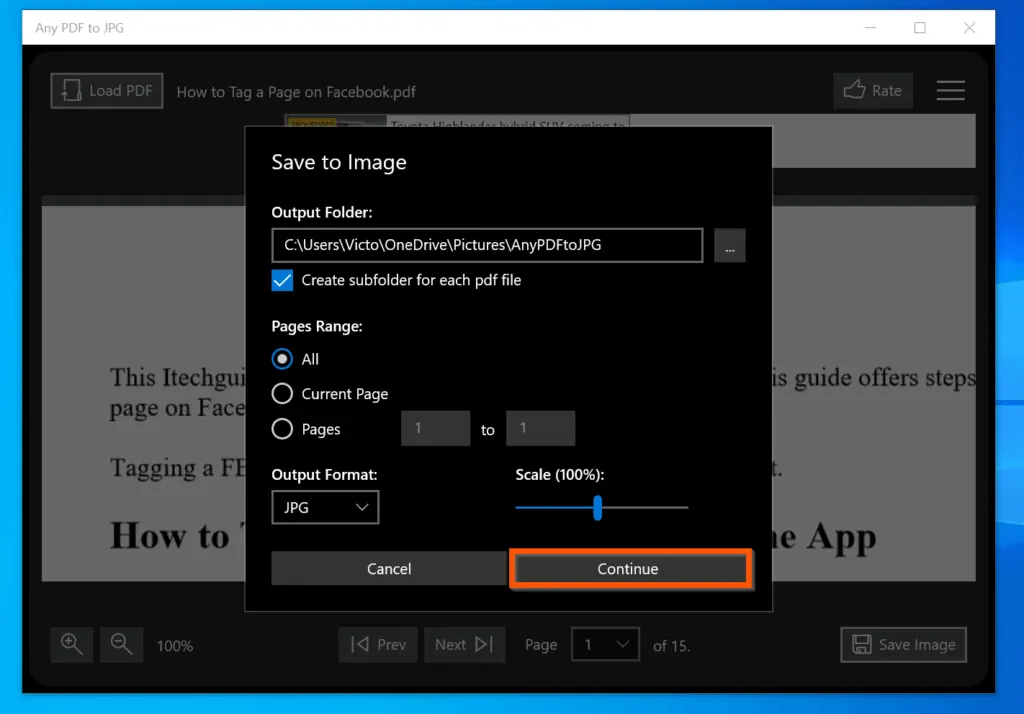
- Finally, to convert PDF to JPG on Windows 10, click Continue – the app will start converting the PDG file to JPG – see the second screenshot below.

- When the file is converted, the app will display the output folder – to open the folder, click Open Folder.


Conclusion
You can use the 2 steps covered in this Itechguide to convert PDF to JPG on Windows 10! I hope you found this Itechguide helpful. If you found it helpful, click on “Yes” beside the “Was this page helpful” question below.
You may also express your thoughts and opinions by using the “Leave a Comment” form at the bottom of this page.
Finally, for more Windows 10 Itechguides, visit our WINDOWS 10 HOW-TO page. You may also find our Work from Home page very helpful.


![How To Run Sysprep (Generalize) In Windows 10 [2 Methods]](https://www.itechguides.com/wp-content/uploads/2022/05/8-2.webp)