Ever wanted to reset File Explorer to its default view? This step-by-step guide shows you how to reset File Explorer in Windows 11.
Steps to Reset File Explorer to Default View
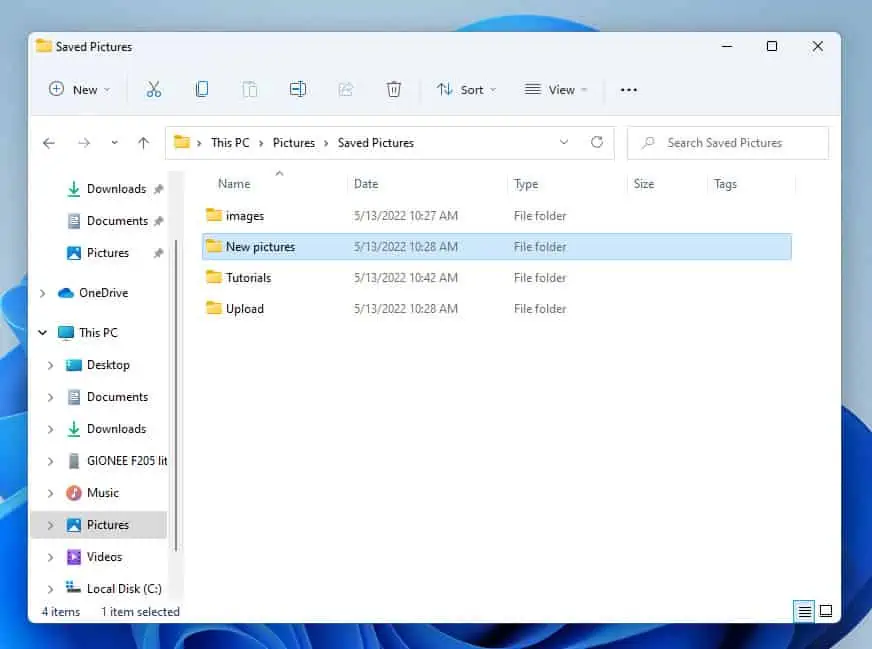
Follow these simple steps if your file explorer looks different from the above image, and you want to change that to the default view.
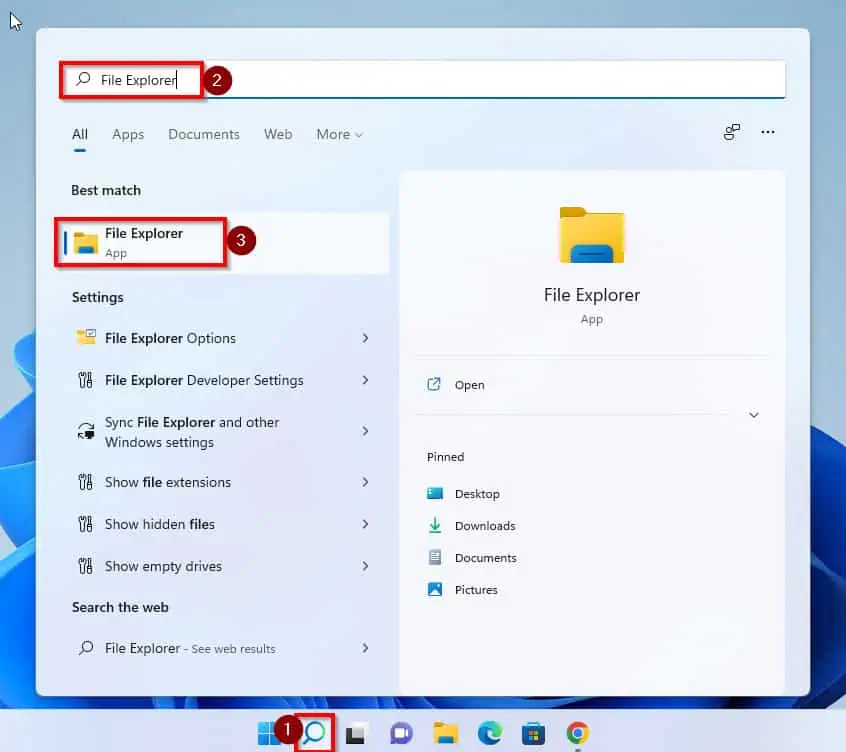
- Click on the search icon on your Windows 11 PC, then, on the search field, type File Explorer. Finally, from the search results, click File Explorer.
- Then, click on the three dots at the top right corner of the File Explorer to display more options.
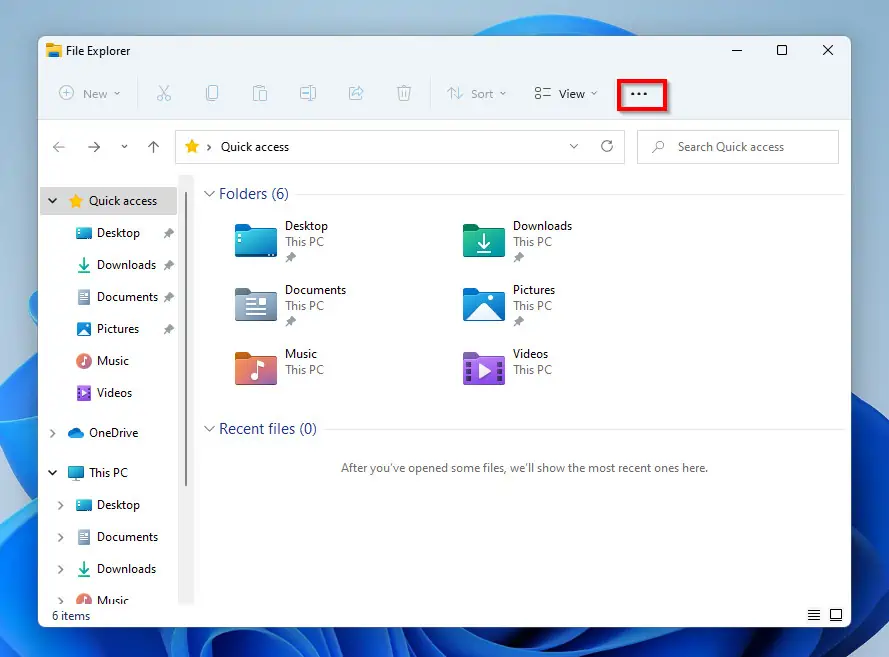
- When you click on the three dots, File Explorer will display Options as shown below.
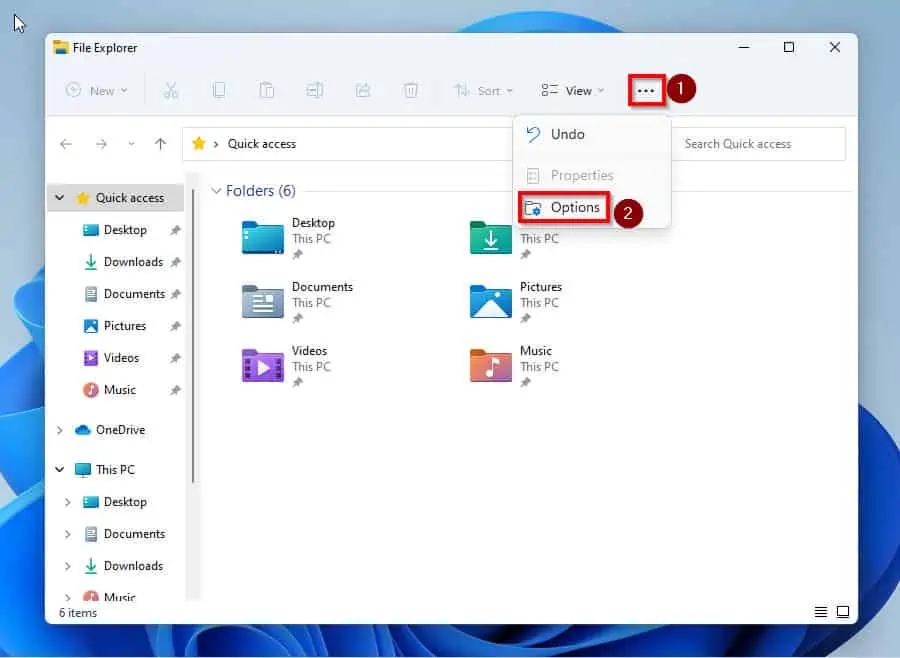
- Clicking on Options opens Folder Options for you.
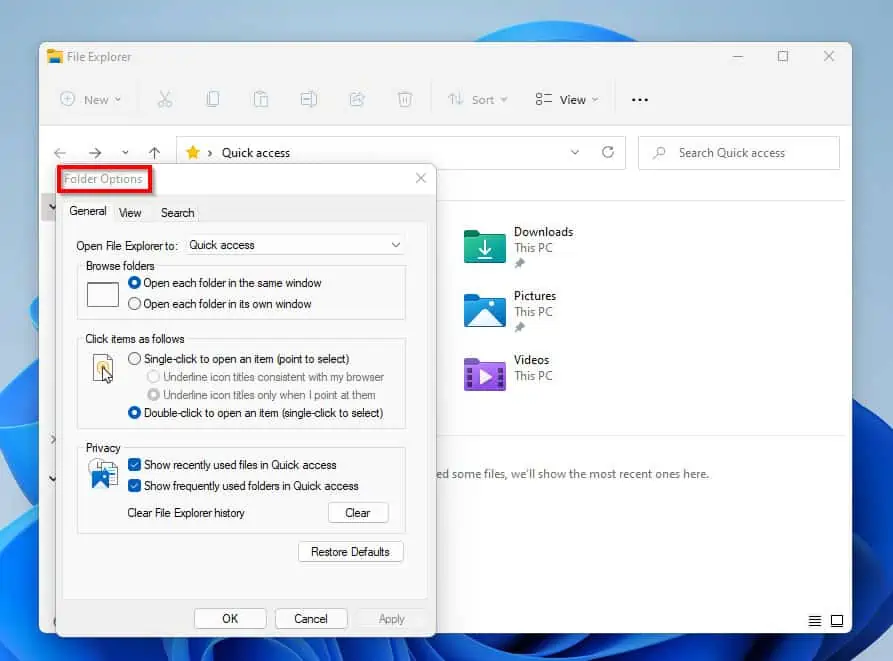
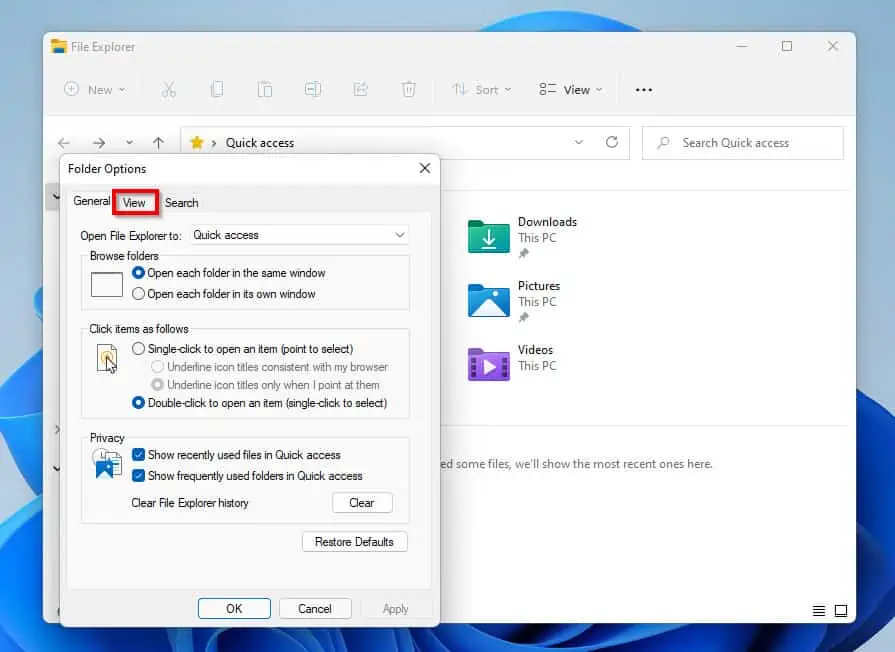
- On Folder Options, click on the View tab.
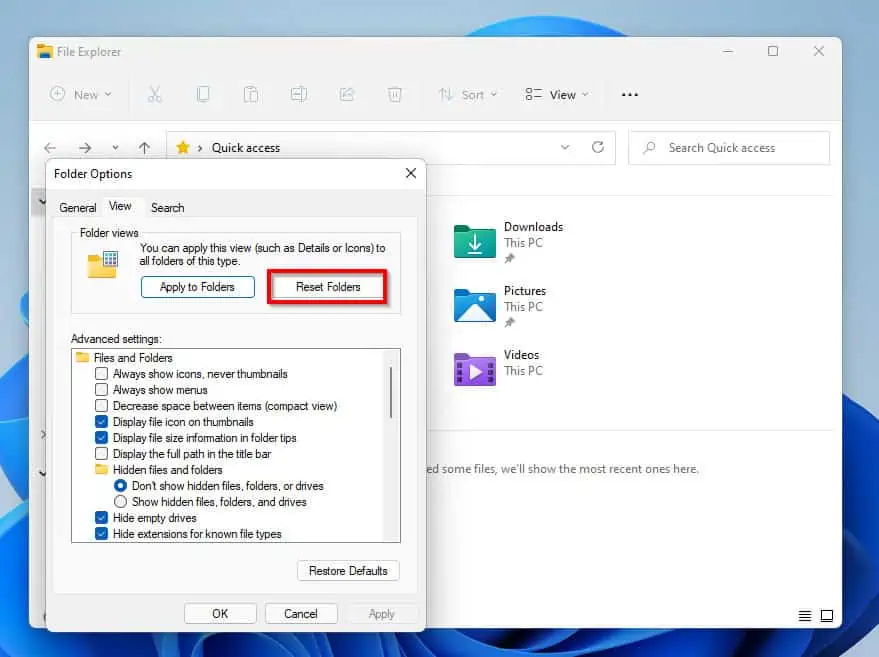
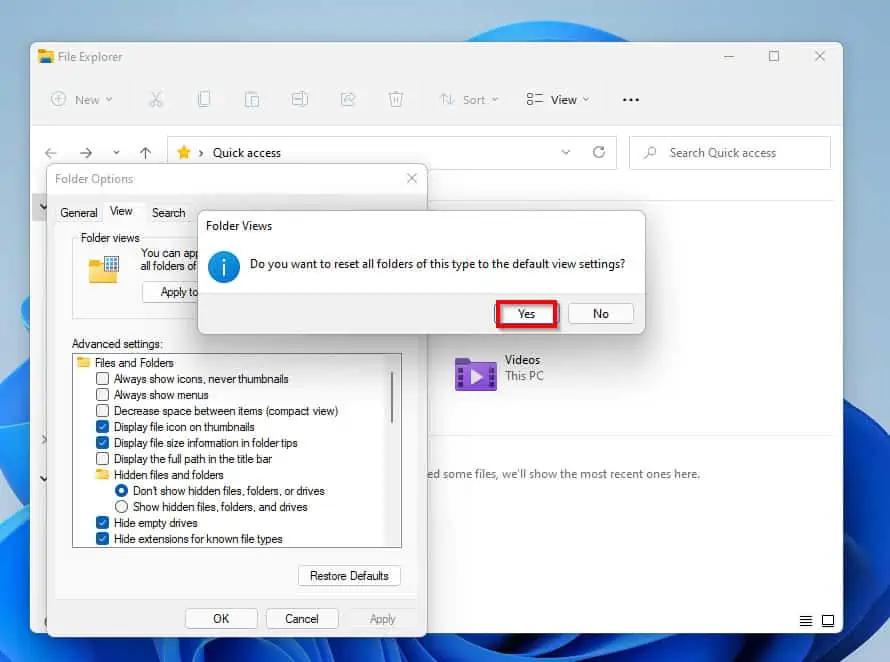
- Then, on the Folder views pop, click on the Reset Folders button to reset File Explorer in Windows 11 to its default view.
- Furthermore, confirm that you want to reset Windows 11 File Explorer to the default view by clicking Yes to the reset confirmation pop-up.
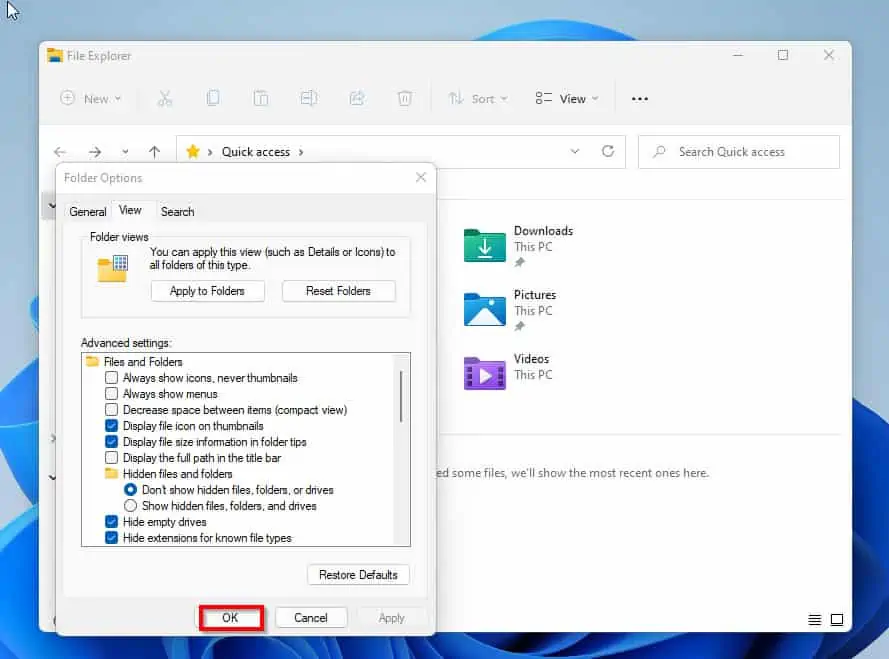
- Finally, click OK to ensure that you save the changes you’ve made. Also, doing this will automatically close the File Explorer Folder Options.
Frequently Asked Questions
To change the default File Explorer view to the Large view icons, follow these simple steps:
a) Open File Explorer -> at the top right corner, click on view -> select Large icons.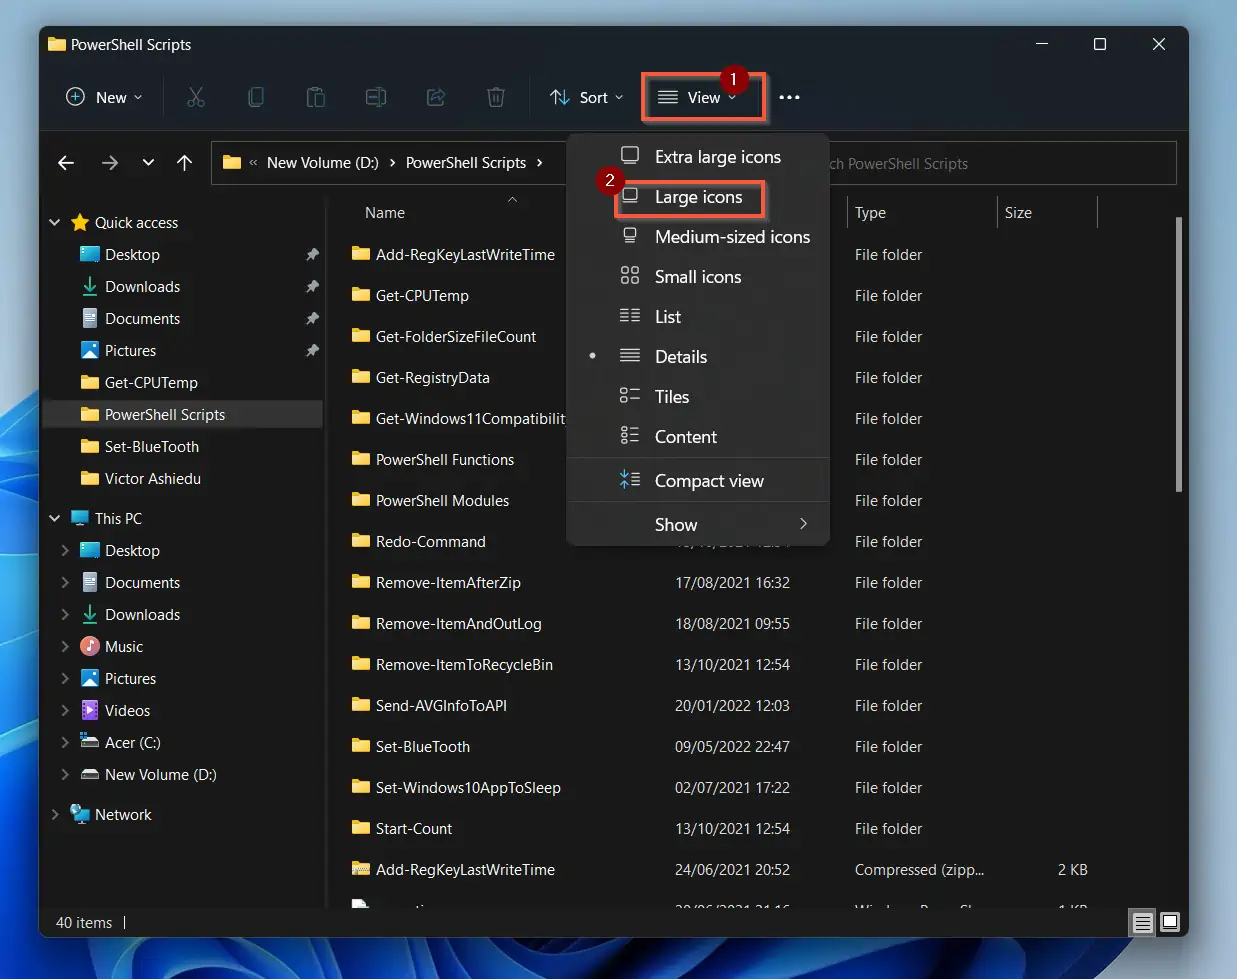
b) Then, on the top right of File Explorer, click the 3 dots and select Options.
c) When the Folder Options opens, click the View tab and click Apply to folders.
d) Finally, confirm the change by clicking Yes.
Here are a few steps to stop files from being added to quick access.
a) Open File Explorer. This can be done by simply typing the words file explorer on the Windows 11 search.
b) In File Explorer, click on the three dots on the top right and select Options – opens Folder Options.
c) Once the Folder Options menu opens, untick the Show recently used files in the Quick Acess option under the General tab. Also, uncheck the Show frequently used folders in Quick access.
d) Finally, click on Apply and then click OK to complete the process.
The default for File Explorer is Tiles view.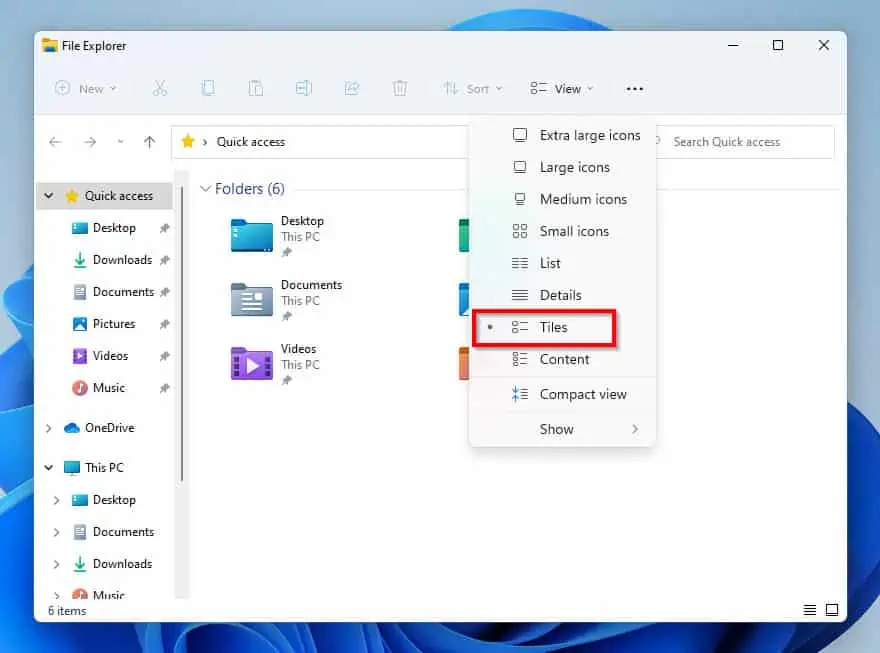
1. Navigate to File Explorer and select a folder of your choice.
2. On the top right of File Explorer, click on View and select List.
3. Then, click on the three dots on the top of File Explorer and select Options.
4. Once the new window opens, click on the View and click on Apply to Folders.
5. Click Yes to the pop-up prompt and click OK to save and exit the menu.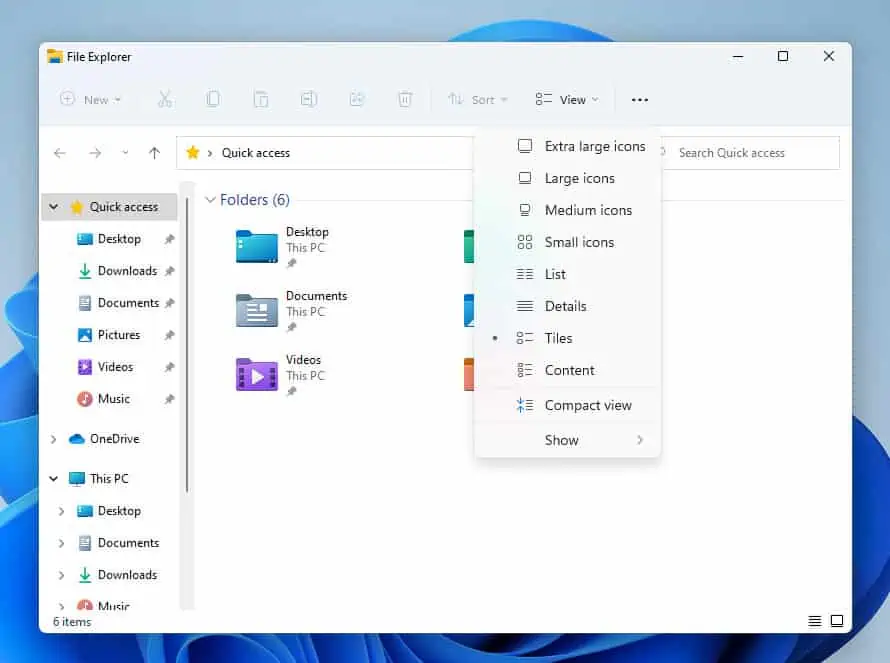
There are nine different types of views in File Explorer. There is the large view, extra-large, medium, small, list, details, tiles, content, and compact view.
Conclusion
Over time, folders on your File Explorer take a totally different view from when you first logged in to the computer. There are several reasons why you might have changed the view of your File Explorer from its default view.
Regardless of the reasons, you can reset your File Explorer to its default view by following the steps in this guide.
if you were able to reset your File Explorer to its default view with the help of the steps in this guide, click on “Yes” beside the “Was this page helpful” question below.
You may also express your thoughts and opinions by using the “Leave a Comment” form at the bottom of this page.
Finally, visit our Windows 11 How-To Guides page to learn more about File Explorer and Windows in general.