If you want to send an automatic reply to emails from your Outlook account, follow these steps.
This guide demos how to setup Outlook auto-reply messages. The guide is not about setting up Outlook out of office Outlook auto-reply.
If you are looking to set up out of office on Outlook, read this guide – Set Out of Office Auto Reply in Microsoft Outlook.
But if you want to send an automatic message to people that send you a message, continue reading…
Step 1: Create an Outlook Message Template
To be able to send automatic reply messages to your senders, you need to create a message template.
Here are the steps:
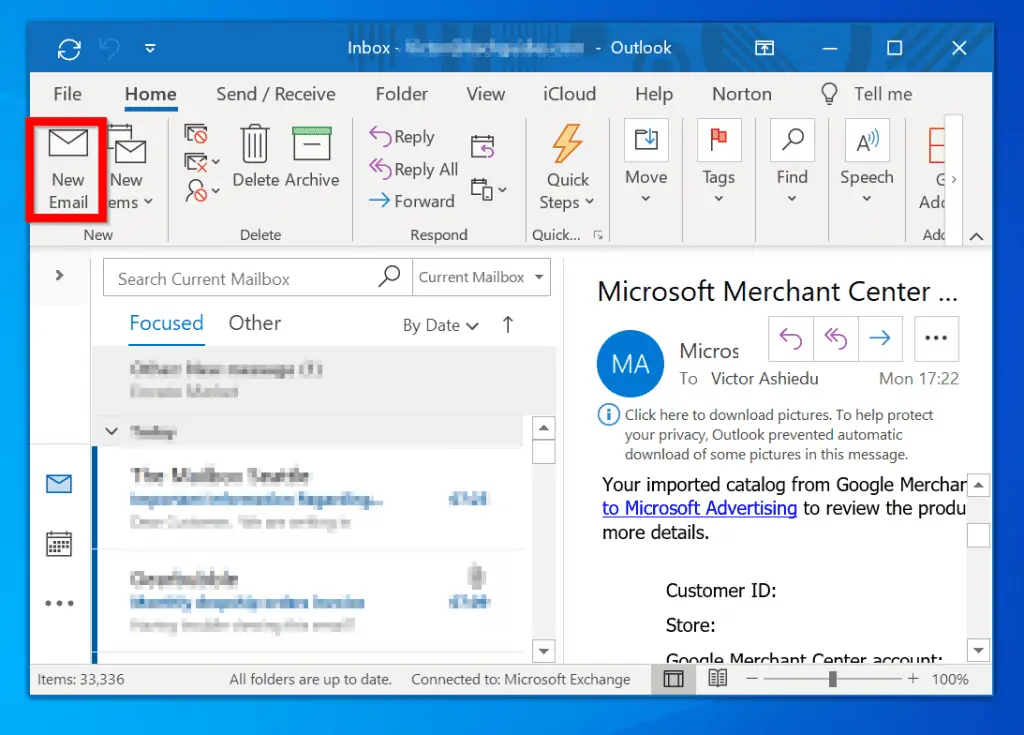
- From outlook, create a new email message.
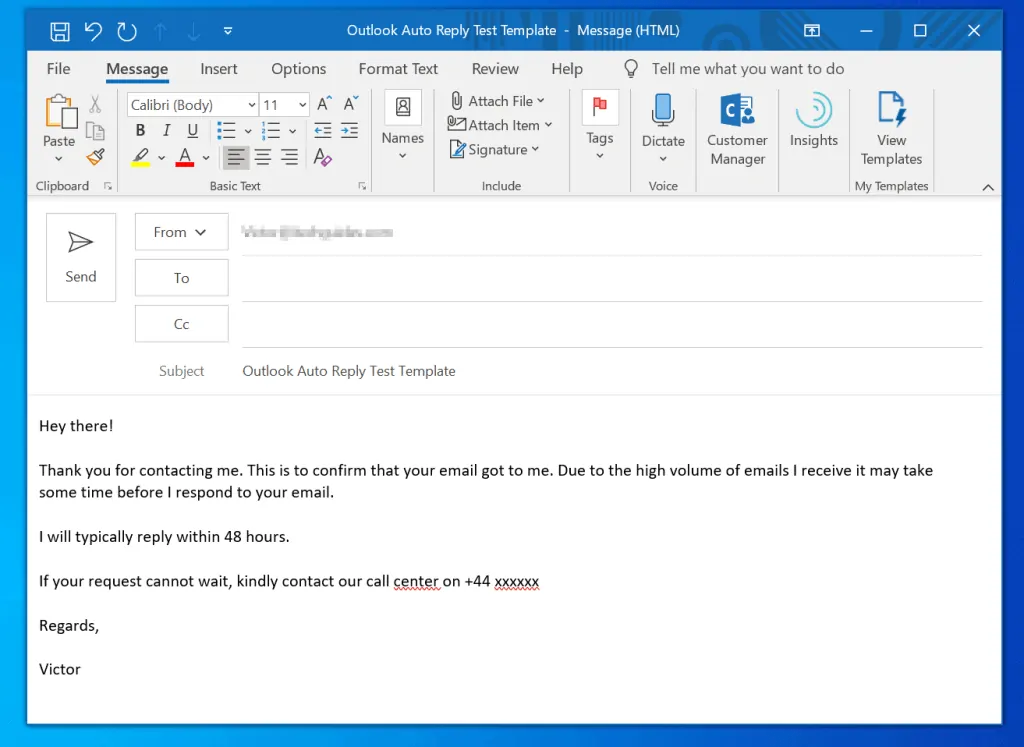
- Enter a Subject, and content of the email you want Outlook auto reply to send.
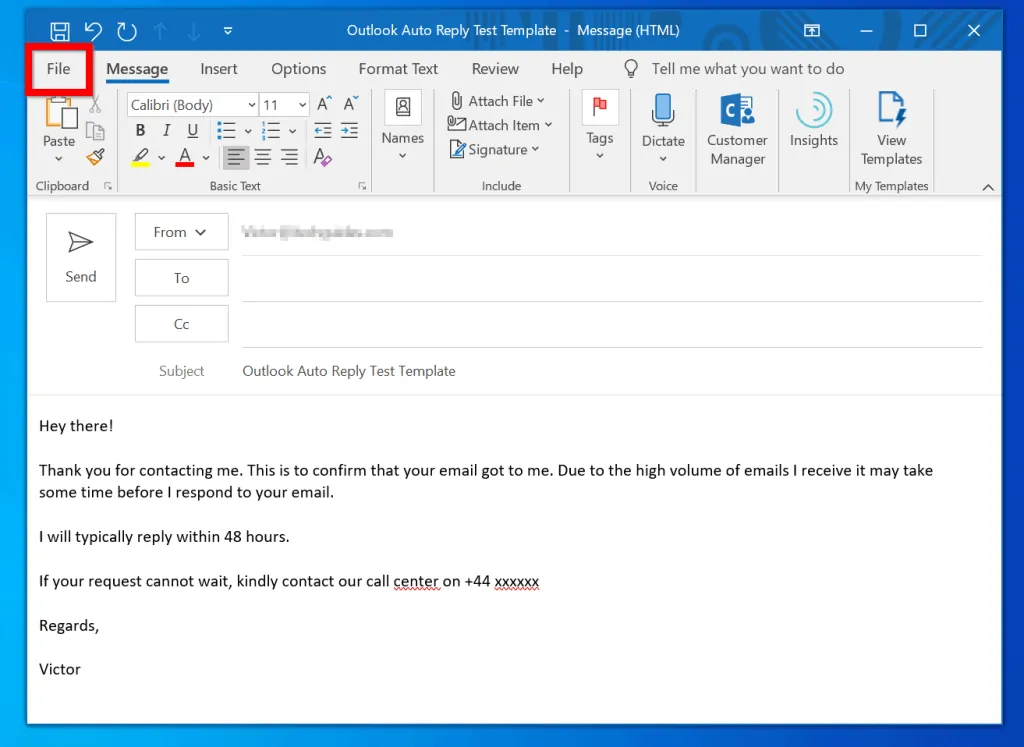
- Then click File and select Save As.

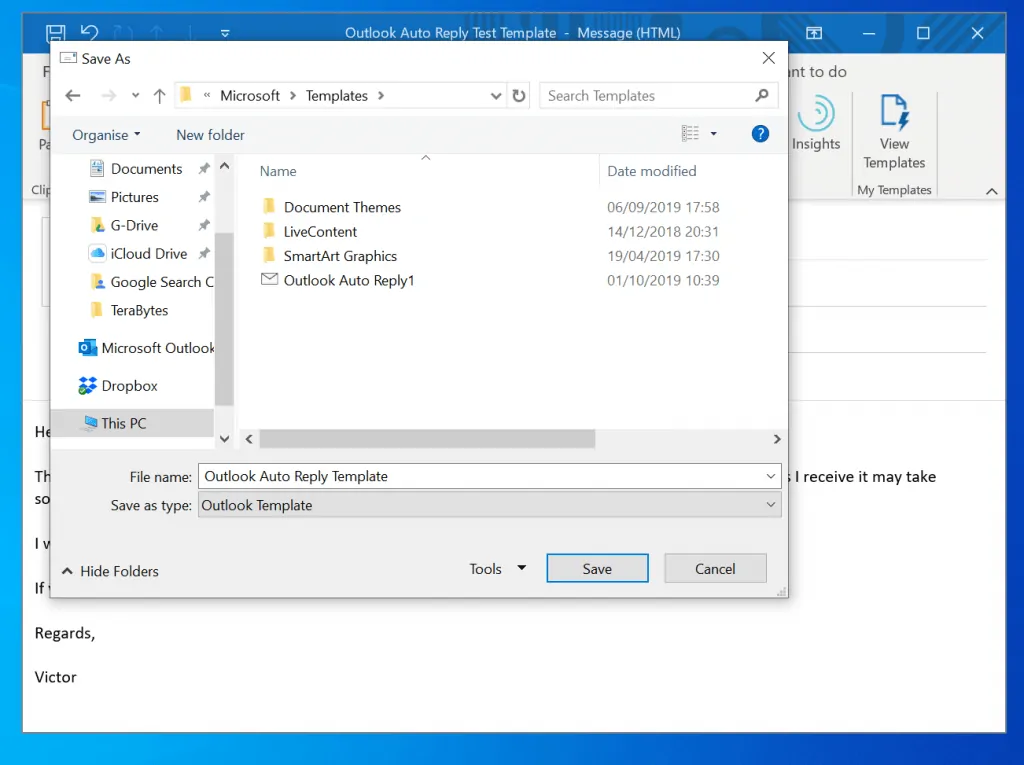
- Give the file a descriptive name. Then on the Save as type drop-down, select Outlook Template. Finally, click Save.
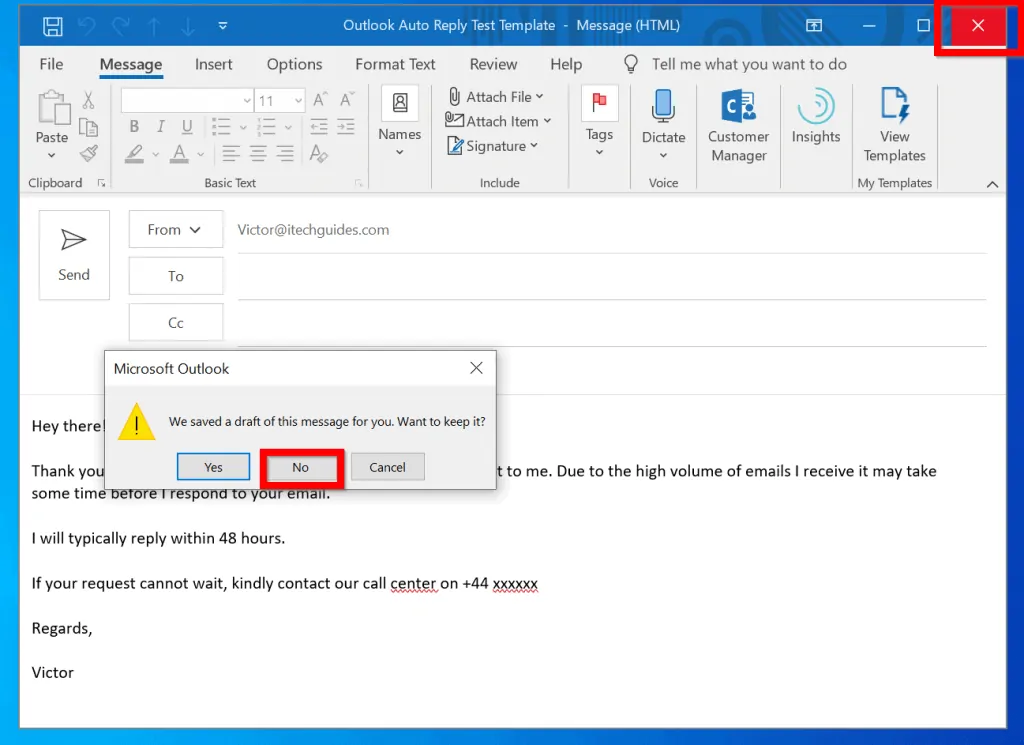
- After saving the message as a template, click Close then select No to the save draft message..
Step 2: Create an Outlook Auto Reply Rule
The final step to get your auto-reply message working is to create a rule. Here are the steps…
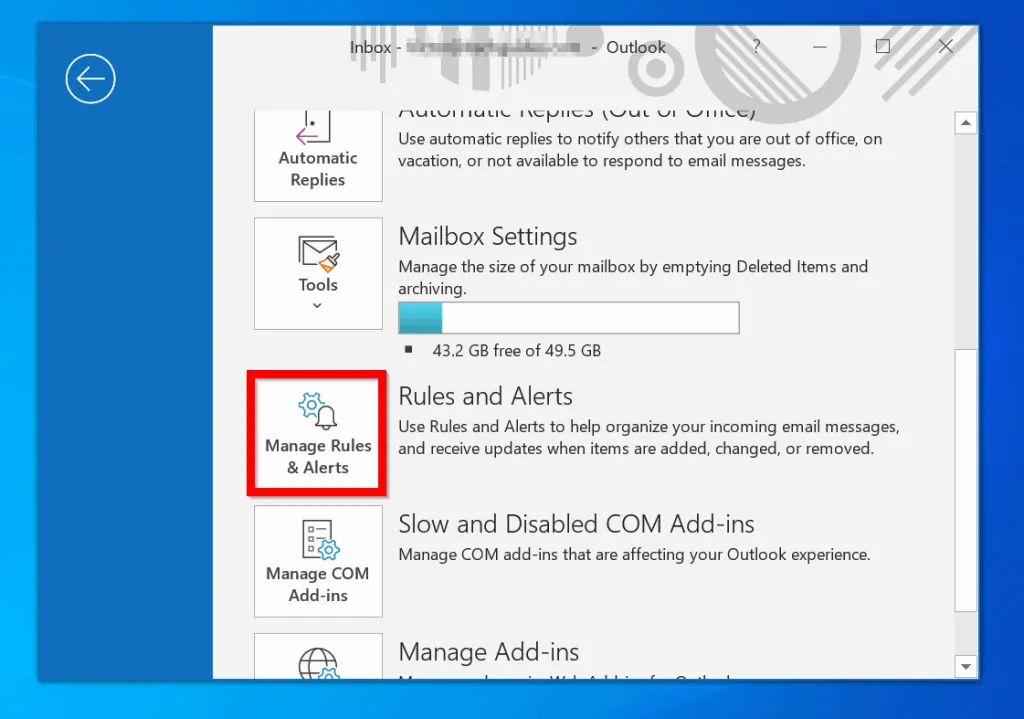
- Back in Outlook, click File.

- Then scroll down a bit and click Manage Rules & Alerts.
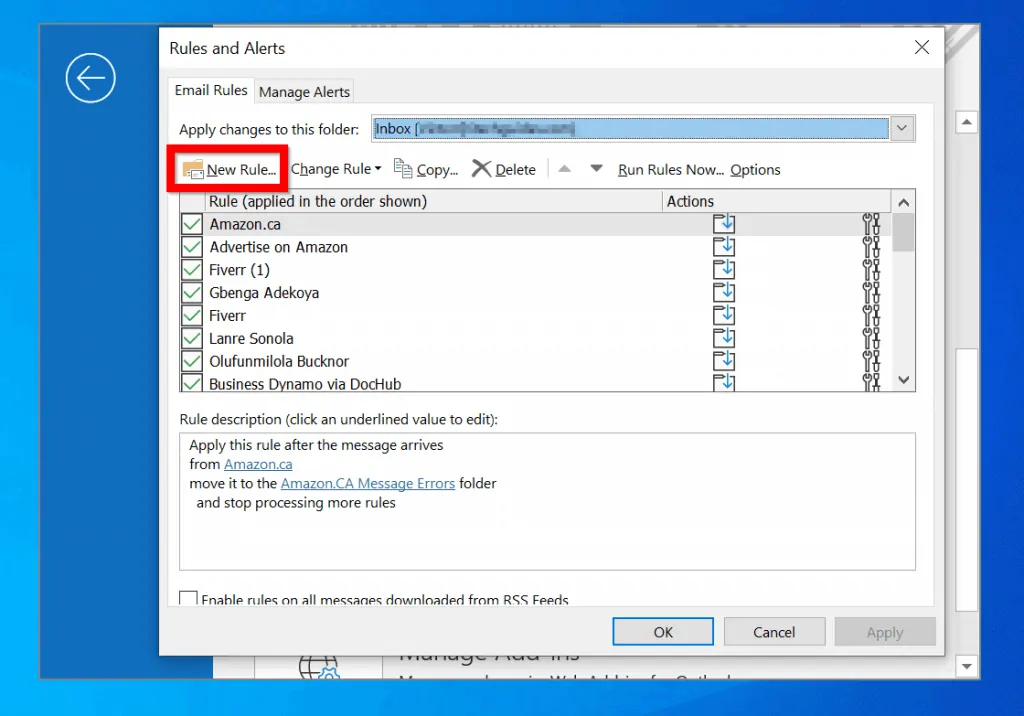
- If you have more than one email in Outlook, ensure to select the email you want this rule to apply to. To do this, click the Apply changes to this folder drop-down. Select Inbox for the email address.

- Then click New Rule…
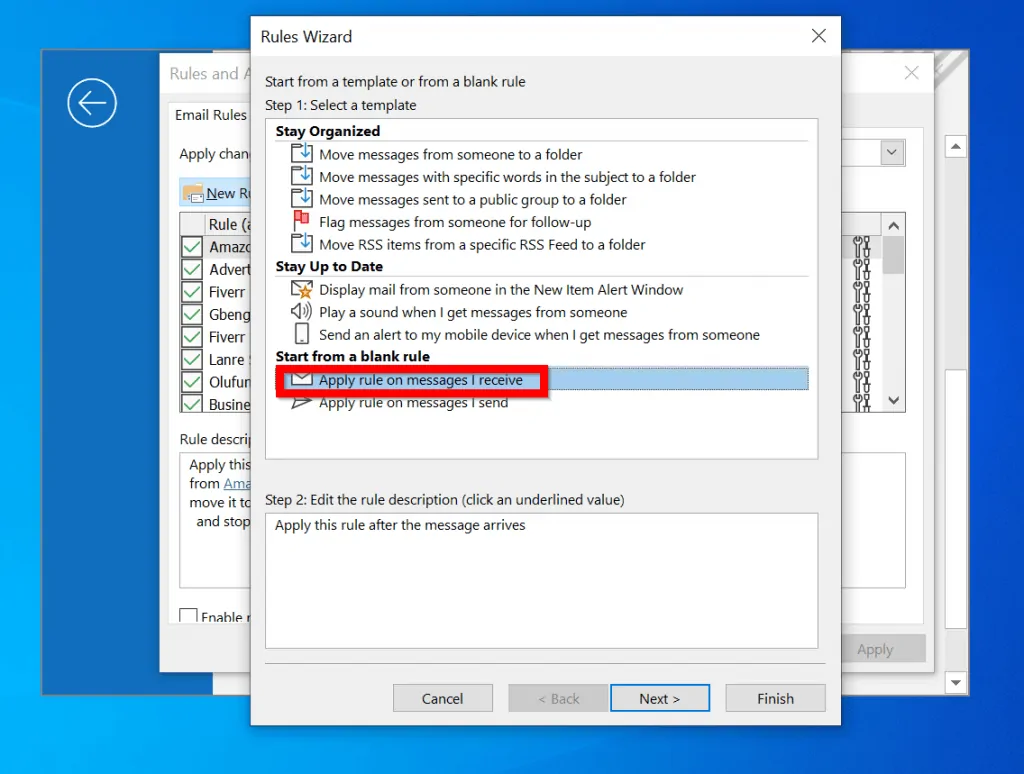
- On the Rules Wizard, Start from a blank rule section click Apply rule on messages I receive. Then click Next.
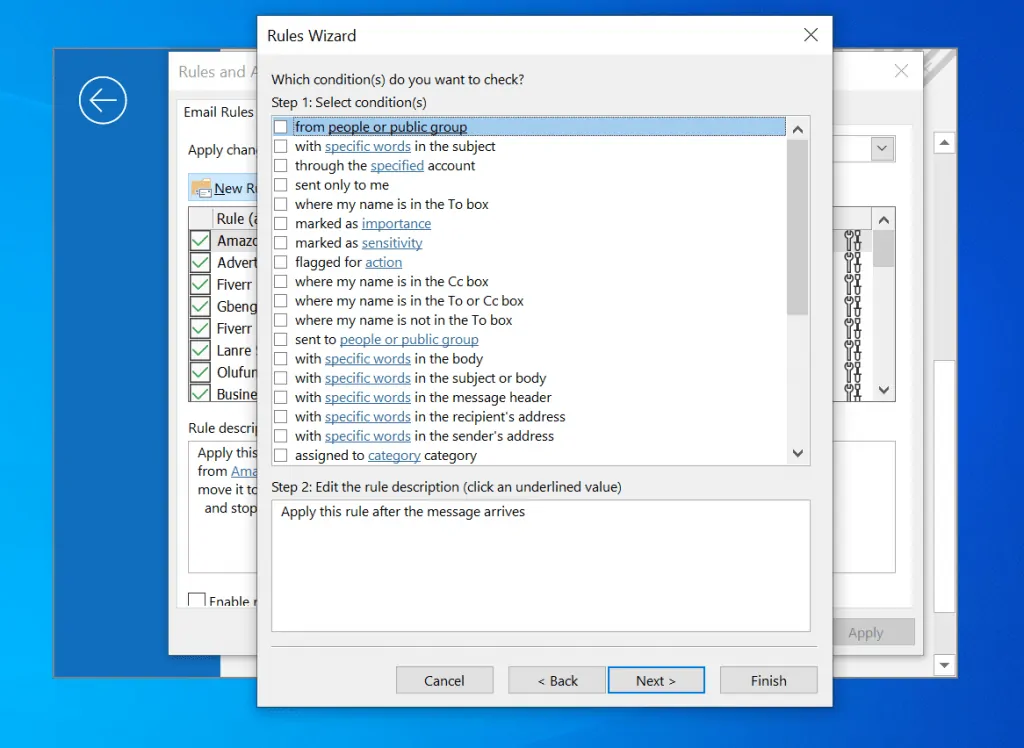
- Then on the Which condition (s) do you want to check screen, configure conditions that the incoming message will meet for this rule to apply. If you want the rule top apply to ALL messages, click Next.
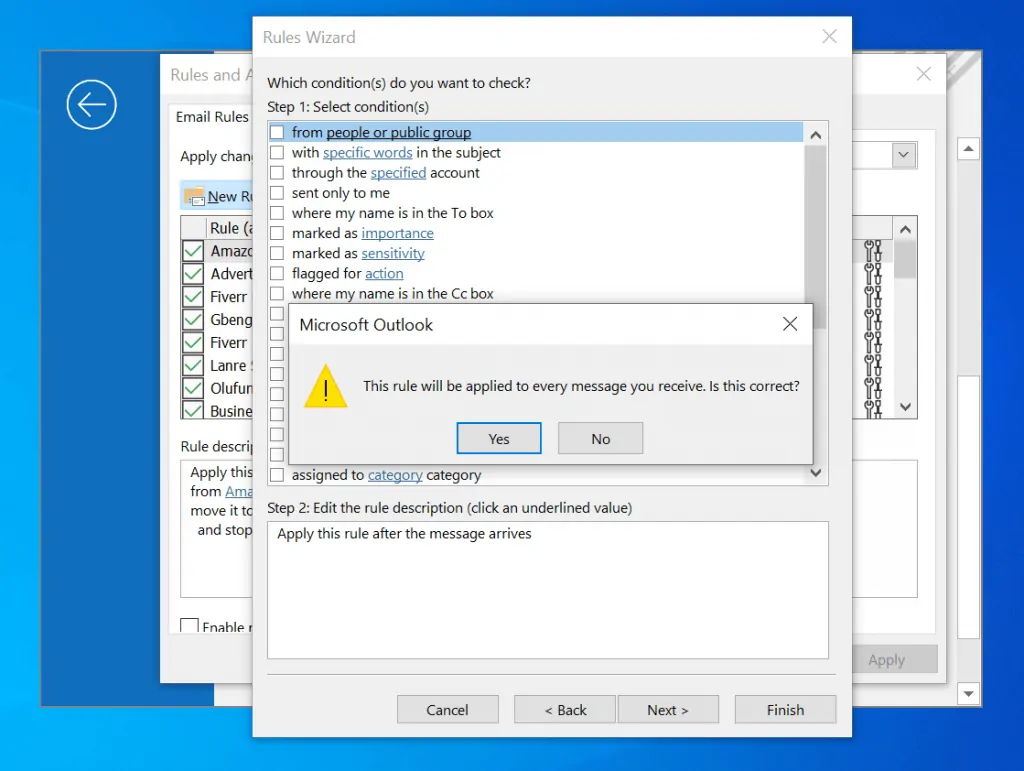
- You will receive a message letting you know that This rule will be applied to every message you receive..If that is what you want, click Yes.
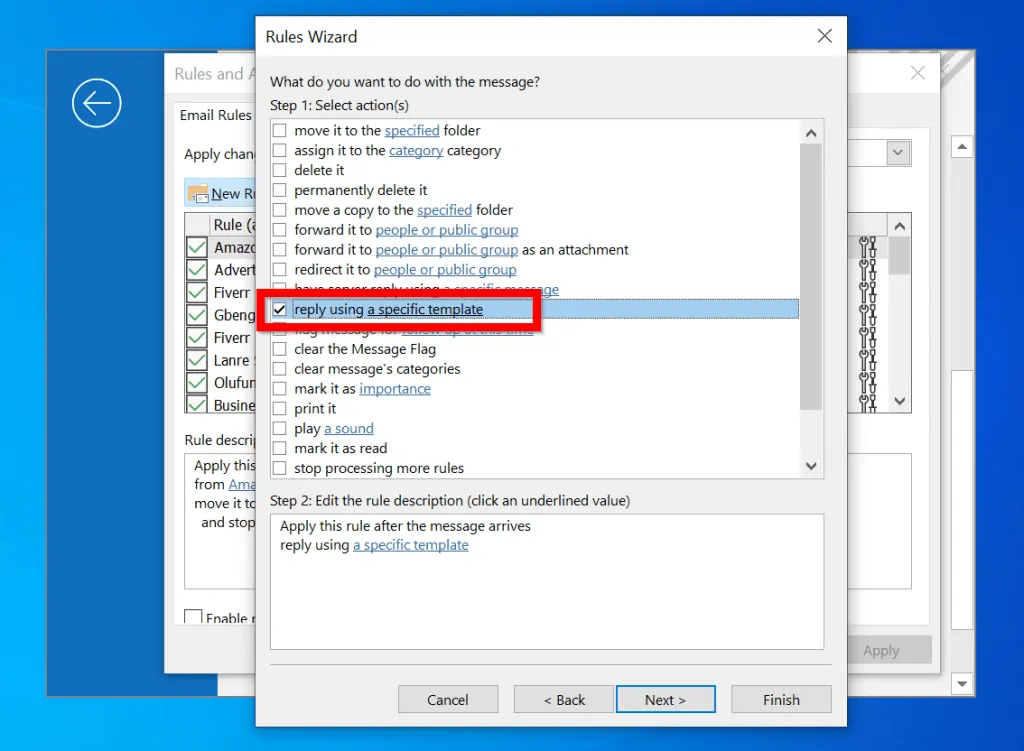
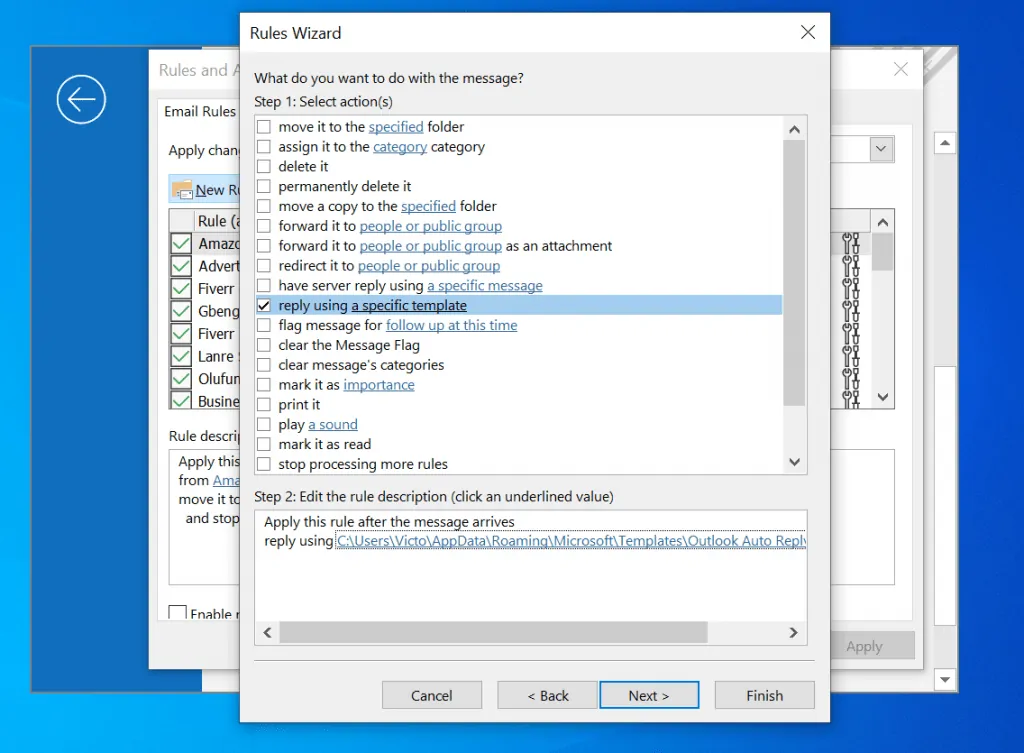
- Then on the What do you want to do with the message screen, step 1 check the box beside reply using a specific template.
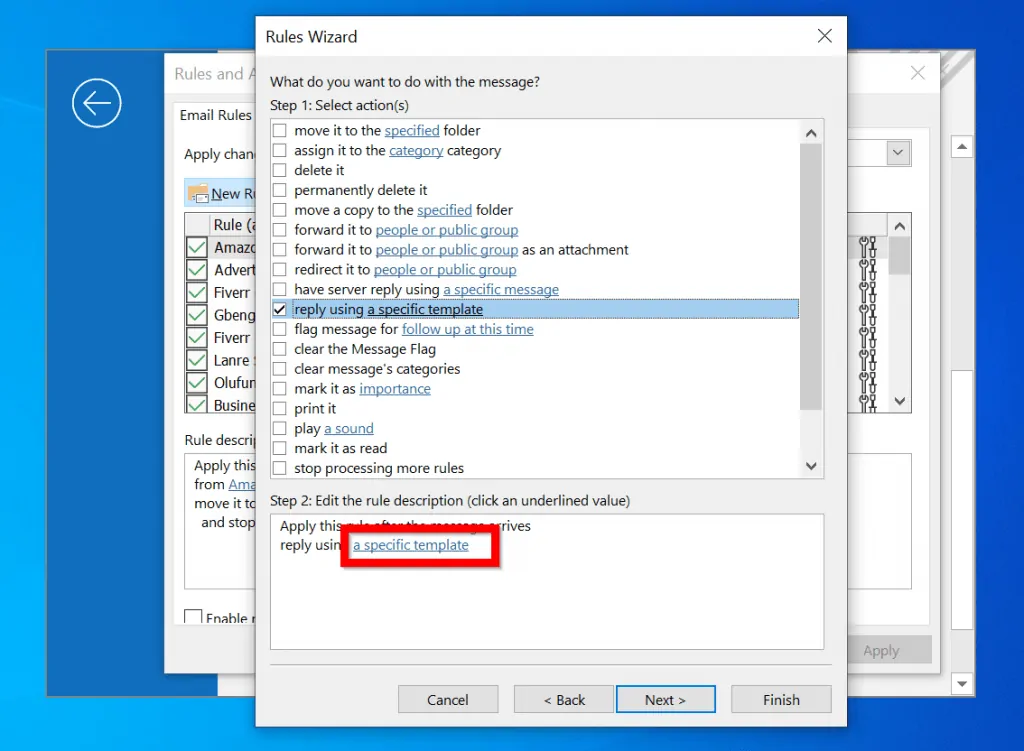
- On the step 2 box click a specific template hyperlink.
- When the Select a Reply Template screen opens click the drop-down beside Look in. Then select User Templates in File System.
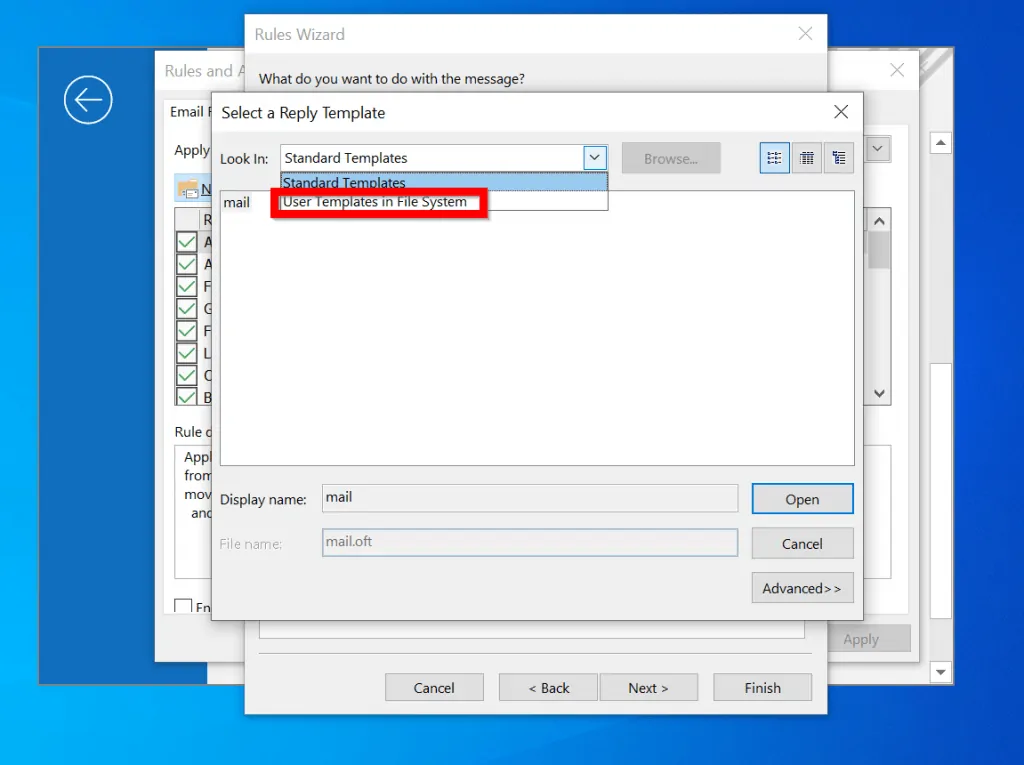
- All the templates you created will be displayed. Click on the template you want to use. Then click Open.

- Back in Rules Wizard, click Next.
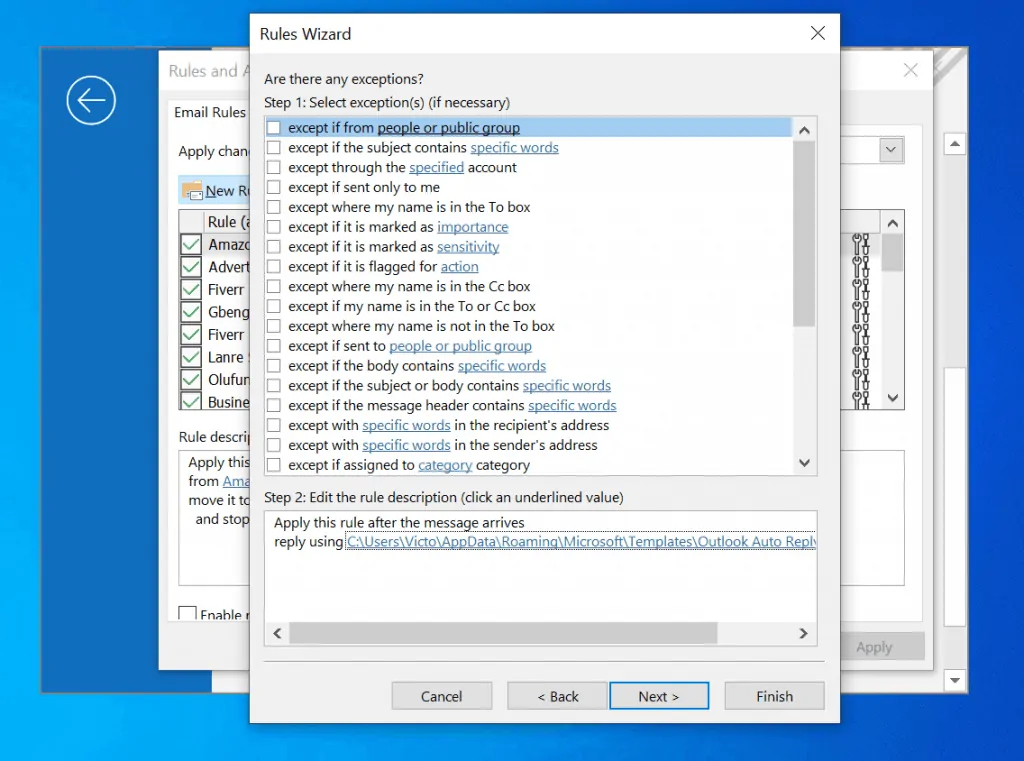
- Then, if you want to add exceptions to the incoming messages the rule will be applied, do it here. Otherwise, click Next.
- Finally, at the Finish rule setup screen, ensure that Turn on this rule is checked. Then click Finish. Then click OK.
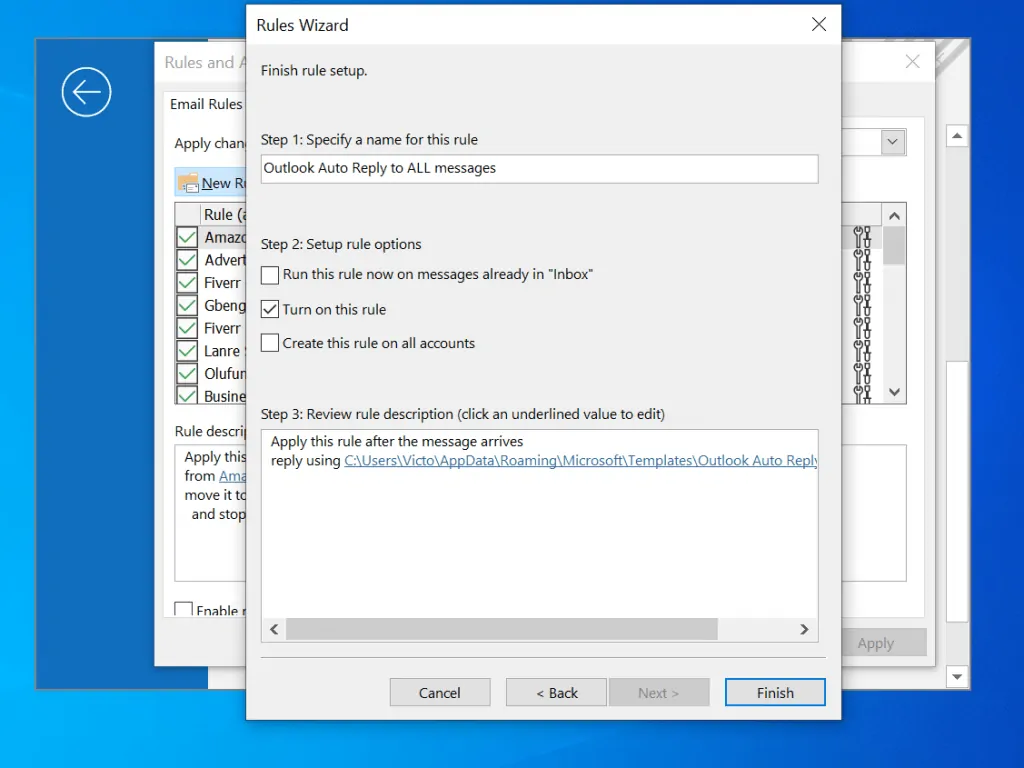
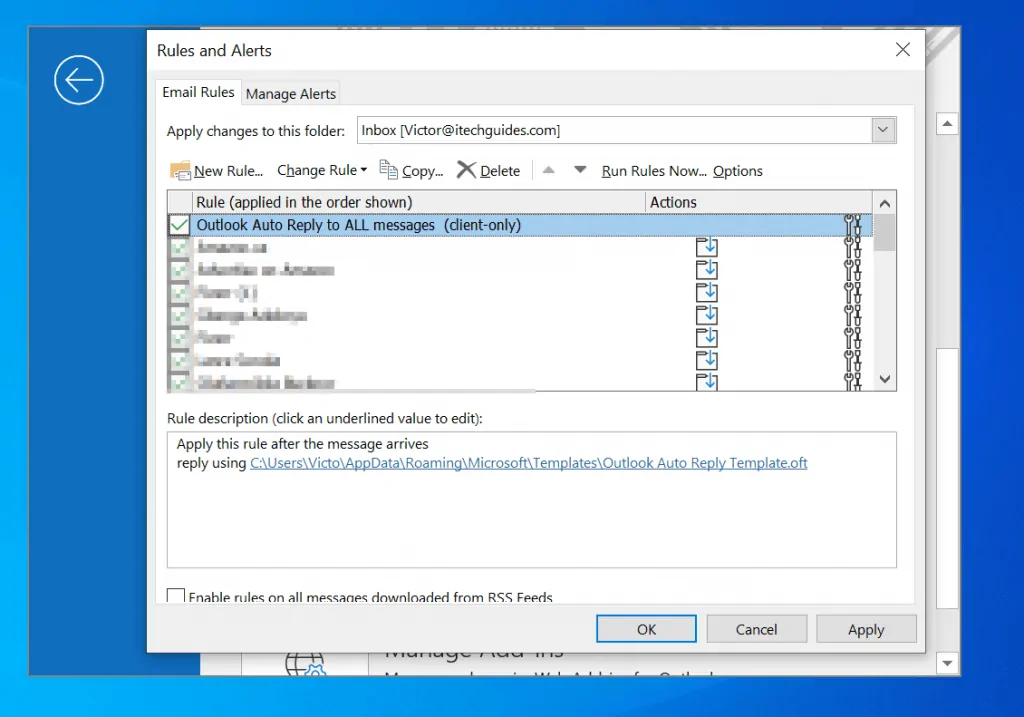
From the point you enable this rule, Outlook auto reply will send the message in your template to all senders.
Conclusion
Setting up Outlook auto-reply is a very great tool that can give you a professional look. I hope that with this guide, you have been able to set up an Outlook auto-reply message. Let me know your thoughts about this guide by responding to the “Was this page helpful?” question below.
Want more tech guides like this? Visit our How To page.