This Itechguide teaches you how to flush DNS on Windows 10. The guide covers steps for 2 methods to flush DNS on Windows 10.
Option 1: Flush DNS with Command Prompt
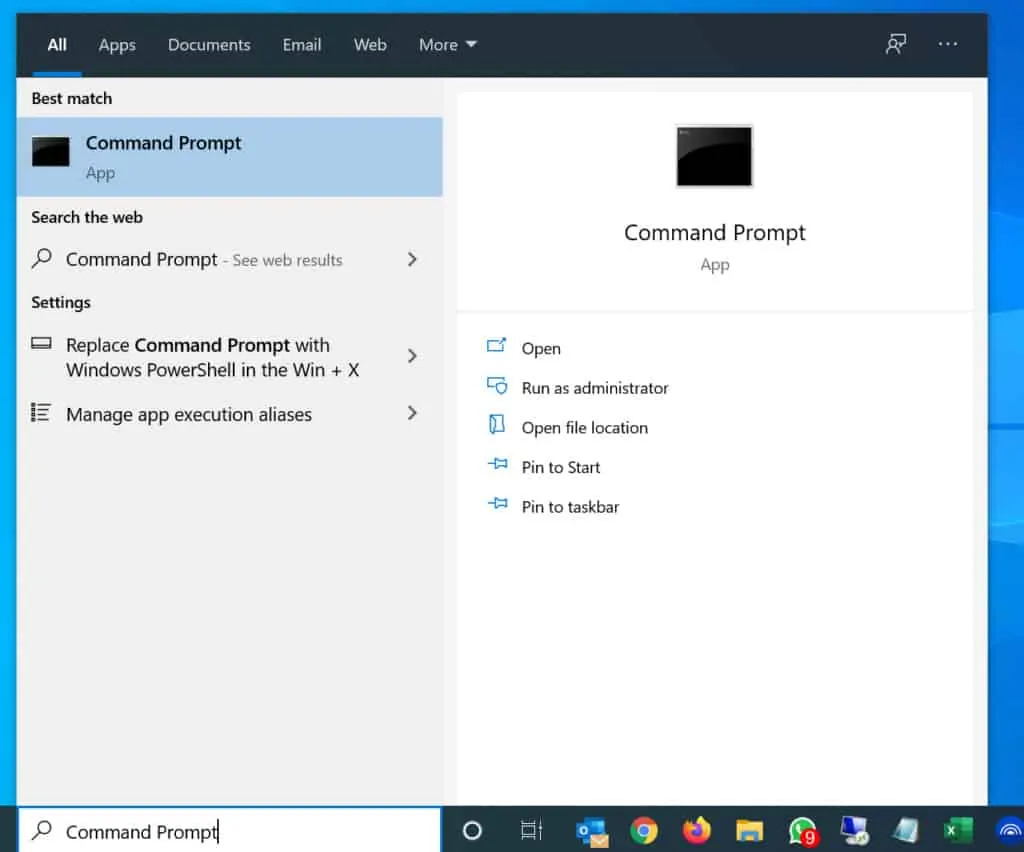
- Type Command Prompt in the search box. Then, from the search results, click Command Prompt.
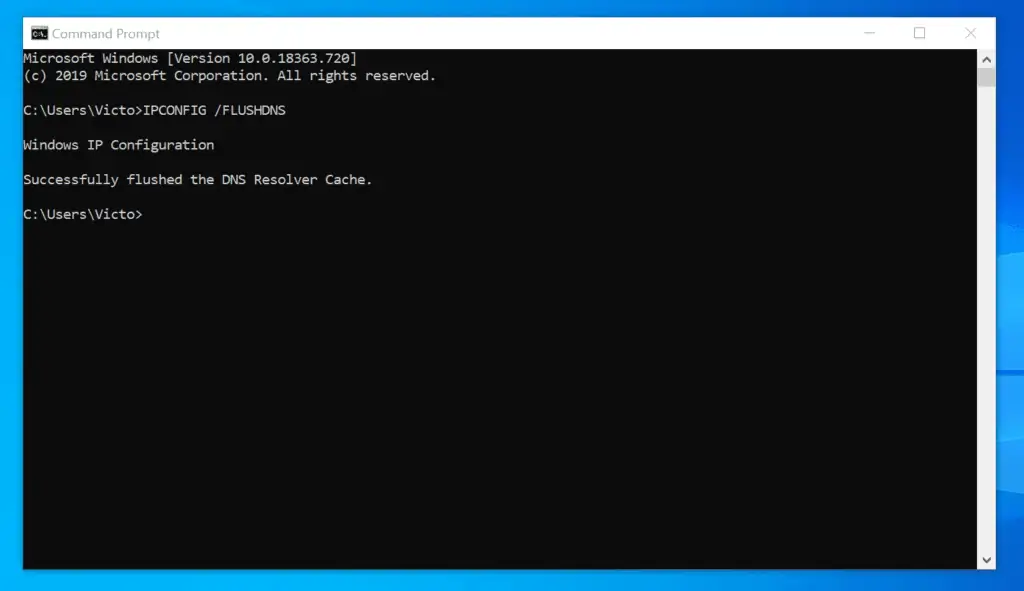
- On the Command Prompt, type the command below and click enter.
IPCONFIG /FLUSHDNS
- Once you press the enter key on your keyboard, you will receive a message “Successfully flushed the DNS Resolver Cache”. This means that your DNS cache has been flushed successfully.
Option 2: Flush DNS with PowerShell
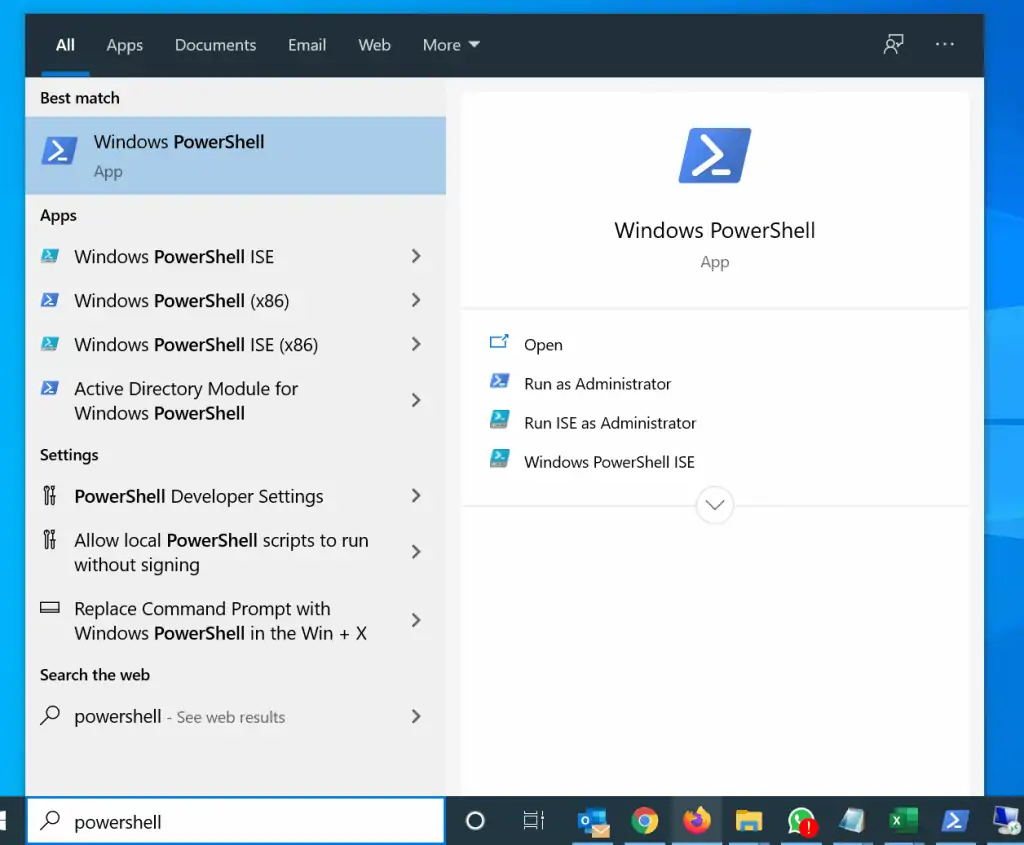
- Type powershell in the search box. Then, from the search results, click Windows PowerShell.
- On the Command Prompt command, type the command below and press the enter key.
Clear-DnsClientCache -Verbose
The “Verbose” parameter is optional but when you include it, PowerShell displays some useful information.
- Here is the result of the command in PowerShell

The Clear-DnsClientCache PowerShell cmdlet deletes all the contents of the DNS client cache. Running this command is equivalent to running ipconfig /flushdns.
I hope you found this Itechguide helpful. If you found it helpful, click on “Yes” beside the “Was this page helpful” question below.
You may also express your thoughts and opinions by using the “Leave a Comment” form at the bottom of this page.
Finally, for more Windows 10 Itechguides, visit our Windows 10 How-To page.