Do you wish to disable the startup sound on your Windows 11 computer? This guide teaches various methods to achieve that.
Option 1: Stop the Startup Sound Through Settings
One way to disable the startup sound in Windows 11 is through Settings. The procedures below demonstrate how to do that.
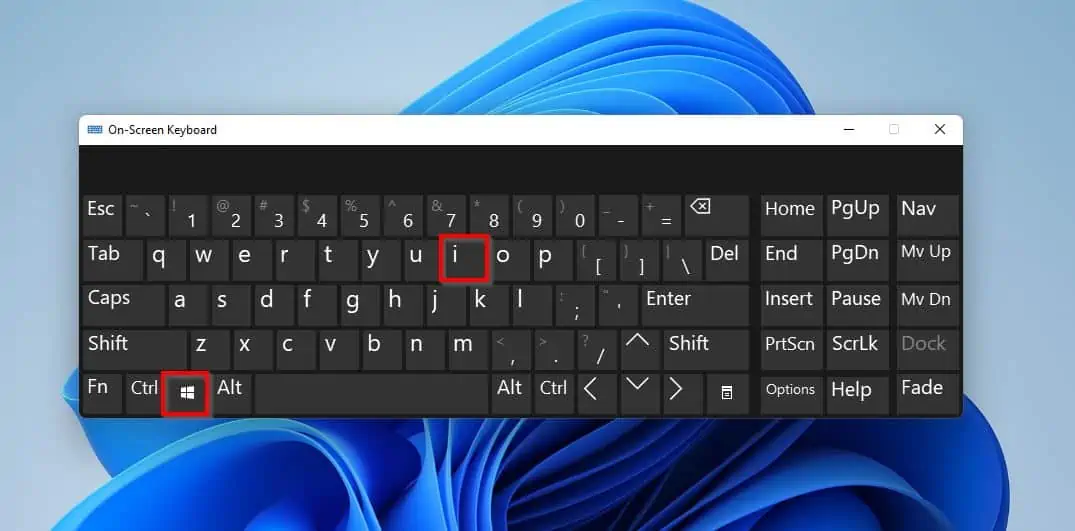
- Press your keyboard’s Windows + I keys to open the Settings app in Windows 11.
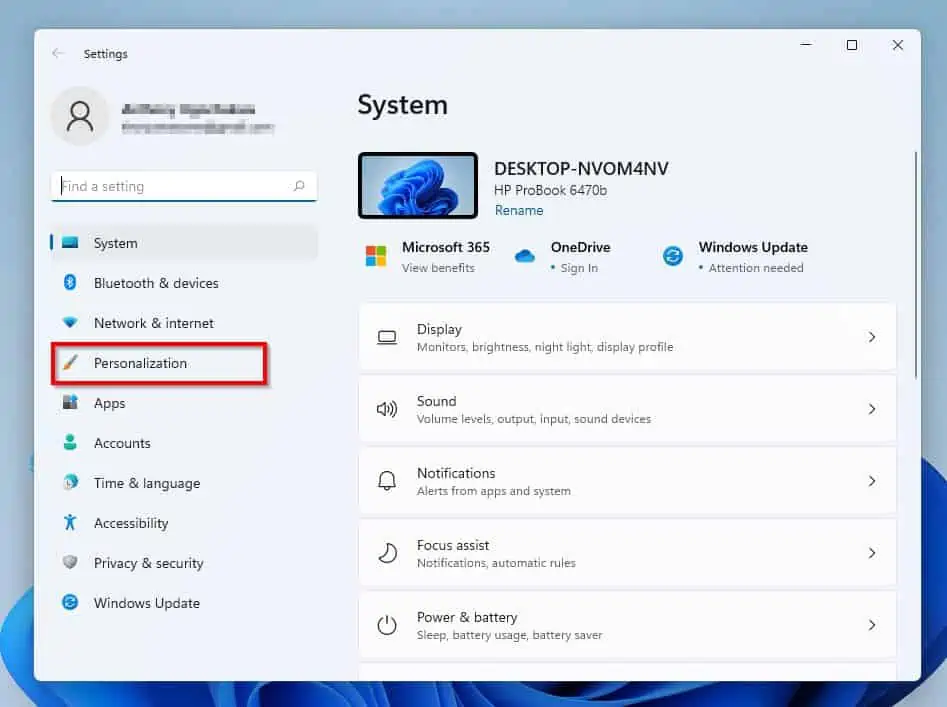
- Afterward, switch to the Personalization tab when the Settings app opens.
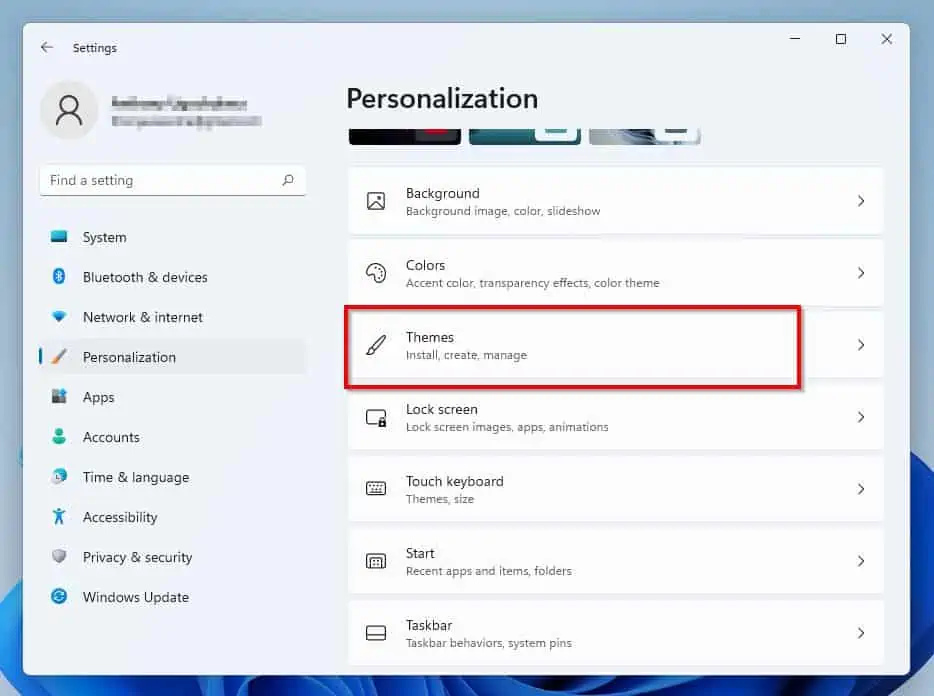
- Then, select Themes on the right pane of the Settings window.
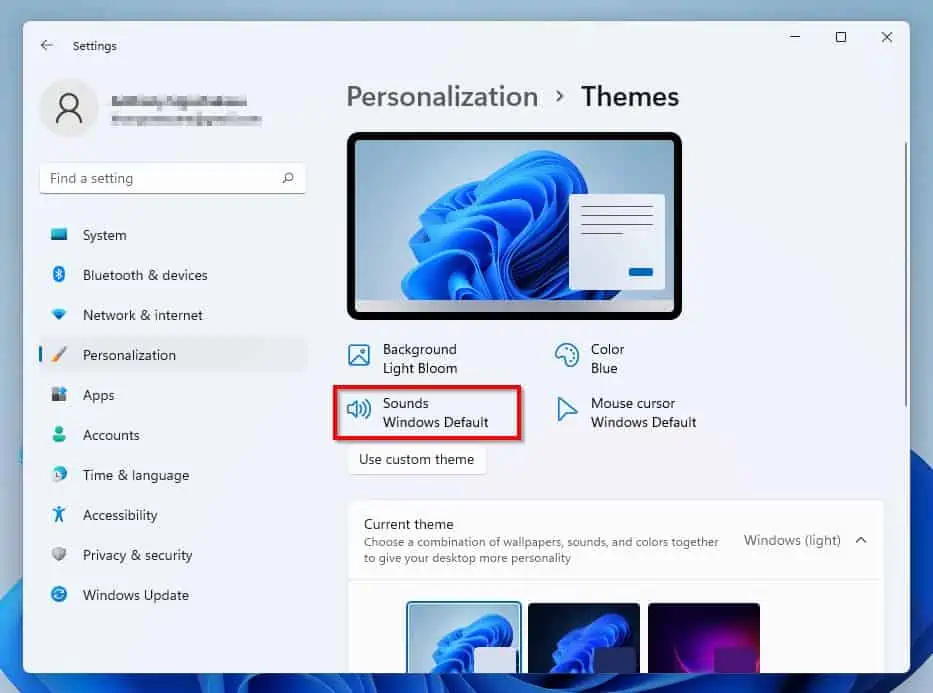
- Next, left-click Sounds, as shown in the screenshot below.
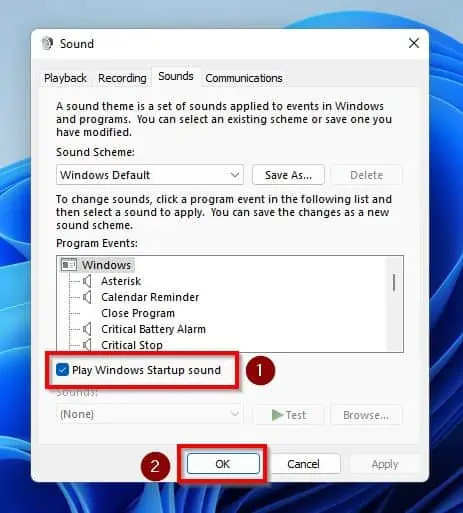
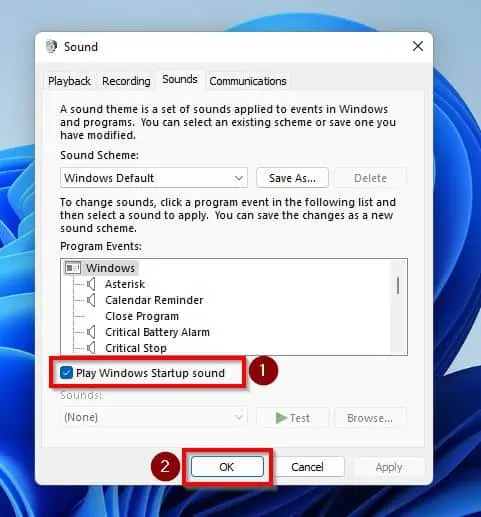
- Following that, uncheck the Play Windows Startup sound box on the Sounds tab in the Sound window. After doing that, left-click OK at the bottom of the window to save the change.
Option 2: Disable the Startup Sound via the Registry Editor
You can also disable the startup sound of your Windows 11 PC through the Registry Editor. However, it is crucial to mention that tampering with the Registry in Windows can be risky.
Therefore, proceed with the steps below cautiously or create a restore point before proceeding.
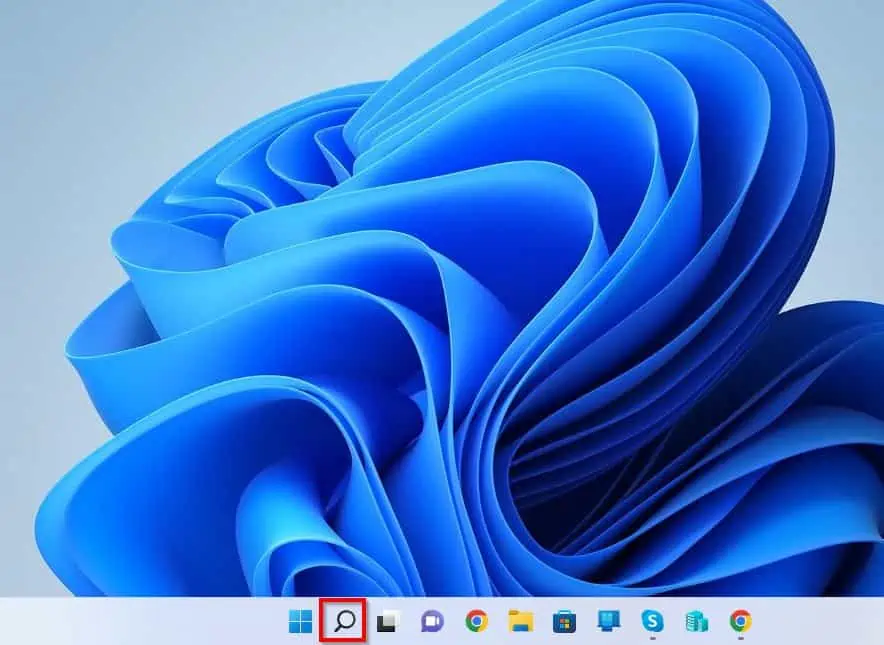
- Left-click the Search icon on your Windows 11 taskbar.
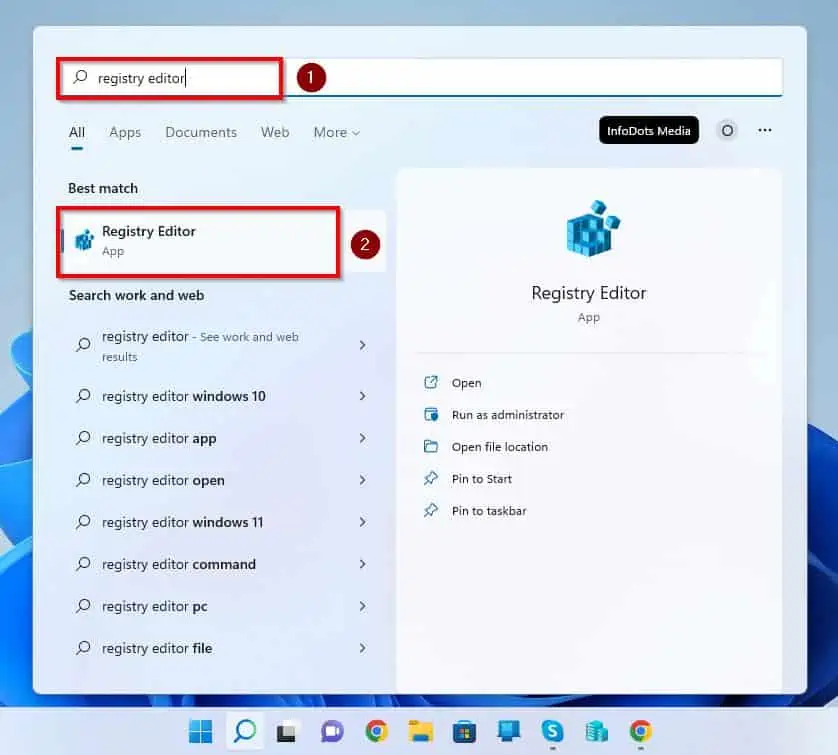
- Afterward, input “registry editor” (without the quotes) in the search field above and left-click the Registry Editor application from the search result. Then, you should receive a User Account Control prompt requesting if you want to allow the application to make changes to your device – click Yes to proceed.
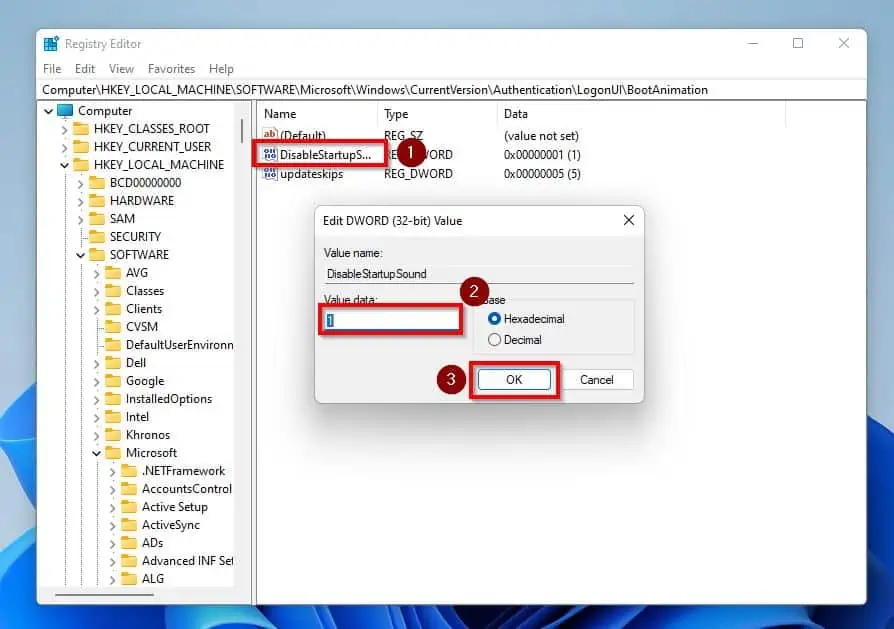
- Following that, navigate to the path below on the Registry Editor window using the folders on the left pane.
Computer\HKEY_LOCAL_MACHINE\SOFTWARE\Microsoft\Windows\CurrentVersion\Authentication\LogonUI\BootAnimation
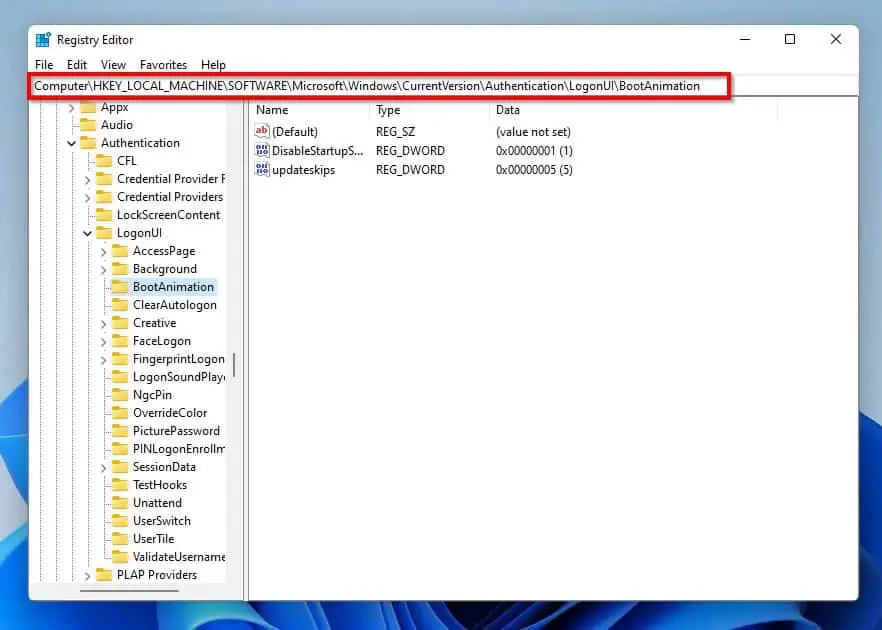
- Next, double-click DisableStartupSound on the right pane of the window. Then, on the Edit DWORD (32-bit) Value dialogue box, change the Value data from 1 to 0 and click the OK button.
- Finally, exit the Registry Editor window and reboot your Windows 11 computer to enforce the change.
Option 3: Stop the Startup Sound Through the Control Panel
Another way to disable the startup sound of your Windows 11 PC is through the control panel. Follow the procedures and screenshots below to achieve that.
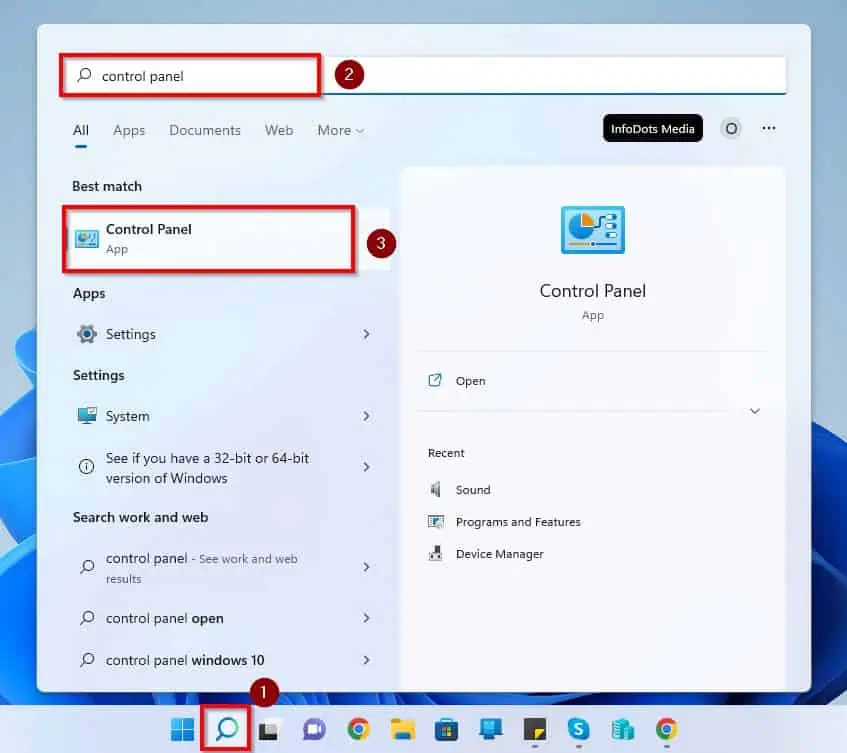
- Click the Search icon on the taskbar in Windows 11. Then, type “control panel” in the search field and select the Control Panel app from the search result.
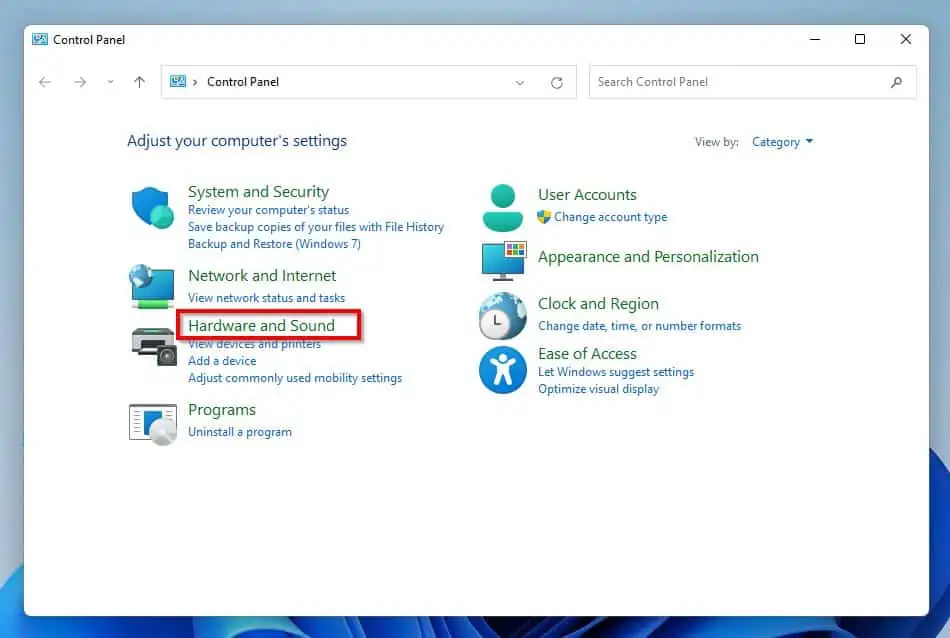
- When the Control Panel application opens, click Hardware and Sound.
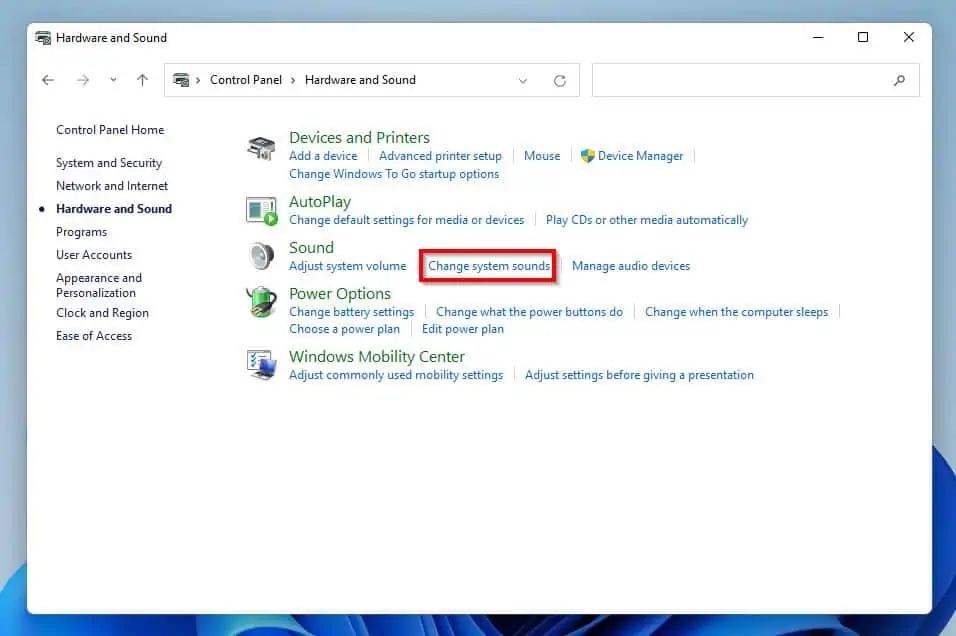
- Then, under the Sound category, select Change system sounds.
- On the Sounds tab in the Sound window, uncheck the Play Windows Startup sound box. Finally, left-click the OK button at the bottom of the window to save the change.
Frequently Asked Questions
Yes, Windows 11 comes with a startup sound by default.
To increase the volume of your Windows 11 computer, follow the steps below.
a) Click the quick settings panel on the right edge of the Windows 11 taskbar.
b) You will find the volume slider in the quick settings panel. Thus, drag the volume slider right to increase the volume of your Windows 11 PC.
Microsoft officially released the Windows 11 operating system on October 5, 2021.
Sure, upgrading your computer to Windows 11 is totally free.
Your computer will make a chiming noise whenever a peripheral device is connected or disconnected to/from it.
Conclusion
Although Windows startup sound can be pretty nice, some users might not be comfortable with it. Fortunately, this detailed guide has provided multiple methods to disable the startup sound in Windows 11.
In essence, this guide taught us how to perform this task via Settings and Registry Editor. We also learned how to disable the startup sound through the control panel.
I am hoping that you found this guide helpful and detailed enough. If it was helpful to you, click on “Yes” beside the “Was this page helpful” question below.
You may also express your thoughts and opinions by using the “Leave a Comment” form at the bottom of this page.
Finally, for more Windows 11 how-to guides, visit our Windows 11 How-To page.


