
iTechGuides is reader-supported. When you buy through links on our site, we may earn an affiliate commission. As an Amazon Associate I earn from qualifying purchases. Learn more
This Itechguide teaches you how to create a Facebook group.
The guide covers steps to create a Facebook group a browser on your PC (Facebook.com), the Facebook App (For Android or iPhone) and a browser on a smartphone.




Option 1: Create a Group Using a Browser (Facebook.com)
To create a Facebook group from your PC browser:
- Open Facebook.com and login to your Facebook account.
- Then on the left pane of the site, click Groups.
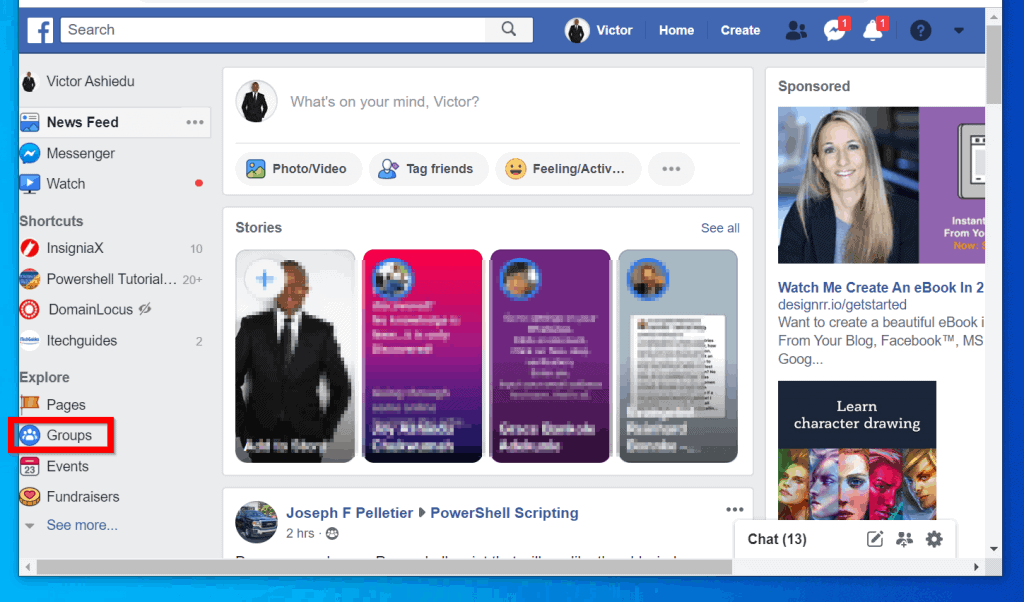
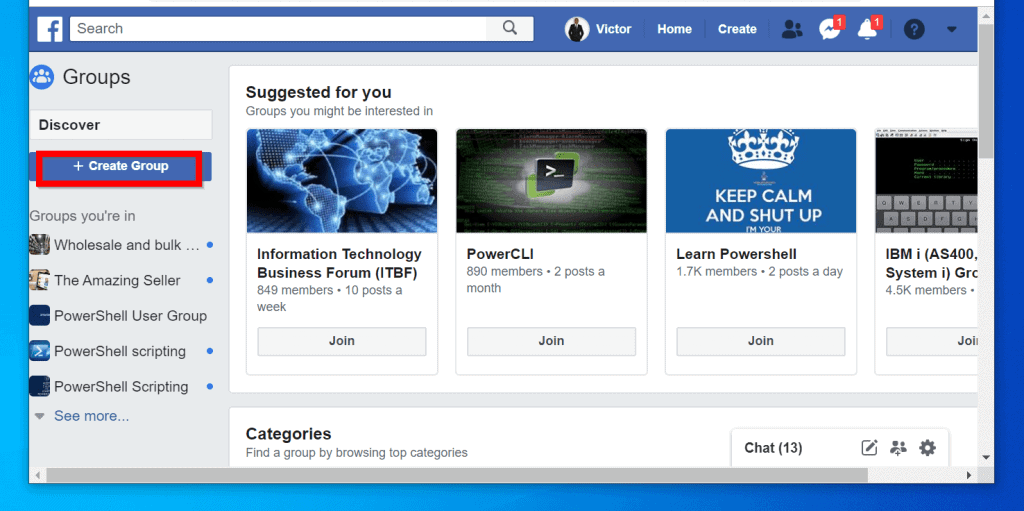
- On the Facebook Groups page, click + Create Group.
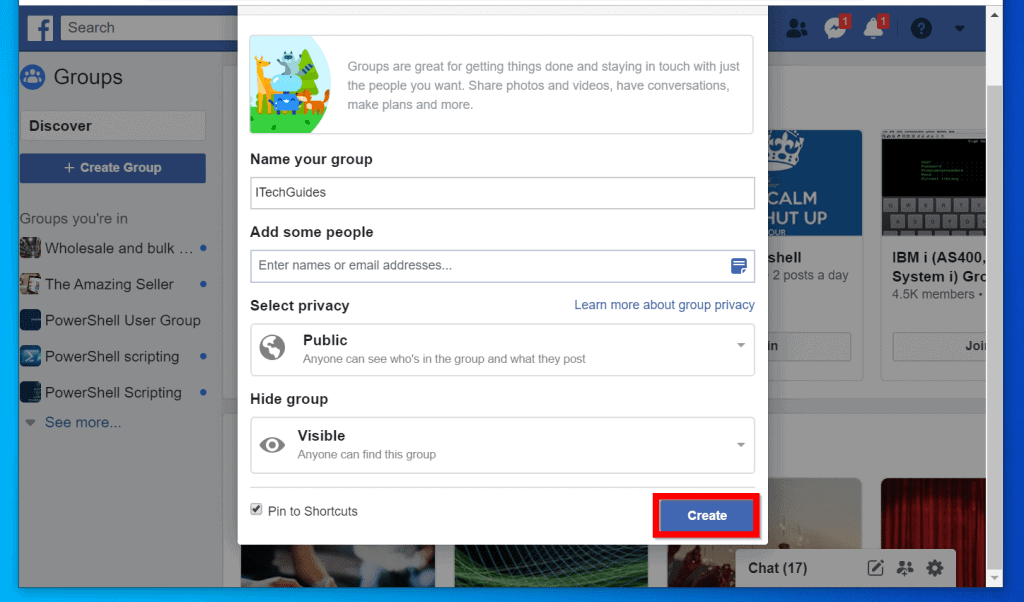
- Then, on the Create new group pop up window, give the group a name. If you wish to add someone to the group, type their name or email in the Add some people field.

- To modify the privacy of the group (who can see the members of the group and what the members post), click the Select Privacy drop-down. By default Facebook group will be created as a Private group. To make it a public group, select Public.
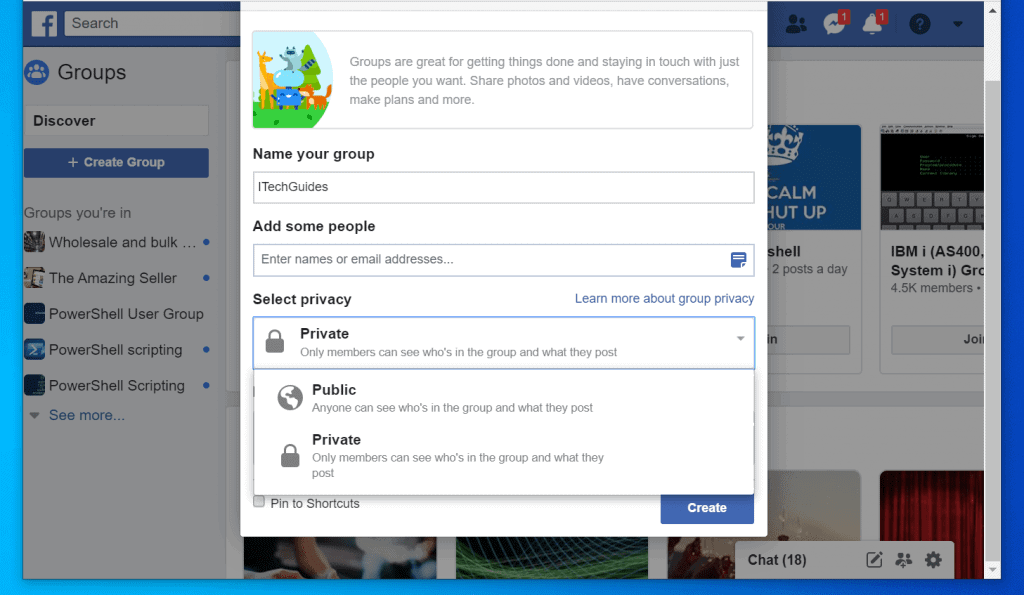
- Finally, if you want to pin the group to your Facebook Shortcuts, check Pin to Shortcuts. Then, to create the group, click Create.
Option 2: Create a Group via the Facebook App
You can also create a Facebook group from Facebook app.
Here are the steps:
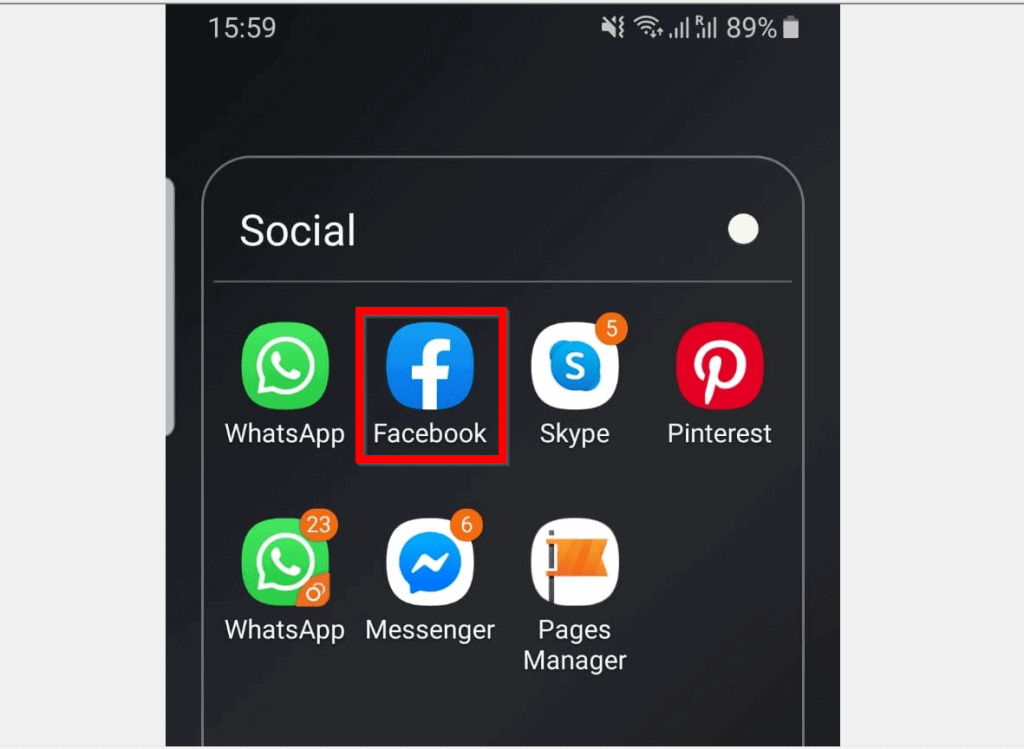
- Open the Facebook app on your phone.
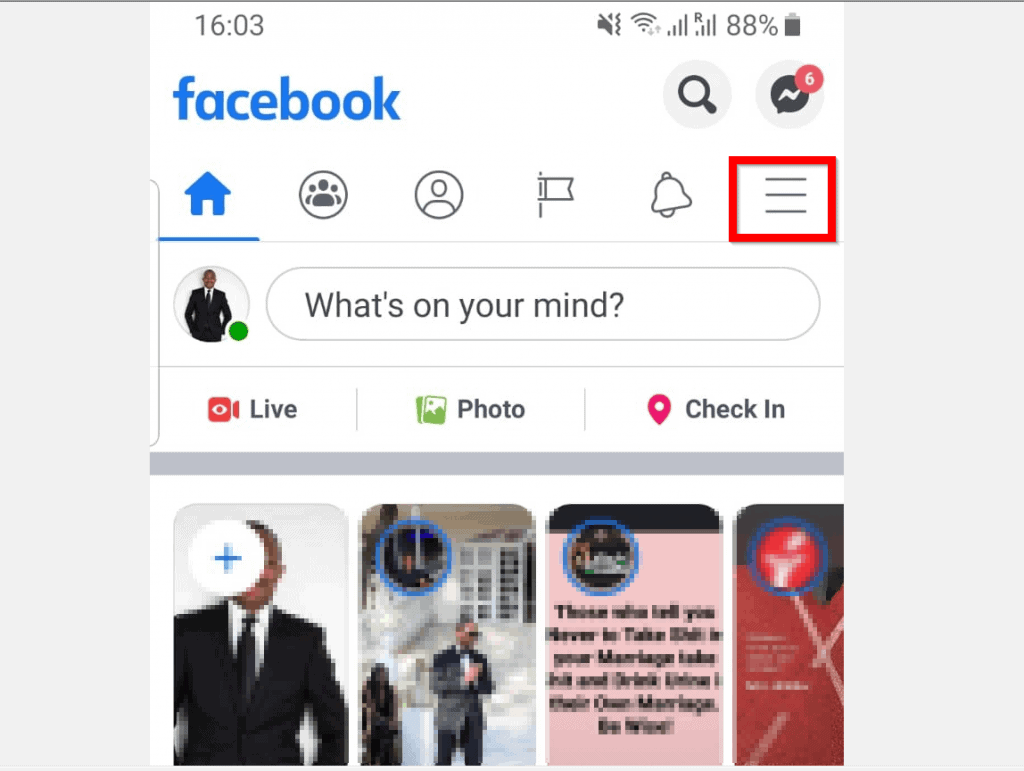
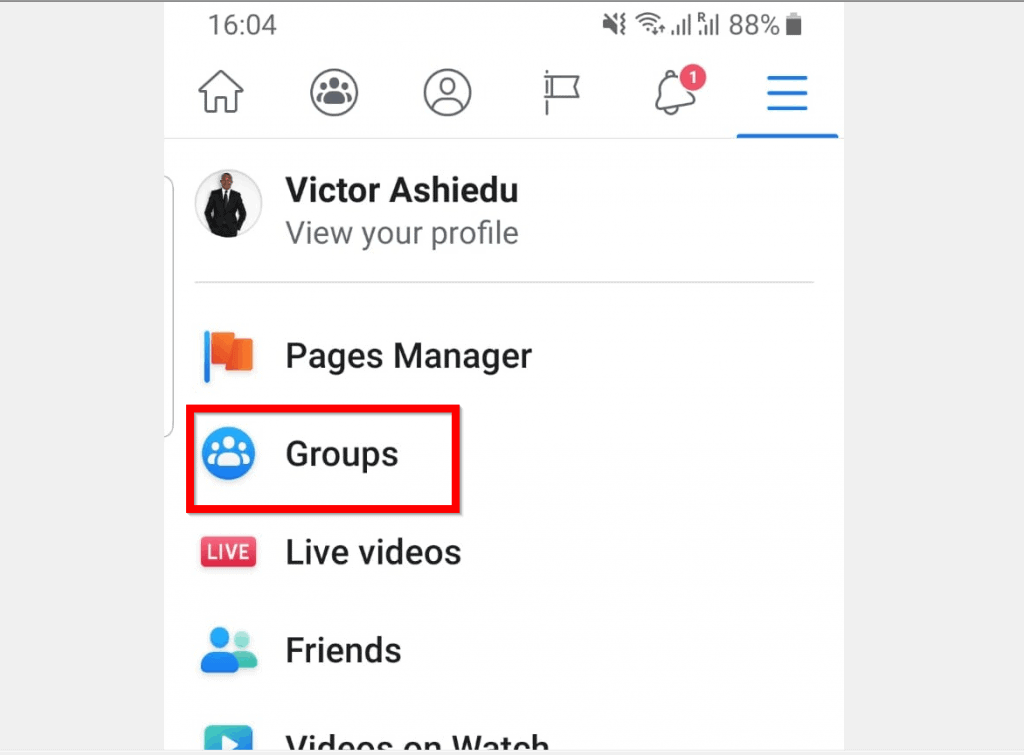
- From the app, click the 3 lines on the top right. Then select Groups.
- From the Groups screen, click Create.
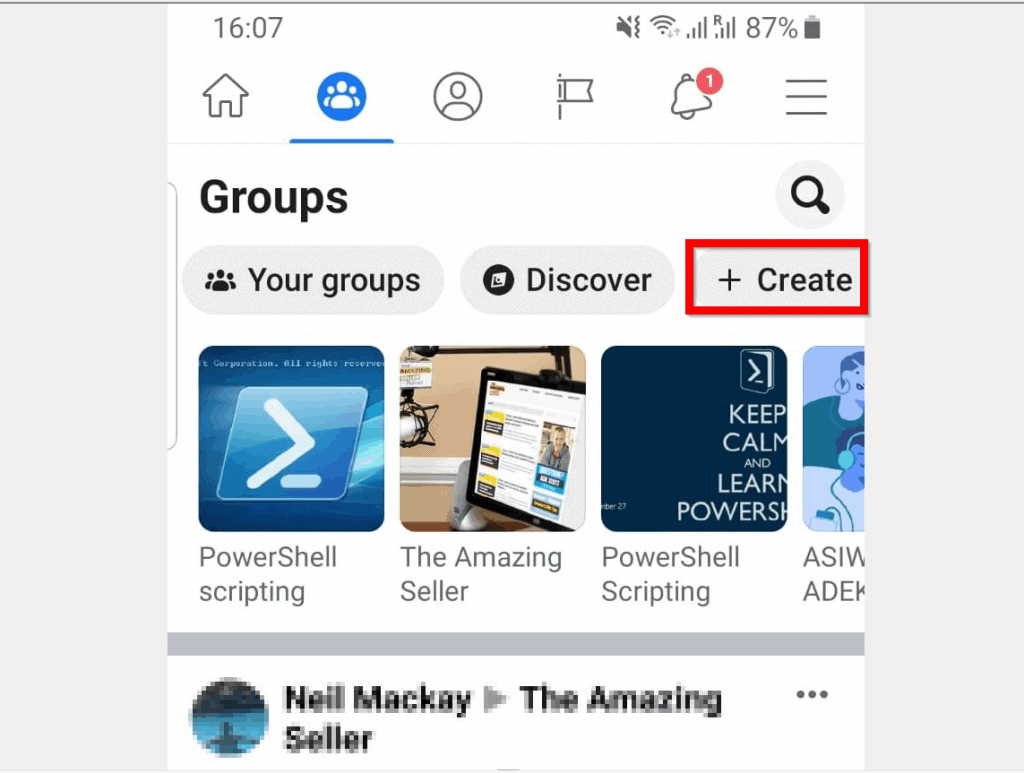
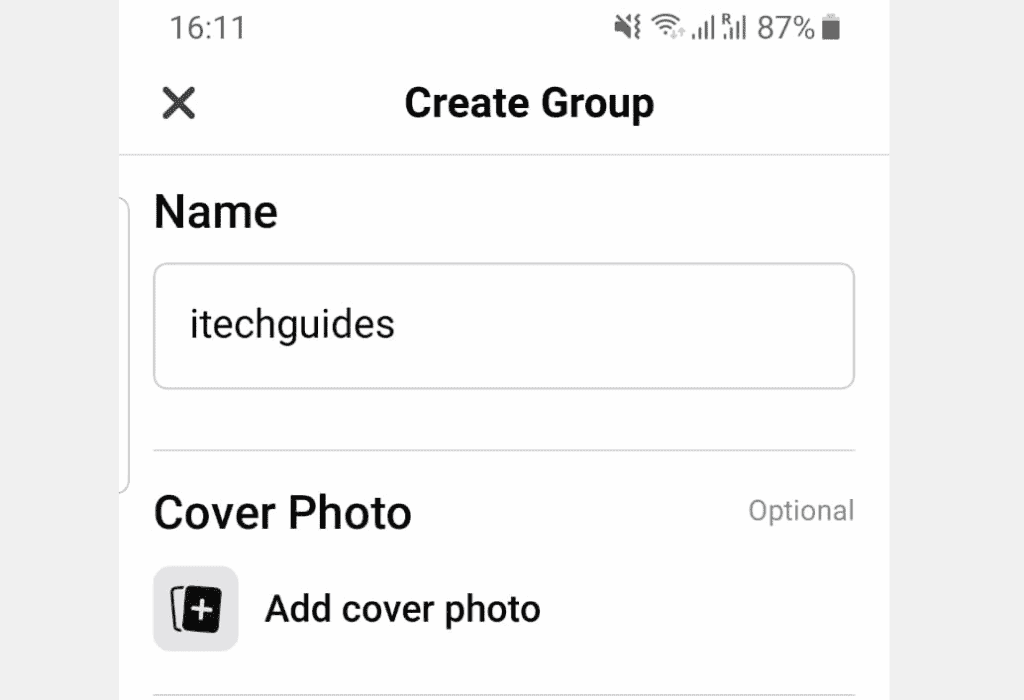
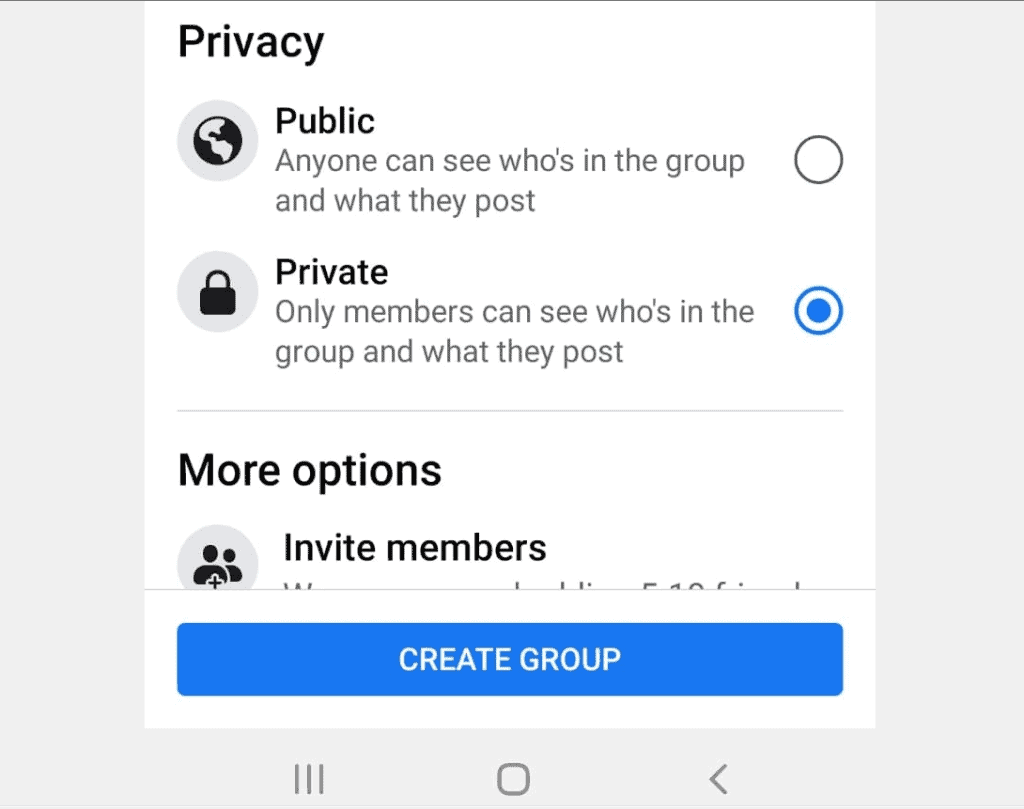
- On the Create Group page, give the group a name and add a cover photo (optional). Make the group private or public and add members to the group (optional). Finally, to create the group, click CREATE GROUP.
Option 3: Create a Group Through a Mobile Browser
If you do not have the app you could create a group from a browser on your smartphone.
Popular on Amazon
Here are the steps:
- Open Facebook.com with a browser on your phone. Then login to your Facebook account.
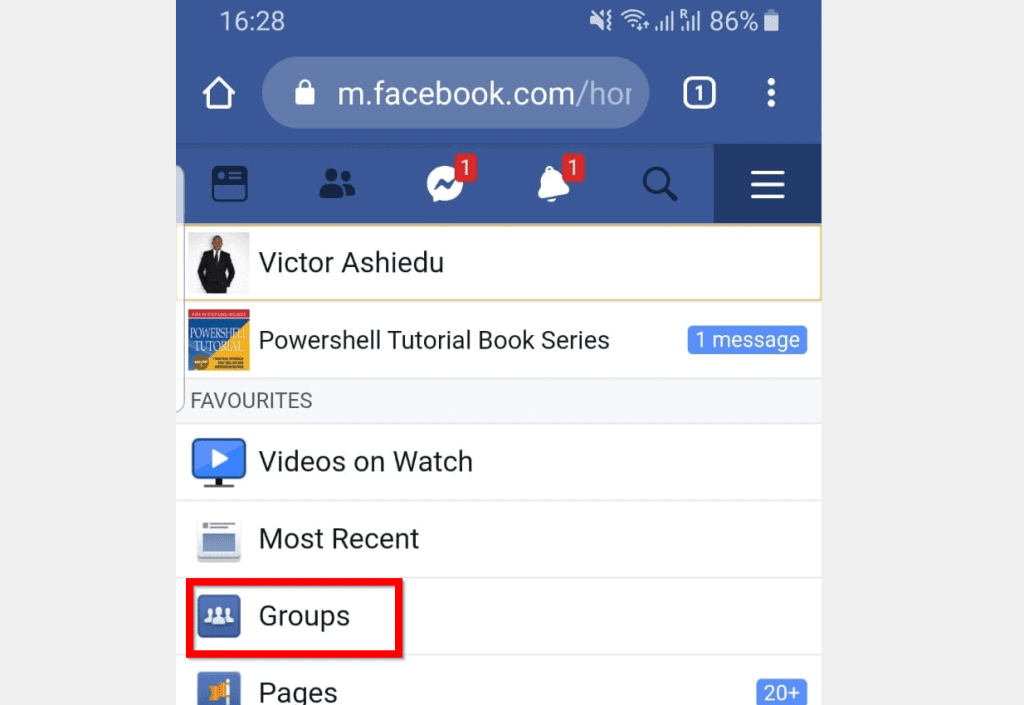
- On the top right of your Facebook page, click the 3 lines.
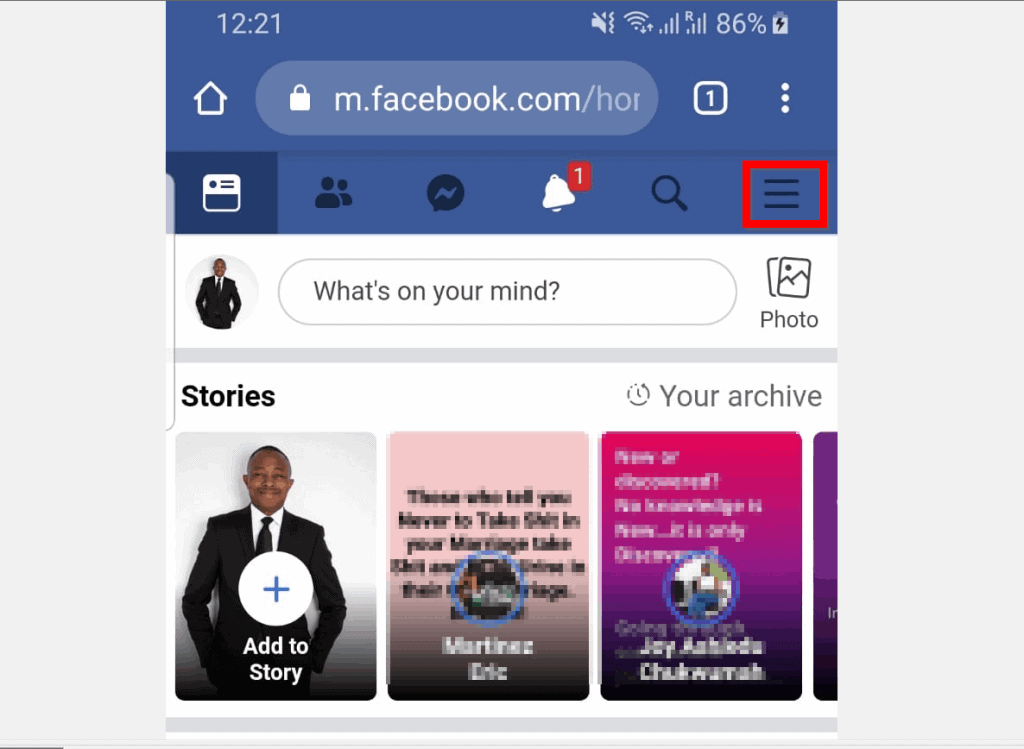
- From the available drop-down options, select Groups.
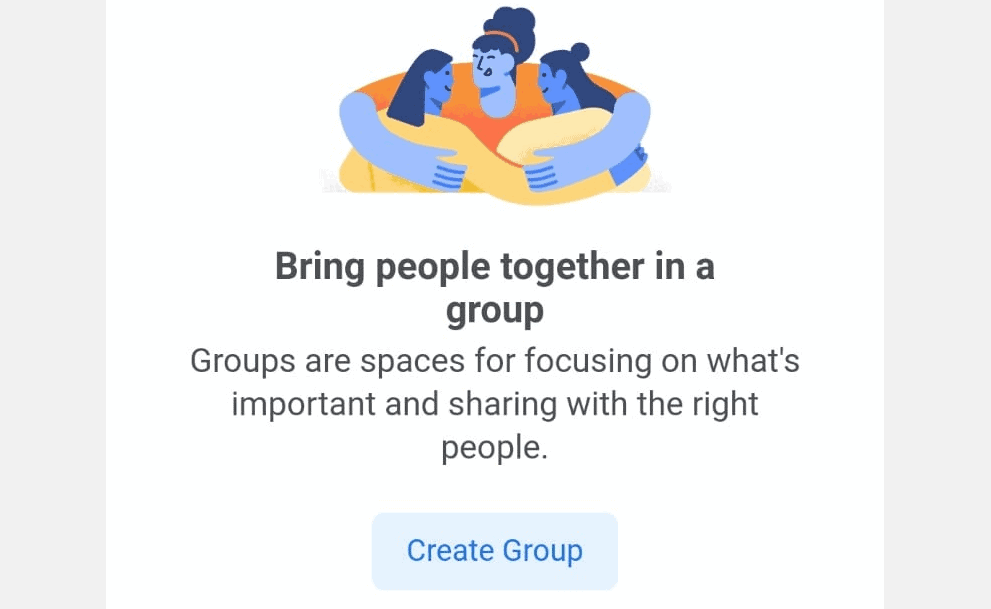
- On the Groups page, click Create. Then click Create Group.

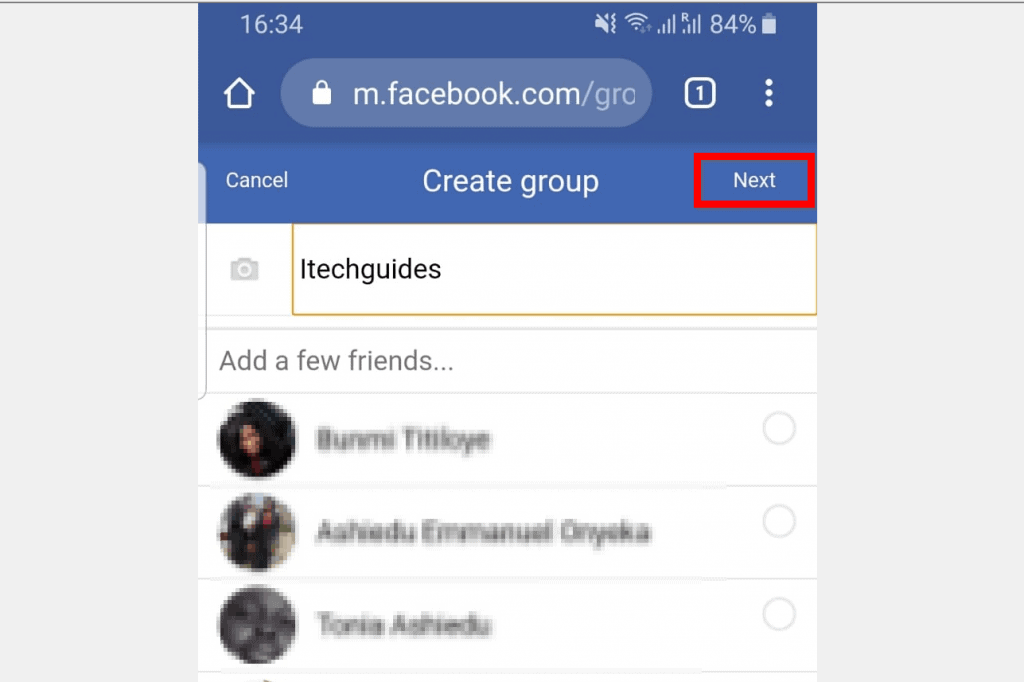
- On the first page of the Create Group wizard, give the group a name, then add members (optional) and click Next.
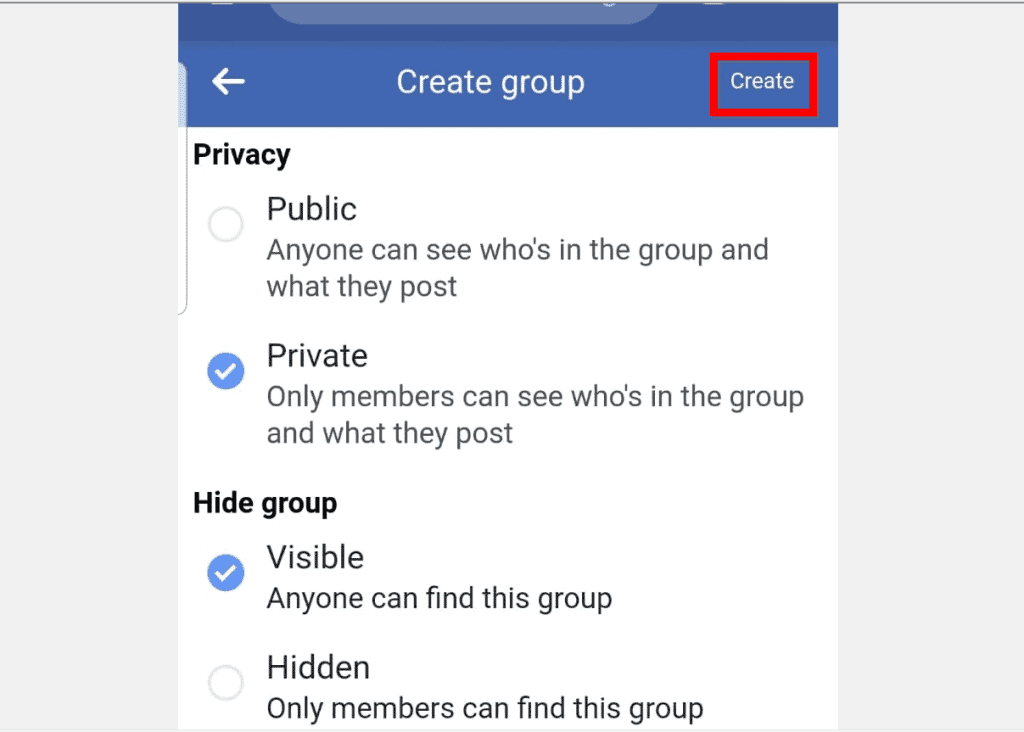
- Finally, select the group’s privacy settings (Public or Private). Then set the visibility. When you finish making your selections click Create.
It is this easy to create a group on the world’s largest social media platform! I hope you found the guide easy to follow.
If you did, click on “Yes” beside the “Was this page helpful” question below. You may also express your thoughts and opinions by using the “Leave a Comment” form at the bottom of this page.
Also popular on Amazon
For more guides like this one visit our Social Media how-to page.