This Itechguide teaches you how to flush DNS Windows 10. The guide covers steps for 2 methods to flush DNS Windows 10 – CMD and PowerShell.
Option 1: Flush DNS with CMD
- Type cmd in the search box. Then, from the search results, click Command Prompt.

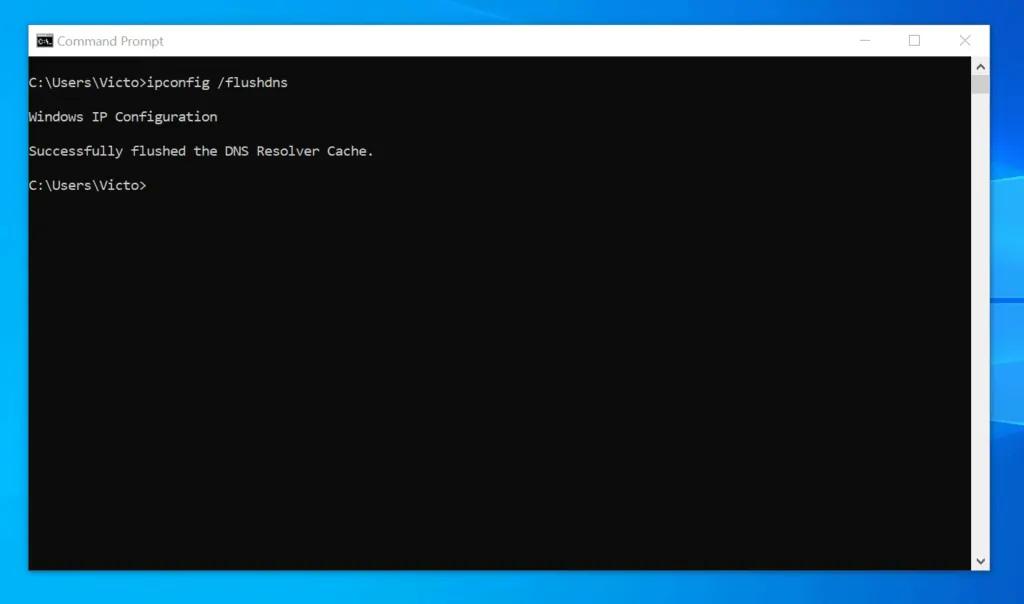
- On command prompt, type the command below and press enter key on your keyboard.
ipconfig /flushdns
- The command will return “Successfully flushed the DNS Resolver Cache.” – confirming that the command was successful.
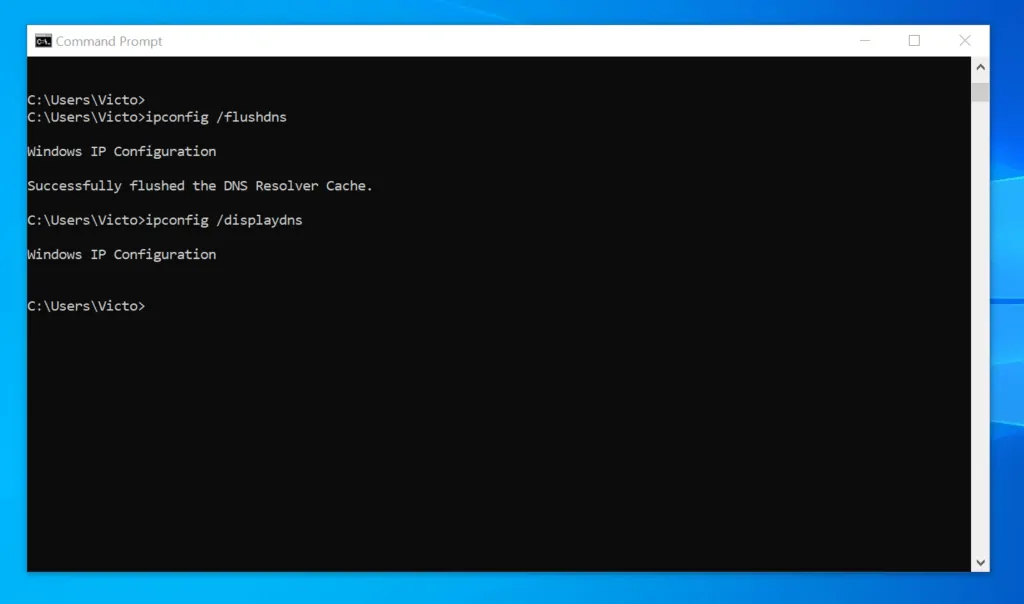
- To display the DNS client resolver cache, type this command and press enter.
ipconfig /displaydns
This command displays the client’s DNS client resolver cache for entries preloaded from the Hosts file on the computer. It also displays all recently obtained resource records for name queries resolved by the computer.
- The last command will take a while to run – how long it takes to return a result depends the number of entries on the cache.

- If you run the ipconfig /flushdns command and immediately run ipconfig /displaydns, the last command will NOT display any information – confirming that the DNS cache was cleared by the first command.
Option 2: Flush DNS with PowerShell
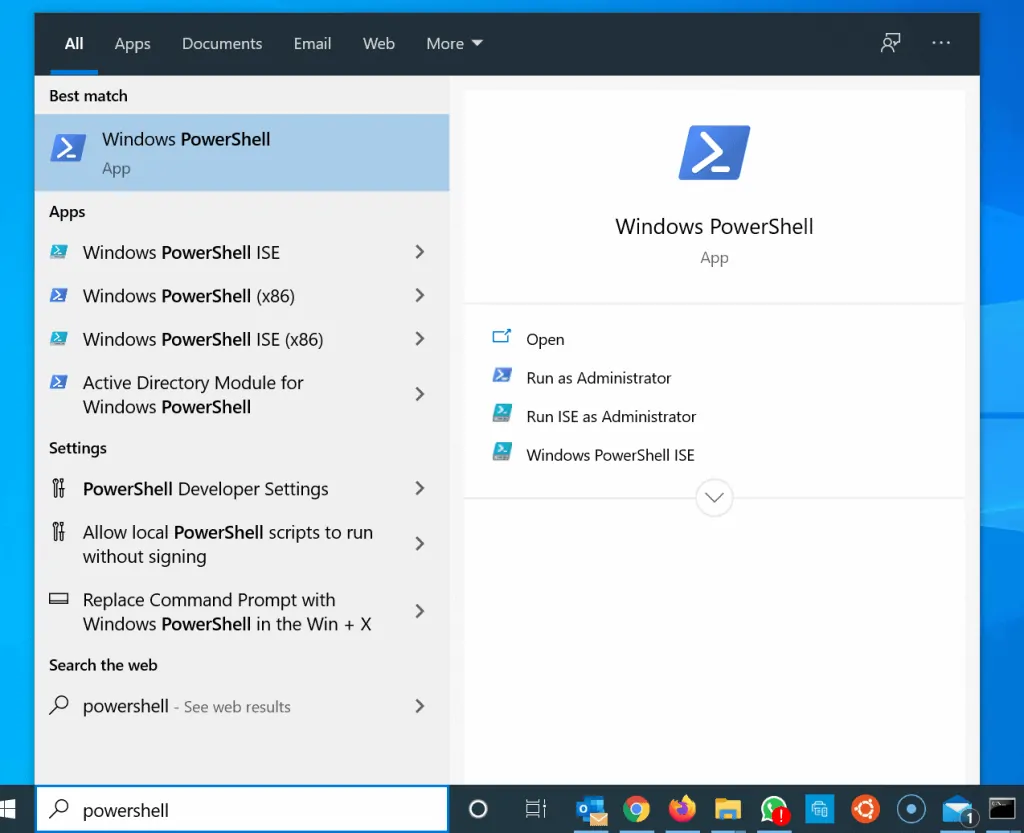
- Search powershell and open Windows PowerShell. Then, click Windows PowerShell.
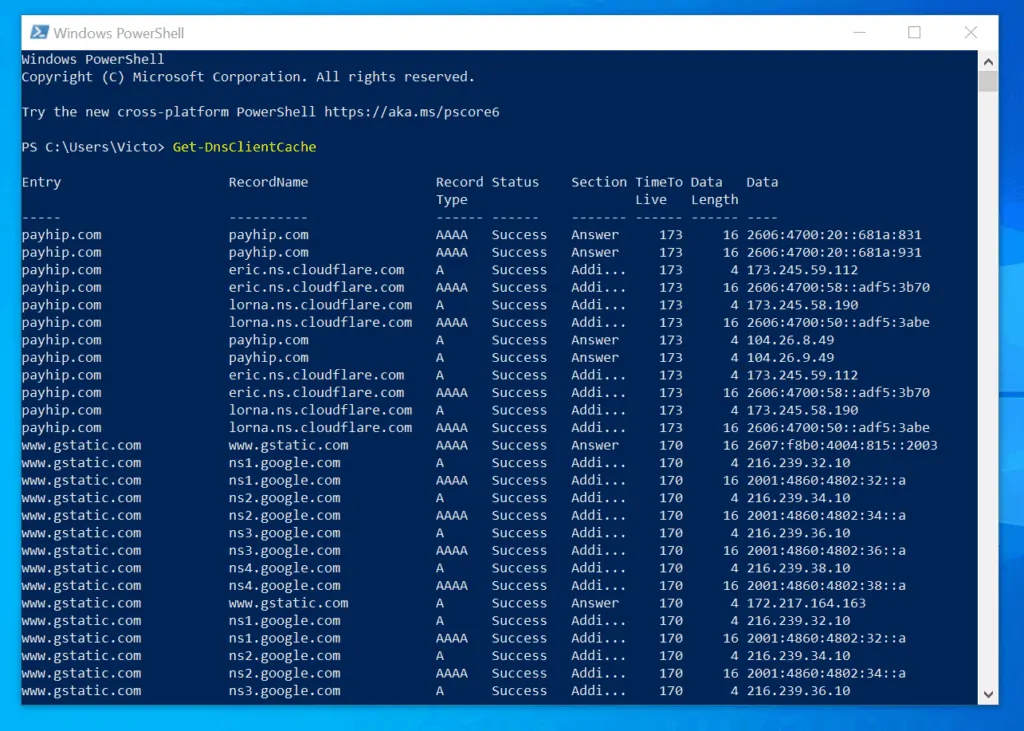
- If you wish to display the current DNS cache, on the powershell command prompt, type this command and press the enter key on your keyboard.
Get-DnsClientCache
- The command will display a list of all the DNS entries in the cache.
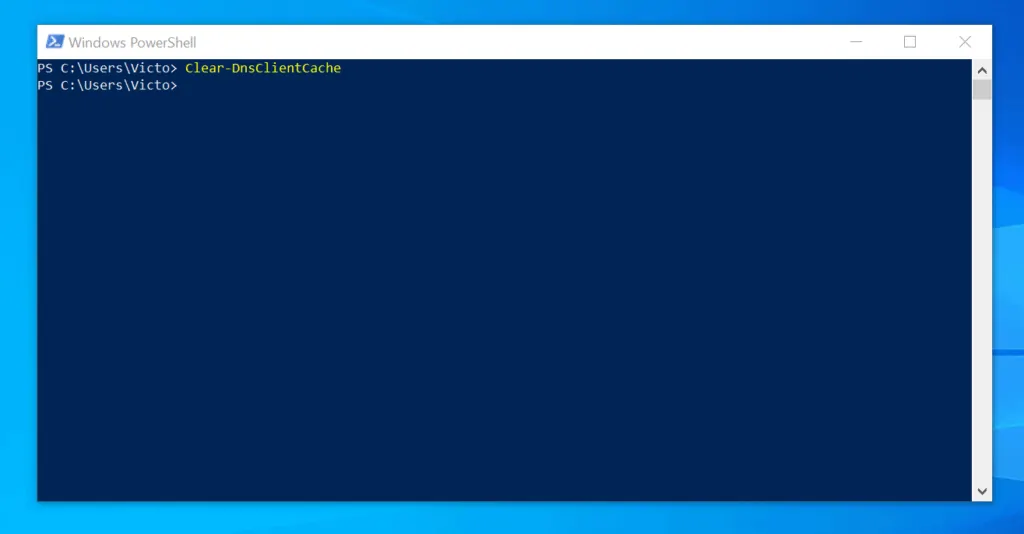
- Then, to flush the DNS cache, type this command. Then, press the enter key.
Clear-DnsClientCache- The command runs very quickly and returns to the PowerShell prompt. It will appear that nothing happened.
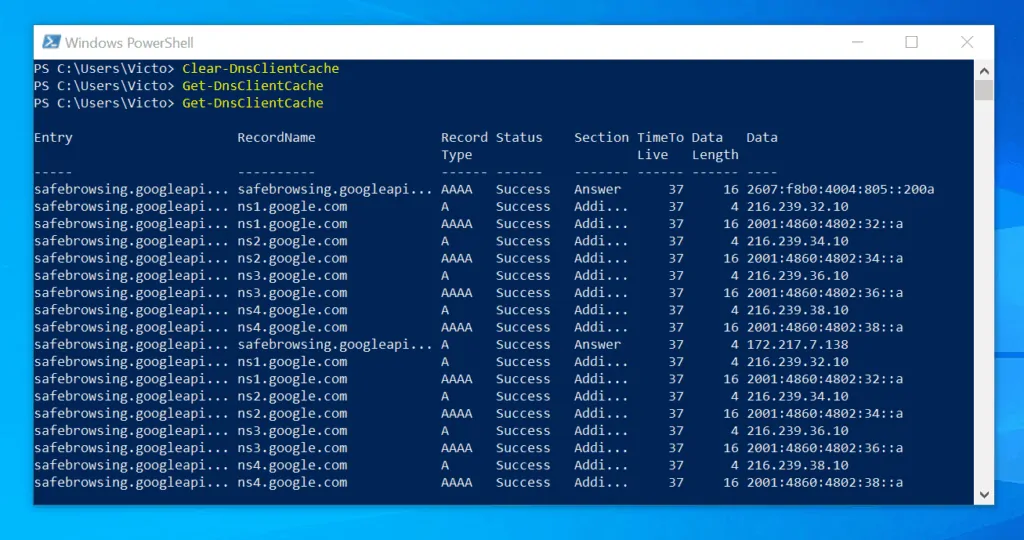
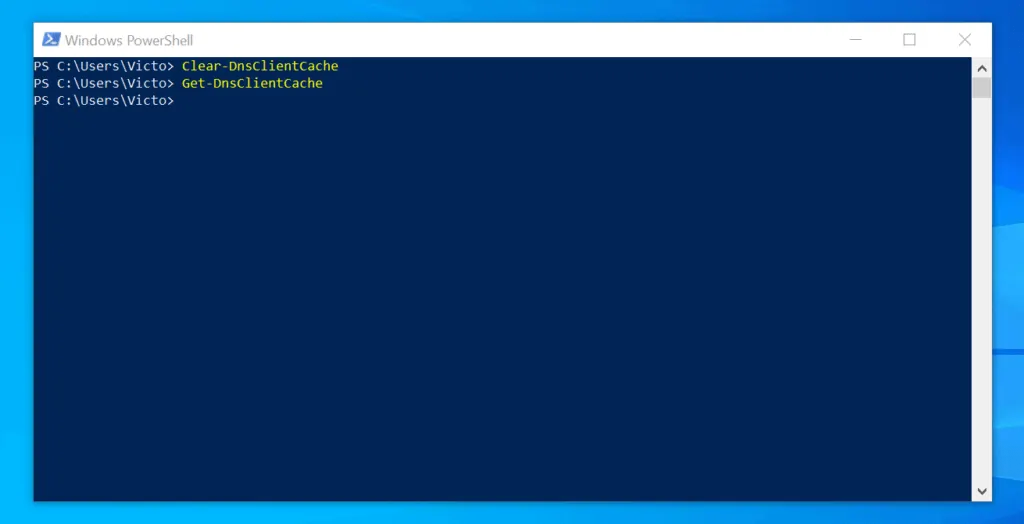
- To confirm that the DNS cache was flushed, run these two commands in quick succession…
Clear-DnsClientCache
Get-DnsClientCache
- If the DNS cache was cleared successfully, the second command will NOT return any result. See the image below.
- After some seconds, if you run the Get-DnsClientCache command, it will display results. This is because the PC would have updated its DNS resolver cache.
As you can see, it is very easy to flush DNS Windows 10! I hope you found this Itechguide helpful. If you found it helpful, click on “Yes” beside the “Was this page helpful” question below.
You may also express your thoughts and opinions by using the “Leave a Comment” form at the bottom of this page.
Finally, for more Windows 10 Itechguides, visit our Windows 10 How-To page.


![How To Run Sysprep (Generalize) In Windows 10 [2 Methods]](https://www.itechguides.com/wp-content/uploads/2022/05/8-2.webp)