Deploying Windows Server Update Service on a Windows Server is a multi-step process. Learn how to set this up in Windows Server 2019.
Step 1: Perform Pre-Installation Tasks
Before installing WSUS, perform the following tasks on the server you want to install WSUS:
- Confirm that the server is joined to the domain
- Add Domain Admins group to the local Administrators group on the server
- Confirm that Microsoft .NET Framework 4.7 is installed on the Server
- Create a folder, WSUSUpdates to store updates (Optional)
Step 2: Install the Windows Server Update Services Role
Here are the steps to install WSUS in Server 2019:
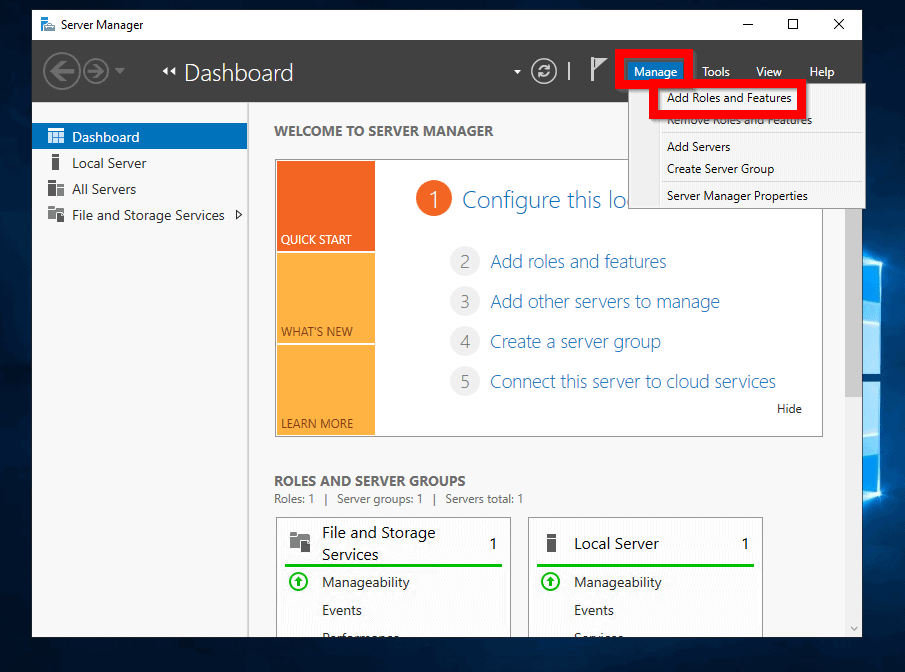
- Login to the member server and open Server Manager.
- From Server Manager click Manage. Then select Add Roles and Features.
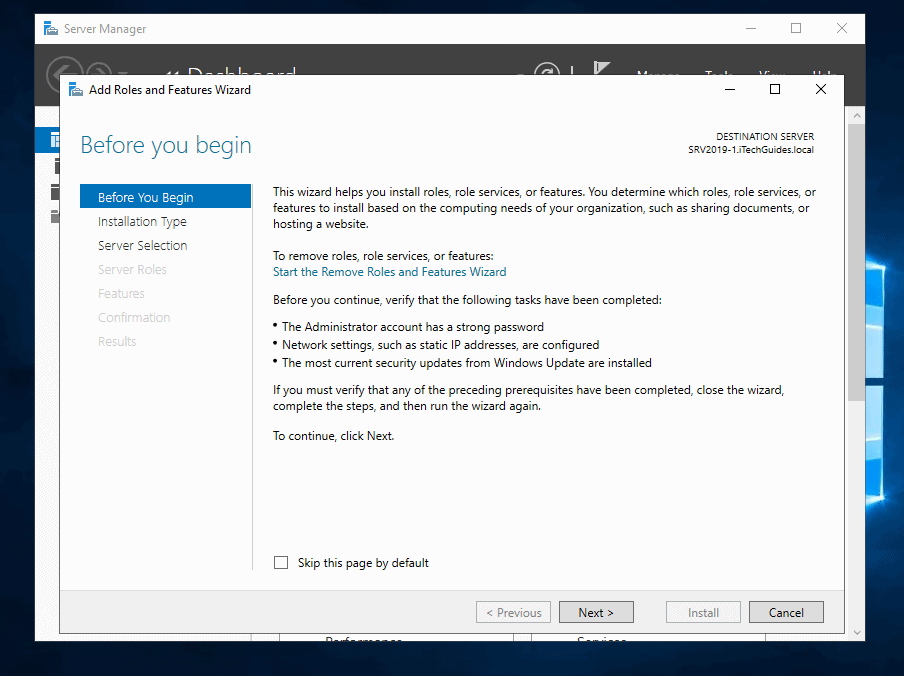
- At the Before you begin screen, click Next.
- Then select Role-based or feature-based installation and click Next.

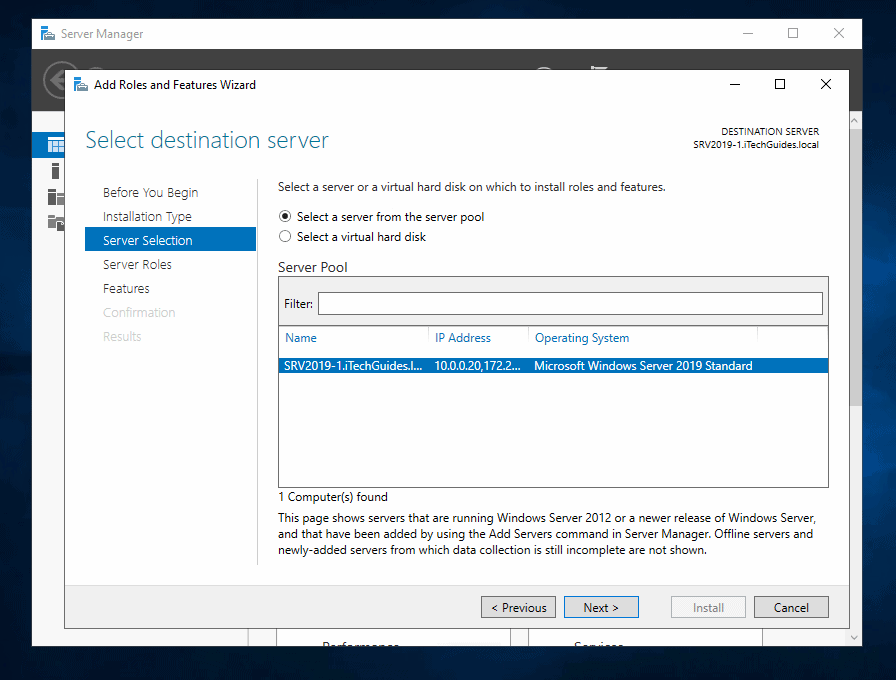
- At Select destination server screen, select a server. Then click Next.
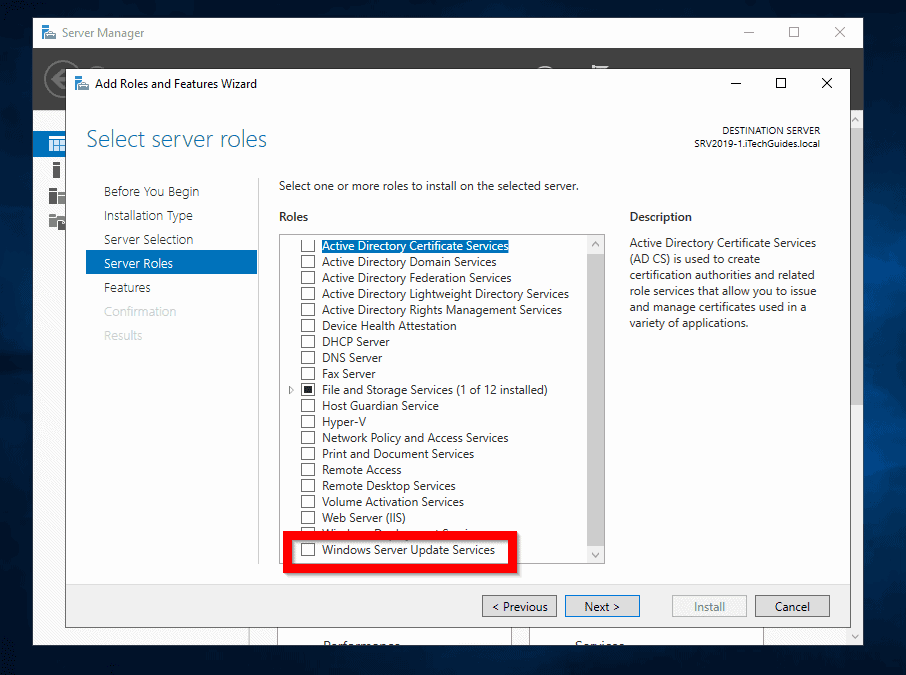
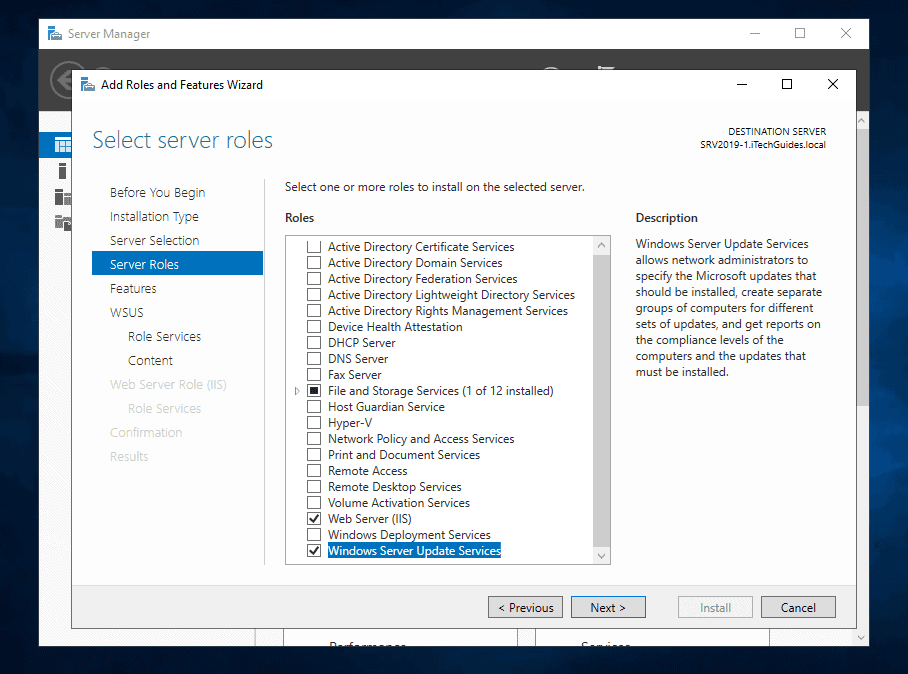
- On the Select server roles screen check the box beside Windows Server Update Services.
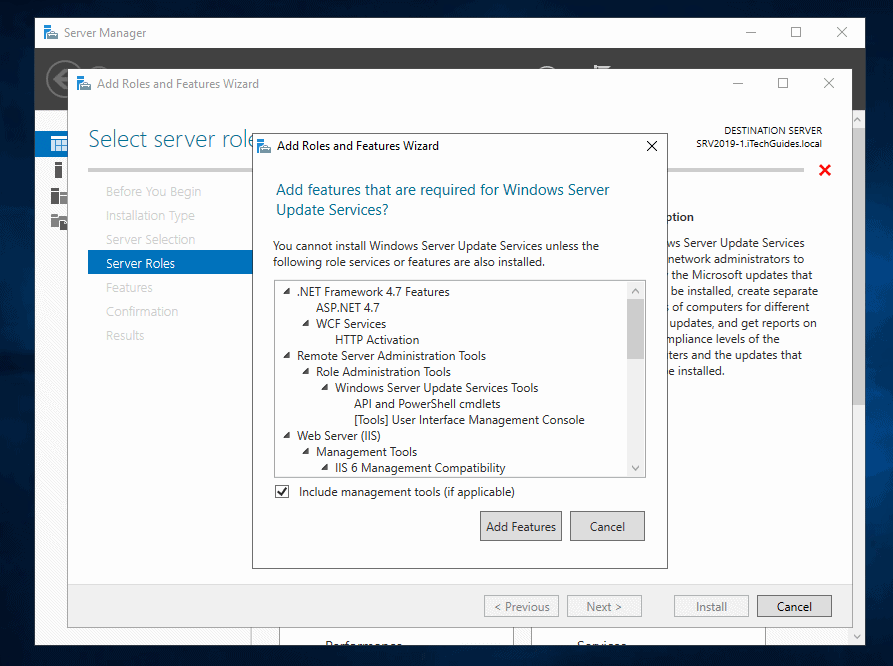
- At the Add features that are required for Windows Server Update Services popup, click Add Features.
- Back in Select server roles screen confirm that Windows Server Update Services is checked. Then click Next.
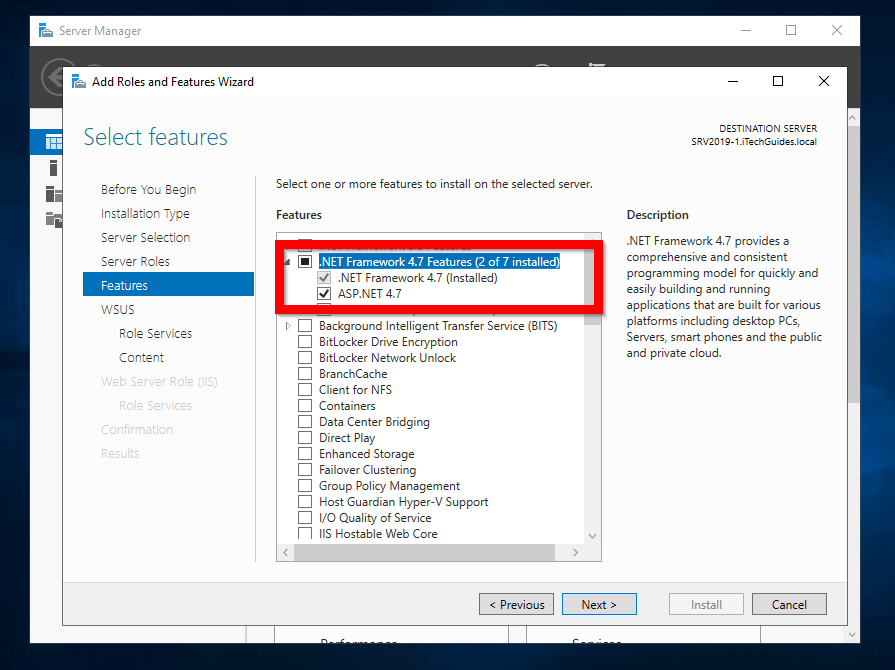
- At Select features screen, expand .Net framework 4.7 Features. Then confirm that .Net framework 4.7 is installed. If not check the box beside it. To continue click Next.
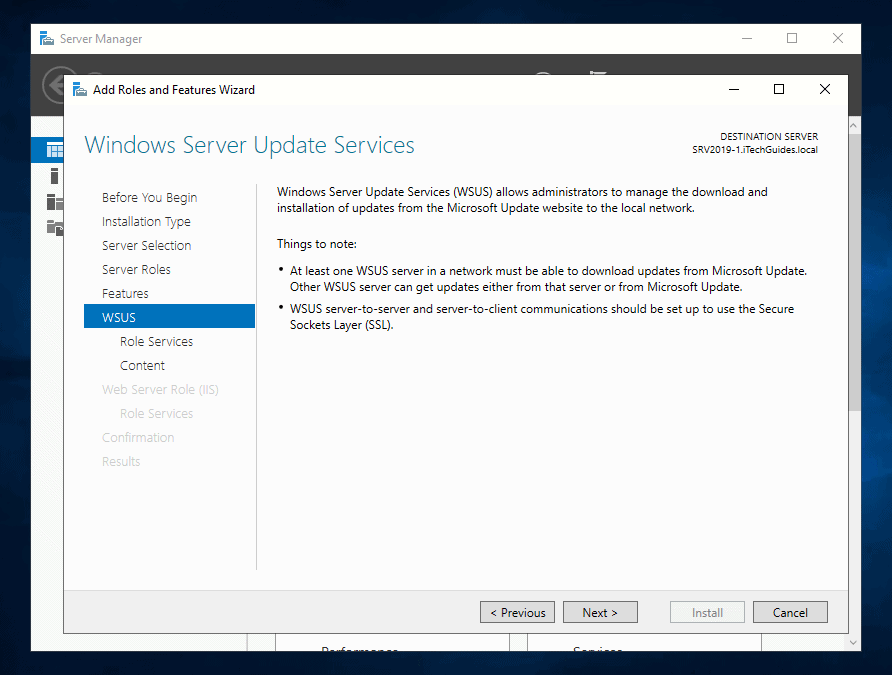
- Note the important information about WSUS setup best practice. Then click Next.
- Then on the Select role services screen, click Next.

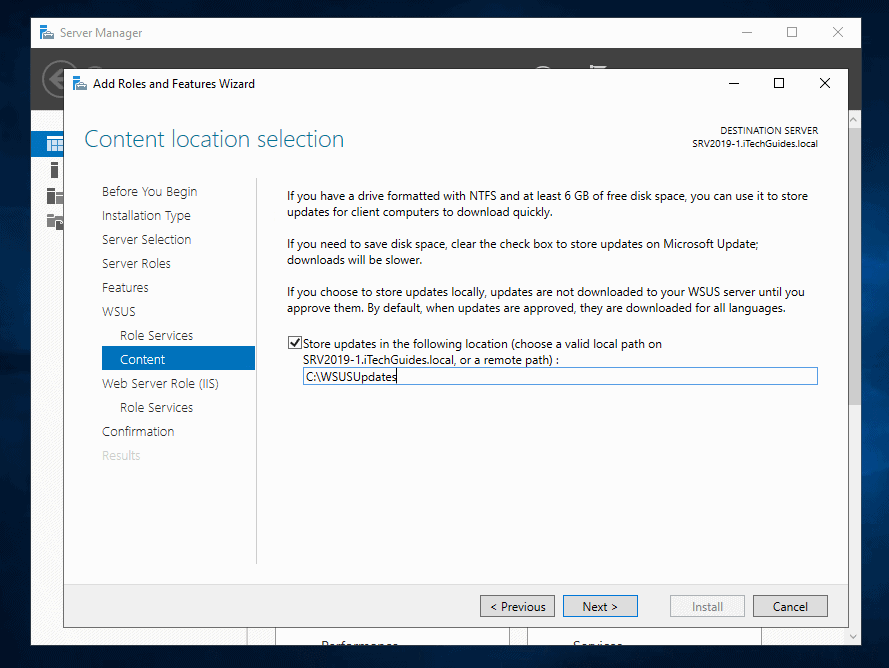
- The Content location selection screen offers you the option to store updates locally. If you have a drive with at least 6GB, you can specify a folder created in that drive. Check the Store updates in the following location box. Then enter the path to the folder in the field provided and click Next.
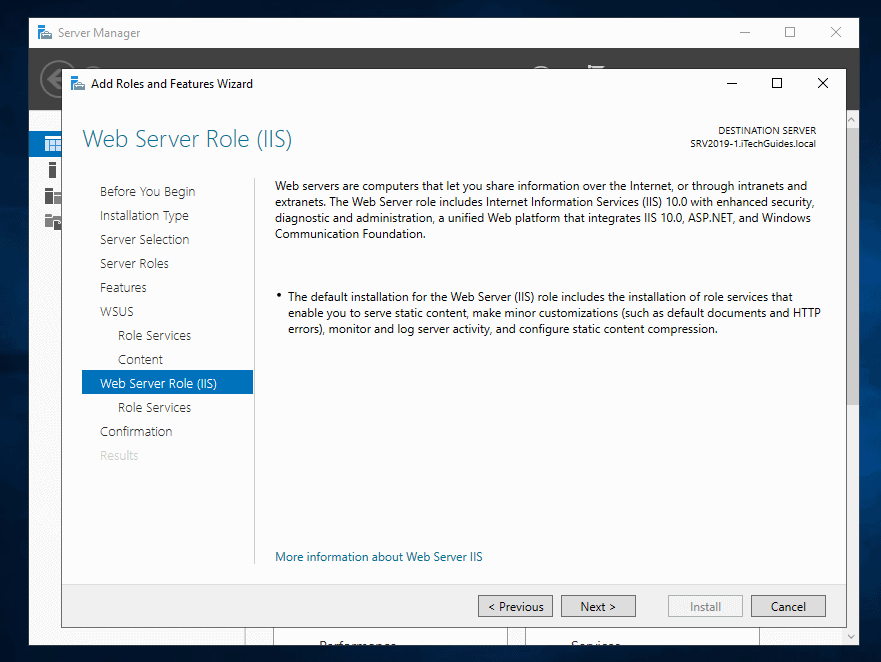
- On the Web Server Role (IIS) screen, read the information provided and click Next.
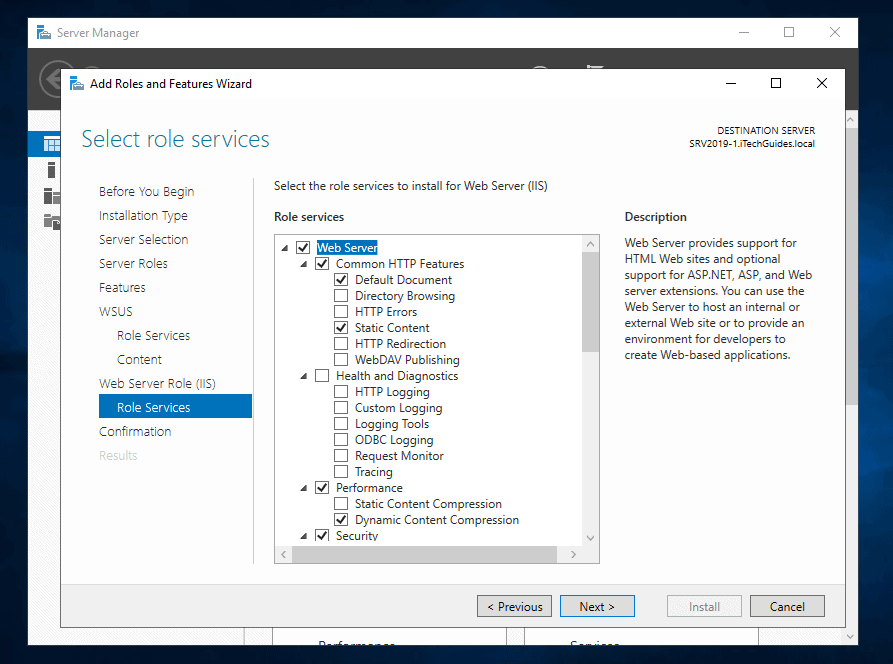
- Then on the IIS role services screen, click Next.
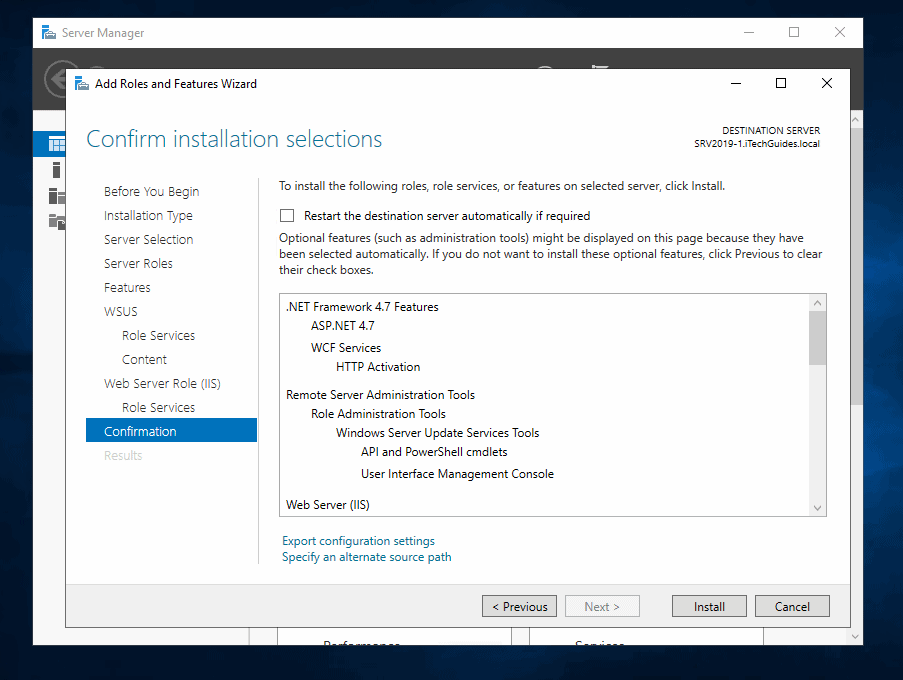
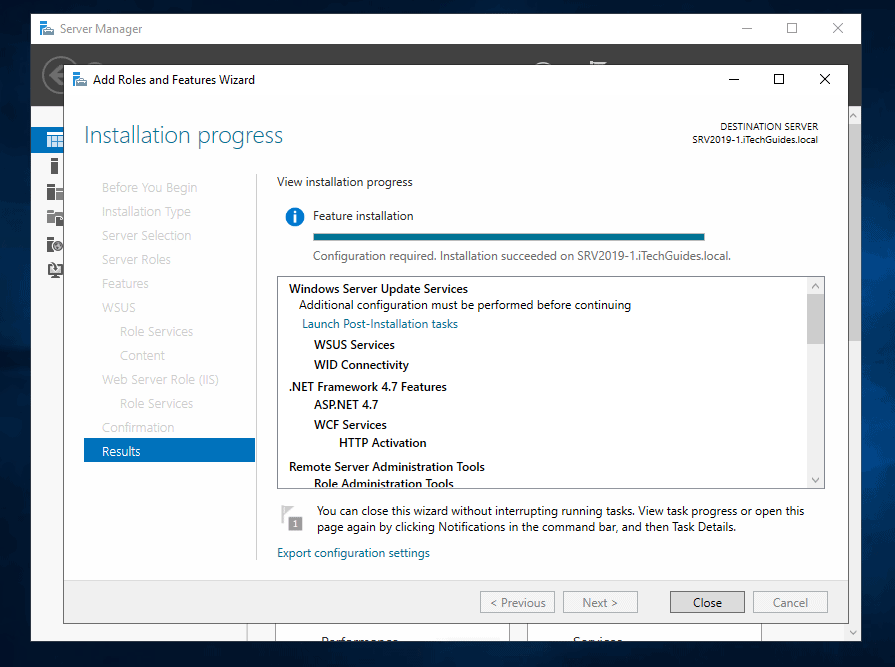
- Finally, review your selections and click Install then wait for the installation to complete.
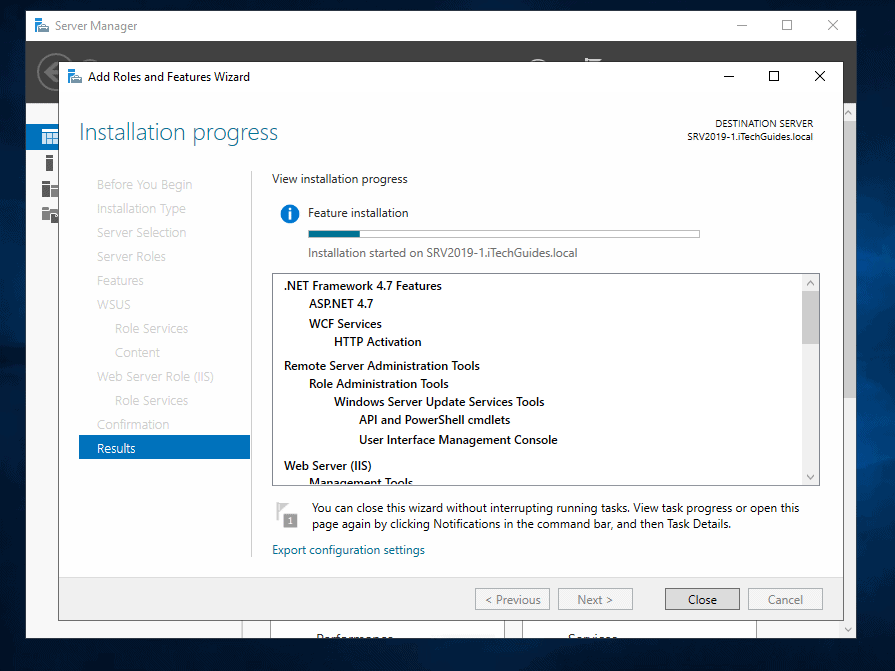
- When the installation is completed, click Close.
Step 3: Complete the Post-WSUS Role Installation Task
When the installation is completed configure WSUS in Server 2019 with these steps:
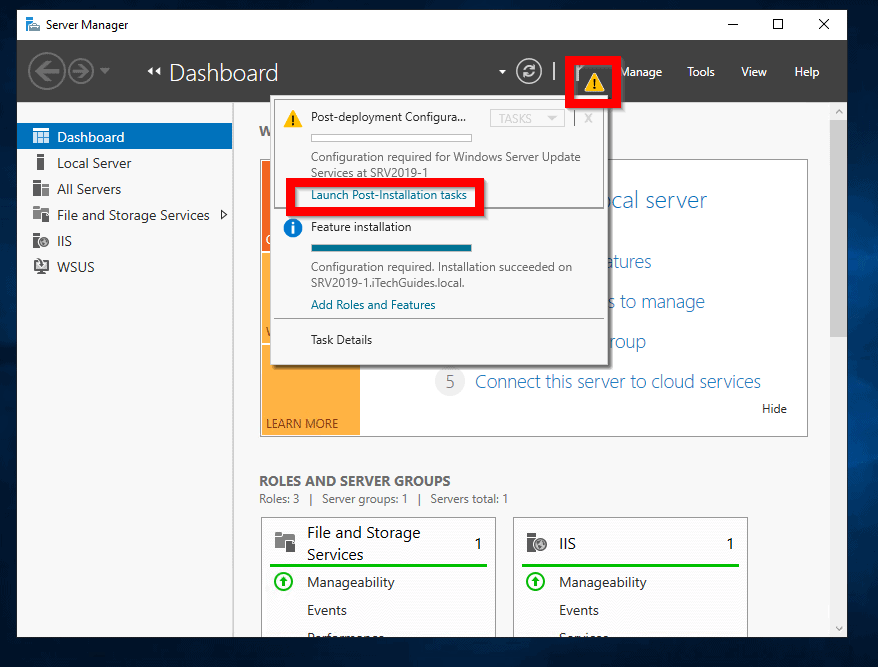
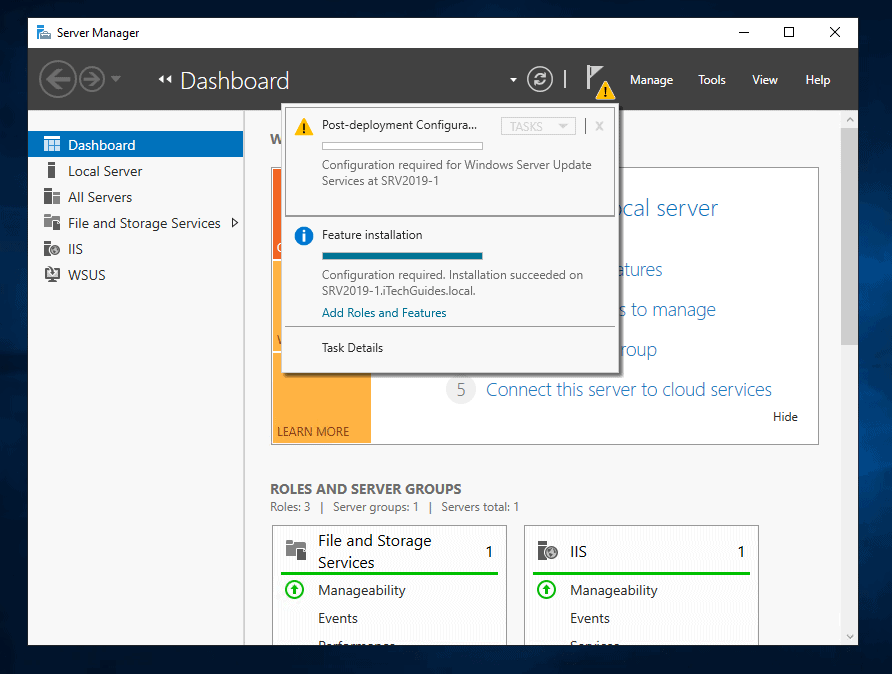
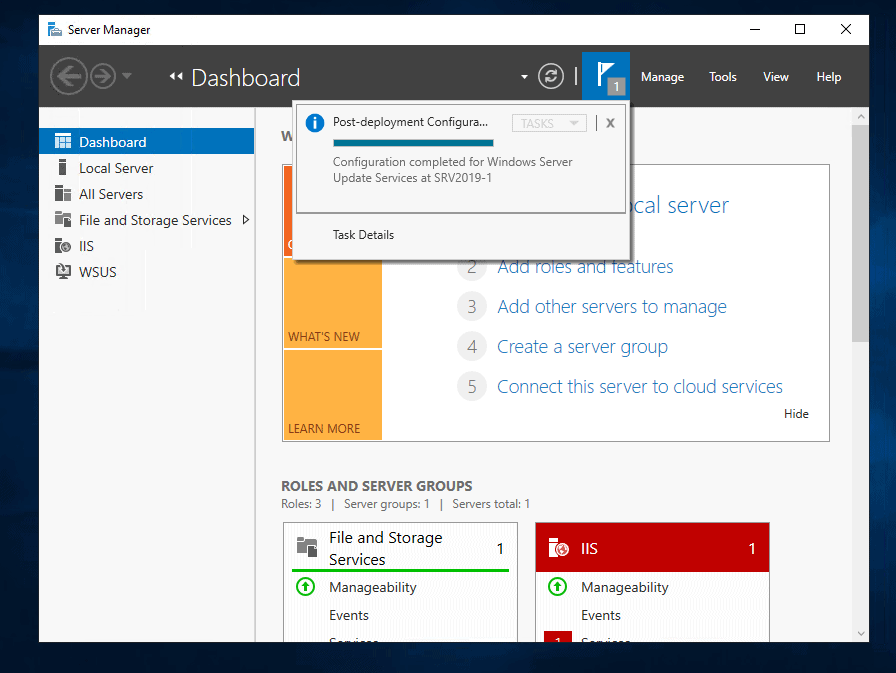
- Click the amber triangle notification on top of Server Manager. Then click Launch Post-Installation tasks. To confirm that the Post-Installation configuration have started, click the amber notification again (See the second image below).
- When the post-installation task is completed, proceed to the next step…
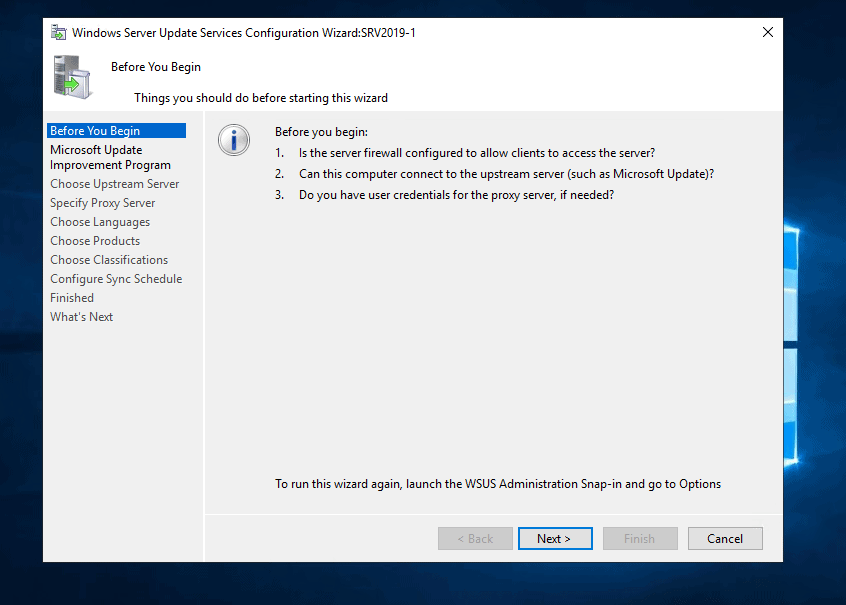
- Click Tools and select Windows Server Update Services.

- On the Before You Begin screen, click Next.
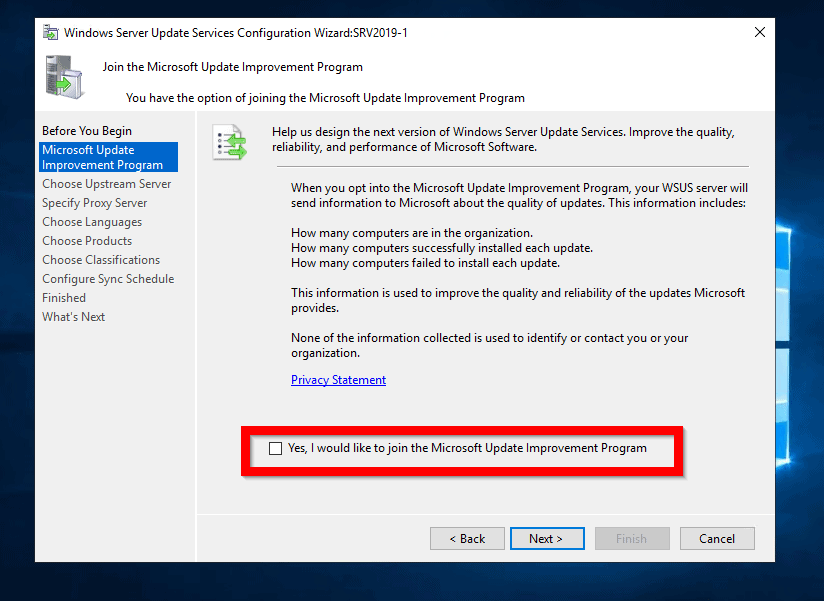
- Then on the Microsoft Updates Improvement Program, click Next.
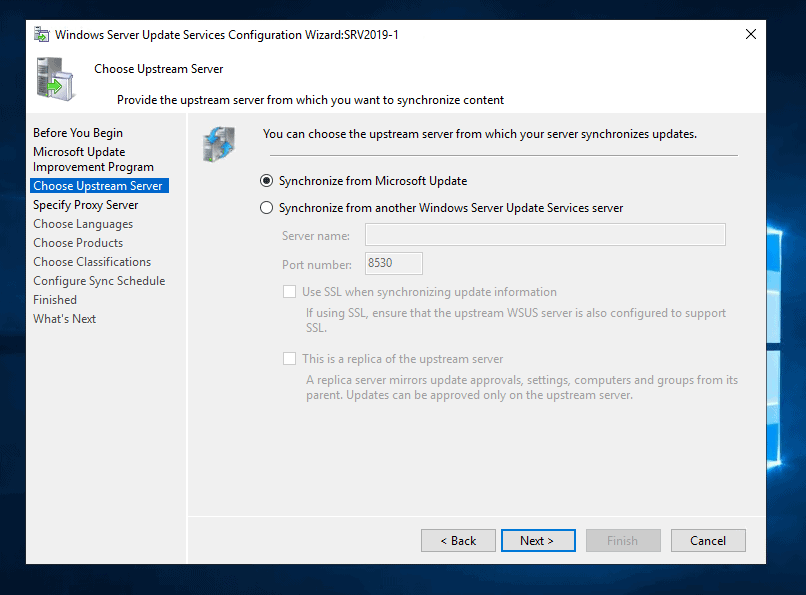
- To configure this WSUS server to download updates directly from Microsoft accept the default option below – Synchronize from Microsoft Update. Then click Next.
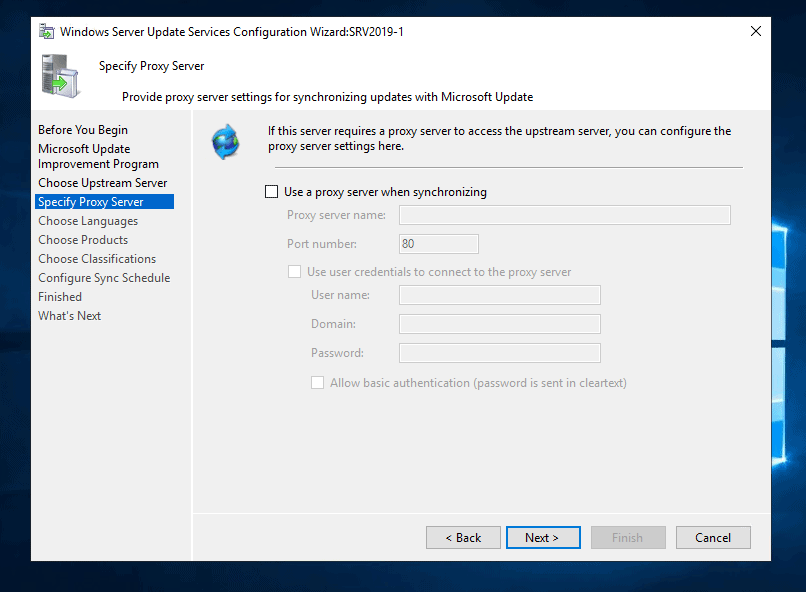
- If your server requires a Proxy server to connect to the internet, check Use a proxy server when synchronizing. Then enter the details of the proxy server and click Next. But if the server connects to the internet directly, accept the default (Use a proxy server when synchronizing unchecked) click Next.
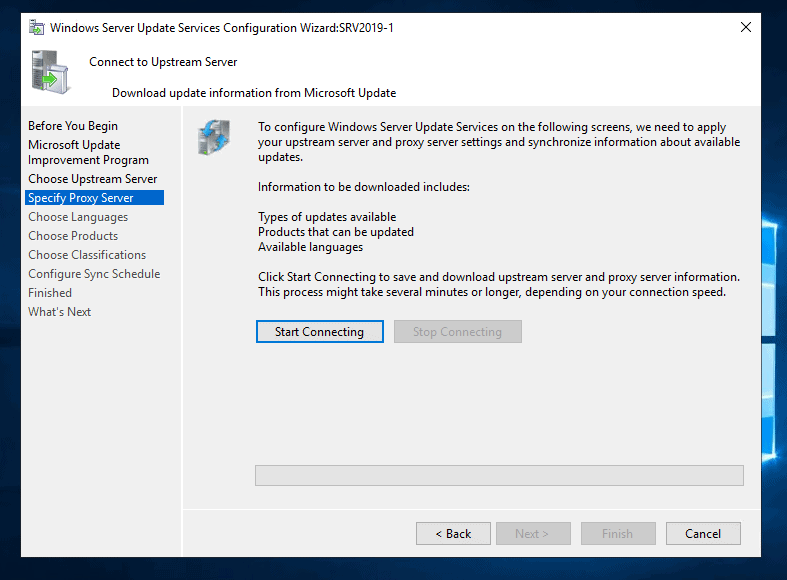
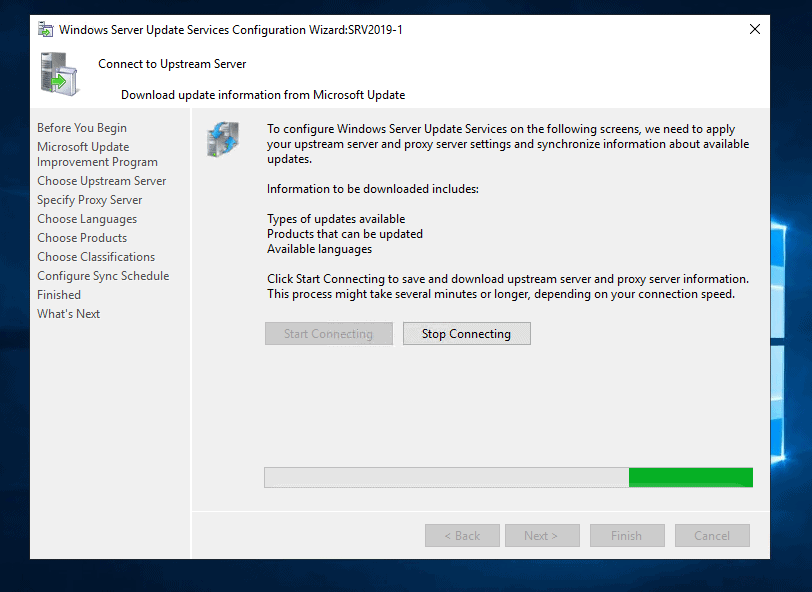
- Then on the Download update information from Microsoft screen, click Start Connecting. Wait for the server to connect successfully…
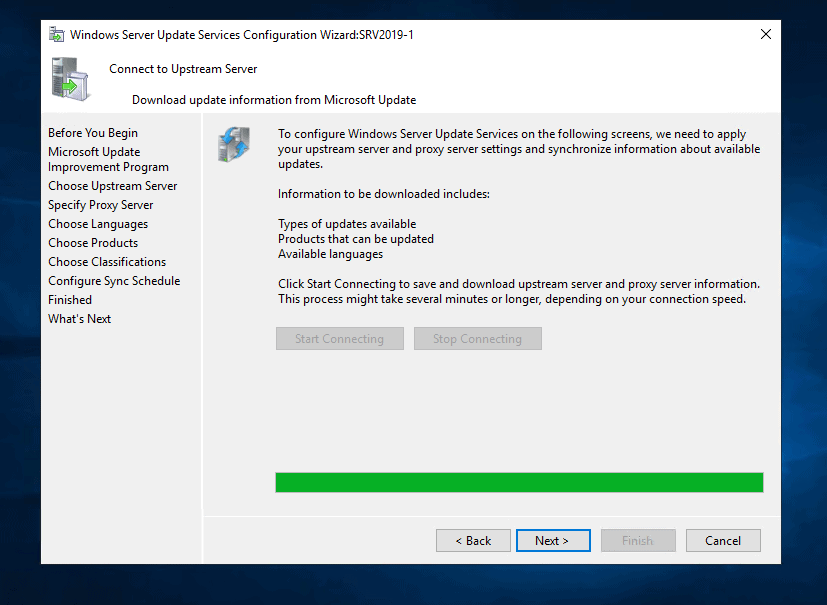
- When the synchronization task is completed click Next.
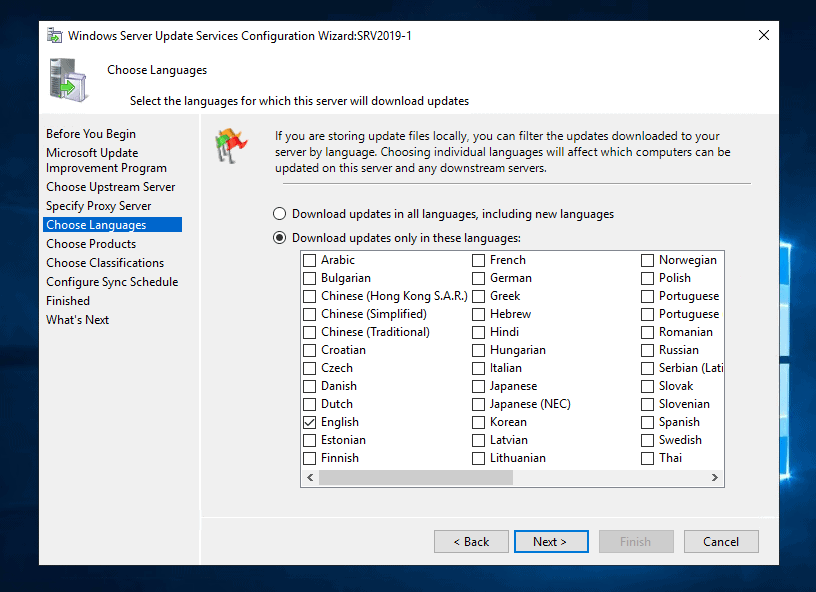
- Then on the Choose Languages screen, click Download updates only in these languages. Check English and any other additional language you wish to download updates in. When you finish making your selection click Next.
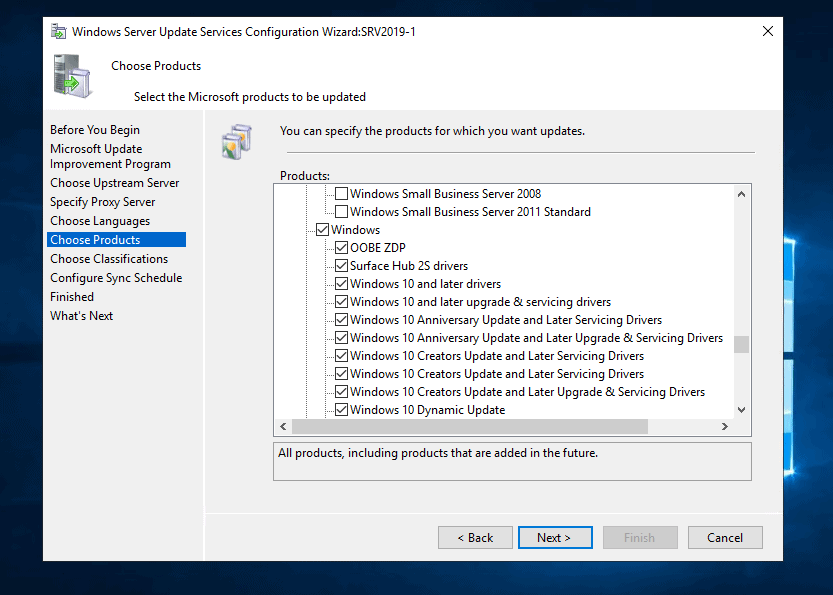
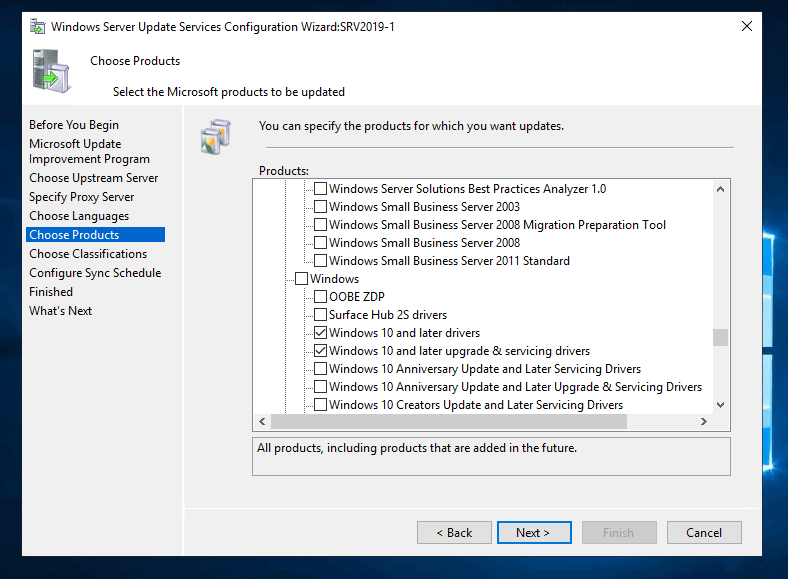
- On the Choose products screen, check all products you wish to update. Scroll down to the Windows section and uncheck it. Then check only the Windows versions you have in your environment. When you finish making your selections, click Next.
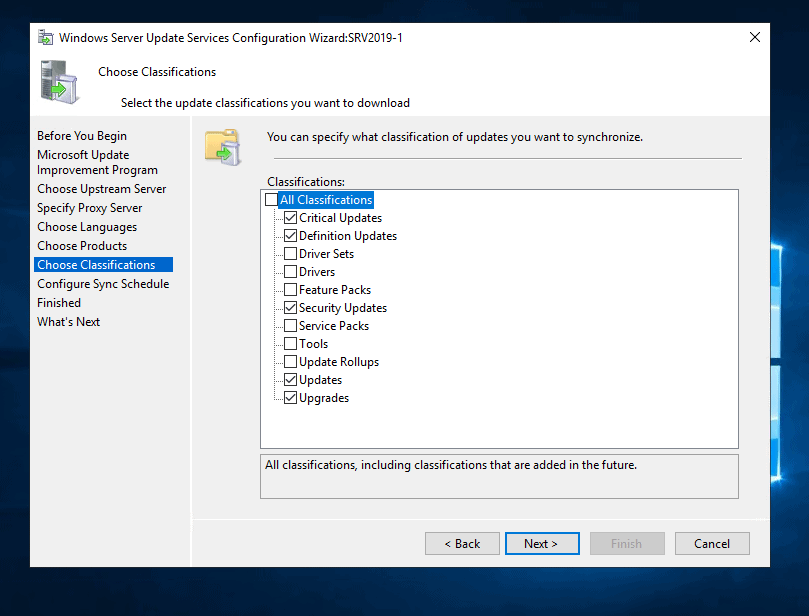
- The Choose Clarifications screen offers option to determine Windows update classifications you wish to download. The essential clarifications are checked by default. If you wish to install Windows Feature updates, check Updates and Upgrades as well. To continue, click Next.
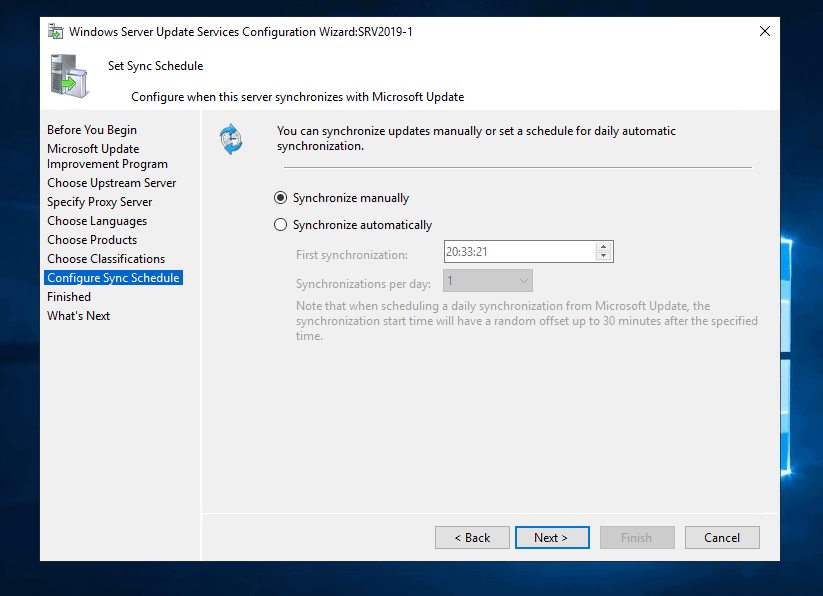
- On the Set Sync Schedule screen configure to sync manually or automatically. Then click Next.
- Finally, check Begin initial synchronization and click Finish.

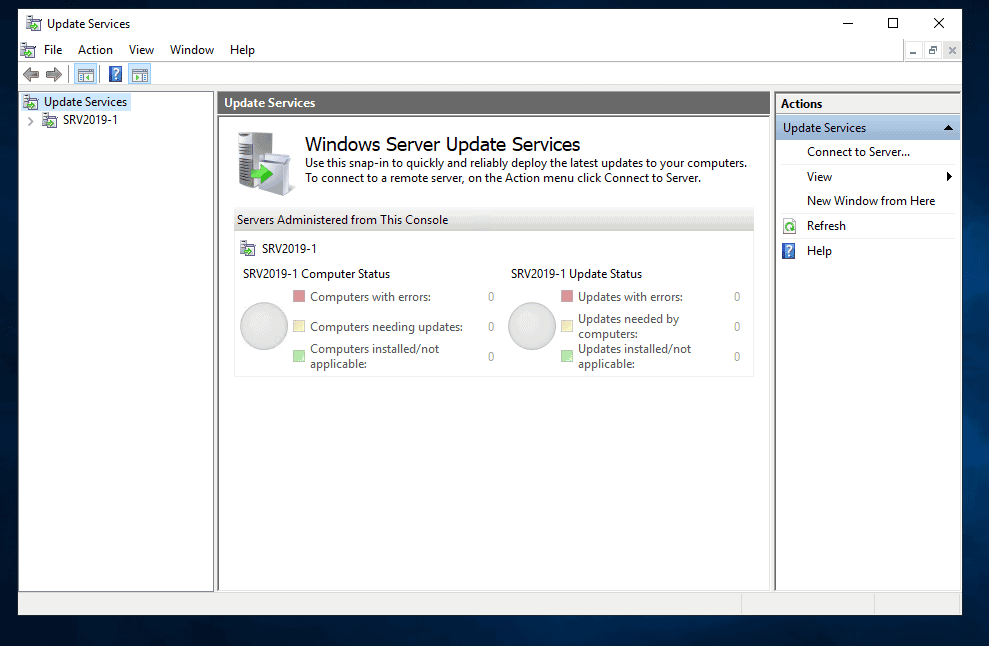
- WSUS console will open automatically..
Step 4: Configure Group Policy For WSUS
The final step to configure WSUS in Server 2019 is to configure Group Policy.
For the steps to complete this task read this guide – How to Configure Group Policy for WSUS in Windows Server 2016.
Conclusion
With the steps in this guide, you can install and configure WSUS in Server 2019. I hope you found it useful. Let us know your thoughts about this guide by responding to the “Was this page helpful?” question below.
For more Windows Server guides visit our Windows Server How To page.


is this possible for create high availability for upstream server? or if we configured upstream and replica server. if anything goes wrong – can we use the replica node as upstream server?
i want the high availability on the upstream server. how to do that if any help on this.