An easy way to install Windows Server 2019 is to use a USB installation media. Learn how to create an use the USB installation disk.
Step 1: Download Windows Server 2019 ISO
The first step to install Windows Server 2019 from USB is to download Server 2019 evaluation ISO image…
Here are the steps:
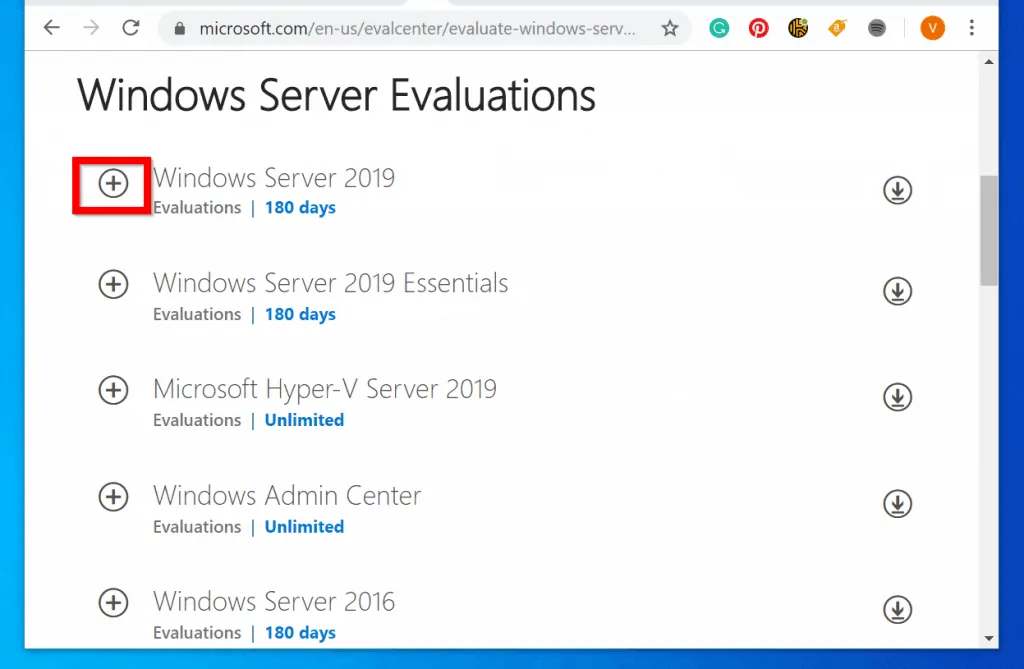
- Open Windows Server evaluation Center page.
- Then click the + sign beside Windows Server 2019.
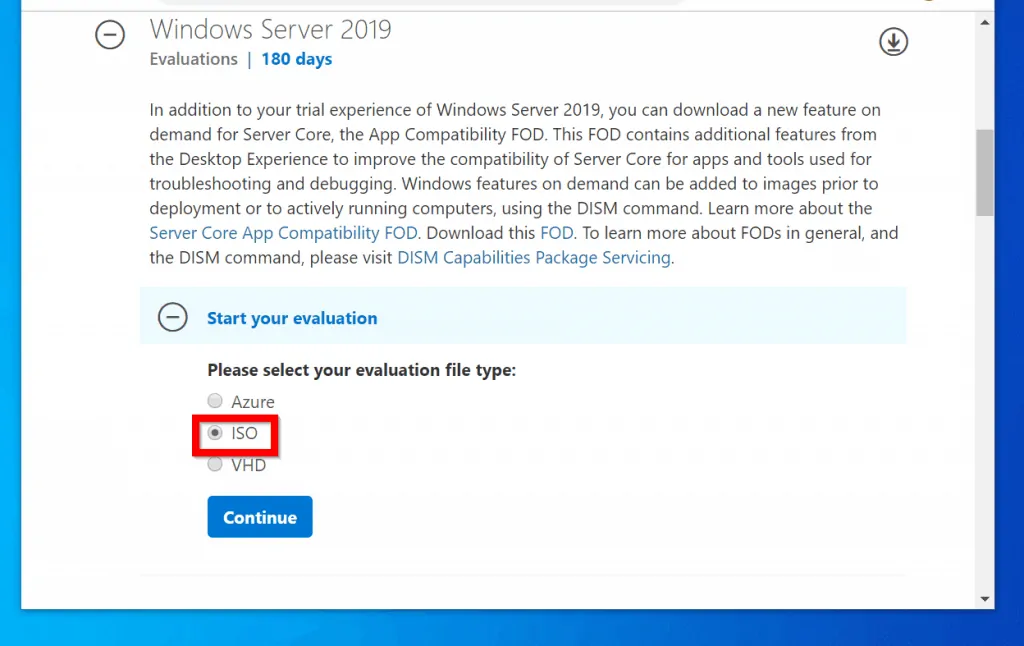
- Beneath Start Evaluation, select ISO. Then click Continue.
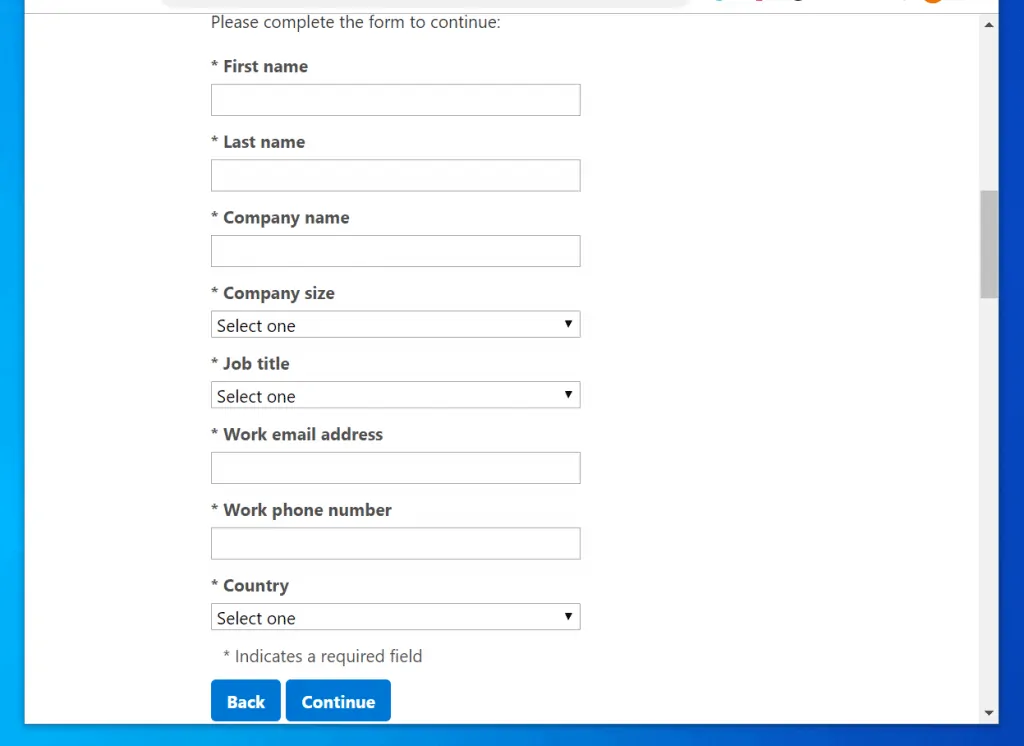
- Then complete the required fields in the form similar to the one below and click Continue .
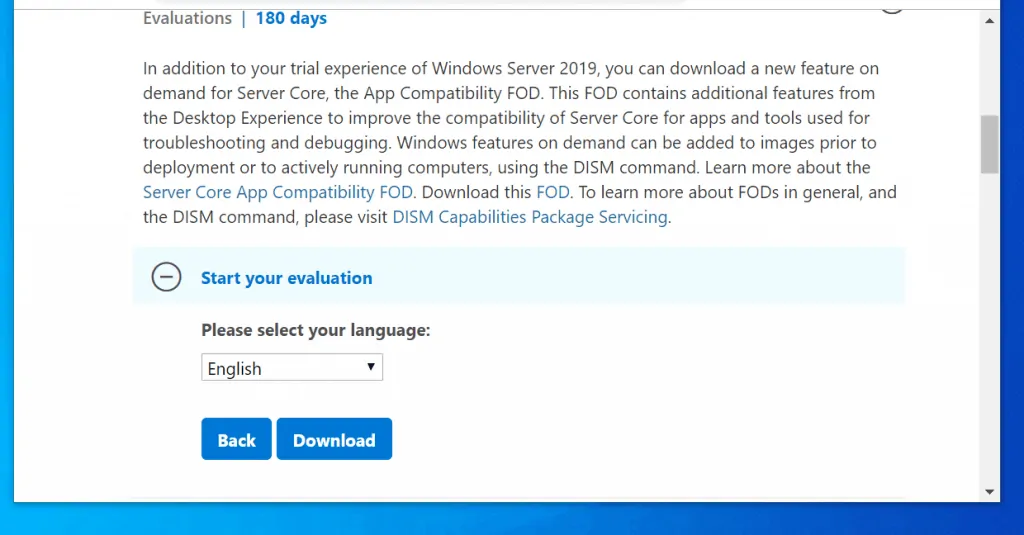
- Finally, select the Language for the ISO you wish to download. Then click Download.
Step 2: Burn Server 2019 ISO to USB
Once you have downloaded the ISO file, the next step is to burn it to a USB drive.
For steps to burn a Windows Server 2019 ISO to USB use this guide – How to Burn Windows Server 2019 ISO to USB.
Step 3: Install Windows Server 2019
Here are the steps to install Windows Server 2019 from USB:
- Insert the bootable USB drive you created in the last section to your server.
- Then boot your Server to BIOS and configure the server’s boot sequence to boot from USB first. Save your changes and exit BIOS.
- Your Server will boot from the USB and ask you top confirm. Press any key on the keyboard to continue.

- At the first screen of Windows installation, select your Time and currency format and Keyboard or input method. Then click Next.

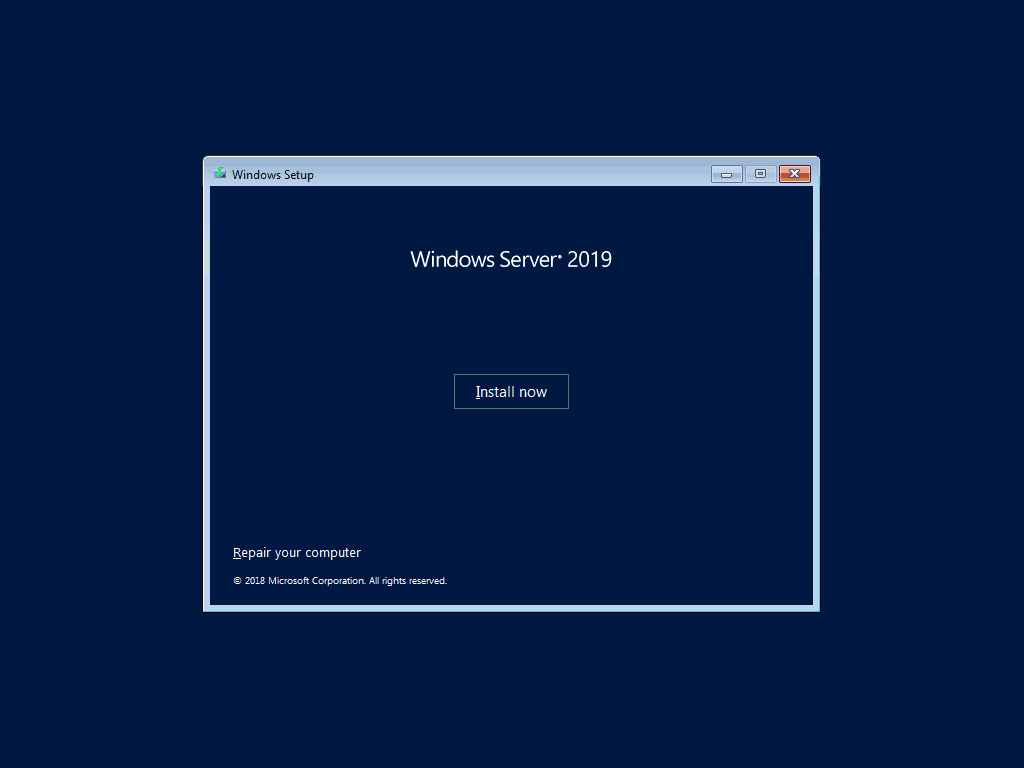
- Then on this screen, click Install now.
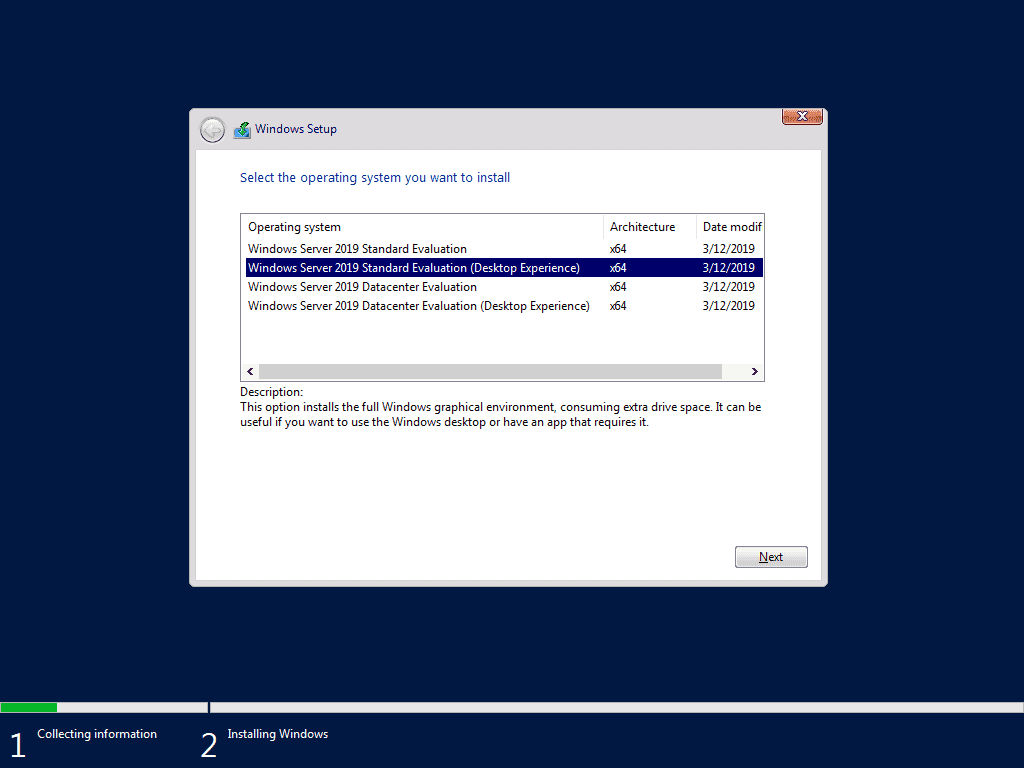
- When prompted to Select the operating system you want to install, select the edition of the server you have a license for. To continue, click Next.
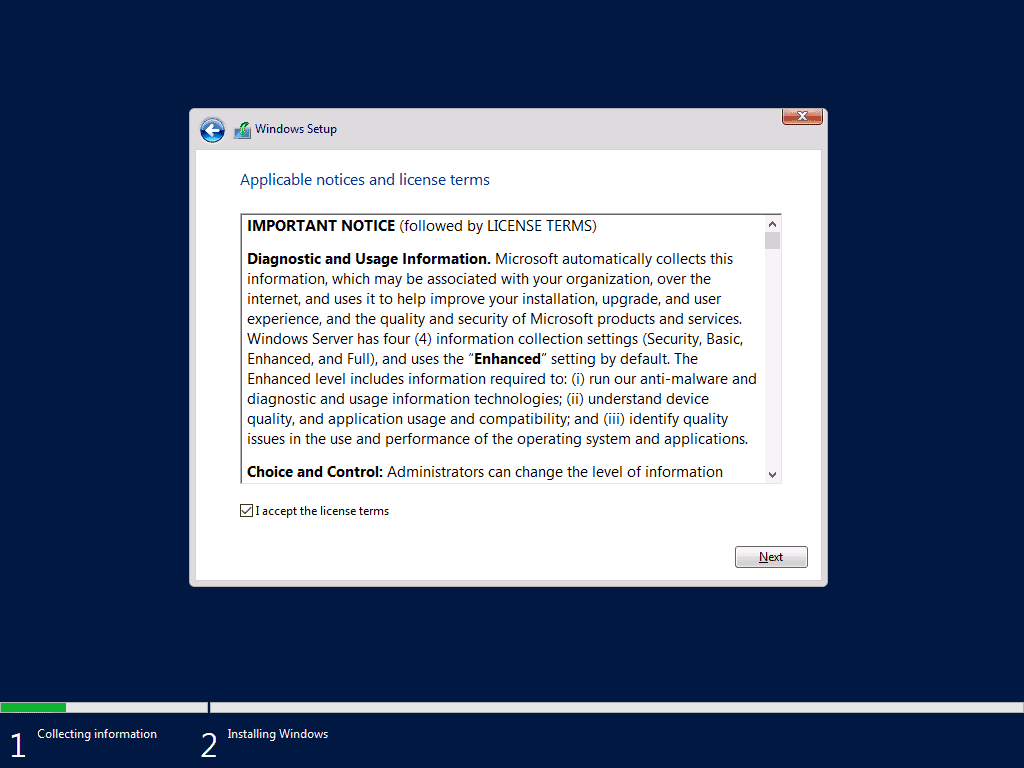
- When the Applicable notices and license terms screen loads, check I accept the license terms. Then click Next.
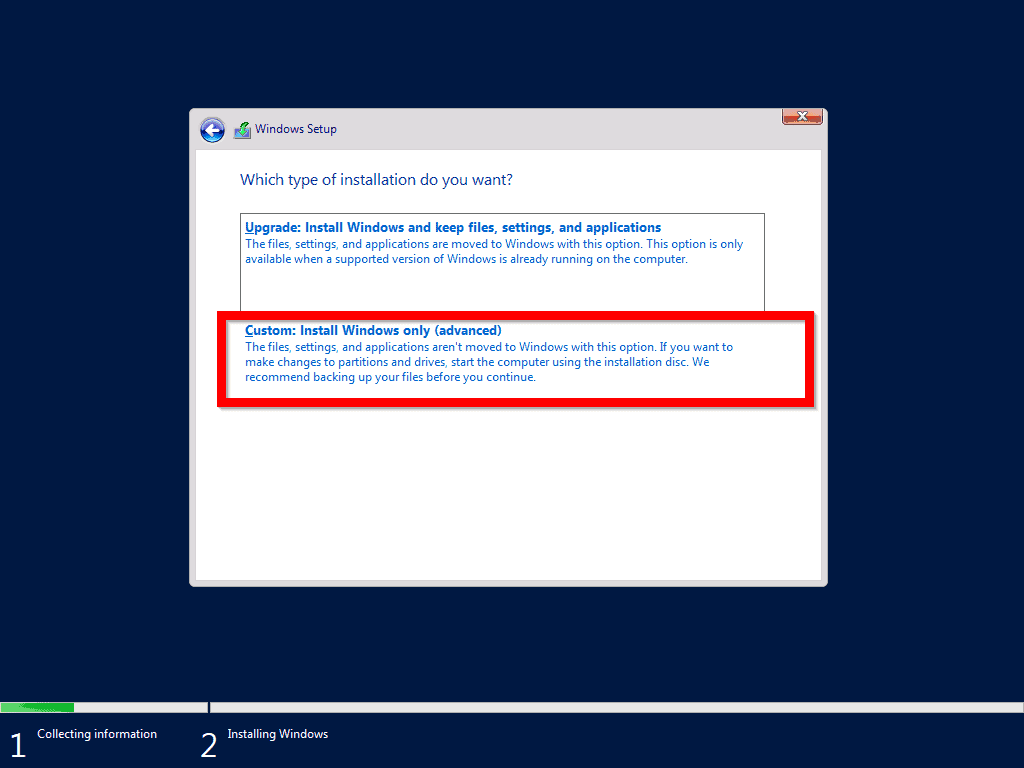
- Then, at the Which type of installation do you want screen, click Custom: Install Windows only (advanced).
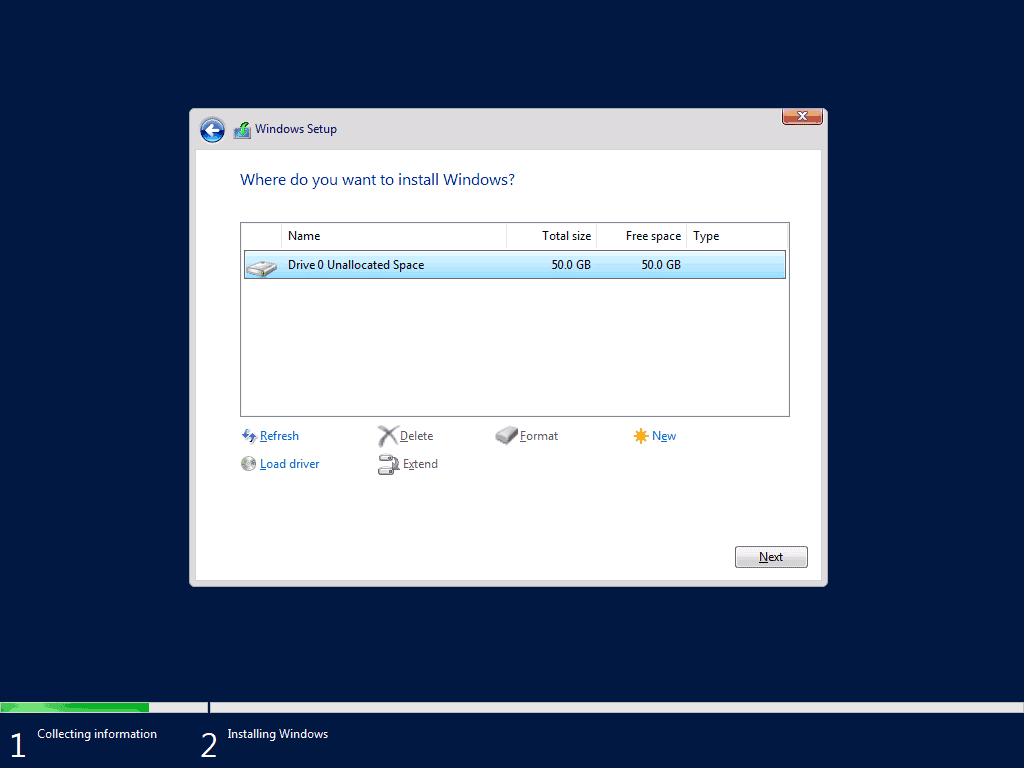
- On the Where do you want to install Windows screen, select the hard drive you want to install Windows Server 2019 from USB. Then click Next.
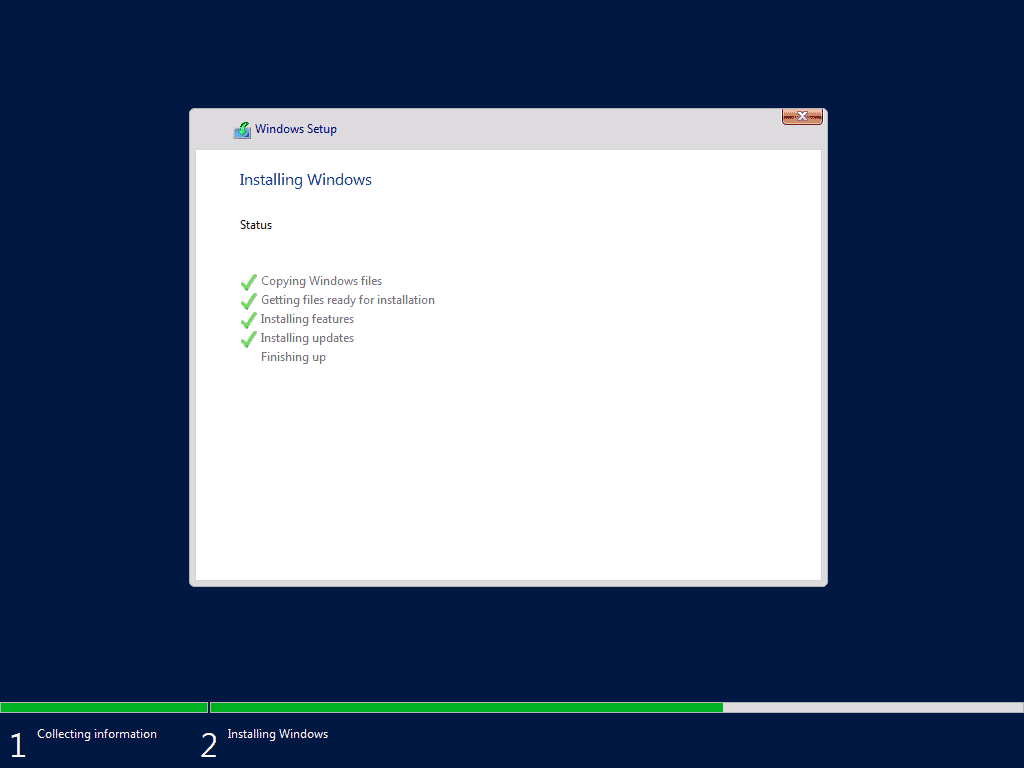
- The installation will begin. This part of the installation will take a while. Wait..

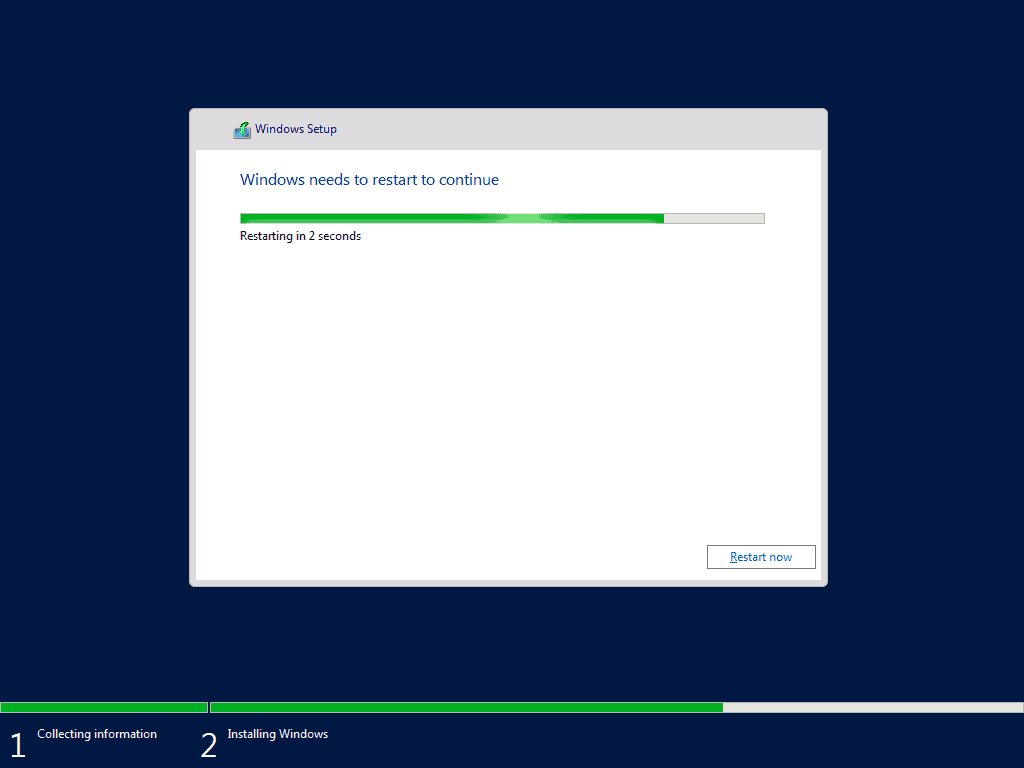
- When the last stage of installations are completed, you will receive a Server restart notification. To restart immediately, click Restart now (see the second image below).
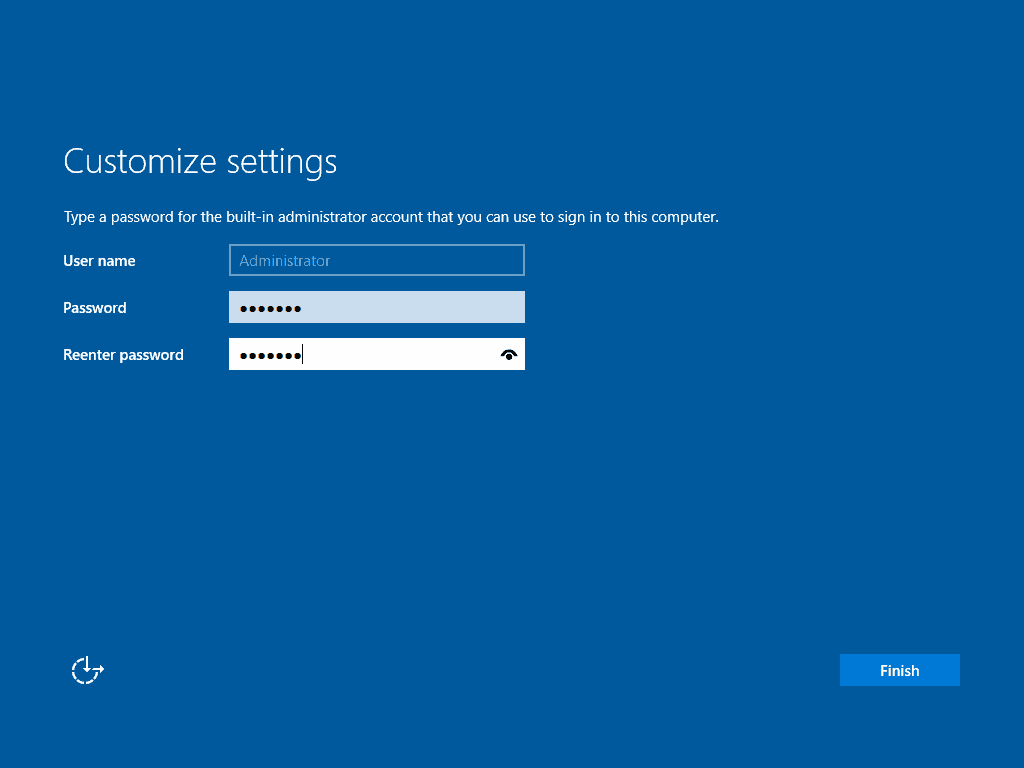
- When the server restarts, it will stay at the Getting ready screen for a while.

- Finally, at the Customize settings screen, type a password for the administrator account. Then re-type the password and click Finish.
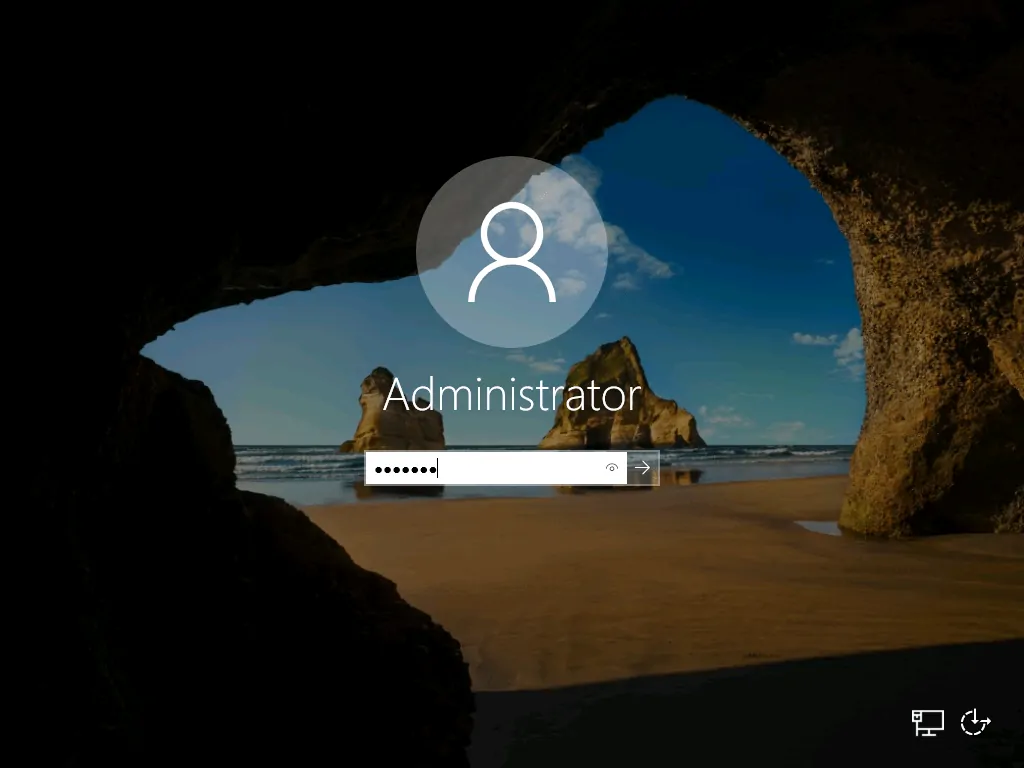
- Then at the logon screen, press Ctrl + Alt + Del and login to the server.
Step 4: Activate Windows Server 2019 Evaluation to Full Version
The final stage of this guide is to convert your Server from evaluation to a full version.
For the steps click Activate Windows Server 2019 Evaluation to Full Version (opens in a new browser tab).
Conclusion
I am confident that by following this guide, you were able to install and activate Windows Server 2019.
At Itechguides.com, we love to hear from our readers. So, if you found this guide helpful, kindly let us know by responding to the “Was this page helpful?” question below.
Want more Windows Server guides? Visit the Windows Server How-To page.