Do you need help configuring a Windows Server 2019 server as an iSCSI target? This article will be your guide – hands-on with screenshots step-by-step.
iSCSI Overview
iSCSI (Internet Small Computer System Interface) defines the protocols for transmitting SCSI (data) over a TCP/IP network. The protocol allows SCSI commands to be sent over LAN, WAN, or the Internet.
The use case for iSCSI is setting up a shared storage device on the network accessed by multiple servers and clients. The “shared storage device” is the iSCSI Target, while the servers and clients that access the iSCSI server are known as Initiators.
In other words, an iSCSI target provides the storage that an iSCSI Initiator connects to. This guide illustrates how a Windows Server 2019 can be configured as an iSCSI storage target.
In follow-up guides, I’ll configure two VMWare ESXi servers to share the iSCSI storage. Additionally, another article will show how to set up a Veeam backup server to share the iSCSI server.
Step 1: Install iSCSI Storage Server Role
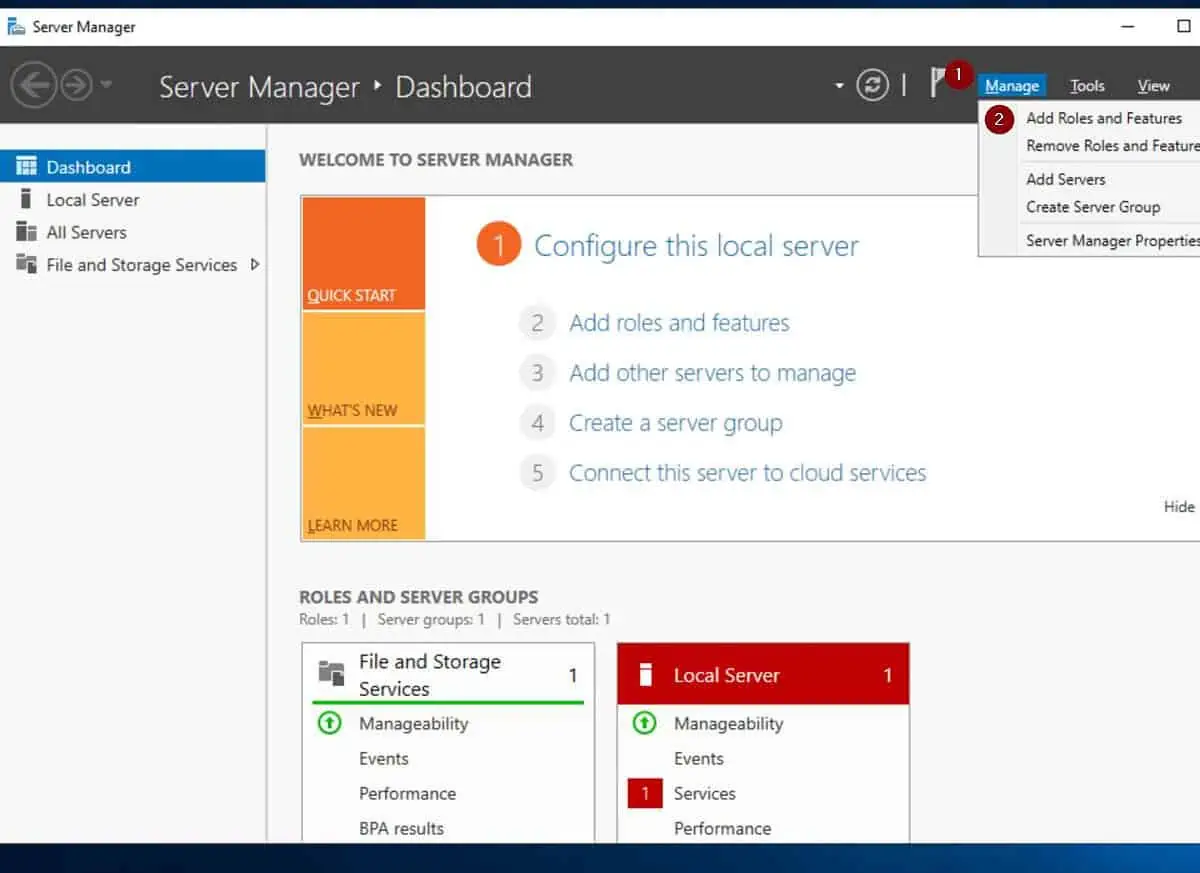
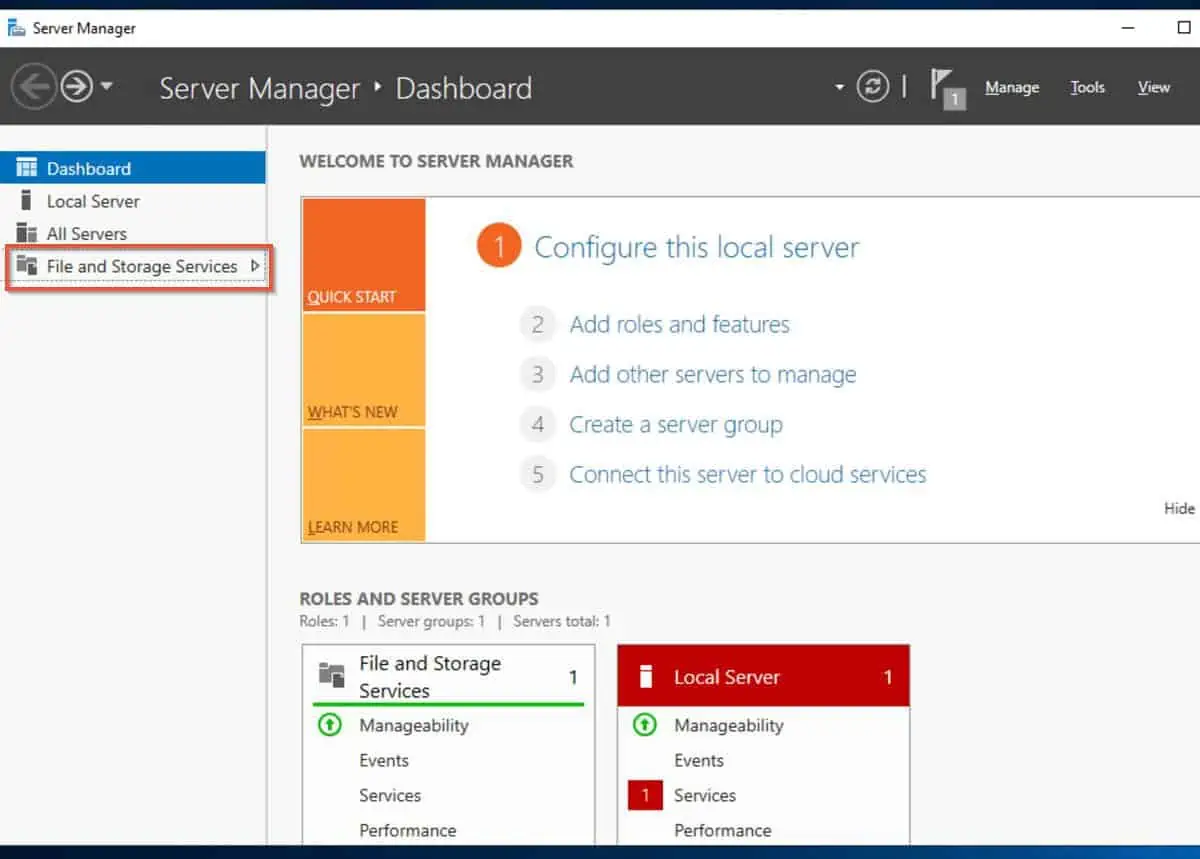
- Sign in to the Windows Server you want to configure as an iSCSI server and open Server Manager.
- Then, click Manage and choose Add Roles and Features.
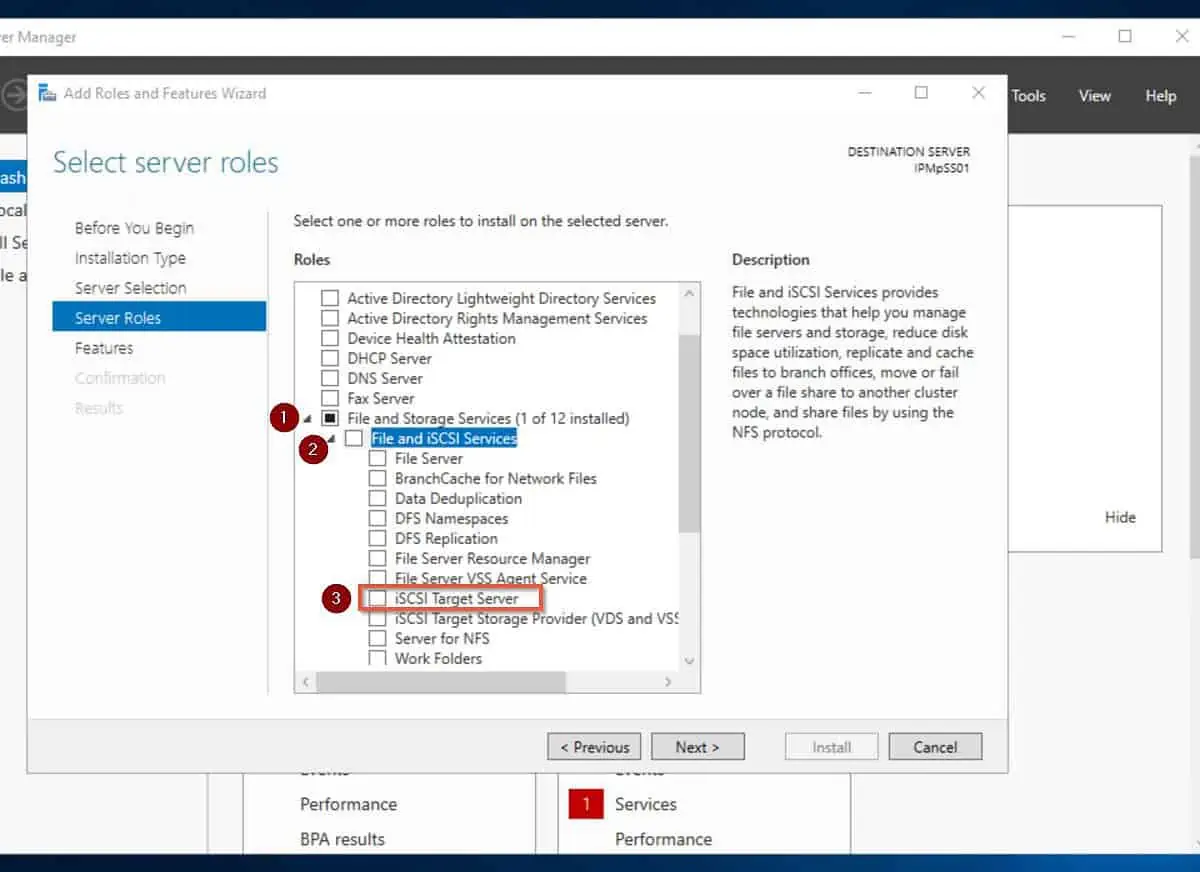
- Once the Add Roles and Features Wizard opens, click Next three times. After that, expand File and Storage Services -> File and iSCSI Services.
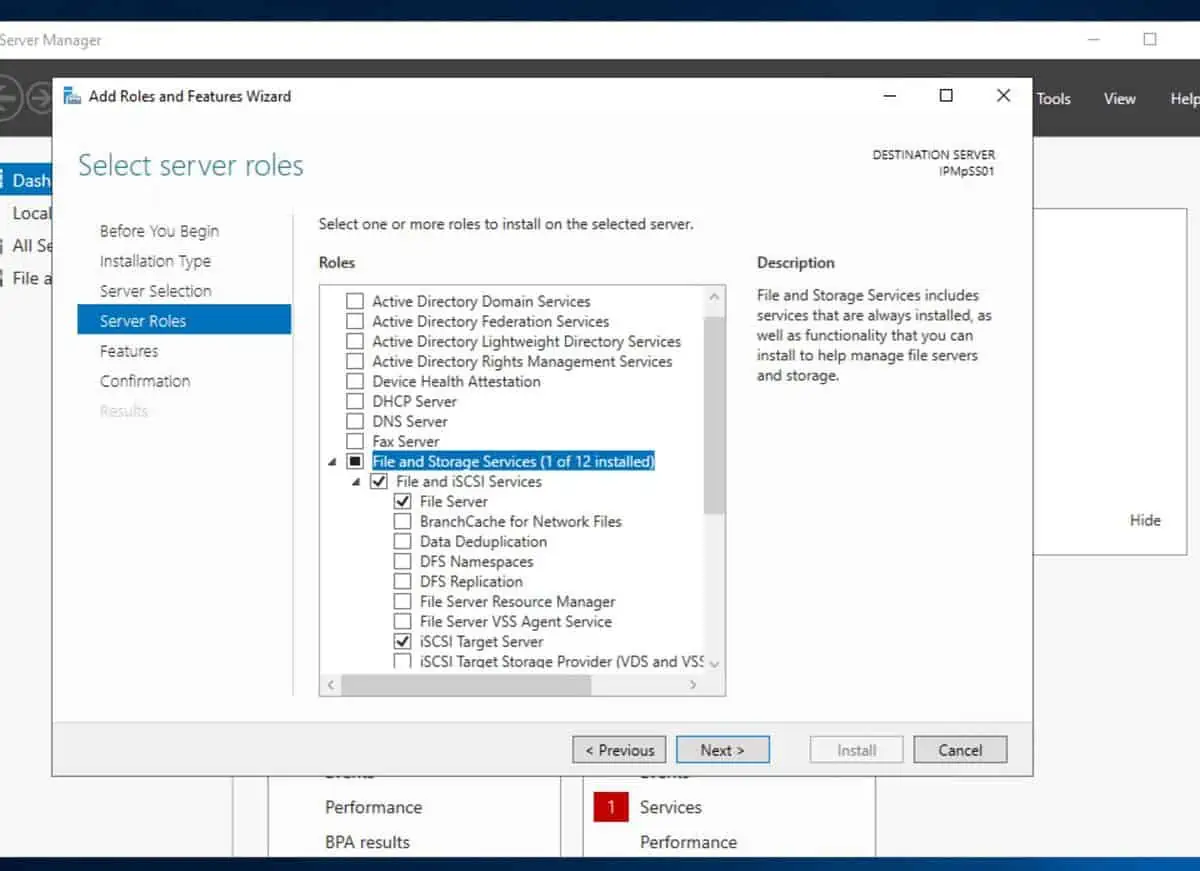
Under File and iSCSI Services, check the iSCSI target Server checkbox. Then, on the pop-out, click Add Features.

- After selecting that, the wizard returns to the main page. Click Next twice, then click Install to start installing the iSCSI Target Server role.
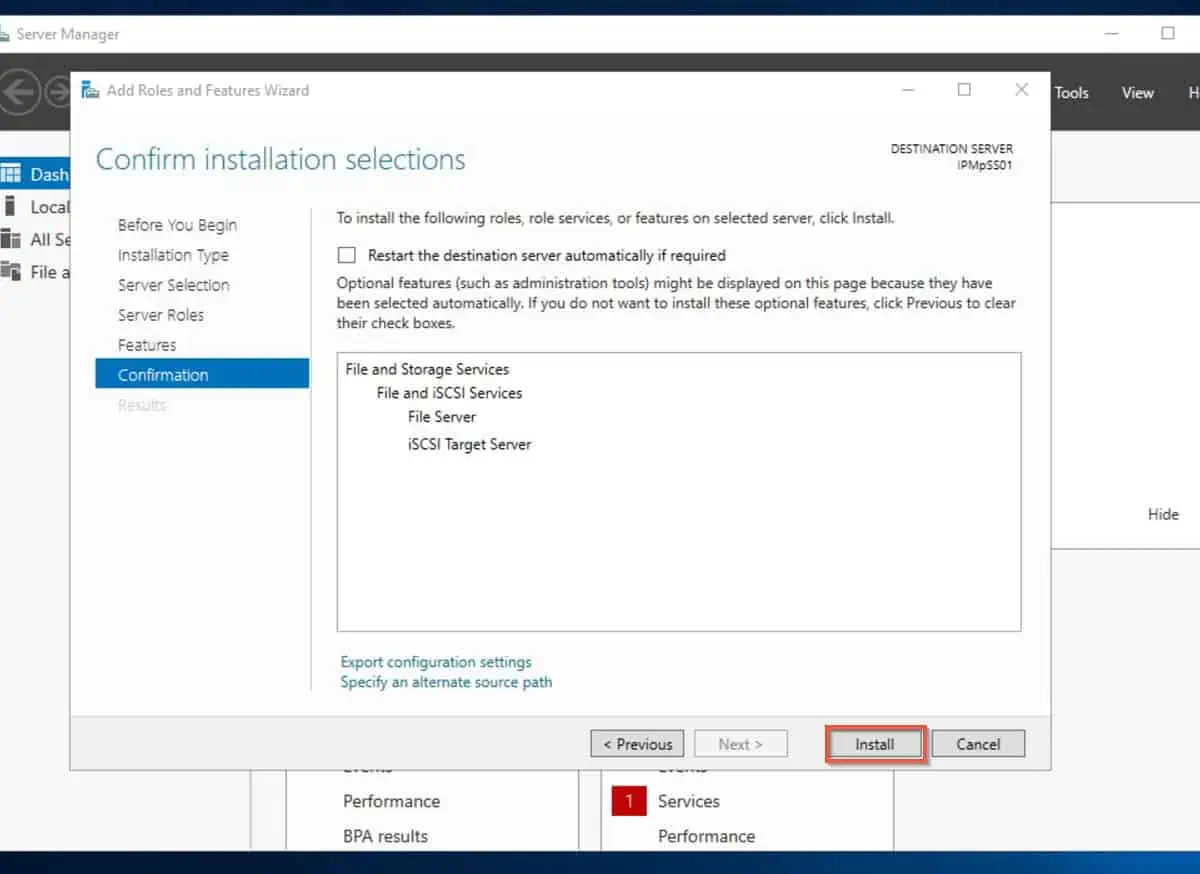
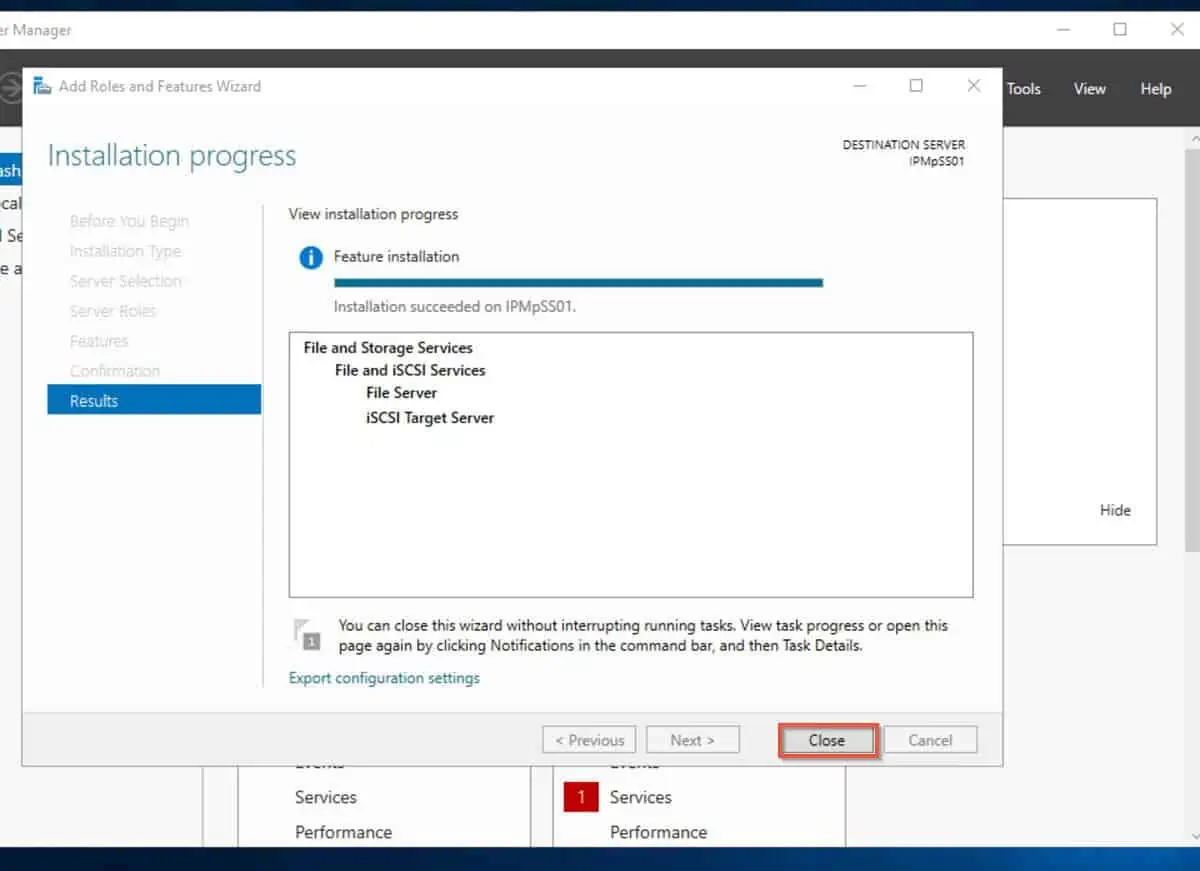
- Finally, wait for the installation to complete, click Close, and proceed to step 2.
Step 2: Configure an iSCSI Virtual Disk
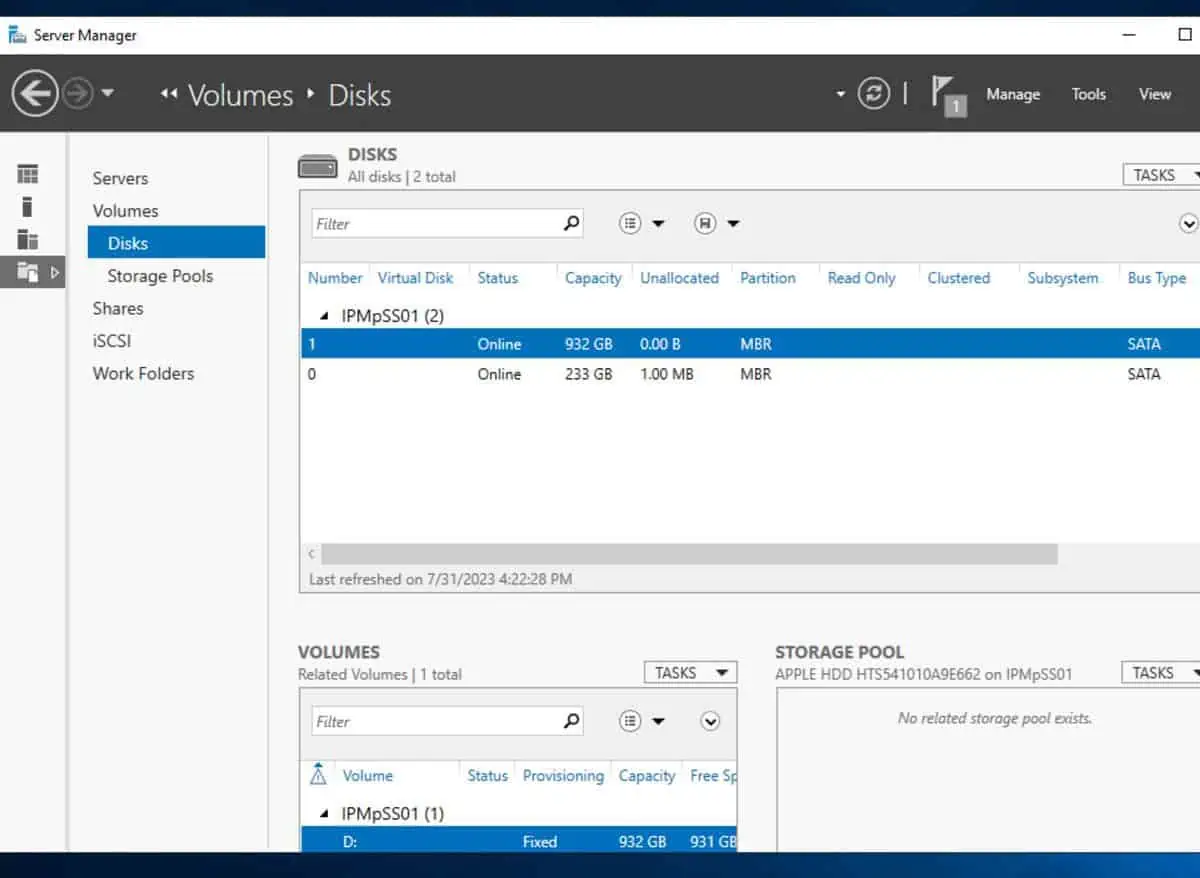
- On the left pane of Server Manager, click File and Storage services -> Disks.
- The Disks pane will display the physical disks on the server. Confirm that they are online.
If any of the disks are offline, right-click it and select Online.
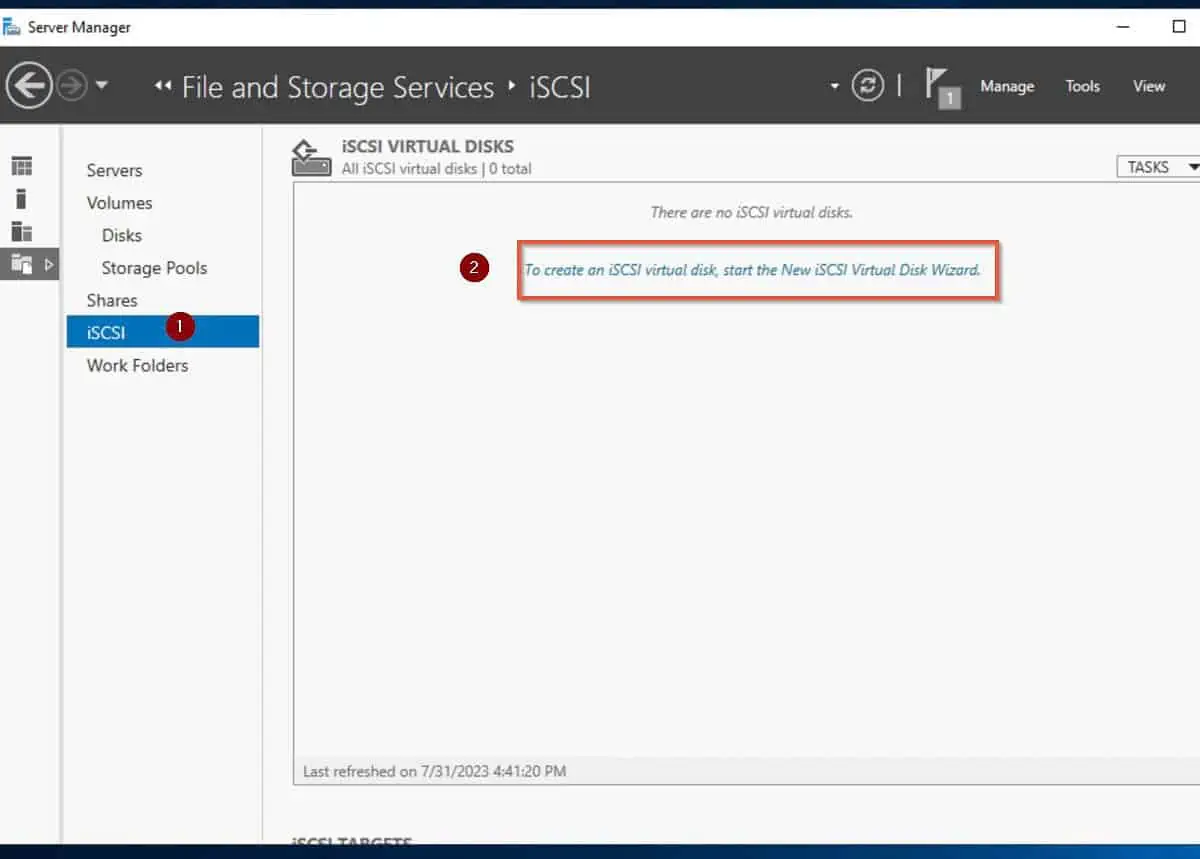
- After that, click the iSCSI once, then click “To create an iSCSI virtual disk, start the iSCSI Virtual Disk wizard.”
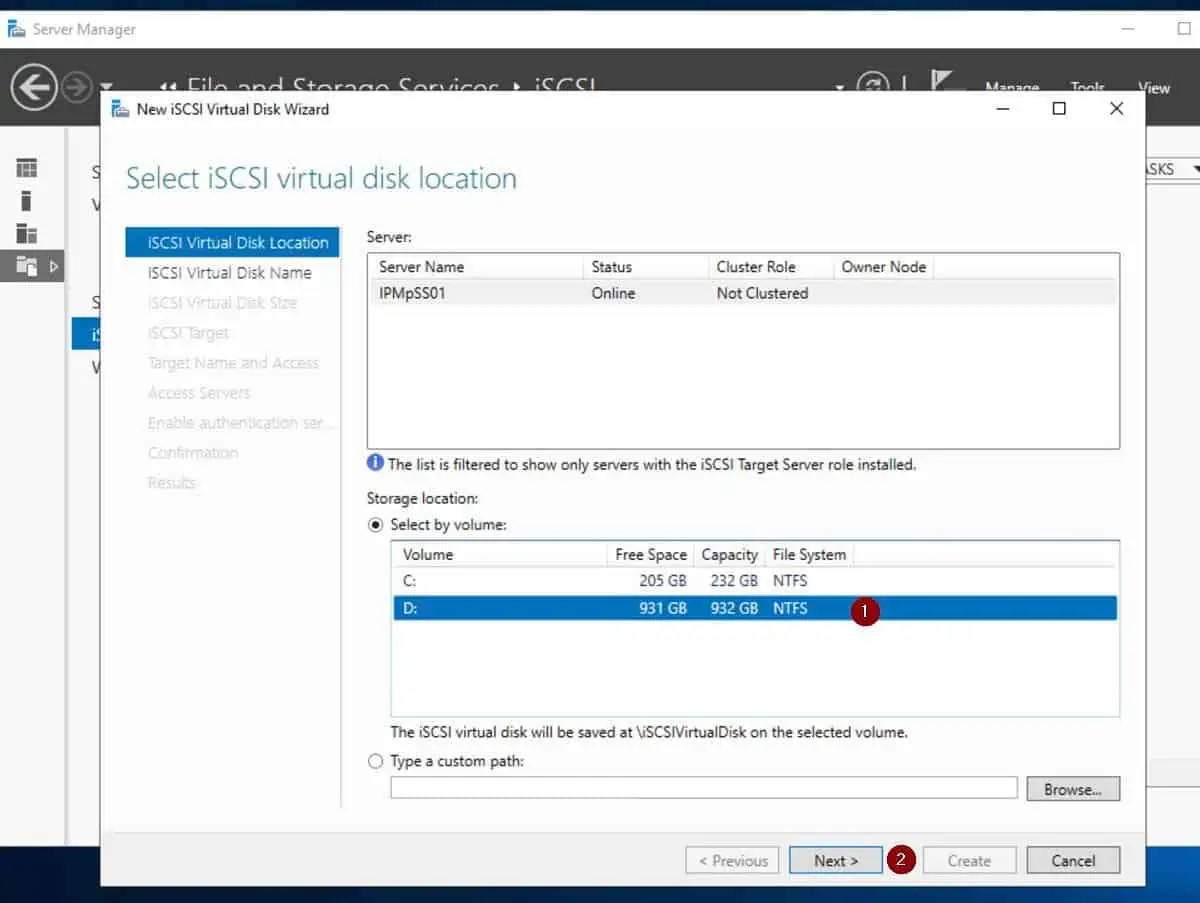
- When the New iSCSI Virtual Disk wizard opens, on the first page, select the disk volume you want to use and click Next.
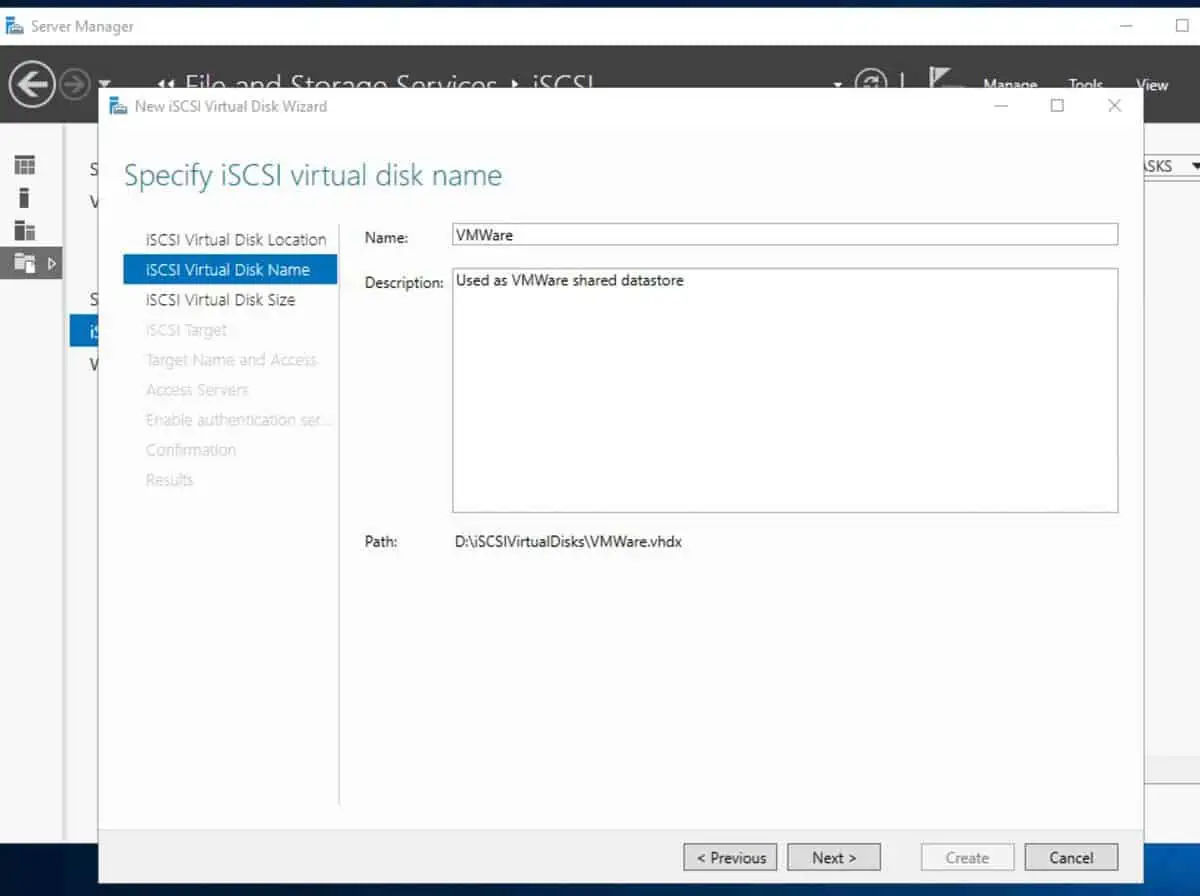
- Then, give the iSCSI virtual disk a name and description (optional). After that, click Next.
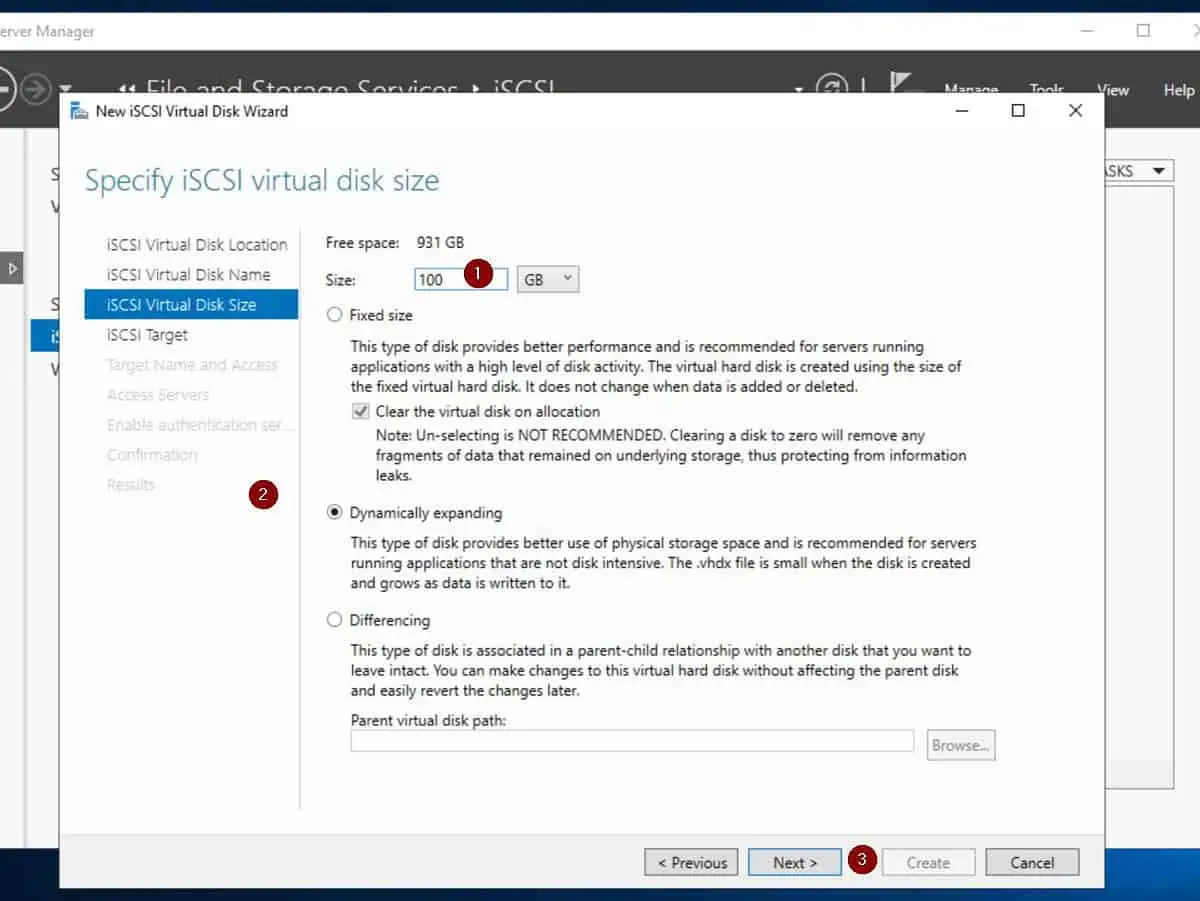
- Then, on the “Specify the iSCSI virtual disk size,” enter a size, select the disk option, and click Next.
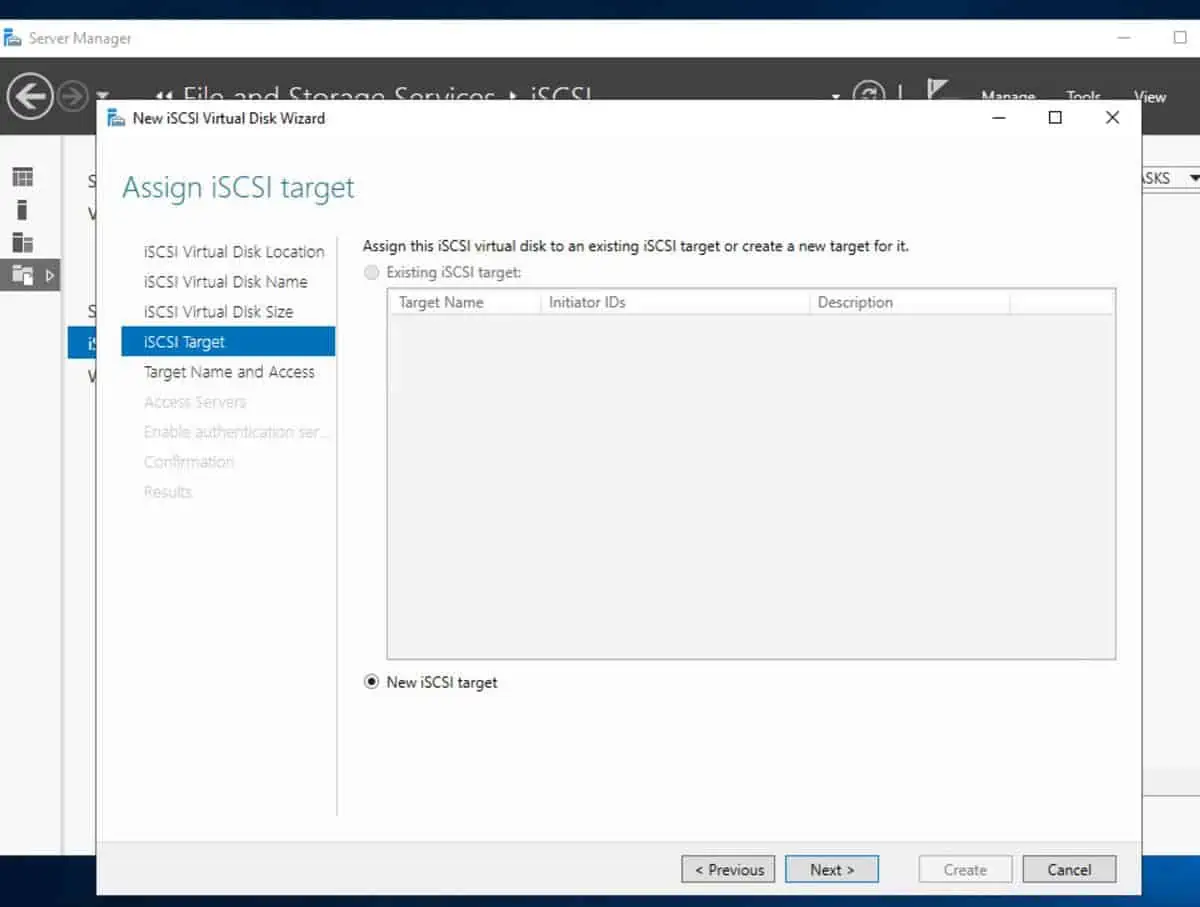
- On the Assign iSCSI target page, select an existing target or create a new one – click Next to continue.
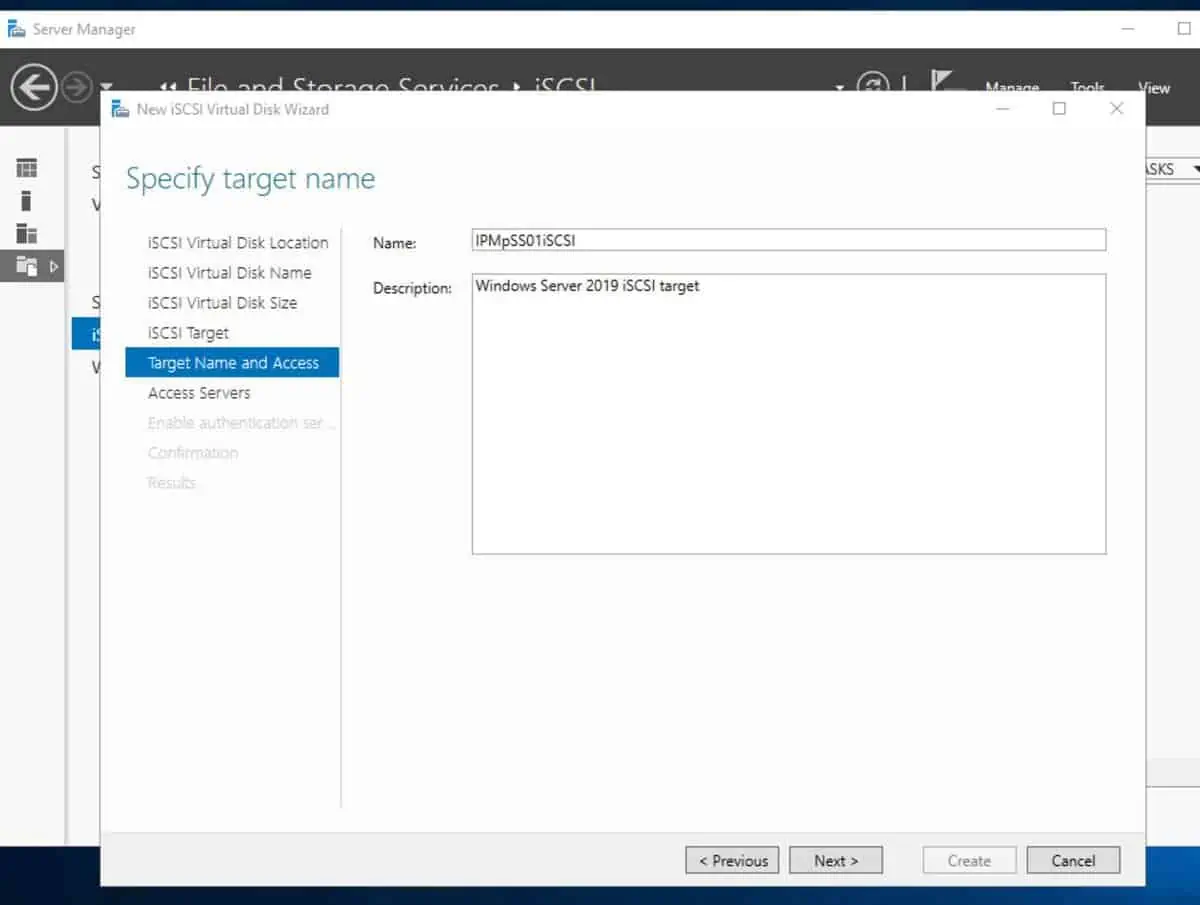
- Give the iSCSI target a name and description (option), then click Next.
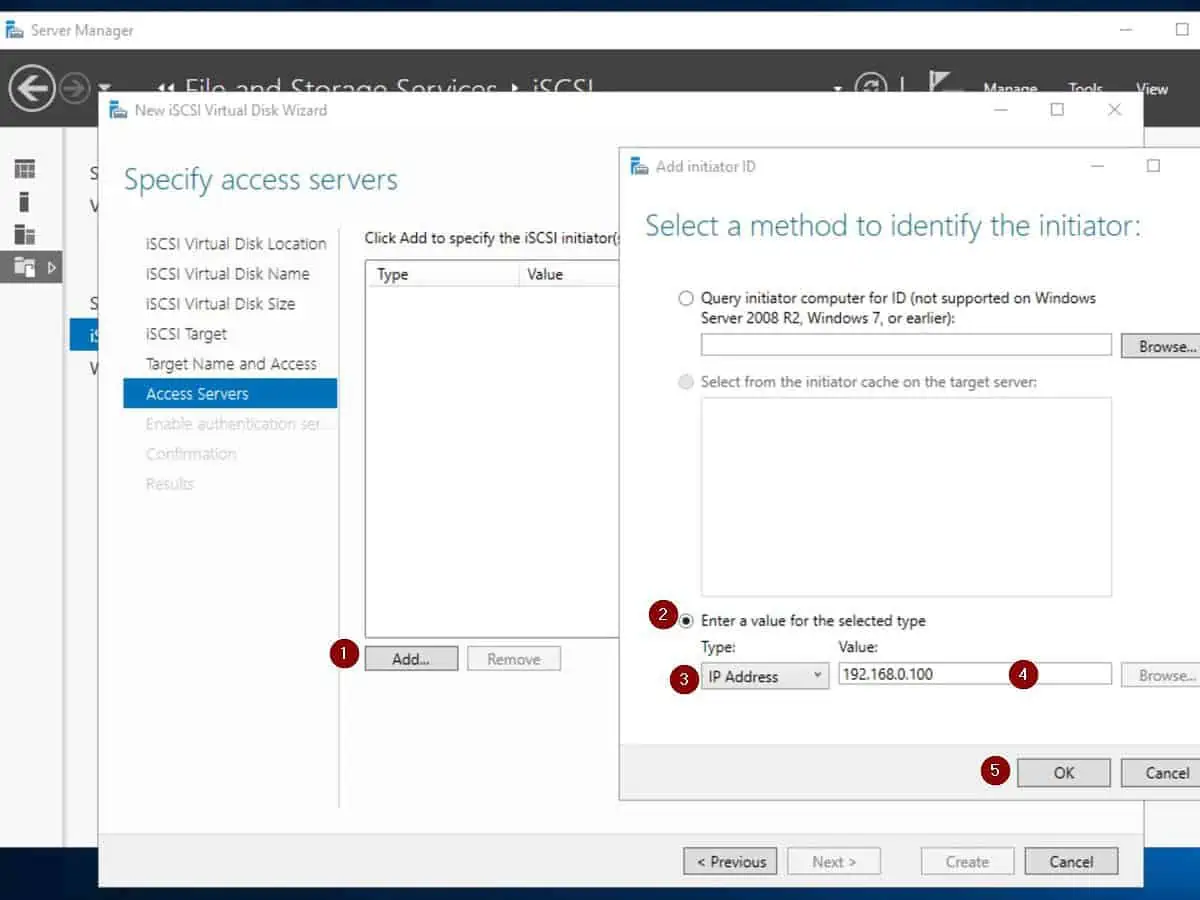
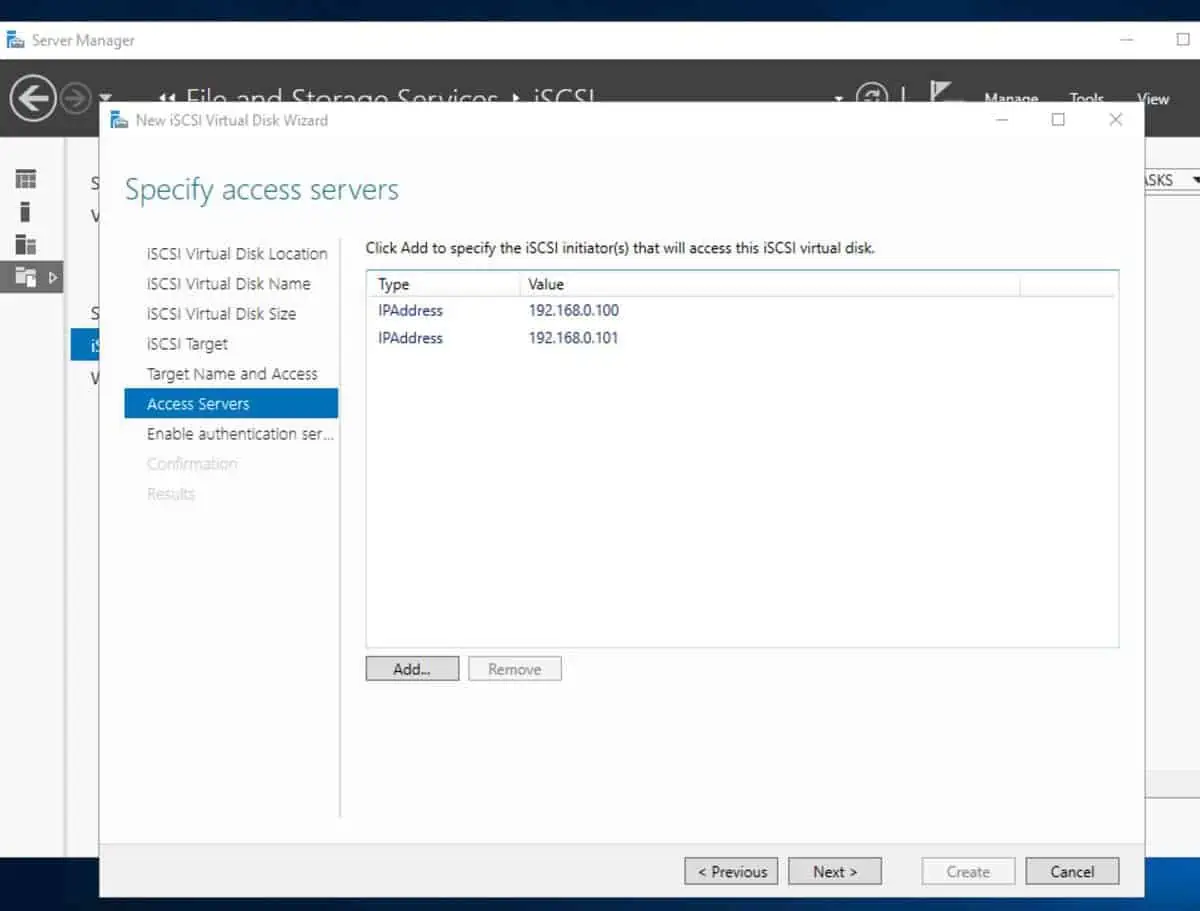
- On the “Specify Access servers” page, click Add, then add the iSCSI initiators that will connect to this target. Follow the screenshot numbering shown below.
After adding the iSCSI initiators, click Next.
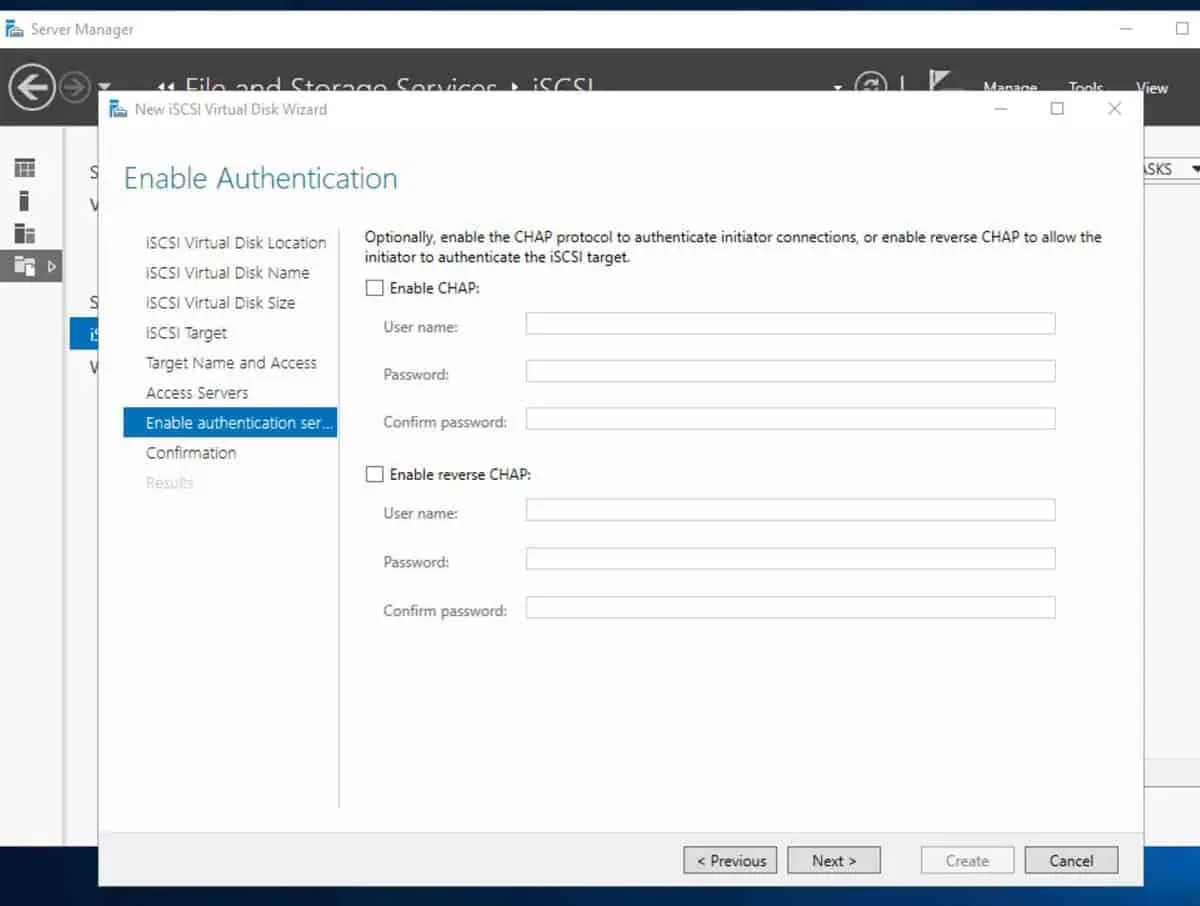
- On the “Enable Authentication” page, enable CHAP or reverse CHAP – click Next when you finish.
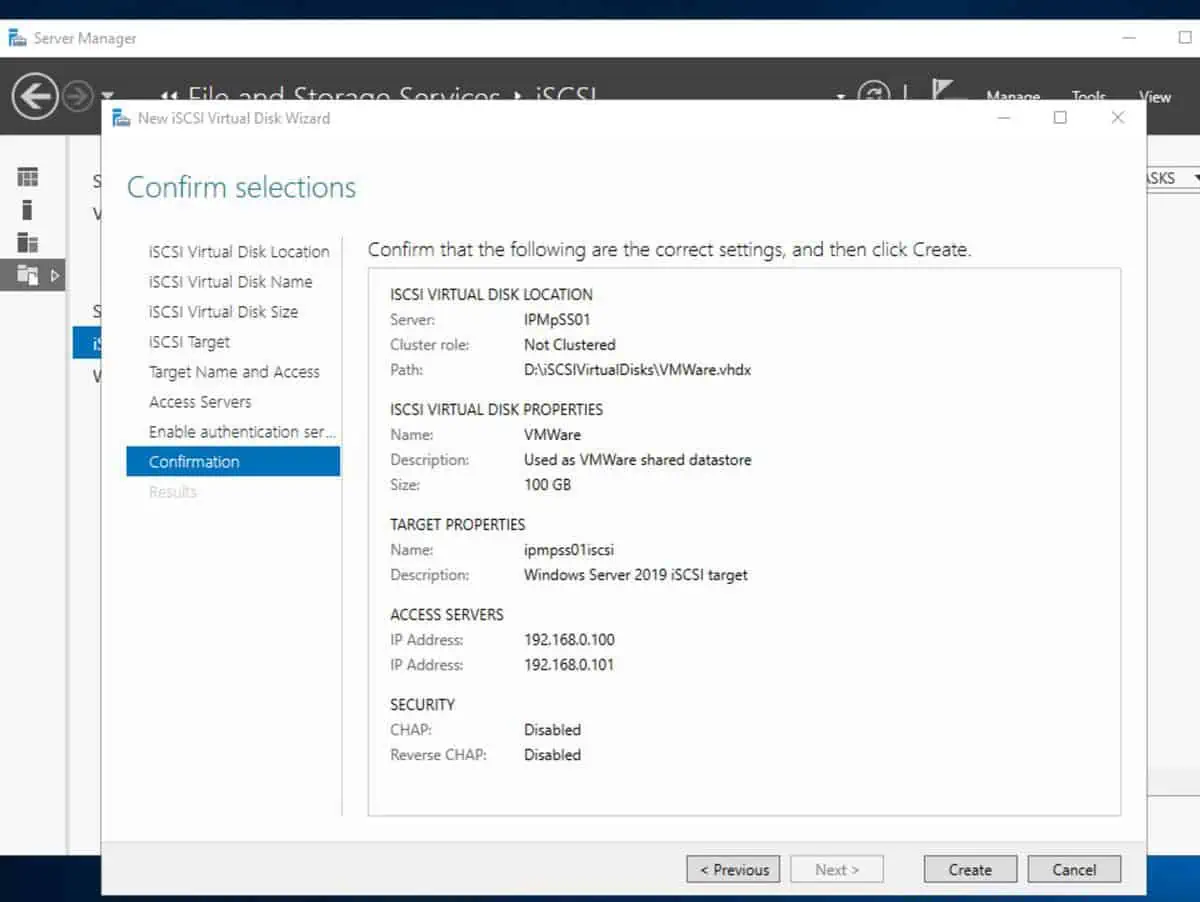
- Finally, to configure the Windows Server 2019 as an iSCSI target server, review your selections and click Create.
Step 3: Configure the iSCSI Target Settings
I recently configured a Windows Server 2022 as an iSCSI target server and disabled the IPv6. When I did this, my iSCSI initiators could no longer connect to the Windows Server iSCSI target.
After I resolved the problem, I decided to include the fix in this guide as a third step. Here are the details:
- Confirm that IPv6 is enabled: Open Control Panel, search network, and click View network connections.

- Then, open the network adapter name, after that follow the numbering in my screenshot below to confirm that IPv6 is enabled.
The Internet Protocol Version 6 (TCP/IPv6) checkbox should be checked if IPv6 is enabled.

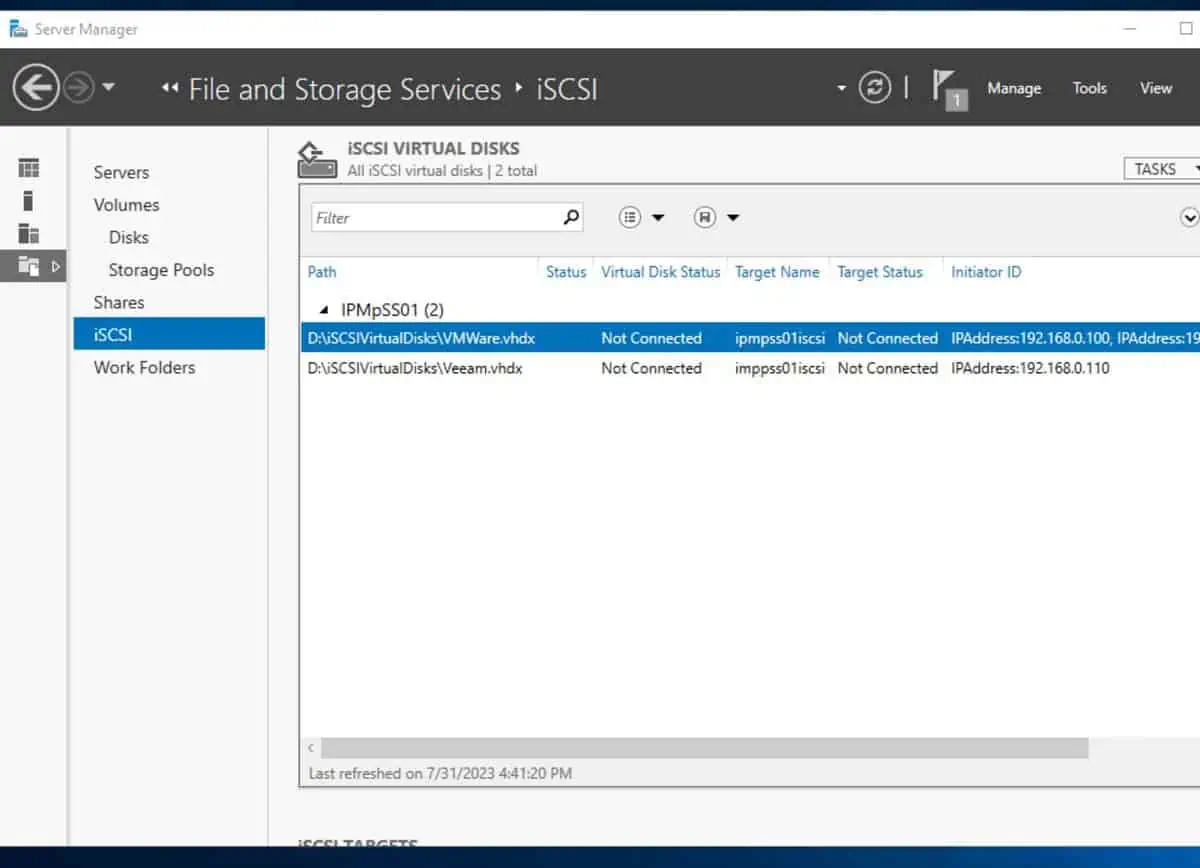
- Next, open Server Manager and click the File and Storage Services node. Then, click the Servers subnode, right-click the iSCSI target server, and select iSCSI Target Settings.

- Finally, check all the checkboxes and click OK.
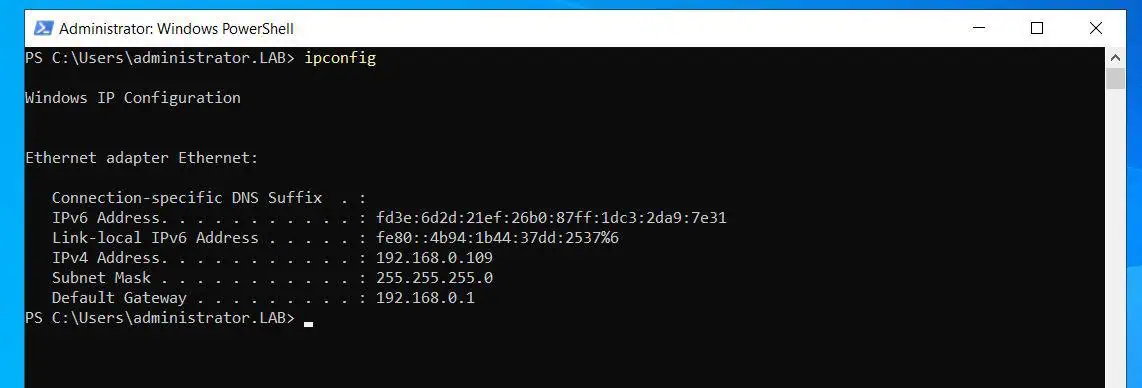
The first IP is the IPv4 address of my target server. Meanwhile, the second address is the IPv6 address while the third is the Link-local IPv6 Address – compare my second screenshot with the iSCSI target settings in the first screenshot.

Conclusion
Setting up Windows Server 2019 as an iSCSI target server is a two-step process. The first step is installing the role.
After installing the role, the final step is to create iSCSI virtual disks. This article provides the steps to complete these tasks, and we hope you found it helpful.
If you deployed iSCSI in Windows Server 2019 with the steps in this guide, we would be glad to hear about it. Feel free to share your thoughts by utilizing the “Leave a Reply” form located at the bottom of this page.
Alternatively, you can respond to the “Was this page helpful?” question below.