Follow the 4 steps discussed in this guide to install and activate Windows Server 2019 on a Hyper-V VM.
Step 1: Create a New Hyper-V VM
To create a new Hyper-V VM, follow the steps below:
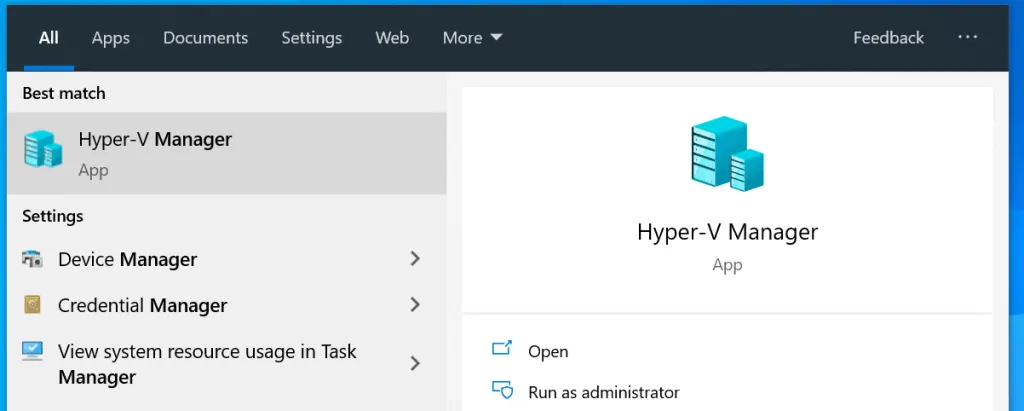
- Login to your Hyper-V host
- Then type Hyper-V manager in the search bar and click it from the search results
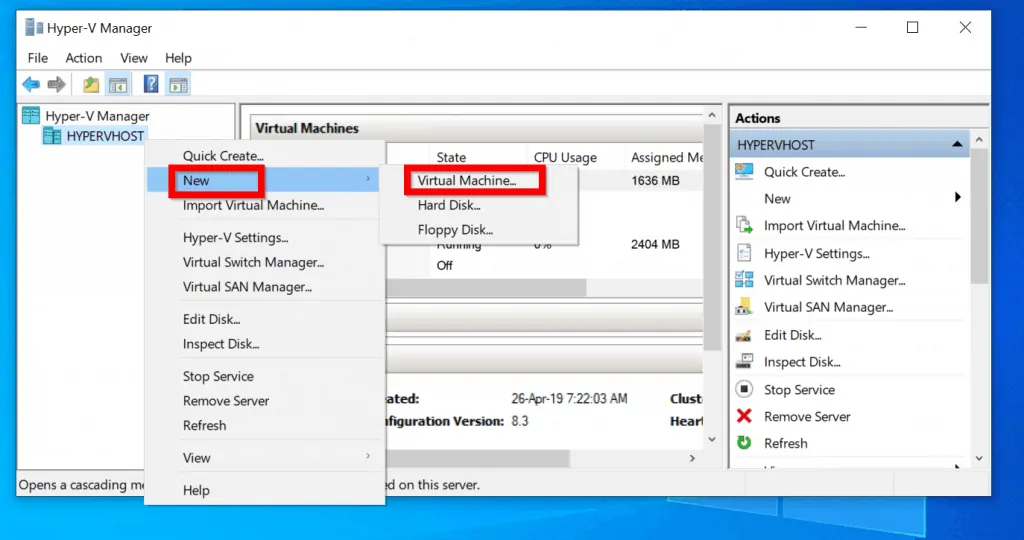
- When Hyper-V Manager opens, right-click the Server name. Then point to New and select Virtual Machine.
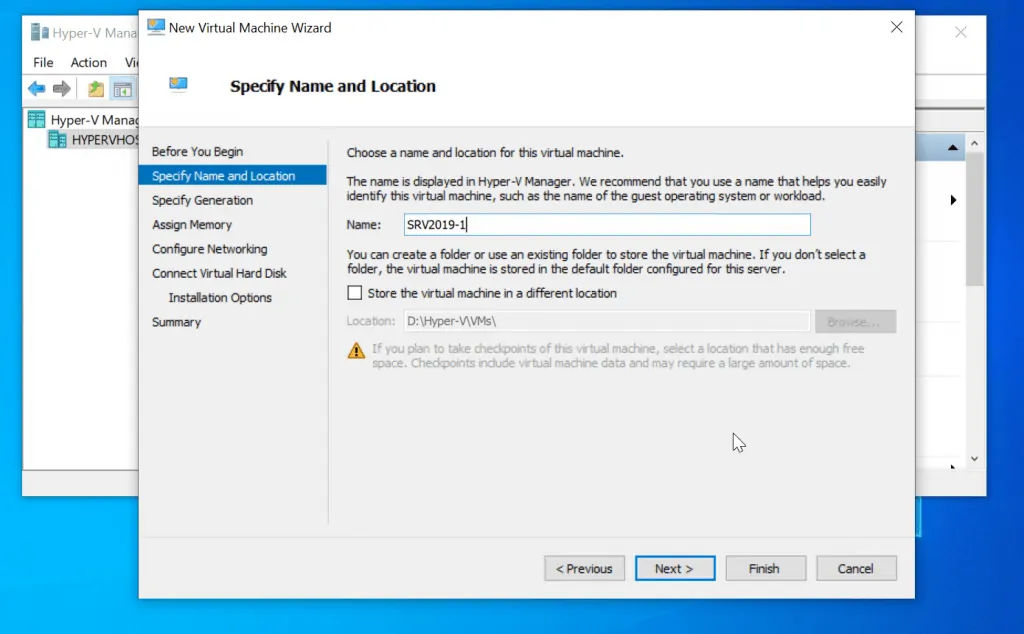
- At the Specify Name and Location screen enter a name for your Virtual Machine. Then click Next.
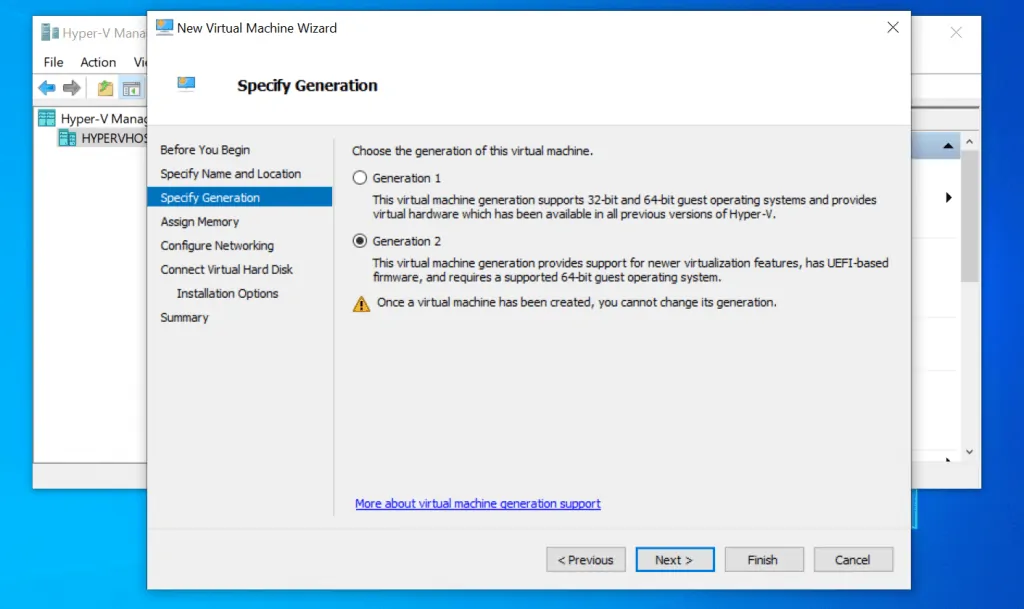
- Then at the Specify Generation screen, select a Generation for your VM and click Next. For this demo I will use Generation 2. After making your selection click Next.
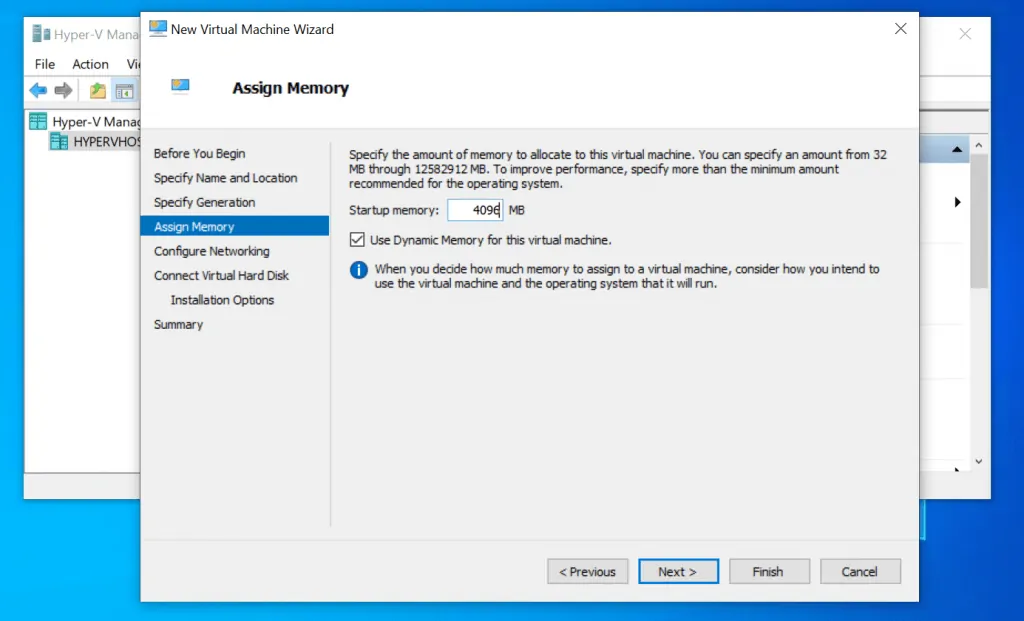
- Then assign your VM memory. This will depend on available Memory on your Hyper-V host. When you have assigned a memory, click Next.
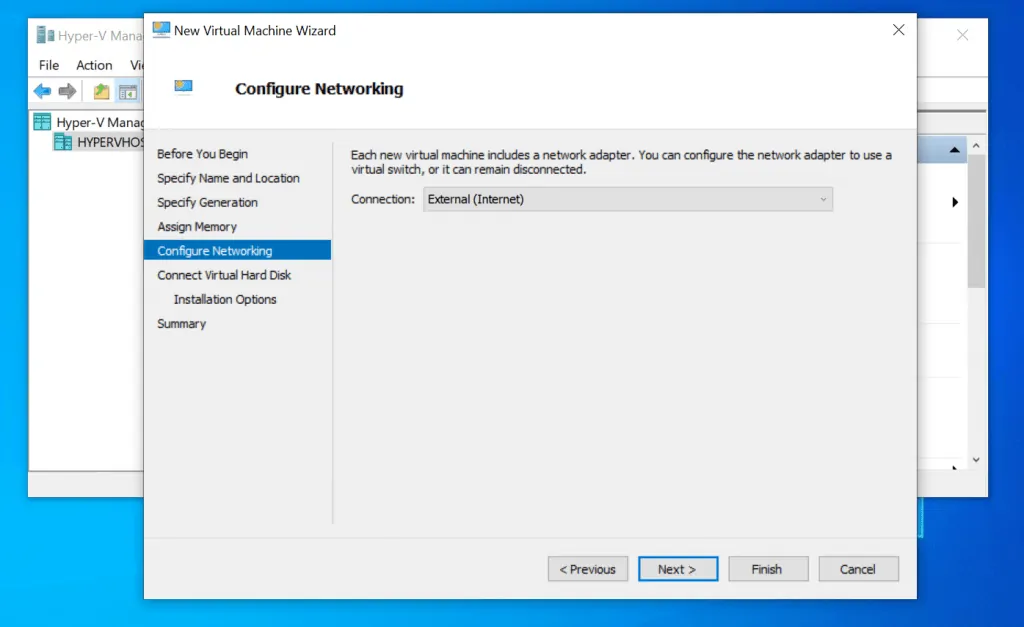
- Then at the Configure Networking screen, select a Virtual Switch then click Next.
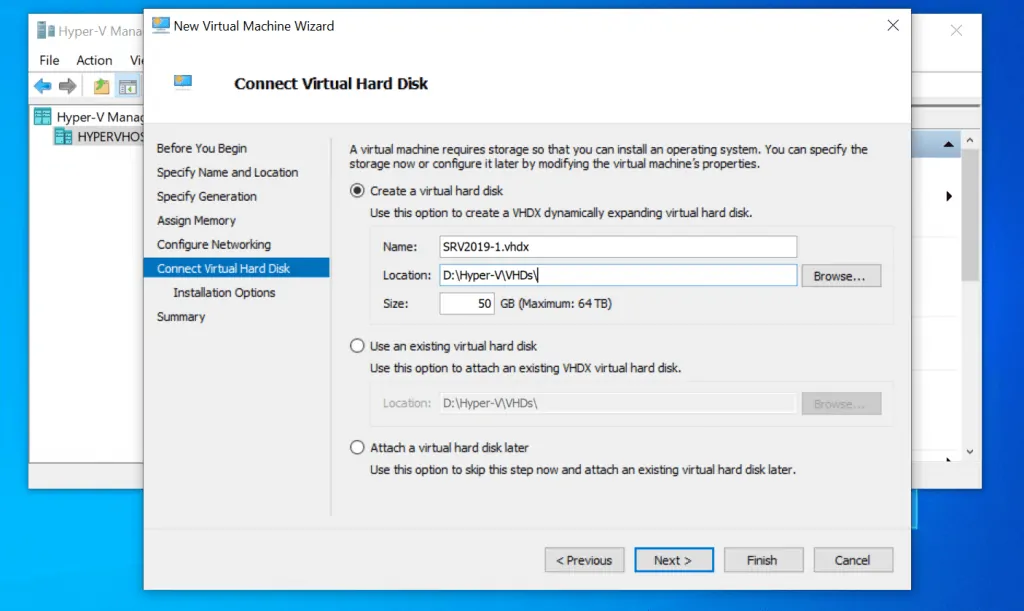
- Create a new Virtual Hard Drive or connect and existing one. If you want to create a new VHD, select the default option, then specify a Size (minimum of 32 GB for Server 2019). To attach an existing VHD select Use an exiting virtual hard disk option. when you finish click Next.
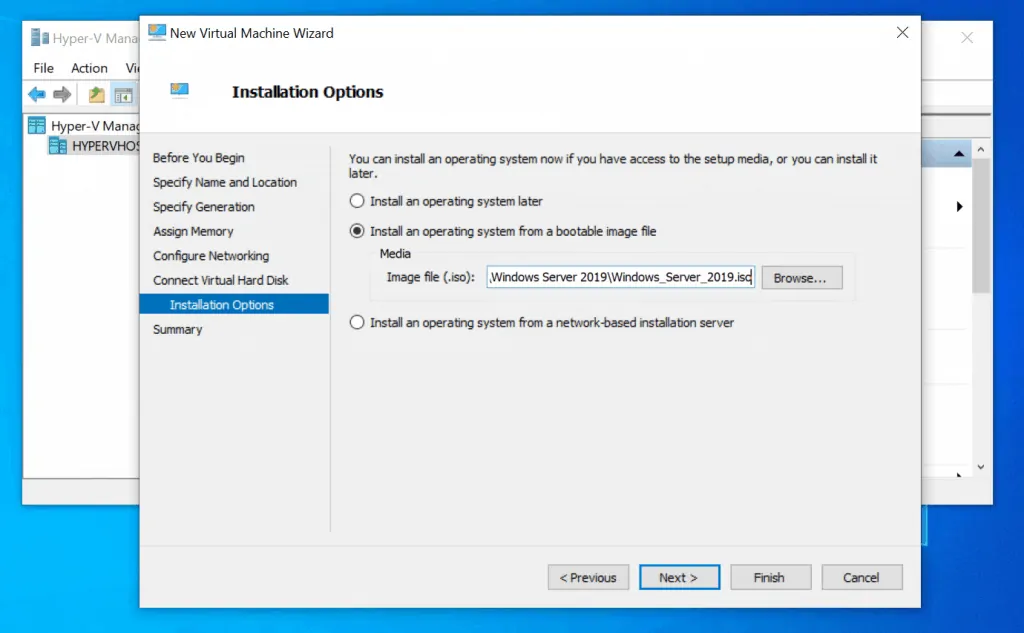
- On the Installation Options screen, select Install an operating system from a bootable image file. Then use Browse to locate and select the ISO file. When you finish click Next.
- On the final screen, review your selections. Then click Finish.
Step 2: Configure Hyper-V VM’s Boot Sequence
Before you install Windows Server 2019 on Hyper-V you need to modify the boot sequence of the VM to boot from the ISO image..
Here are the steps:
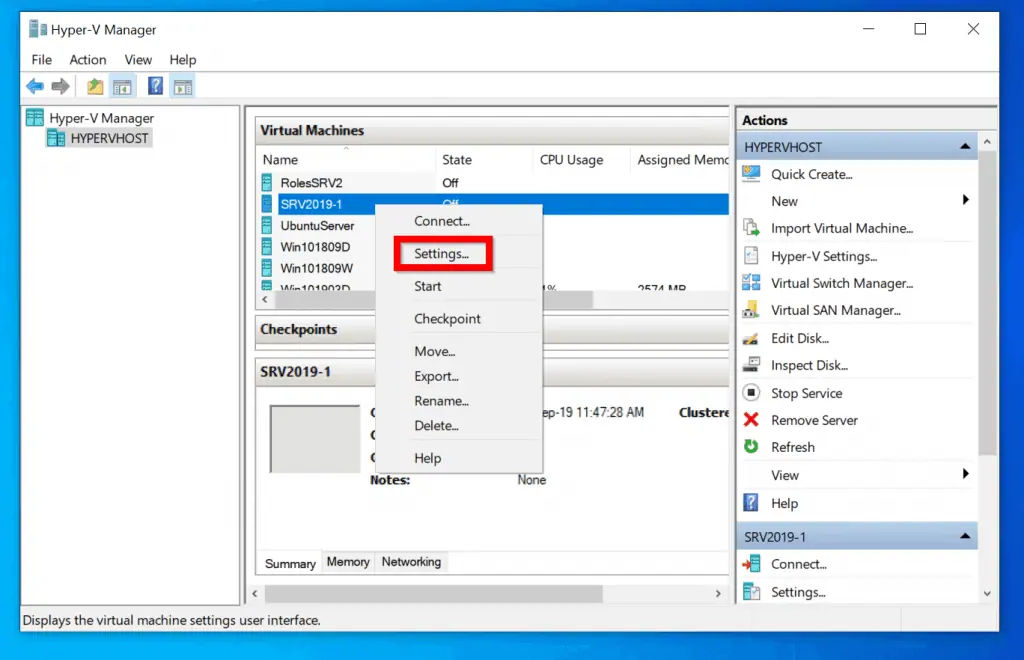
- From Hyper-V Manager, right-click the VM you created in the last section. Then select Settings.
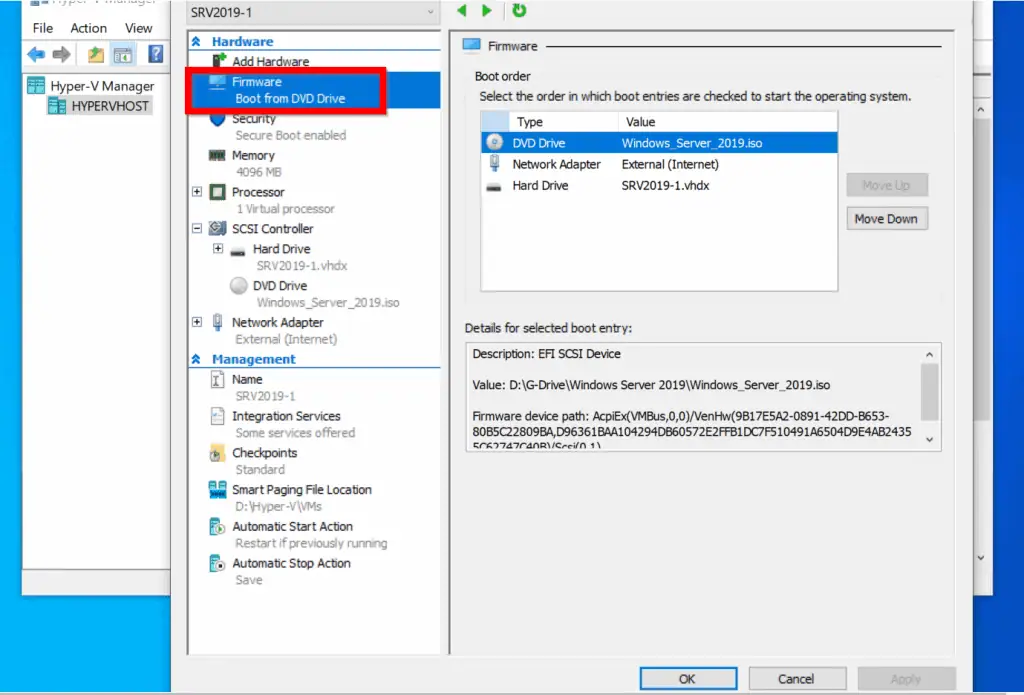
- When the VMs Settings opens, click Firmware. Then confirm that DVD Drive is on top. If it is not, click on DVD Drive and use Move Up to move it to the top of the list. When you finish, click OK.
Step 3: Install Windows Server 2019 on the VM
Here is the final step to install Windows Server 2019 on Hyper-V:
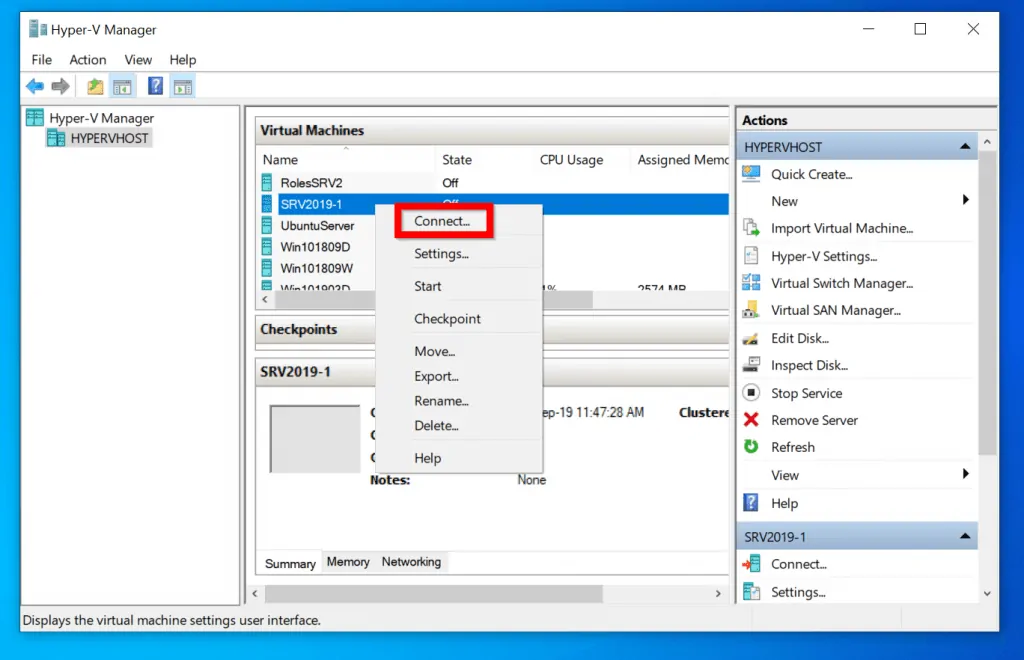
- Right-click the VM and select Connect.
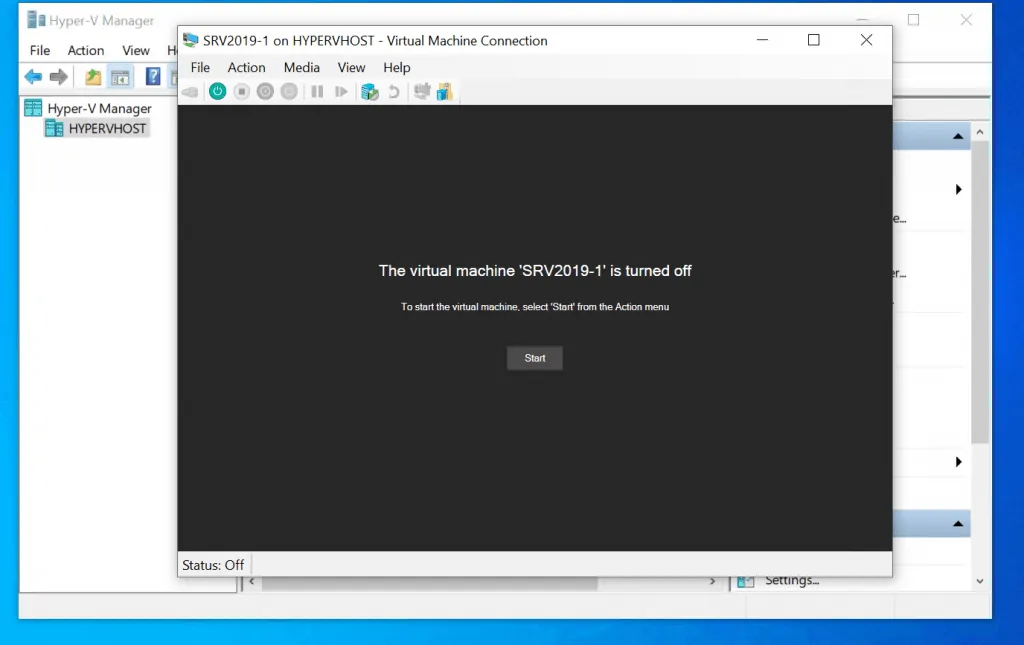
- Before you start the VM, be ready to click a key to boot from the ISO. Then click Start…
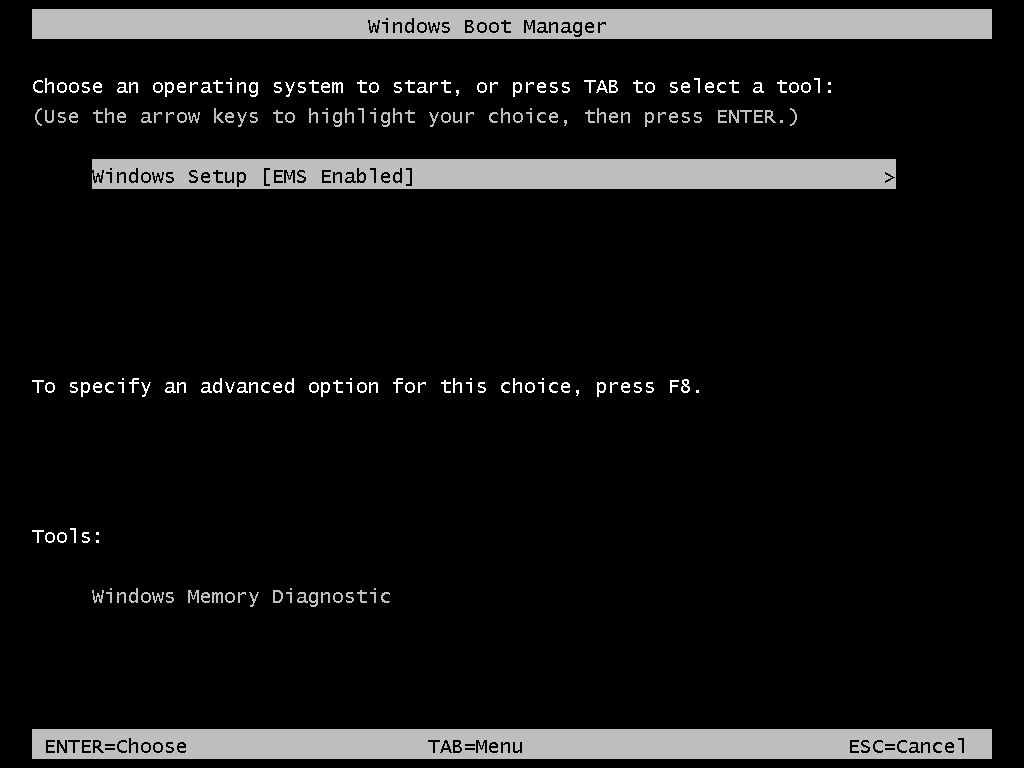
- Immediately you see this prompt, click on it. Then click any key on your keyboard to boot from the ISO image.

- On this screen, click Enter.
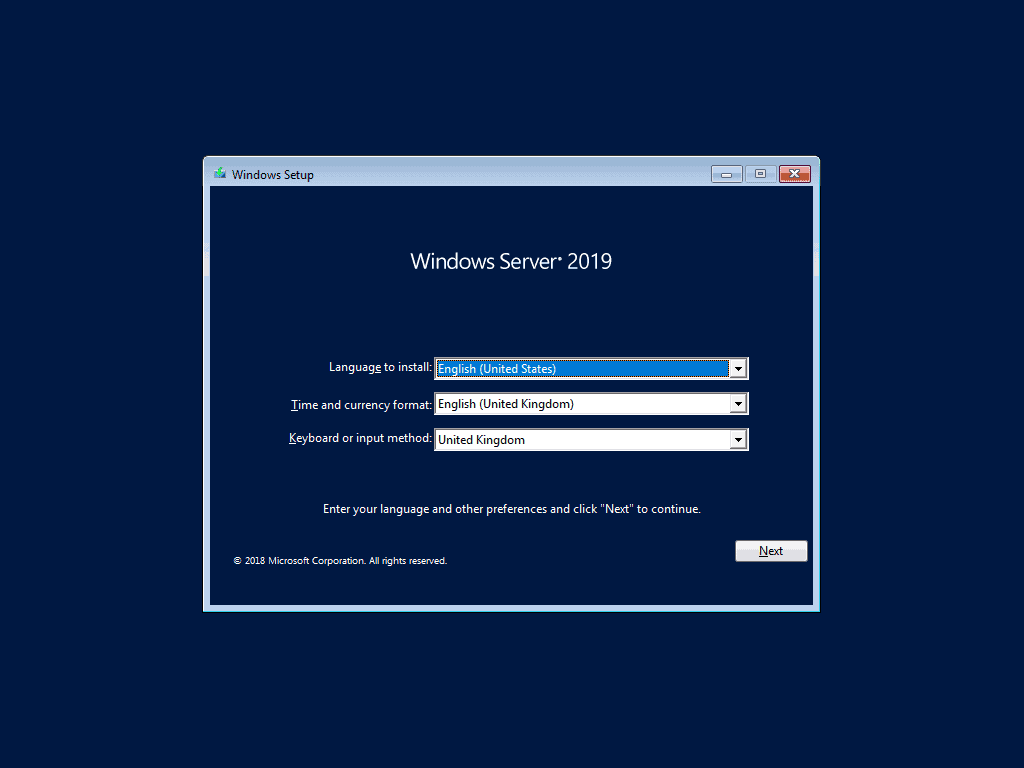
- When the first screen of Windows Server 2019 installation loads, click Next.
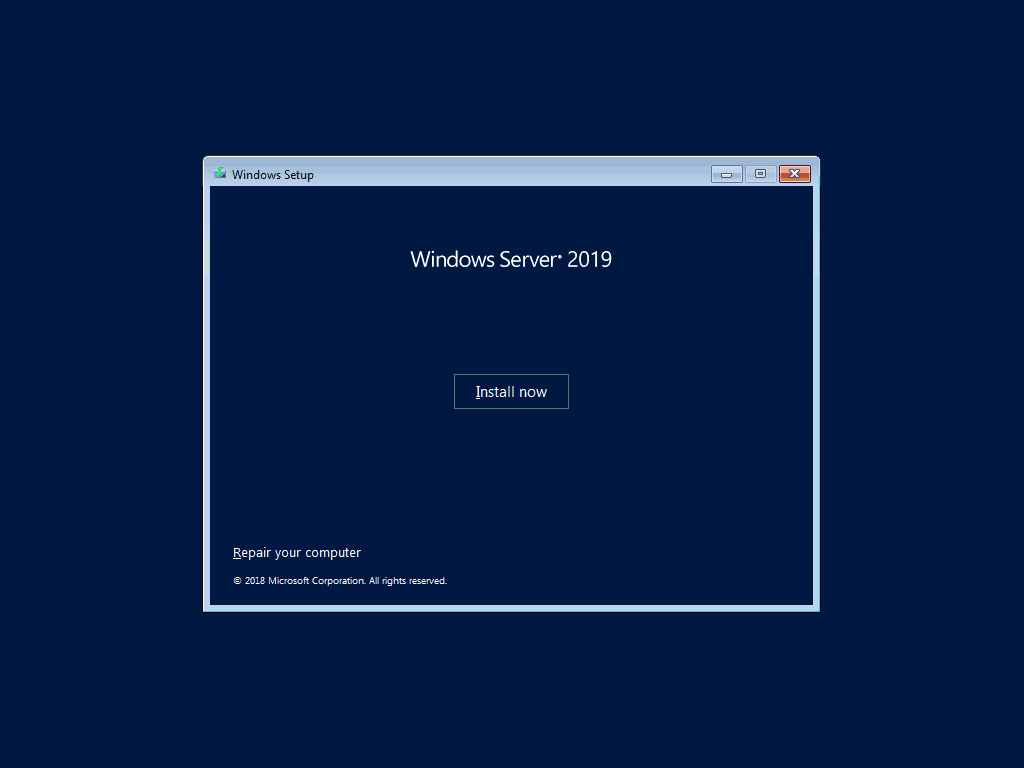
- Then click Install now.
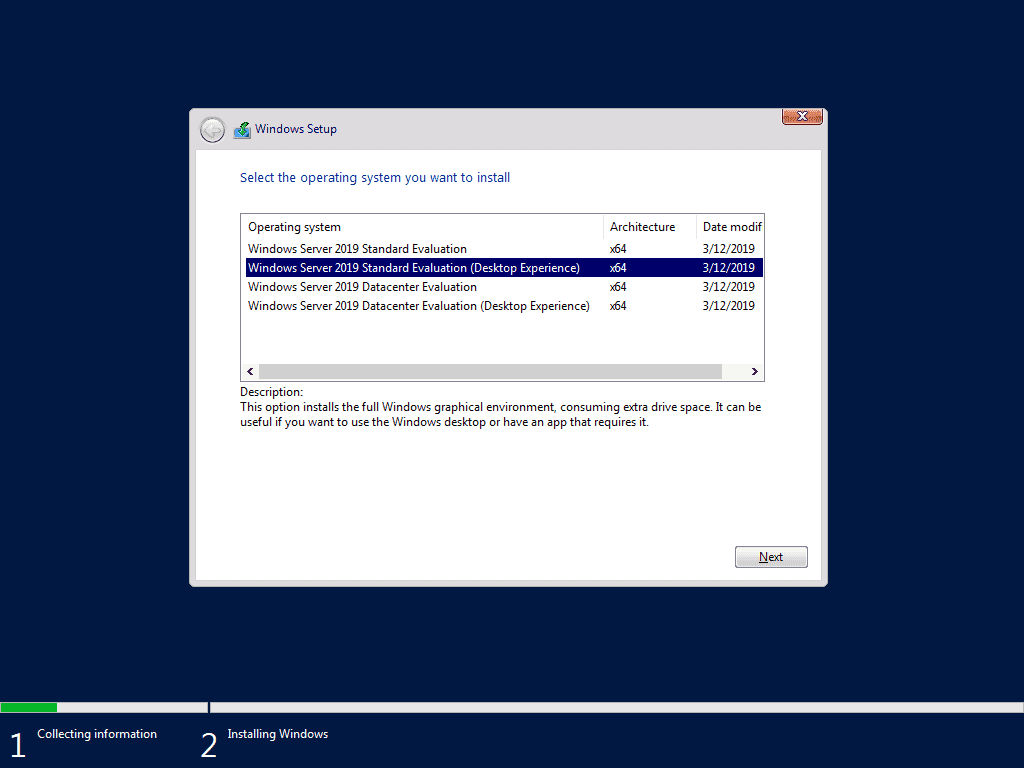
- When prompted to Select the operating system you want to install, select the edition of the server you have a license for. To continue, click Next.
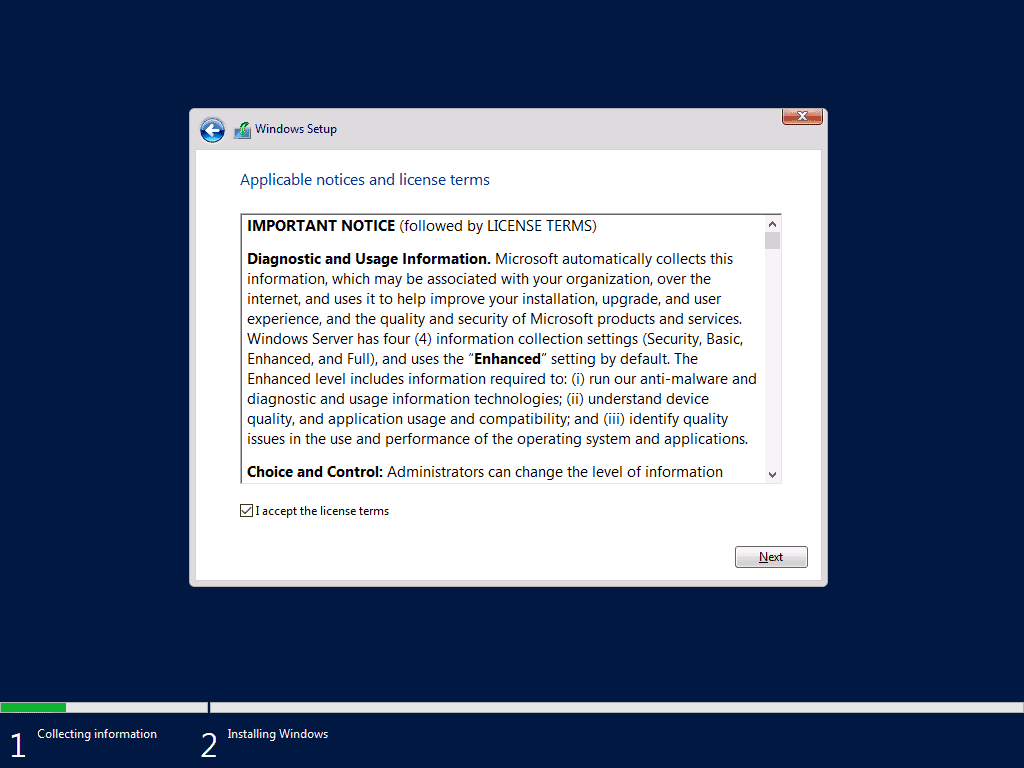
- Then, on the Applicable notices and license terms, check I accept the license terms. Then click Next.
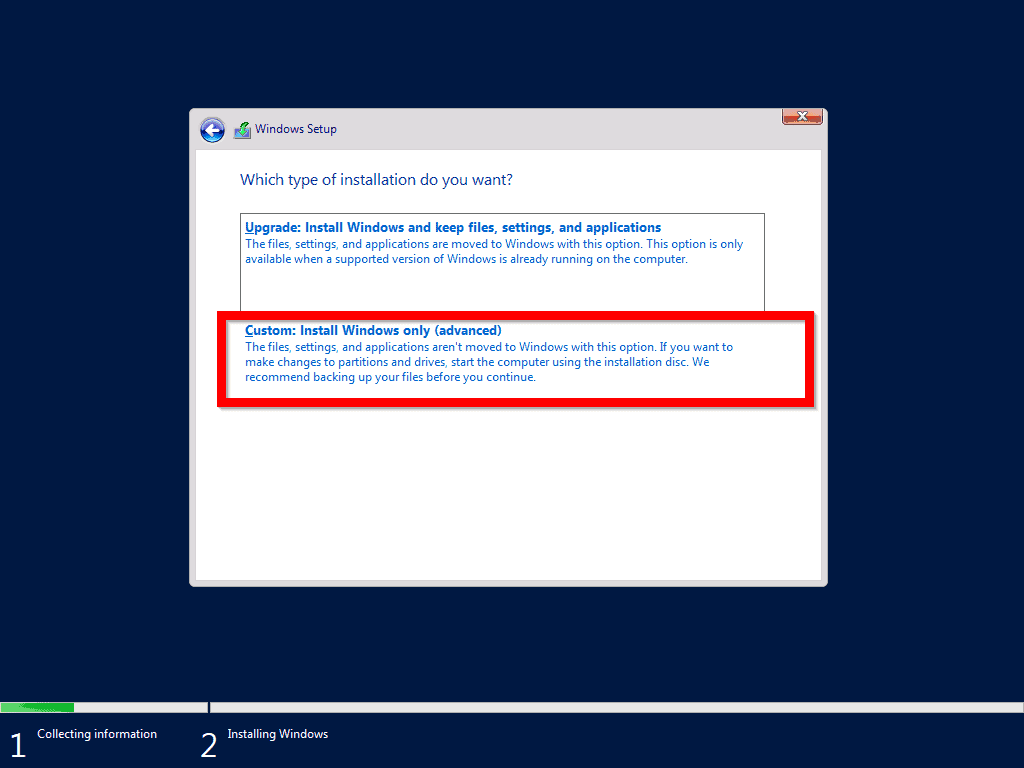
- At the Which type of installation do you want screen click Custom: Install Windows only (advanced).
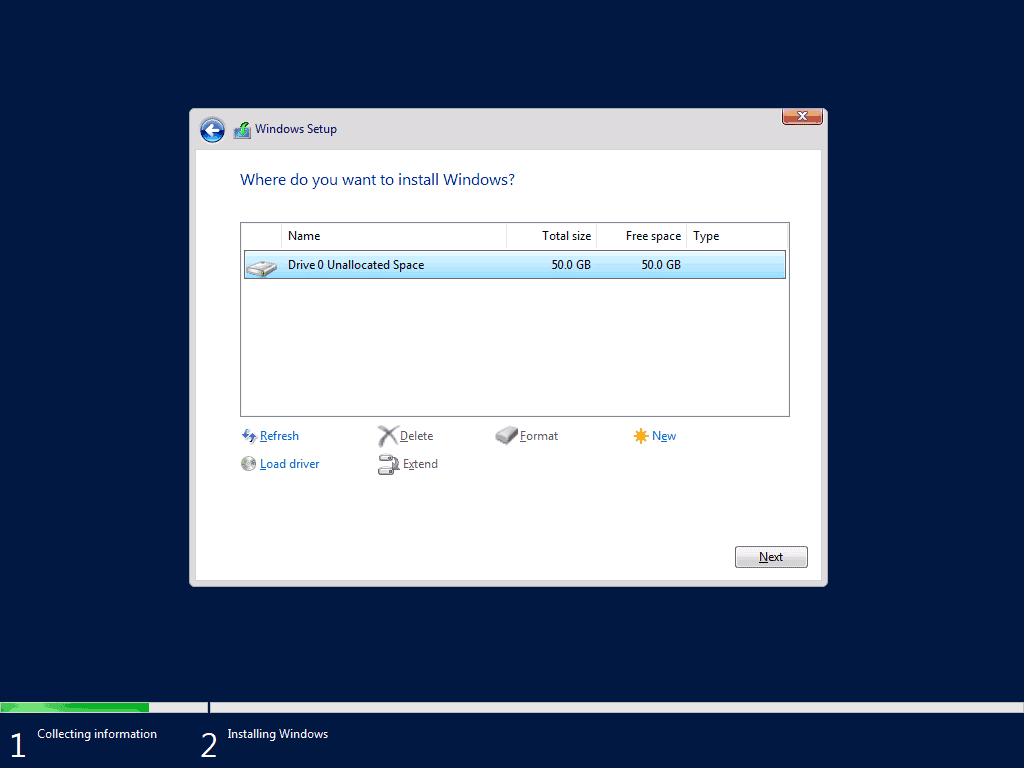
- If you have more than one hard drive attached to the VM, select the hard drive to install the Server Operation System. Then click Next.
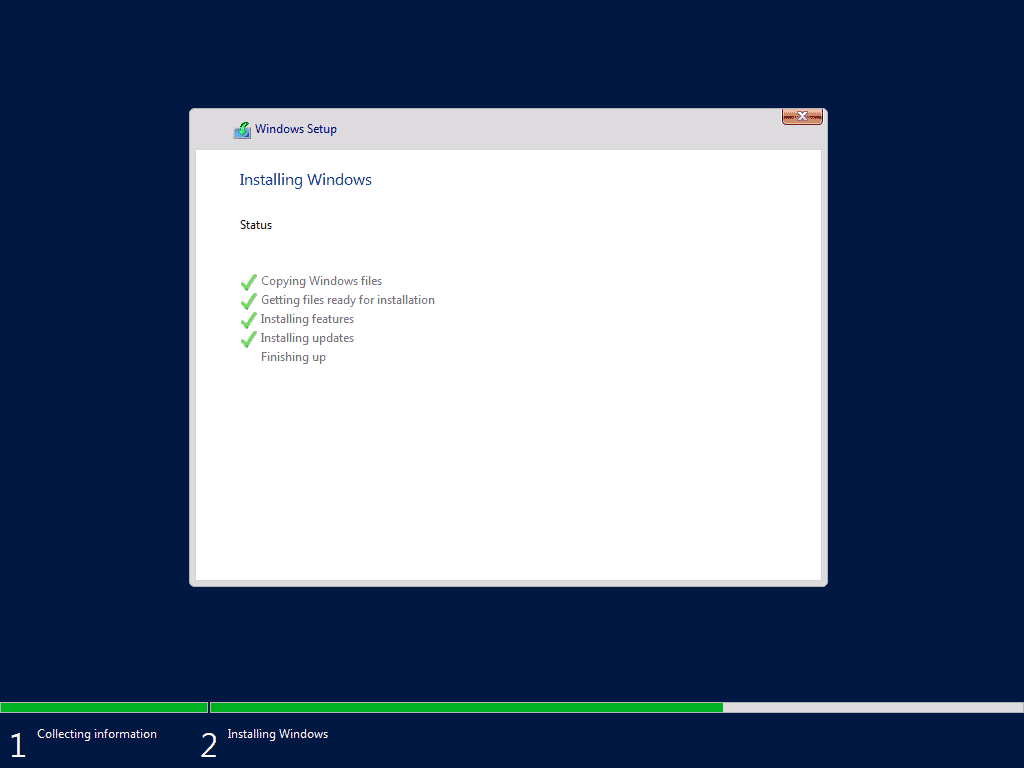
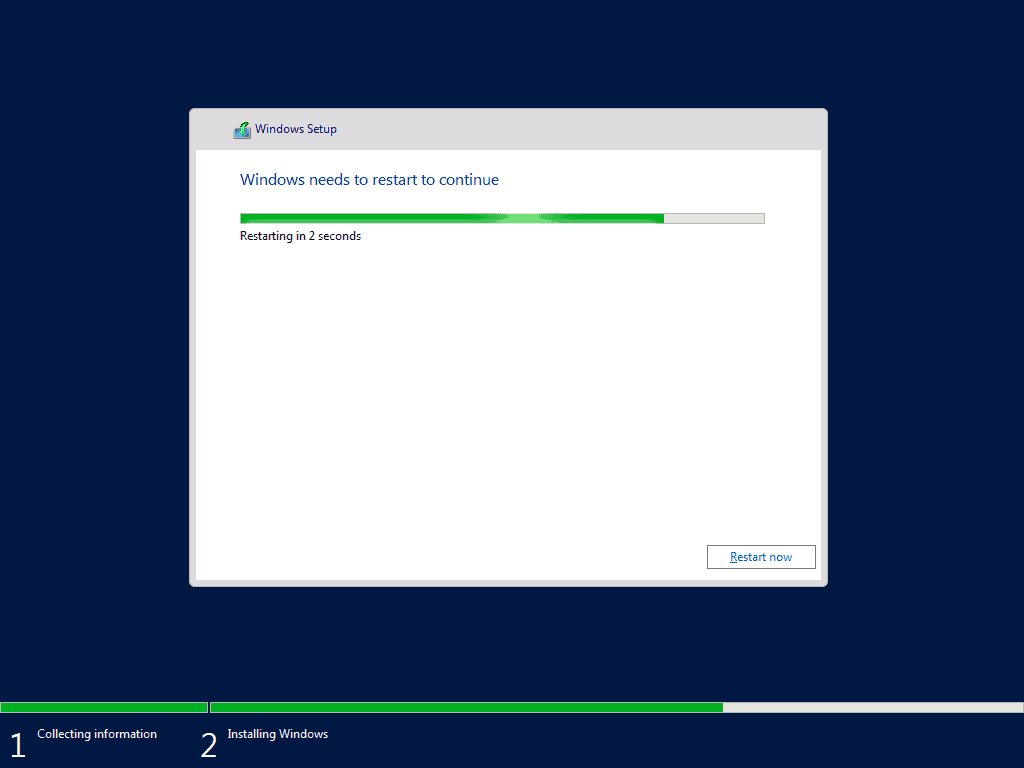
- The installation will begin..Wait…

- When the last stage of installations are completed, the VM will restart.
- When the server restarts, it will stay at the Getting ready screen for a while.
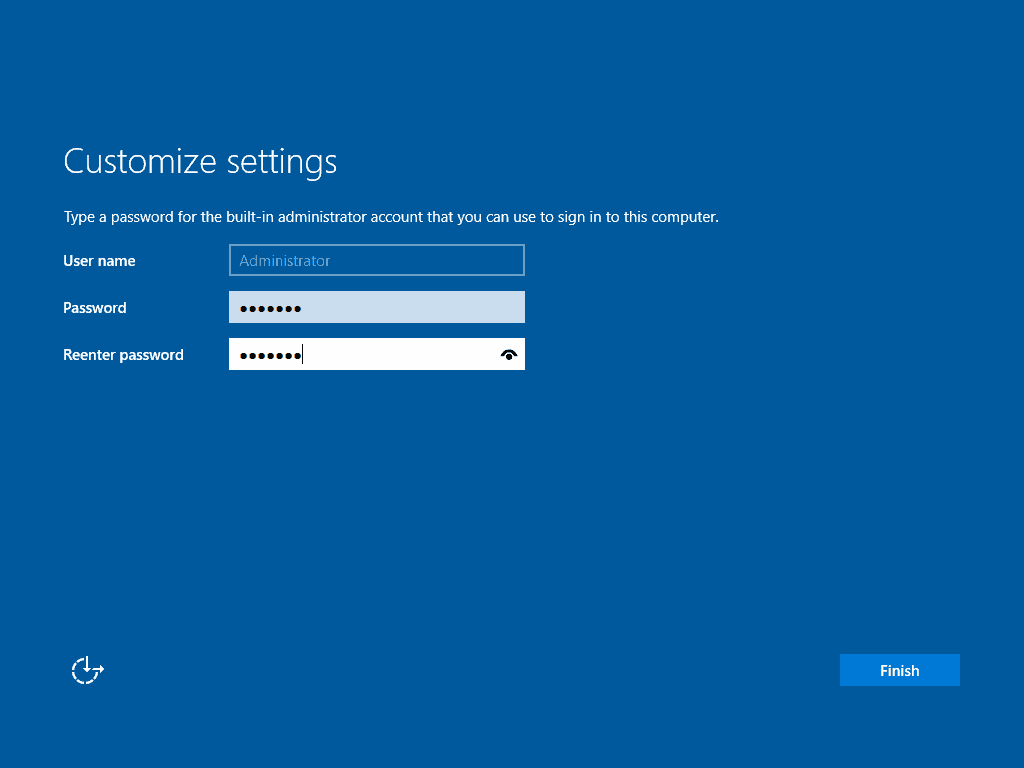
- At the Customize settings screen, type a password for the administrator account. Then re-type the password and click Finish.
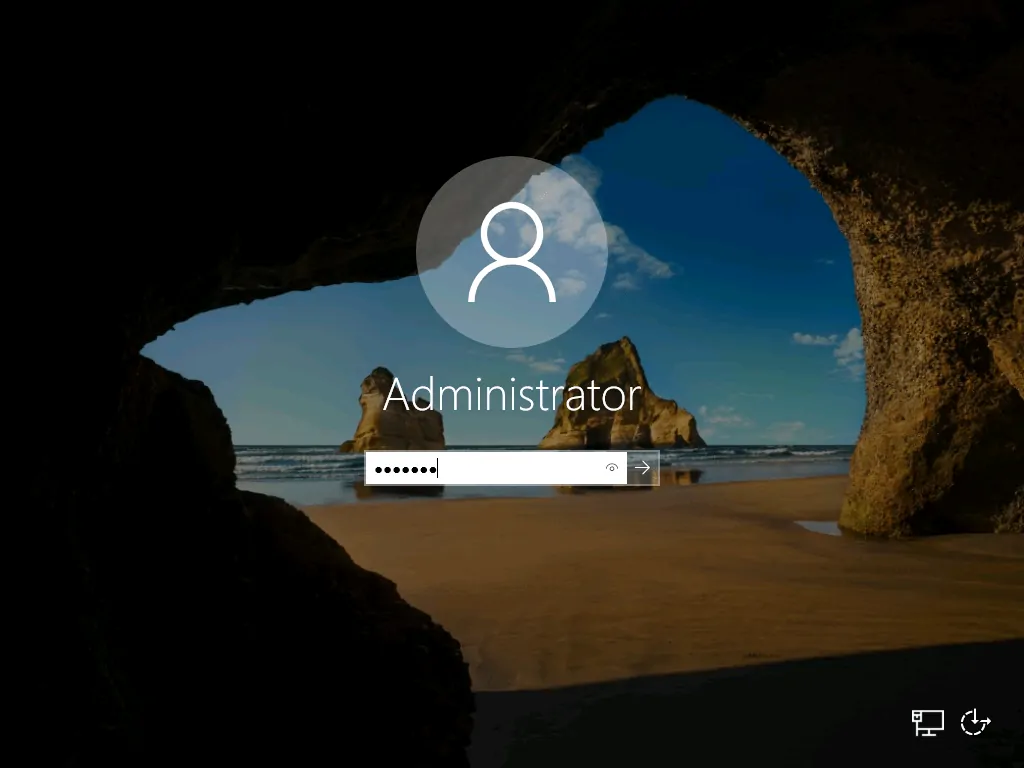
- When the logon screen loads, press Ctrl + Alt + Del and login to the server.
Step 4: Activate Windows Server 2019 Evaluation to Full Version
The final step of this guide is to demo how to activate Windows Server 2019 with a valid product key.
You require a valid Server 2019 product key to complete the steps in this section.
Here are the steps:
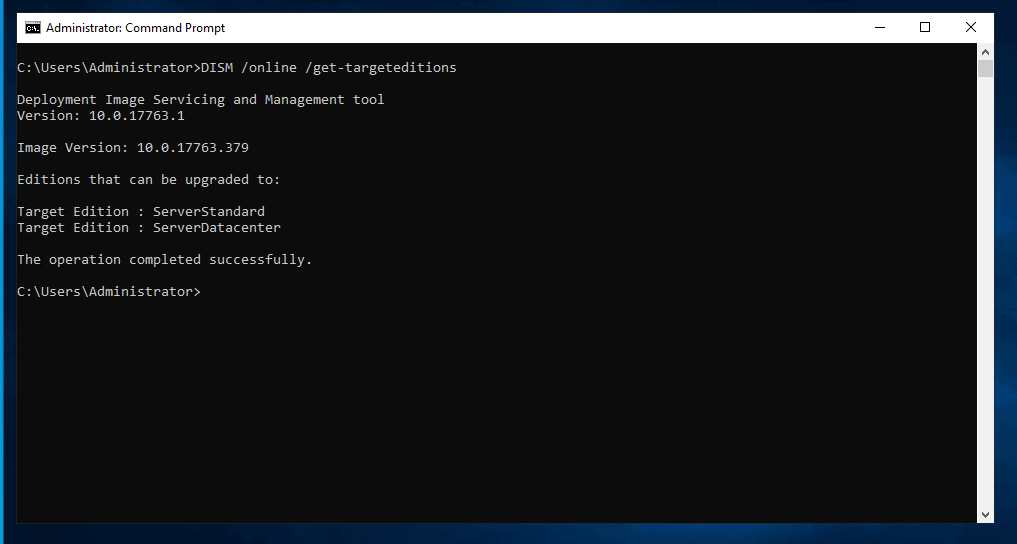
- Login to the new server. Then Open Command Prompt as Administrator.
- At command prompt, type this command then press enter
DISM /online /get-targeteditions
The result of the command should indicate the edition(s) of Windows Server 2019 you can activate.
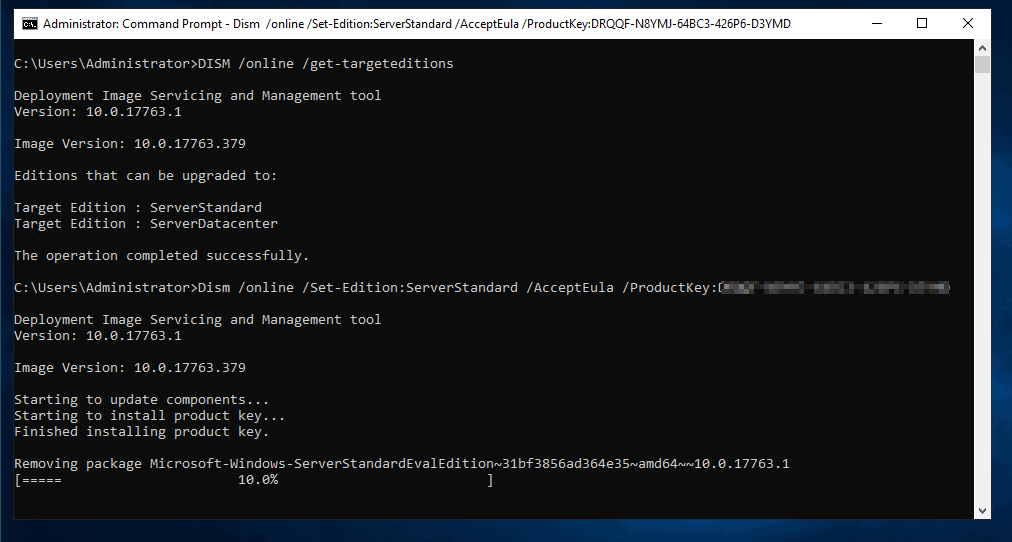
- To activate Server 2019 with a valid product key, type the command below. Then press enter
Dism /online /Set-Edition:<edition name> /AcceptEula /ProductKey:<Valid Product Key for the edition you want to activate>
Replace:
<edition name> with a valid edition from “DISM /online /get-targeteditions” command
<Valid Product Key for the edition you want to activate> with your product key.
Here is a sample command I used for this demo:
Dism /online /Set-Edition:ServerStandard /AcceptEula /ProductKey:<*****>
When you press enter, DISM will take some time to upgrade your installation from evaluation to full copy.
- When the activation is completed, you will be prompted to restart your Server. Type Y. Your server will restart immediately.

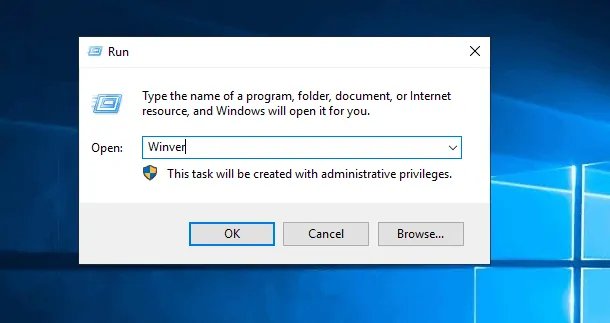
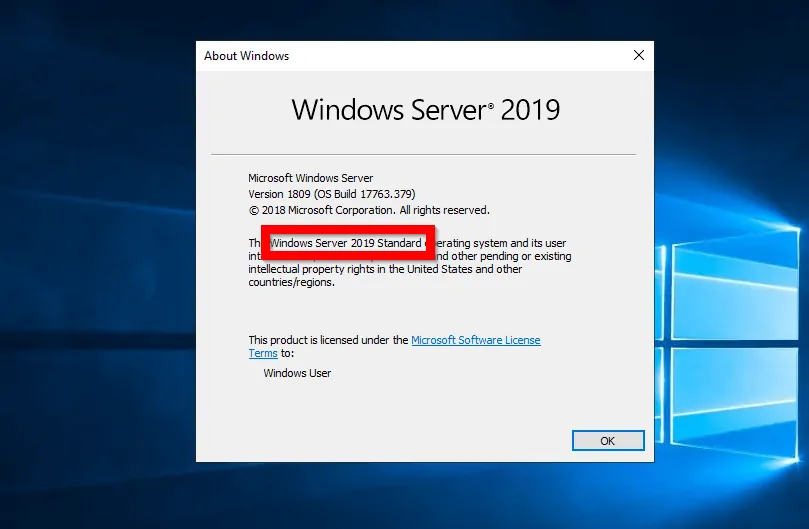
- When your server restarts, it should be a full Windows Server 2019 edition. To confirm type, Winver into Run command and click OK.
Conclusion
This guide offered a complete step-by-step to install Windows Server 2019 on Hyper-V. I hope you found it helpful!
If you found this article helpful, kindly spare 2 minutes to share your experience by responding to the “Was this page helpful?” question below.
For more Windows Server guides visit our Windows Server How To page.


Beginning with the “Activate Windows Server 2019 Evaluation to Full Version” section the activation key has been blurred in the command prompt window but is still clearly visible in the window title bar. May want to correct that oversight if the key is genuine and not for an evaluation version.
Thank you so much, scpcguy!
I have now blurred the keys. Thanks once again.