Sometimes a Windows Server may be stuck in the automatic repair loop. Following the steps in this guide fixes this problem.
Step 1: Disable Automatic Startup Repair
Here are the steps:
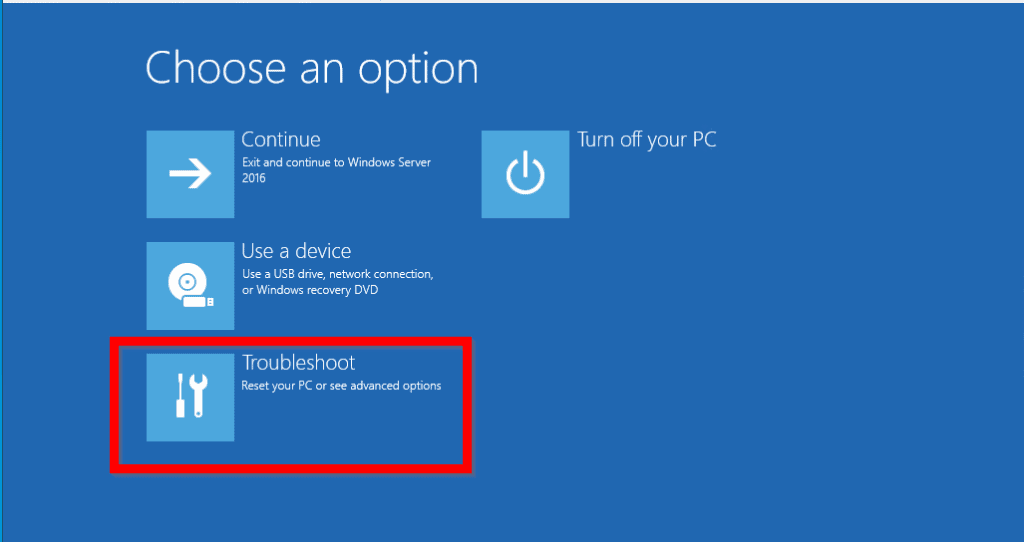
- Boot your server to Recovery.
- When automatic repair displays Choose an option, click Troubleshoot.
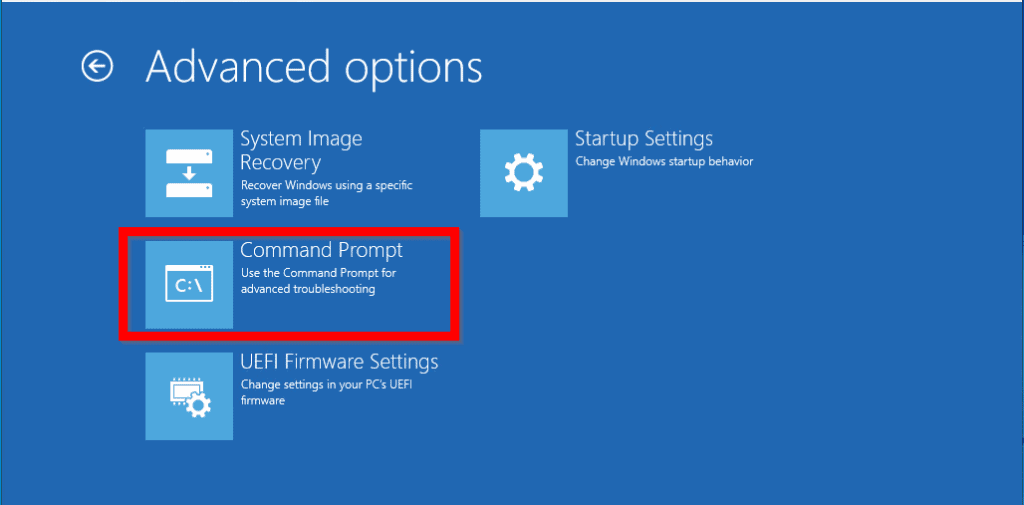
- Then, at Advanced options screen, click Command Prompt.
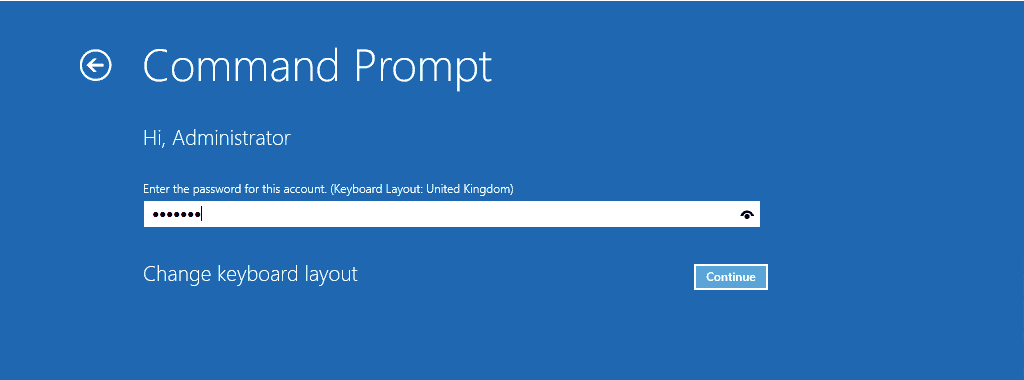
- Select a user with admin privilege. Then type the password for the selected user and click Continue.

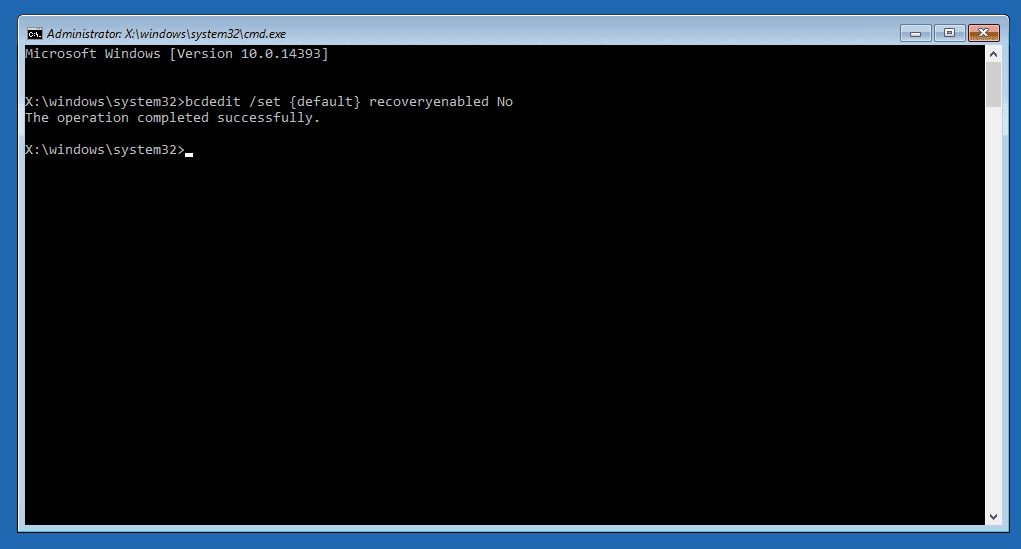
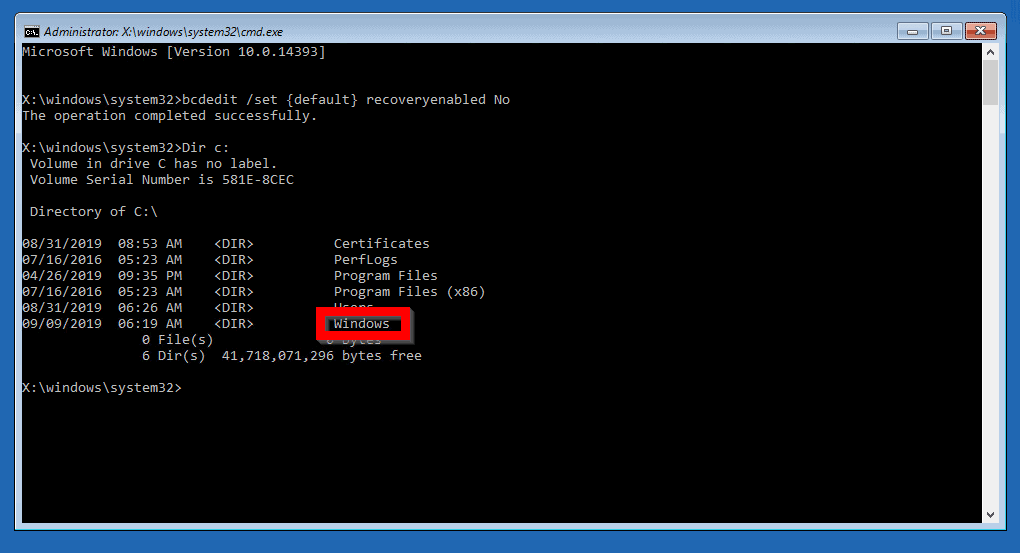
- When Command Prompt opens, type the command below. Then press enter.
bcdedit /set {default} recoveryenabled No
This command disables automatic repair.
Step 2: Restore Registry from Backup
Once you have disabled automatic repair, the next step is to fix the actual reason for Windows Server 2016 automatic repair loop – restore registry from backup.
Before you can restore registry, you first need to determine the location of your windows installation. To do this, type this command. Then press enter.
Dir c:
This will list the files and folders in drive C:\.
If drive C:\ has a folder called Windows, your Windows server is installed in C:\.
On the other hand, if, it does not have a Windows folder, try Dir D:, Dir E:. Check the result of each command for a Windows folder.
Once you have confirmed the path your Operating System is installed, move to the next step – restore registry from backup.
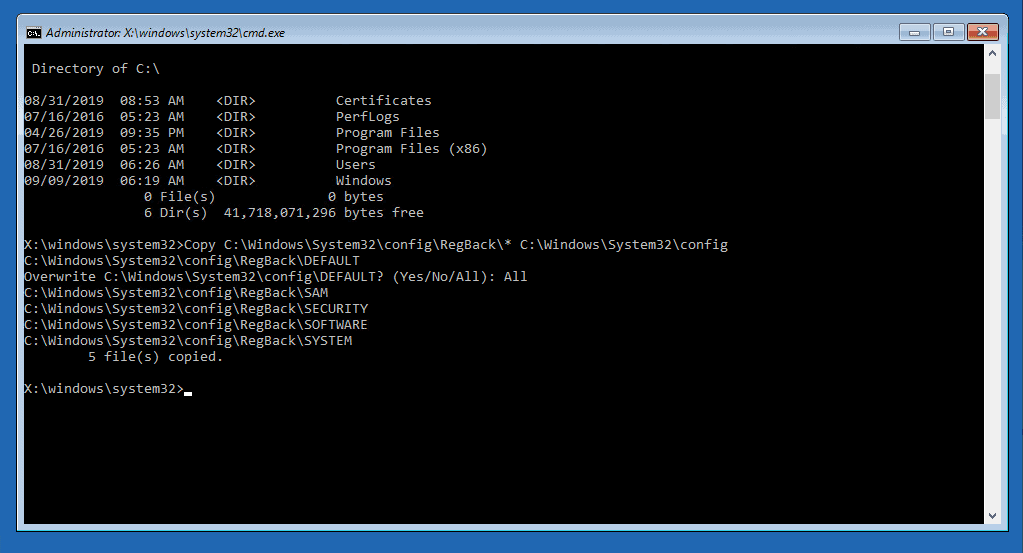
- To restore registry from backup, type this command. Then press enter.
Copy C:\windows\system32\config\RegBack\* C:\windows\system32\config
Replace C with the drive letter where your OS is installed. Note that it appears in two places in the command. They are both in bold.
When you press enter, you will receive a prompt to confirm that you wish to overwrite your current registry. Type All then press enter.
- When the command completes, type the command below. Then press enter. You will be returned to Choose an option screen. Select Continue to boot Windows Server 2016 to normally.
Exit
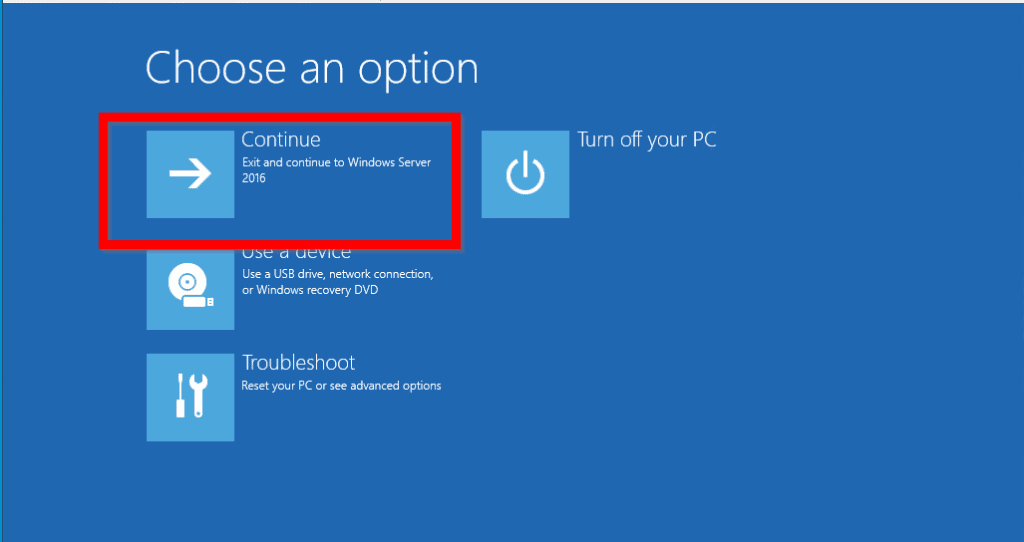
If your server boots normally, it means that your Windows Server 2016 automatic repair loop issue have been fixed.
You need to re-enable automatic repair. See next step..
Step 3: Enable Automatic Startup Repair
This is the final step. To re-enable automatic repair:

- When the server boots to logon screen, login with your admin account.
- Then open command prompt as administrator – search for it, right-click. Then select Run as administrator. Type the command below and press enter.
bcdedit /set {default} recoveryenabled Yes
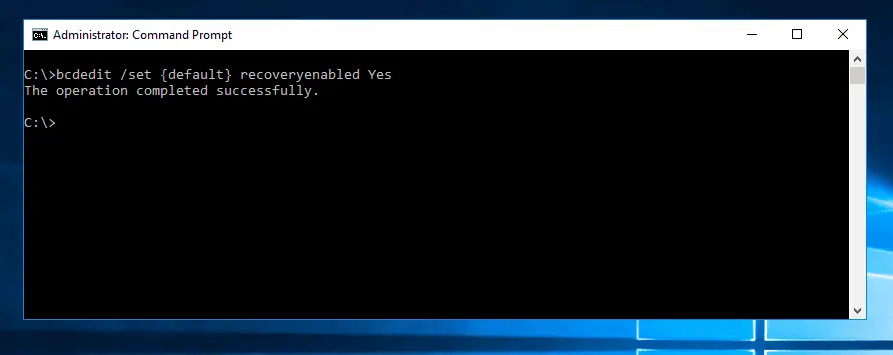
After re-enabling automatic repair, to confirm that Windows Server 2016 automatic repair loop is fixed, restart your server.
Conclusion
The steps in this guide should fix Windows server 2016 automatic repair loop for you.
Let us know if you found the guide helpful by responding to the “Was this page helpful?” question below.
Want more Windows Server fixes? Visit our Windows Server Fix page.
![Attribute Editor Tab Missing in ADUC [Fixed] - featured image](https://www.itechguides.com/wp-content/uploads/2024/03/Attribute-Editor-Tab-Missing-in-ADUC-Fixed-featured-image.webp)

I have a Hyper VM running Windows server 2019. It suffer from the same automatic repair loop. Does your fix also work for server 2019 hyper-V VM?
Thanks a lot!!, Its worked excellent in my server with this loop problem.
I followed the steps now I get Status 0xc0000225 registry missing or contains errors
Which of the solutions did you apply?
I typed the command exactly as is, and it comes back:
‘*’ is not recognized as an internal or external command, operable program or batch file.
Any thoughts?
Please specify the command you typed that returned the error message.
This article saved my week! Its worked very fine! Thanks so much.
Glad it worked for you. Thanks for the feedback.