In this Itechguide, Victor teaches you how to mount ISO on Windows 10. The guide covers steps for 2 methods to mount ISO on Windows 10.
Option 1: Mount ISO from File Explorer
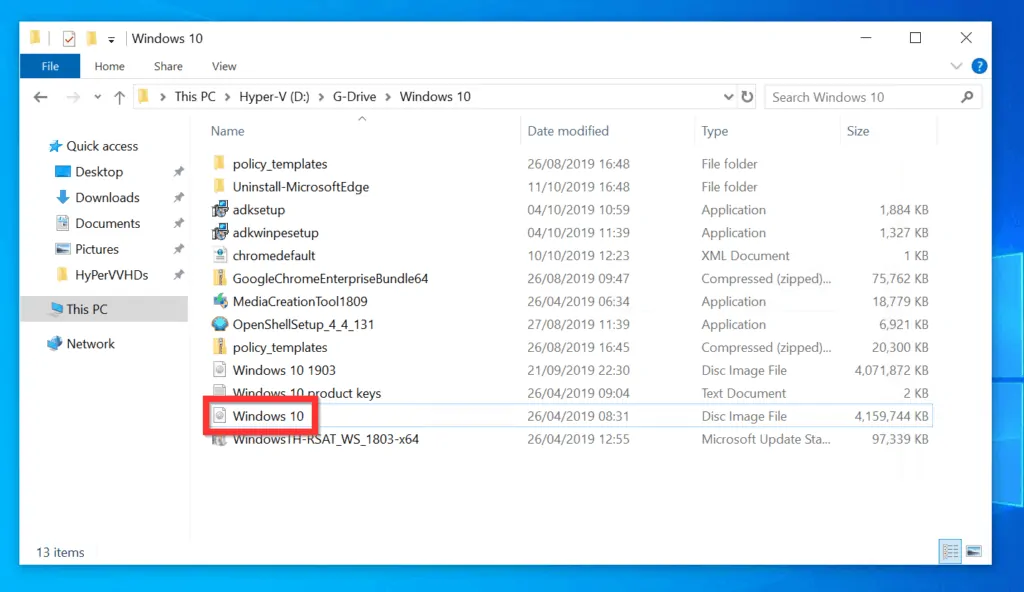
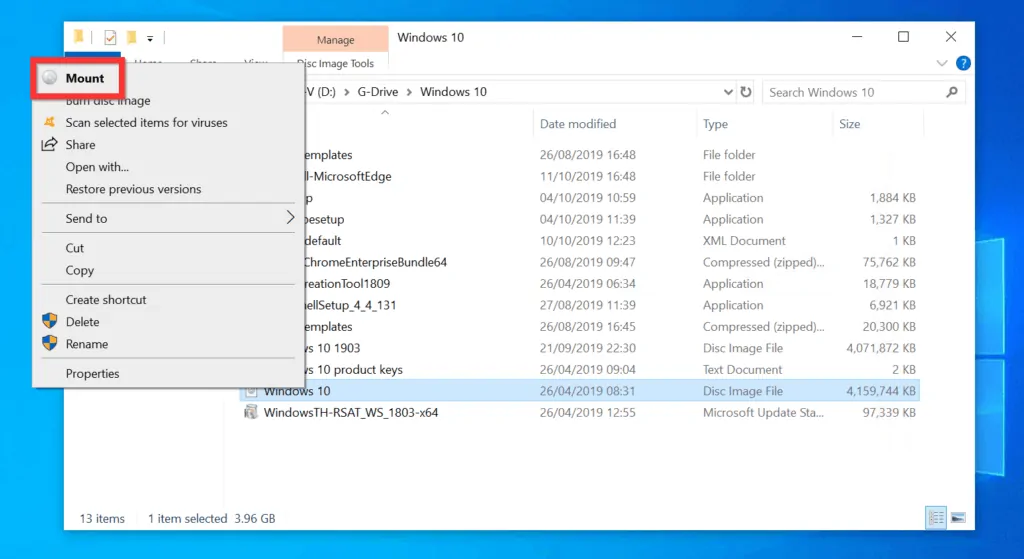
- Open the folder you saved the ISO image file and right-click it. A set of options will be displayed.
- On the top right of the displayed options, select Mount. The ISO image will be mounted immediately. The mounted image will also open – see the second image below.
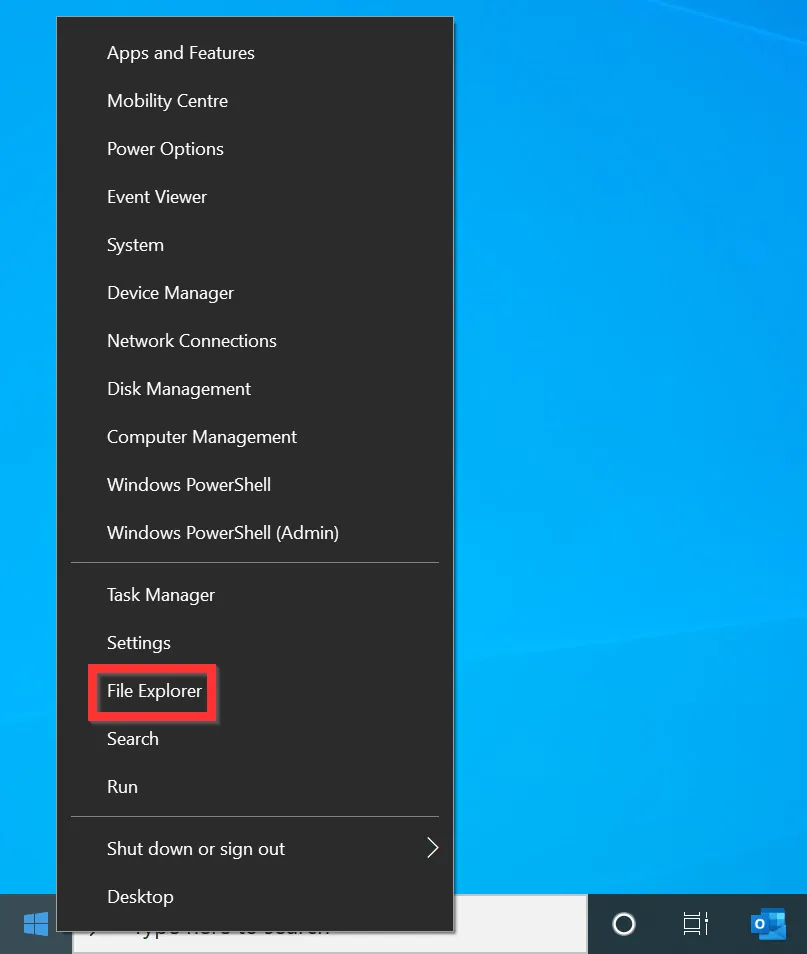
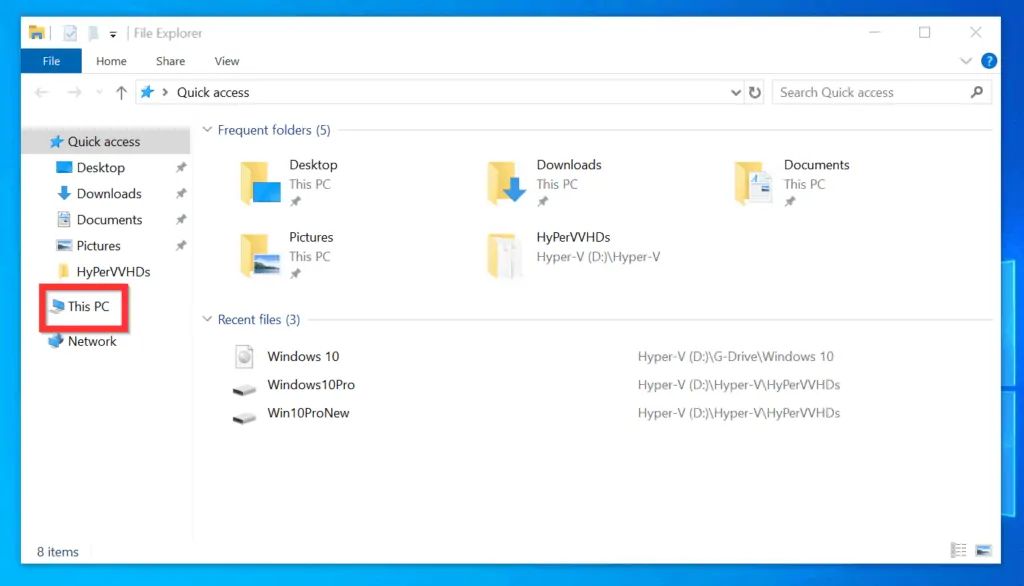
- To unmount the ISO, right-click Start menu and click File Explorer.
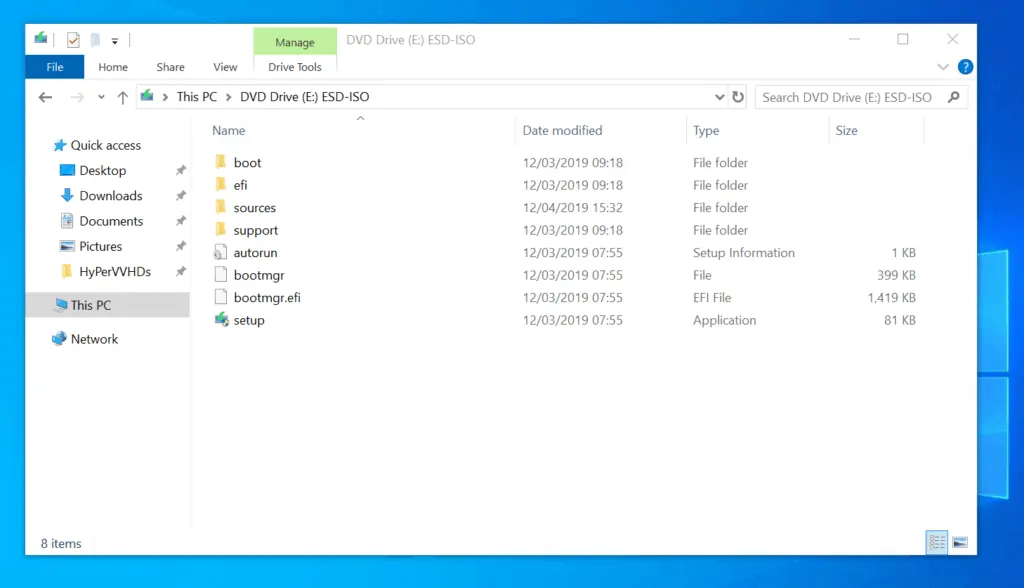
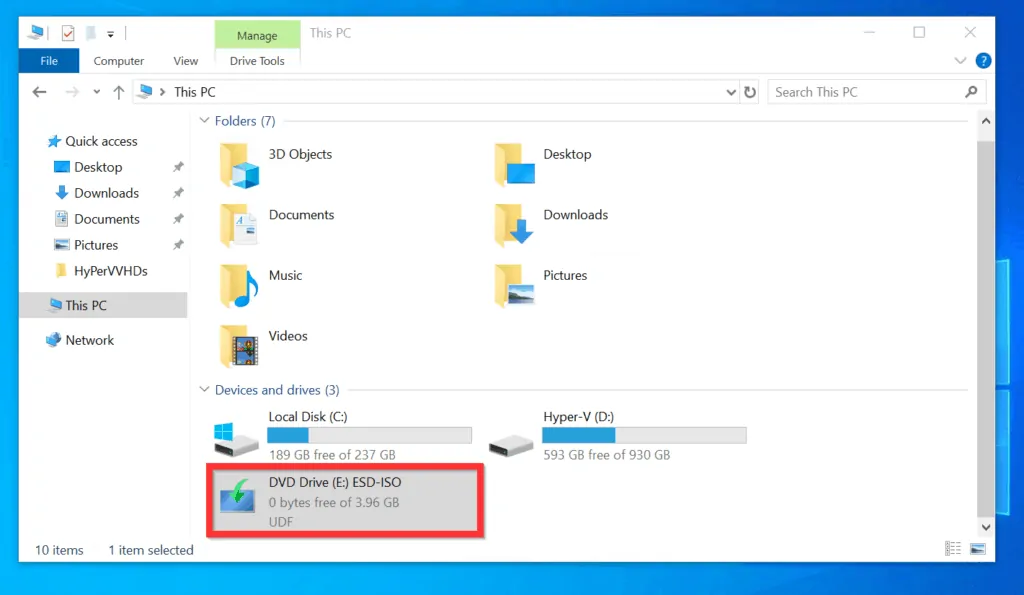
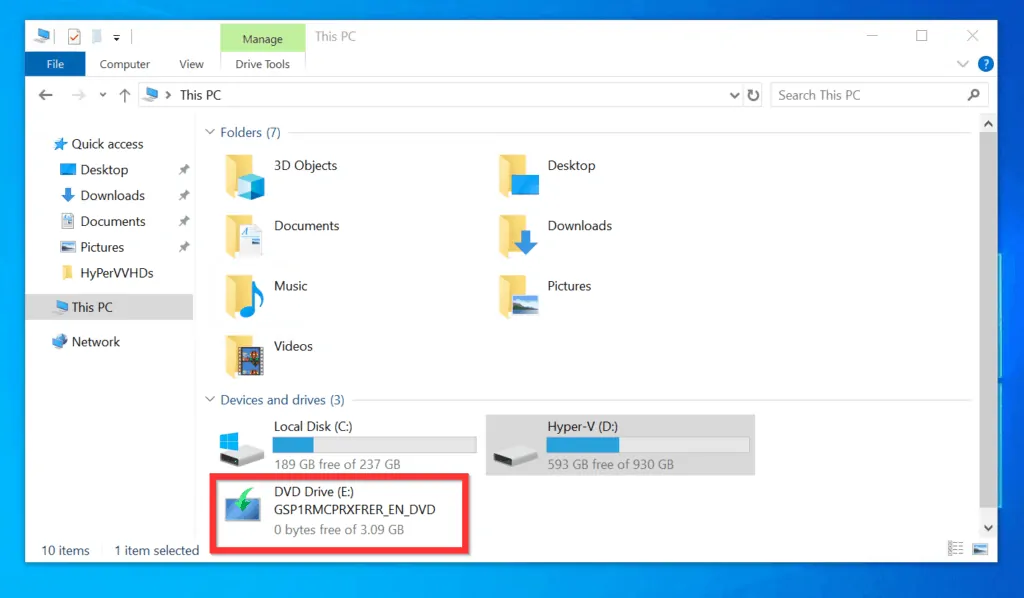
- Then, on the Quick access pane of File Explorer, click This PC. The mounted ISO will be displayed as a DVD drive – assigned a drive letter.
- To unmount the ISO, right-click the DVD Drive and select Eject – see the second image below.
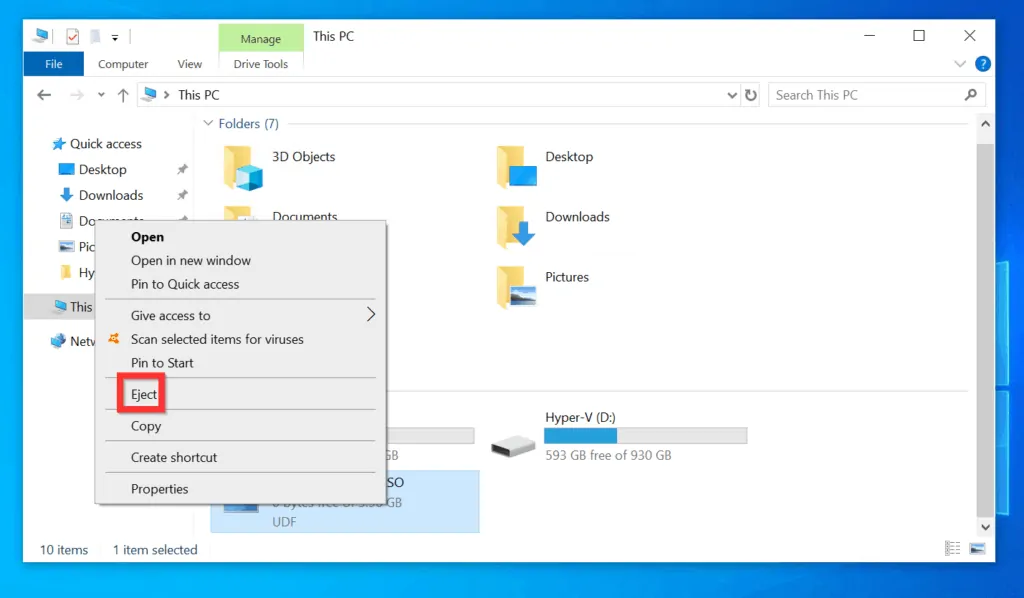
- The mounted ISO will disappear from This PC.

Option 2: Mount ISO with PowerShell
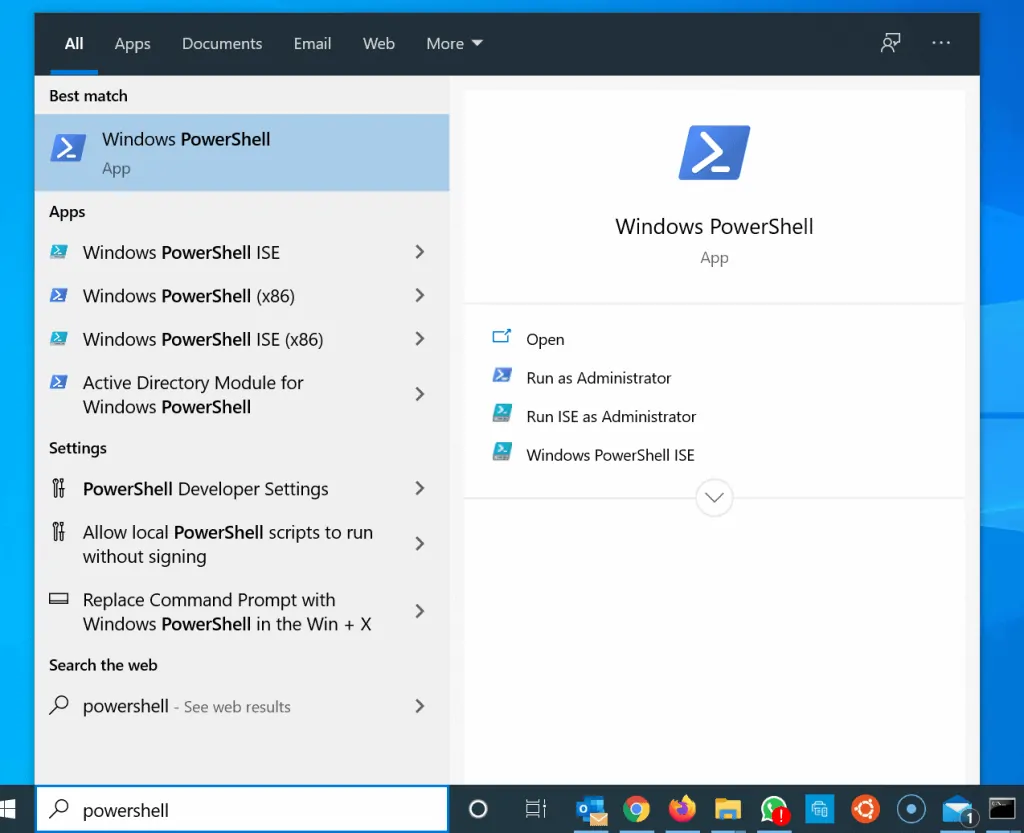
- Search powershell and open Windows PowerShell. Then, click Windows PowerShell.
- On the PowerShell command prompt, type the Mount-DiskImage Cmdlet in the format below and press enter.
Mount-DiskImage -ImagePath "full path to the ISO file"
Replace full path to the ISO file with the path to your ISO file – including the .ISO file extension. Here is an actual command:
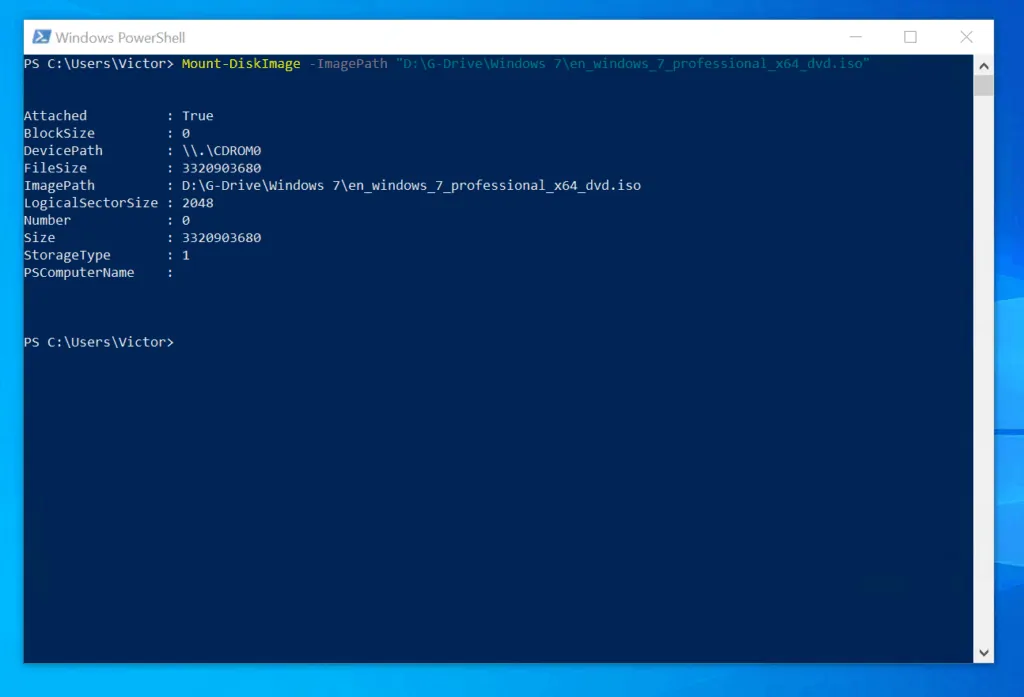
Mount-DiskImage -ImagePath "D:\G-Drive\Windows 7\en_windows_7_professional_x64_dvd.iso"
- The Cmdlet will take a short while to execute. Then, it will mount the image and display information about the mounted ISO.
- If you open This PC via File Explorer, the image will be displayed as a DVD Drive. In this example, it is mounted on drive E:.

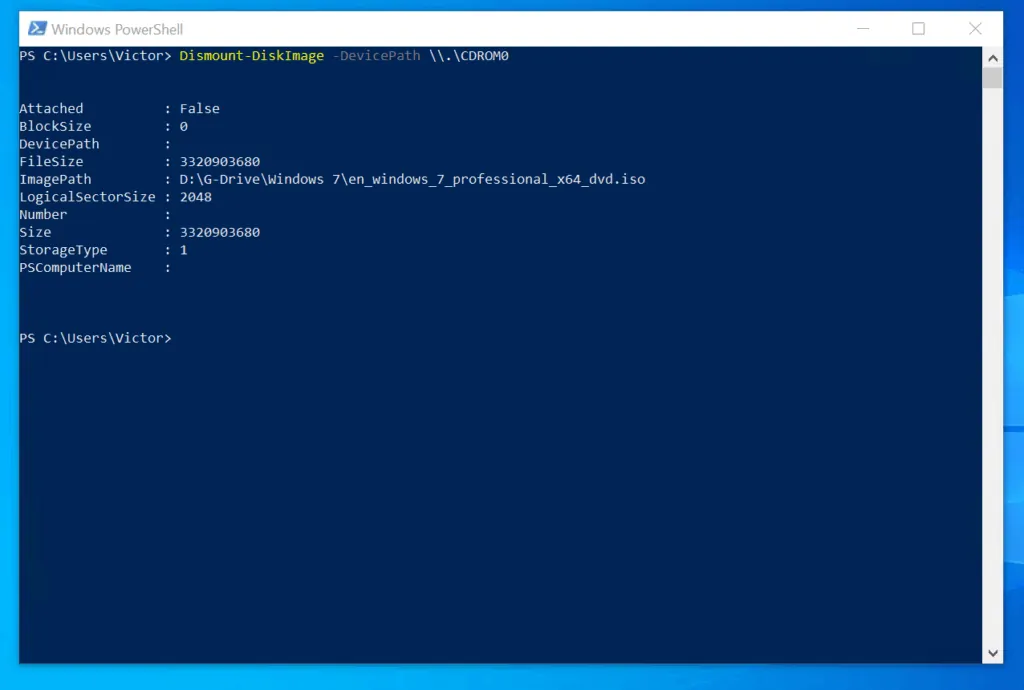
- To unmount the image, use the command below.
Dismount-DiskImage -DevicePath "DevicePath"
Replace DevicePath with the actual DevicePath for your mounted ISO. Here is a real example.
Dismount-DiskImage -DevicePath \\.\CDROM0
- The command will unmount the ISO and display the results.
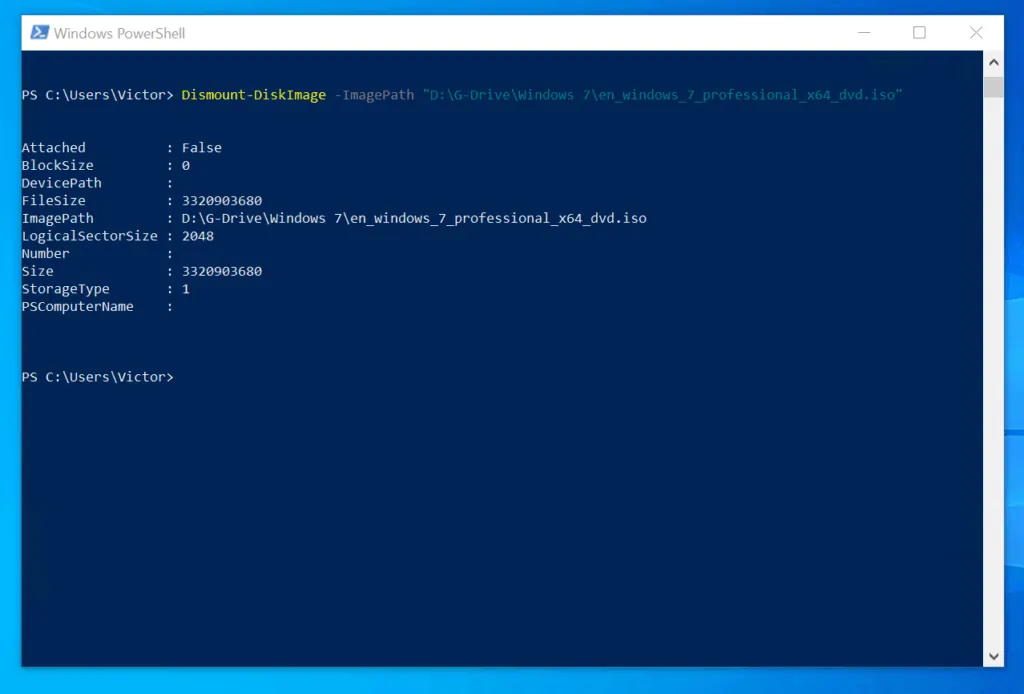
- You can also unmount a mounted ISO by specifying the path to the ISO file. This time, you use the ImagePath parameter to specify the path to the actual ISO file.
Dismount-DiskImage -ImagePath "D:\G-Drive\Windows 7\en_windows_7_professional_x64_dvd.iso"
- The Dismount-DiskImage Cmdlet will execute and unmount the mounted ISO.
As you can see, it is very easy to mount ISO Windows 10!
I hope you found this Windows 10 guide helpful. If you were able to mount ISO on Windows 10 using the steps in this, click on “Yes” beside the “Was this page helpful” question below.
You may also express your thoughts and opinions by using the “Leave a Comment” form at the bottom of this page.
Finally, visit our Windows 10 HowTo page to get more Windows 10 guides.