This Itechguide teaches you how to make columns in Google Docs. The steps in this Itechguide can only be performed from a PC.
Option 1: Make Columns in Google Docs from a PC
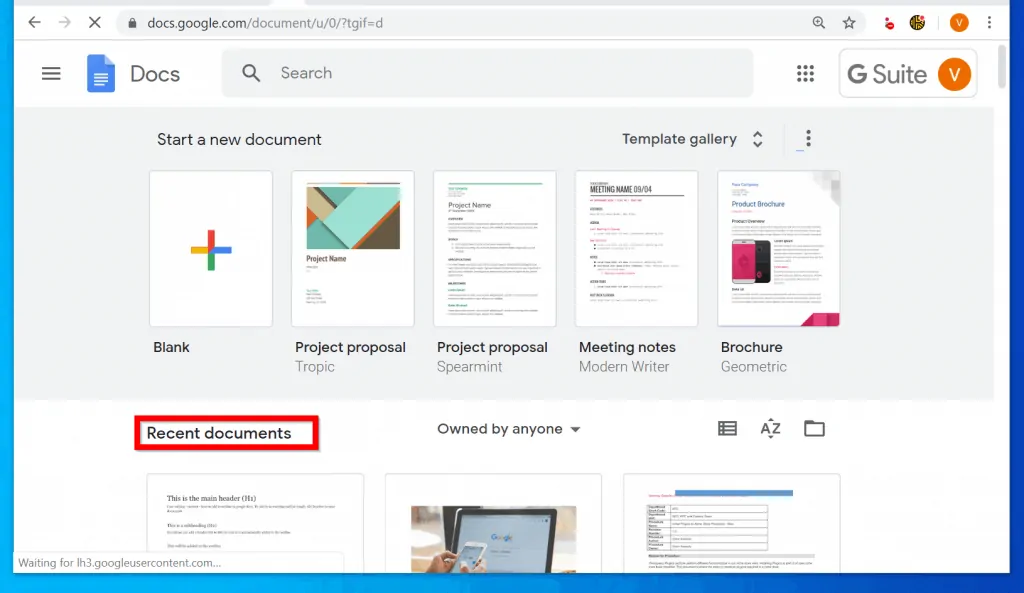
- Open Docs.Google.com from your PC. Then, if you have not signed in, sign in with your Google Account.
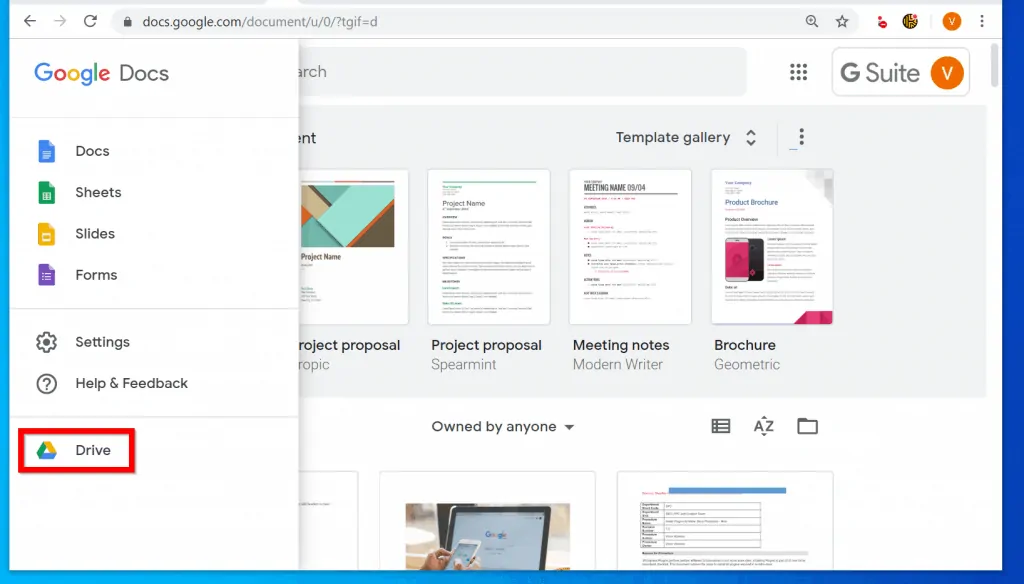
- From Google Docs homepage, open the document you want to work on. You can open a document from Recent documents or from Google Drive.
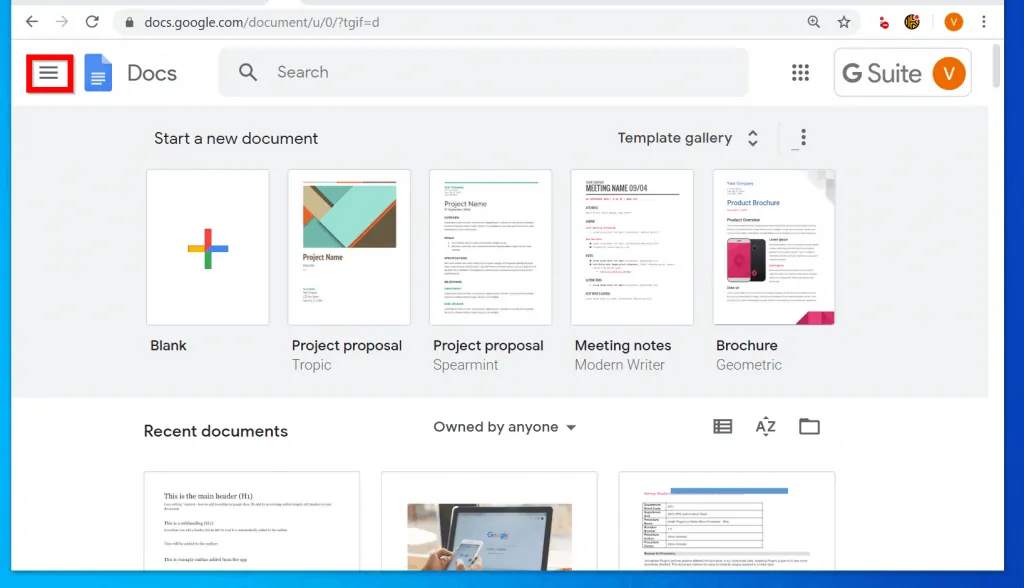
- To open Google Drive, click on the 3 lines on the top left of the page. Then, from the list of displayed options, click Drive.
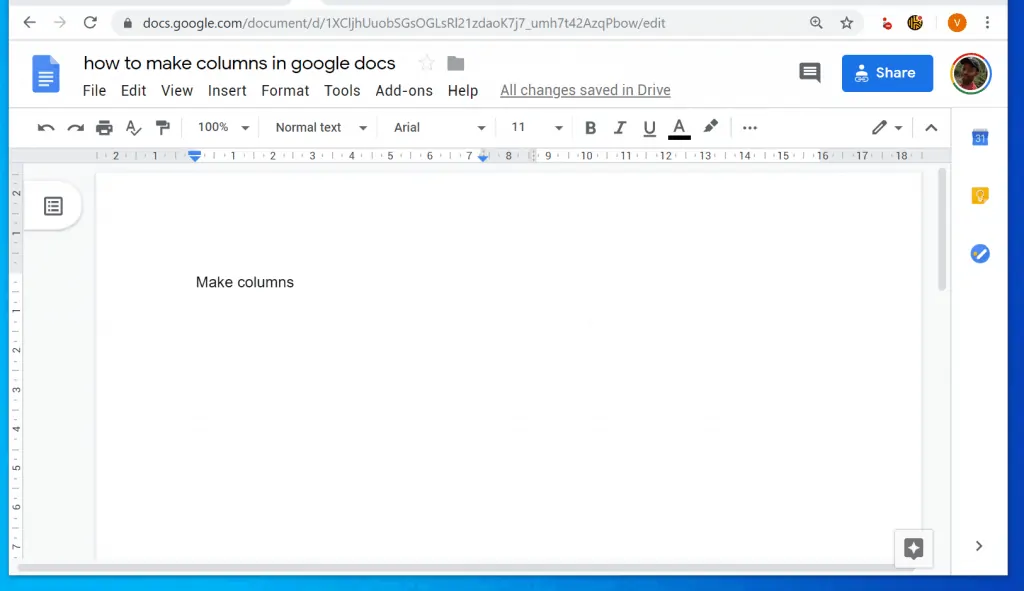
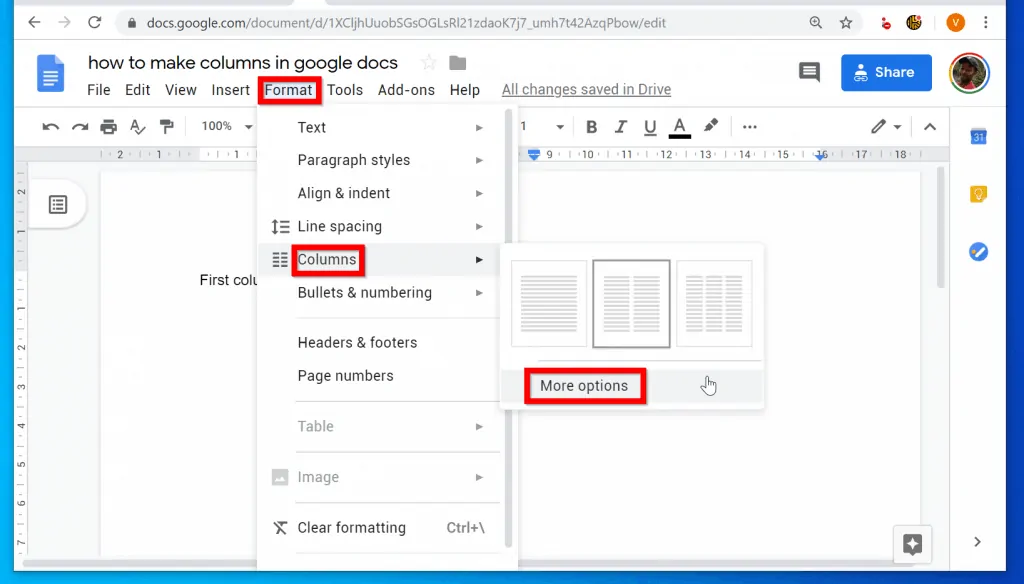
- When the document opens, select the text(s) you want to put into columns. Then click Format. From the list of displayed options, point to Columns.
- Finally, click on the number of columns you want to make. In this example, I will make 2 columns. So, I will click the box in the middle.

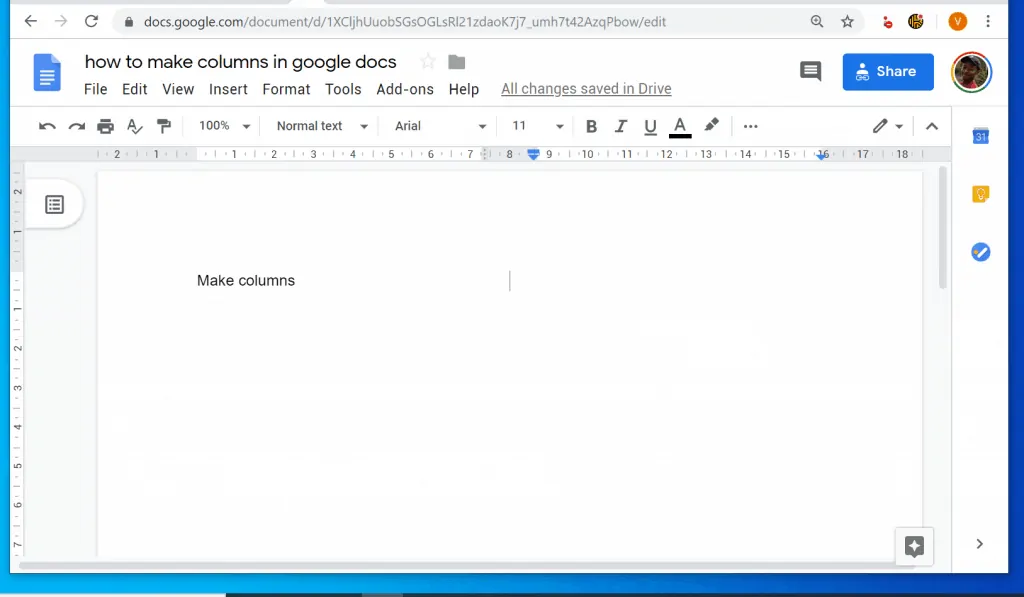
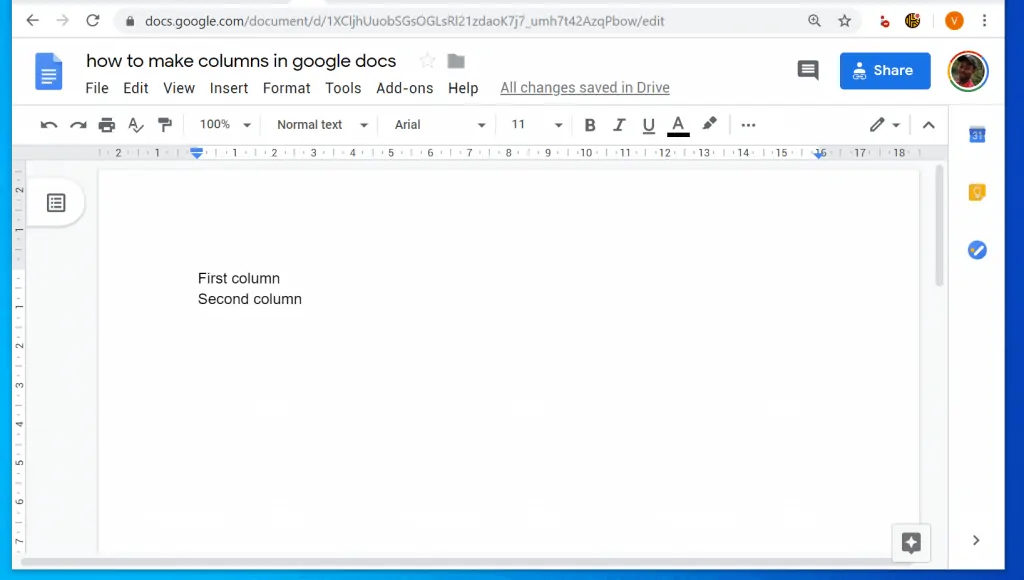
- Back in the document, it may look like the columns are not there. To move to the second column, place your mouse on the last letter of the word on the first column. Then press the Enter key on your keyboard.

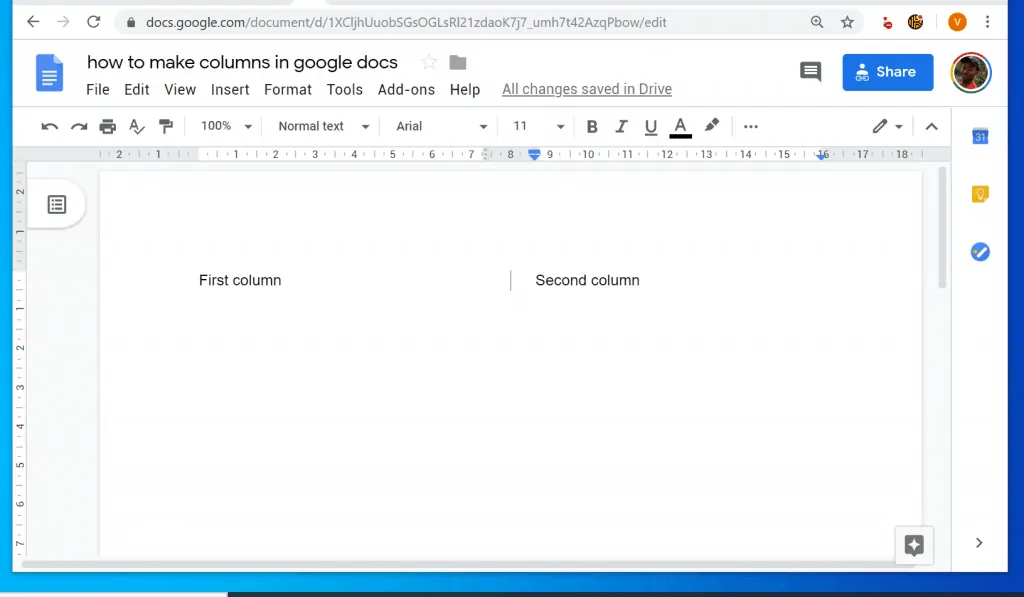
- The mouse will move to the next column. The document will also display a tiny vertical gray line. You can type contents into the second column – see the second image below.
The line is displayed because I set it to display between columns. For steps to do this, see the next section.
Option 2: Modify or Delete Columns in Google Docs
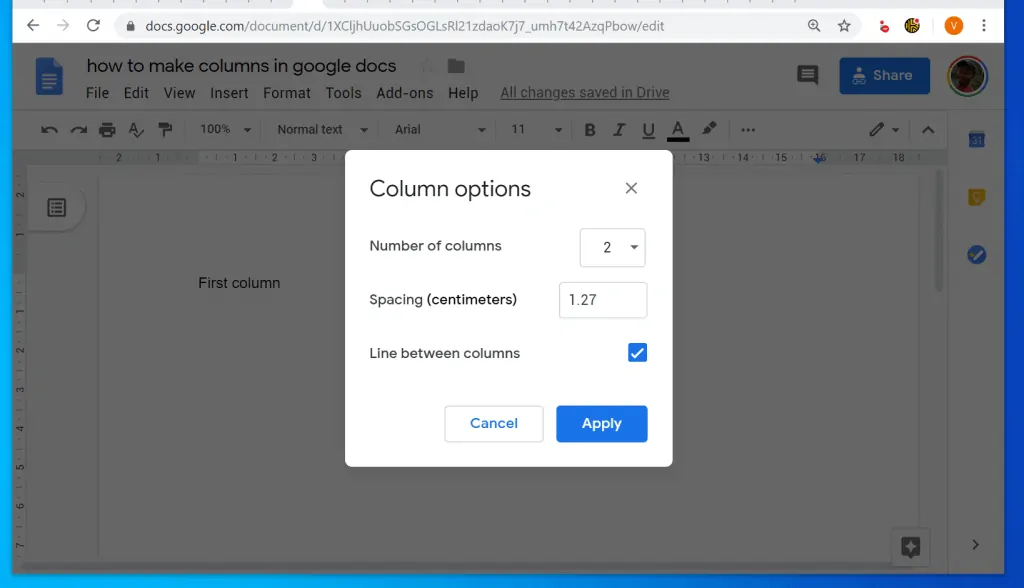
- From the document, click Format point to Columns, then click More options.
- When the Column options pops up, modify the column as required. You can change the number of columns, increase of decrease the spacing or even add a Line between the columns. To add a line between columns, check the box beside Line between the columns. When you finish, click Apply.
- To delete multiple columns – make the document 1 column, click Format and point to Columns. Finally, from the column options, click the single column option – the first box from left.
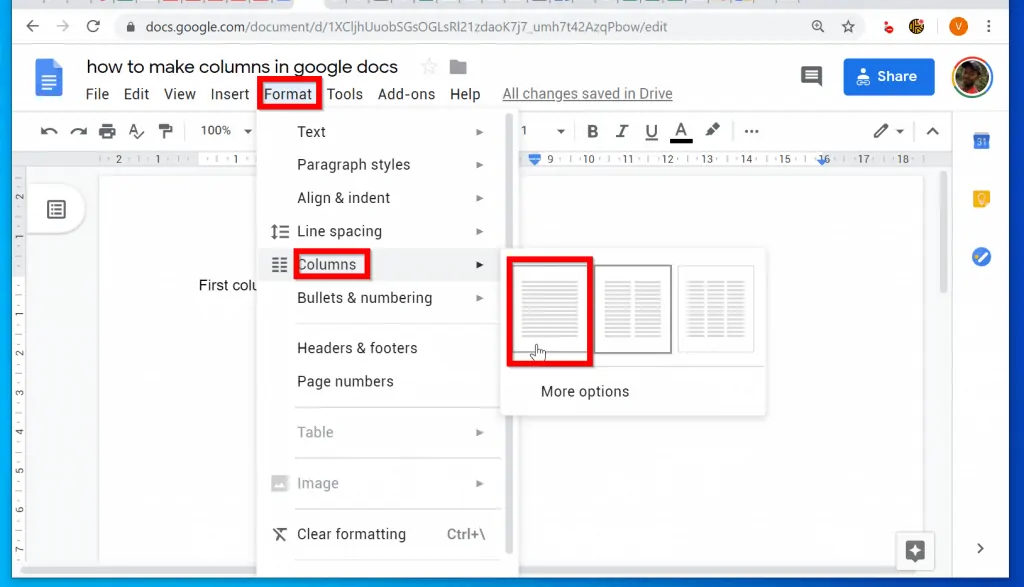
- The document will return to a single column.
As I mentioned earlier in this guide, the option to make columns in Google Docs is only available on Docs.Google.com from a PC.
I hope this Itechguide was helpful. If it was, click on “Yes” beside the “Was this page helpful” question below.
You may also express your thoughts and opinions by using the “Leave a Comment” form at the bottom of this page.
Finally, for more Google Itechguides, visit our Google How To page.