This Itechguide teaches you how to check graphics card on Windows 10. The guide covers steps for 4 methods to check the name of the video card on your Windows 10 PC.
Option 1: Check the Graphics Card from the Device Manager
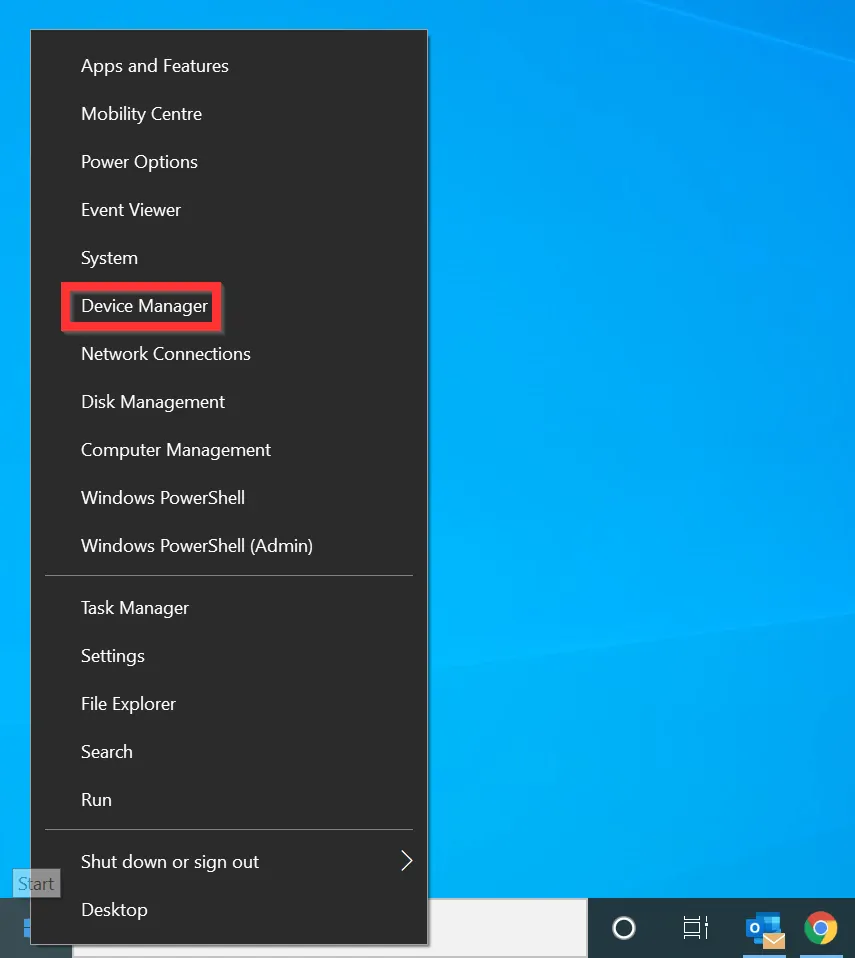
- Right-click the Windows 10 Start menu and click Device Manager.
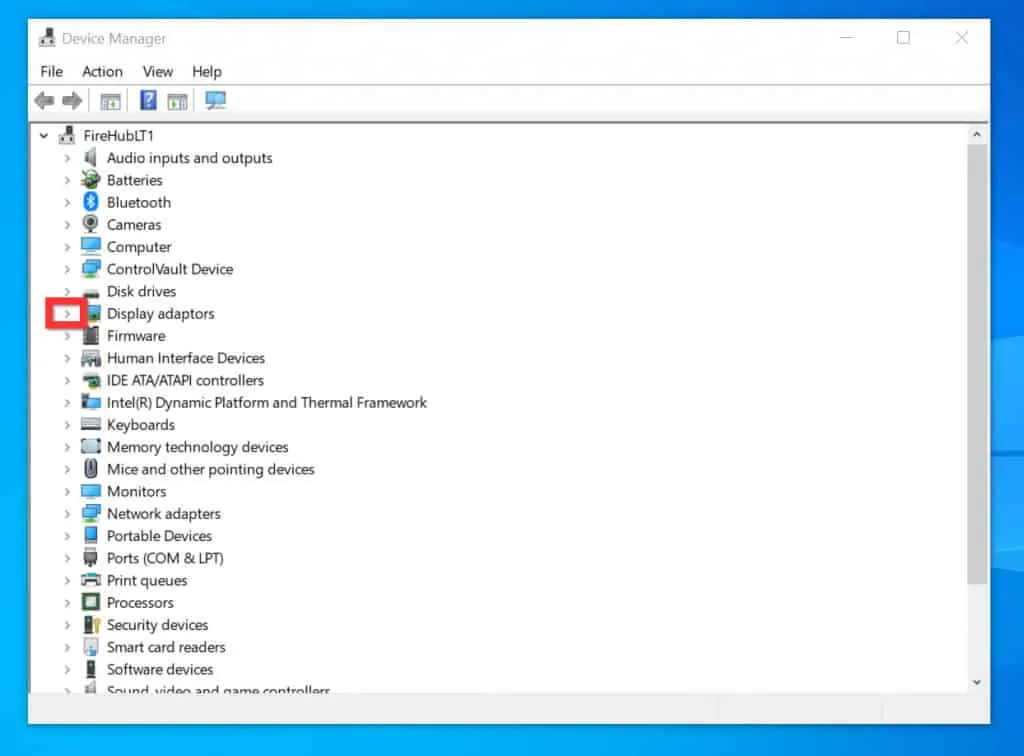
- When Device Manager opens, expand the Display adaptors category. To expand the category, click the arrow beside it.
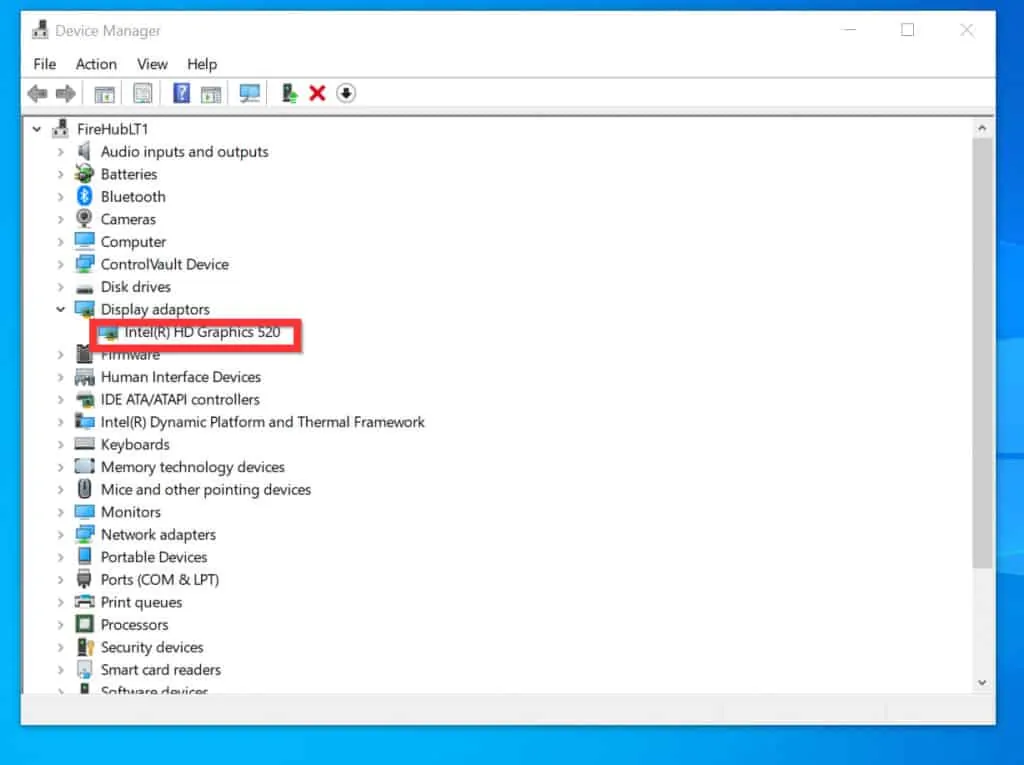
- The name of the graphics card on your PC will be displayed beneath the Display Adaptors category.
Option 2: Check GPU from Task Manager
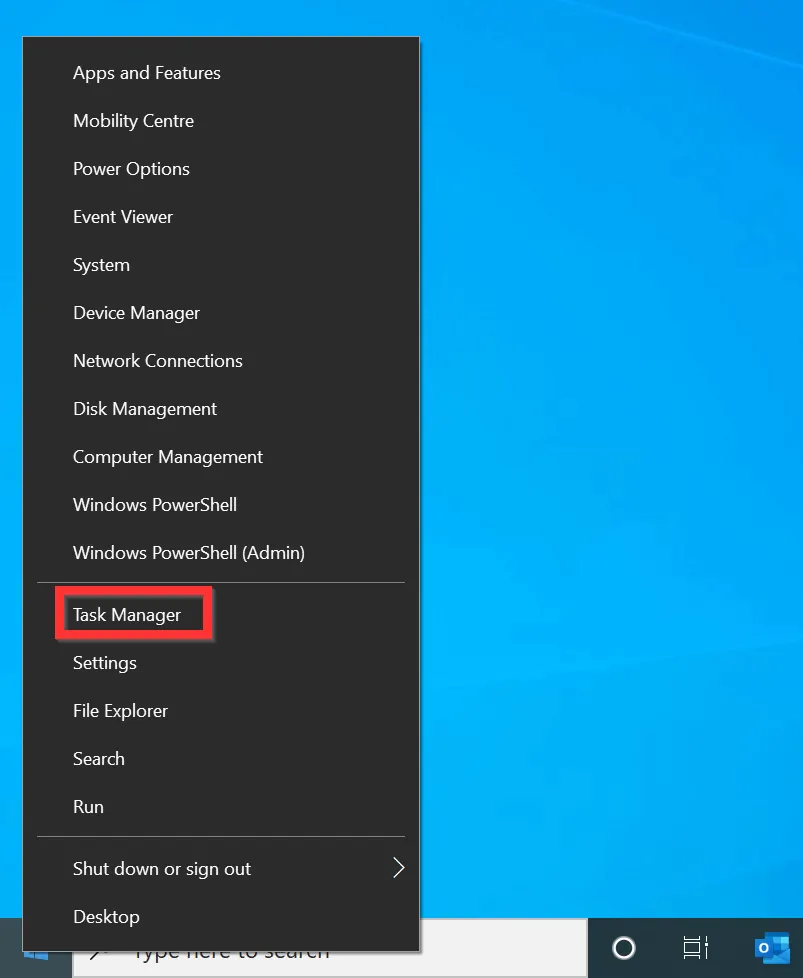
- Right-click the Windows 10 Start menu and click Task Manager.
You can also open task manager by pressing Ctrl Alt Del keys simultaneously. Then, select Task Manager from the displayed list.
- When Task Manager opens, click the Performance tab.
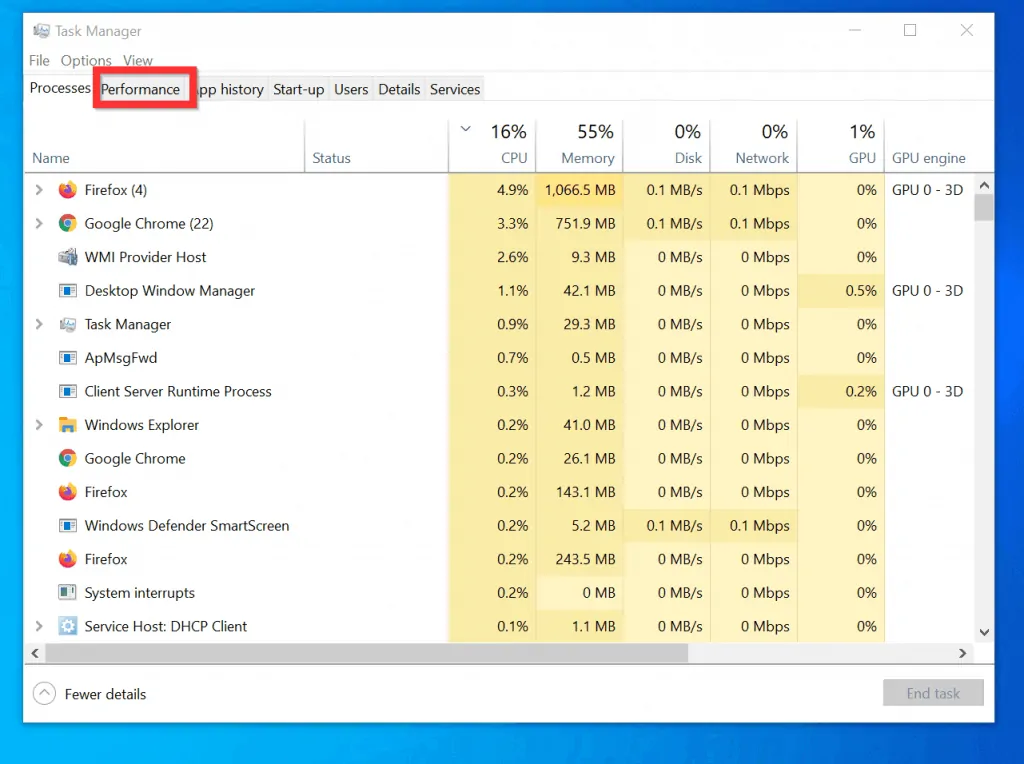
- Then, on the Performance tab, click GPU.
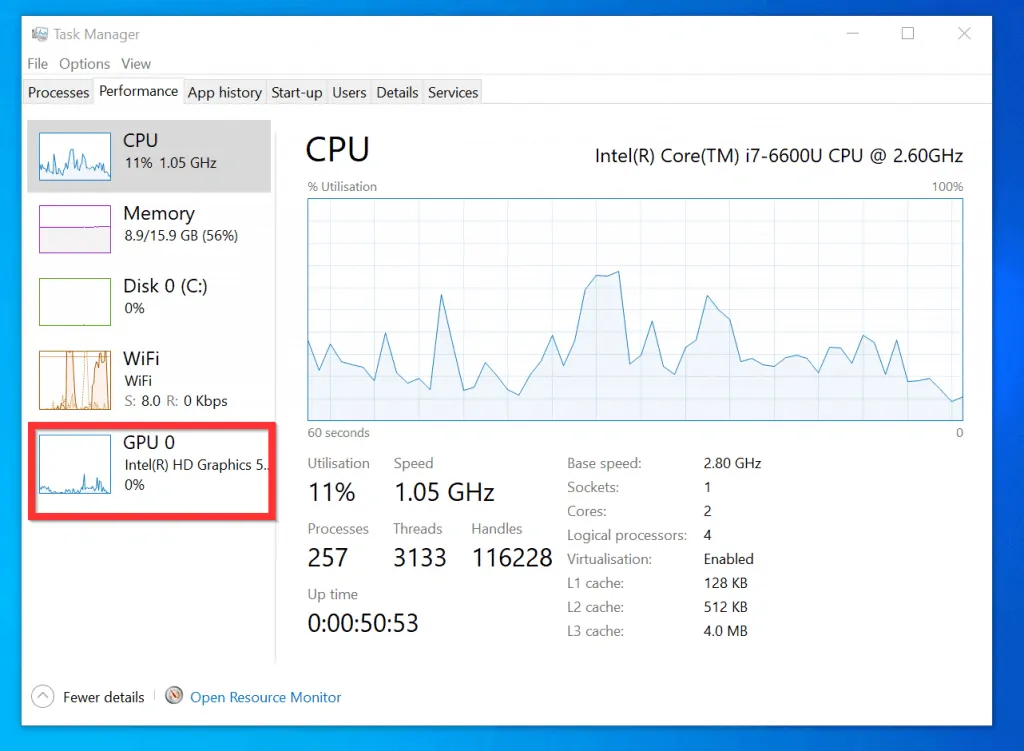
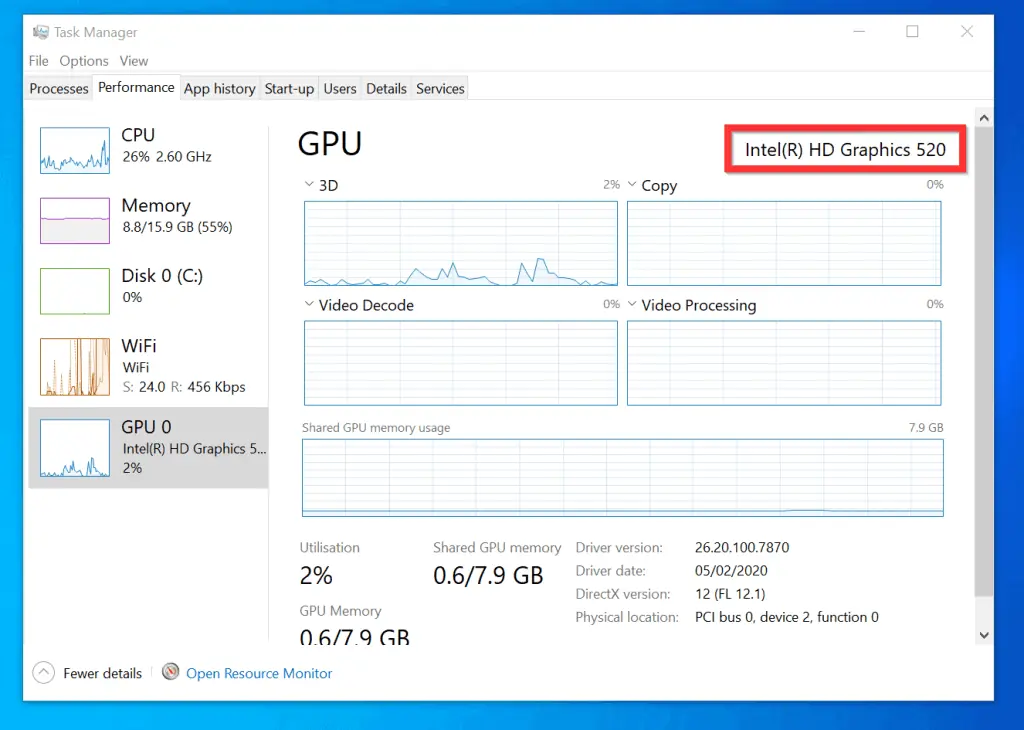
- The name of your graphics card will be displayed at the top right of the GPU screen.
Option 3: Check Graphics Card from System Information
- Type MSINFO32 in the search box. Then, from the search result, click System Information.

- On the left pane of System Information, expand the Components category. To expand the category, click the + sign beside it.
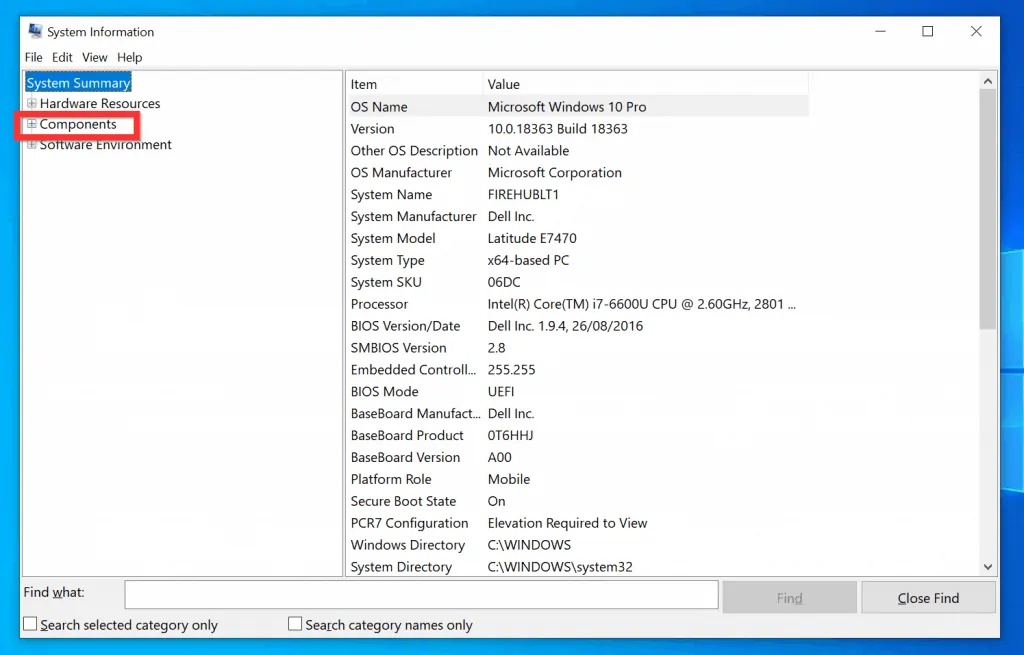
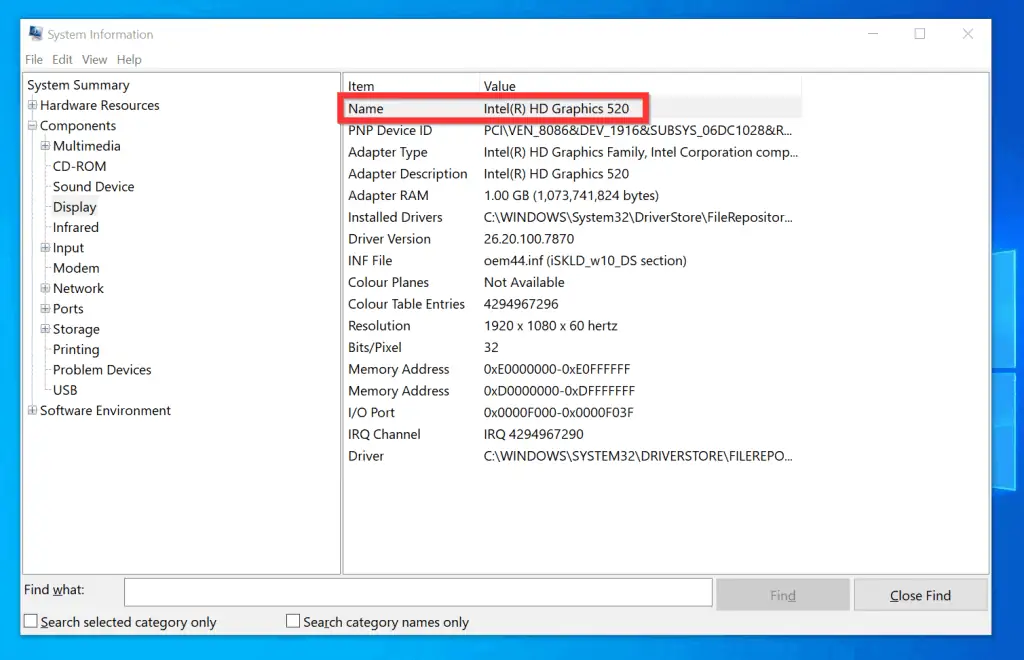
- Within the Components category, click Display.
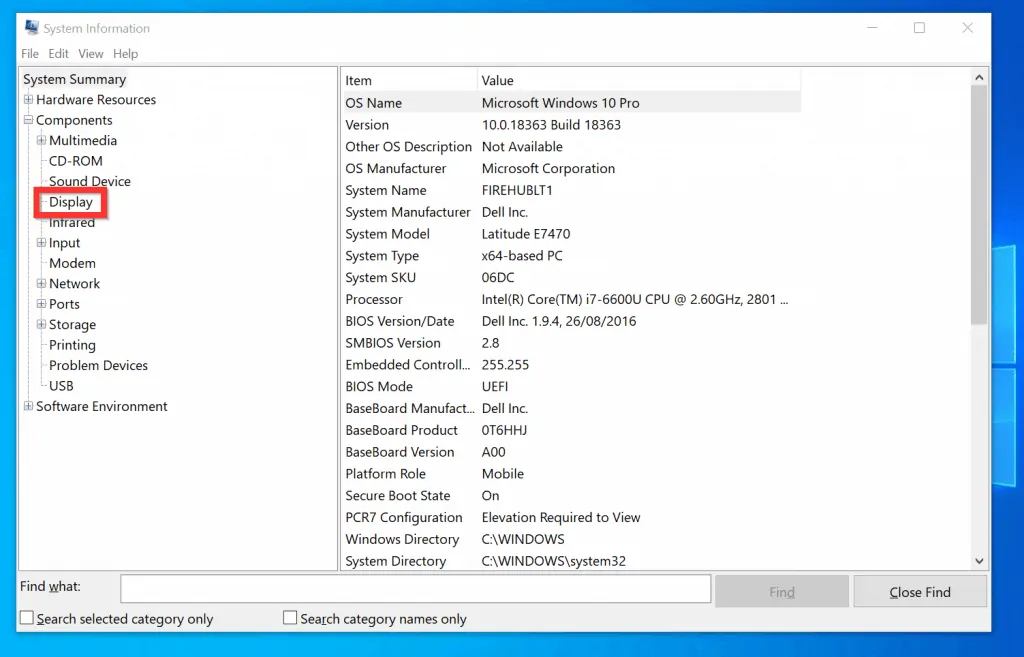
- The name of the graphics card on your computer will be displayed on the detailed pane.
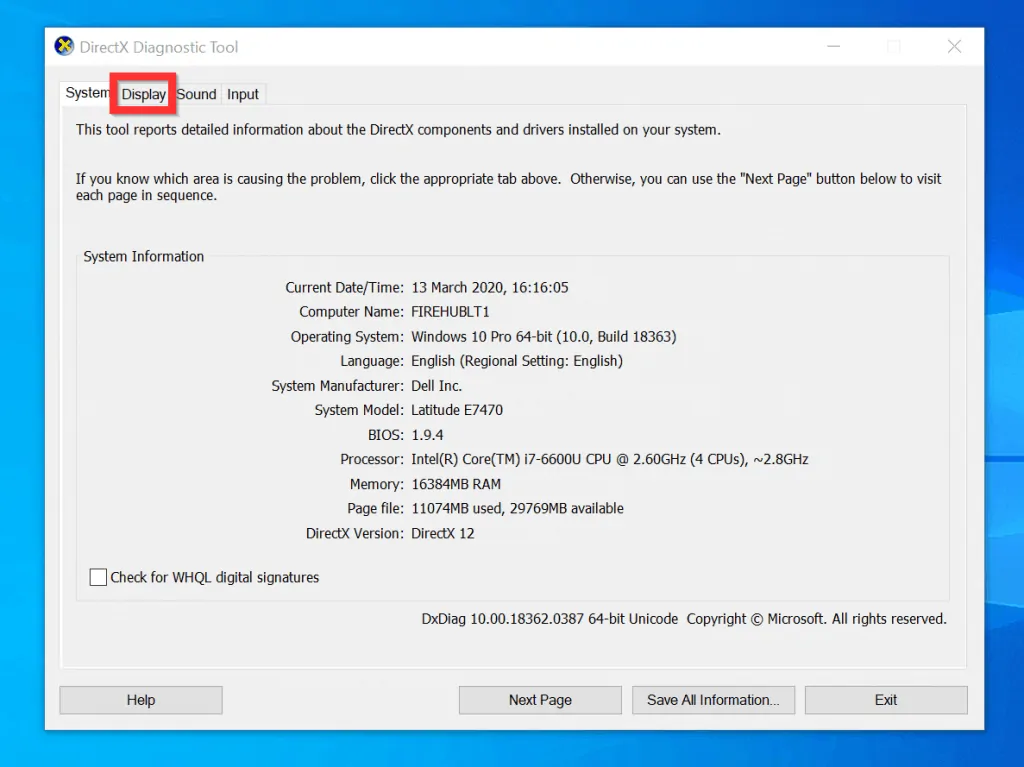
Option 4: Check Graphics Card from DirectX Diagnostics Tool
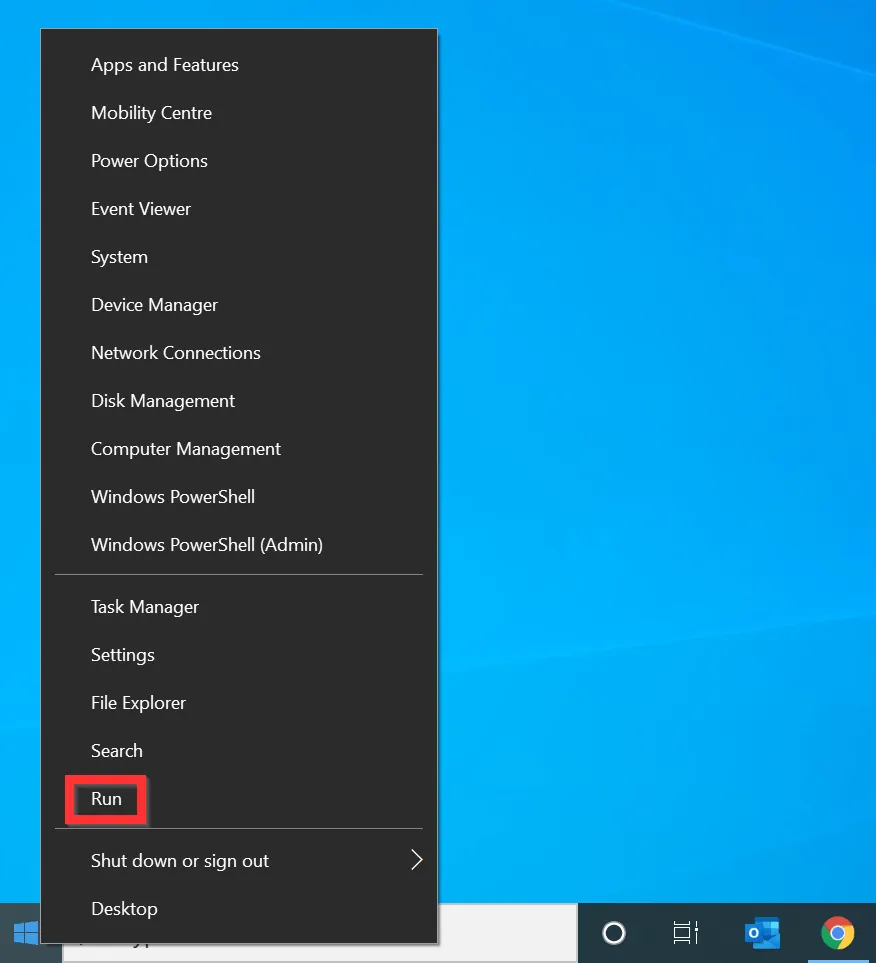
- Right-click the Windows 10 Start menu and click Run.
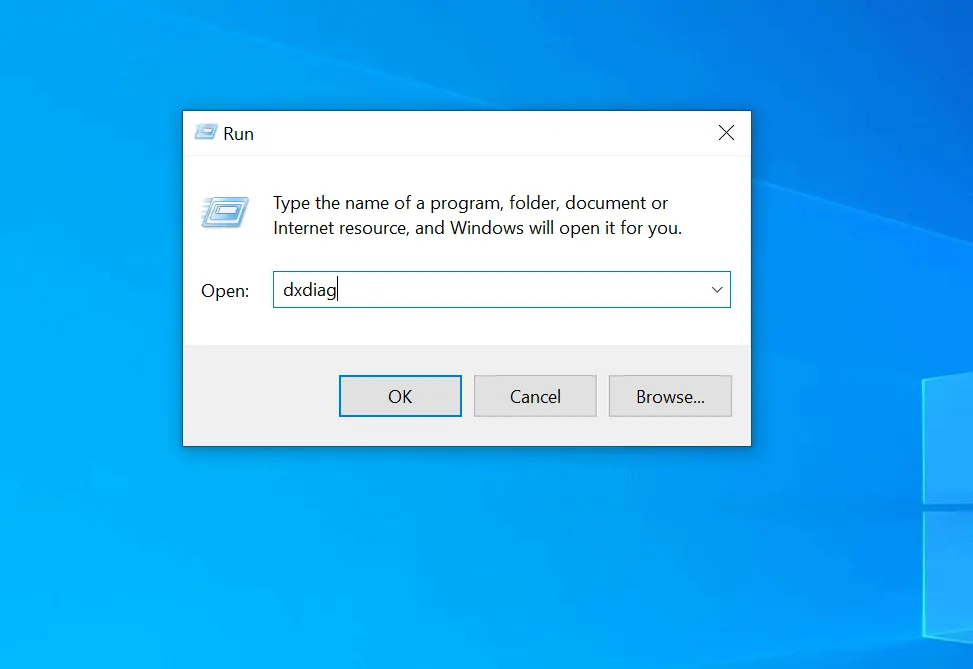
- On the RUN window, type dxdiag and click OK.
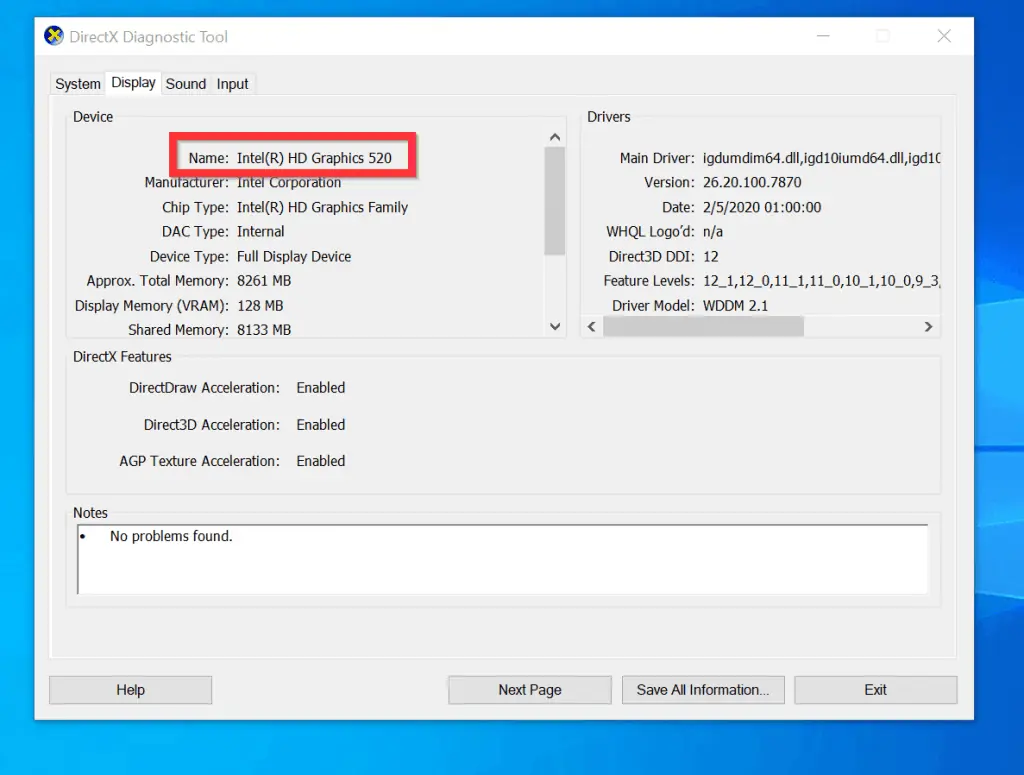
- When the DirectX Diagnostics Tool opens, click the Display tab.
- The graphics card on your PC will be displayed on the Device category.
I hope you found this Itechguide helpful. If you found it helpful, click on “Yes” beside the “Was this page helpful” question below.
You may also express your thoughts and opinions by using the “Leave a Comment” form at the bottom of this page.
Finally, for more Windows 10 Itechguides, visit our Windows 10 How-To page.


![How To Run Sysprep (Generalize) In Windows 10 [2 Methods]](https://www.itechguides.com/wp-content/uploads/2022/05/8-2.webp)