A Windows Server 2016 system image provides an easy way to recover your server in the event of a crash. Learn the steps to complete this essential task.
Step 1: Install Windows Server Backup (WSB)
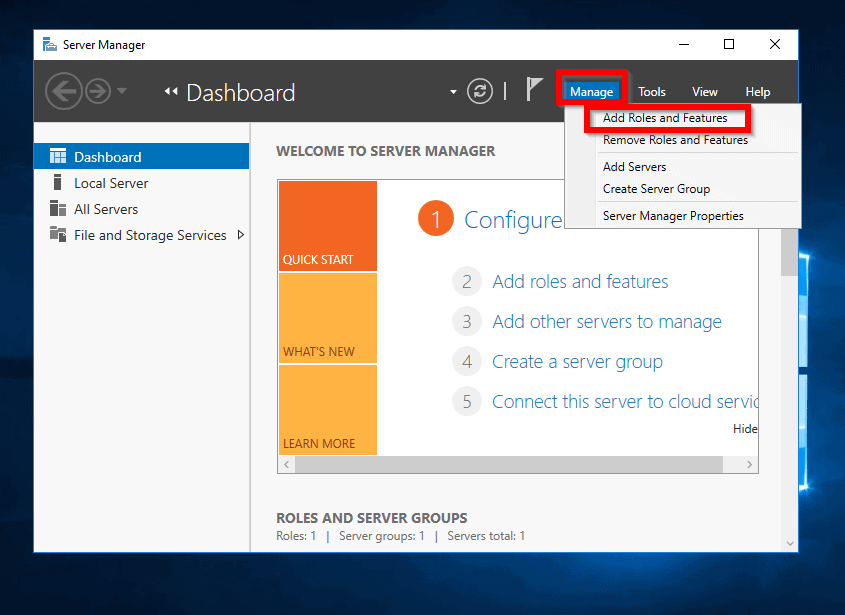
- Login to the server you wish to create system image and open Server Manager
- From Server Manager, click Manage then select Add Roles or Features.
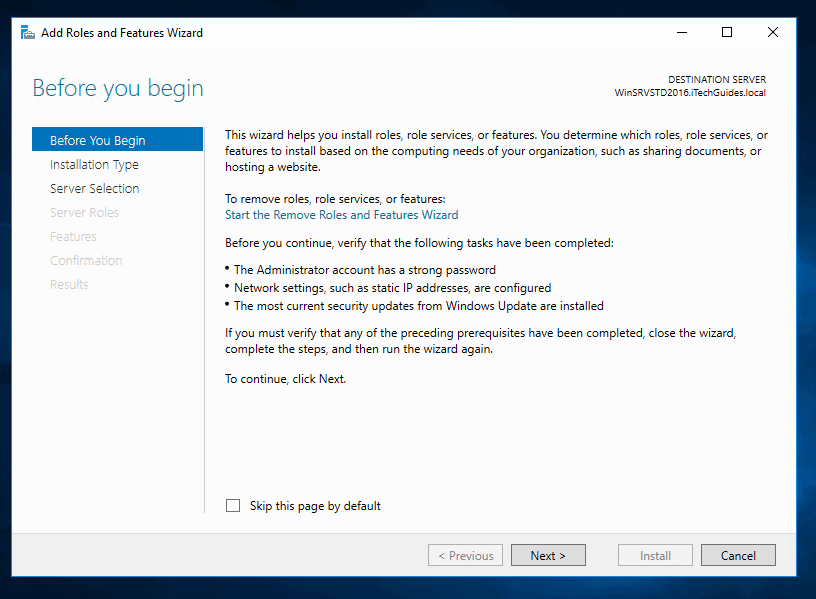
- At the Before you begin screen, click Next.
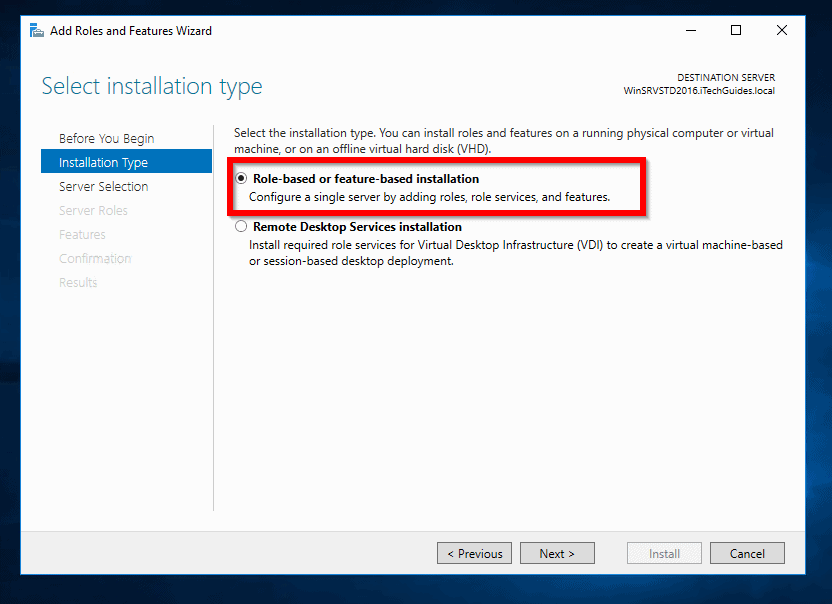
- Then select Role-based or feature-based installation and click Next.
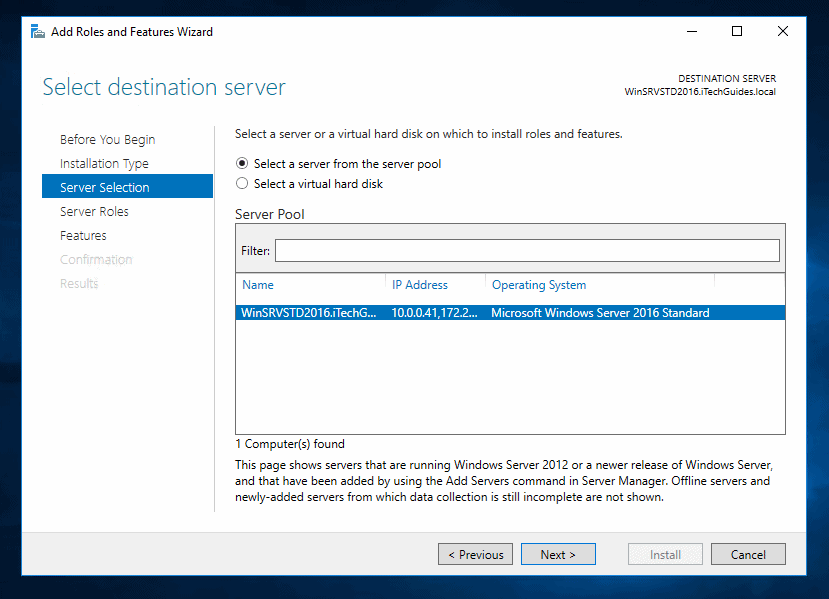
- Select the server. Then click Next.
- On the Server Roles screen, click Next.
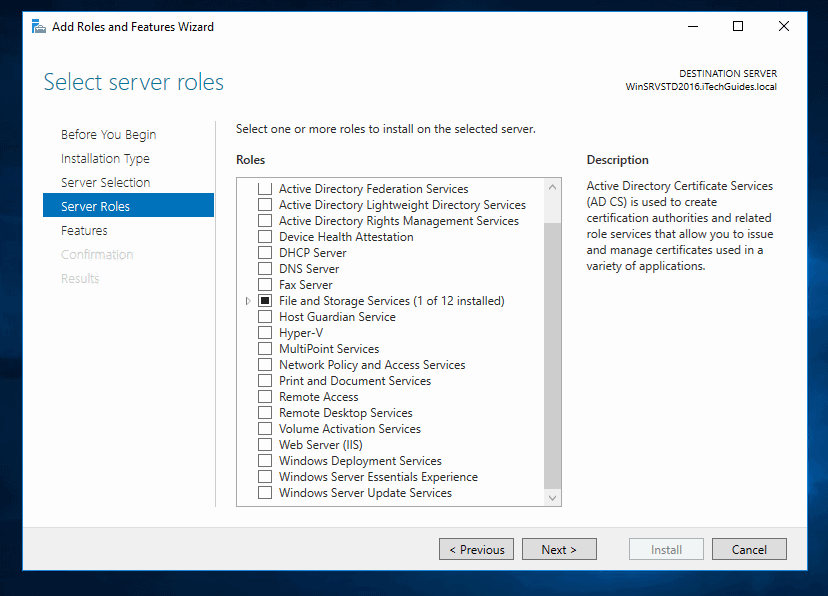
- Then at the Features screen, locate Windows Server Backup and check the box beside it.

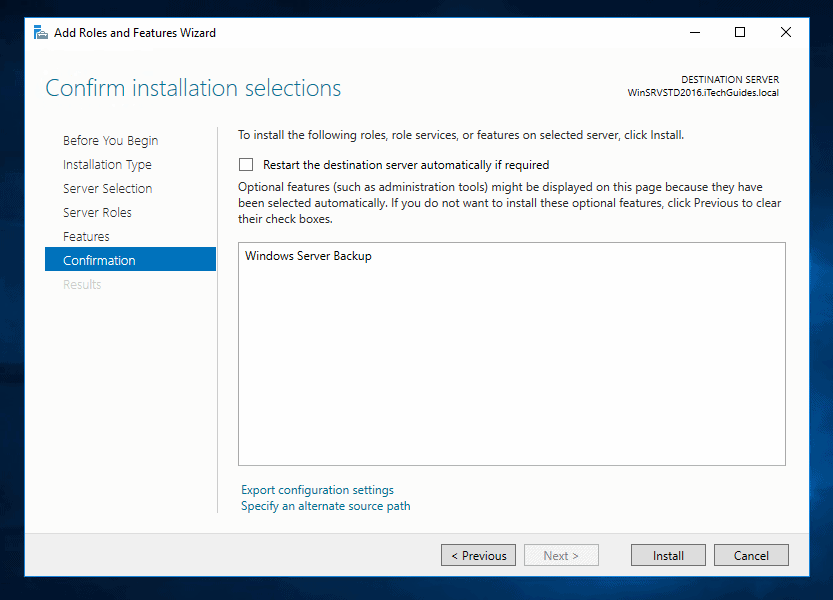
- Finally, on the Confirmation screen, click Install.
- When the installation completes, click Close.

Step 2: Create a System Image Backup for Server 2016
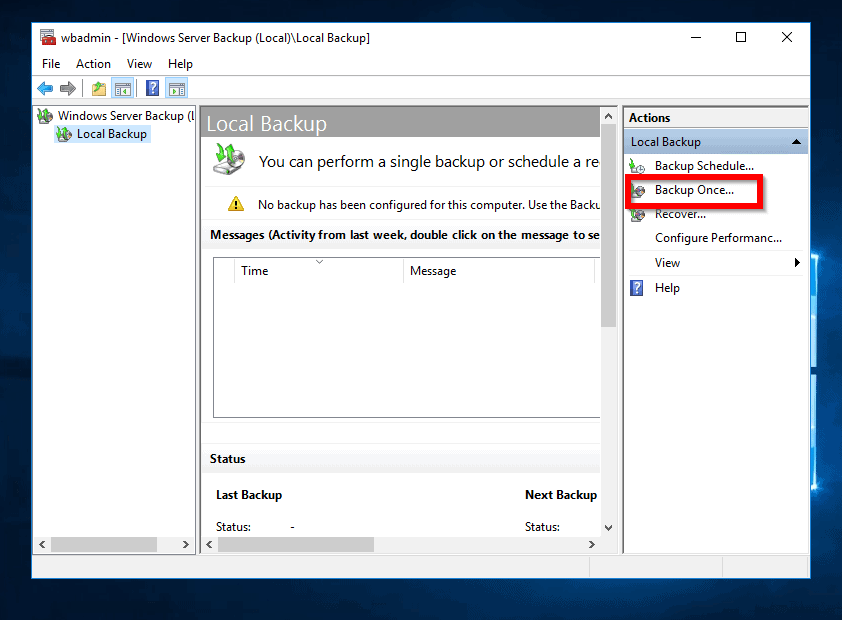
- Still, on Server Manager, click Tools and select Windows Server Backup.
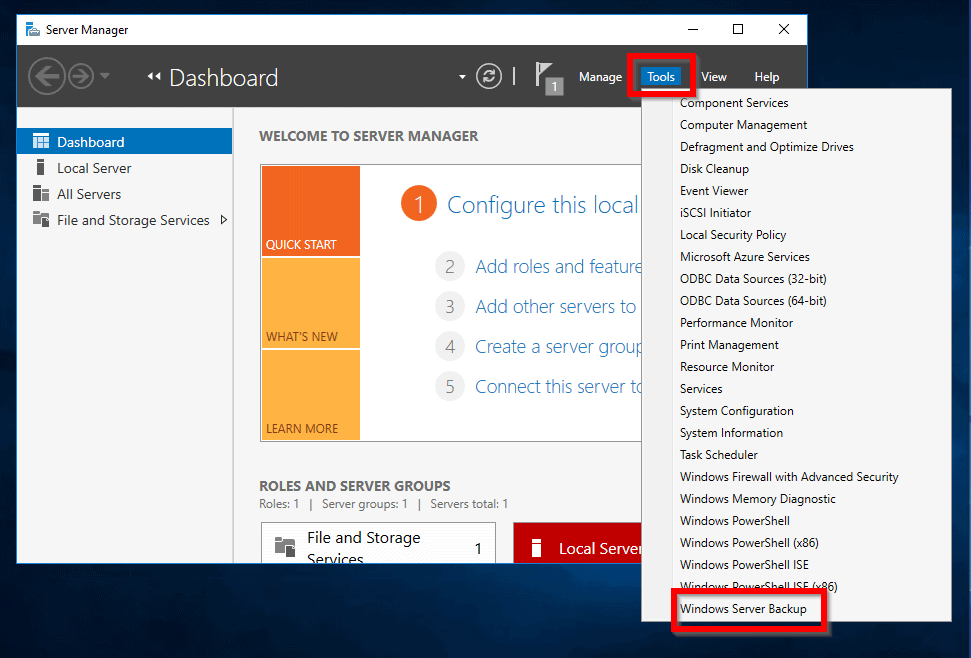
- When WSB opens, click Local Backup.
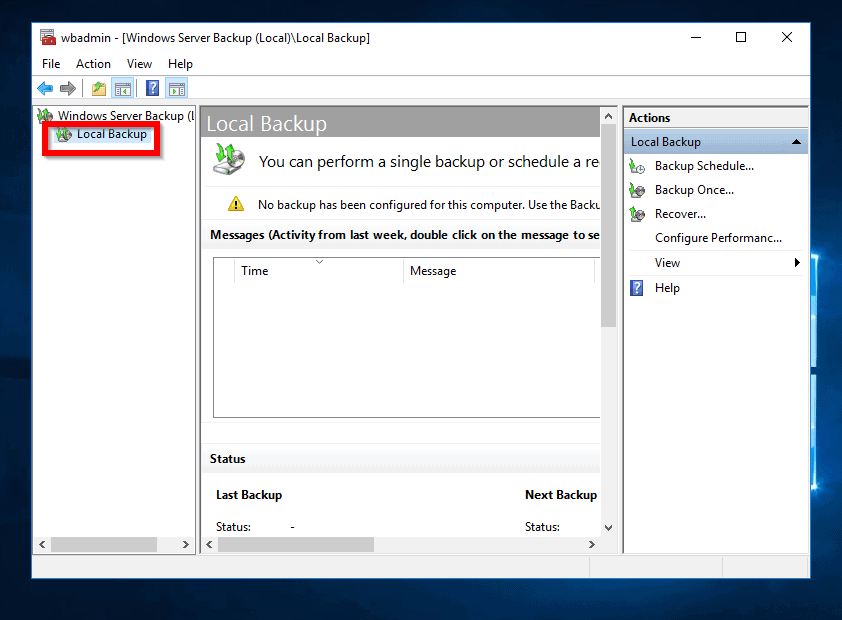
- Then to initiate backup wizard, click Backup Once…
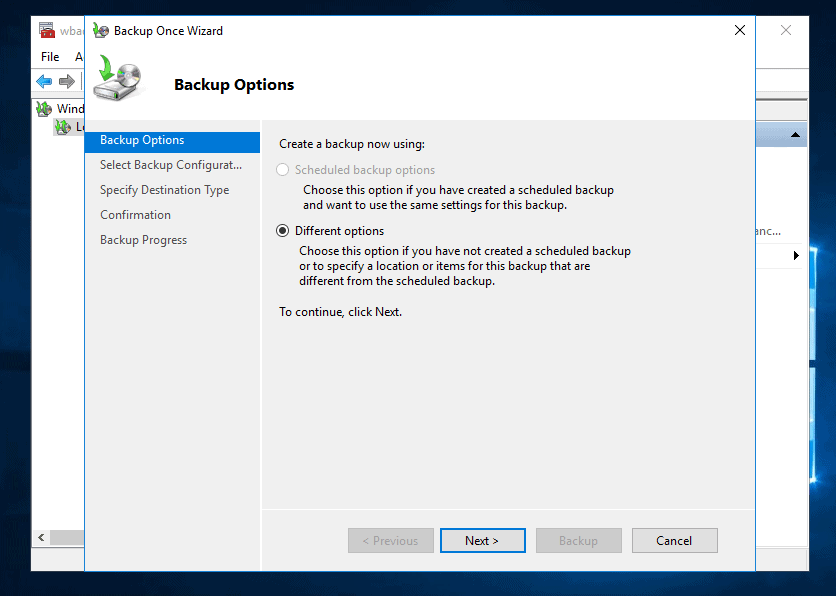
- When the Backup Once Wizard opens, Different options should be selected. Click Next.
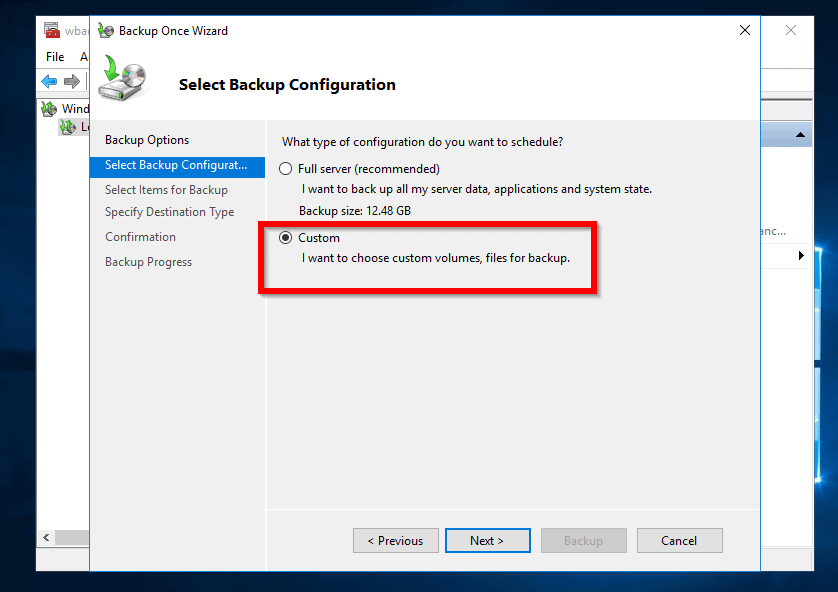
- Then on the Select Backup Configuration screen, select Custom and click Next.
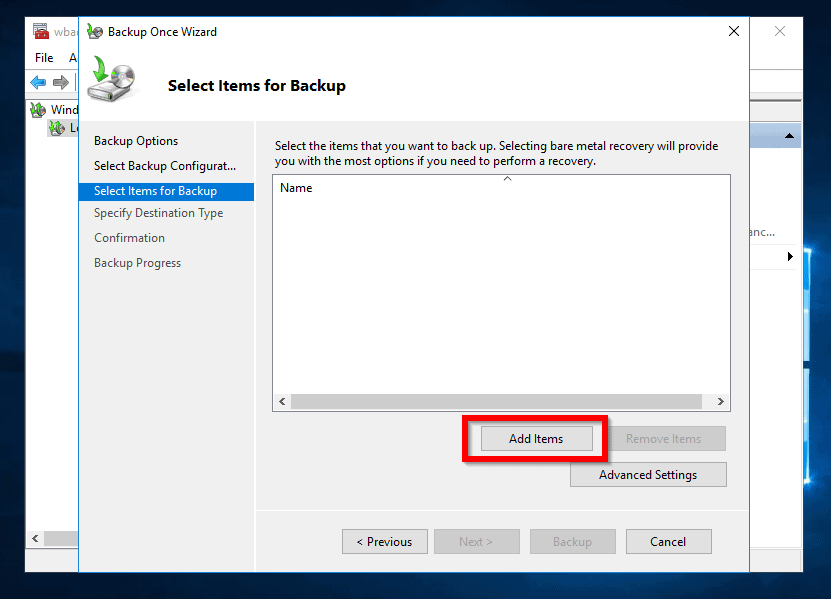
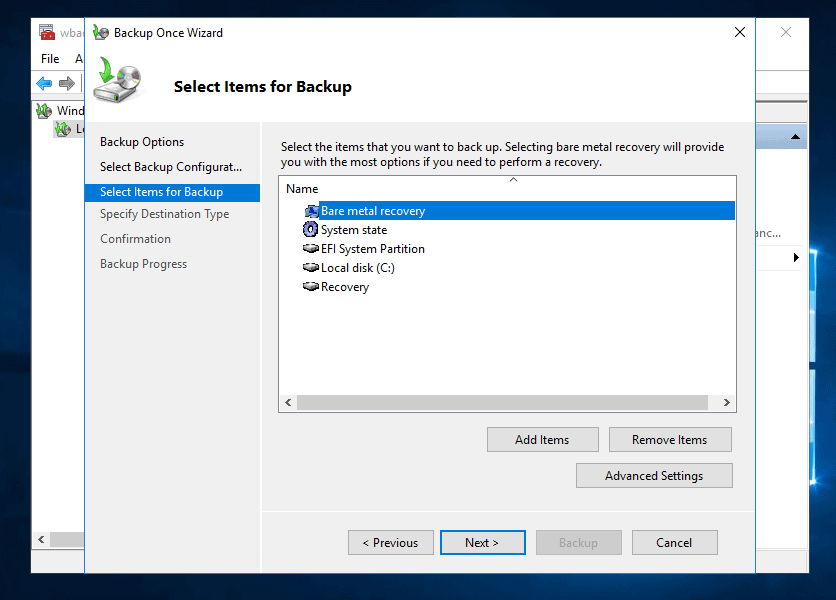
- On the Select Items for Backup screen, click Add Items.
- When the Select Items options opens, check the box beside Bare metal recovery. The backup wizard will automatically check all options required to perform bare metal recovery backup. To save your selections, click OK.
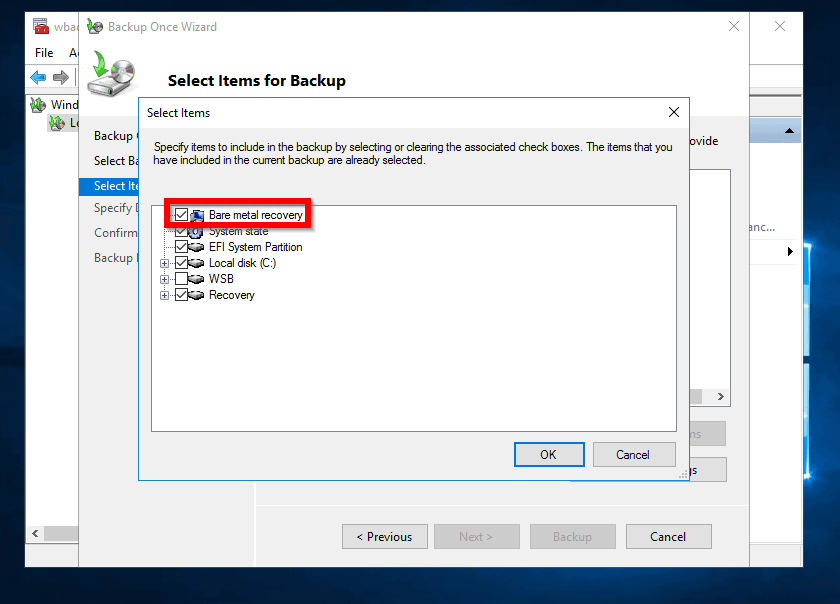
- Back on the Select Backup Items page, click Next.
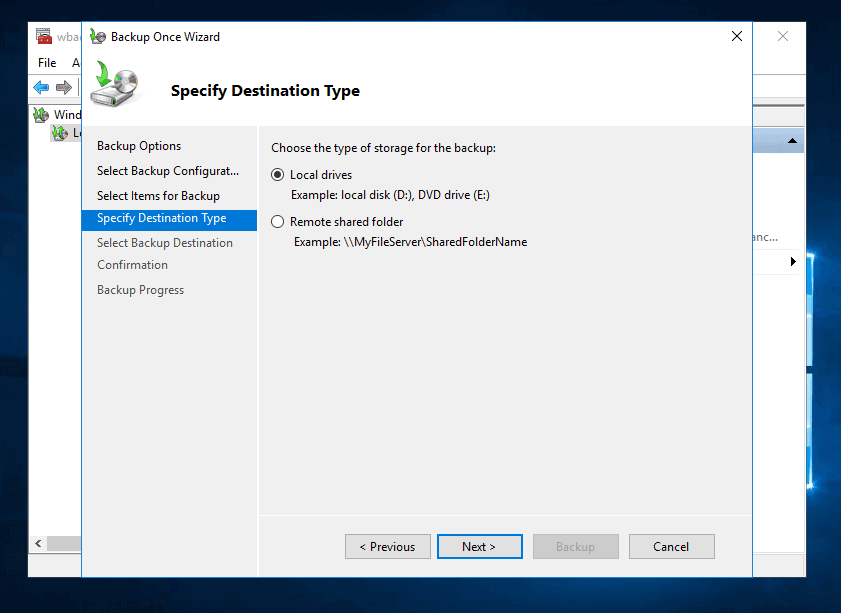
- When the Specify Destination Type screen opens, select your backup location. Then click Next. For this demo, I have selected Local drive. When you finish making your selection, click Next.
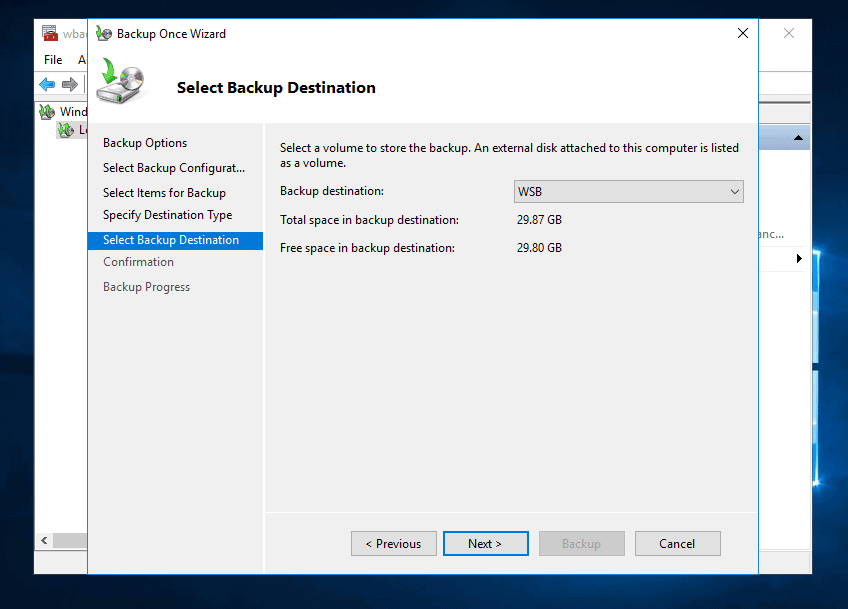
- Then select a backup Destination and click Next.
Drive C will not be available. So you must have another drive other than the drive the OS is installed. The Backup desktop drop-down displays the Volume labels of the drives.
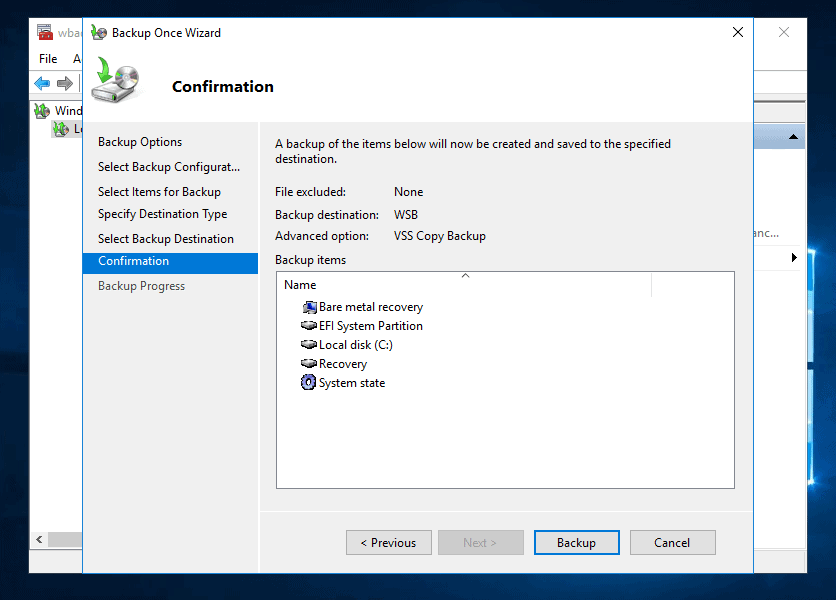
- At the Confirmation screen, to create system image in Server 2016 click Backup. The backup will start.
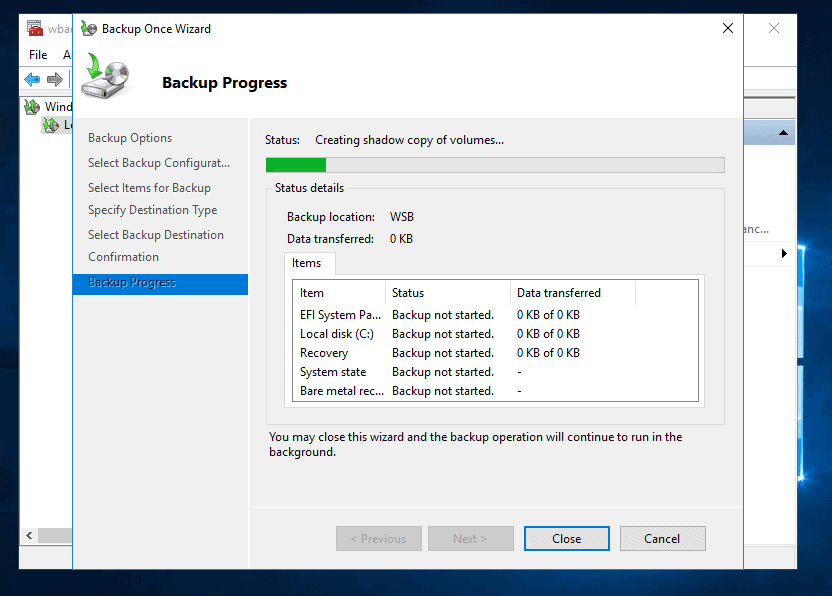
- When the backup is completed, close the Backup Wizard.

Conclusion
Creating a system restore image for a Windows Server is as simple as following the two steps in this guide. I hope you found it easy to follow.
Let me know by sparing two minutes to share your experience by responding to the “Was this page helpful?” question below.
Want more Windows Server Guides? Visit our Windows Server How-Tos page.