This Itechguide teaches you how to disable touch screen on Windows 10. The guide covers steps for 2 methods to disable touch screen on Windows 10.
Option 1: Disable Touch Screen from Device Manager
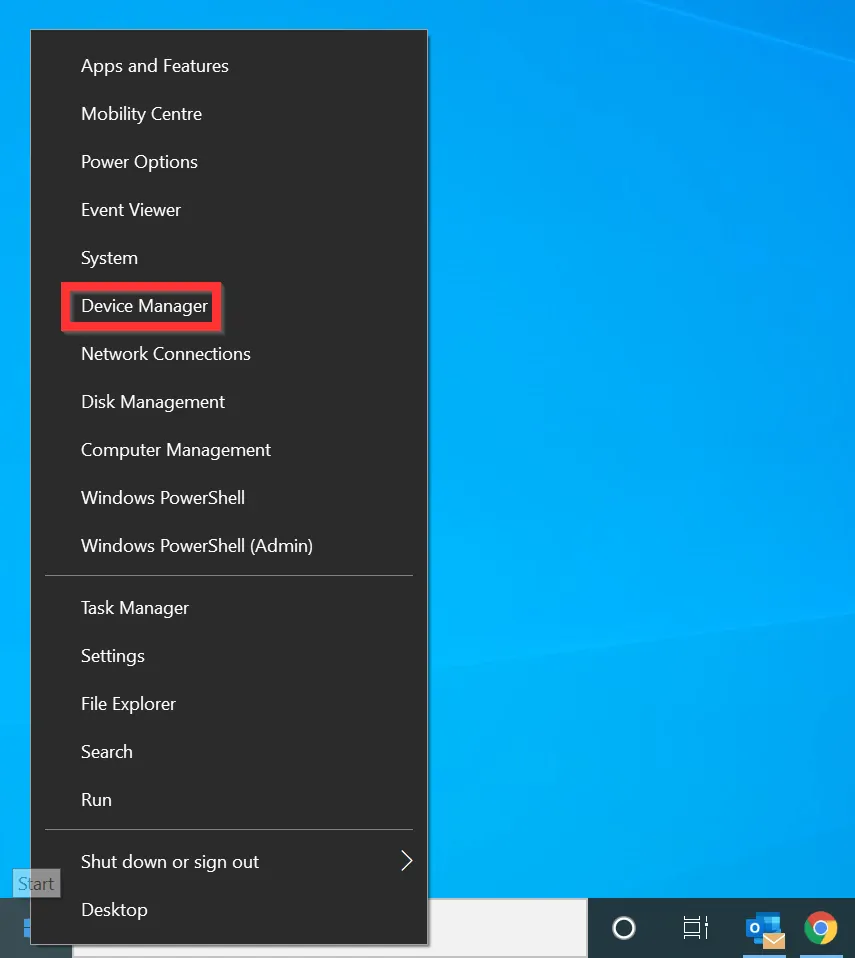
- Right-click Windows 10 Start menu and select Device Manager.
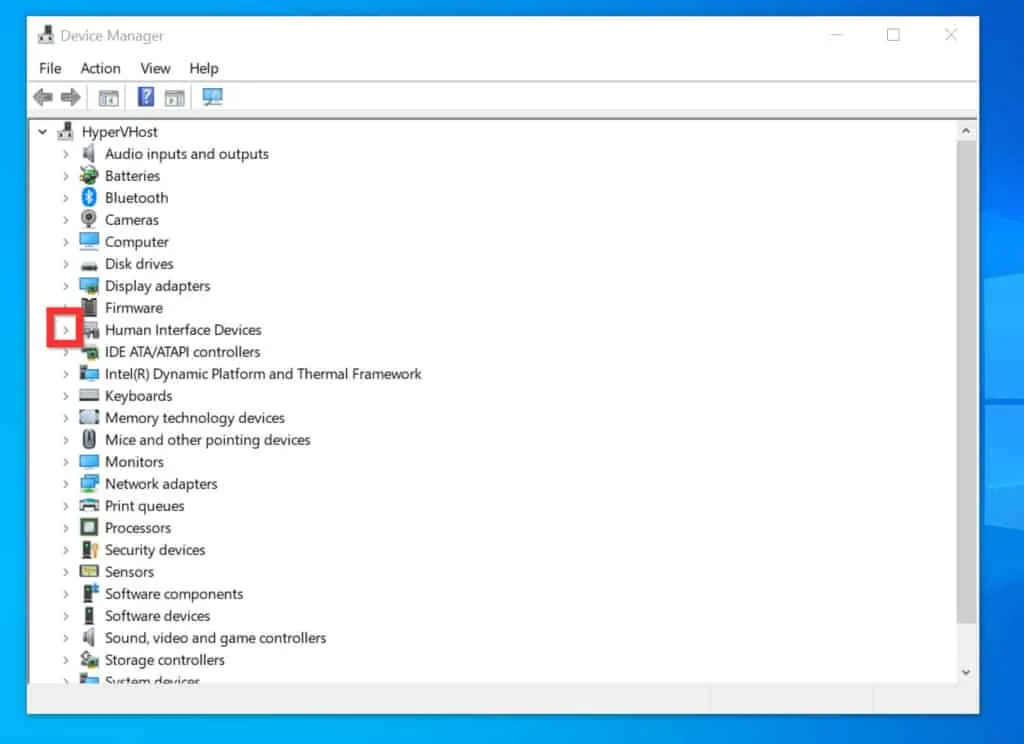
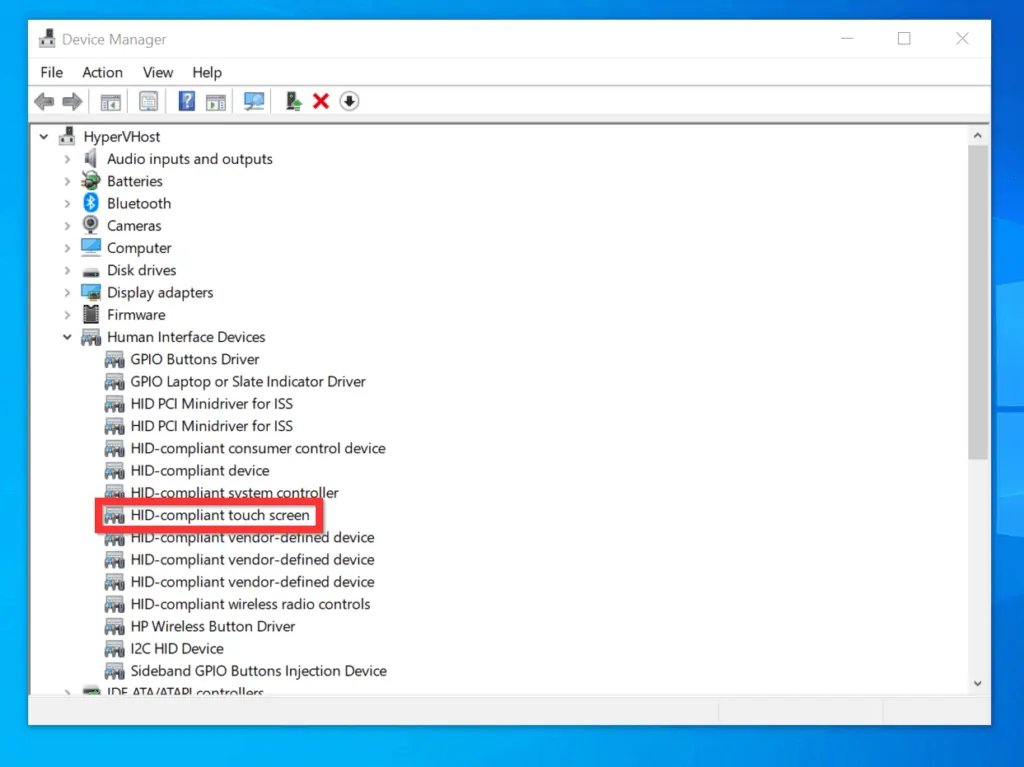
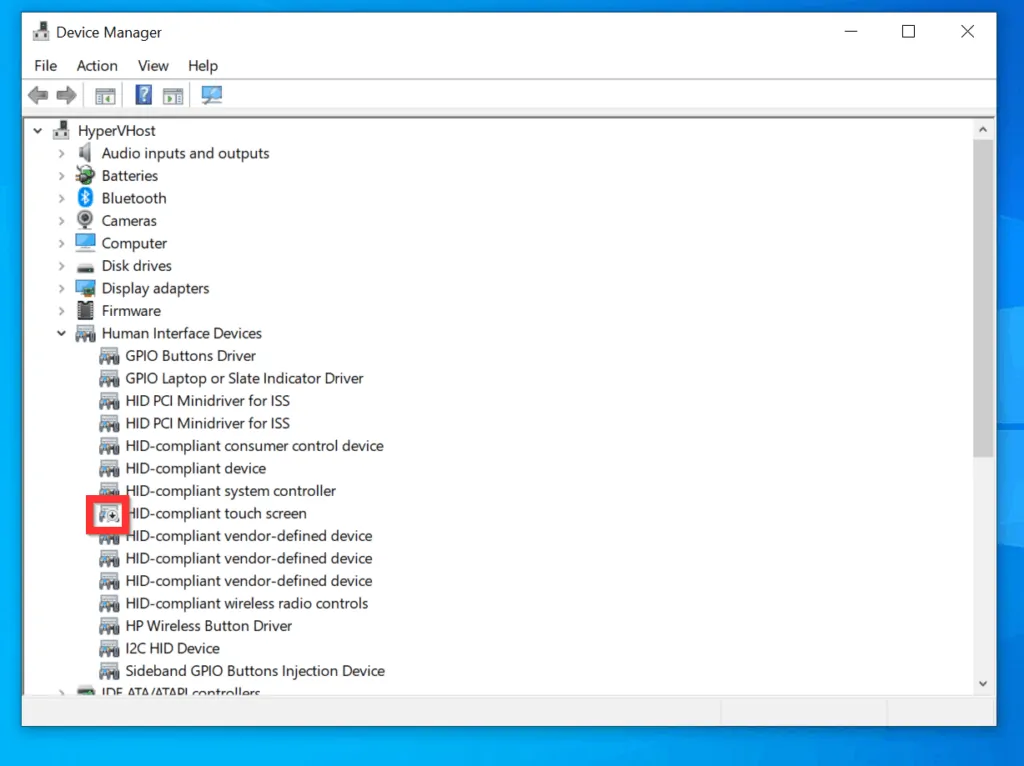
- When Device Manager opens, expand the Human Interface Devices category. To expand the category, click the arrow beside it.
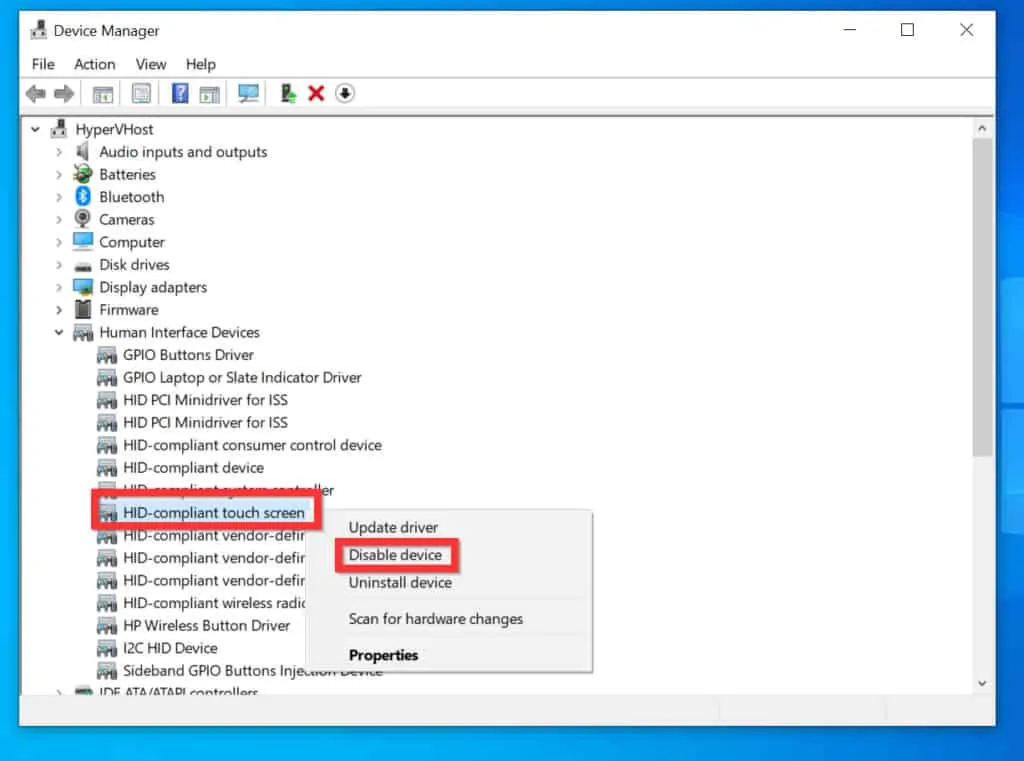
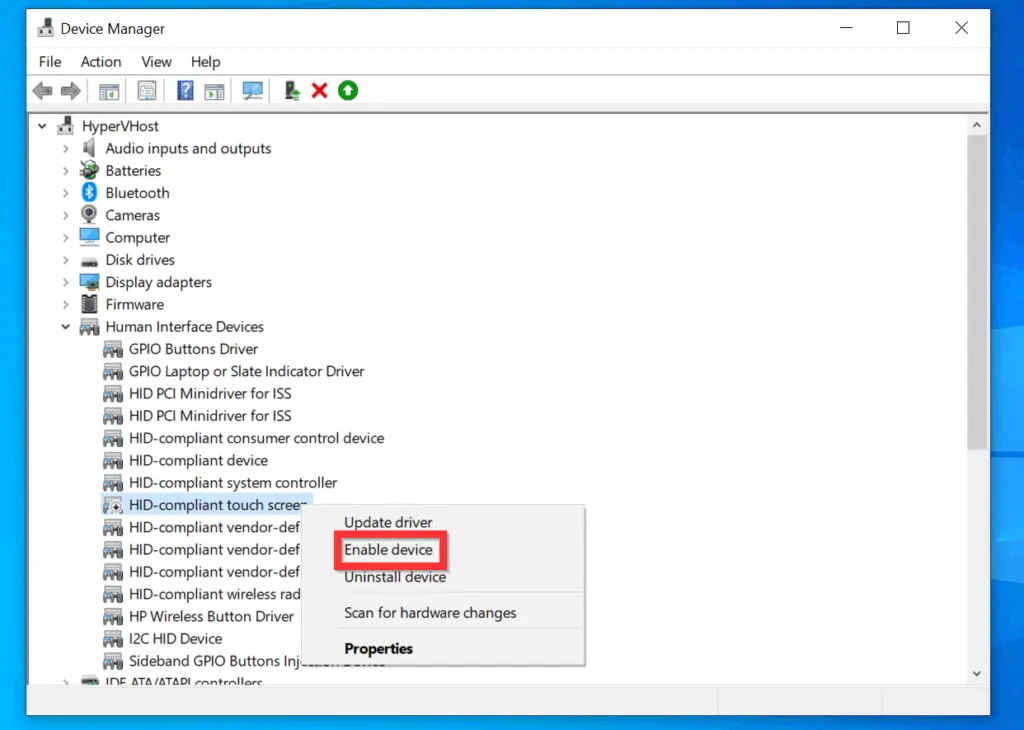
- With the Human Interface Devices category expands, locate and right-click HID-compliant touch screen.
- Then, to disable touch-screen, from the displayed options, click Disable device. You will receive a disable confirmation pop-up.
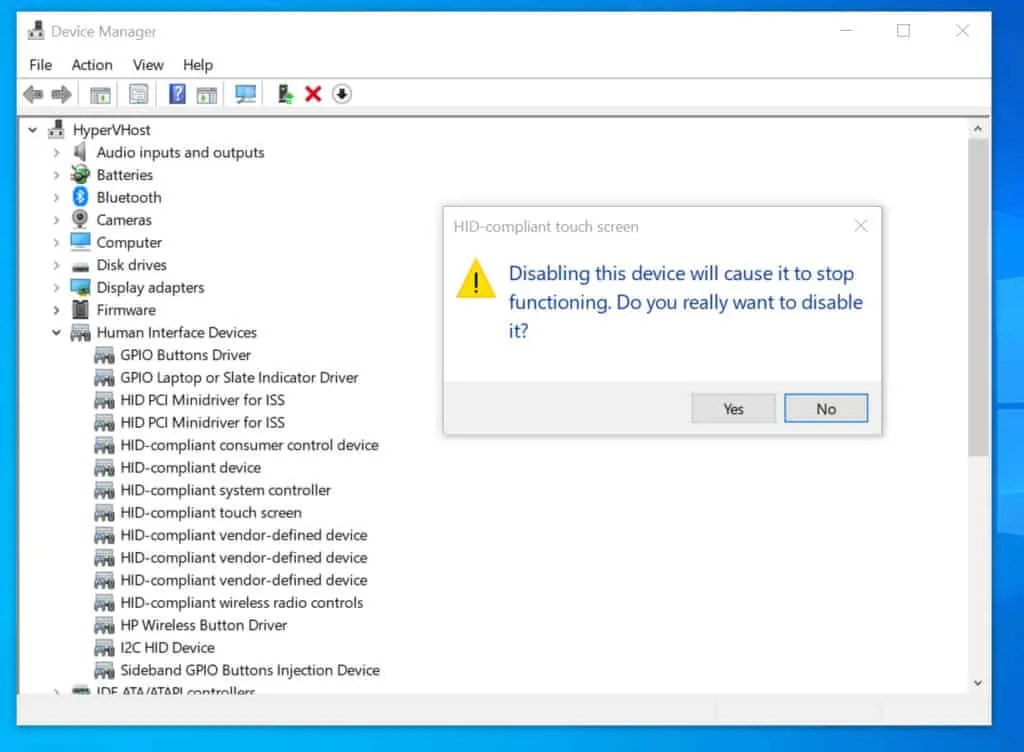
- Finally, on the confirmation pop-up window, click Yes.
- Whenever you want to re-enable touch screen, right-click HID-compliant touch screen and select Enable Device.
- Device Manager will refresh. The device is now enabled.
Option 2: Disable Touch Screen with PowerShell
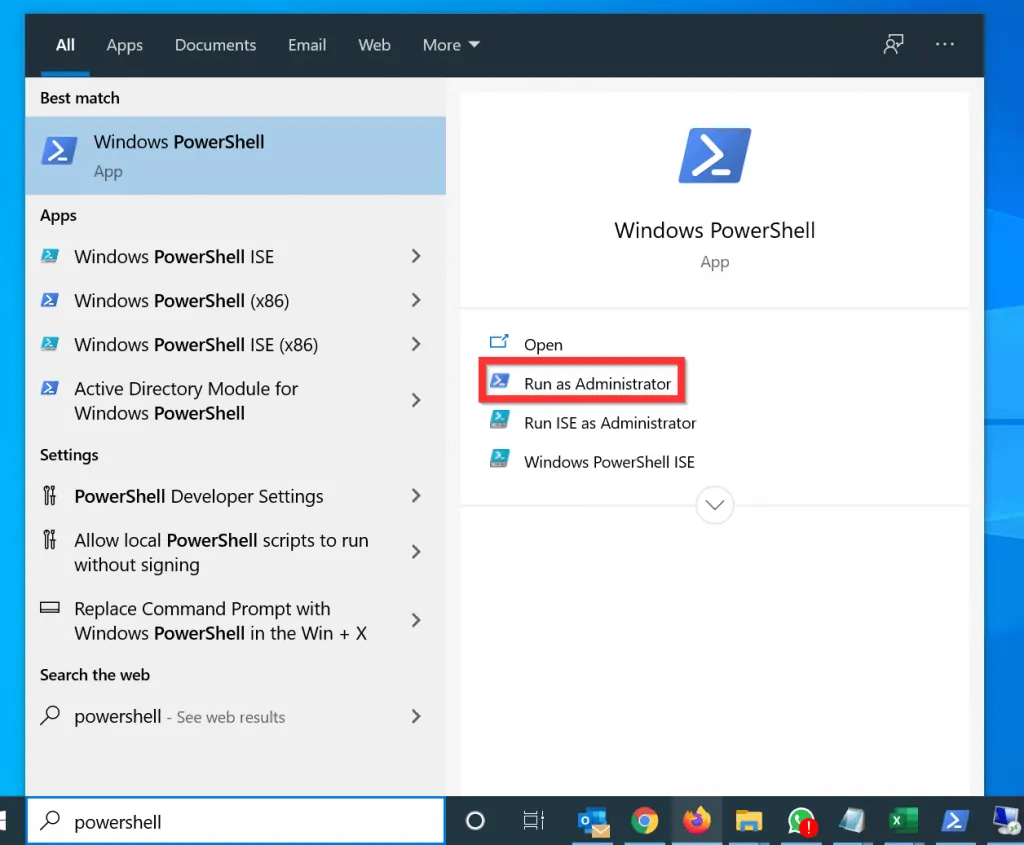
- Type powershell in the Windows 10 search box. Then, beneath Windows PowerShell, click Run as Administrator.
- If you receive a User Account Control confirmation prompt, click Yes.
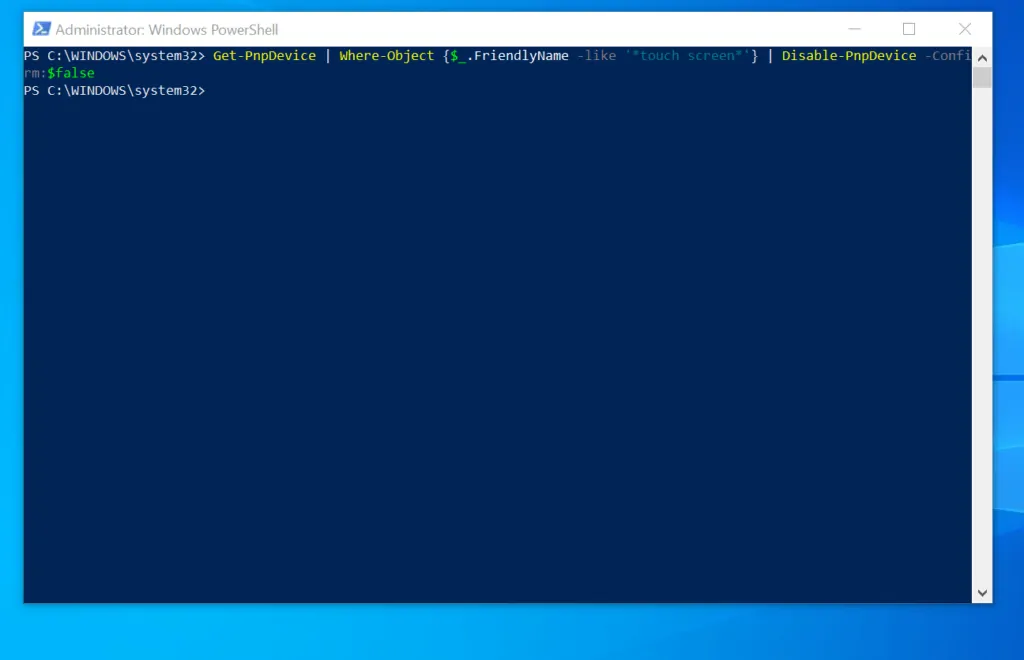
- Then, to disable touch screen, on the PowerShell prompt, type the command below and press enter.
Get-PnpDevice | Where-Object {$_.FriendlyName -like '*touch screen*'} | Disable-PnpDevice -Confirm:$false
- The command will execute and return to the PowerShell command prompt.
- To confirm that the command disabled touch screen, open Device Manager. Then expand Human Interface Devices category. HID-compliant touch screen (Touch screen device driver) will have an arrow pointing downwards – this confirms that the device is disabled.
- To enable touch screen with PowerShell, type this command and press enter.
Get-PnpDevice | Where-Object {$_.FriendlyName -like '*touch screen*'} | Enable-PnpDevice -Confirm:$false
- The command will run and return to the PowerShell prompt.

- If you are curious to see whether the last command enabled your touch screen device driver, open Device Manager.
- Then, expand Human Interface Devices category. The arrow pointing downwards beside HID-compliant touch screen will no longer be there – confirming that the device is now enabled and your touch screen is enabled.
It is very easy to disable touch screen on Windows 10!
Did you find this guide helpful? If you did, click on “Yes” beside the “Was this page helpful” question below.
You may also express your thoughts and opinions by using the “Leave a Comment” form at the bottom of this page.
Finally, you can also get more Windows 10 guides by visiting our Windows 10 How-To page.


![How To Run Sysprep (Generalize) In Windows 10 [2 Methods]](https://www.itechguides.com/wp-content/uploads/2022/05/8-2.webp)
HID-compliant touch screen missing from my device manager