Have you replaced the hard drive on your PC and need help reinstalling Windows 10 on the new hard drive? I have provided all the steps you need to complete this task.
Step 1: Get what you Need to Install Windows 10
To install Windows 10 on a hard drive you need the following:
- Window 10 DVD
- Valid Windows 10 key (Home, Pro or Enterprise)
- A PC that meets the Windows 10 installation requirements (See Step 3 below)
Step 2: Create a Windows 10 Installation DVD
The first step to install Windows 10 on a new hard drive is to create a Windows 10 DVD.
If you already have a Windows 10 installation DVD proceed to the next step.
If you need to create an installation DVD, here are the steps:
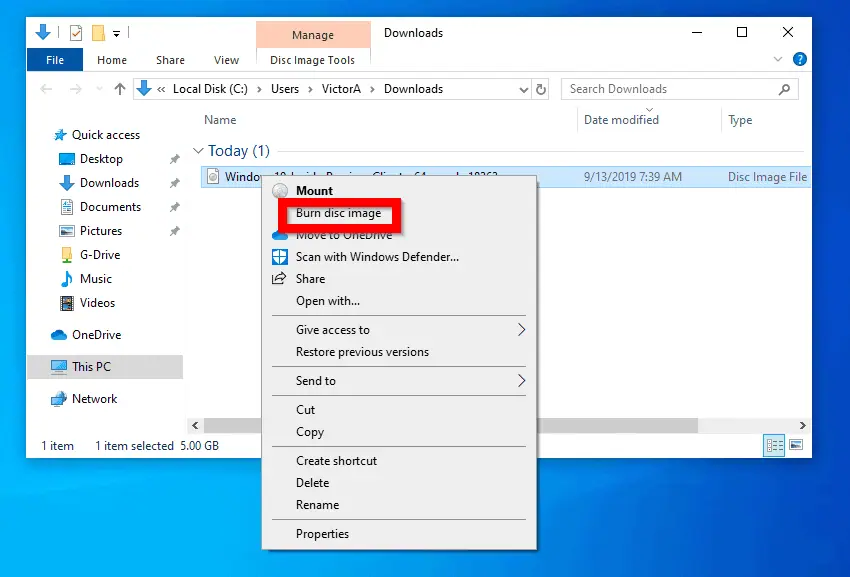
- Download Windows 10 ISO with Media Creation Tool. Use the steps in this guide – How to Download Windows 10 ISO with Media Creation Tool.
- After downloading the ISO file, insert a blank DVD into your PC. Then right-click the ISO file and select Burn disk image.
Step 3: Confirm that Your PC Meets the Installation Requirements
If you attempt to install Windows 10 on a PC that do not meet the minimum installation requirement, the installation is likely to fail.
To ensure your PC meets the requirement review the following information.
Below are the Windows 10 minimum installation requirements:
- Processor: 1 gigahertz (GHz) or faster processor or SoC
- RAM: 1 gigabyte (GB) for 32-bit Windows 10 or 2 GB for 64-bits
- Hard disk space: 16 GB for 32-bit OS 20 GB for 64-bit OS
- Graphics card: DirectX 9 or later with WDDM 1.0 driver
- Display: 800×600
Here are my recommended requirements for maximum performance:
- Processor: 2.5 GHz Dual Core minimum (faster processor is better)
- RAM: 4 gigabyte (GB) for 32-bit or 8 GB for 64-bit
- Hard disk space: 320 GB (or more)
- Graphics card: DirectX 9 or later with WDDM 1.0 driver (Any modern graphics card should do)
- Display: 1920X1080 (Full HD)
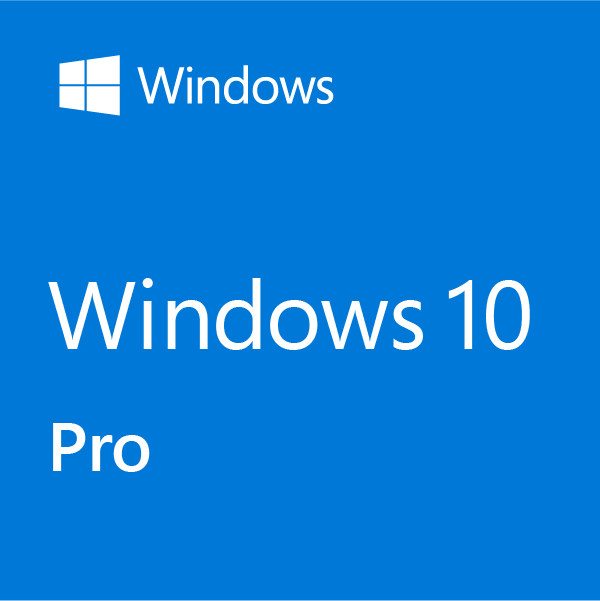
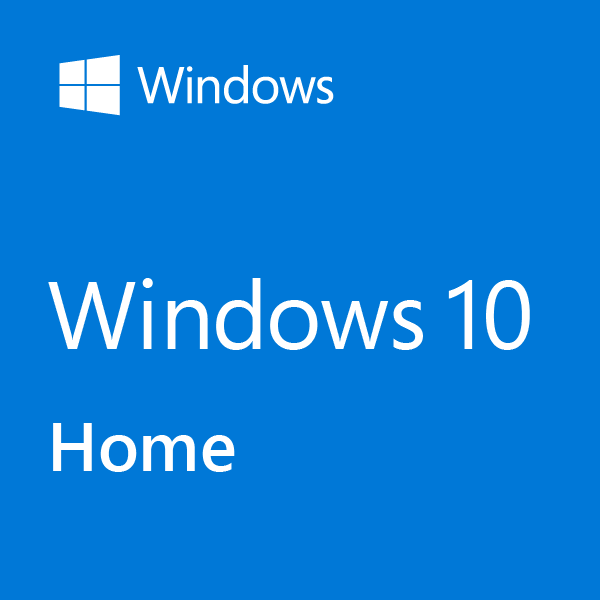
Step 4: Determine Windows 10 Edition You Need to Install
The table below list the core features offered by Home and Pro editions of Windows 10.
Based on the features in each edition, determine the edition that meets your needs.
You need this information to determine the Windows 10 licence you will purchase in the next section.
| Features | Home Edition | Pro Edition |
| Maximum RAM | 4 GB on IA-32, 128 GB on x86-64 | 4 GB on IA-32 2 TB (2048 GB) on x86-64 |
| Family Safety and Parental Controls | ✔ | X |
| Microsoft Edge | ✔ | ✔ |
| Mobile device management | ✔ | ✔ |
| Microsoft Store suggestions | ✔ | ✔ |
| Windows Subsystem for Linux | Available in 64-bits | Available in 64-bits |
| Hyper-V | X | Available in 64-bits |
| BitLocker | X | ✔ |
| AppLocker | X | X |
| Windows Information Protection | X | ✔ |
The edition comparison table above is for none business users. If you are learning how to install Windows 10 for business use, click Compare Windows 10 editions.
Also, for the table above, I included the features that I believe is required by most users. For the full feature comparison, click Windows 10 editions.
Step 5: Purchase a valid Windows 10 Product Licence Key
Now that you have made a choice what edition of Windows 10 to install, the next step in how to install Windows 10 to a new hard drive is to purchase a license.
You can buy Widows 10 license keys directly from Microsoft. The links below will take you to the Microsoft pages where you can buy Windows 10 Pro and Home respectively.
Step 6: Configure Boot Sequence to Boot from CD or DVD
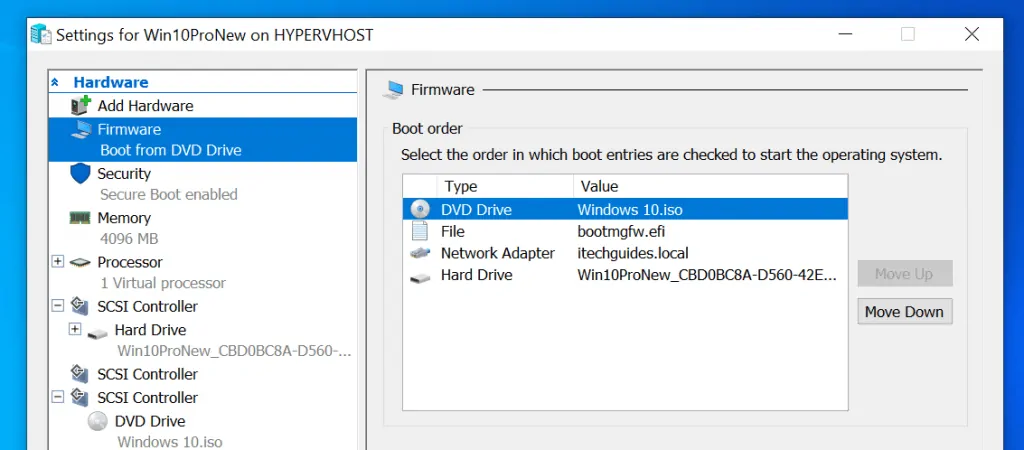
When your PC boots it locates Operating System boot files in available boot media on the computer. The boot sequence on the computer BIOS determines the first place the PC looks for boot files.
To install Windows 10 to a new hard drive, modify your computers boot sequence to boot from CD.
Here are the steps:
- Press the power button to start your PC
- Most PCs will splash a screen with a key to press to boot to BIOS. This normally happens very quickly so you need to press the function key fast enough…
- When your PC boots to BIOS, locate the setup to modify boot sequence. Then change it to boot from CD or DVD.
The image below is for illustration purposes only. It is a boot sequence configuration for a Hyper-V virtual machine.
- Save the changes and exit BIOS
Step 7: Install Windows 10
Now you are ready to install Windows 10 on a new hard drive!
Here are the detailed steps:
- Press the power button to boot your PC.
- Your PC will display this screen. Press any key to boot from the DVD.

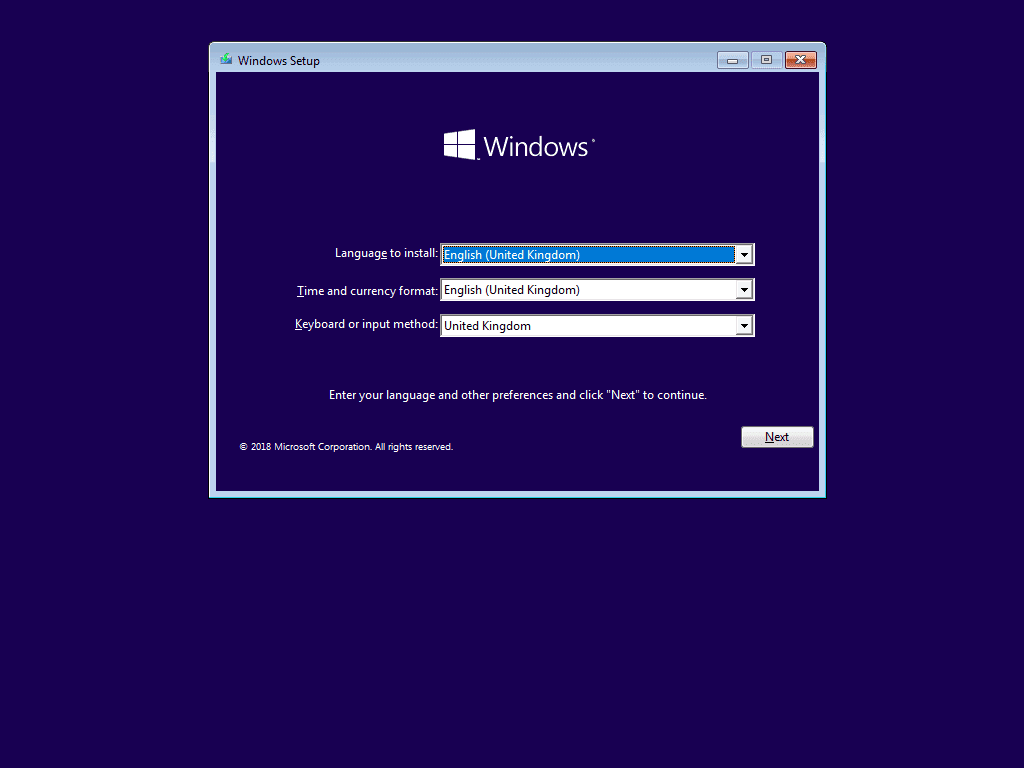
- Then at the first screen of Windows 10 installation, click Next.
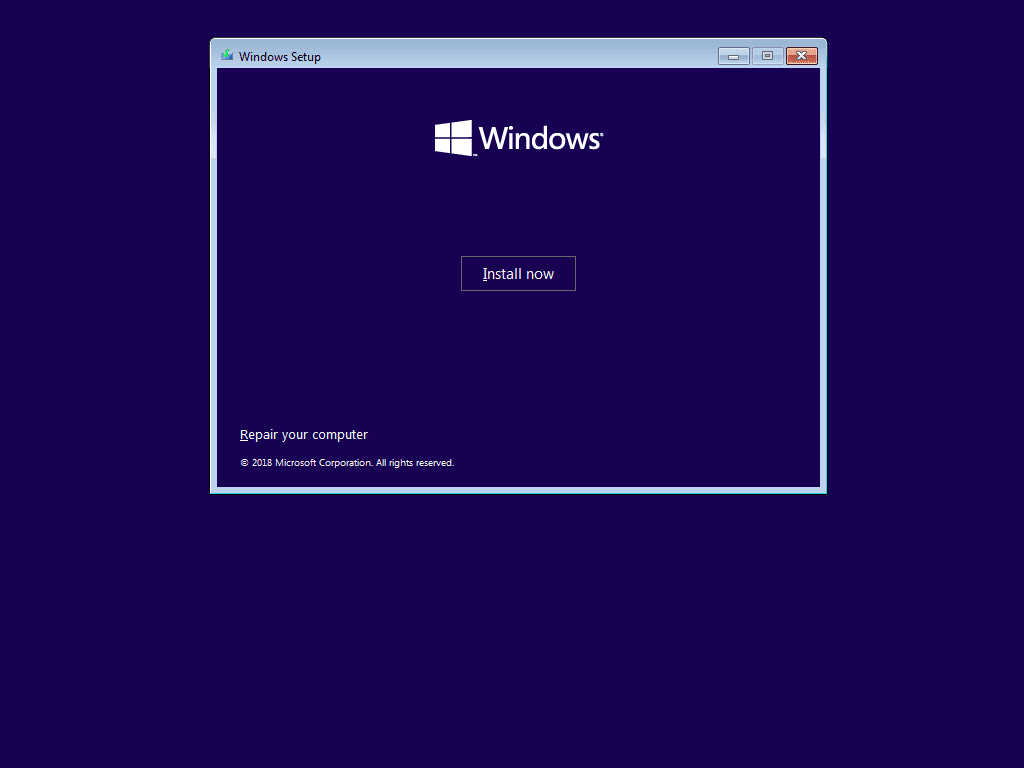
- At the install screen, click Install now.
- When Activate Windows screen loads, type your product key and click Next.

- At Applicable notices and licence terms screen, check I accept the licence terms. Then click Next.

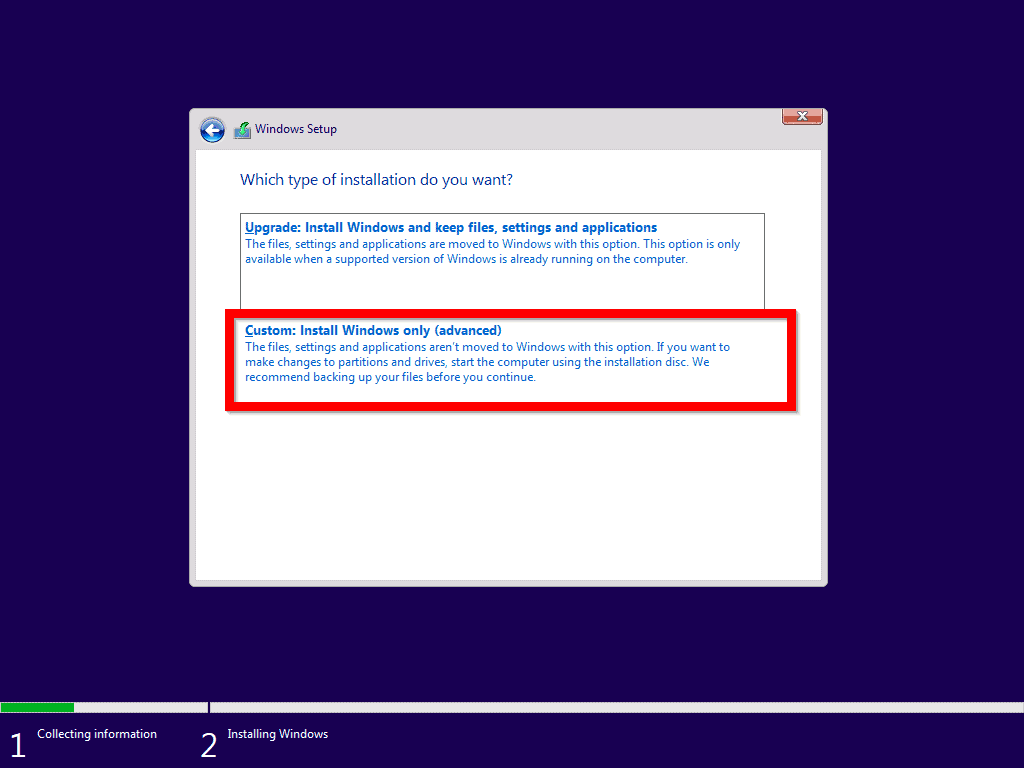
- Then select Custom: Install Windows only (advanced).
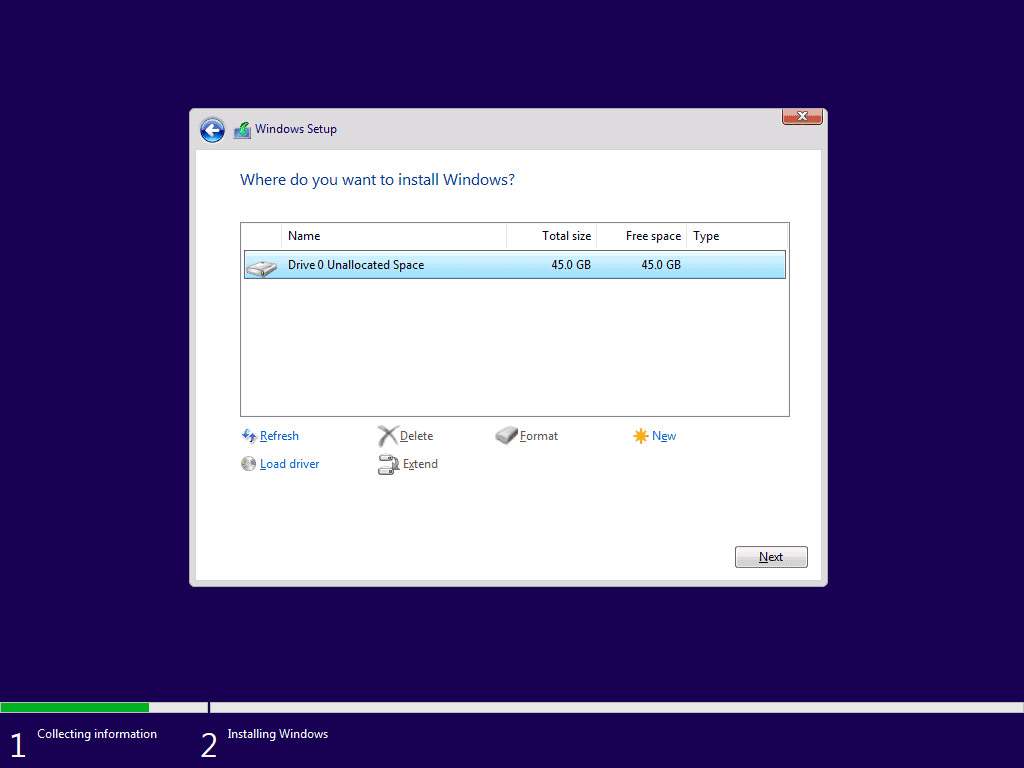
- Then select the hard drive you wish to install the OS and click Next.
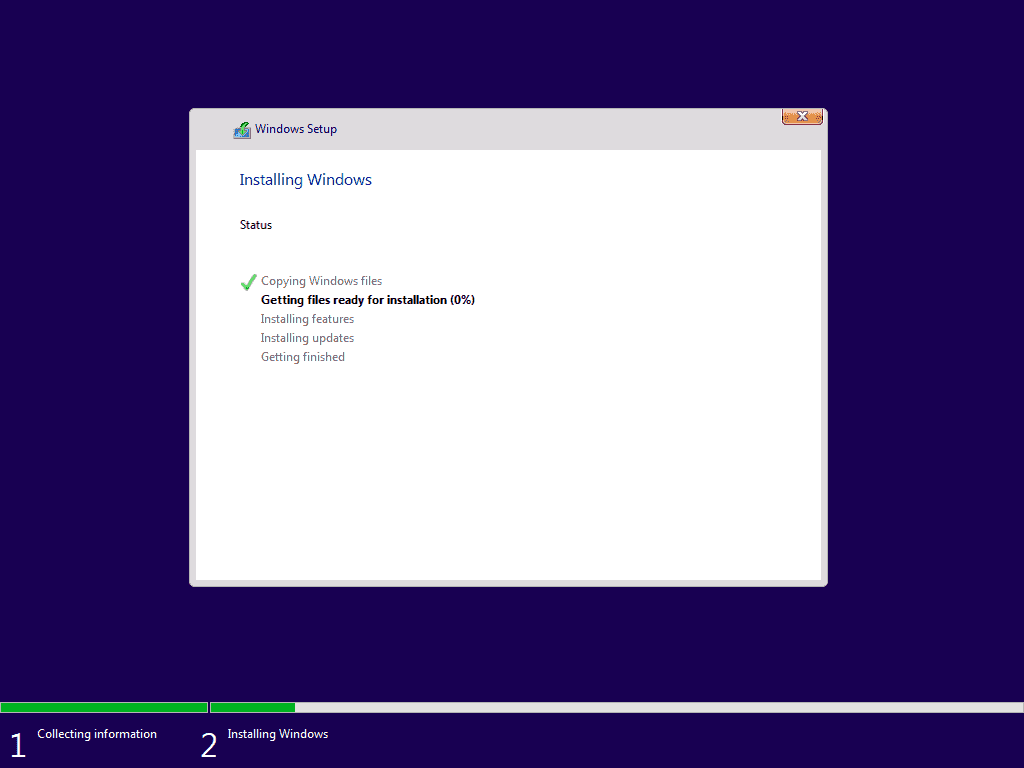
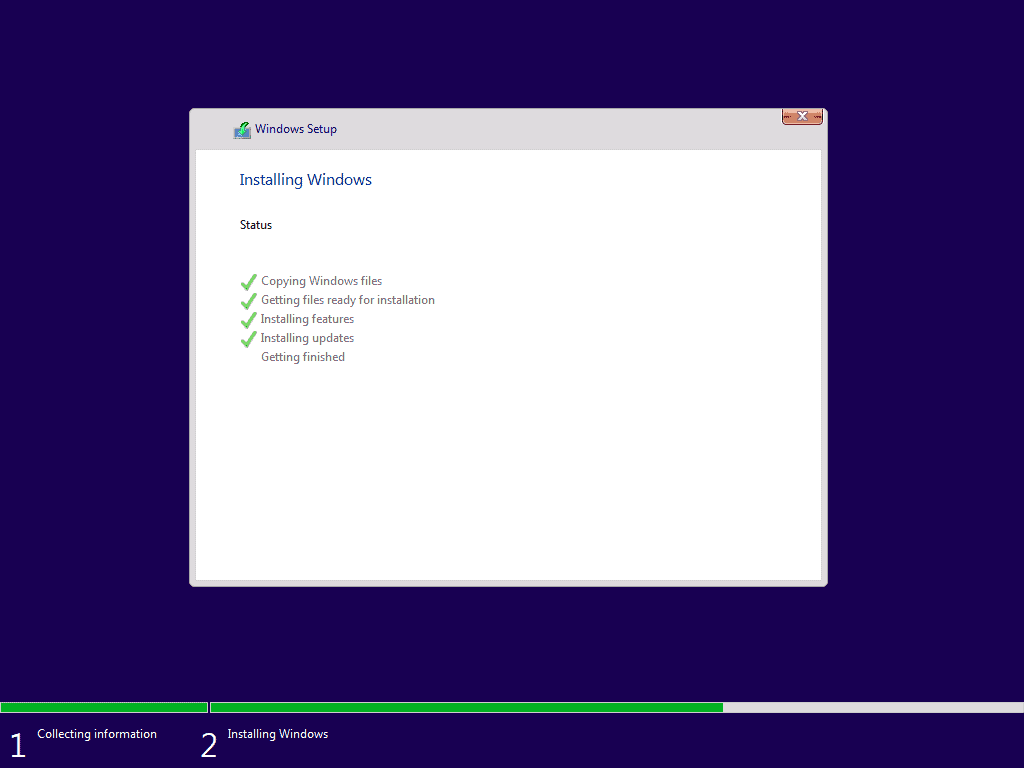
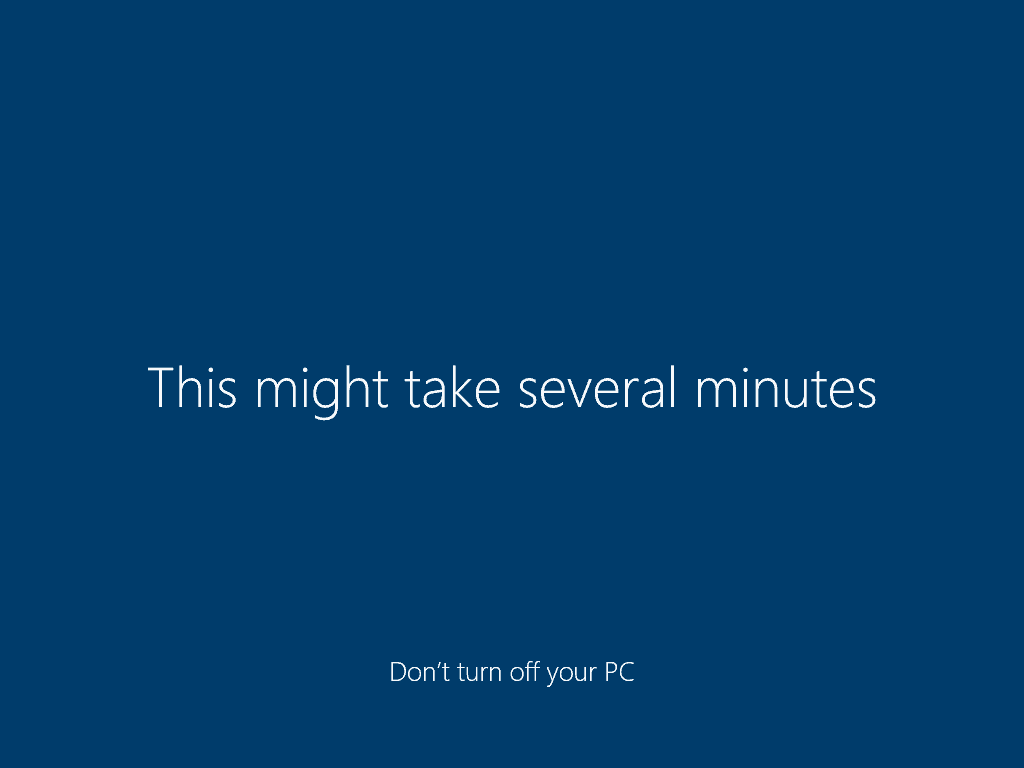
- Wait for the installation to complete the first steps to install Windows 10 to a new hard drive. This step will take a while.
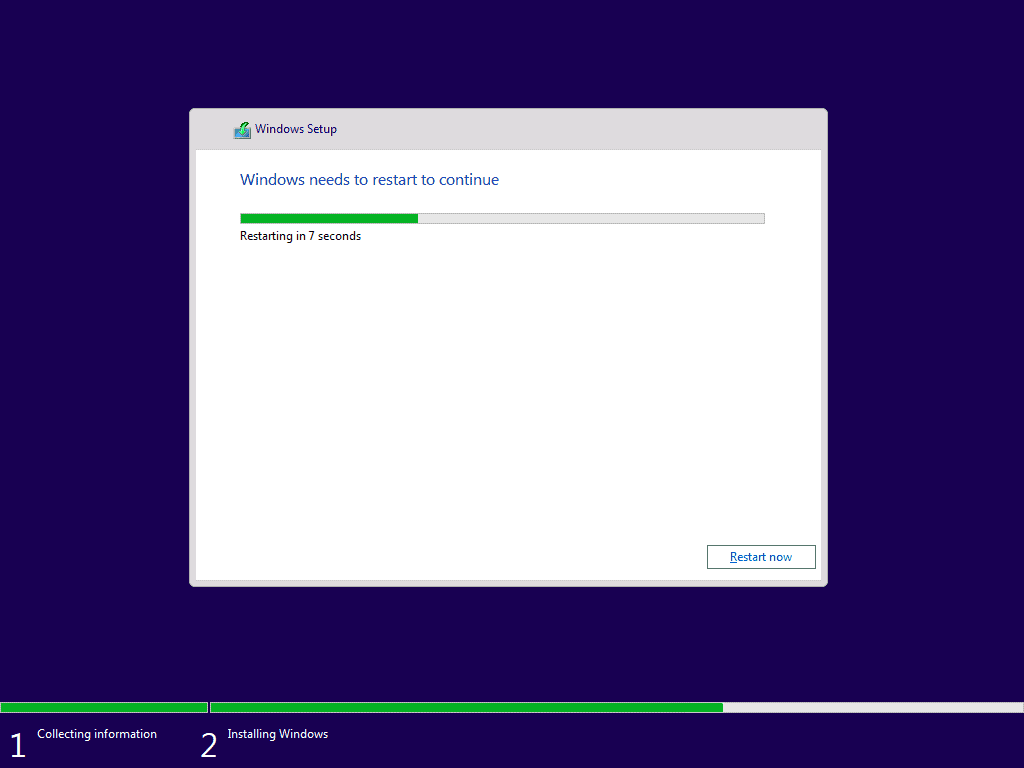
- When the installation steps are completed, your PC will display a restart notification countdown. To restart immediately, click Restart now. See the second image below.
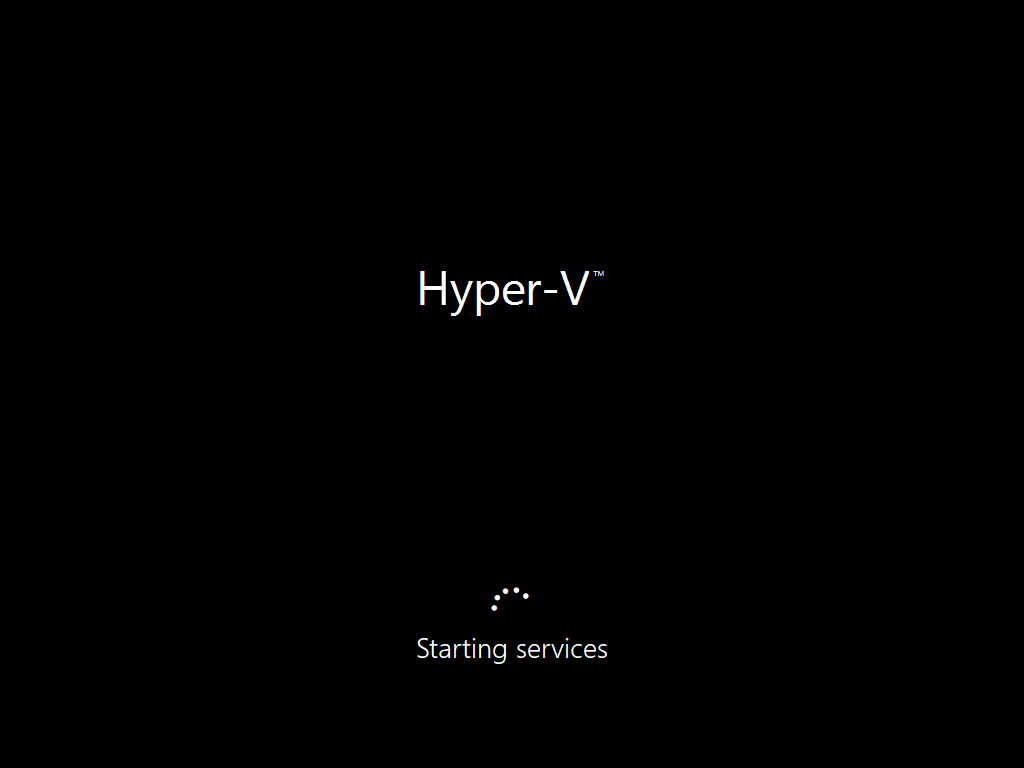
- The restart will take a while. Then your PC will display the following screens. It may stay on the Getting ready screen for a while.
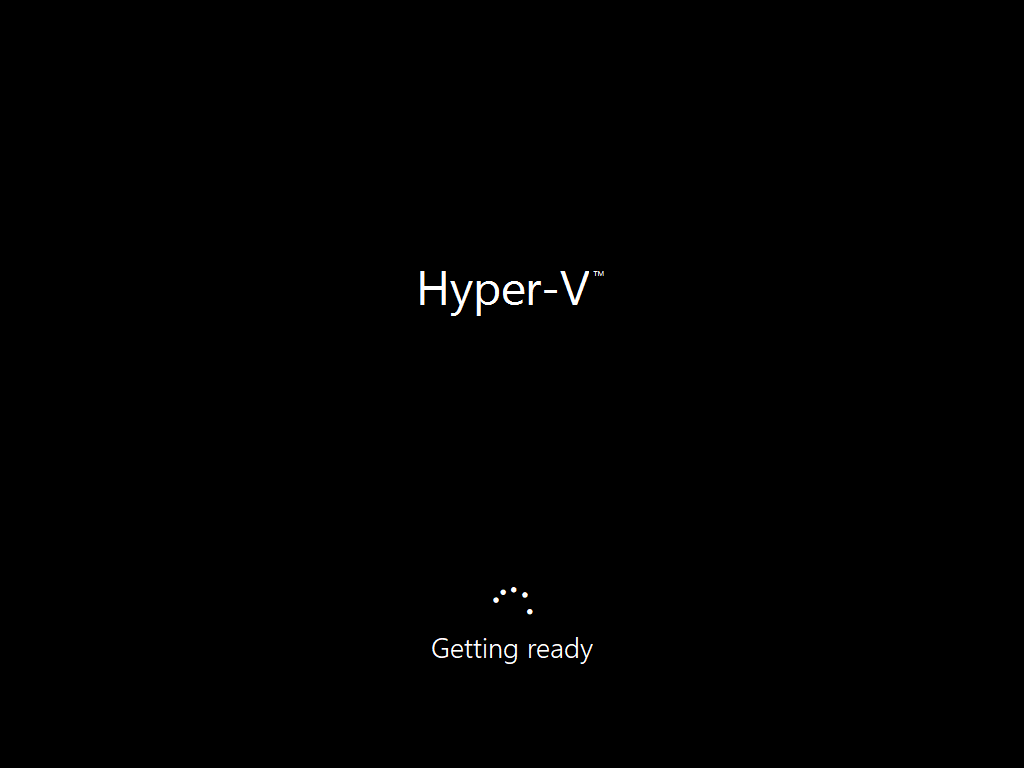
- After the Getting ready screen, your PC will restart again..

Step 8: Complete the Final Steps to Install Windows 10

When your computer restarts, follow these steps to complete the final steps to install Windows 10 on a hard drive:
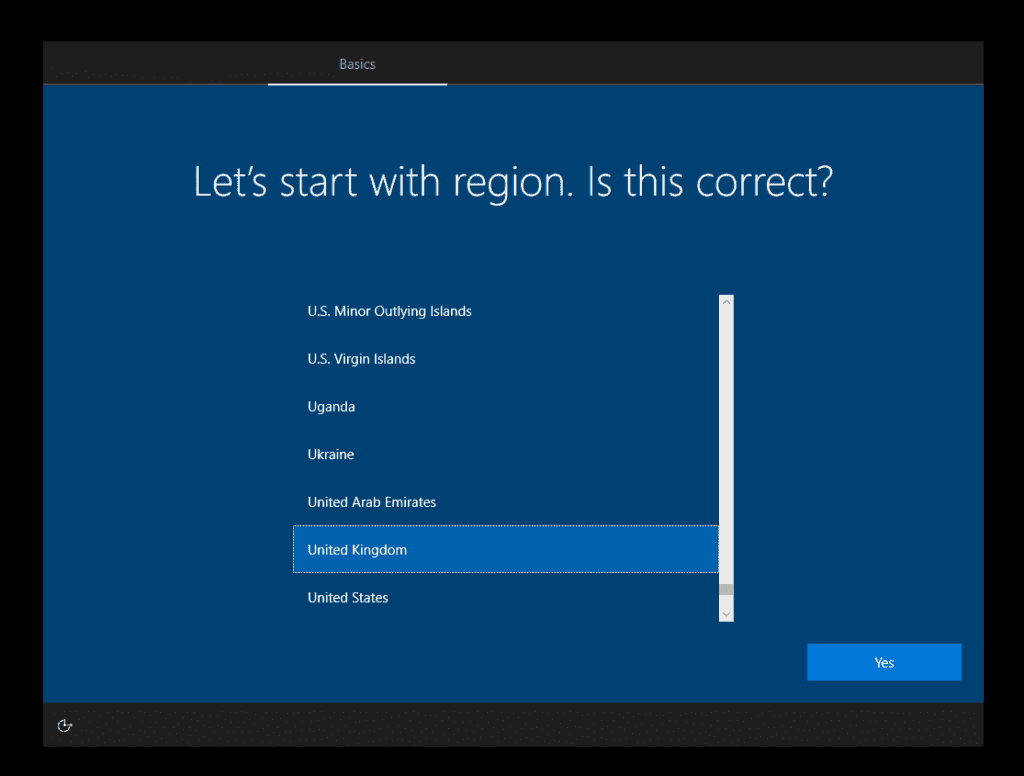
- Check that your region is correct. Then click Yes to continue. Otherwise, select your region and click Yes.
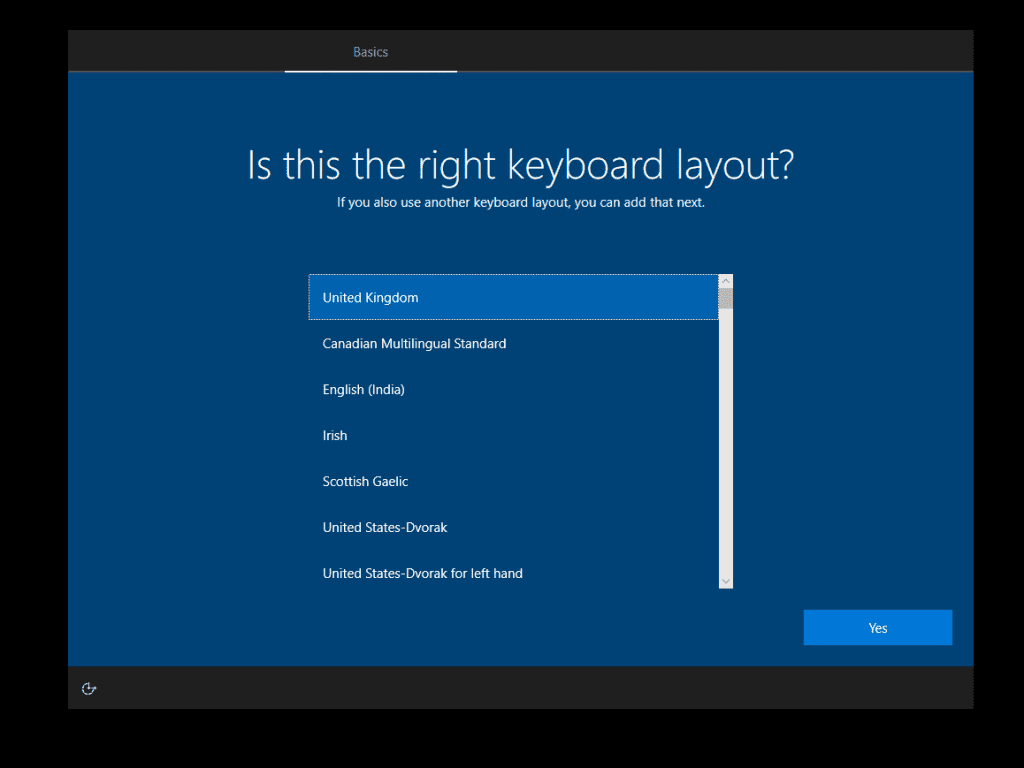
- Then confirm that your keyboard is correct and click Yes. Or select a new keyboard.
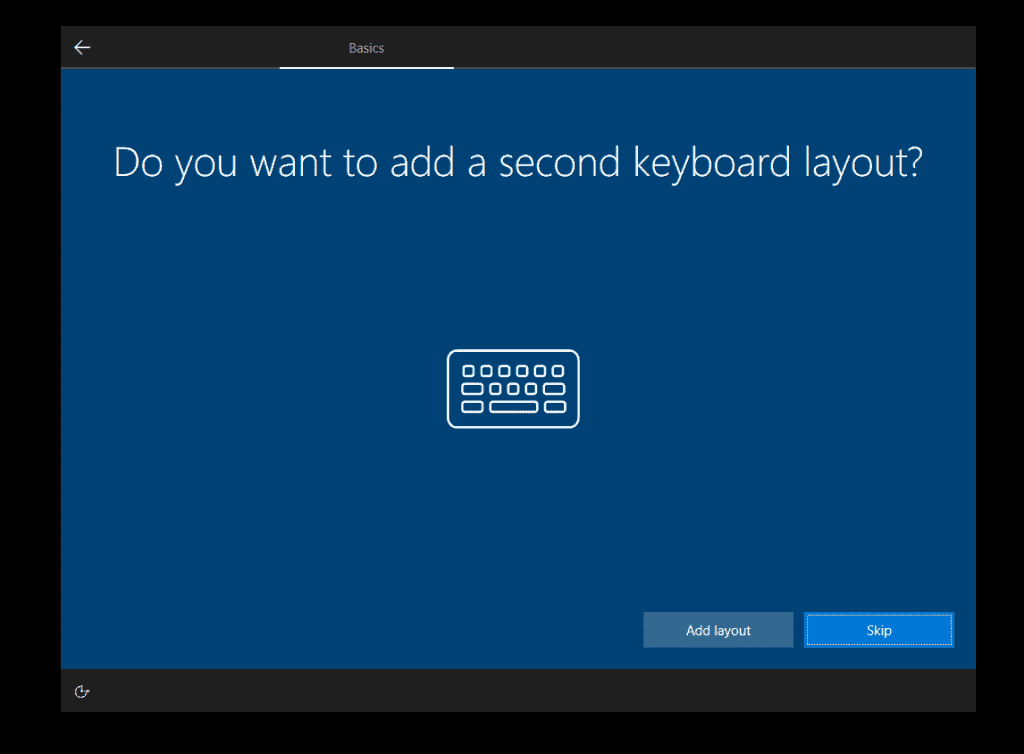
- At the option to add a second keyboard, to add a new keyboard click Add layout. Otherwise, click Skip.
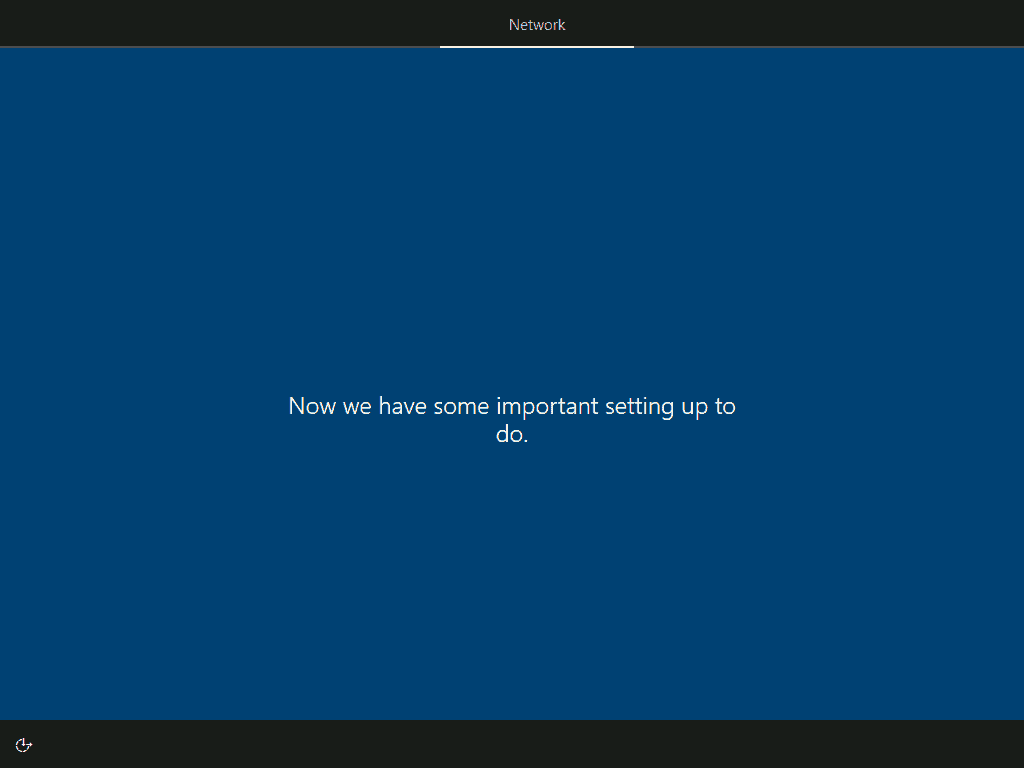
- Then wait for the next screen to load…

- The installer will begin configuring some additional setups.
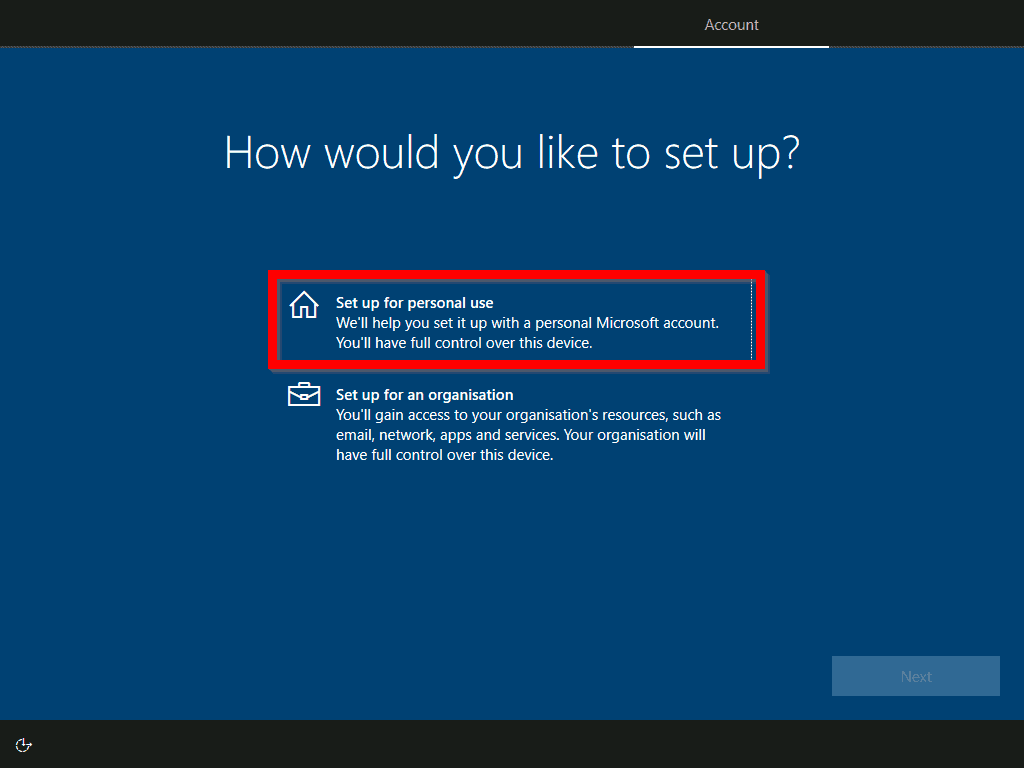
- Then you will be offered the option to choose whether you are installing Windows for personal use or for a company. Select an option and click Next. For this demo, I will select Setup for personal use.
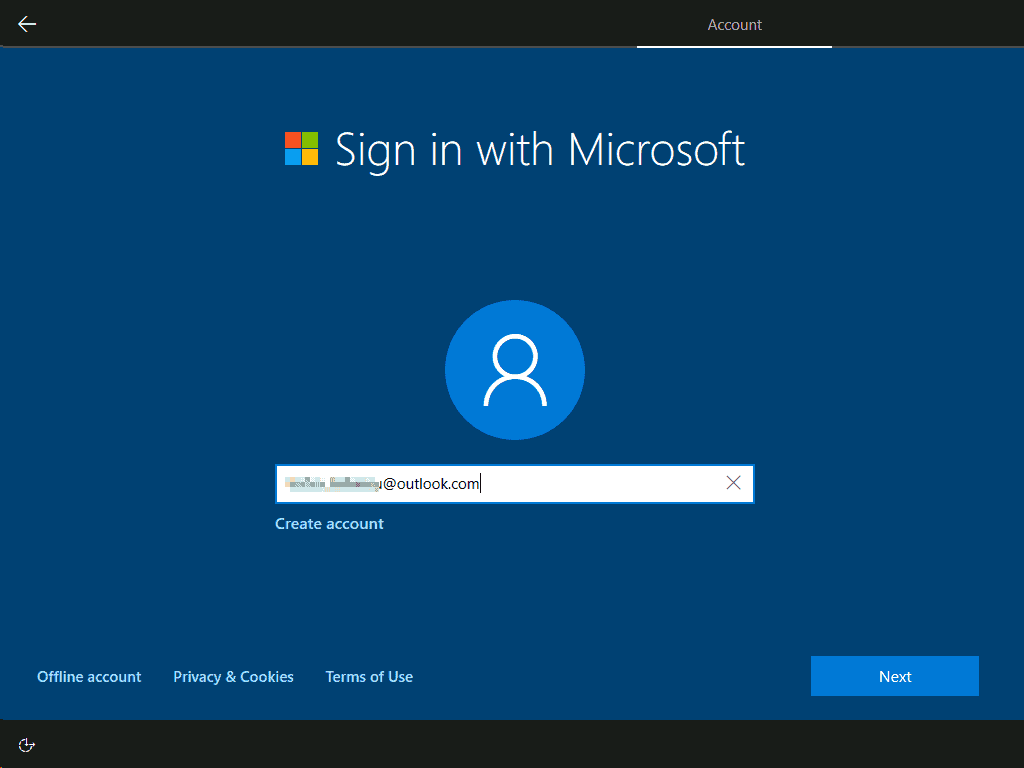
- At the Sign in with Microsoft screen, enter your Microsoft account. Then click Next.
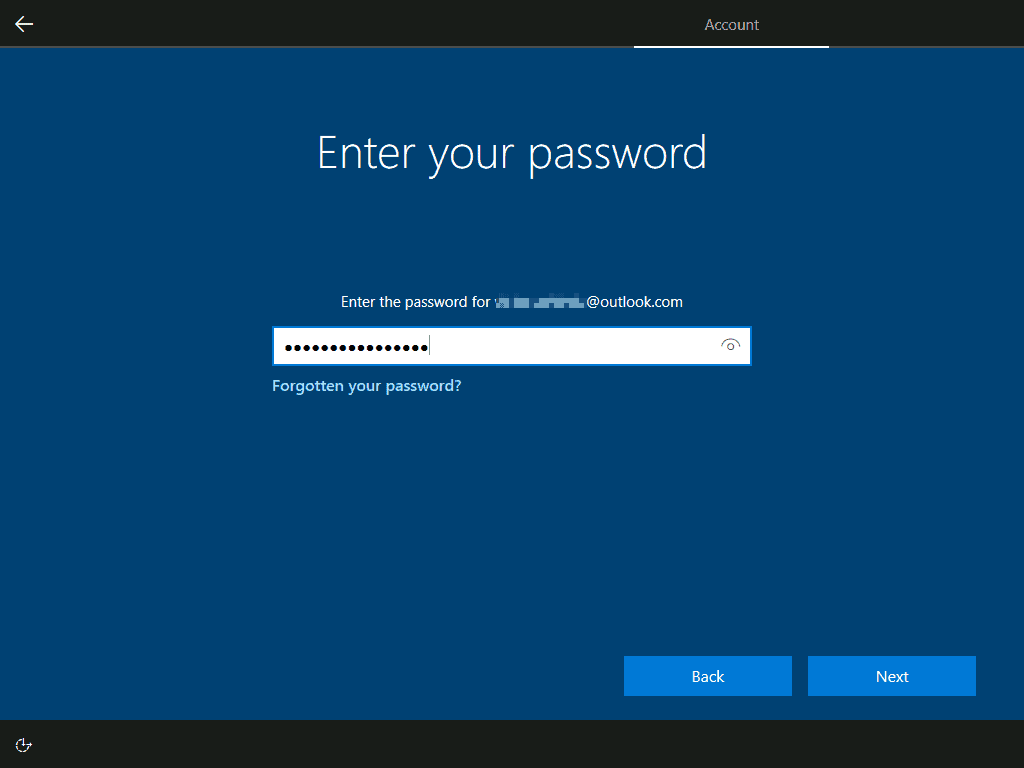
- Then type the password for your Microsoft account and click Next.
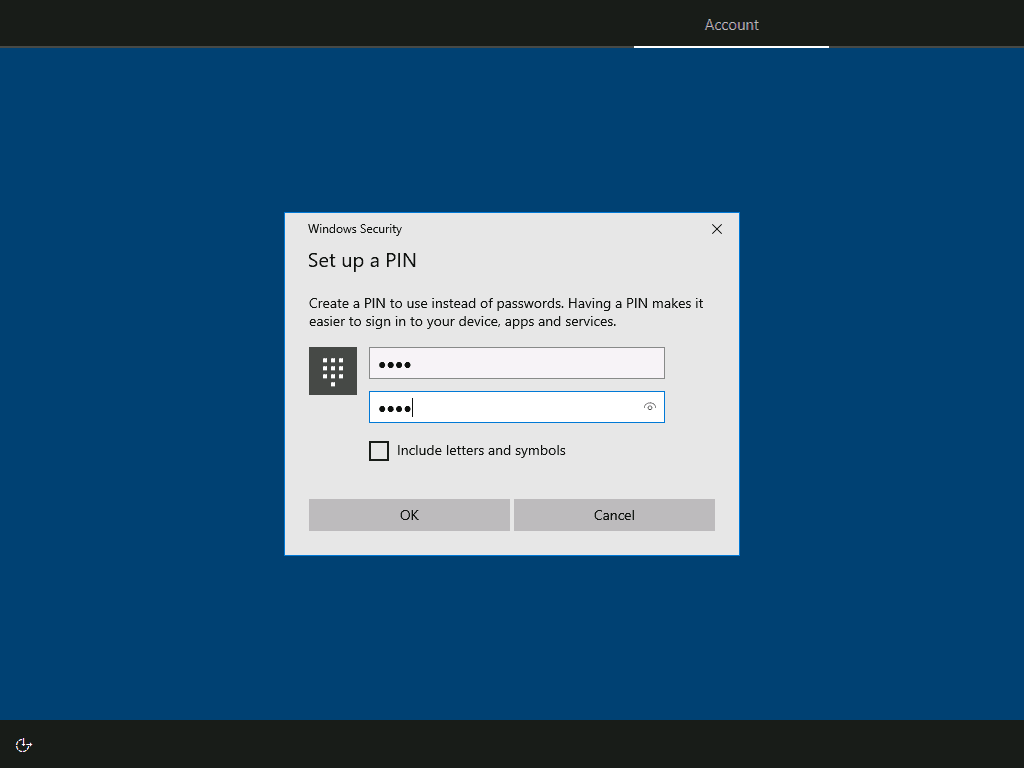
- On the Create a PIN screen, click Create PIN.

- Then enter a 4-digit PIN and click OK.
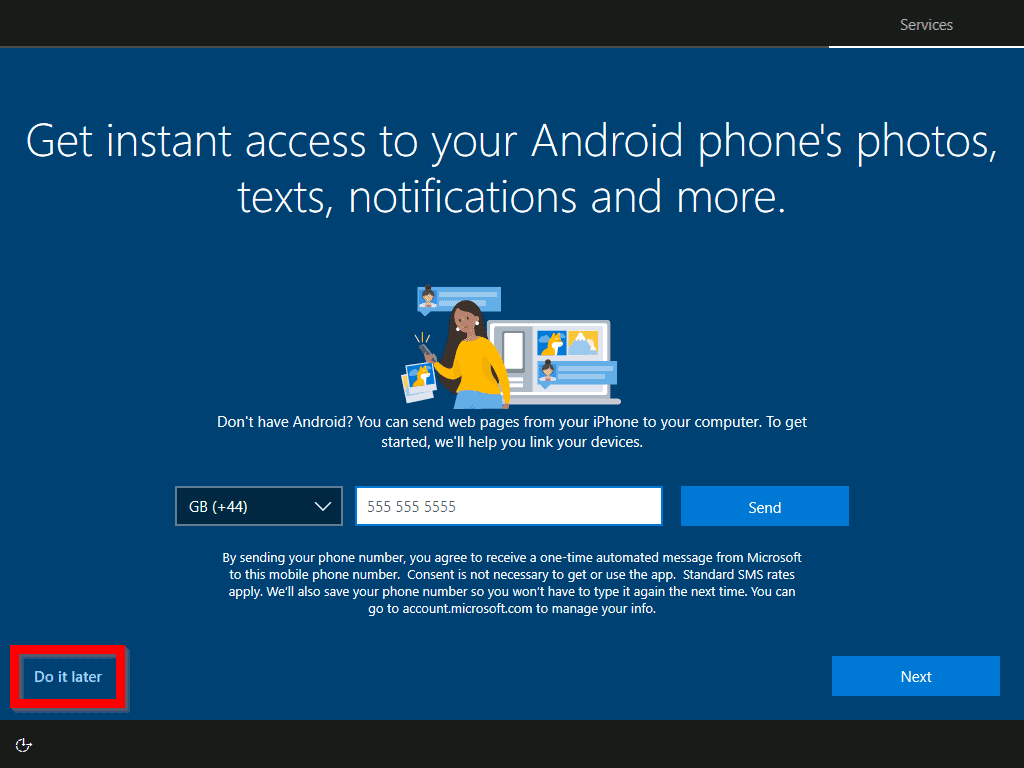
- If you require this service configure it. Otherwise, click Do it later.
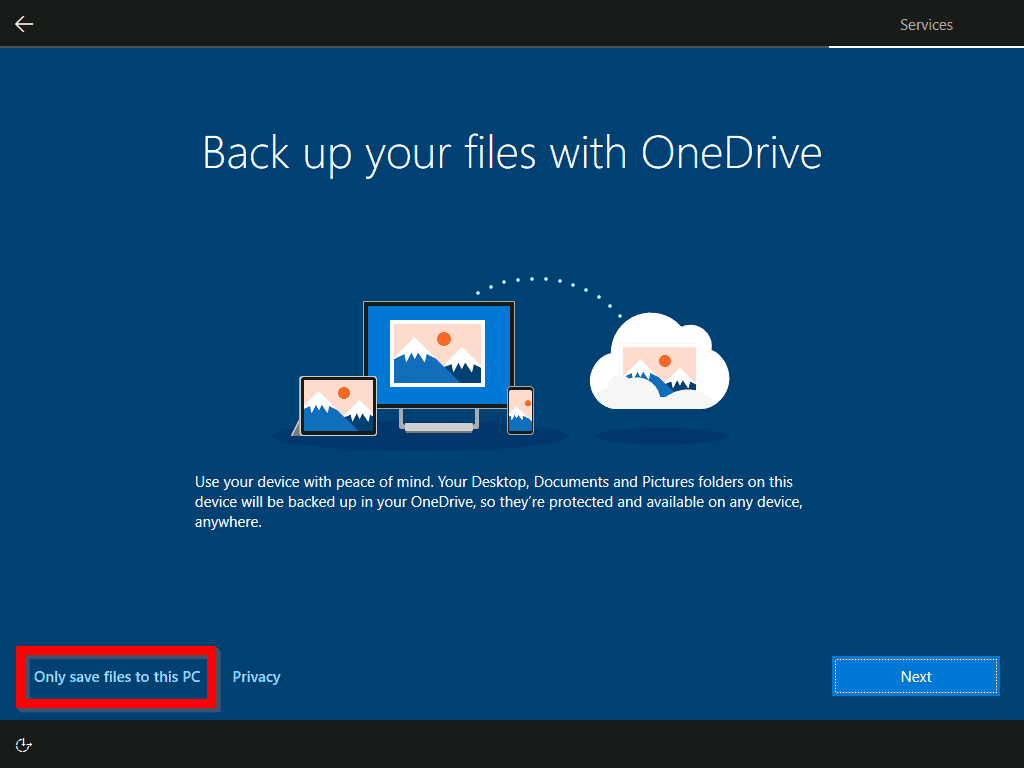
- Then, on the Back up your files with OneDrive screen click Only save files to this PC.
- Finally, on the next set of screens, configure various privacy options including Cortana. For most of the screens, select an option then click Yes or No…or Accept or Decline…
- After making your selections, the installer will perform some final configurations…Then you will be automatically signed in.
Conclusion
You have just installed Windows 10 on a new hard drive!
I hope you found this guide helpful. If you did, followed the steps in this guide, and were able to install Windows 10, kindly share your experience using the comment form at the bottom of this page. Alternatively, you can respond to the “Was this page helpful?” question below.
Finally, visit our Windows How To page for more Windows 10 guides.


![How To Run Sysprep (Generalize) In Windows 10 [2 Methods]](https://www.itechguides.com/wp-content/uploads/2022/05/8-2.webp)