The Media Creation Tool offers an easy way to create Windows installation ISO files. Learn how to create a Windows 10 ISO with this tool.
Step 1: Download the Windows 10 Media Creation Tool
Steps to Download Media Creation Tool:
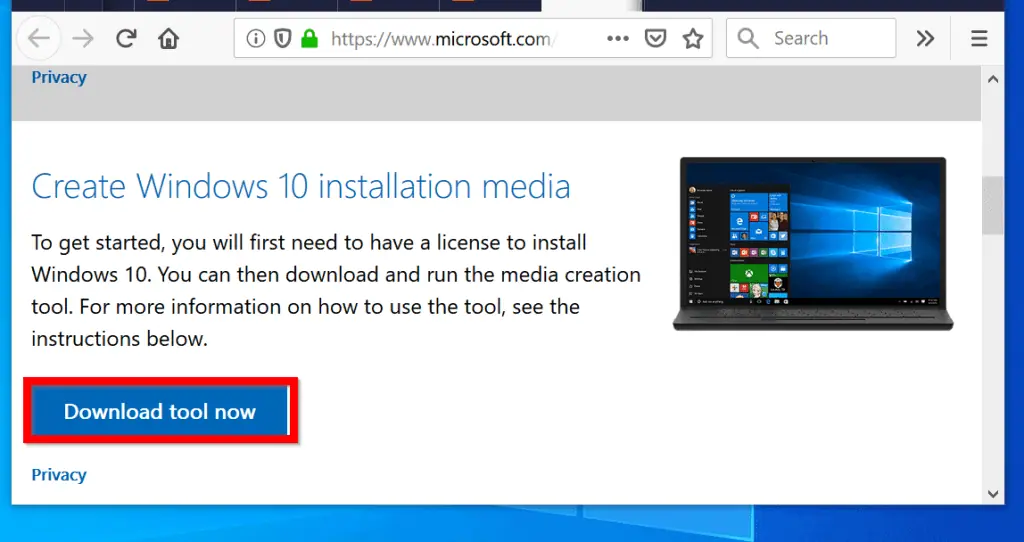
- Open Windows 10 upgrade/installation page.
- Then scroll down to Create Windows 10 Installation Media and click Download tool now.
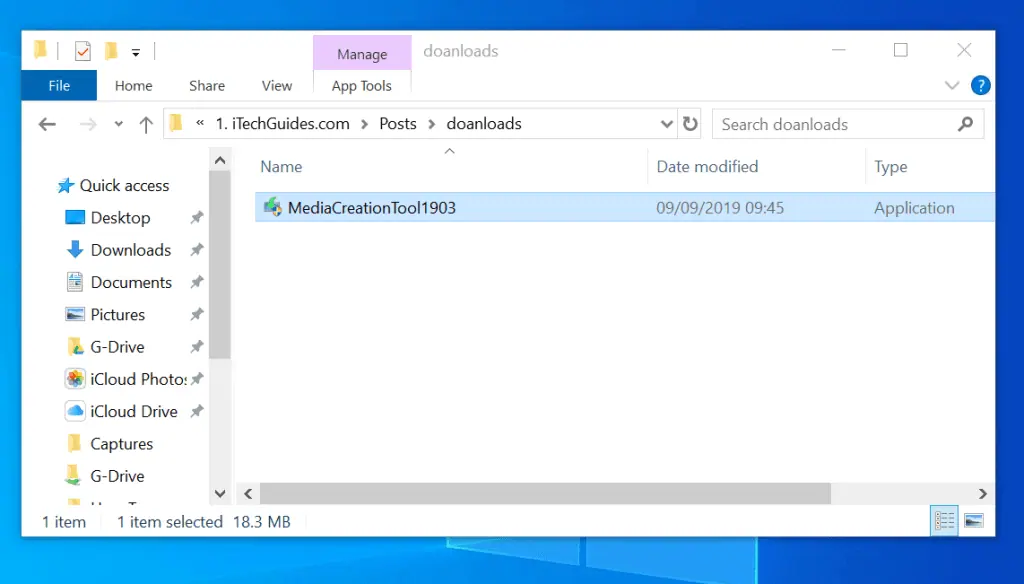
- Save the MCT file to your computer.
Step 2: Create Windows 10 ISO with Media Creation Tool
Once you have downloaded the media creation tool, you can use it to create Windows 10 ISO image.
Here are the steps:
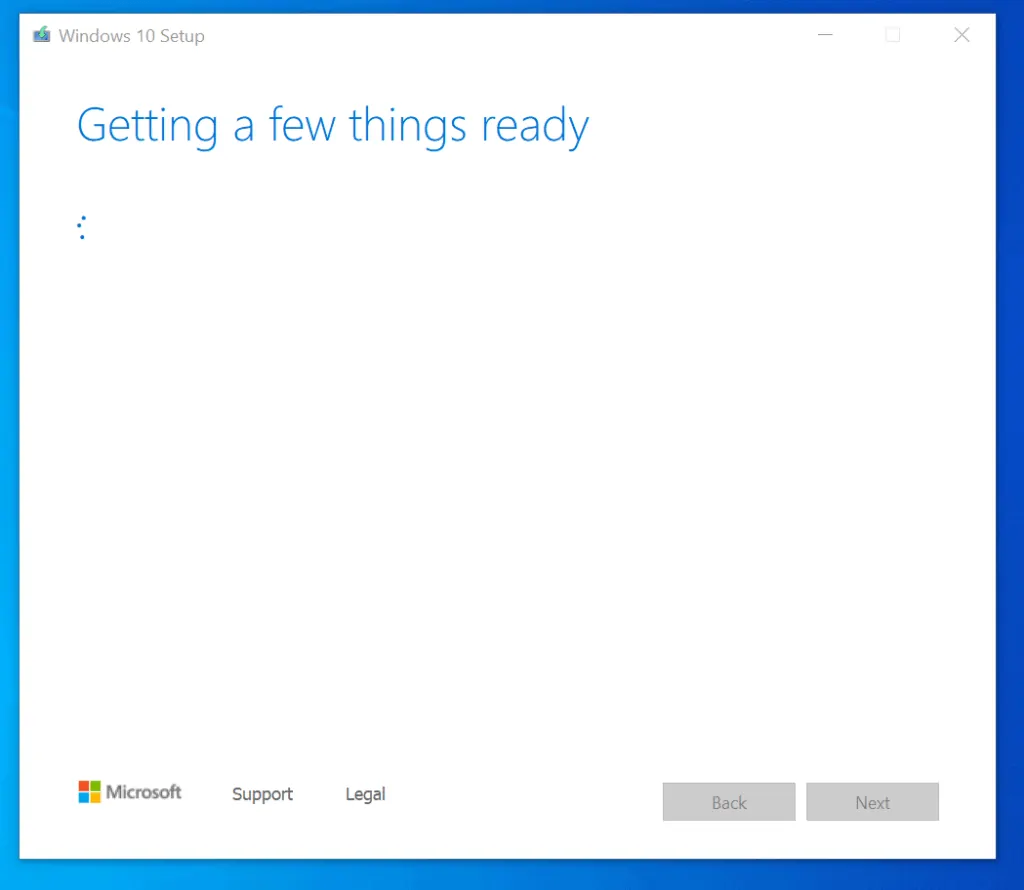
- Double-click the MCT file to open it. Then wait for the tool to “Get a few things ready”
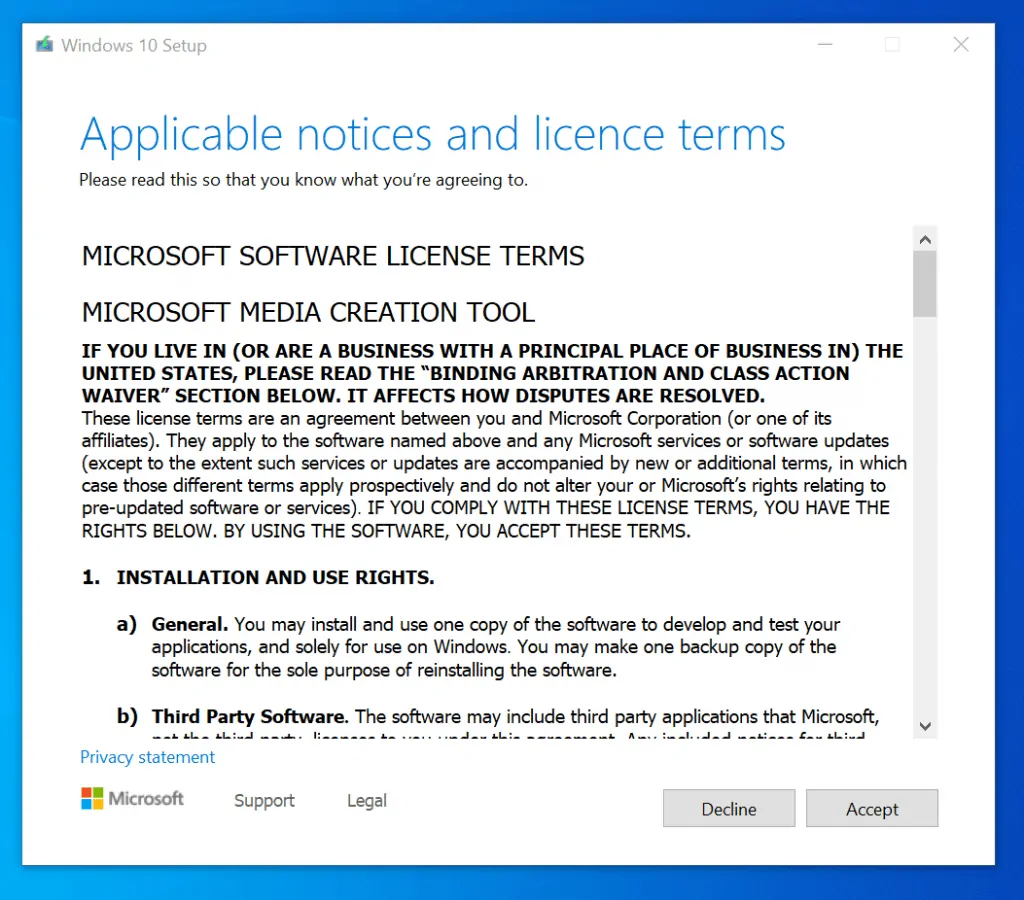
- Then on the Applicable notices and license terms screen, click Accept.
- One more wait..
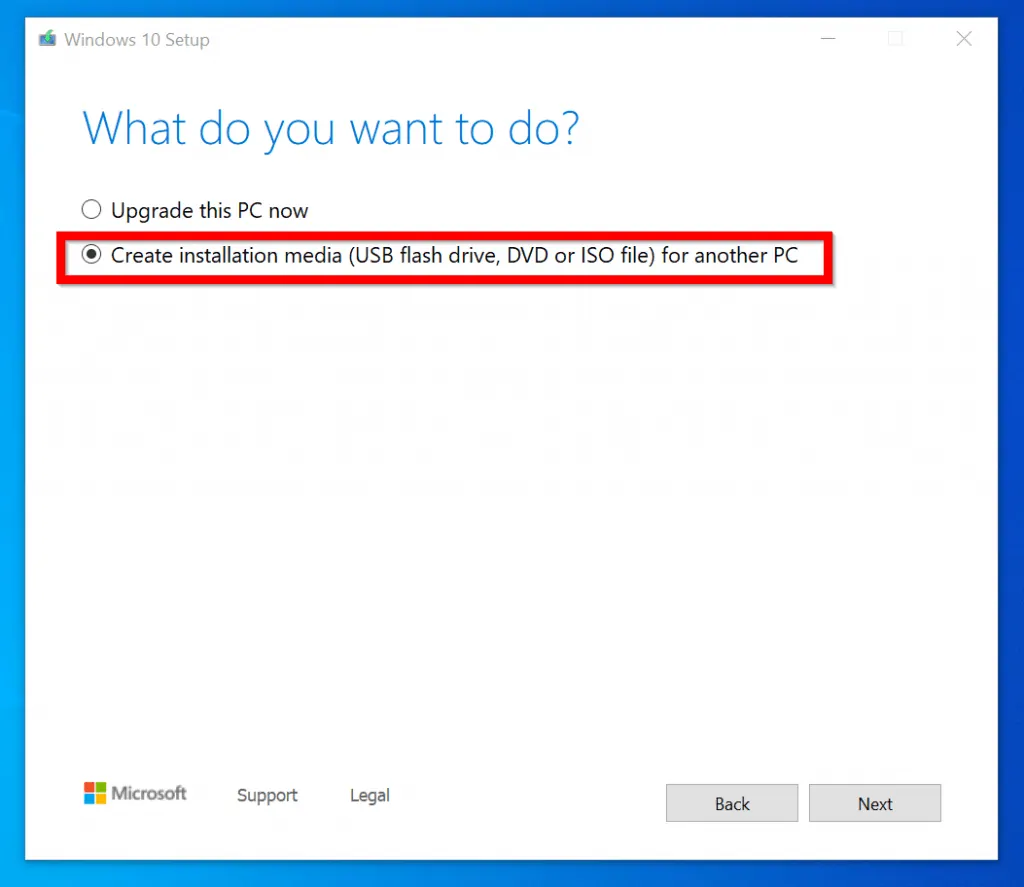
- On the What do you want to do screen, select Create installation media (USB flash drive, DVD or ISO file) for another PC. Then click Next.
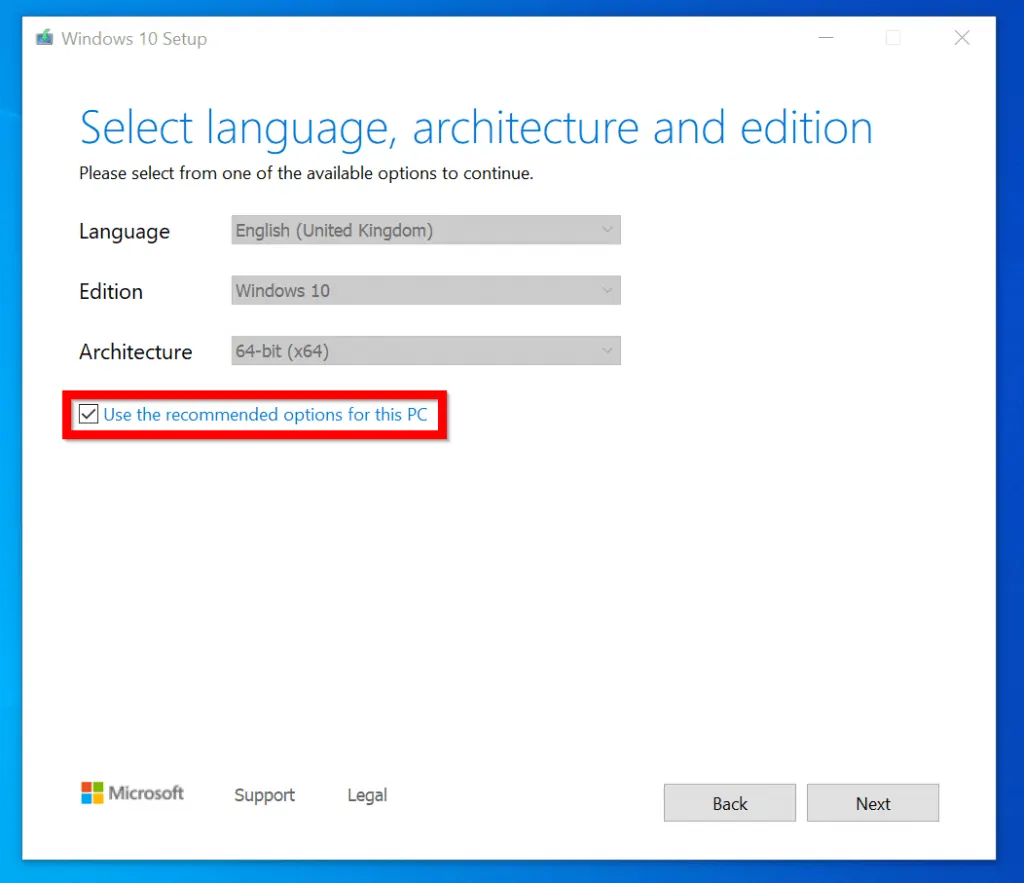
- At the Select language, architecture and edition screen, to modify the selected settings uncheck Use the recommended option for this PC. Then select your preferred Language, Edition and Architecture and click Next.
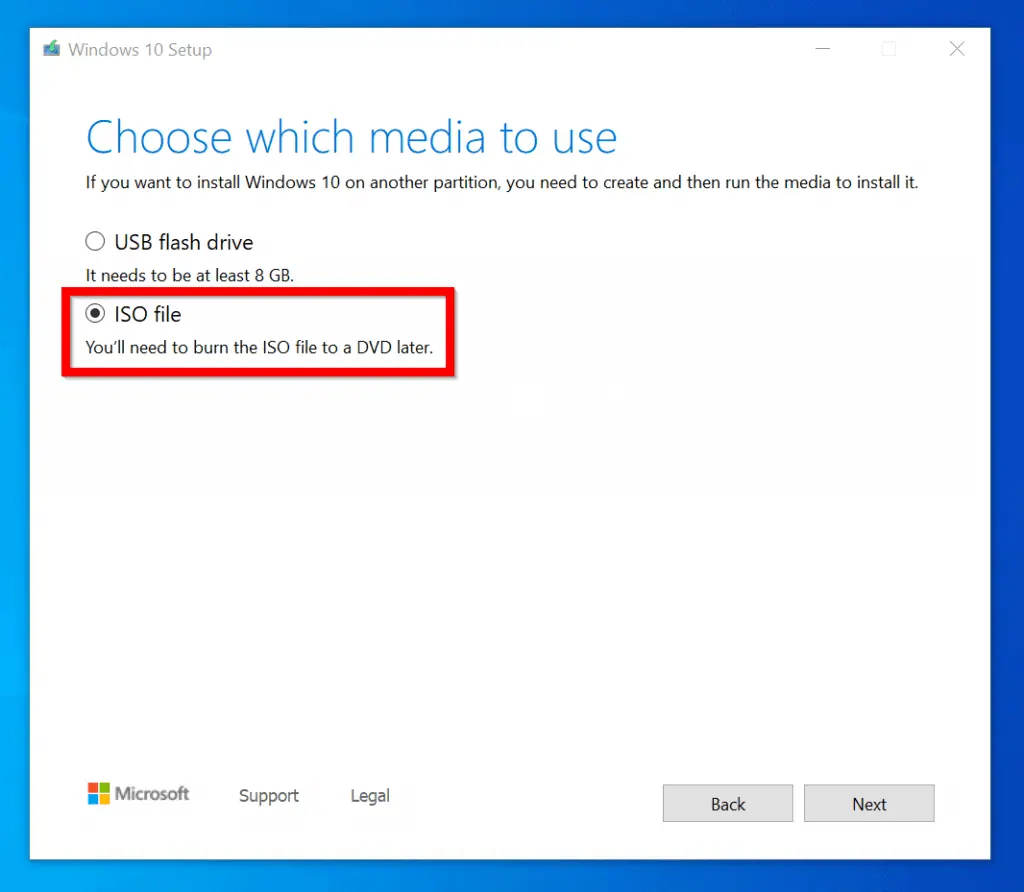
- When the Choose which media to use screen opens, select ISO file. Then click Next.
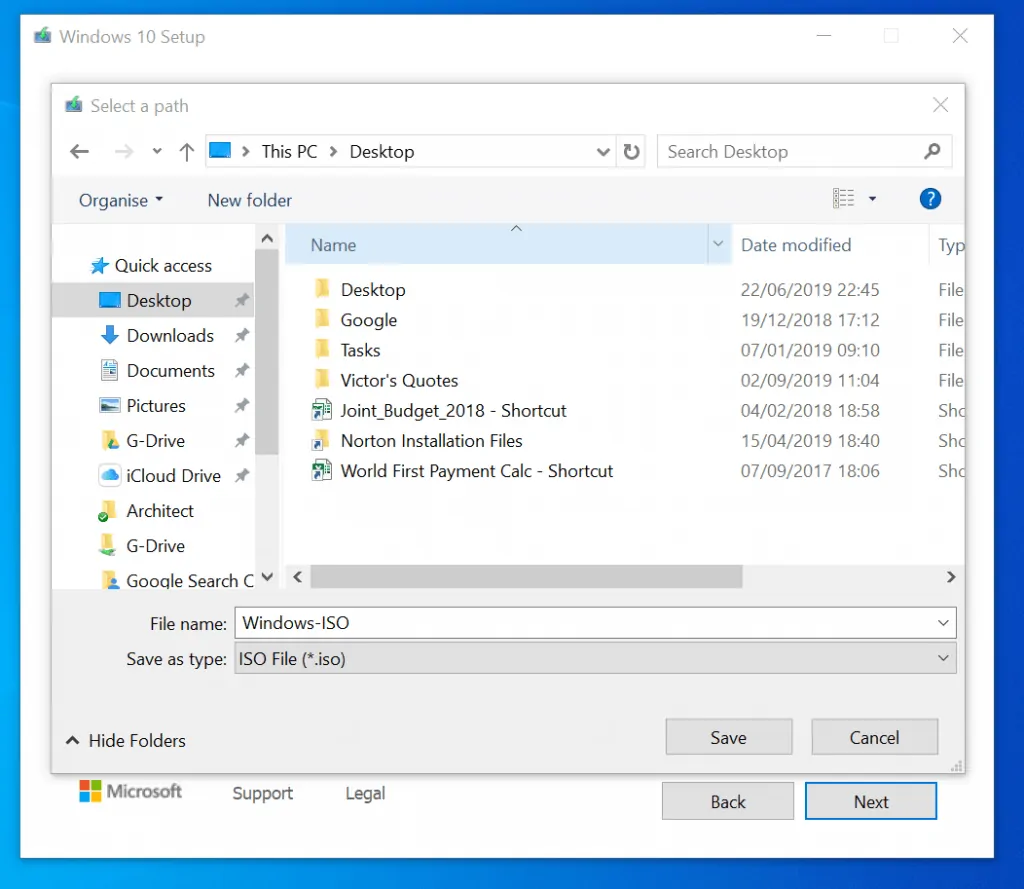
- Select a location to save the ISO file. Then give the file a name and click Save.
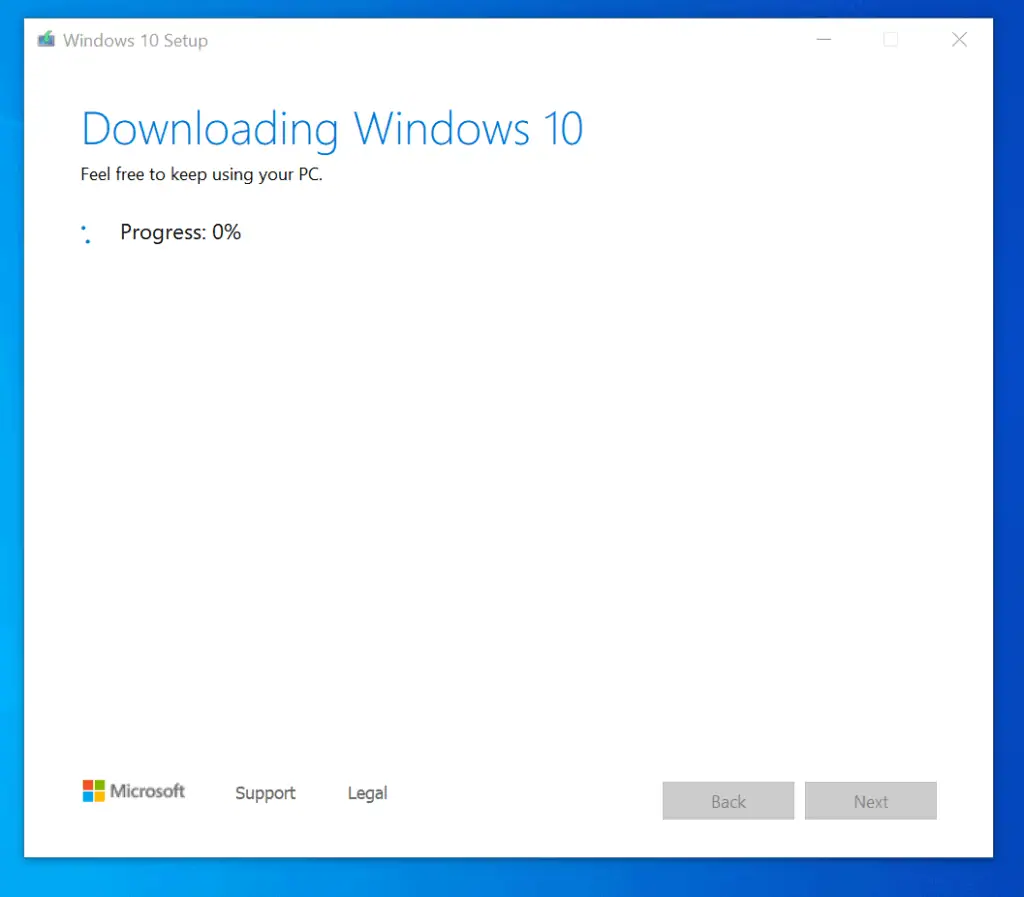
- The ISO file download will start..
Conclusion
It is that easy to get your hand on a Windows 10 ISO! If you want to burn the ISO to a DVD, simply right-click the ISO file and then select Burn.
You could also mount the image. If you rather mount it, right-click the file and select Mount. The file will mount on your PC like a normal DVD. You should be able to open and access it like a normal DVD.
If you are Upgrading Windows 7 to Windows 10, this option should work perfectly without requiring to burn the ISO to a DVD drive.
If you found this article helpful, kindly spare 2 minutes to share your experience by responding to the “Was this page helpful?” question below.
Want more Windows guides? Visit our Windows How To page.


![How To Run Sysprep (Generalize) In Windows 10 [2 Methods]](https://www.itechguides.com/wp-content/uploads/2022/05/8-2.webp)