Do you experience the “your computer’s trusted platform module has malfunctioned” error in Windows 11? This article features several solutions to resolve the issue.
Option 1: Prepare the TPM
In some cases, preparing TPM fixes this error in Windows 11. To do so, follow the steps below.
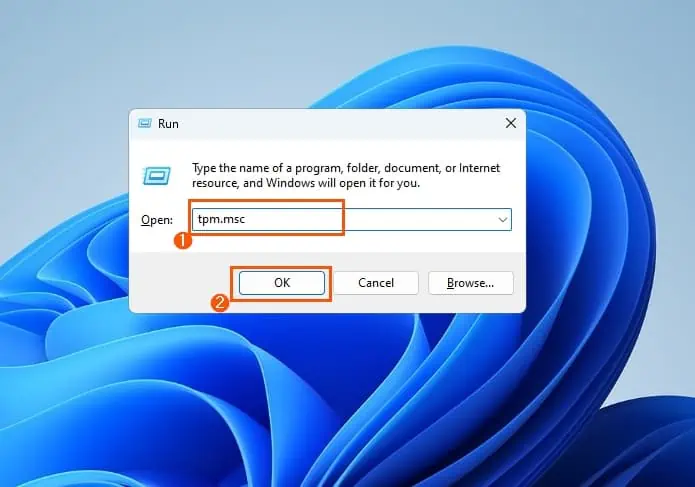
- Launch the Run dialogue box by pressing the Windows key + R simultaneously. After that, type “tpm.msc” in the Run input field, then click the OK button.
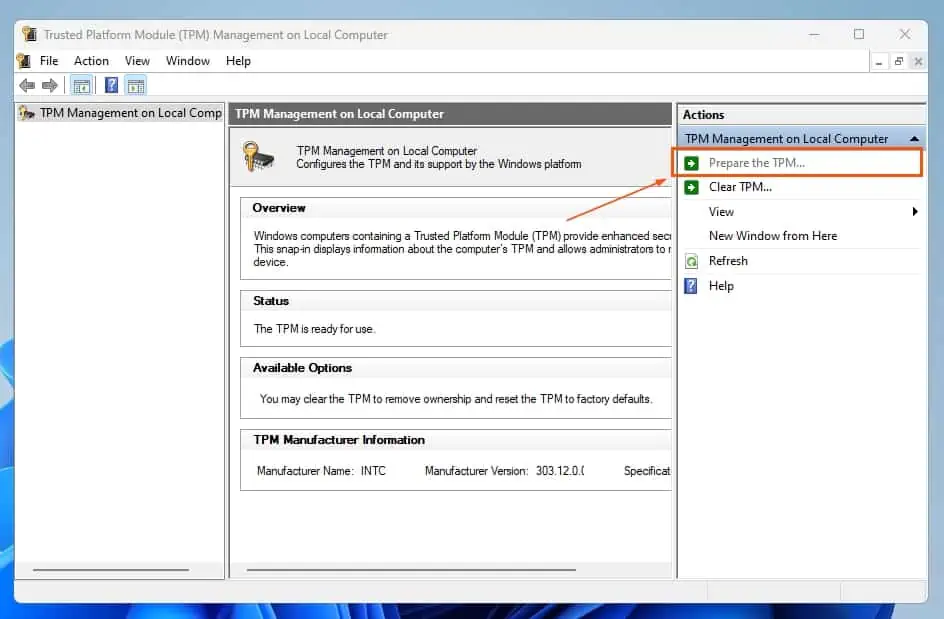
- In the Trusted Platform Module (TPM) Management on Local Computer window, click Prepare the TPM… on the Action panel.
- After doing all that, follow the prompt and restart your computer. Hopefully, that resolves the issue.
Otherwise, check out the other solutions below.
Option 2: Update or Reinstall the TPM Driver
A corrupt or outdated TPM driver sometimes causes this error in Windows 11. If that’s the case, updating or reinstalling the driver should fix the issue.
The sub-sections below will demonstrate how to update or reinstall the TPM driver in Windows 11.
Method 1: Update TPM Driver in Windows 11
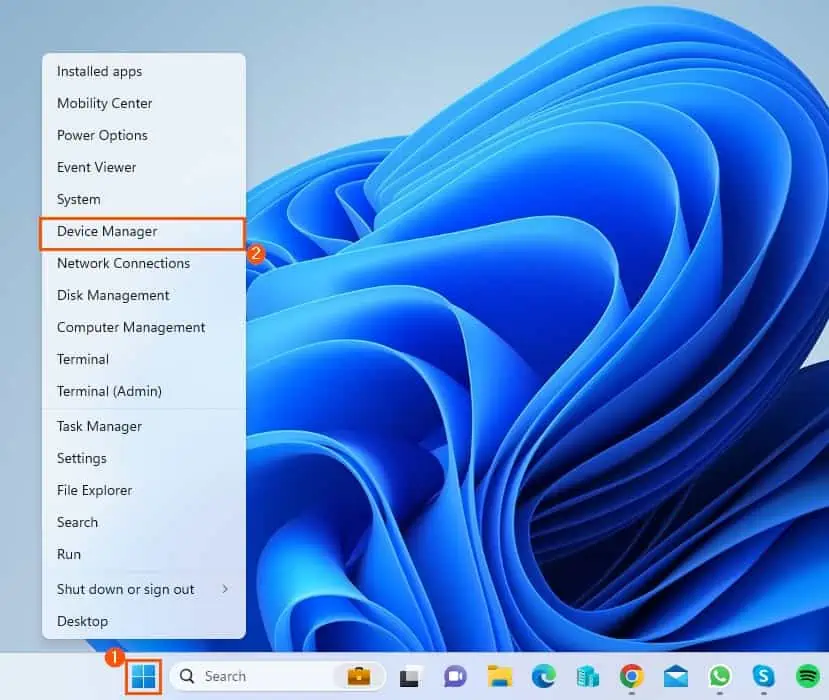
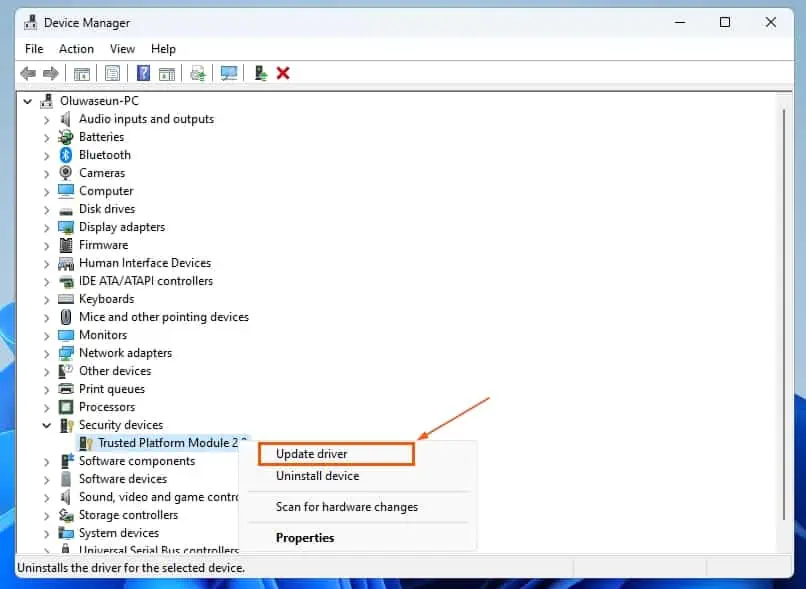
- Right-click the Start button on the Windows 11 taskbar. Then, select Device Manager from the displayed options.
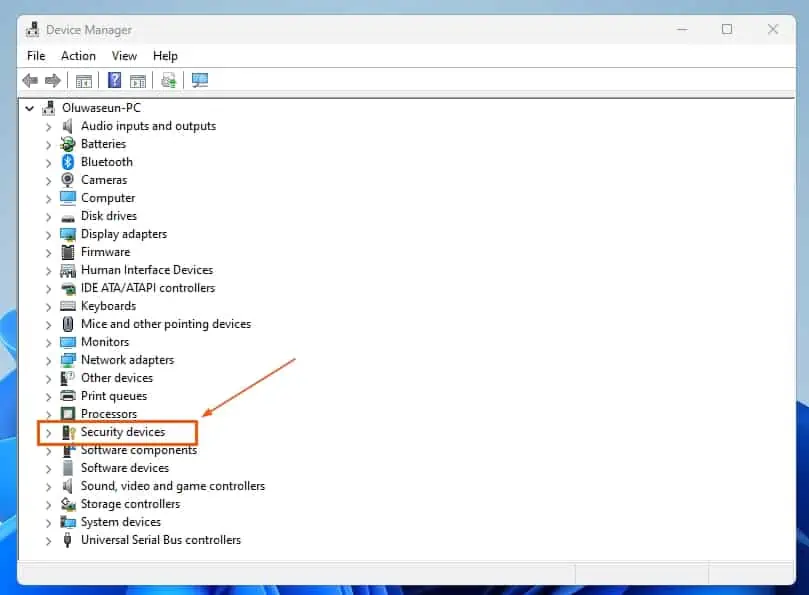
- Following that, double-click Security devices in the Device Manager to expand it.
- Afterward, right-click Trusted Platform Module 2.0 under Security devices, then select Update driver from the displayed options.
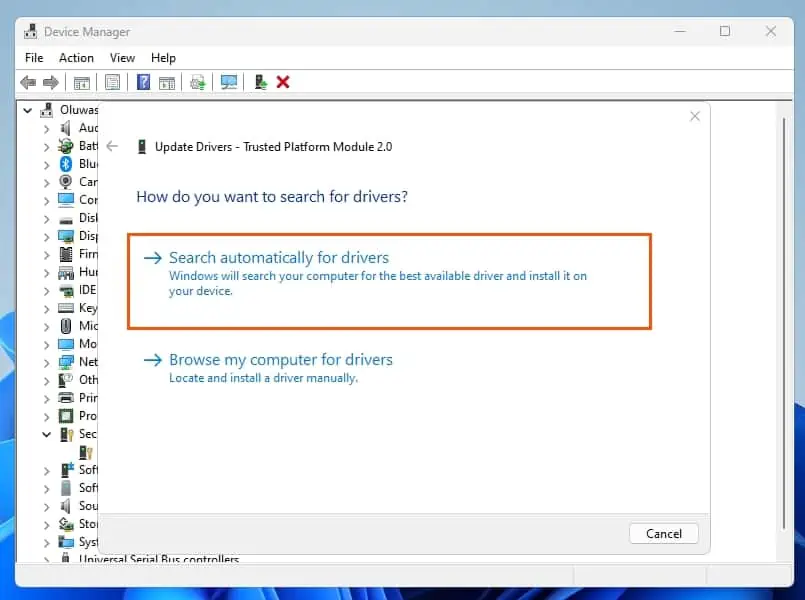
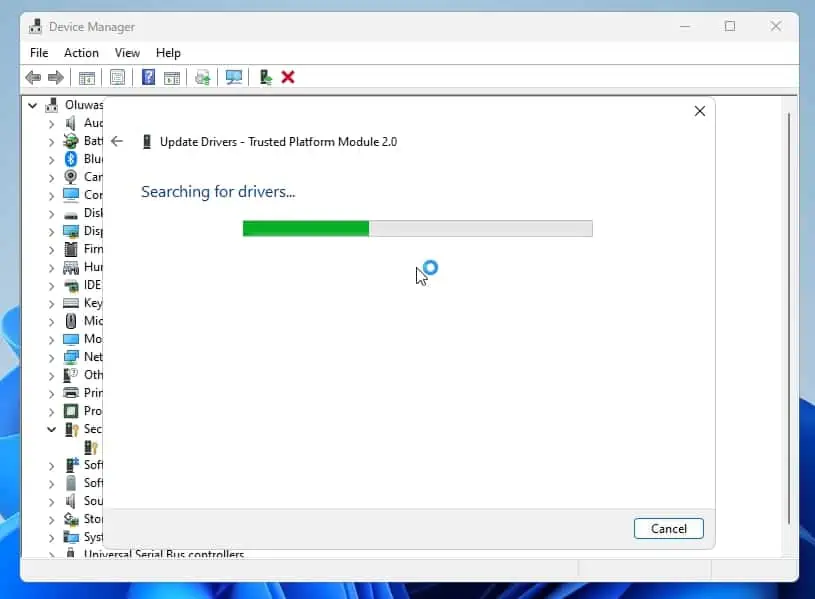
- Now, click Search automatically for drivers. Hence, Windows will start searching the internet for the latest TPM driver for your PC and automatically install it – see the second screenshot below.
- After you’ve successfully updated the TPM driver, reboot your PC. Hopefully, the issue will be resolved.
Method 2: Reinstall TPM Driver in Windows 11
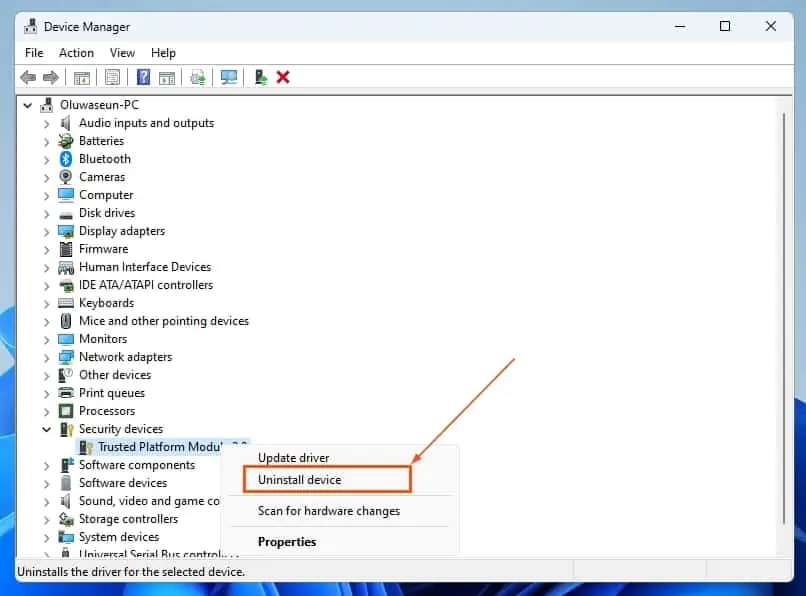
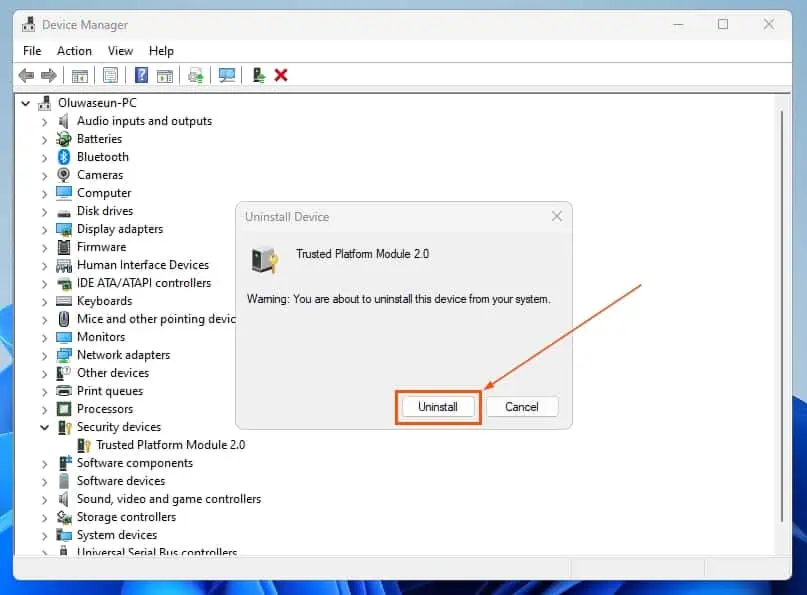
- Replicate steps 1 and 2 in the previous sub-section above. Then, right-click Trusted Platform Module 2.0 under Security devices and select Uninstall device from the displayed options.
- Following that, click the Uninstall button in the prompt that appears.
- After doing all that, restart your PC. Thus, upon restart, Windows will automatically reinstall the TMP driver and potentially fix the error.
Option 3: Disable ADAL
Several individuals reported that disabling ADAL (Azure Active Directory Authentication Library) often fixes this error. To do that, follow the procedures below.
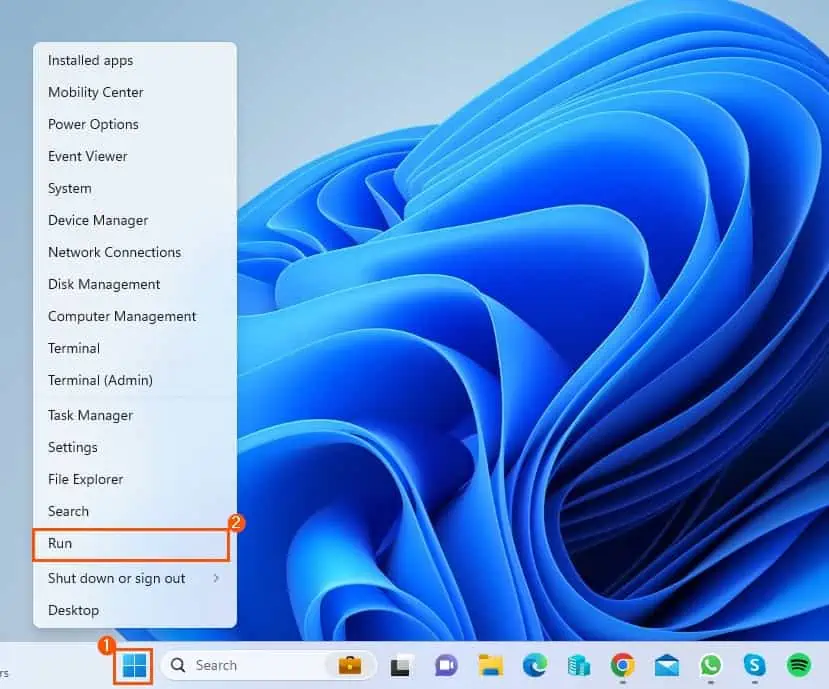
- On the Windows 11 taskbar, right-click the Start button and select Run from the options that appear.
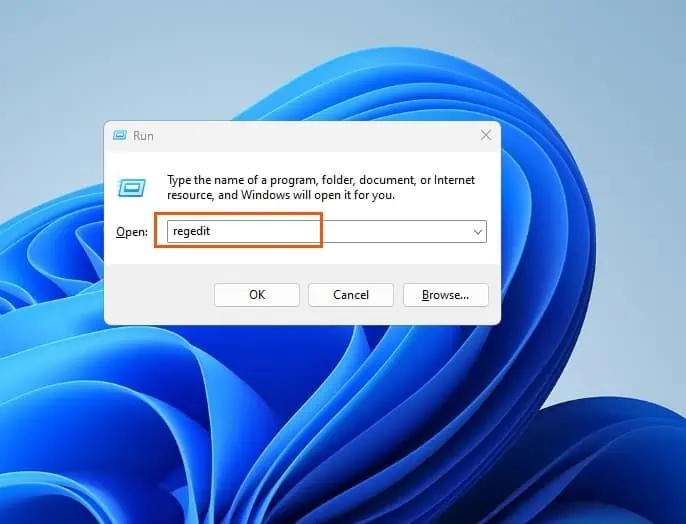
- After that, type “regedit” in the Run input field and press the enter key. Subsequently, a User Account Control prompt will appear, asking for permission to authorize the application to make changes to your computer – click Yes to continue.
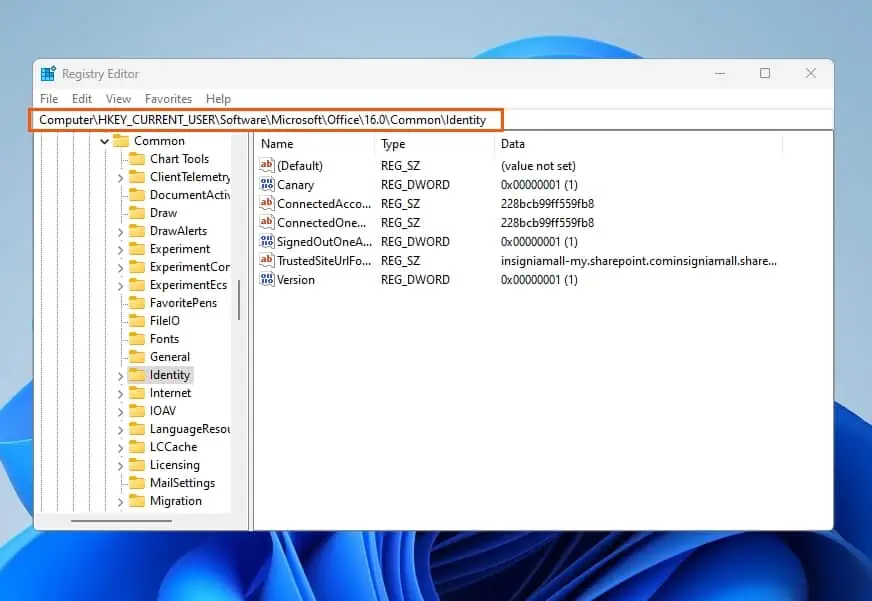
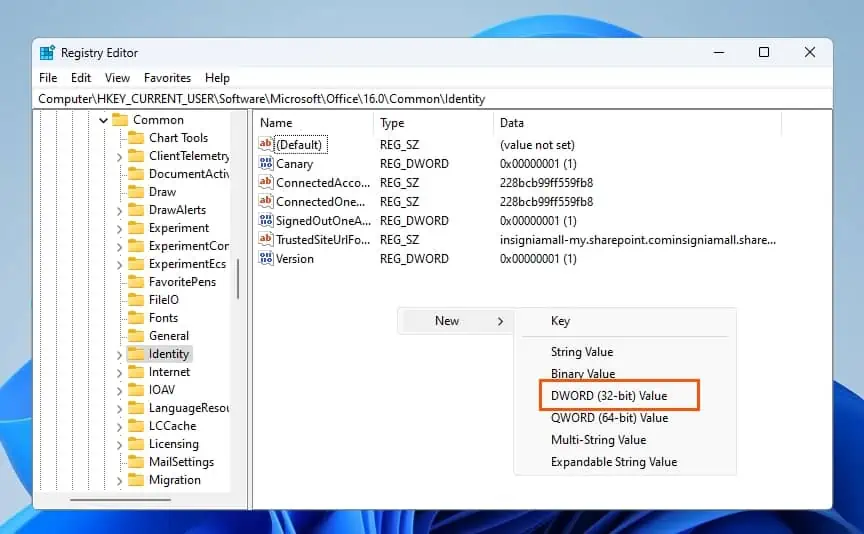
- When the Registry Editor opens, navigate to the following location using the folders on the left pane.
Computer\HKEY_CURRENT_USER\Software\Microsoft\Office\16.0\Common\Identity
- Now, right-click any free area on the right pane, hover your mouse on New, and select DWORD (32-bit) Value.
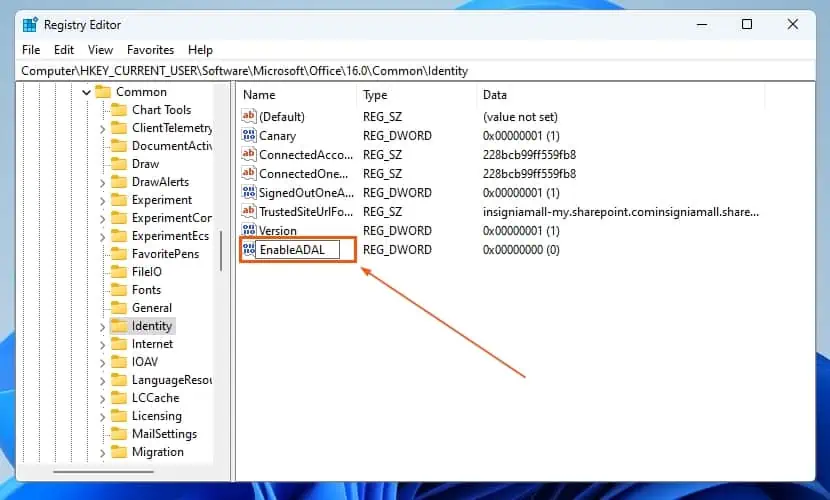
- Following that, rename the new key as “EnableADAL.”
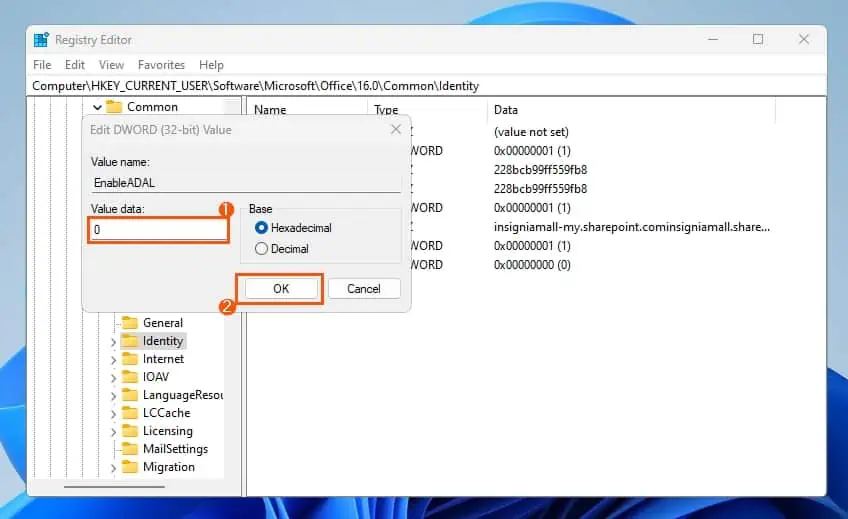
- Afterward, double-click the EnableADAL key to edit it. Then, ensure the Value data is set to “0” and click the OK button.
- Finally, restart your PC, and the issue should be fixed. If this procedure doesn’t fix the error, move on to the last solution below.
Option 4: Clear TPM (Reset the PC’s Security Processor)
Another viable solution to fix this error on your Windows 11 computer is to clear the TPM (Trust Platform Module). However, before doing that, ensure to back up all of your important files.
That being said, observe the following procedures to clear the TPM in Windows 11.
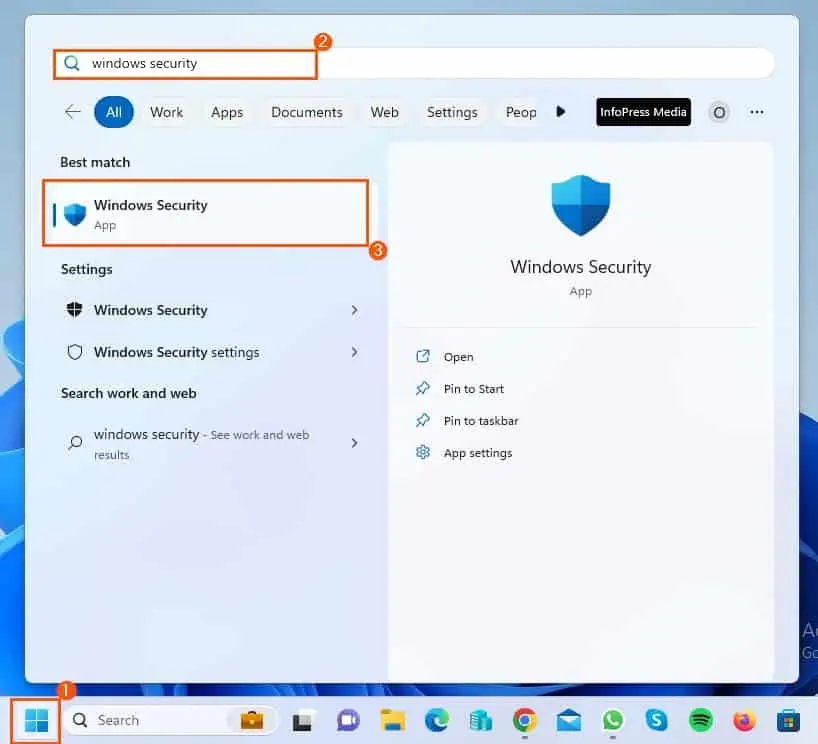
- Click the Start button on the Windows 11 taskbar. Then, input “windows security” in the search field and select the Windows Security app from the search result.
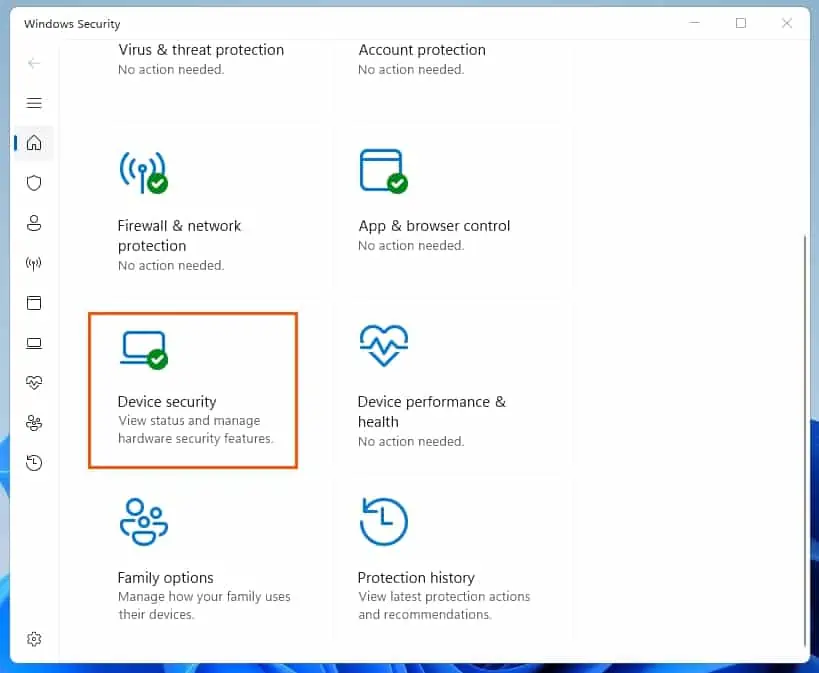
- On the Windows Security window, select Device security from the homepage.
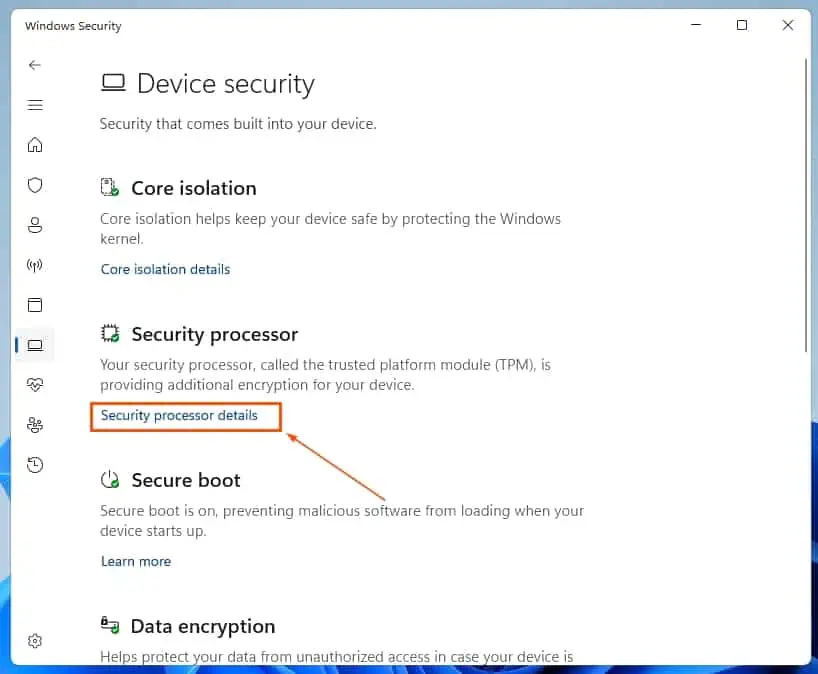
- Now, click the Security processor details link under Security processor.
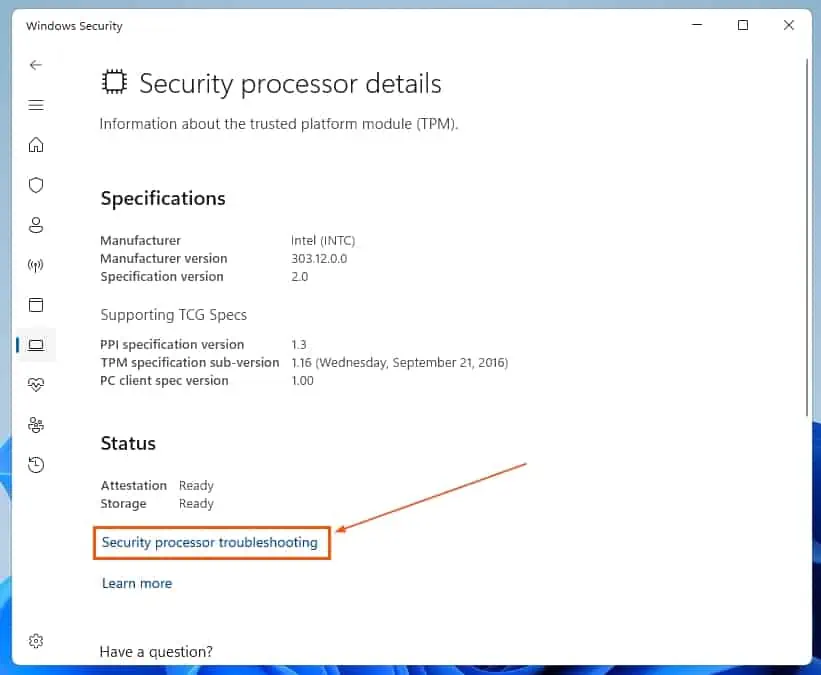
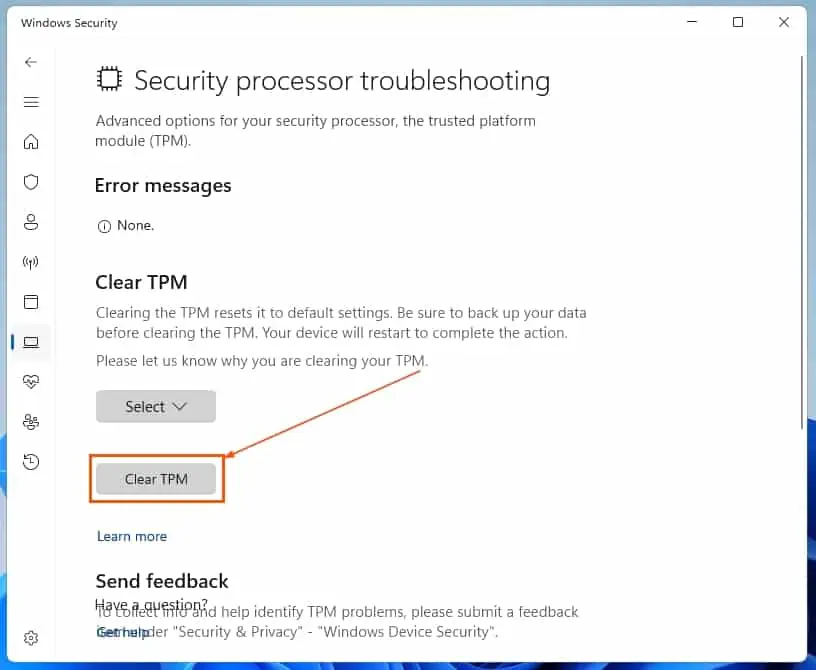
- Following that, in the Status category, click the Security processor troubleshooting link.
- Afterward, click the Select button in the Clear TPM category. Then, choose a reason you want to clear TPM from the list of options that appear.
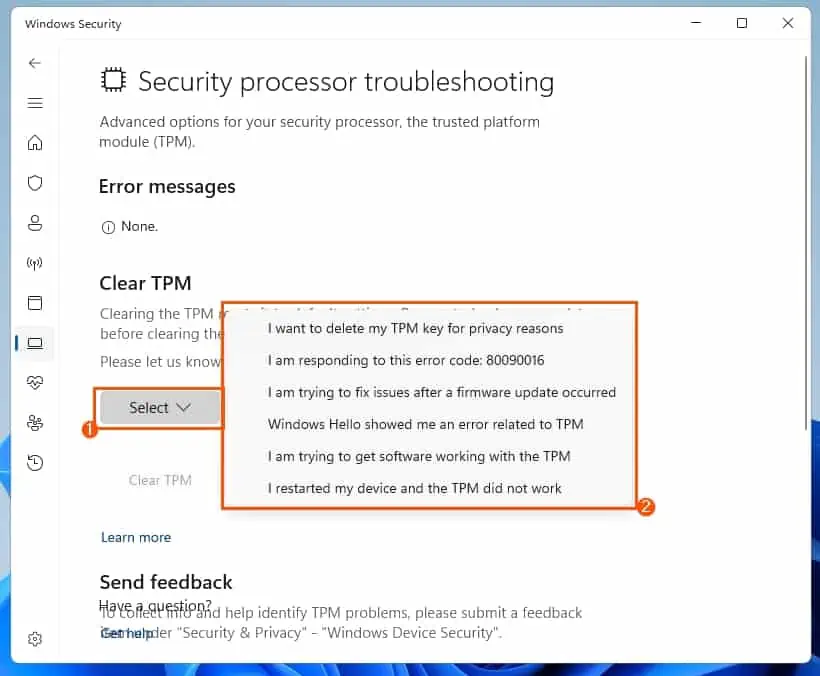
- After doing that, click the Clear TPM button.
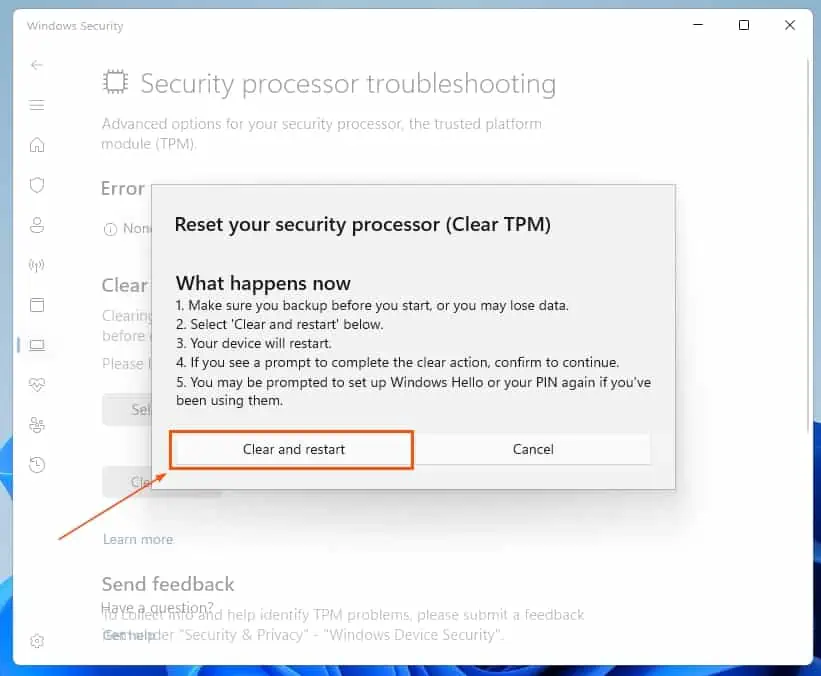
- Consequently, a prompt will appear listing a couple of things that could happen if you clear TPM – click Clear and restart from the prompt. Hopefully, that fixes the problem.
Frequently Asked Questions
The full form of TPM is Trusted Platform Module.
To reset TPM in Windows 11, follow the steps below.
a) Click the Start button on the Windows 11 taskbar.
b) Then, input “Windows Security” in the search field and select the Windows Security app from the search result.
c) On the Windows Security window, select Device security from the homepage.
d) Now, click the Security processor details link under Security processor.
e) Following that, in the Status category, click the Security processor troubleshooting link.
f) Afterward, click the Select button in the Clear TPM category.
g) Then, choose a reason you want to clear TPM from the list of options that appear.
h) After doing that, click the Clear TPM button.
Trusted Platform Module is a piece of hardware that plays a role in ensuring the security of computer systems. It creates an environment specifically designed for tasks like encryption, decryption, and key generation.
Furthermore, TPM chips are usually integrated into the motherboards of modern computers or added as a separate module.
Yes, Windows 11 does support TPM (Trusted Platform Module). As a matter of fact, TPM 2.0 is one of the minimum hardware requirements for Windows 11.
Yes, you can disable TPM. However, it is generally not advisable to disable the Trusted Platform Module (TPM) on your computer.
TPM plays a role in improving the security of your system and safeguarding operations. So, disabling it may potentially expose your system to security threats.
Conclusion
According to several sources, the “your computer’s trusted platform module has malfunctioned” error often occurs with Microsoft Office 365 package. Moreover, encountering the error in Windows 11 can be a concerning issue.
This is because it directly relates to the security and integrity of your computer. Gladly, this article provided several methods to fix the error.
To be specific, we discussed how to resolve the issue by preparing the TPM or clearing the TPM. I also explained how to fix the problem by updating or reinstalling the TPM driver.
That’s not all; we explored fixing the problem by disabling ADAL (Azure Active Directory Authentication Library).
I hope the solutions provided in this article were able to fix this error on your Windows 11 computer. Share your opinions with us through the “Leave a Reply” form situated at the bottom of this page.
Alternatively, you can respond to the “Was this page helpful?” question below.
To access additional guides for fixing Windows 11 issues, explore our Windows 11 Fix Guides page.