No sound on your Windows 11 computer? Not to worry, this guide comprises numerous solutions to fix this problem.
Solution 1: Disable Enhance Audio Feature
According to multiple reports, disabling the Enhance audio feature in Windows 11 mostly fixes this issue. To disable this feature on your computer, follow the procedures and screenshots below.
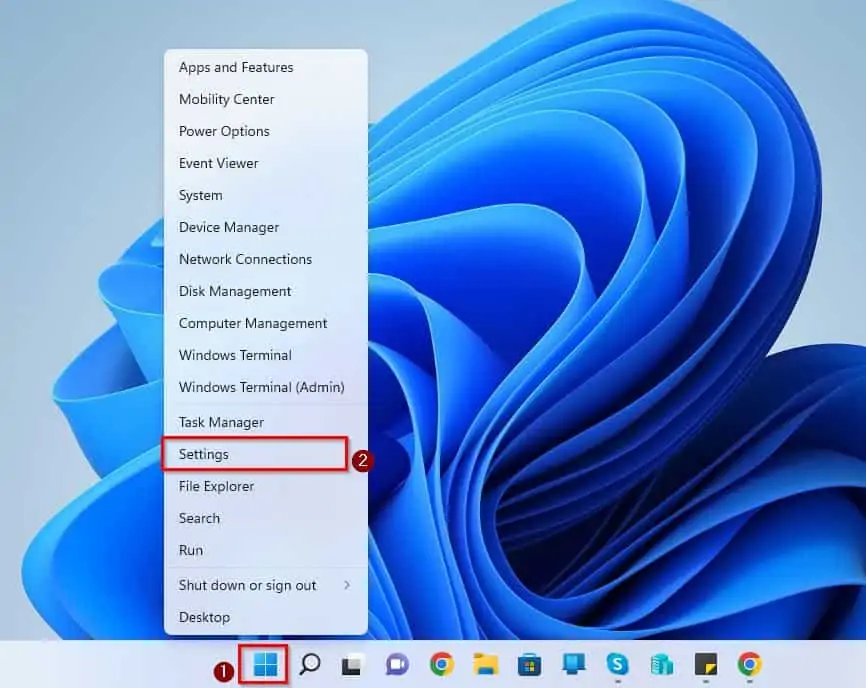
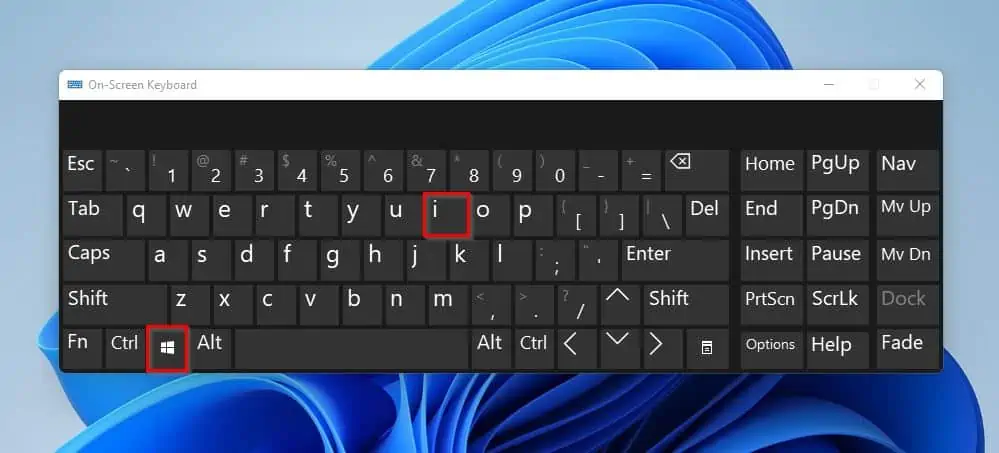
- Right-click the Windows 11 Start menu button on the taskbar, then click Settings from the displayed options. You can also use the Windows key + I keyboard shortcut to open Settings on your Windows 11 PC.
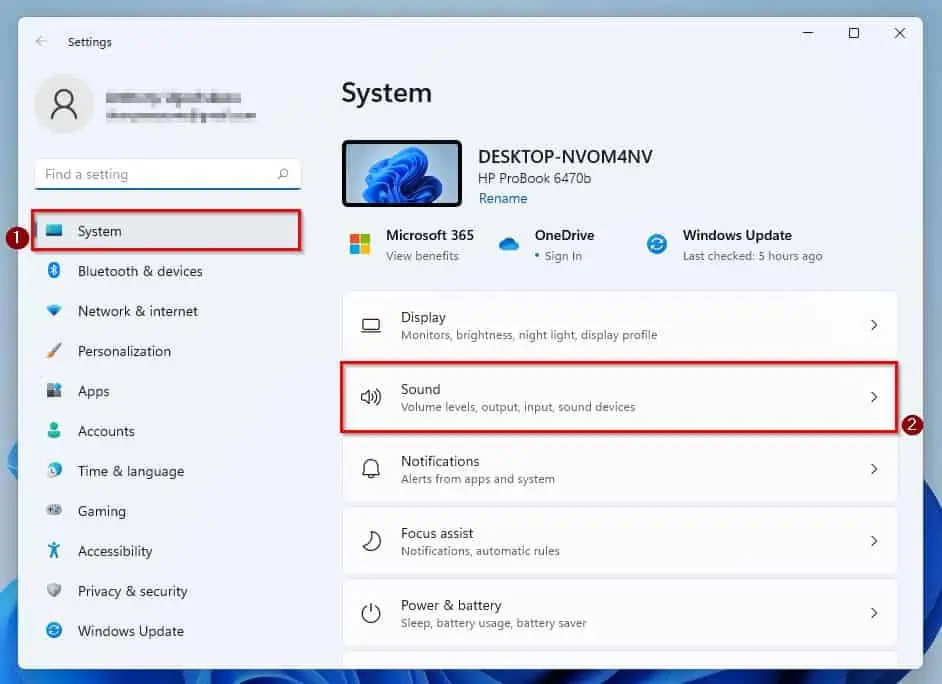
- Then, ensure you are on the System tab in the Settings window. Next, select Sound on the right pane of the window.
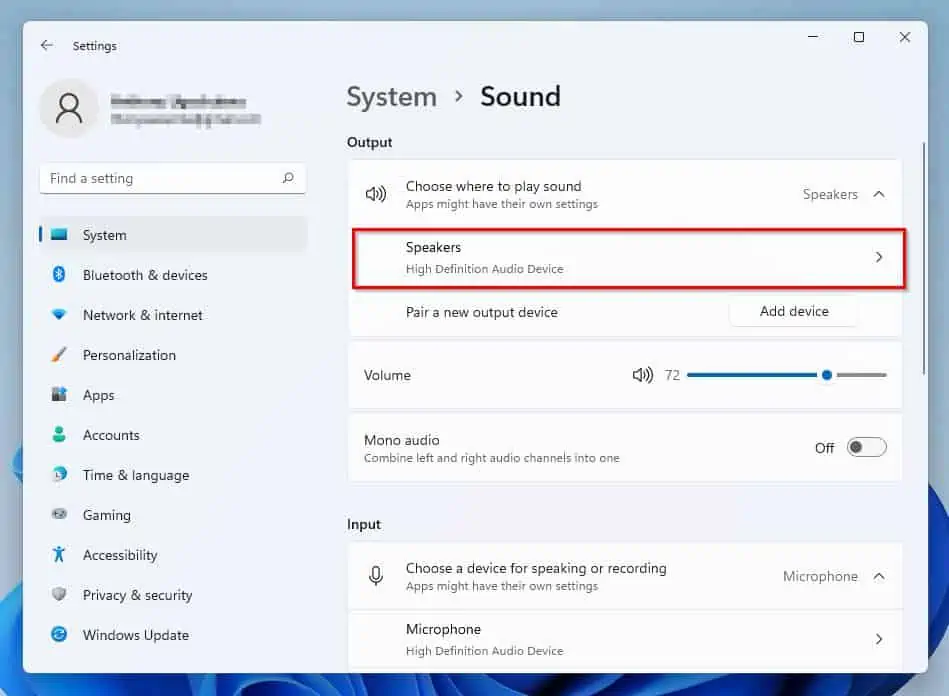
- Following that, select Speakers under the Output category on the right pane.
- Afterward, make sure the toggle opposite Enhance audio is turned off. After doing that, check if this sound problem has been fixed on your PC.
If the issue isn’t fixed, move on to the other solutions below.

Solution 2: Reinstall Audio Driver
A corrupt audio driver is another major cause of this problem in Windows 11. Hence, reinstalling the audio driver of your Windows 11 computer should fix the issue.
Follow the steps below to reinstall the audio driver of your Windows 11 PC.
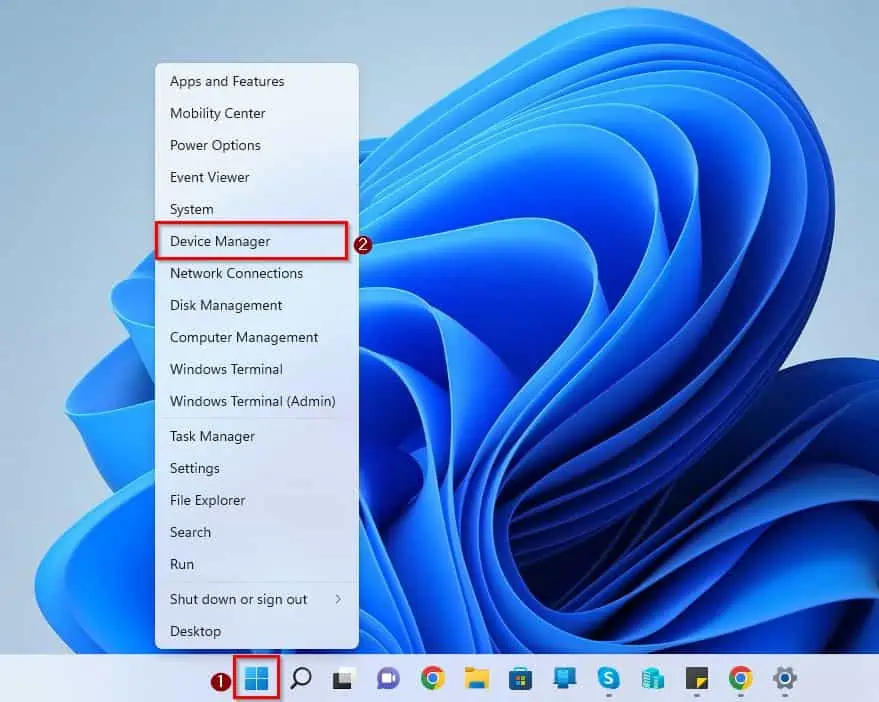
- Right-click the Start menu button in the Windows 11 taskbar, then select Device Manager from the displayed options.
- When Device Manager opens, double-click Audio inputs and outputs to expand it.
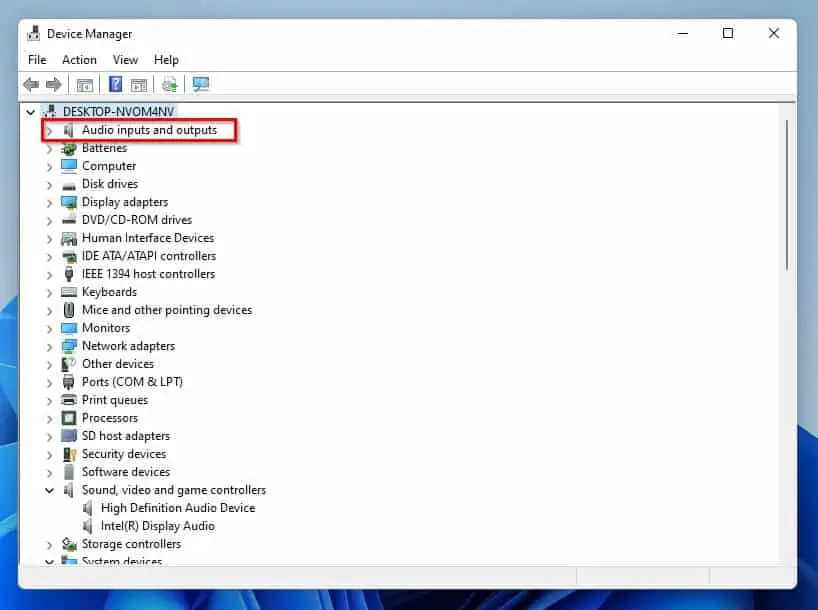
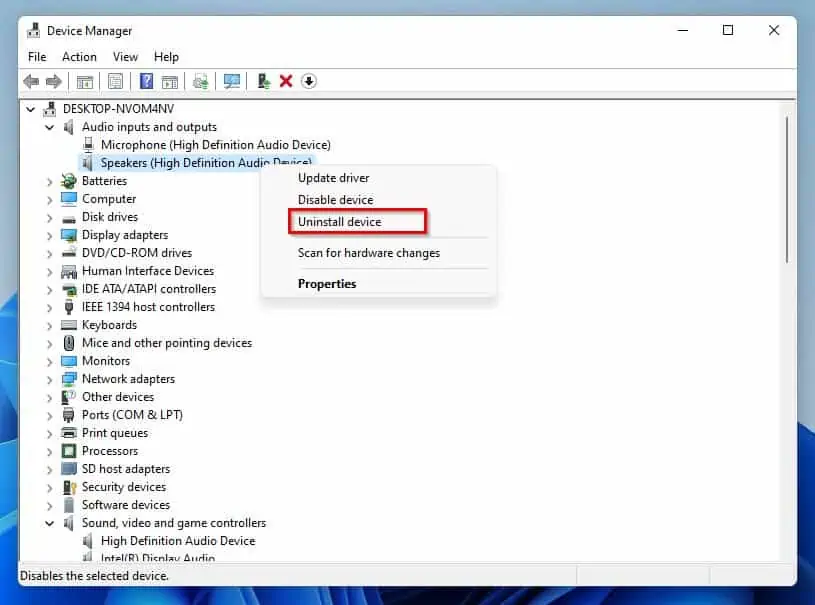
- Then, under Audio inputs and outputs, right-click the audio driver of your computer and select Uninstall device.
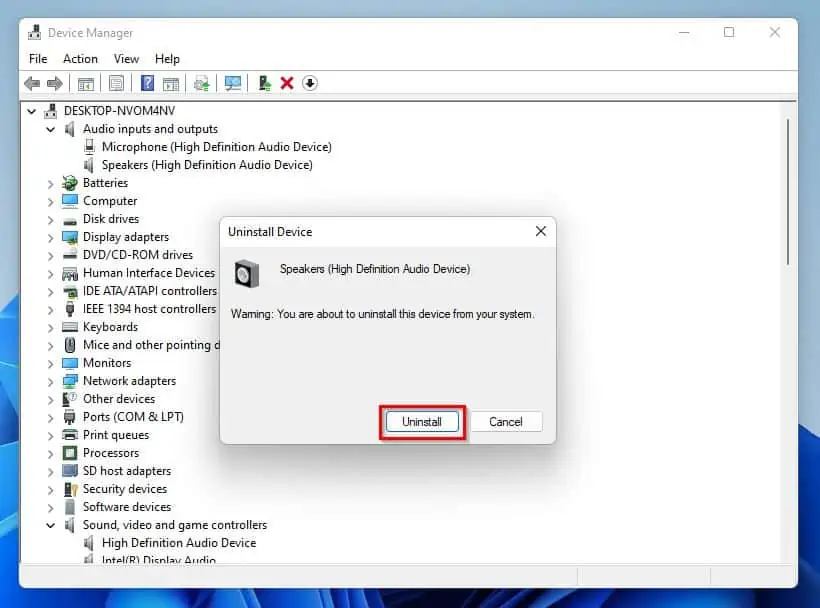
- Consequently, you should receive a prompt saying you are about to uninstall the device from your system. Hence, click the Uninstall button on the prompt to proceed.
- After uninstalling the audio driver, reboot your Windows 11 computer. Therefore, upon restart, Windows will automatically reinstall the audio driver on your computer.
Hopefully, that fixes this problem on your PC. If it doesn’t, check out the remaining solutions in the sections below.
Solution 3: Restart Windows Audio Service
Another solution to fix this problem on your Windows 11 computer is to restart the Windows audio service. The following procedures and screenshot demonstrate how to accomplish that.
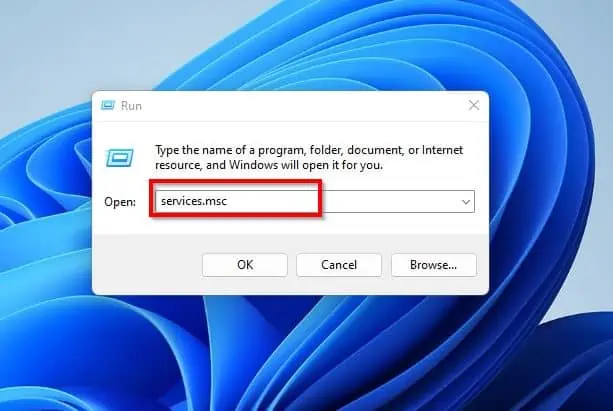
- Use the Windows key + R keyboard shortcut to launch the Run dialog. After that, input “services.msc” (without the quotes) in the Run dialog input field and press the enter key.
- Next, locate the Windows Audio service in the Services window. Then, right-click the service and select Restart from the options that appear.
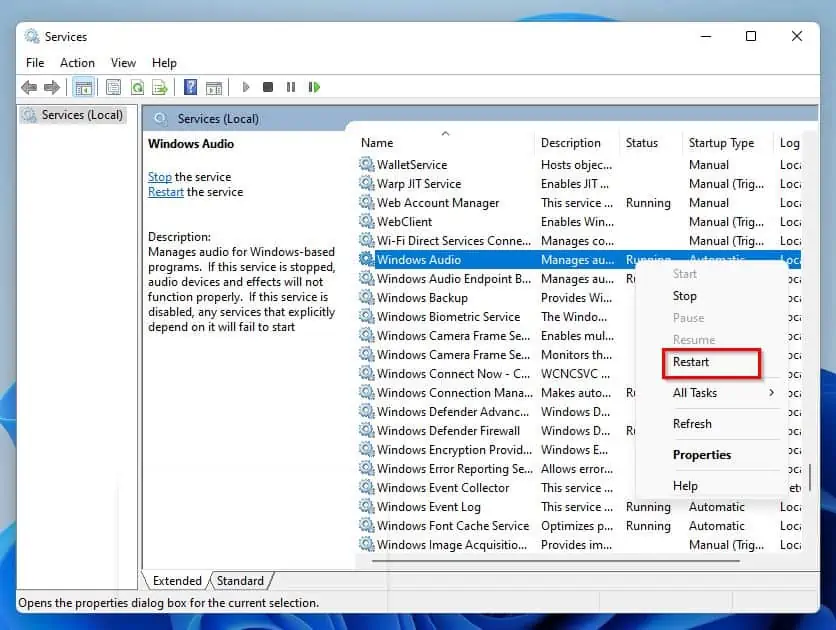
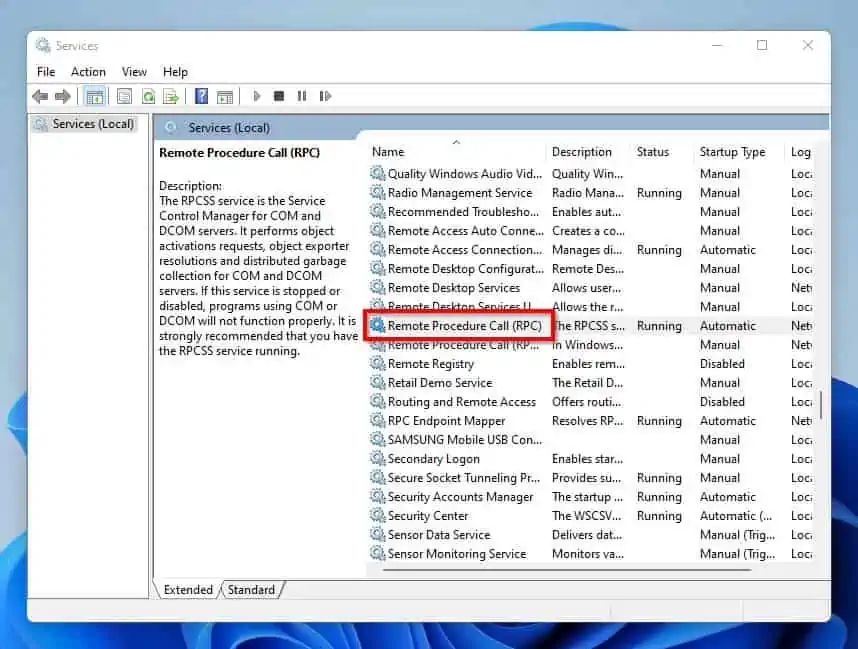
- Repeat step 2 for the Windows Audio Endpoint Builder service and Remote Procedure Call (RPC) service.

- After doing that, restart your computer. Optimistically, this sound issue should be resolved on your Windows 11 PC.
Otherwise, try the final solution of this guide below.
Solution 4: Run Windows Update
In some cases, bugs or glitches in the current version of the Windows 11 OS running on your PC can be the cause of this issue. If that’s the case, executing the Windows update on your Windows 11 computer should fix the problem.
The following procedures illustrate how to execute Windows update in Windows 11.
- Press the Windows + I keys to open Settings on your Windows 11 computer.
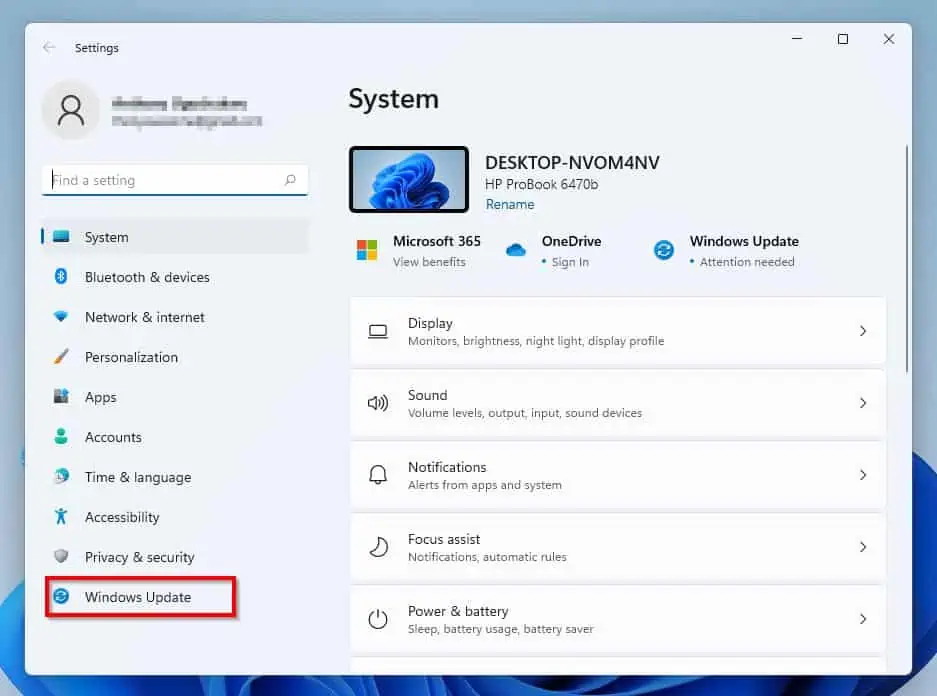
- When Settings opens, click Windows Update among the options on the left pane.
- Thereafter, click the Check for updates button on the Settings window’s right pane.
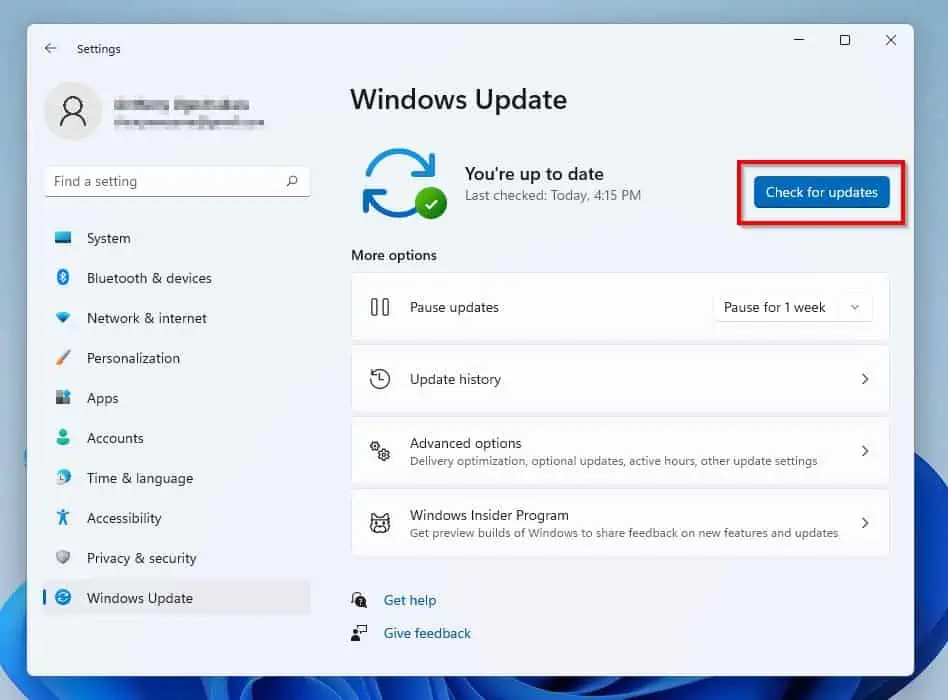
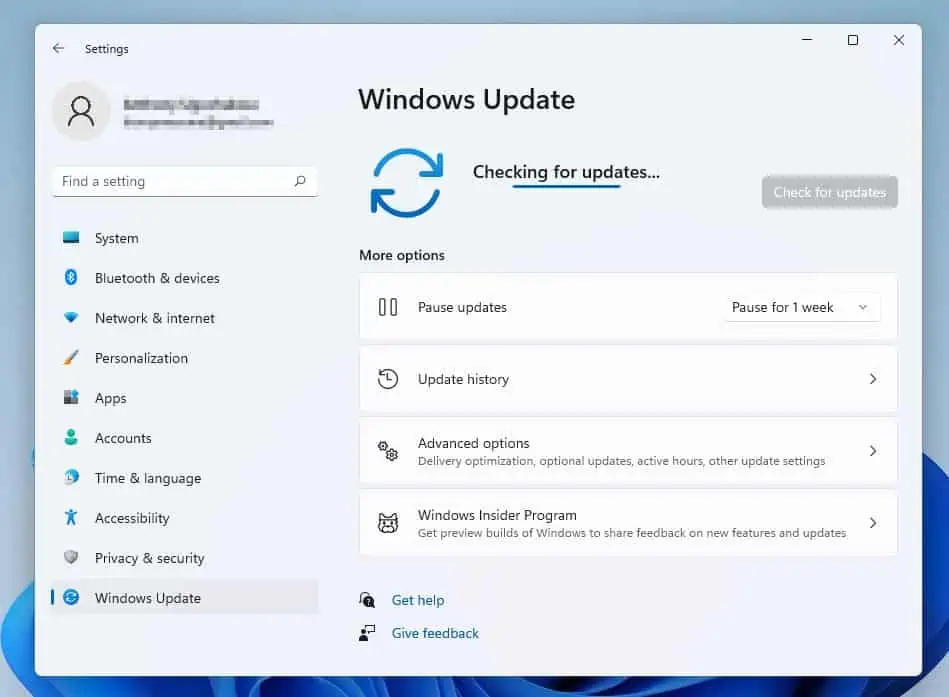
- Consequently, Windows will start checking the internet for available updates. If Windows find any available update for your Windows 11 computer, you will be prompted to install it.
- After updating your PC, restart it. Hopefully, this sound problem will be fixed.
Frequently Asked Questions
a) Use the Windows key + A to access the quick settings panel.
b) In the quick settings panel, you will find the volume slider. Therefore, drag the slider left or right to adjust the volume of your Windows 11 PC.
An audio driver is a software that allows an operating system to interact with audio devices like sound cards, speakers, headsets, and microphones.
There is a majority of reasons that can cause this issue in Windows 11. However, a major cause is a corrupt or outdated audio driver.
Absolutely! As long as your Windows 11 PC features Bluetooth, you can successfully connect a Bluetooth soundbar.
Yes, the Windows 11 OS features a startup sound.
Conclusion
Most people don’t buy a computer mainly because of the sound system. However, I am sure no one wants a computer with a faulty sound system or no sound at all.
Gladly, this guide taught us multiple ways to fix Windows 11 with no sound. Essentially, we learned how to resolve this issue by disabling the Enhance audio feature and reinstalling the audio driver.
We also discovered how to fix this problem by restarting the Windows audio service and running the Windows update.
I honestly hope the solutions featured in this guide were able to fix this problem on your Windows 11 computer. If they were, click on “Yes” beside the “Was this page helpful” question below.
You may also express your thoughts and opinions by using the “Leave a Comment” form at the bottom of this page.
Finally, for more Windows 11 fix guides, visit our Windows 11 Fix Guides page.