Deploying a Windows Deployment Service in Windows Server 2019 is a 5-step process. Get the detailed steps in this guide.
Step 1: Install the Windows Deployment Services Role
Steps to install WDS in Server 2019:
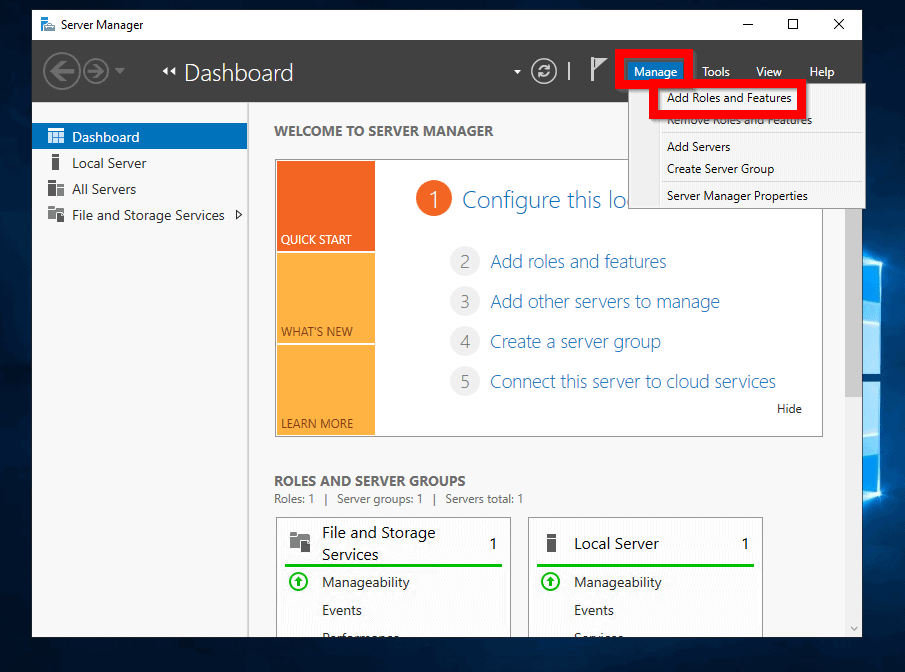
- Login to the server and open Server Manager.
- From Server Manager, click Manage. Then select Add Roles and Features.
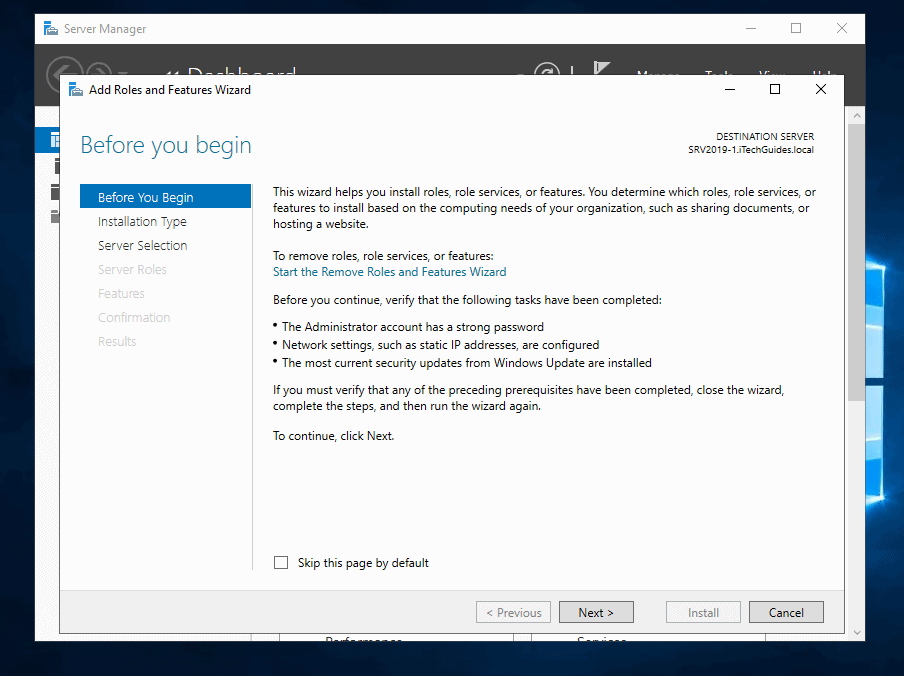
- At Before you begin, click Next.
- Then at Select installation type screen select Role-based or feature-based installation and click Next.

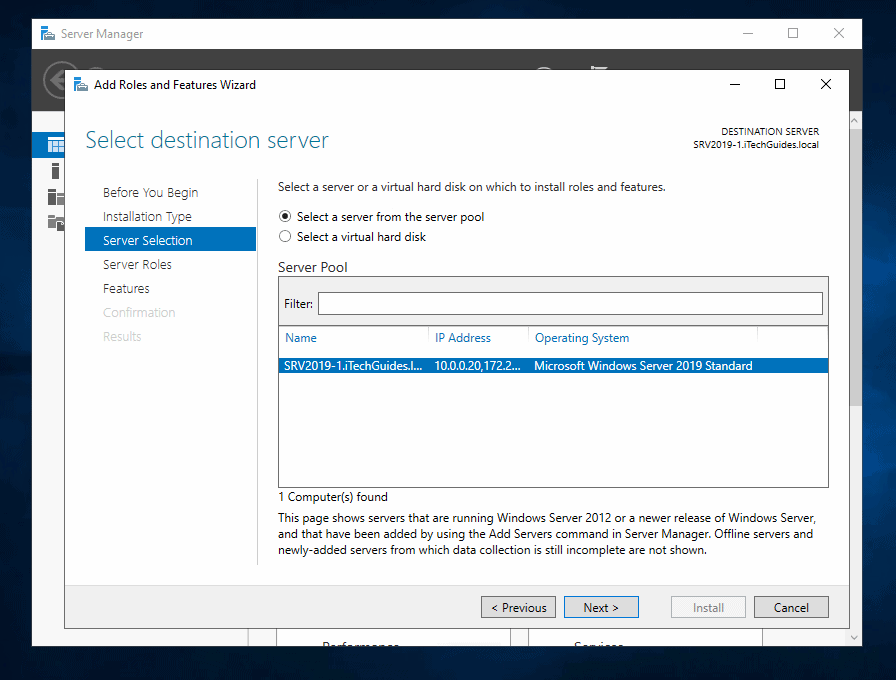
- At this screen, select your server to install the role. Then click Next.
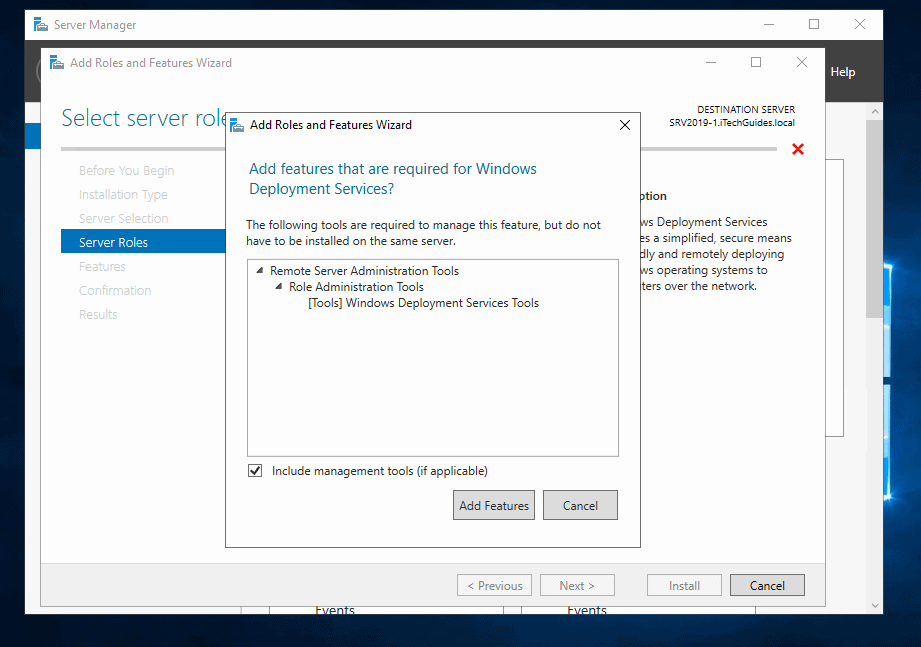
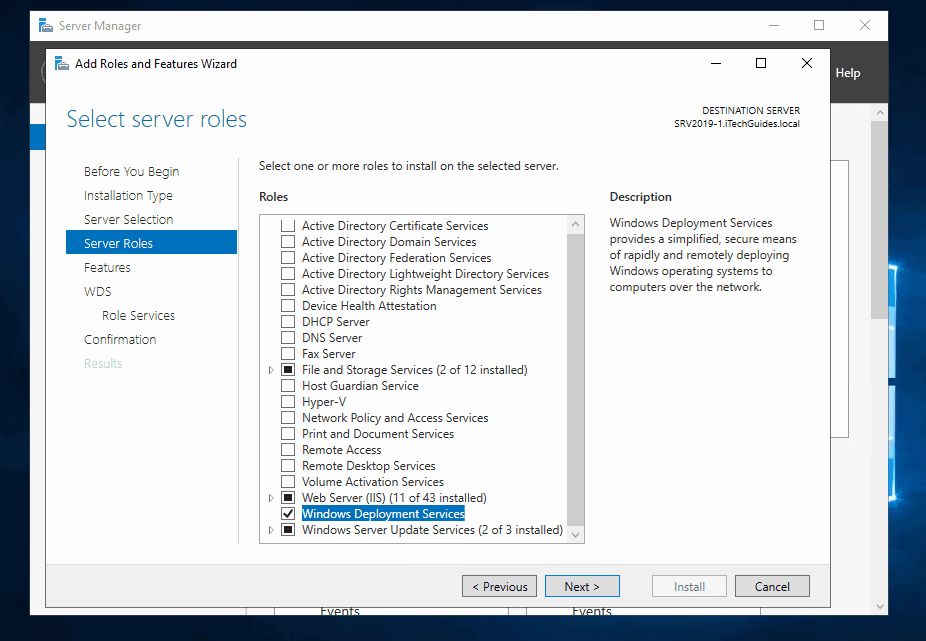
- Then, at the Select server roles screen, check the box beside Windows Deployment Services.

- You will receive a popup to Add features that are required by Windows Deployment Services. Click Add Features.
- Back in Select server roles screen, click Next.
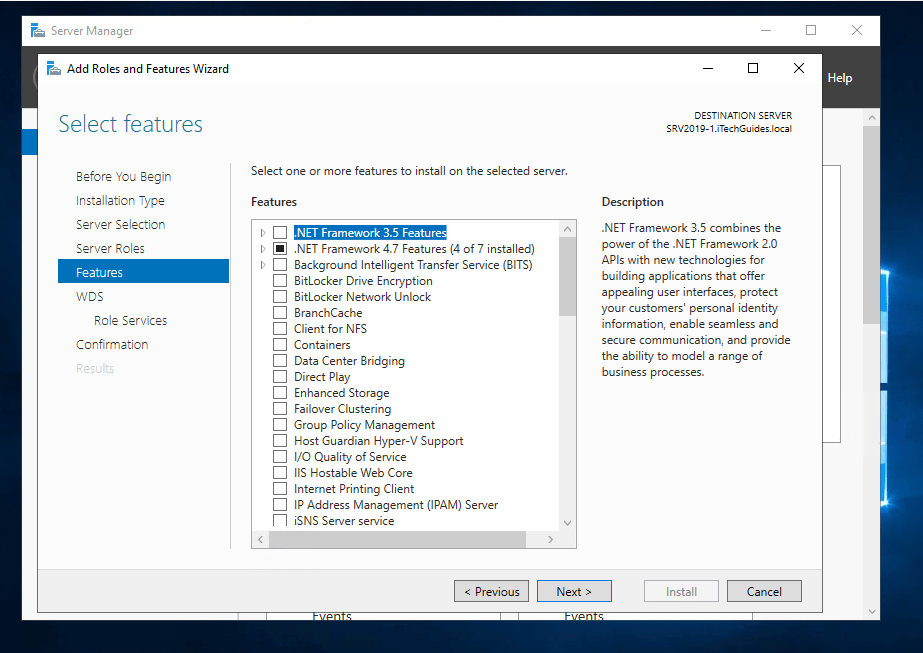
- Then on the Select features screen, click Next.
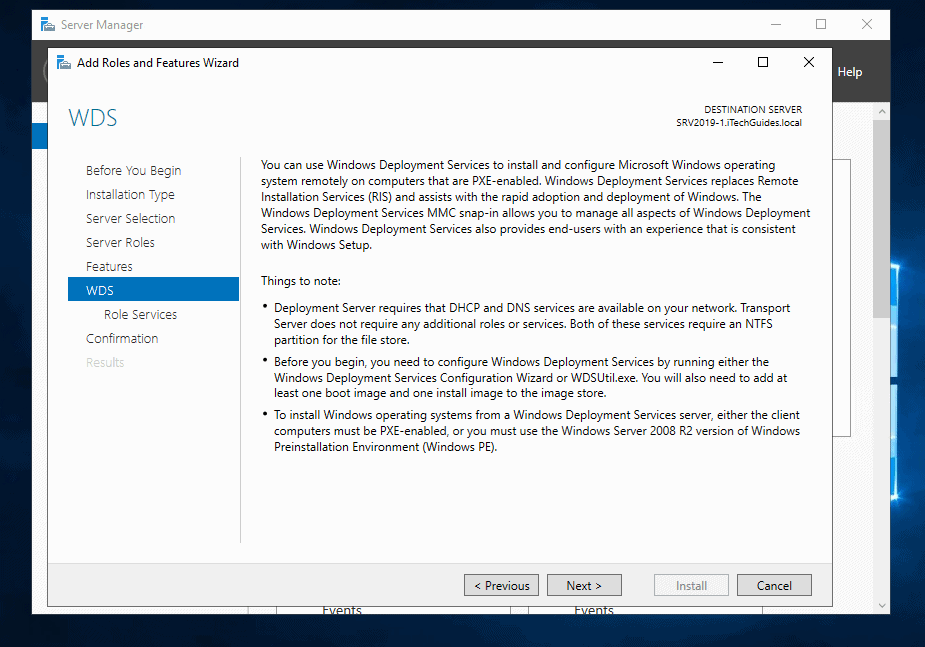
- Read important information about WDS. Then click Next.
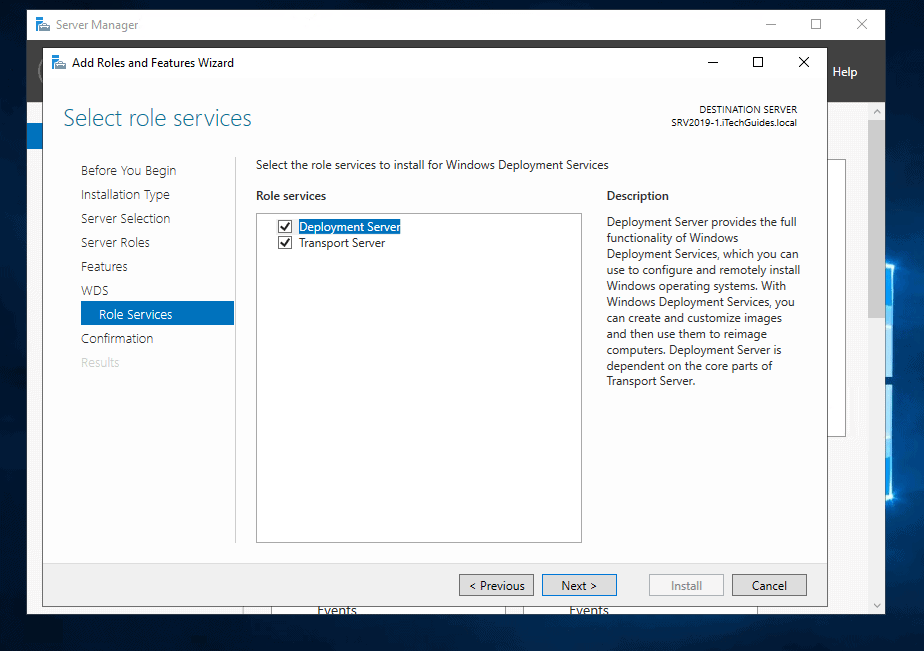
- Then on Select role services, read what each role service does. Leave them checked and click Next.
- Finally, click Install.
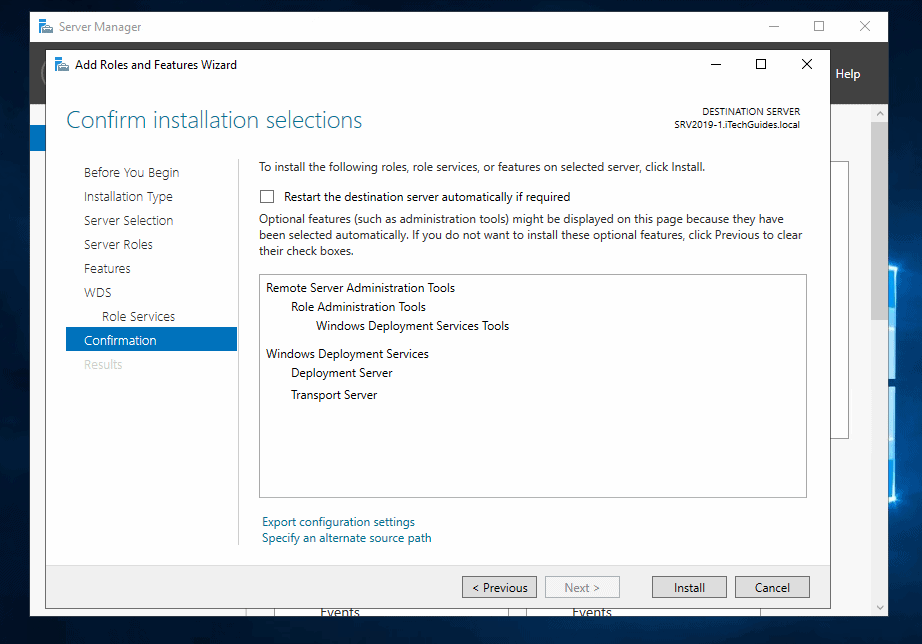
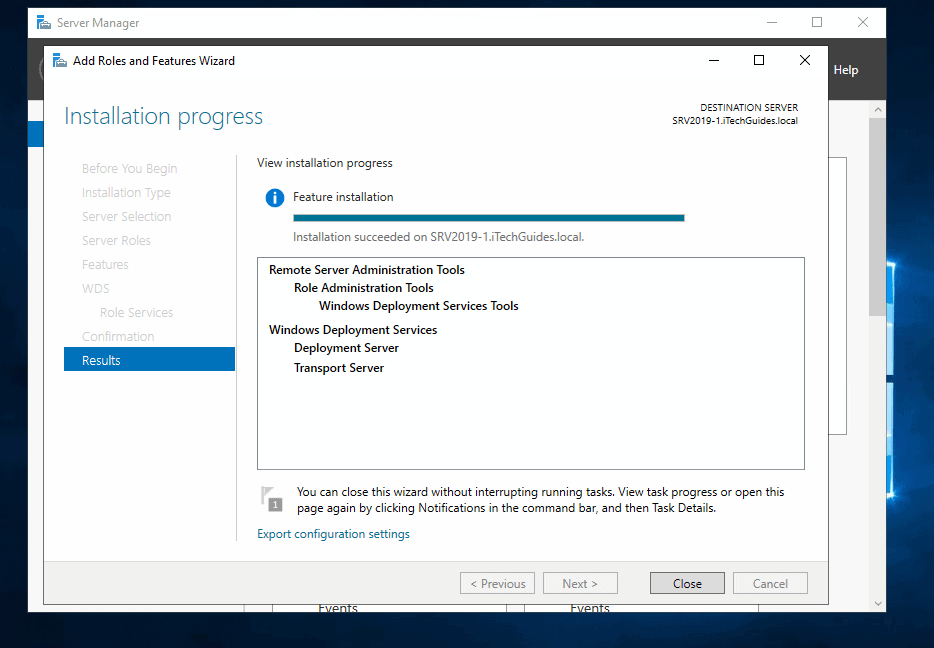
- When the installation is completed successfully, click Close.
Step 2: Configure WDS in Windows Server 2019
Here are the steps to configure WDS:
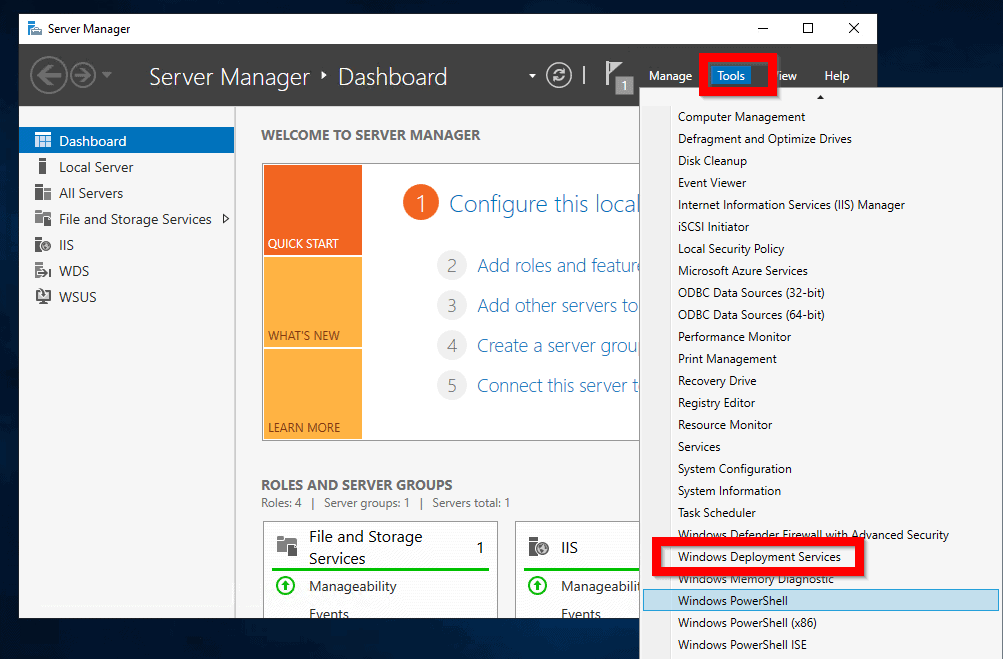
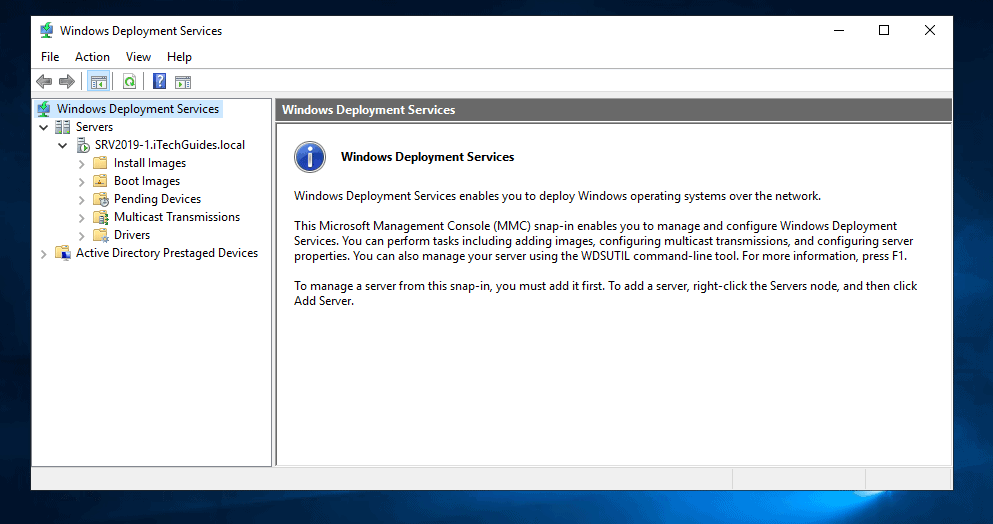
- Still on Server Manager, click Tools. Then select Windows Deployment Services.
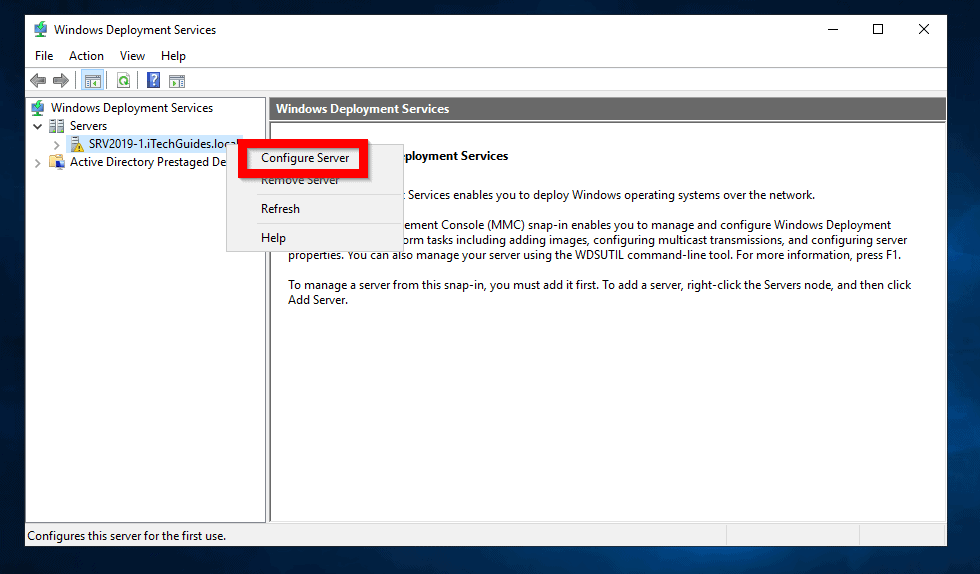
- When Windows Deployment Services console opens, click the right-pointing arrow beside Servers to expand it.
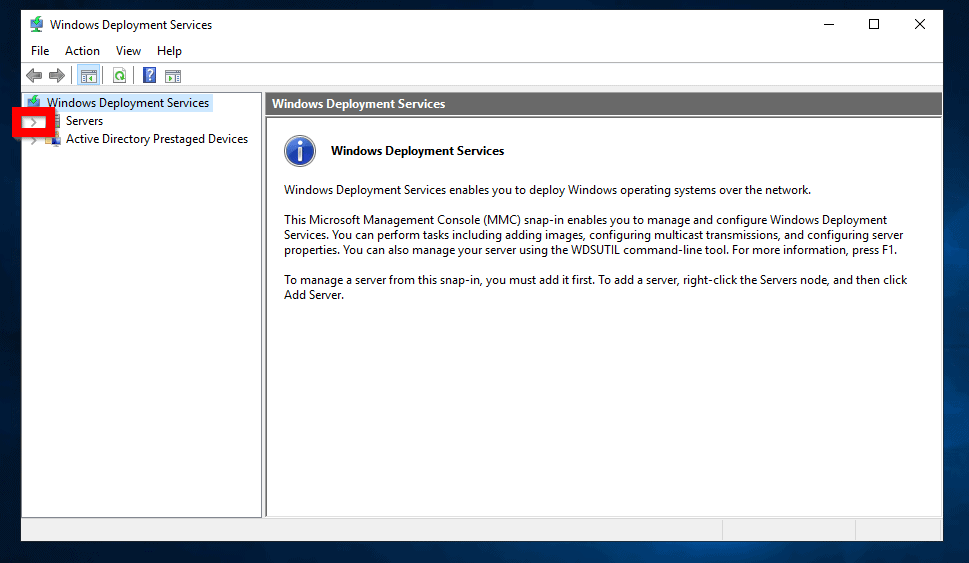
- Then right-click the server name and select Configure Server.
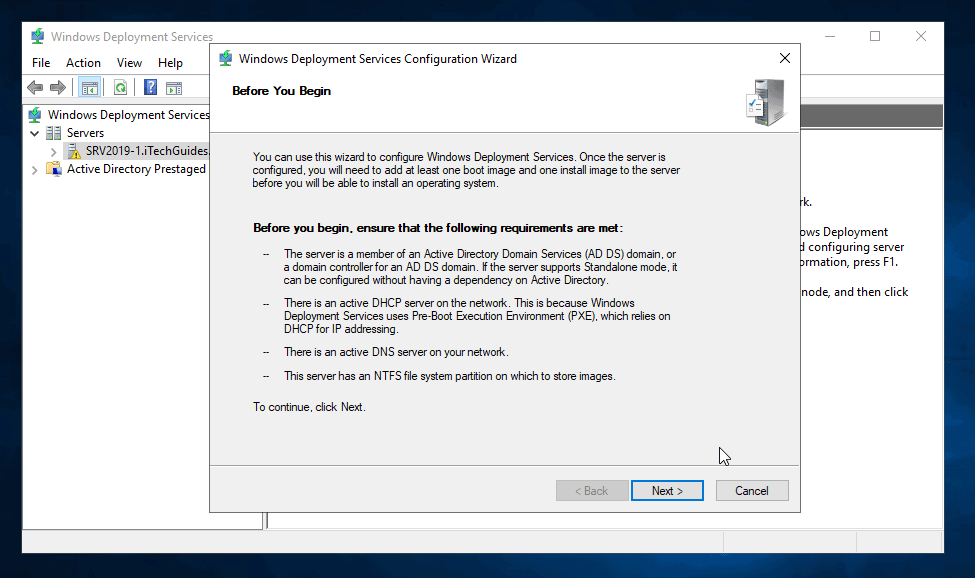
- At the Before You Begin screen, read the information and click Next.
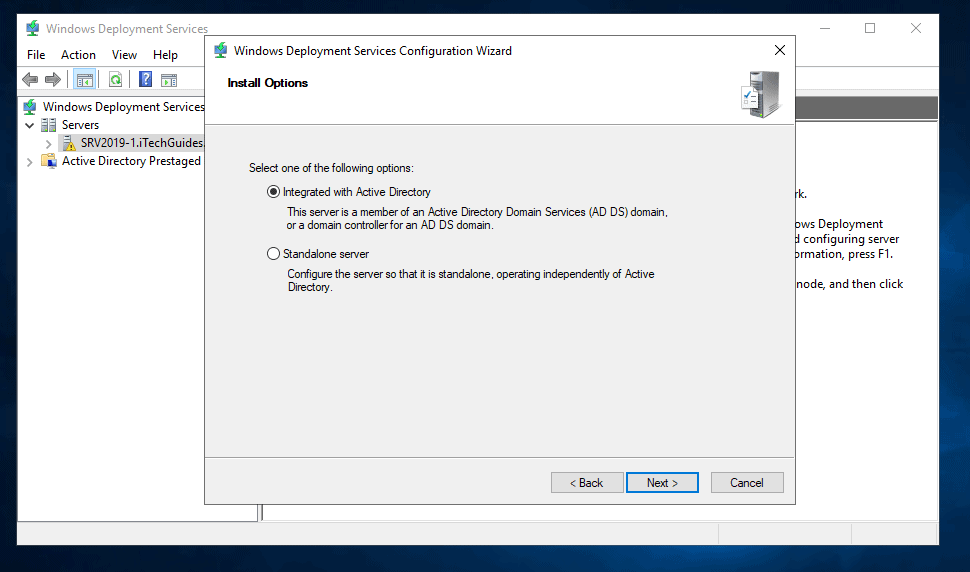
- Select an Install Option then click Next. For this demo, I will configure Active Directory integrated WDS.
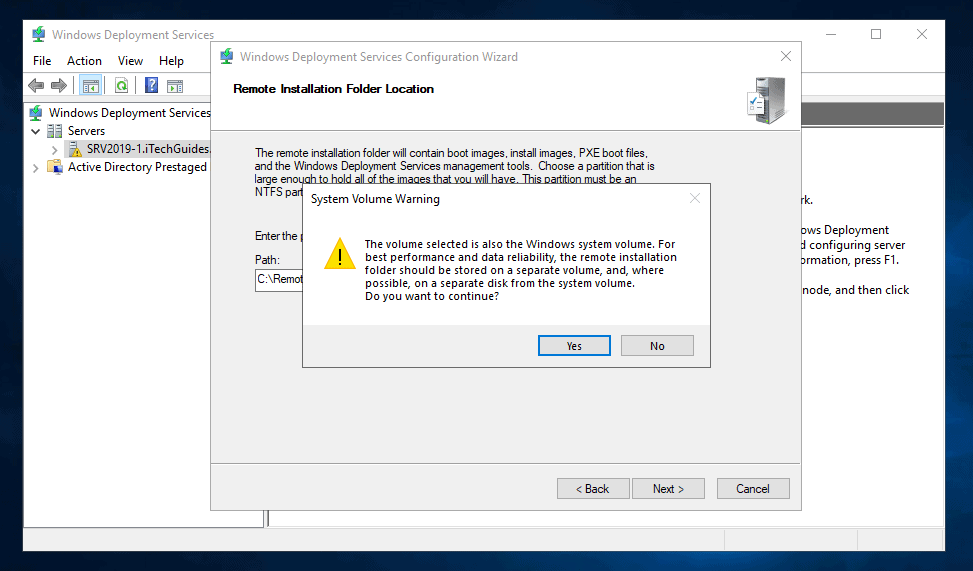
- Then enter a path to your Remote Installation Folder Location. To continue, click Next.
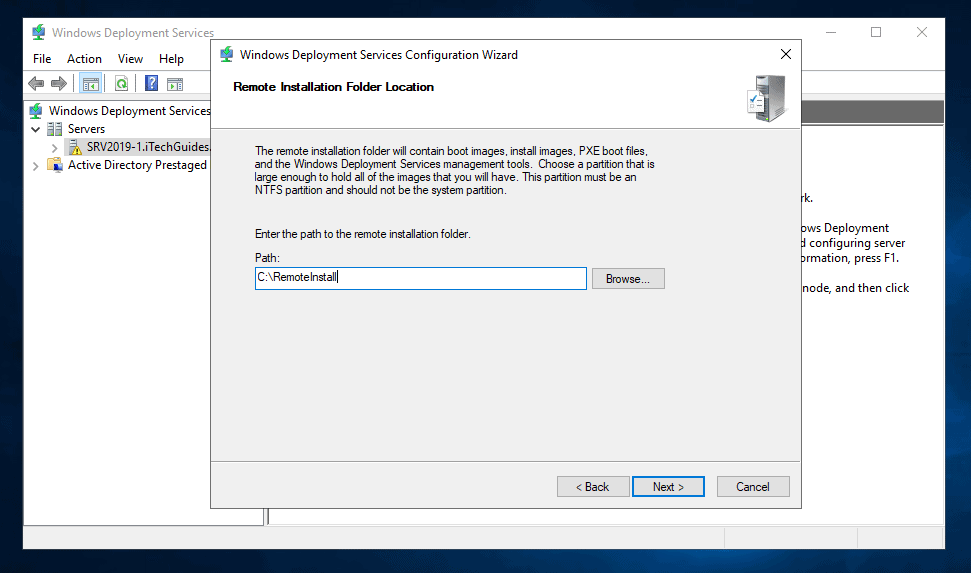
- If you are using the drive with your OS installation as the RemoteInstal drive, you will receive this warning. For a test environment, click Yes.
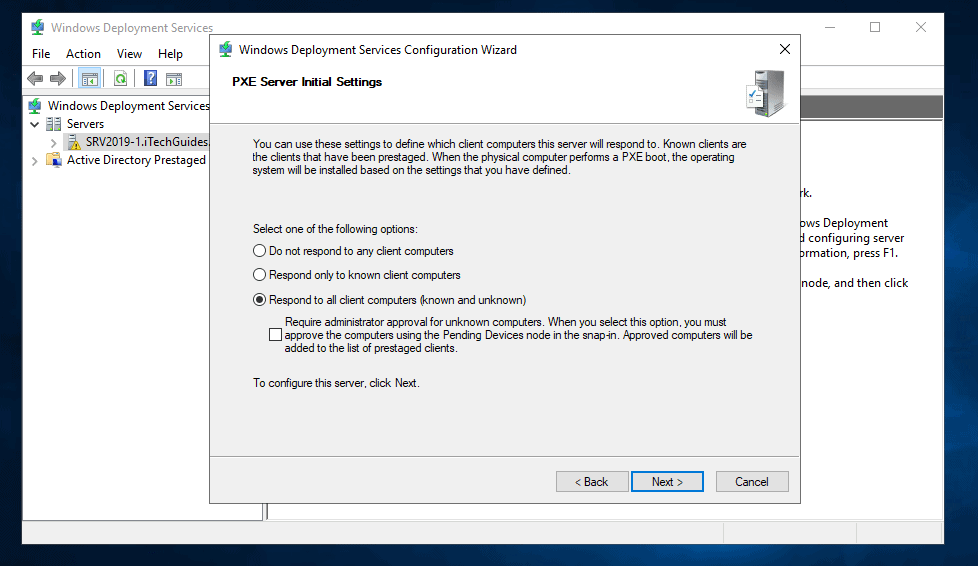
- Then at the PXE Server Initial Settings, select an option and click Next.
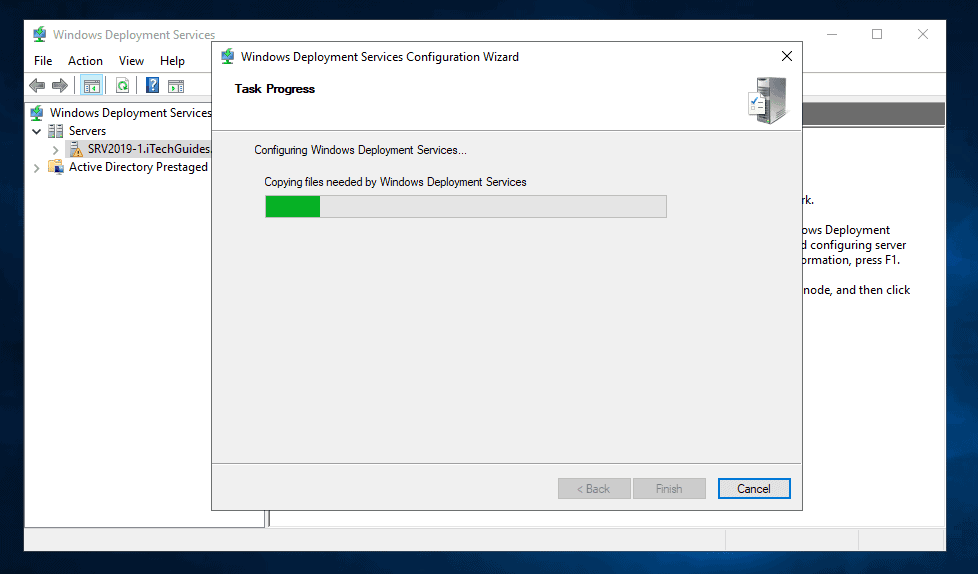
- Wait for WDS configuration to complete.
- When the configuration is completed, uncheck Add images to the server now. Then cli8ck Finish.

Step 3: Prepare Boot and Install Images For WDS
For WDS to work as expected, you must add at least one Boot and one Install image.
Here are the steps to prepare a Windows 10 Boot and an Install image for use with WDS:
- Insert a Windows Installation media into your computer (You could also mount an ISO file or Convert ISO to USB).
- To get a Boot image from the installation media navigate to sources folder. Then copy Boot.wim to a location in your WDS server.

- Then next step is to convert Install.ESD in Windows 10 installation media to Install.WIM (Or whatever name you wish to call the WIM file). For steps to complete this task use this guide – How to Convert Windows 10 Install.esd to Install.wim.
Step 4: Add a Boot Image to the WDS Server
Here are the steps to add a Boot image:
- Open Windows Deployment Services console. Then click the right-pointing arrow beside Servers to expand it. Finally, expand the WDS server.
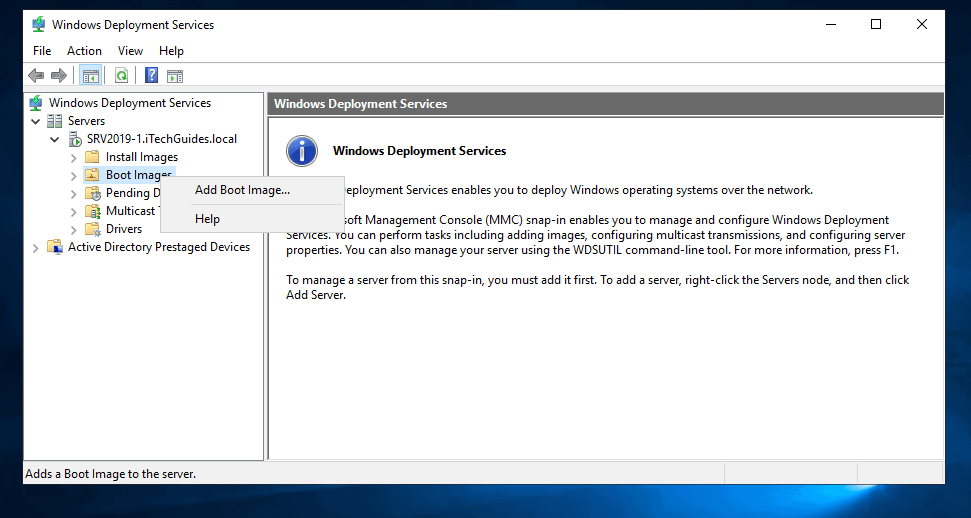
- To add a boot image, right-click Boot Images. Then select Add Boot Image…
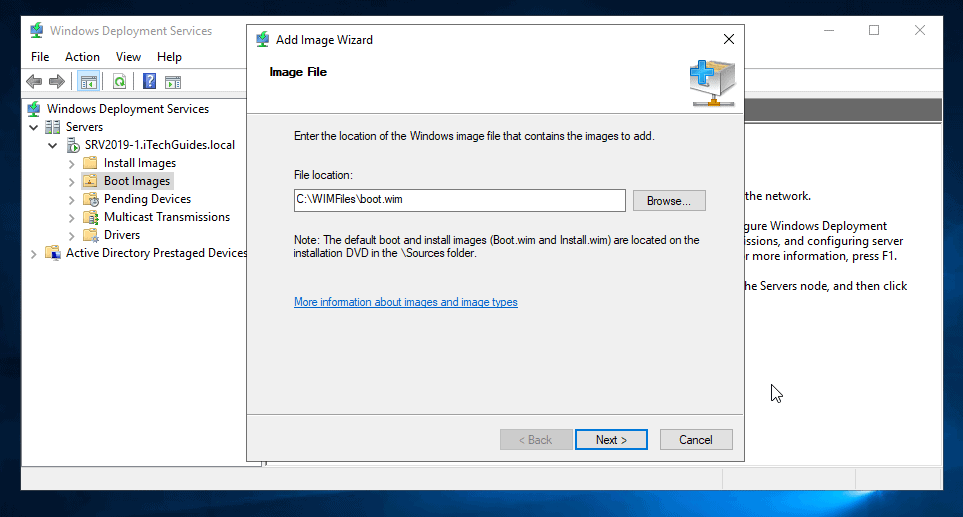
- Click Browse, navigate to the path you saved Boot.WIM and click it. Finally, click Open.
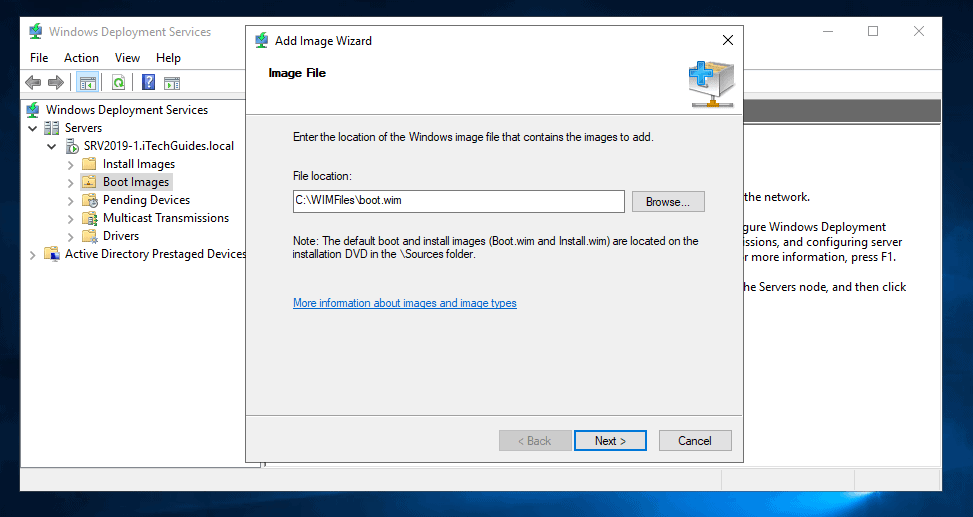

- On the Image File screen, click Next. The information about the images in the WIM file will be displayed (see the second image below).
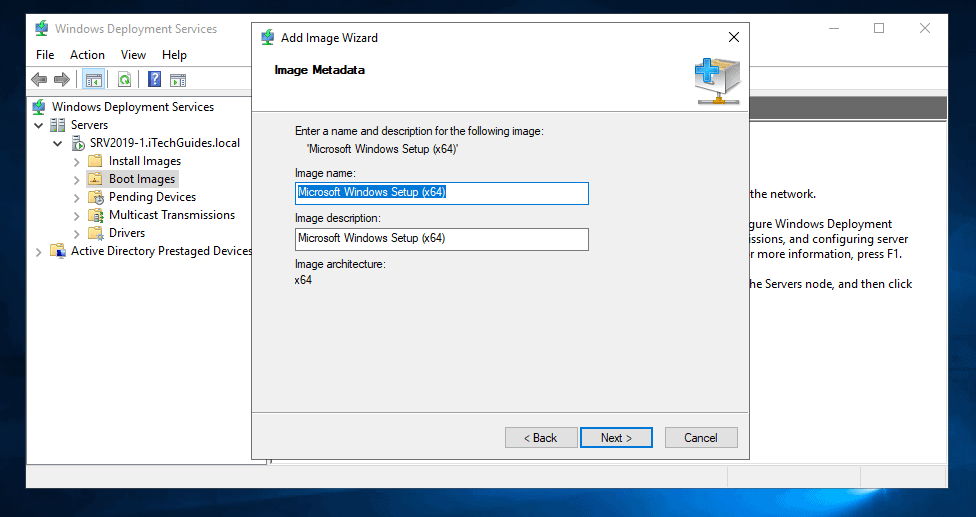
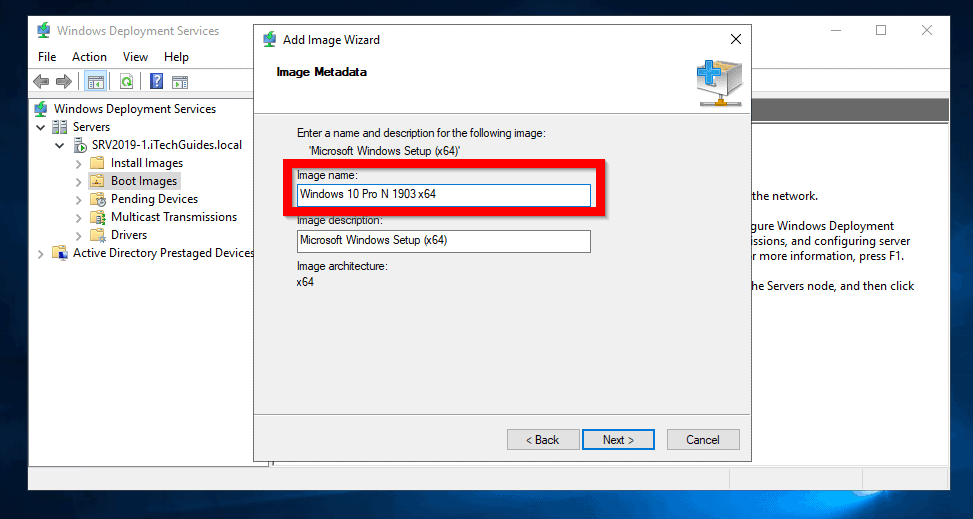
- To make it easy to identify when you boot into this image from PXE, change the Image Name to something more descriptive of the OS version. See the image below. Then click Next.
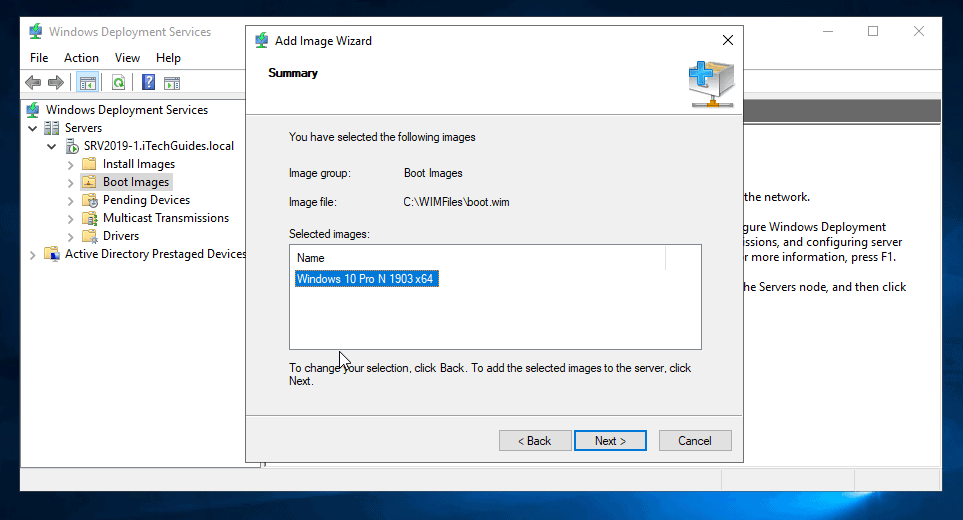
- Finally, on the Summary screen, click Next. Then wait for the boot image to be added to WDS.
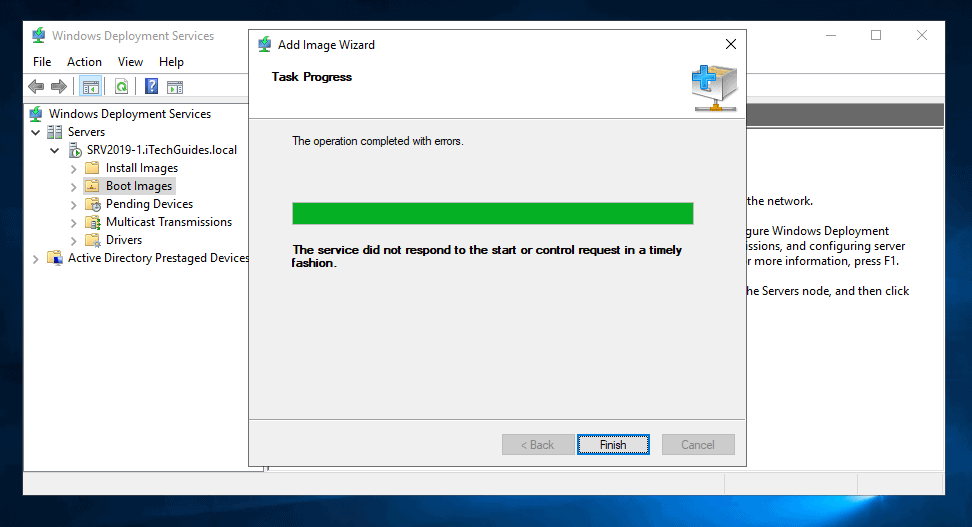
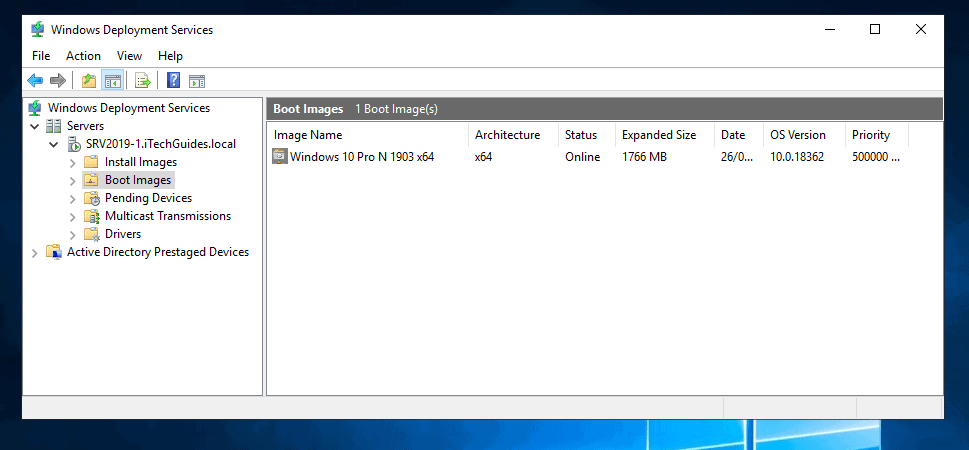
- When the image is added successfully, click Finish. The boot image will now be displayed in the Boot images list (see the second image below).
Step 5: Add an Install Image to the WDS Server
To add an Install Image to WDS:
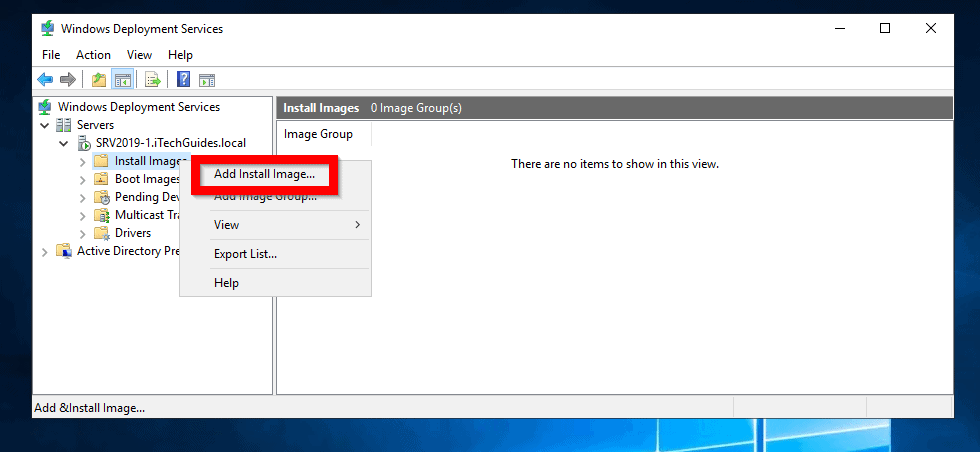
- From Windows Deployment Services console, right-click Install Images. Then select Add Install Image..
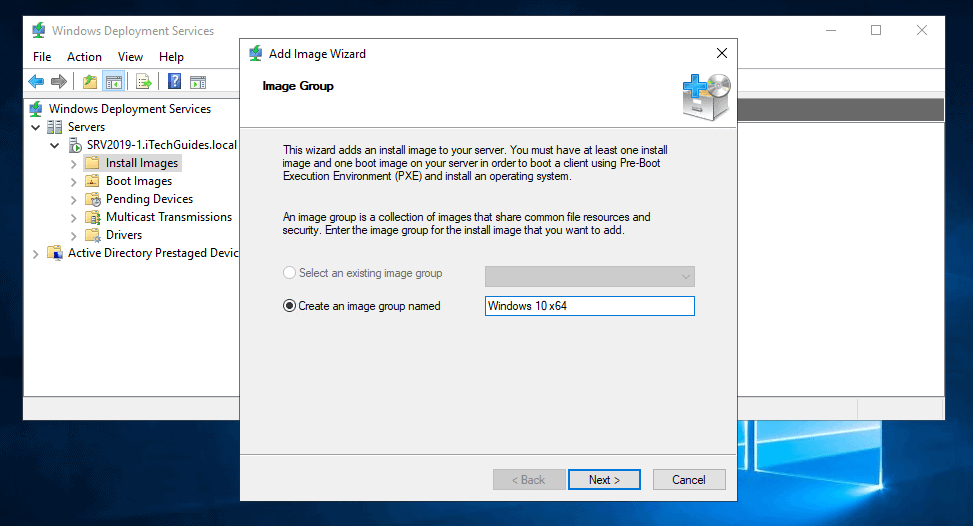
- Then, on the Image Group screen, create a new image group. If you have an existing image group, select it from the Select an existing image group drop-down. When you finish, click Next.
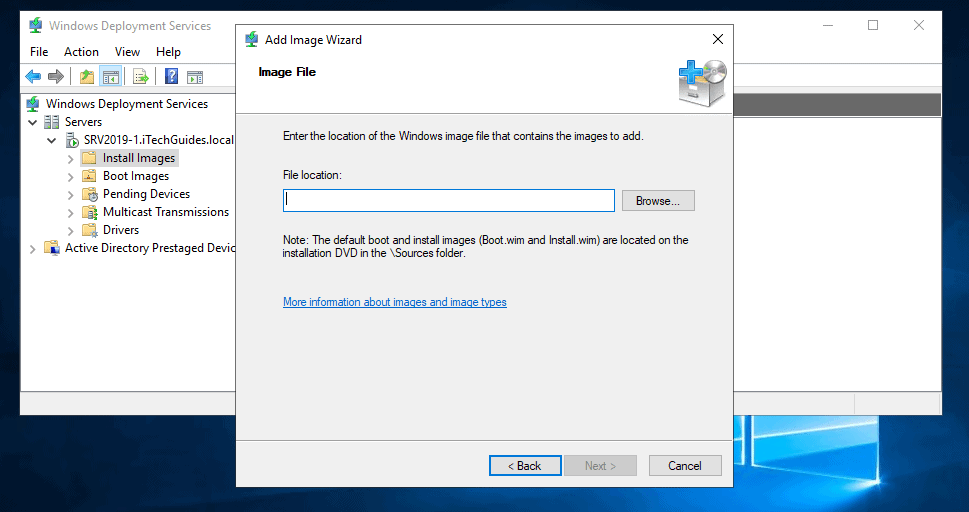
- On the Image File screen, click Browse.
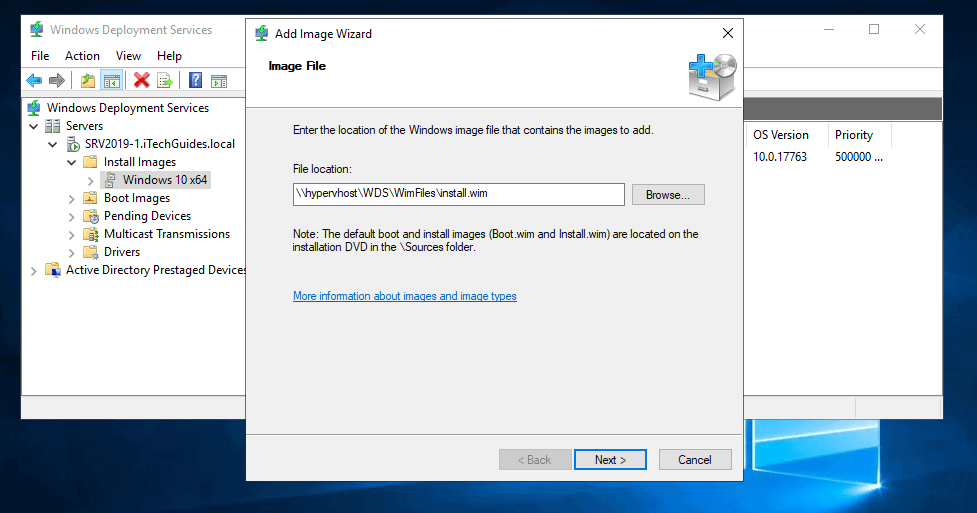
- Then navigate to the path you saved your Install.WIM file. Select the file and click Open.

- When you return to the Image File screen, click Next.
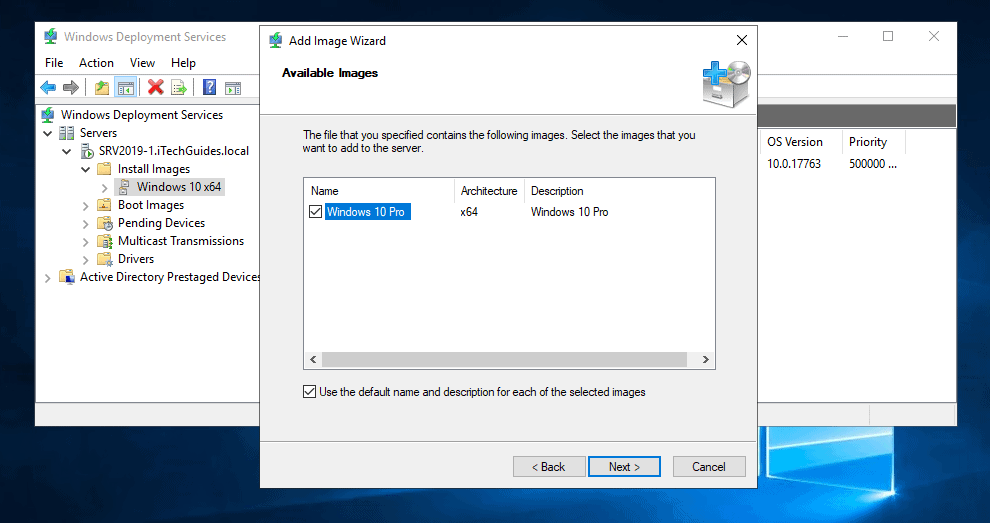
- Then on the Available Images screen, check the Install image you wish to add and click Next.
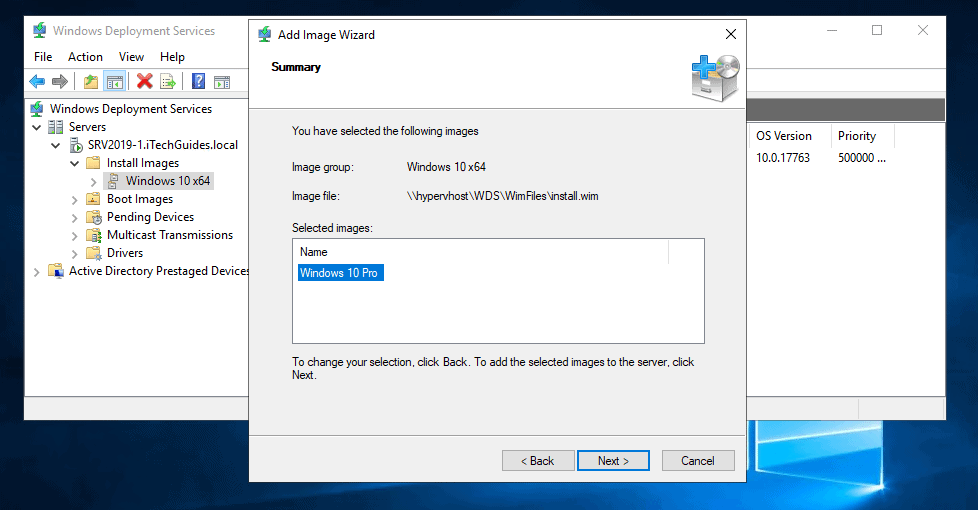
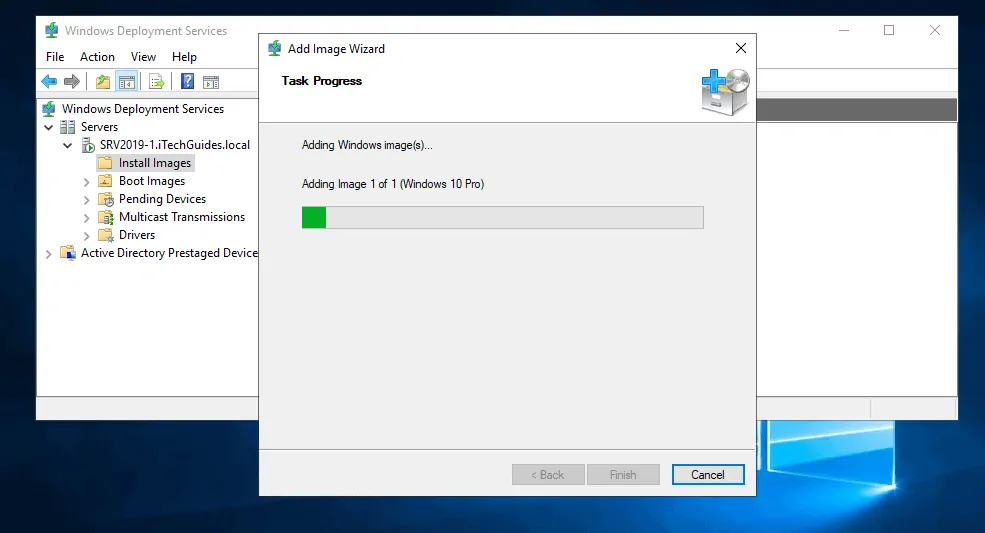
- Finally, at the Summary screen, click Next. Then wait for the image to be imported.
- When the file is successfully imported, click Finish.
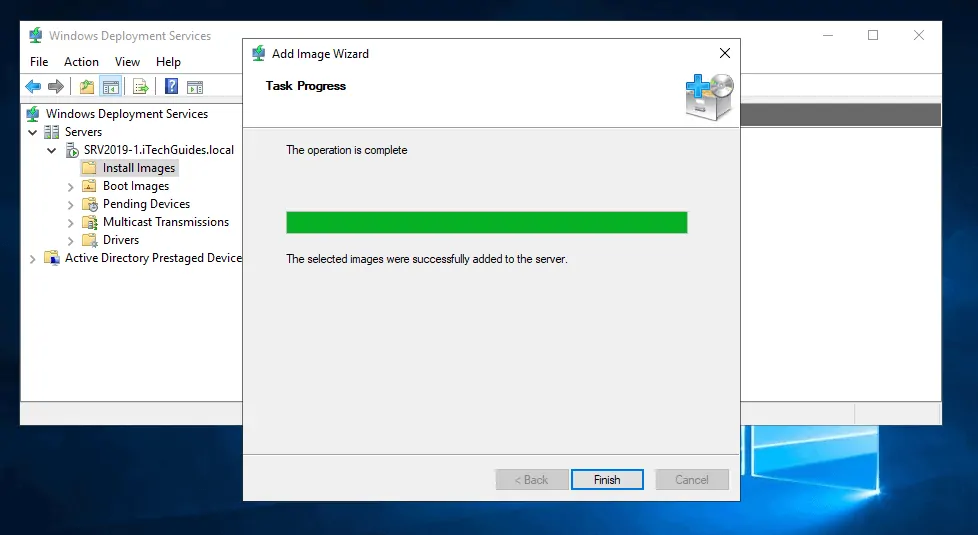
- The install image file will now be displayed in the Install Images node of WDS console.

Conclusion
If you followed the steps in this guide, you should have installed and configured Windows Deployment Services in Server 2019.
To boot to WDS from PXE, you must have a DHCP Server with a scope configured to lease IP addresses to PXE clients.
For steps to install Windows 10 from WDS, read this guide – How to Install Windows 10 from Network Boot.
I hope you found this guide helpful. If you found this article helpful, kindly share your experience by responding to the “Was this page helpful?” question below.
Want more Windows Server guides? Visit our Windows Server How To page.


thanks.
this is a complete guide.