This guide shows you how to install Windows 10 from network boot. The steps discussed in this guide is for Windows admins.
If you are a home user, use the steps in How to Install Windows 10 from USB.
Step 1: Set Up a WDS Server
Before you can install Windows 10 from Network boot, you need a server with Windows 10 image. One way to make this available is to install and Configure a WDS Server.
For steps to complete this task, read How to Setup Windows Deployment Services in Windows Server 2016.
Step 2: Install from the WDS Server
Here are the steps to install Windows 10 from network:
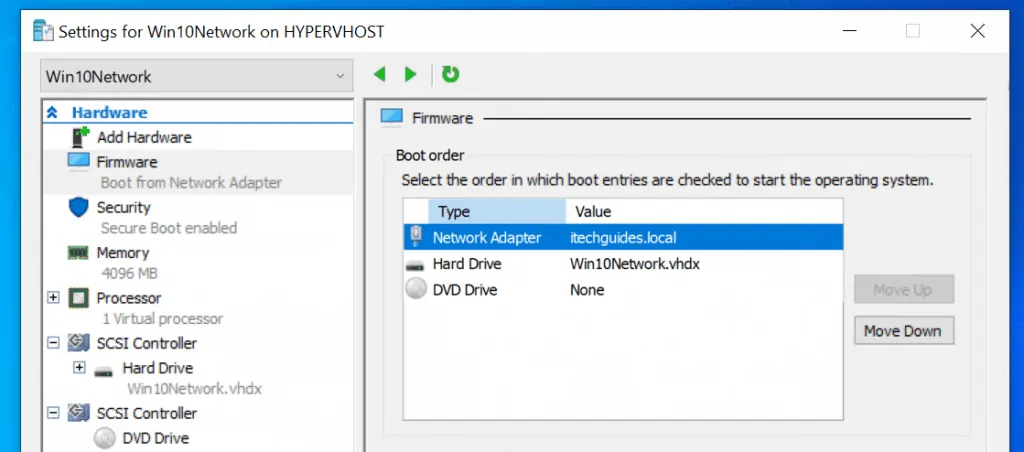
- Boot your PC to BIOS and modify the boot sequence to boot from Network first. Save your changes and restart your PC.
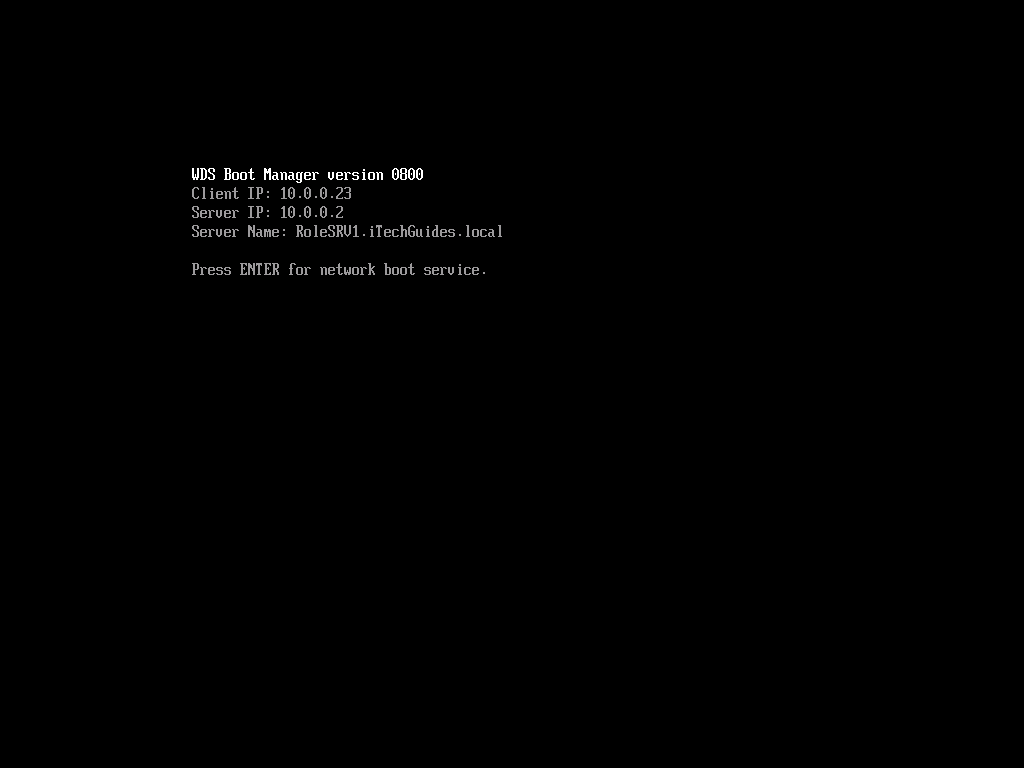
- Depending on how the WDS server is configured, you will either receive this prompt – press Enter for network boot. Or the PC will boot straight to PXE. If you receive the prompt, click Enter.
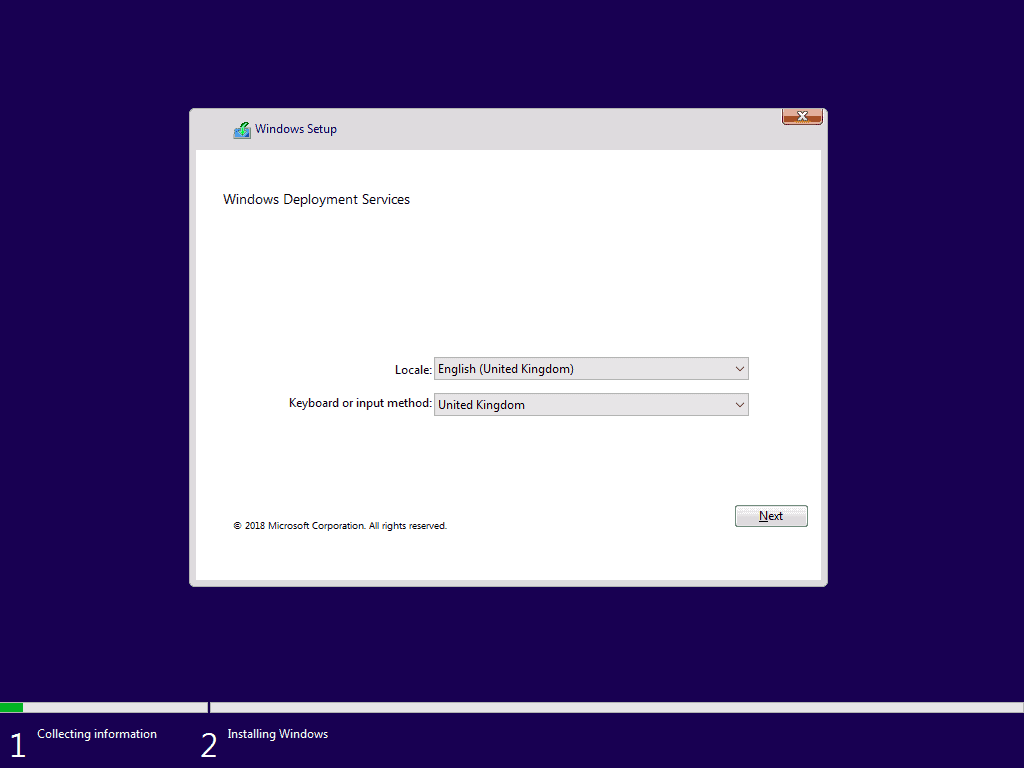
- Your computer will initiate Windows 10 install via Windows Deployment Services. Confirm that the Locale and Keyboard layouts are correct. Then click Next.
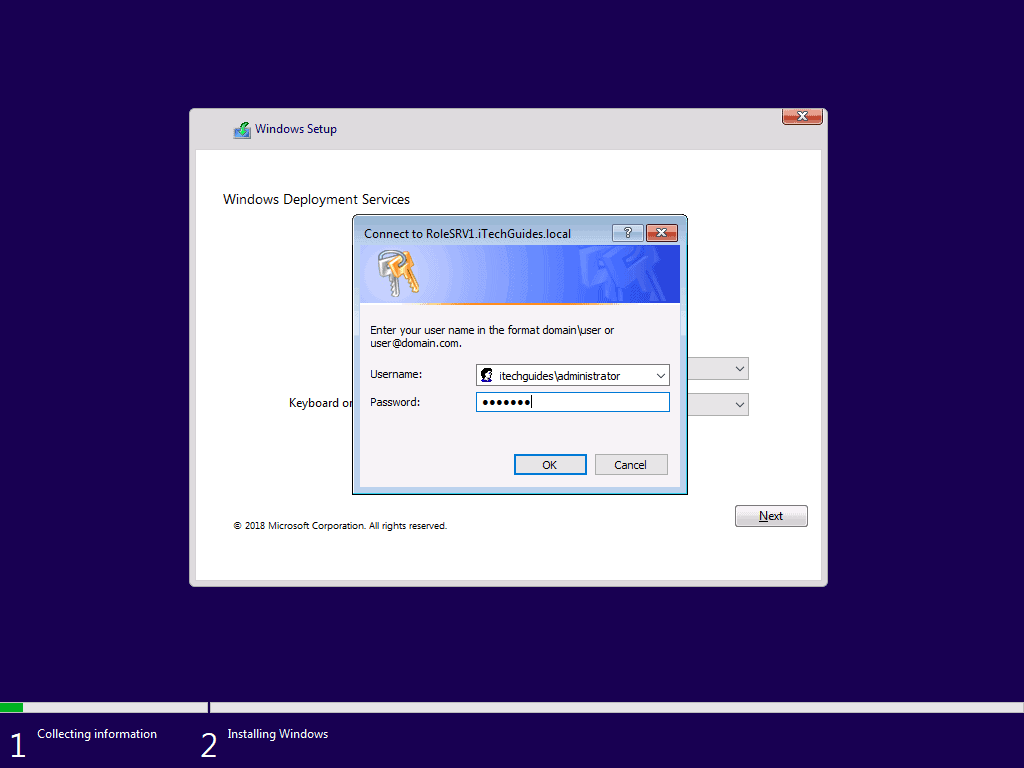
- You will then be promoted to provide credentials to logon to the WDS Server. Enter the credentials in the DomainName\UserName format. Then type your password and click OK.
- If your credentials are correct, you will receive the option to select an Operating System to install. This is the list of the WDS install images configured on the Install Image node. Select one and click Next.

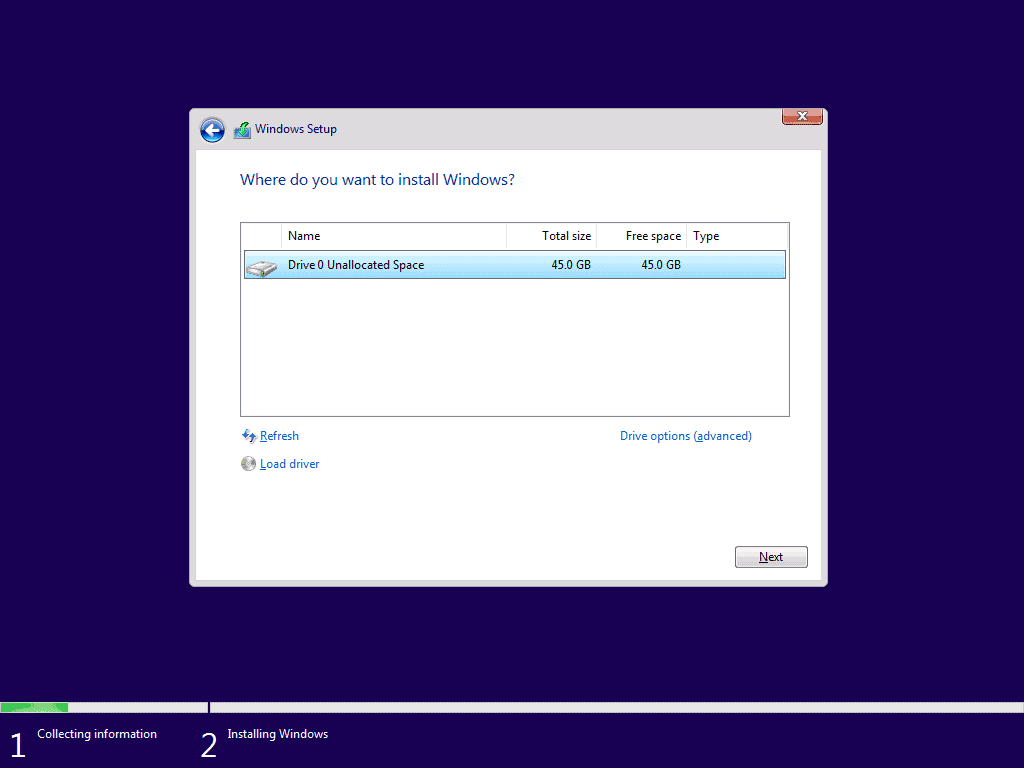
- To install windows 10 from network, select a hard drive to install Windows. Then click Next.
- The installation will start. Wait for Windows 10 setup to complete this phase.
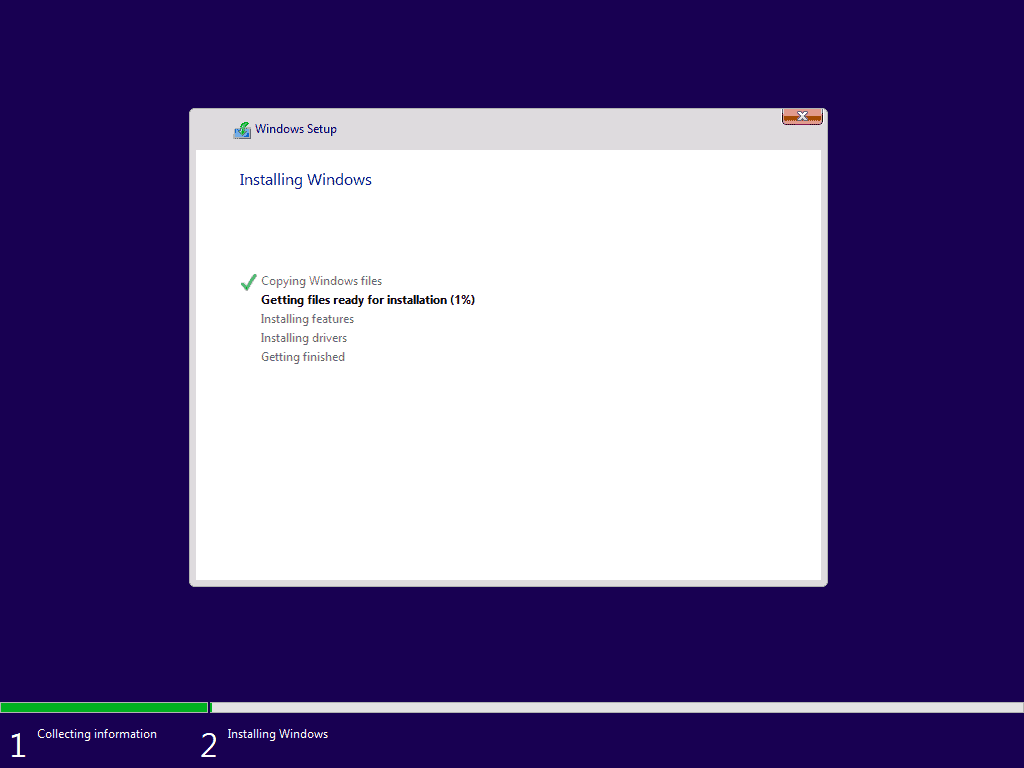
- When setup completes this installation phase, your PC will restart.

- Then it will initiate the next install phase. The installer will stay on the Getting Ready screen for some time (See the second image below)..


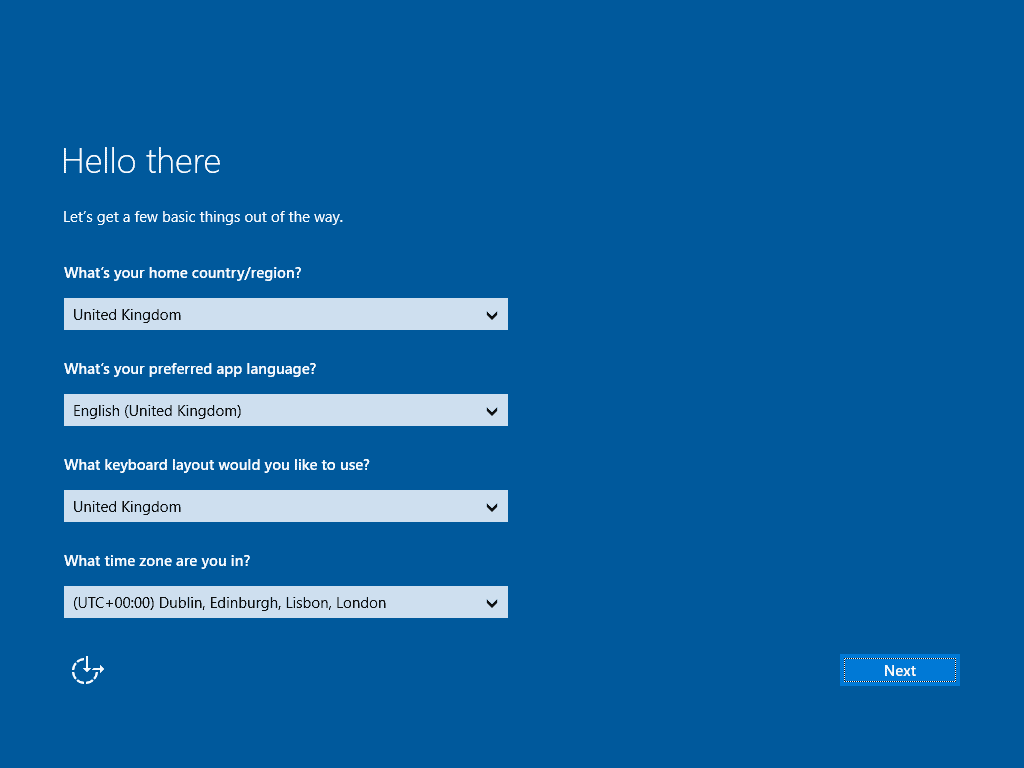
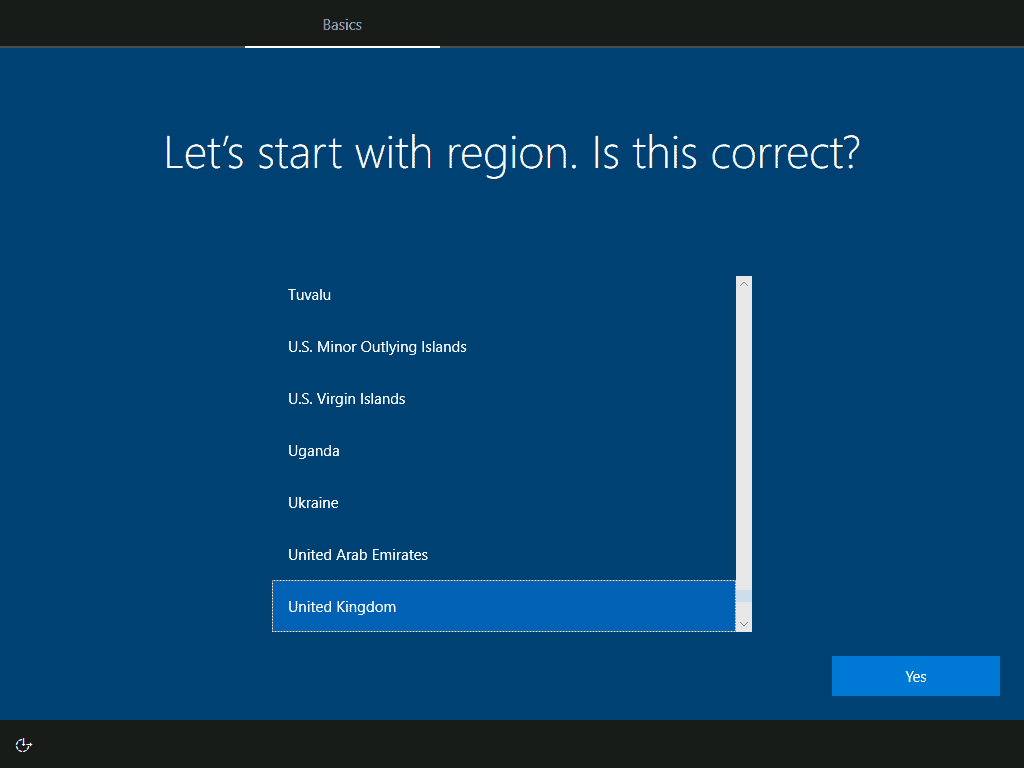
- When the screen below loads, confirm the options are okay. Then click Next.
- If you receive this message, click Next.

- From this point, the installation is very straightforward.
Conclusion
One way to install Windows 10 via the network is to deploy a WDS server and this guide explains how to do that and then explain Windows from the server.
I hope this guide was helpful. If it was, kindly spare 2 minutes to share your experience by responding to the “Was this page helpful?” question below.
Finally, for more Windows guides, visit our Windows How-To page.


![How To Run Sysprep (Generalize) In Windows 10 [2 Methods]](https://www.itechguides.com/wp-content/uploads/2022/05/8-2.webp)