The Windows installation media comes with the Install.esd but automating the OS install requires a .wim file. Learn how to convert the .esd to a .wim file.
Option 1: Convert the Windows Install.esd to a WIM File with DISM
The first method discussed in this guide is with DISM. DISM is more like a “Do-and-fix-anything” tool. It can fix Windows problems but can also be used to manage Windows image files!
Here are the steps:
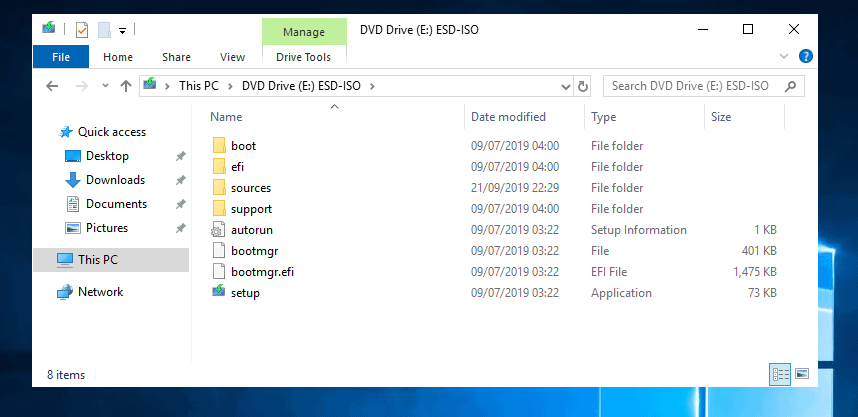
- Insert Windows 10 installation media into your PC.
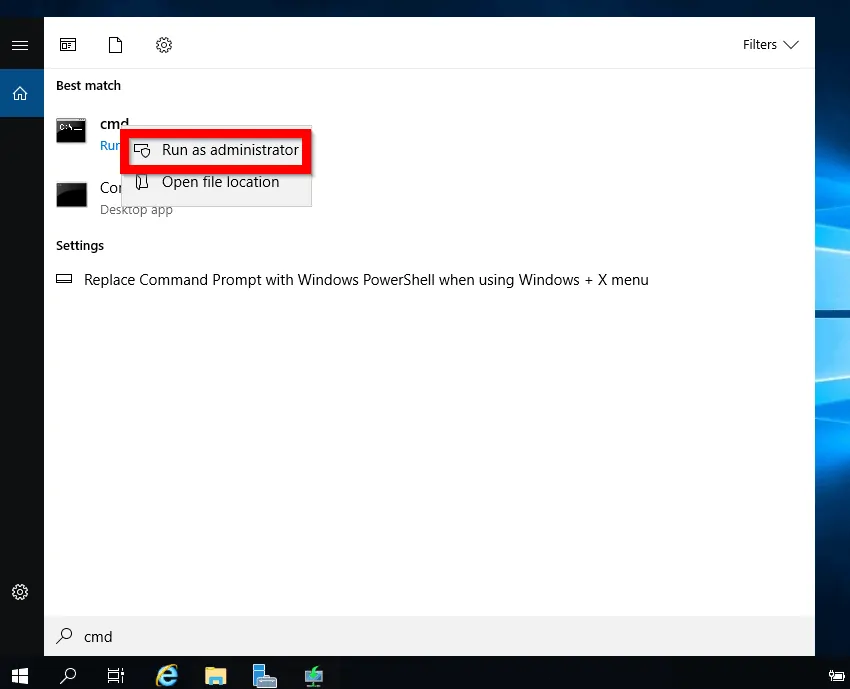
- Then type cmd in the search bar. Then right-click cmd or Command Prompt and select Run as administrator.
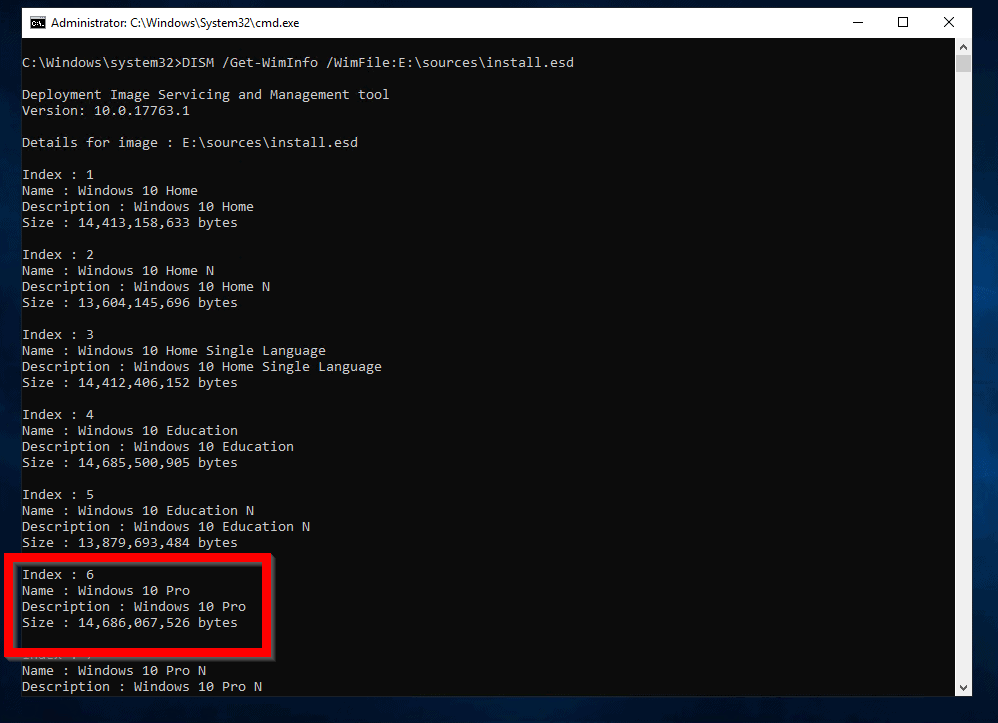
- To get information in the Install.ESD file, including the index numbers of Windows 10 editions in the ESD file, type this command in command prompt. Then press enter.
DISM /Get-WimInfo /WimFile:E:\sources\install.esd
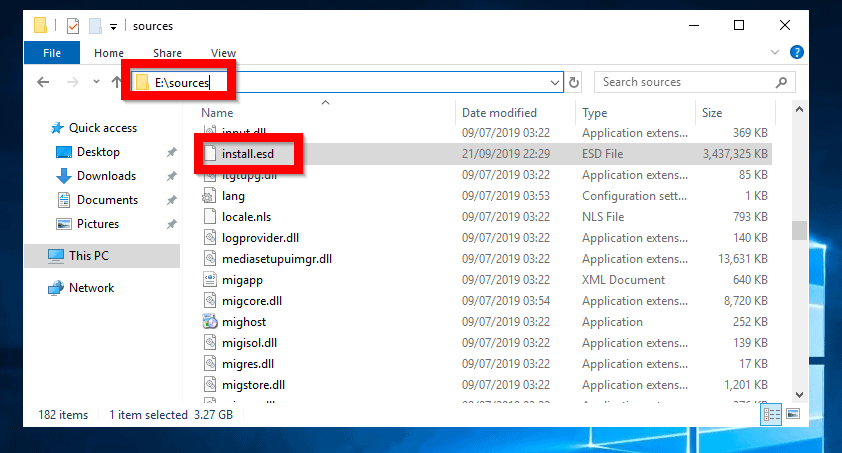
Replace E:\sources\install.esd with the path to the ESD file on your Windows installation media. To get this path, open the media. Then open Sources folder.
The command returns a list of all Windows 10 editions in the ESD file. Here is the result of my command. I want to create a WIM file for Windows 10 Pro. The index number is 6.
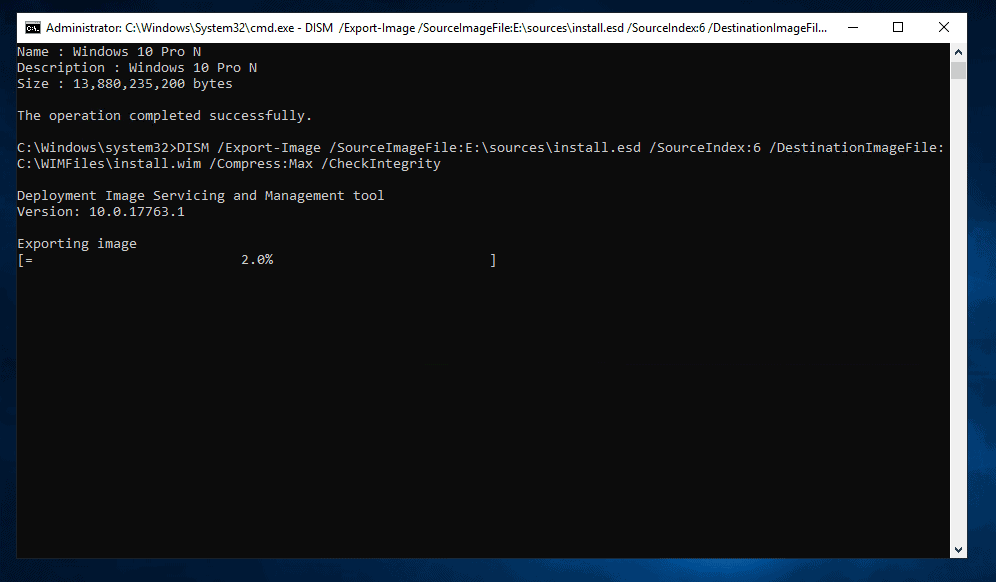
- To convert ESD to WIM (Install.ESD to Install.WIM) with DISM, type this command. Then press enter.
DISM /Export-Image /SourceImageFile:E:\sources\install.esd /SourceIndex:6 /DestinationImageFile:C:\WIMFiles\install.wim /Compress:Max /CheckIntegrity
Modify the following:
/SourceImageFile – replace E with the drive letter of your Windows 10 installation media
/SourceIndex – replace 6 with the index of the edition of Windows you wish to convert to WIM
/DestinationImageFile – replace C:\WIMFiles with the path you want to save your WIM file
The conversion will take some time to complete.
- When the conversion is completed you can access the WIM file from the path you specified in /DestinationImageFile parameter.
Option 2: Convert the Windows Install.esd to a WIM File with PowerShell
You can also convert Install.ESD to Install.WIM with PowerShell.
Here are the steps:
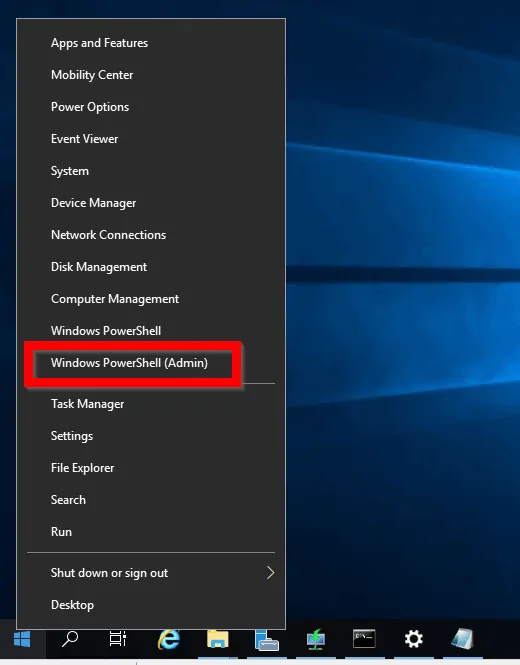
- Right-click Start menu. Then click Windows PowerShell (Admin).
- At Windows PowerShell command prompt, type the command below. Then press enter.
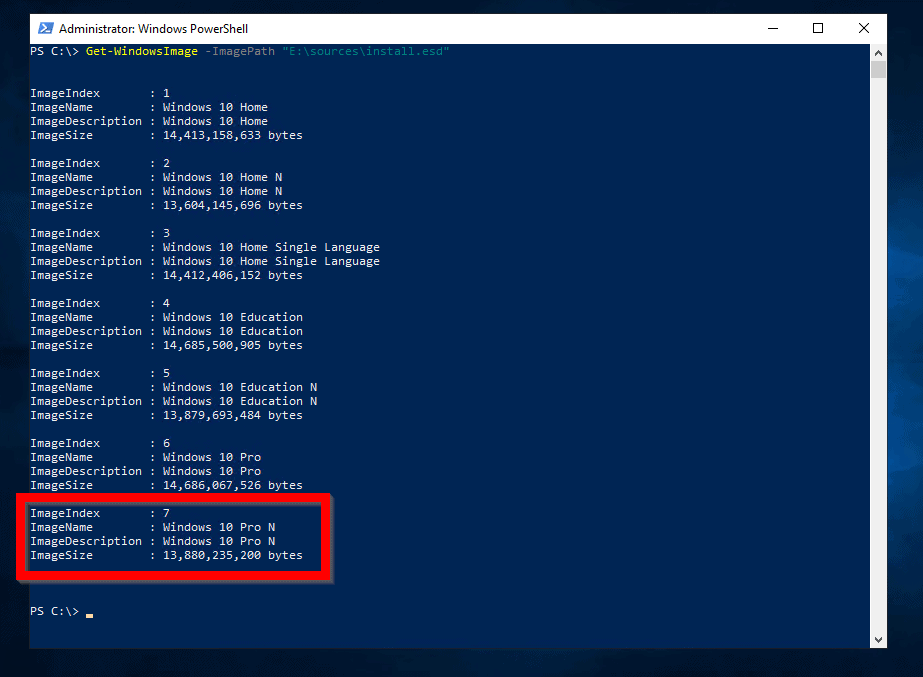
Get-WindowsImage -ImagePath "E:\sources\install.esd"
Replace:
-ImagePath: Change E to the drive letter of your Windows 10 installation media
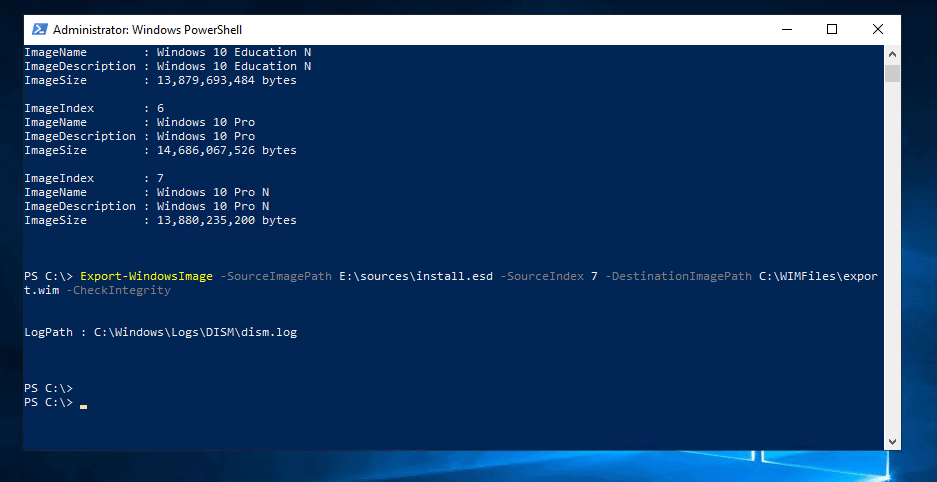
The command returns information about Windows editions in the ESD file.
Here is my result of the command. For this example, I will create an Install.WIM file for Windows 10 Pro N. The index number is 7.
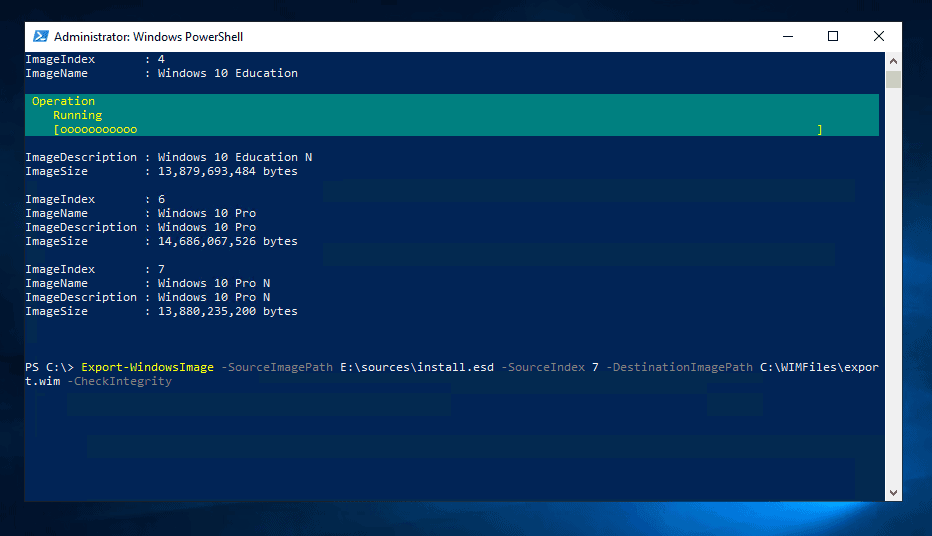
- To Convert Install.ESD to Install.WIM with PowerShell, type this command and press enter.
Export-WindowsImage -SourceImagePath E:\sources\install.esd -SourceIndex 7 -DestinationImagePath C:\WIMFiles\export.wim -CheckIntegrity
Modify the following:
-SourceImagePath – replace E with the drive letter of your Windows 10 installation media
-SourceIndex – replace 7 with the index of the edition of Windows you wish to convert to WIM
-DestinationImagePath – replace C:\WIMFiles with the path you want to save your WIM file
PowerShell will begin converting Install.ESD to Install.WIM. This will take a while. Wait..
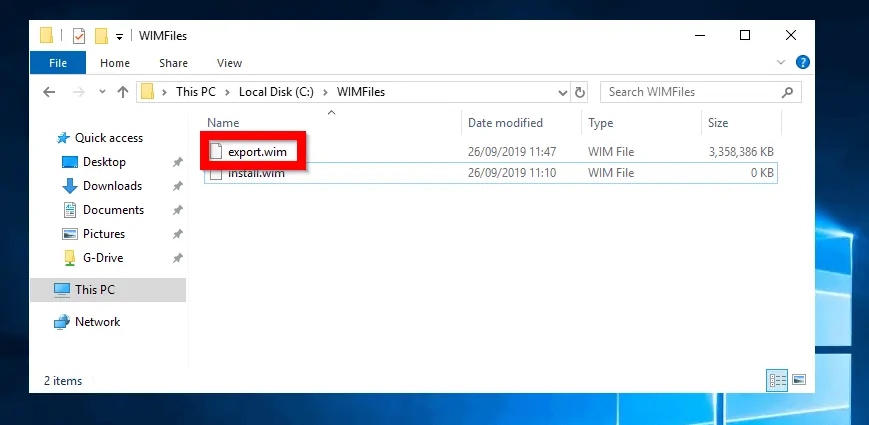
- When the conversion is completed, you can access the WIM file from the path specified in -DestinationImagePath parameter (see the second image below).
Conclusion
For example, you need a WIM file to install Windows from a Windows Deployment Server. Unfortunately, the Windows 10 media comes with an ESD file, so you need a way to convert the file.
This guide explained two methods to do this and I hope you achieved your aim of reading it. If you did, would you spare 2 minutes to share by responding to the “Was this page helpful?” question below?


![How To Run Sysprep (Generalize) In Windows 10 [2 Methods]](https://www.itechguides.com/wp-content/uploads/2022/05/8-2.webp)
Repeating this…use DISM only way i got this work reliable
For some reason conversion made with DISM works. With MSMG Powershell wimfile gives error on reading the install.wim every time.
Try DISM if you get stuck.
Thanks for sharing