Installing Windows 11 on a Hyper-V VM may seem straightforward, and it is. However, due to some strict Windows 11 installation requirements, after creating the VM, you need to tweak its configurations to meet these requirements.
Step 1: Create a Generation 2 Hyper-V VM
You cannot install Windows 11 on a Gen 1 Hyper-V VM because of the Windows 11 requirements I mentioned in my introduction. I will give more details about these requirements in the next section.
For now, follow these steps to create a Hyper-V Gen 2 VM:
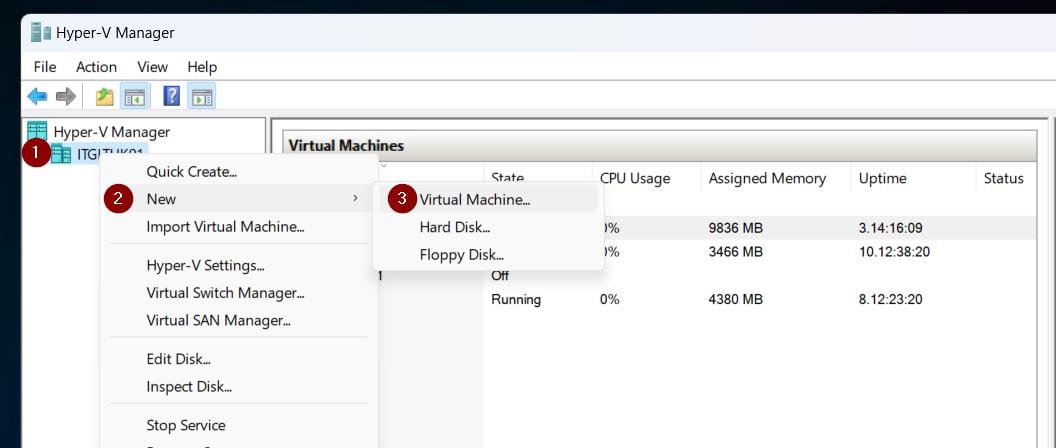
- Open the Hyper-V Manager. Then, right-click the host, point to New, and select Virtual Machine.
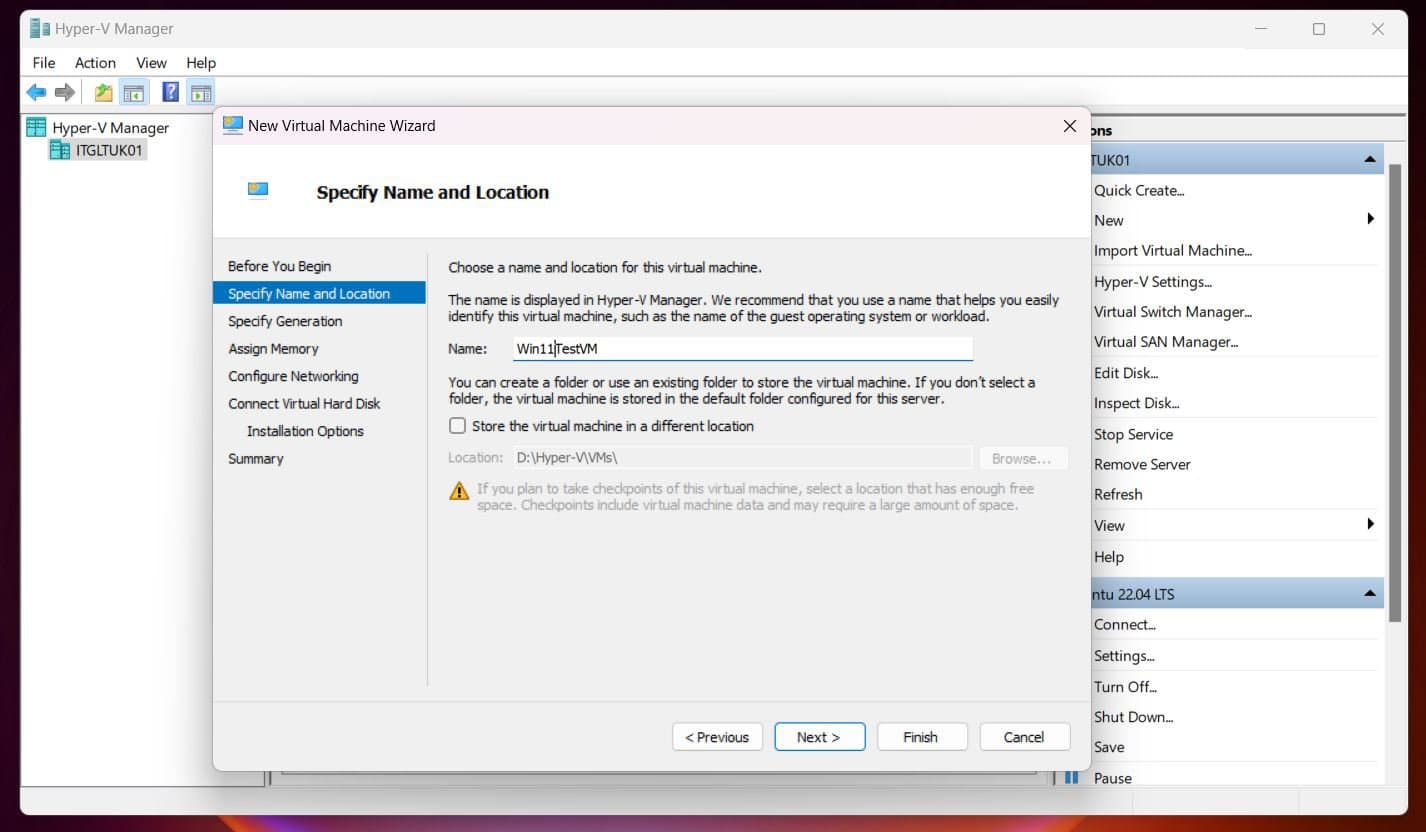
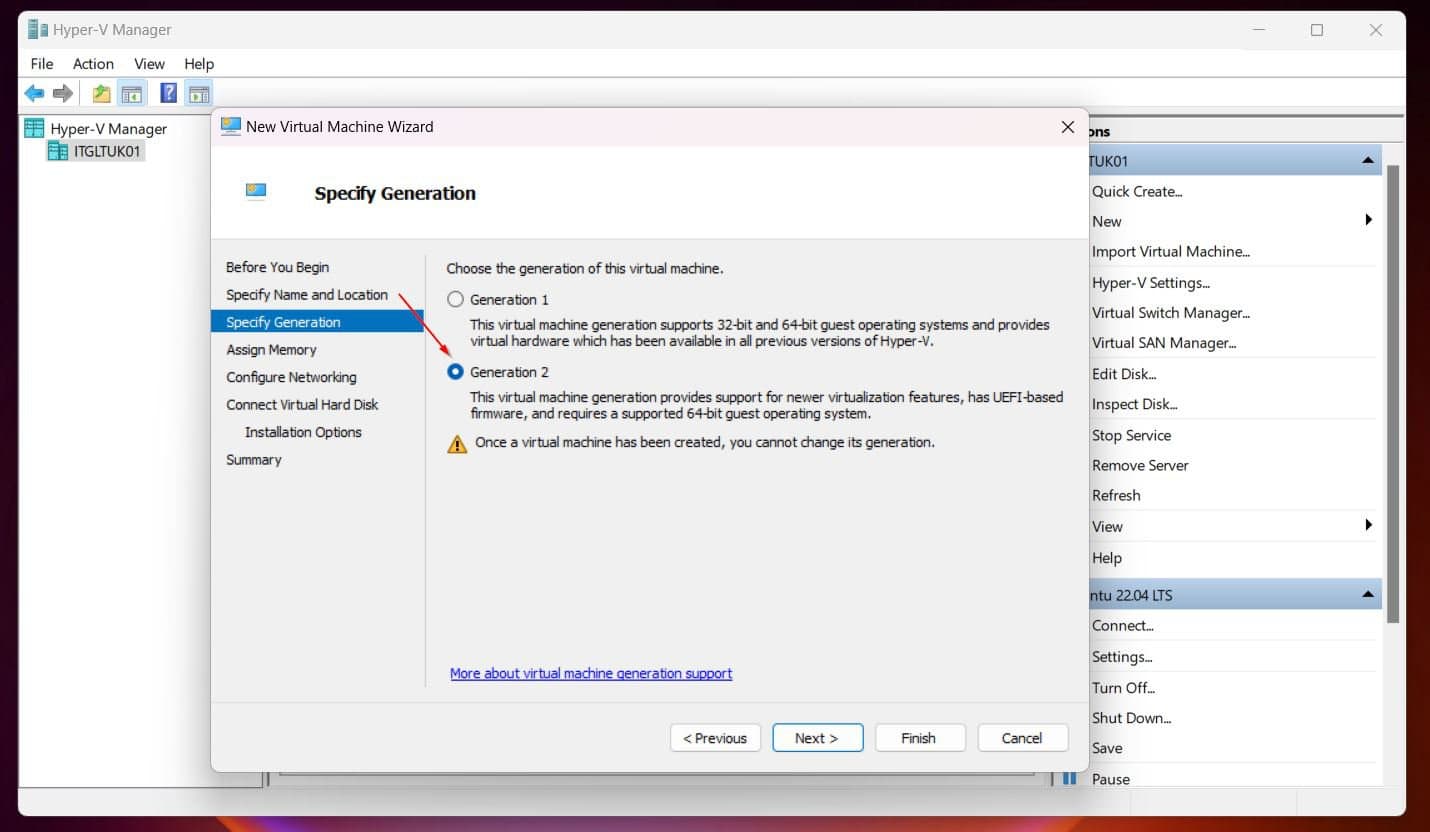
- When the new VM wizard opens, give the VM a name, and on the next screen, select Generation 2.
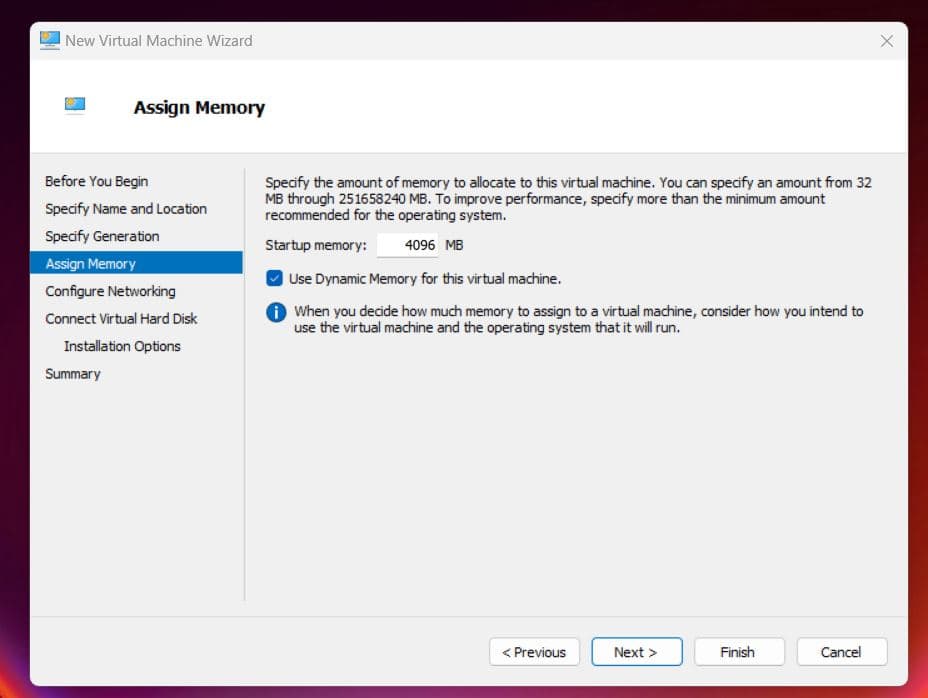
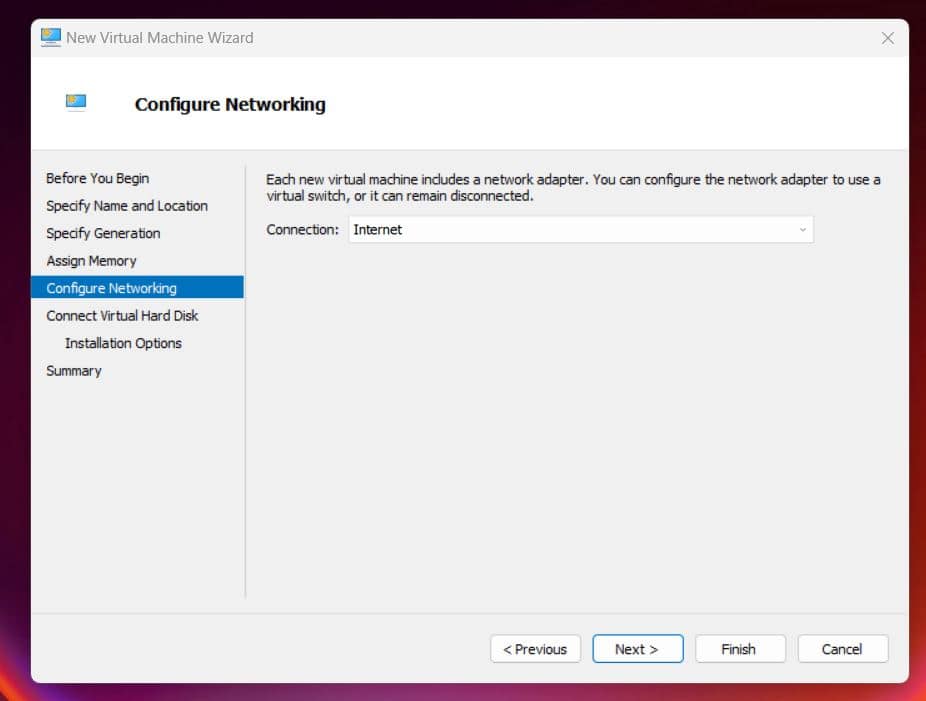
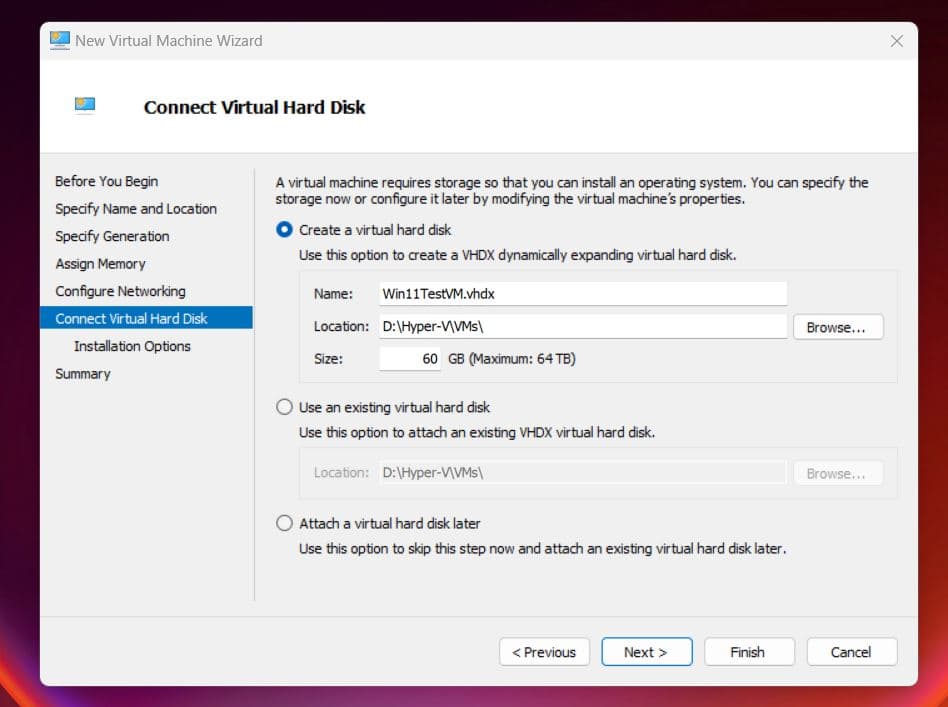
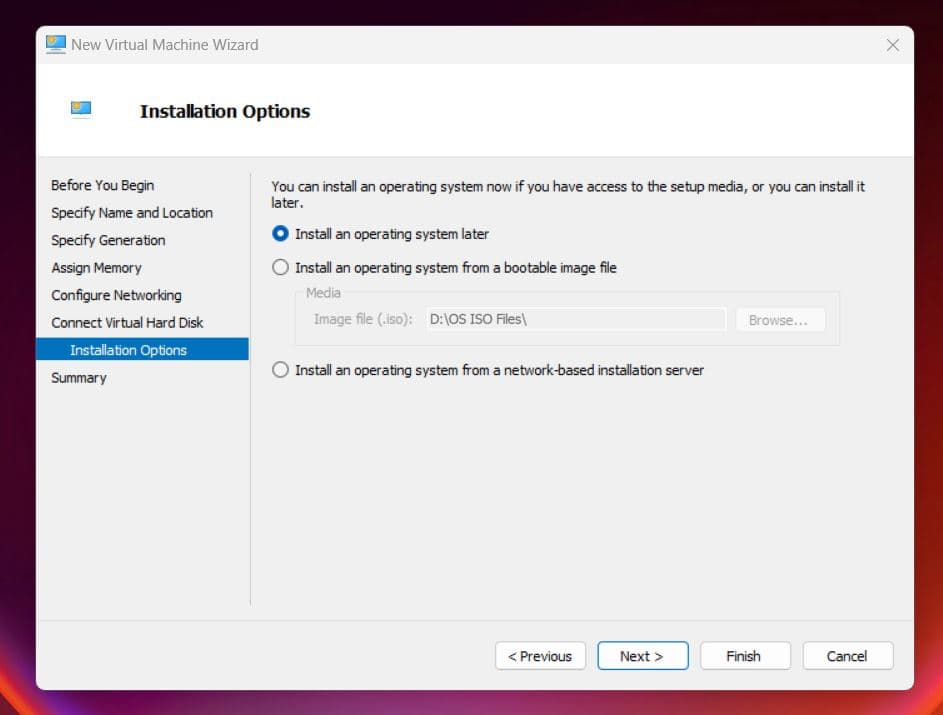
- On the next screens of the wizard, assign the VM a RAM, link it to the external switch you created, and assign it an HDD. Also, on the Install Options page, select “Install an Operating System Later.”
Step 2: Enable TPM on the Hyper-V VM
As I already mentioned, Windows 11 has some strict installation requirements that must be met. One of those requirements is that the Trusted Platform Module (TPM) must be enabled on the PC.
This feature is only supported in the Gen 2 Hyper-V VM. This is why we created a Gen 2, instead of Gen 1.
To enable TPM on your Hyper-V VM, follow these steps.
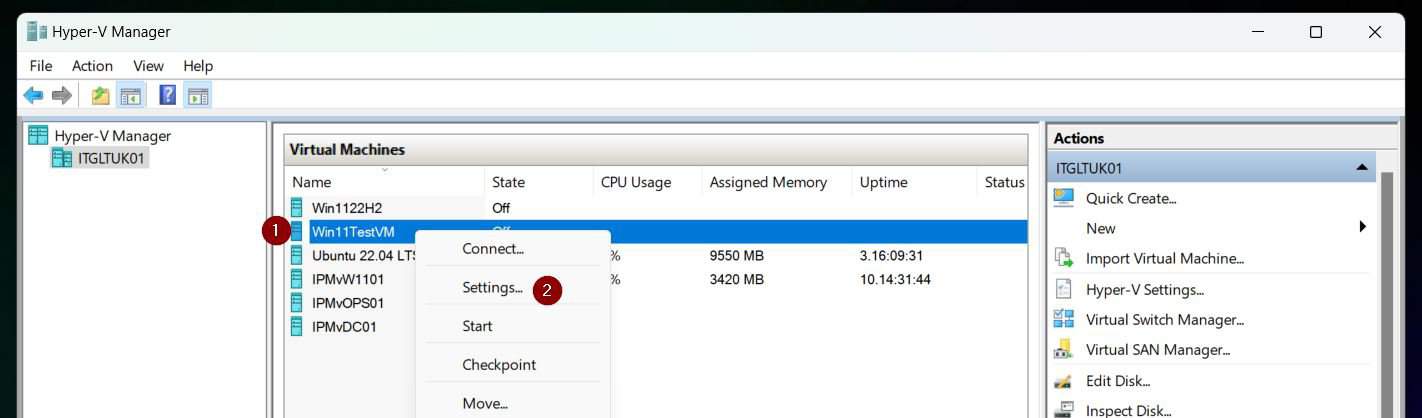
- Right-click the VM you created in step 1 and select Settings on the Hyper-V Manager.
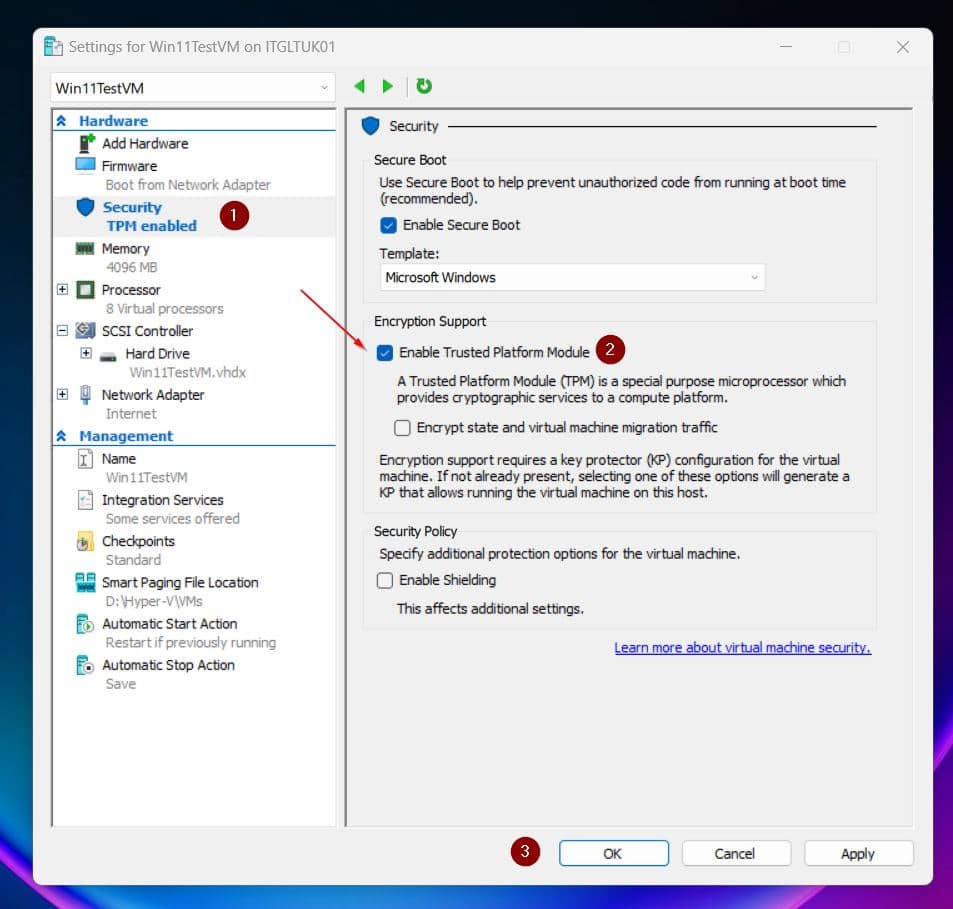
- On the VM’s Settings, click the Security tab. Then, on the details pane, check the “Enable Trusted Platform Module” checkbox and click OK.
Step 3: Download the Windows 11 Installation ISO
- Open the Windows 11 installation page.
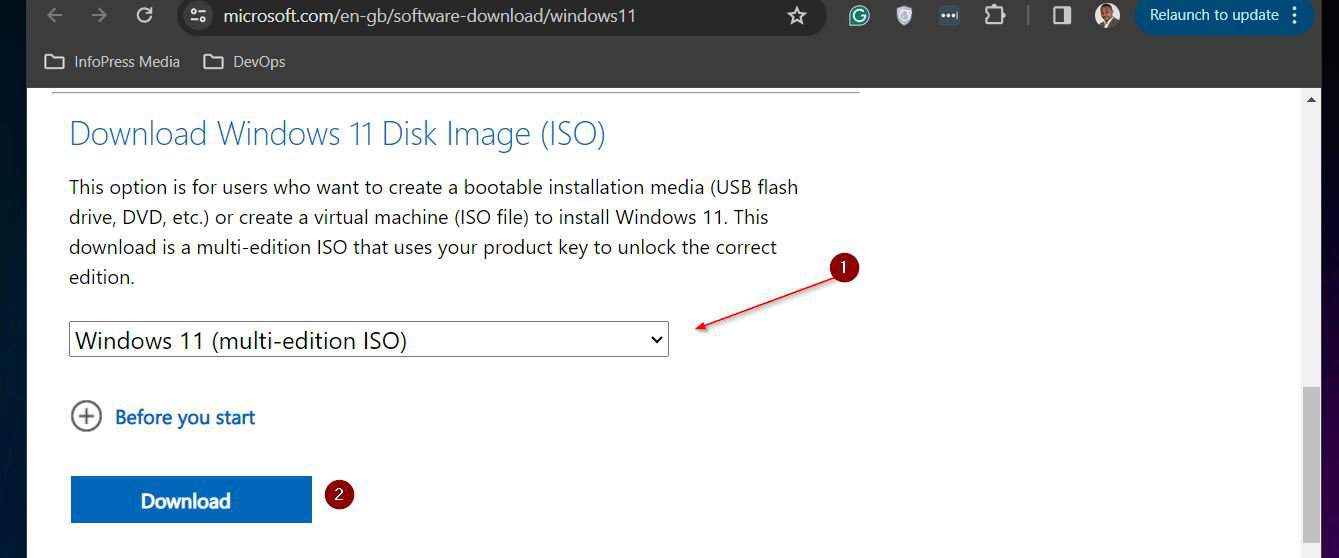
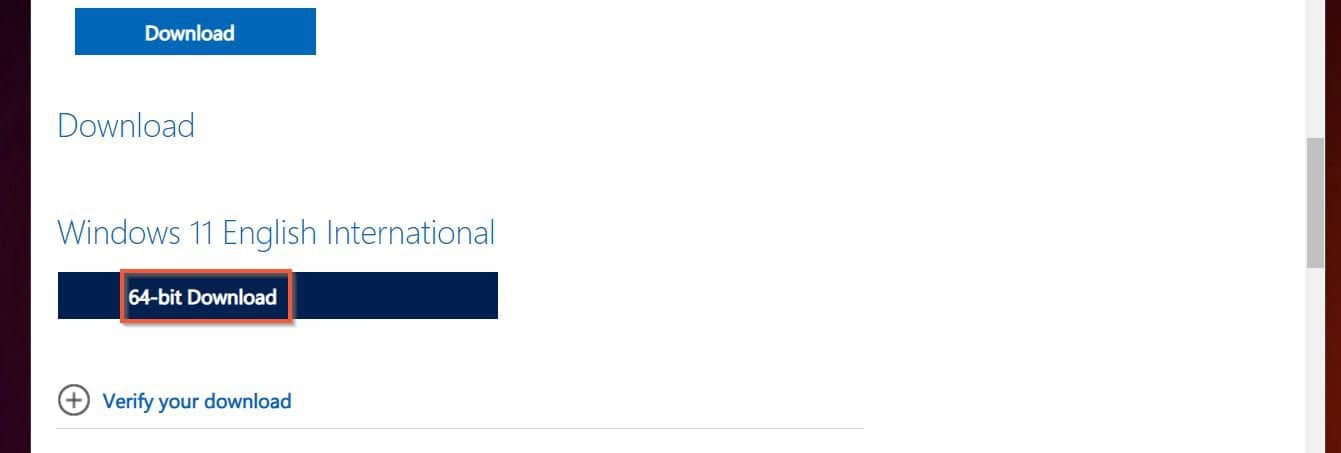
- Scroll to the “Download Windows 11 Disk Image (ISO)” section, select Windows 11 (multi-edition ISO), and click the Download link.
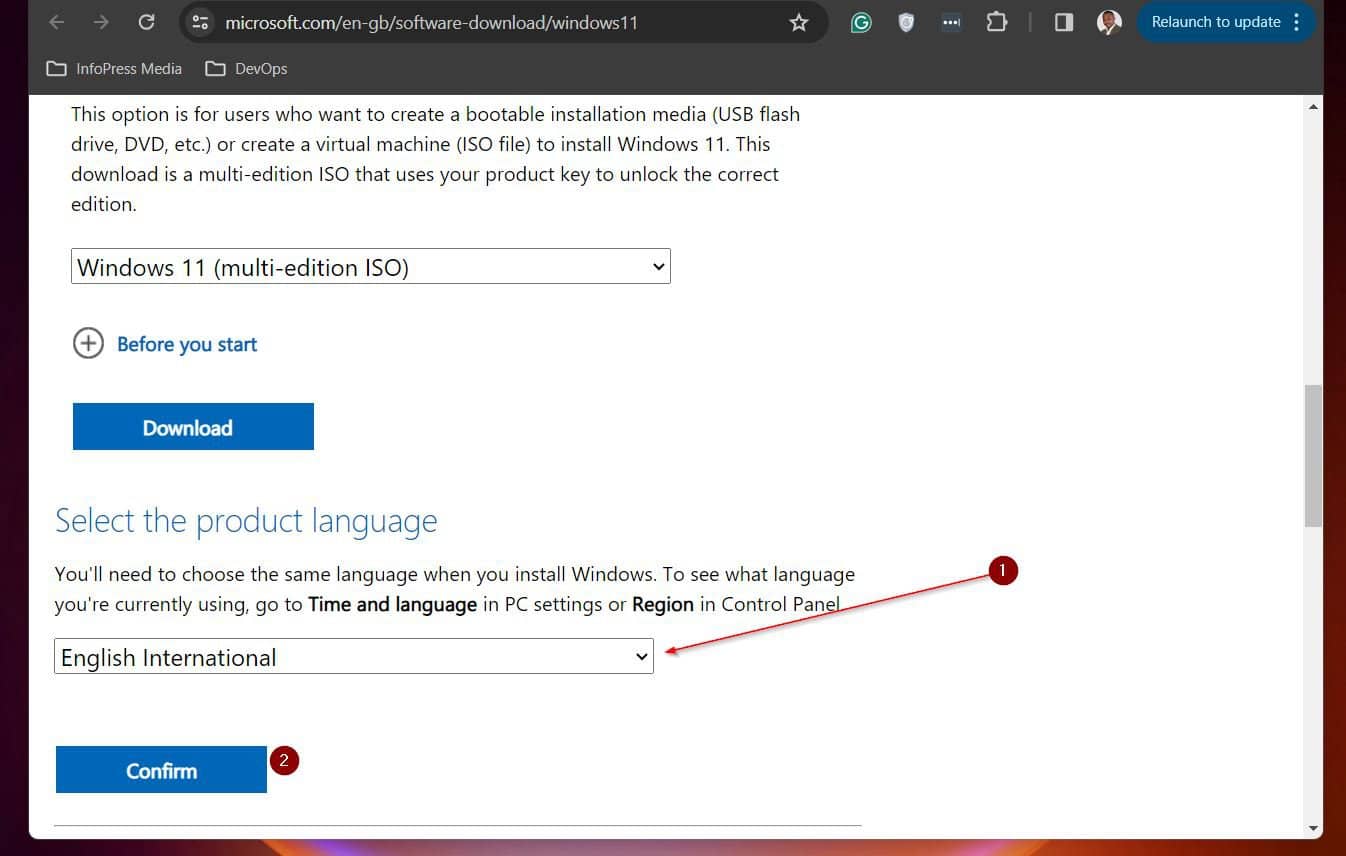
- Finally, select the language you wish to download and click the Confirm button – this activates a download link.
Click the “64-bits Download” link to initiate the ISO image download.

Step 4: Install Windows 11 on the VM
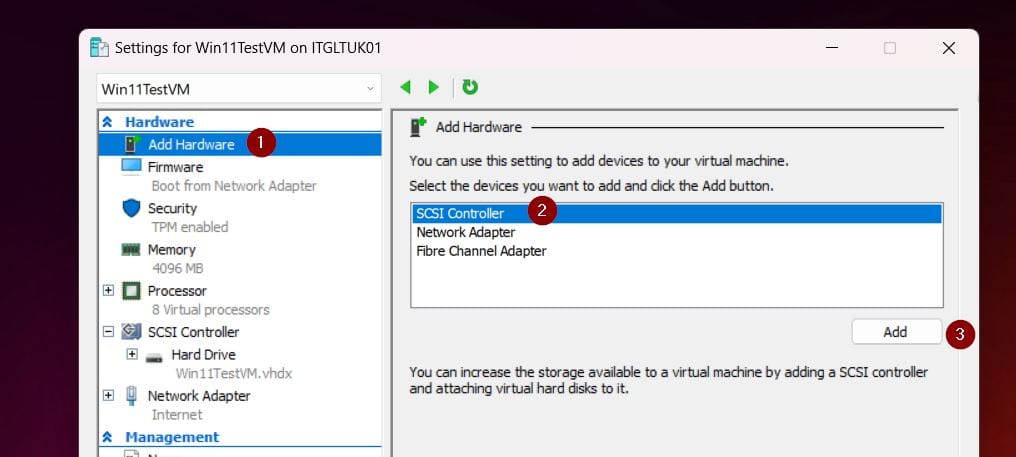
- Open the VM’s Settings on the Hyper-V Manager. Then, on the left pane, select “Add Hardware.”
On the details pane, select “SCSI Controller” and click Add. The SCSI Controller will be highlighted and display options on the details pane.
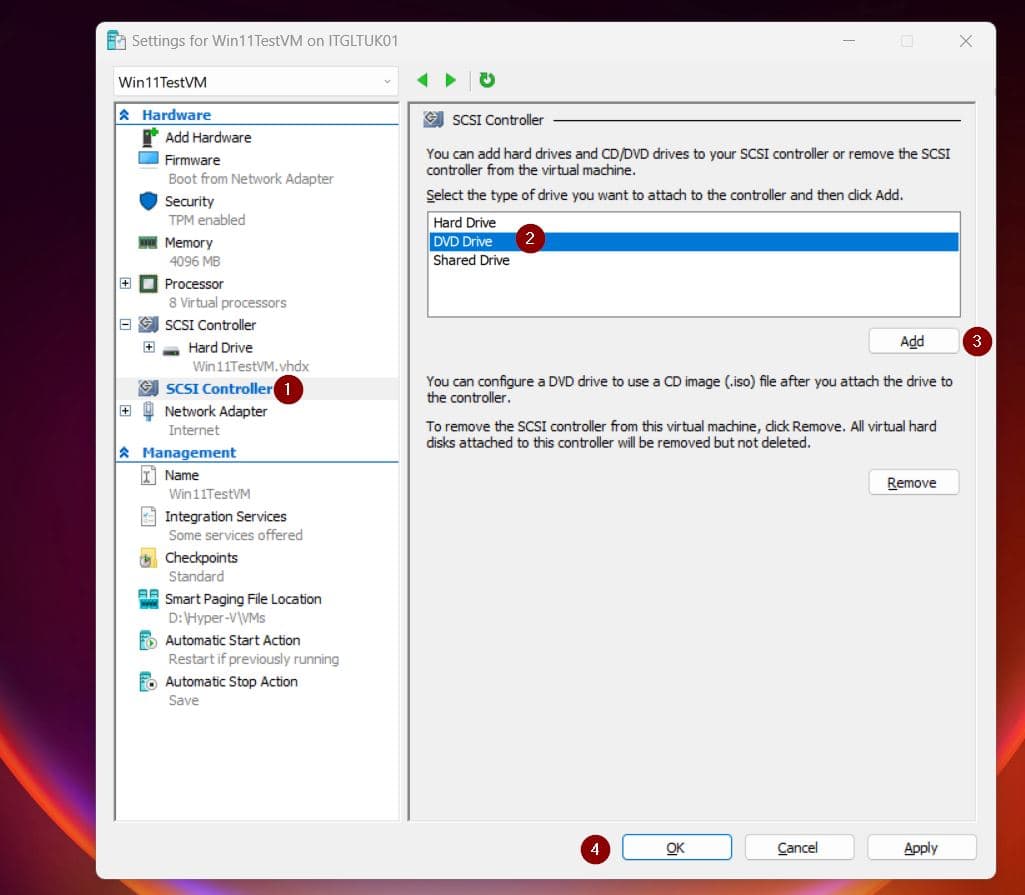
- Select DVD Drive, click Add, and OK. The DVD Drive will be selected and provide options on the right pane.
- Select the “Image file” option, next click Browse, and select the downloaded Windows 11 ISO image. After that, click OK.
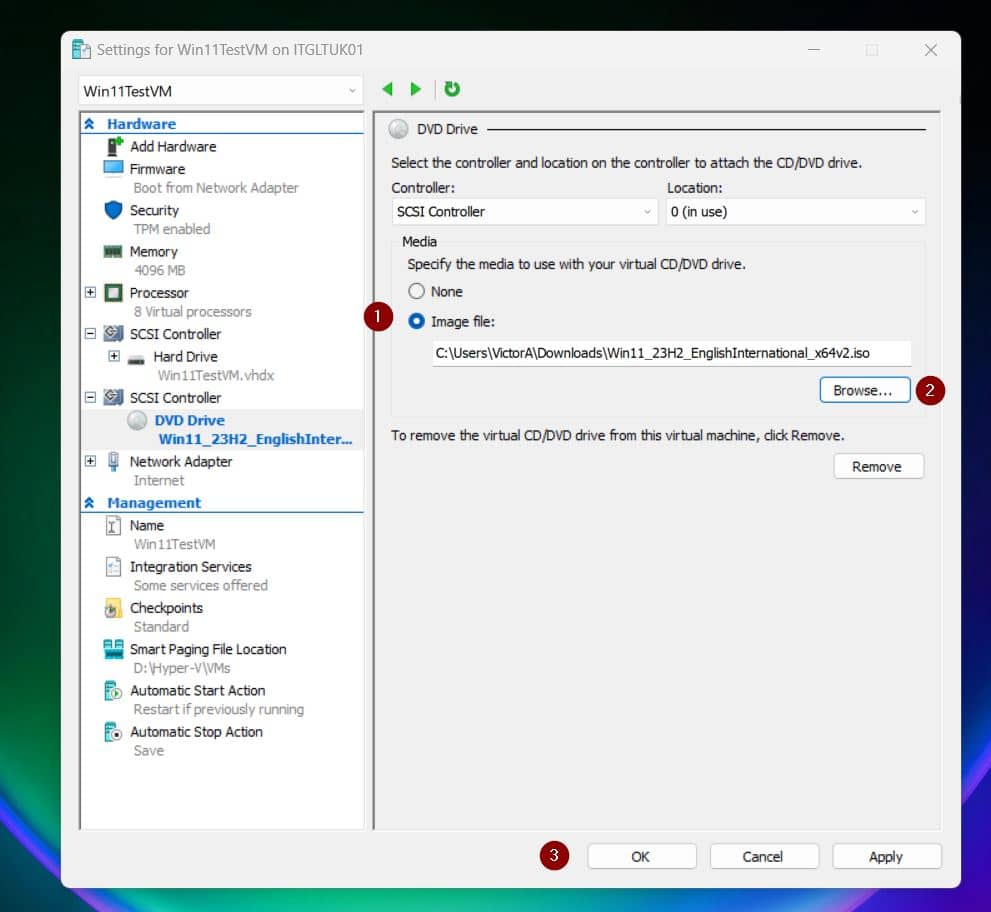
Now that you have attached the ISO image to the VM, it is time to initiate the Windows 11 installation.
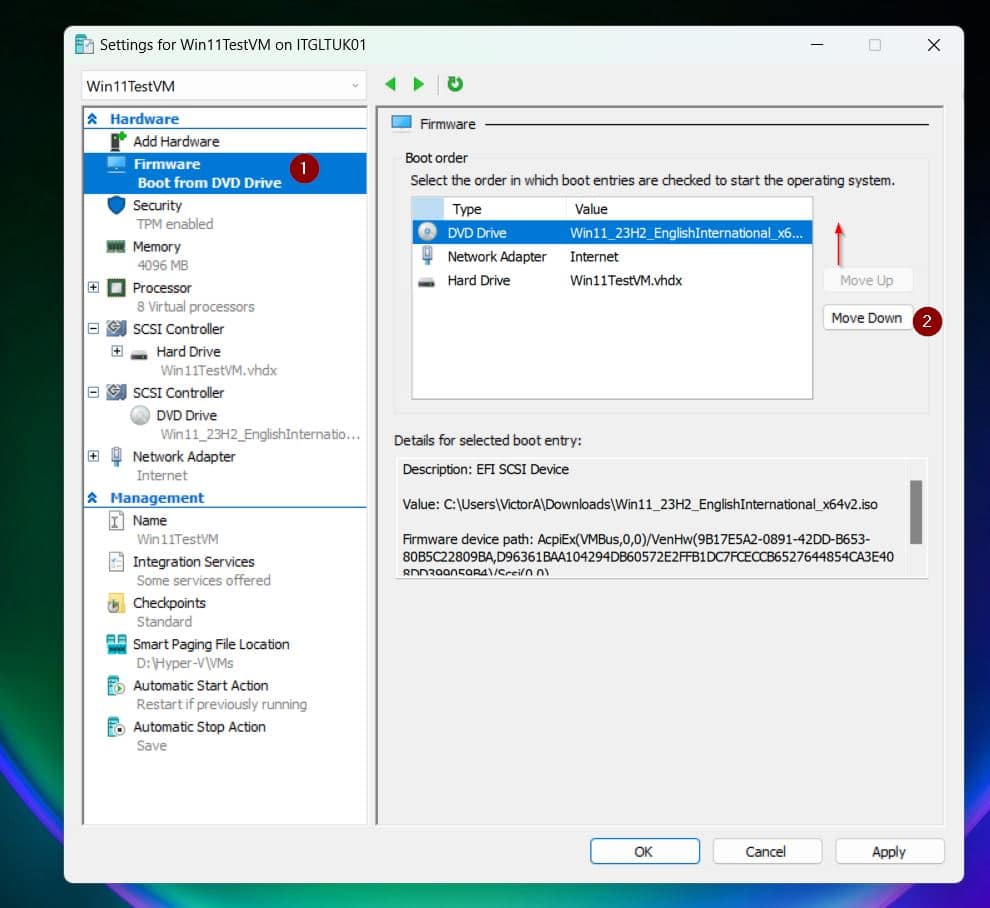
- To ensure that the VM boots from the ISO file, click the Firmware node. Then, on the details pane, Select “DVD Drive” and use the “Move Up” button to move it to the top.
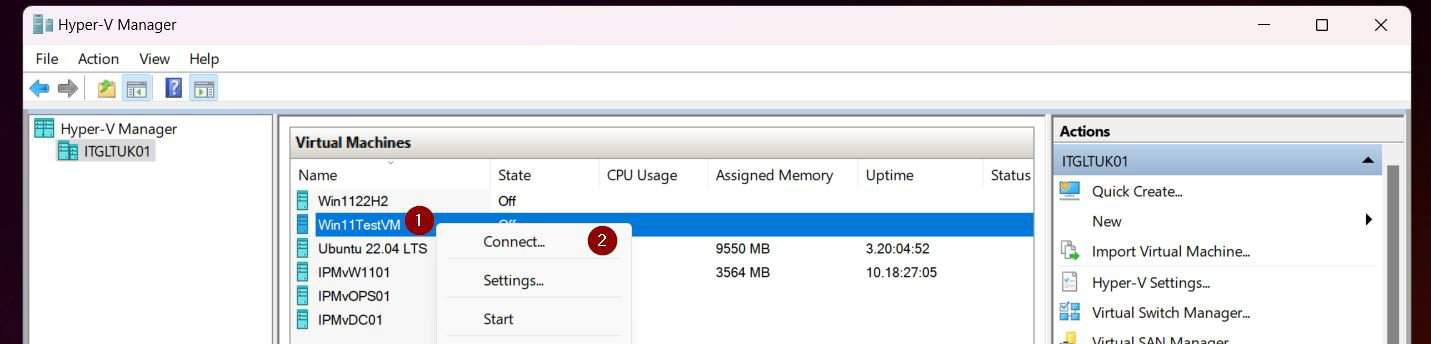
- Right-click the VM on the Hyper-V Manager and select Connect.
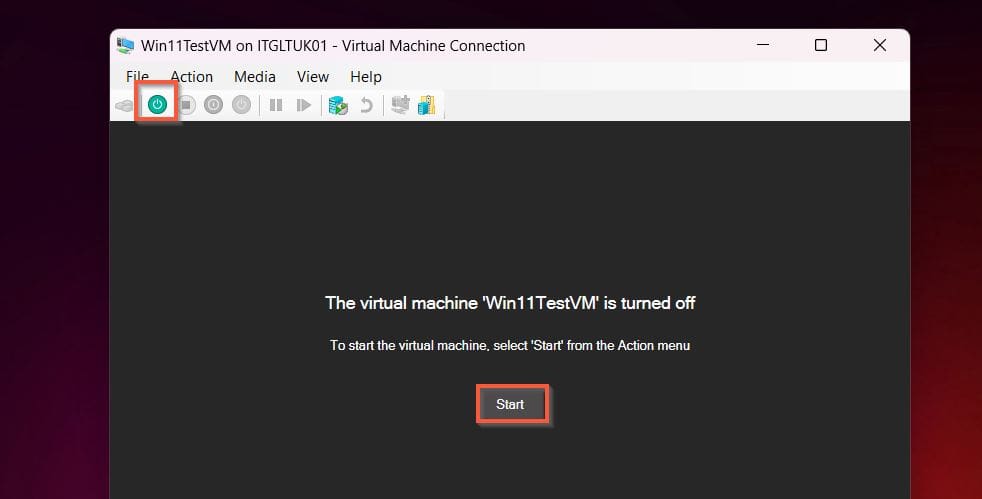
- Start the VM when one of the buttons I highlighted in the screenshot below.
- When prompted, press any key on your keyboard to initiate the OS installation. Once the installation starts, follow the Wizard to complete the installation.
Conclusion
The trick to installing Windows 11 on a Hyper-V virtual machine is to create a Gen 2 VM and secondly enable TPM on the VM. Once you fulfill these two requirements you are good to go.
I am confident that if you followed this hands-on guide, you would install Windows 11 on your Hyper-V successfully. If my assumption is correct, I like to hear from you.
Provide your feedback by responding to the “Was this page helpful?” question below.
Before you go on to other tasks, why not scan our Windows 11 how-to guides – you might just find another article that will make your day!