This Itechguide teaches you how to install Windows 10 1909 update manually. Windows 10 1909 (otherwise known as Windows 10 November update) was released November, 2019.
Ideally, you should wait until this update is available for you to install via Windows update. But it may take a while for the update to become available for you to install automatically.
If you are impatient like me and will like to install Windows 10 1090 manually, here are the steps:
Step 1: Download Windows 10 1909 Update Assistant
The first step to install Windows 10 1909 update manually is to download the update assistant. Here are the steps:
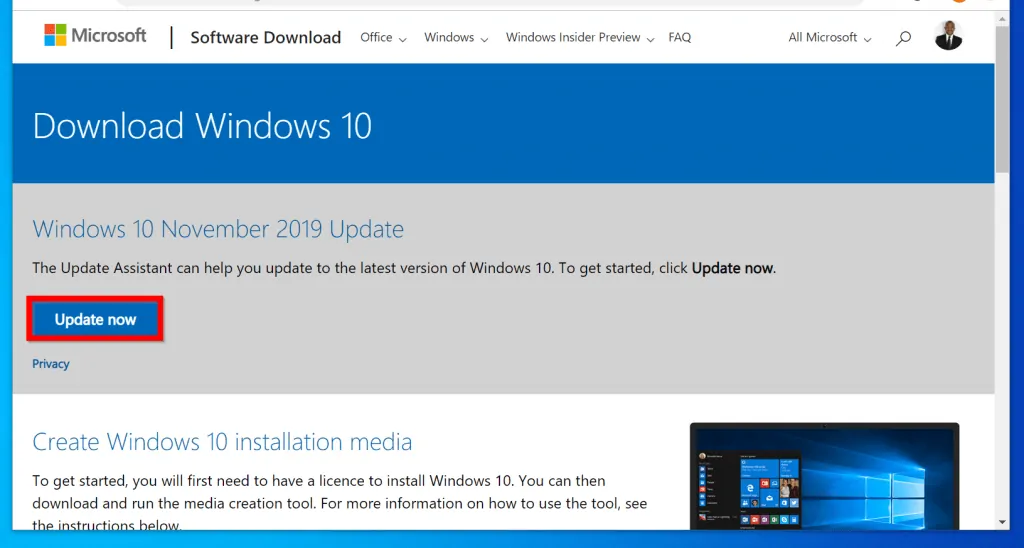
- Click this link Windows 10 November 2019 Update. This will open Windows 10 download page.
- When the link opens, click Update now.
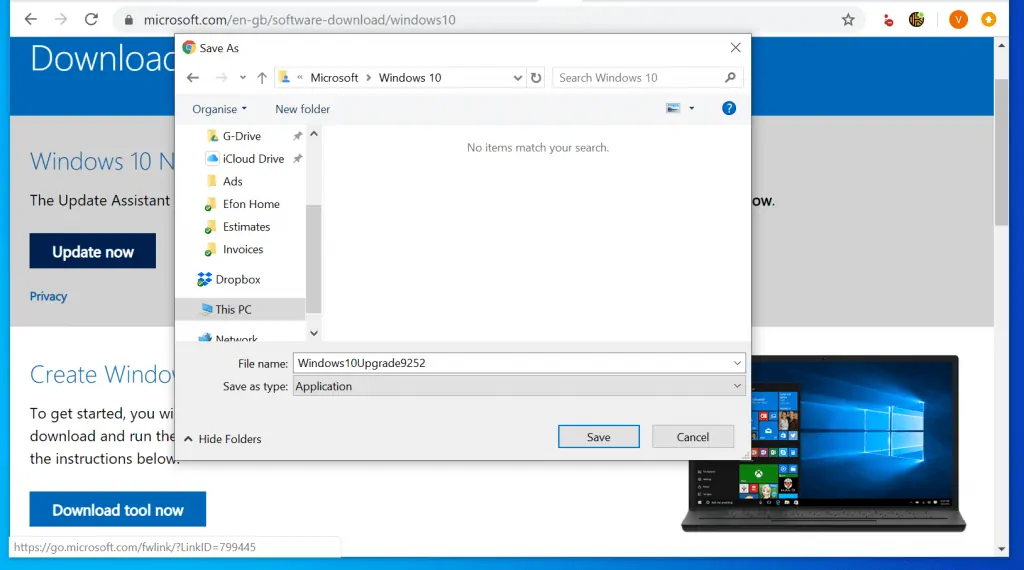
- Then select a location to save the update assistant and click Save.
- Here is what the file looks like…
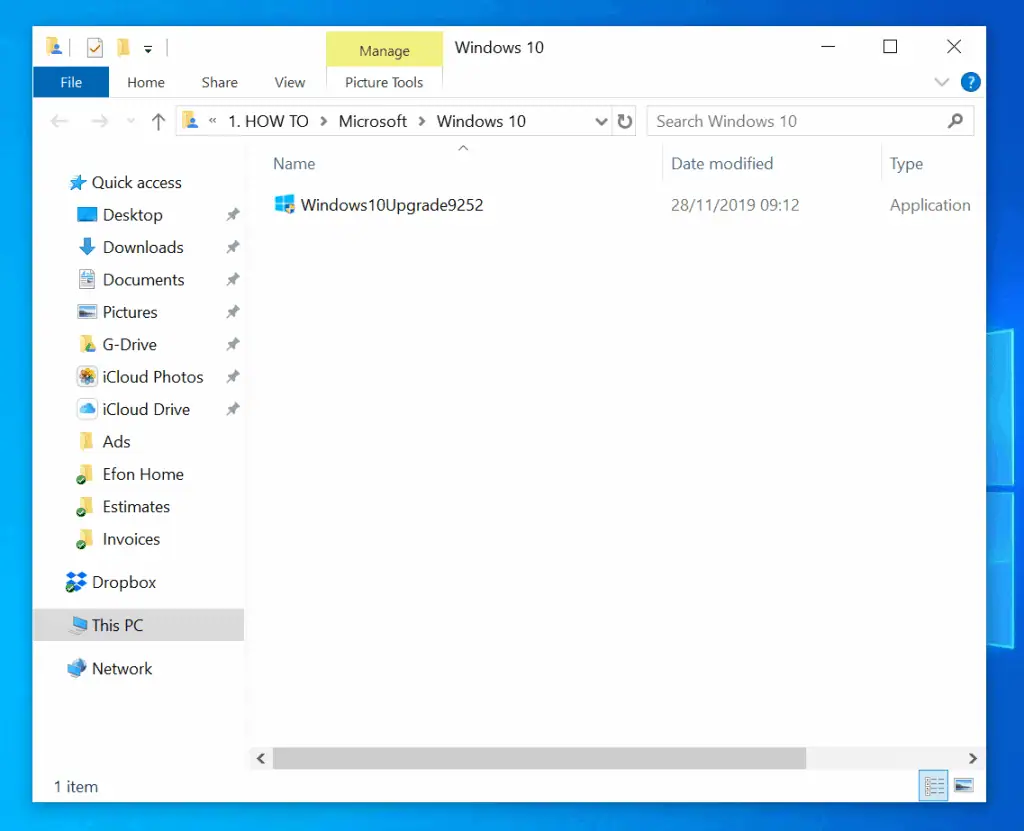
Once you have downloaded the update assistant, proceed to the next step…
Step 2: Install Windows 10 1909 Update Manually
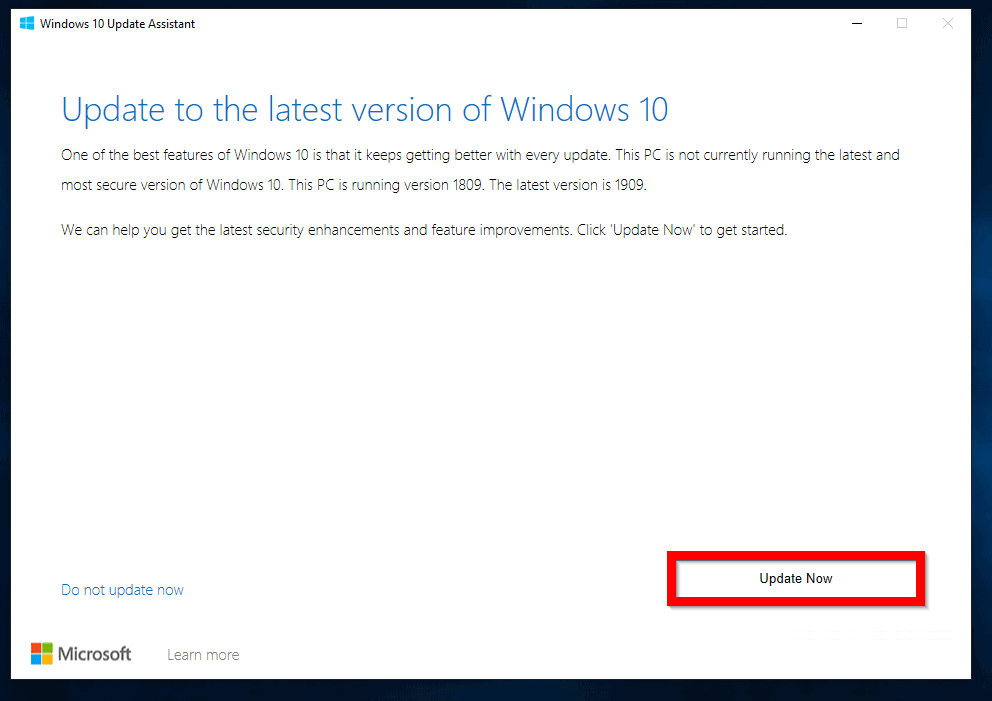
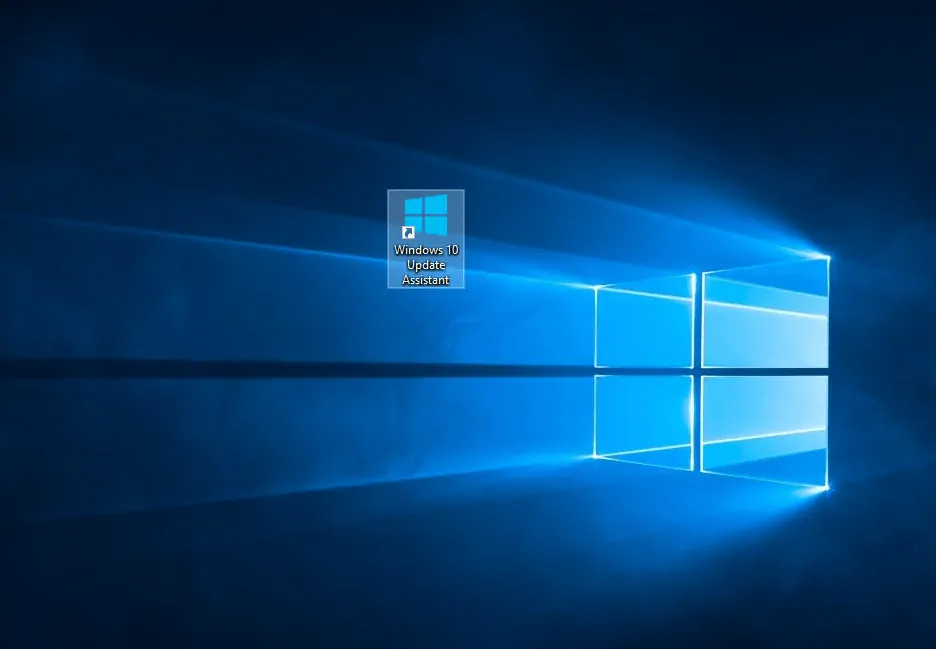
- Navigate to the location you saved Windows 10 1909 update assistant. Then double-click it. Then wait for the update assistant to get ready.
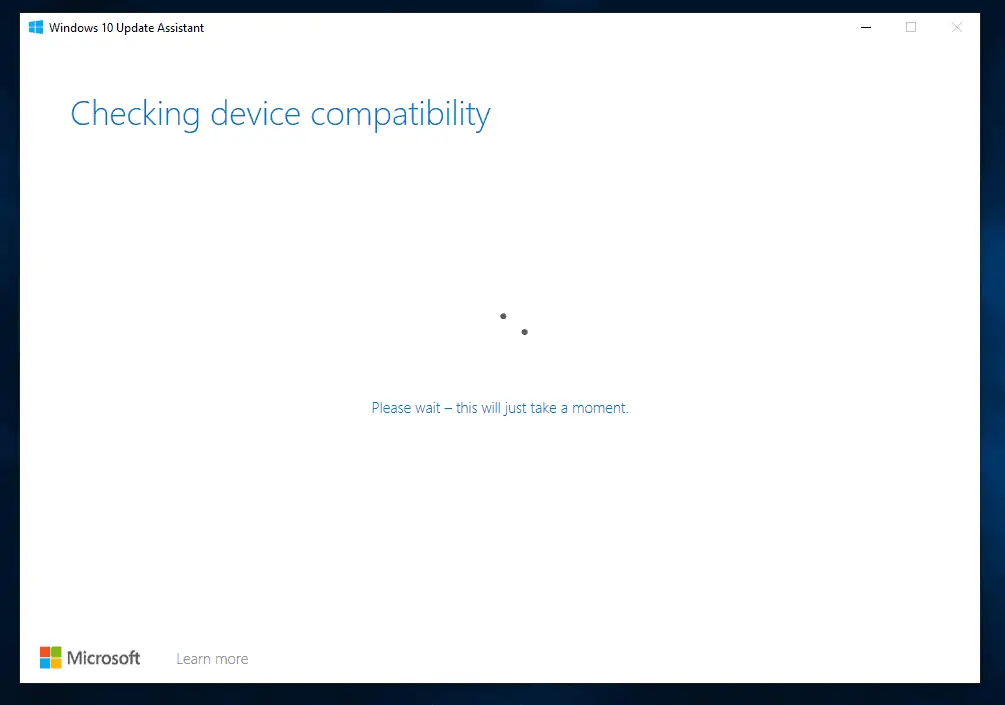
- When the assistant is ready, beneath the tool, click Update now. Then wait for the tool to check your PC for compatibility (see the second image below).
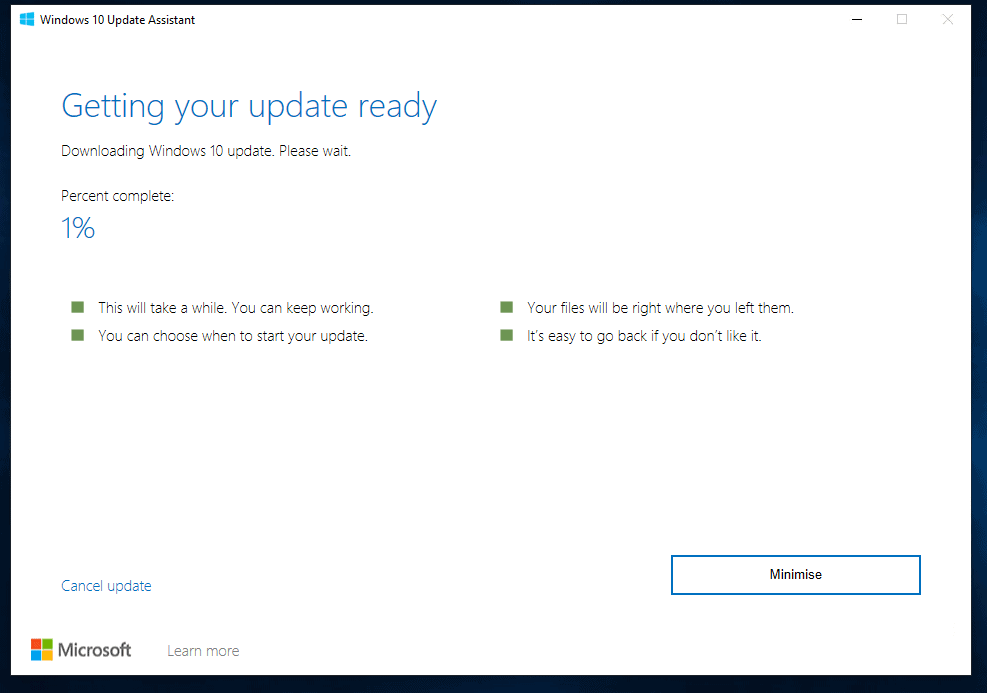
- If your PC passes the compatibility test the tool will proceed to Getting your update ready. This step will take a while. Wait…You could minimize the tool and continue using your PC. To check the status of the update, open Windows Update assistant shortcut on your desktop.
- When the assistant finishes downloading the update, it will start updating Windows 10.

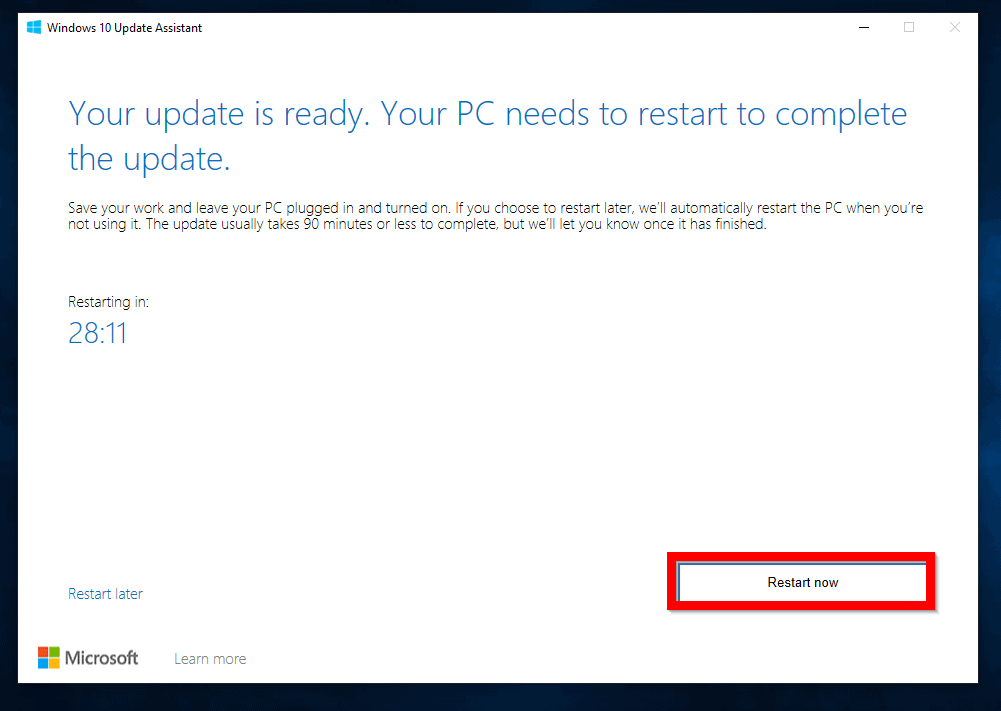
- When Windows 10 update is fully downloaded, the update assistant will prompt you to restart your PC. It will also initiate a restart count-down. To restart immediately, click Restart now.
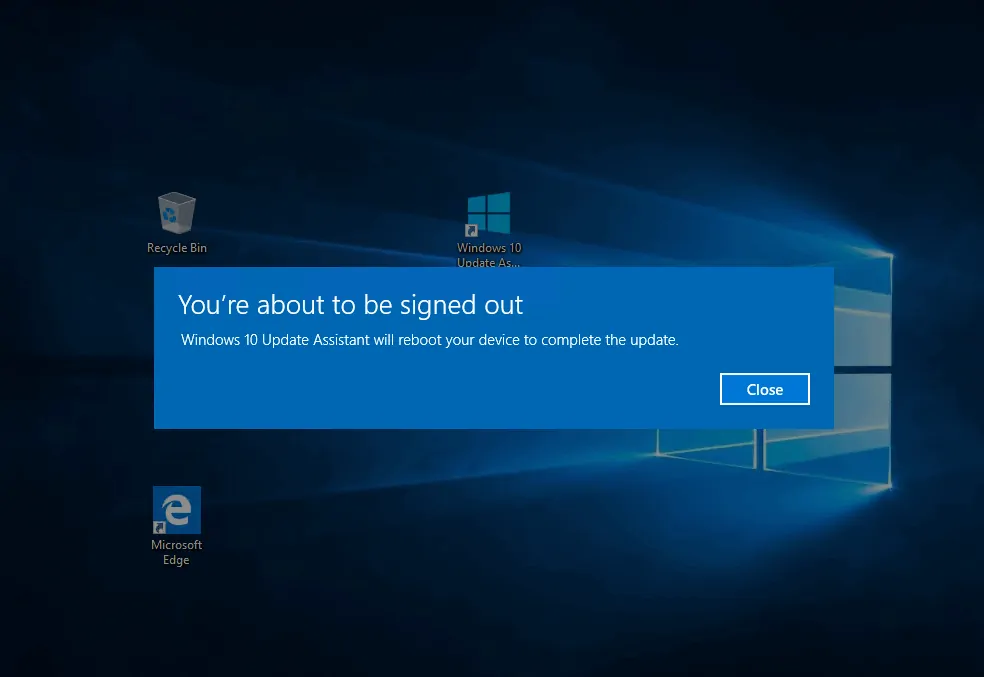
- You will receive the message below. You could either wait or click Close. Your PC will restart.
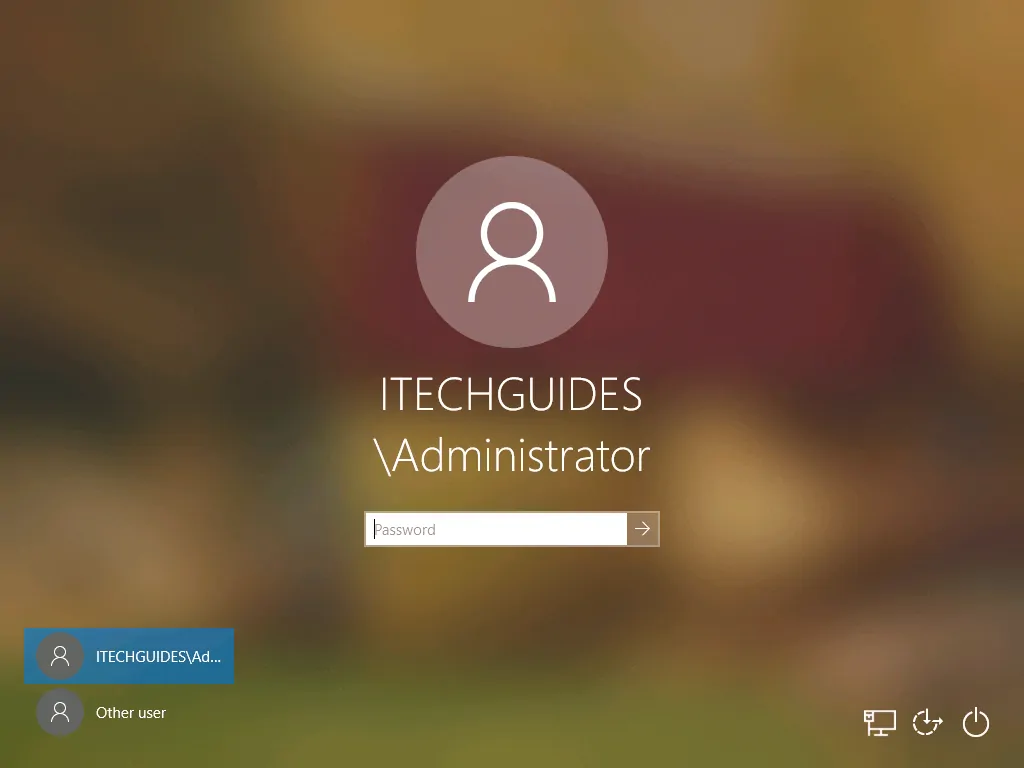
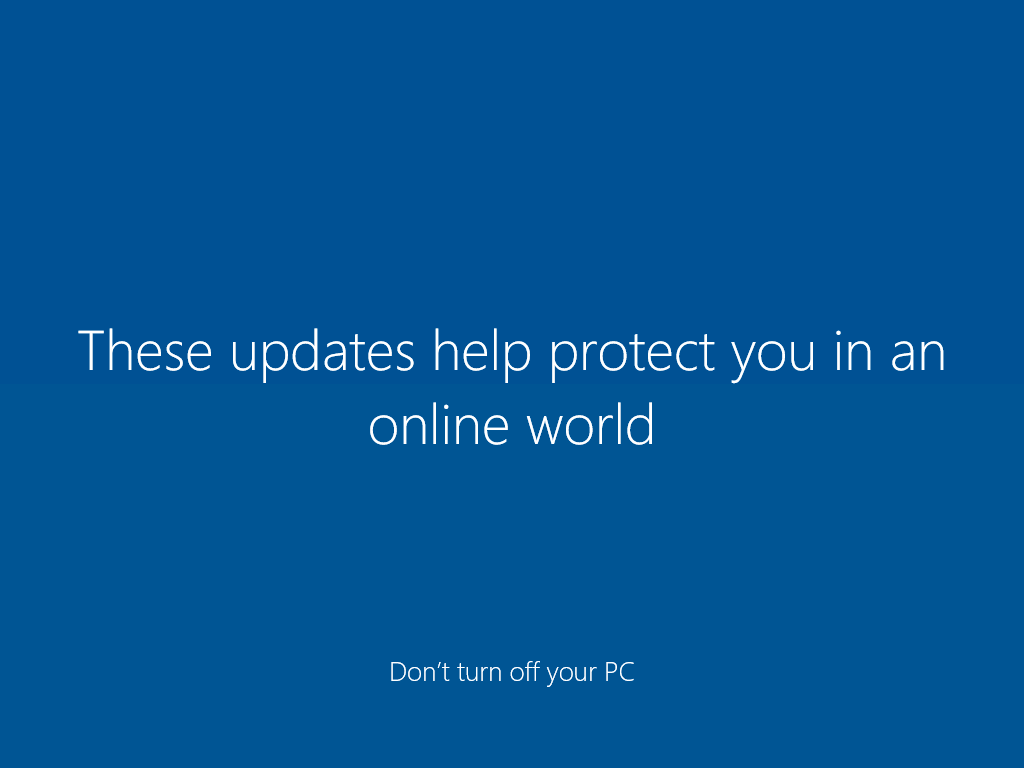
- When your PC restarts, it will display a screen similar to the one below. The PC will restart several times…

- When the update finishes installing, login to your Windows 10 with your usual account
- The final stages of the update will commence.
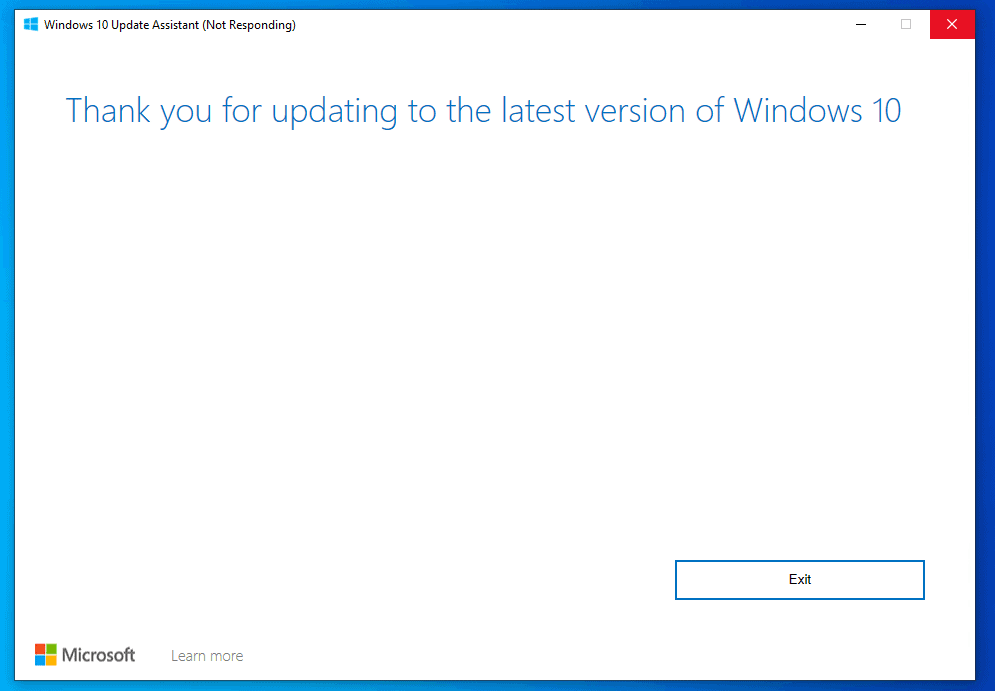
- Finally, when the update is completed, click Exit to close the update assistant.
- To confirm that your PC is running the latest version of Windows 10 type winver into the search bar. Then click Winver run comand from the search result.
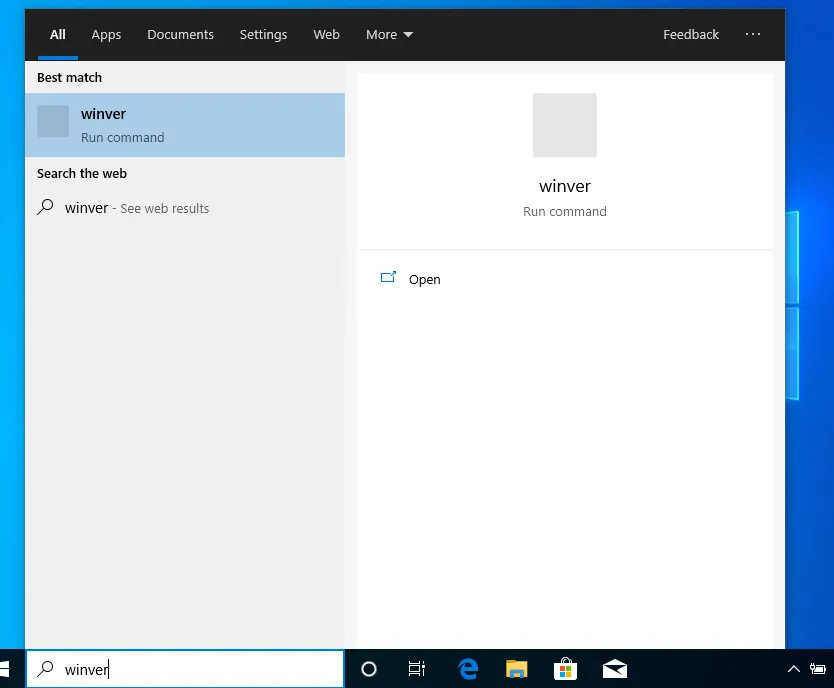
- When winver opens, it will display your Windows version as 1909!
I hope you found this guide helpful. If you did, click on “Yes” beside the “Was this page helpful” question below.
You may also express your thoughts and opinions by using the “Leave a Comment” form at the bottom of this page.
For more Windows Itechguides, visit our Windows How To page.


![How To Run Sysprep (Generalize) In Windows 10 [2 Methods]](https://www.itechguides.com/wp-content/uploads/2022/05/8-2.webp)
I got tired of seeing the message pop up on my desktop telling me 1909 was going to expire, so I searched for the solution and ended up here.
Thank you for the clear and concise directions. I ran the winver and I have had a successful installation. Thank you
The directions are very straightforward.I will using them very soon.
I have problem updating windows 10 1511 to 1909.
1. I have reset windows update
2. Disabled antivirus and firewall
3. Updated my BIOS and drivers
4. When I update using windows.iso I get error “INSTALLATION FAILED IN THE SAFE_OS PHASE WITH ERROR DURING PREPARE_ROLLBACK OPERATION”.
5. When I use windows update assistant no errors are reported but the system doesn’t upgrade (run winver).
Hi Lexington,
Have you tried the steps in this guide?
Hi Victor
Yes the installation run but the OS remains on 1511.