Is your Windows 11 PC slow and laggy, and you don’t know what to do? Don’t panic; this guide includes multiple fixes for this problem.
Solution 1: Execute Windows Update
Updating your Windows 11 operating system often fix most problems. Besides, a bug or glitch in the current version of the Windows 11 OS that you are using might be the cause of this issue.
So, follow the steps below to run the Windows update on your Windows 11 computer.
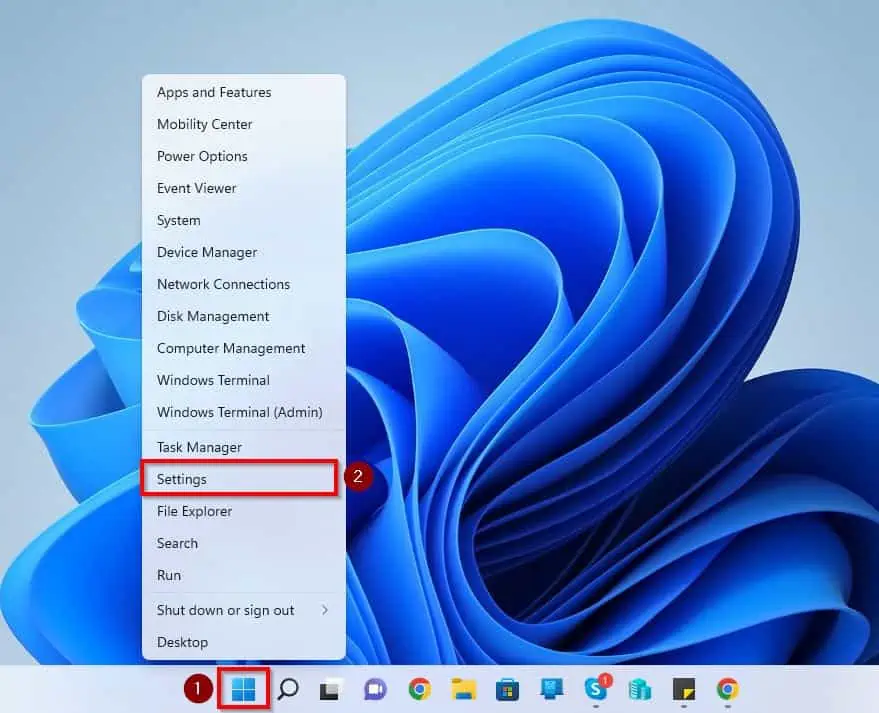
- On the taskbar in your Windows 11 computer, right-click the Start menu button and select Settings.
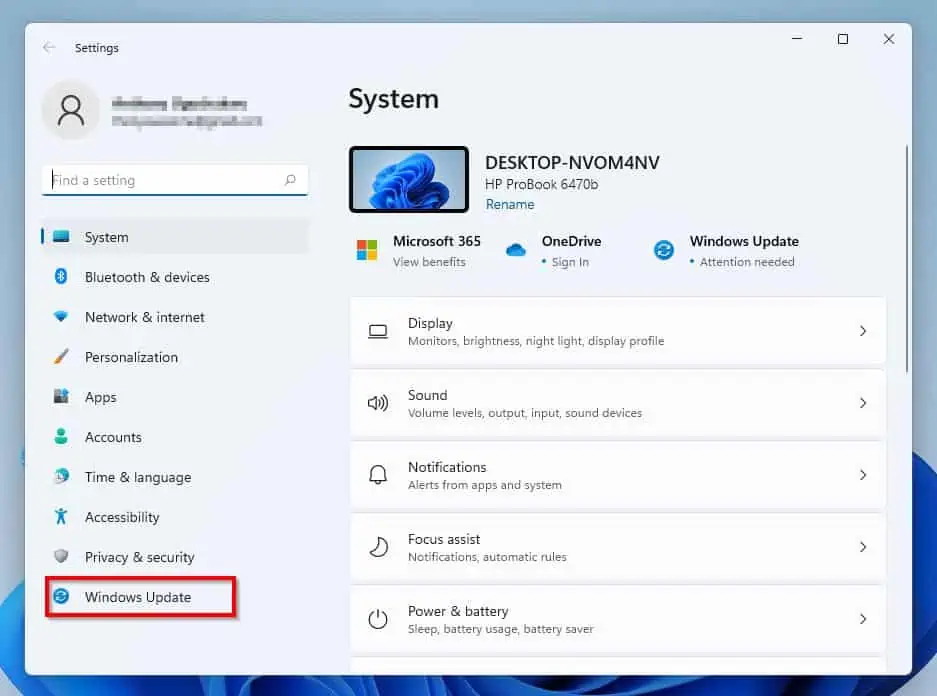
- When the Settings app opens, click Windows Update on the left pane.
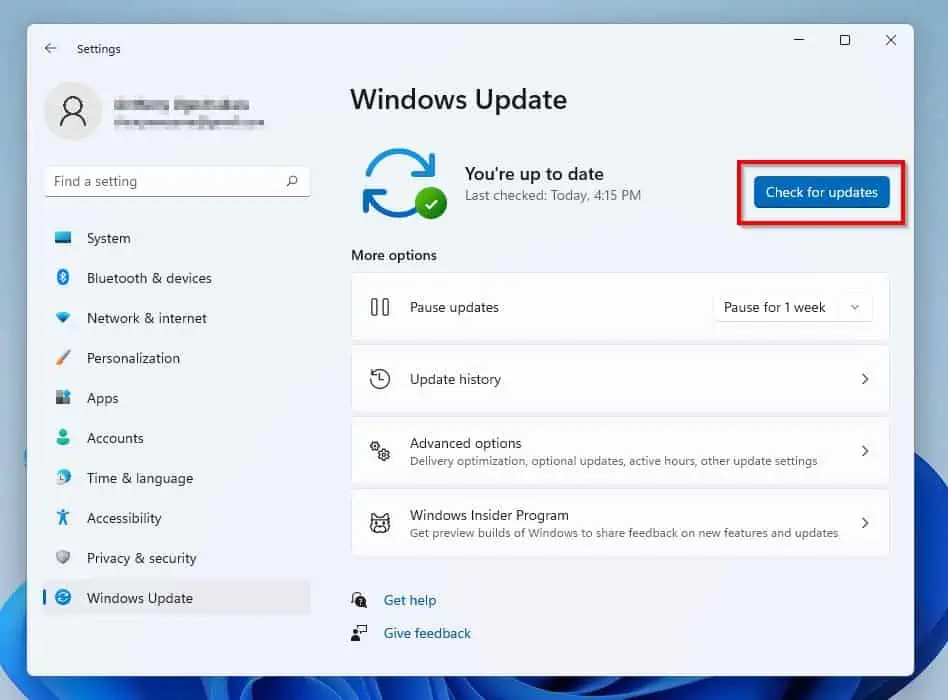
- Afterward, left-click the blue Check for updates button at the top of the Settings window’s right pane.
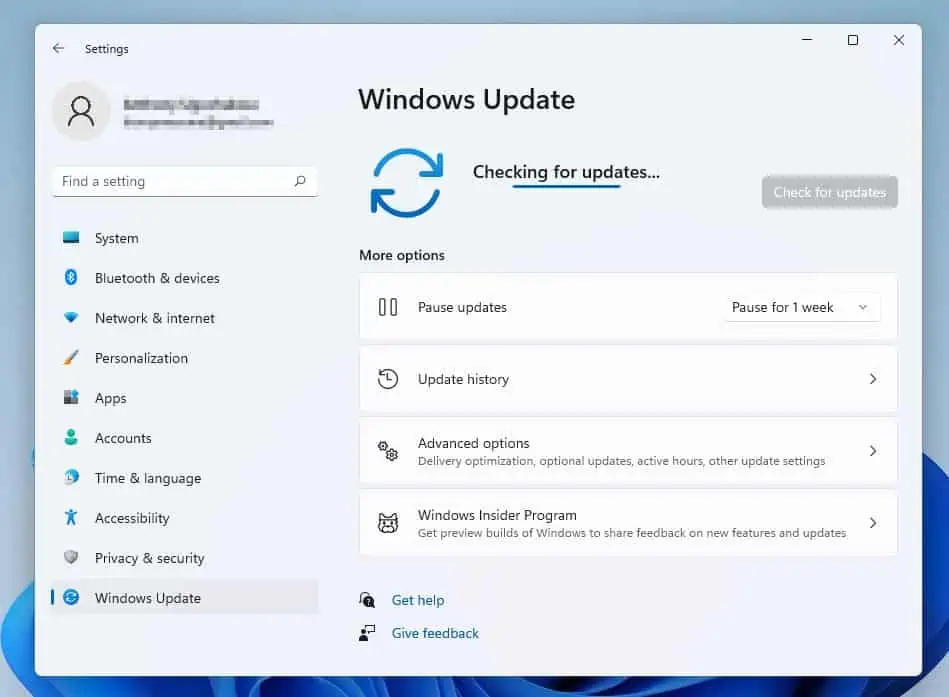
- Accordingly, Windows will commence an online search for any available updates for your PC. If Windows find any available updates, you should be prompted to download and install them.
- After installing the updates, restart your Windows 11 PC, and this problem should be fixed. If not, check out the other solutions below.
Solution 2: Disable Startup Apps
Too much unnecessary startup applications can also make your Windows 11 computer run slow. Hence, disabling some less-important startup apps on your PC should fix the issue.
The following procedures demonstrate how to disable startup applications in Windows 11.
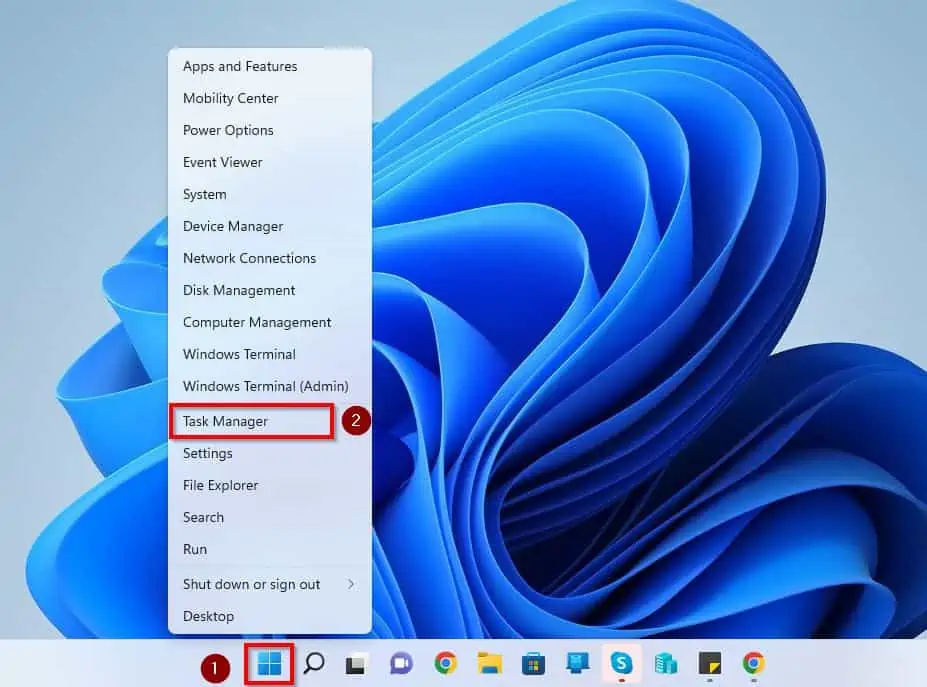
- Right-click your Windows 11 computer’s Start menu button on the taskbar and select Task Manager. You may also use the Ctrl + Shift + Esc shortcut to open Task Manager in Windows 11.
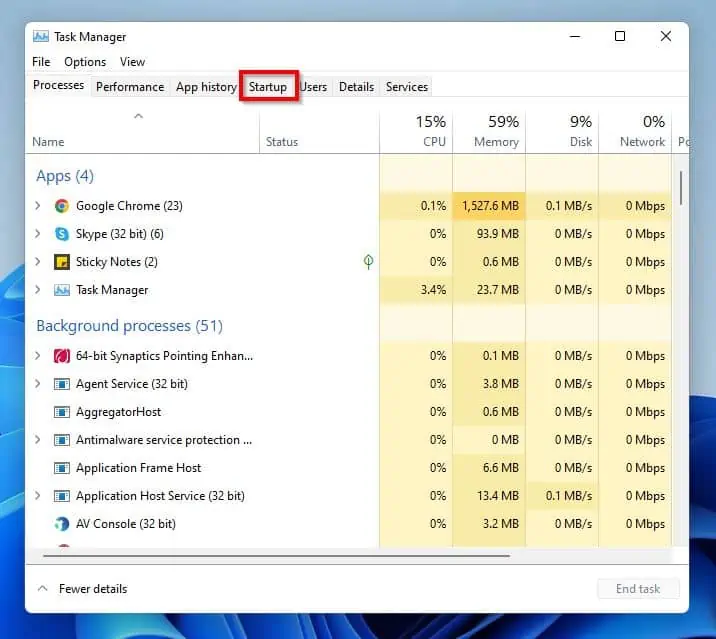
- Switch to the Startup tab on the Task Manager window.
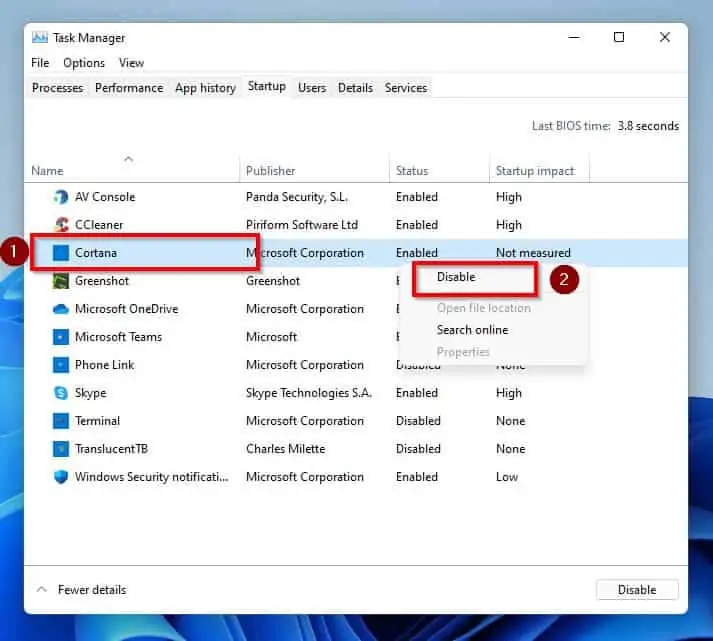
- Finally, right-click any less-important startup application that you wish to disable and select Disable.
- After doing all that, restart your PC. Hopefully, your computer won’t run slow anymore.
If your Windows 11 PC is still slow, try the third solution below.
Solution 3: Delete Temporary Files
Another culprit that can cause this issue in Windows 11 is too many temporary files. Hence, deleting the temporary files on your Windows 11 PC should resolve the problem
To delete temporary files in Windows 11, follow the procedures below.
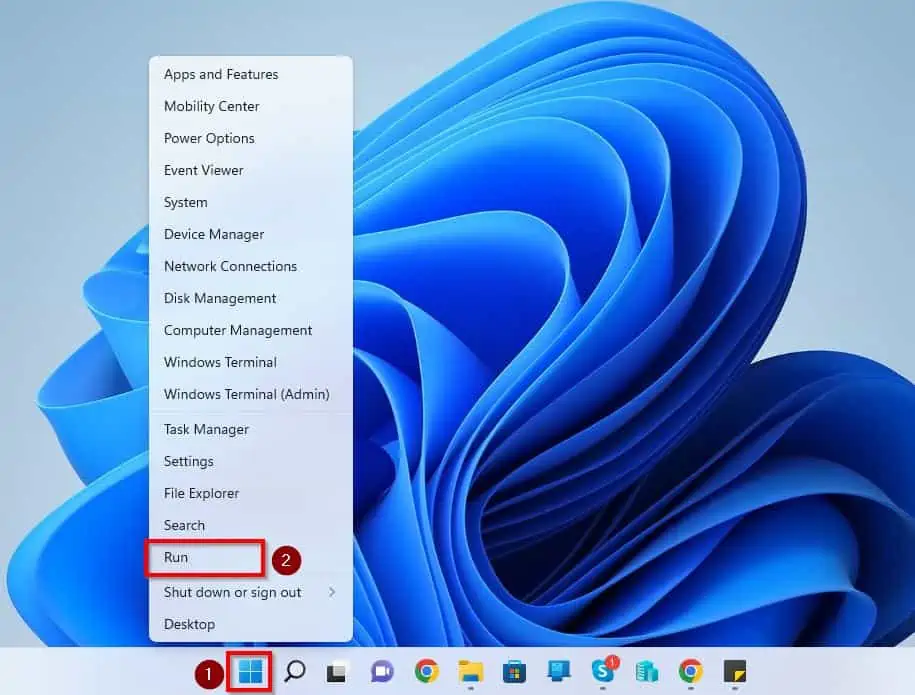
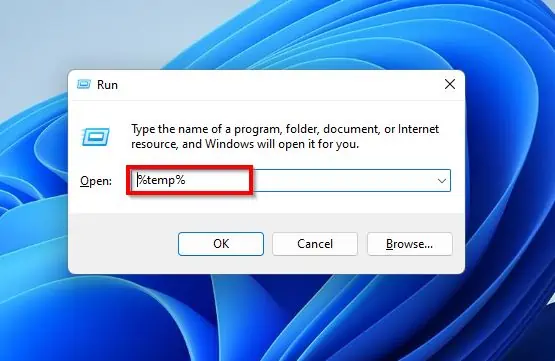
- Right-click the Start menu button and select Run. Alternatively, press the Windows key + R to launch the Run dialog.
- Then, input “%temp%” (without the quotes) in the Run input field and press the enter key. Hence, the folder where temporary files are stored will open on your PC.
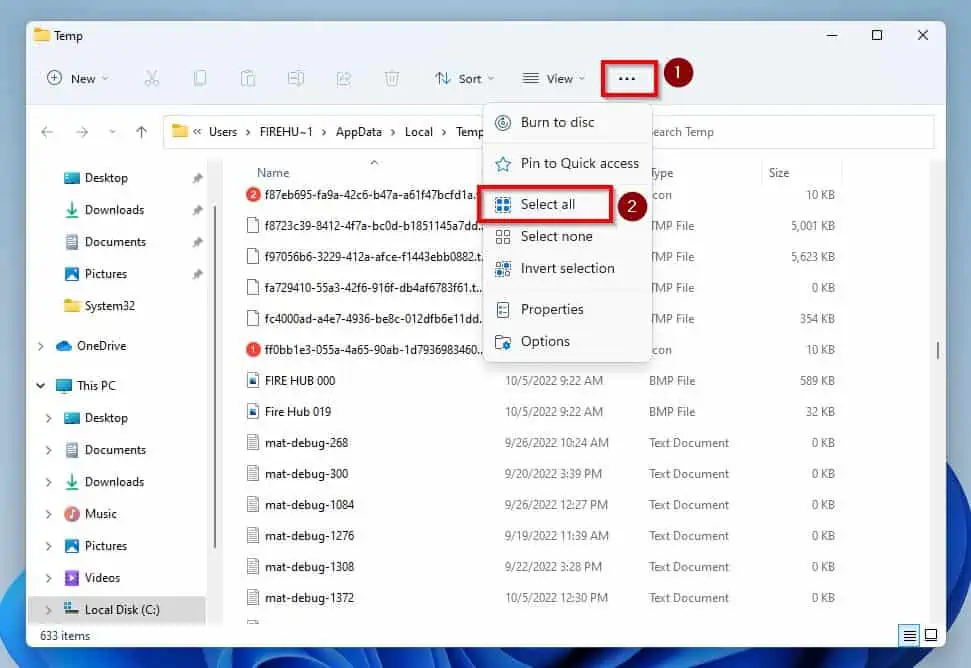
- Following that, click the See more (three horizontal dots) icon at the top of the Temp window and click Select all to select all the temporary files.
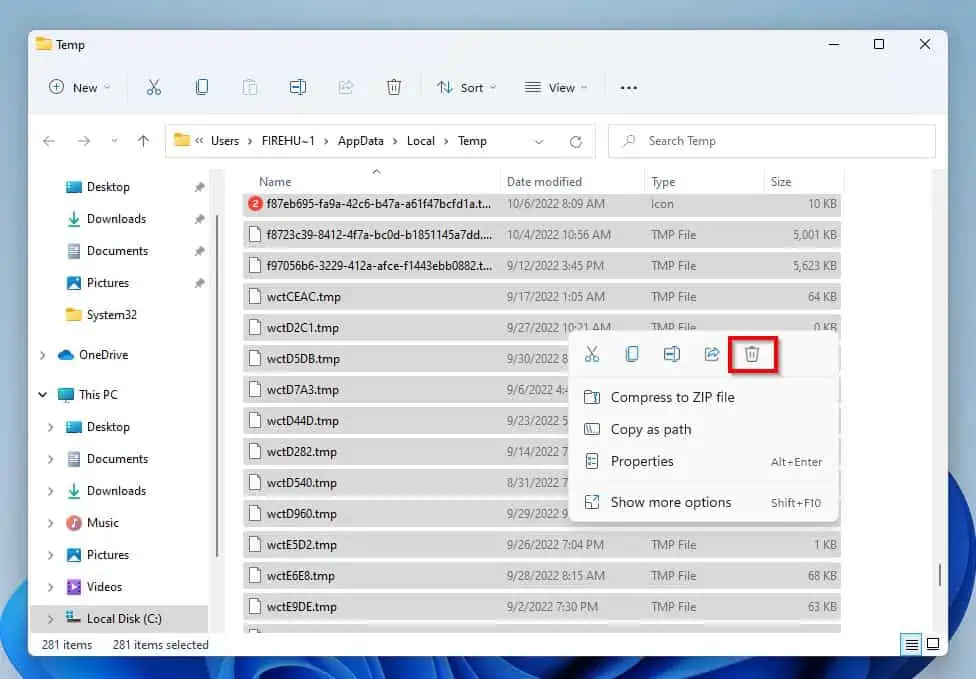
- Finally, right-click any of the files in the folder and select the Delete icon to delete all the temporary files. You can also press the delete key on your keyboard to delete all the temporary files.
- After deleting the temporary files on your Windows 11 PC, reboot the PC. Optimistically, the issue will be resolved.
Otherwise, you should try the last solution below.
Solution 4: Adjust Visual Effects
As most of us know, Windows 11 comes with lots of new animations and effects that give it a modern aesthetic. However, while these effects are pleasing to the eye, they can have a huge impact on your PC’s performance – especially if your PC uses a low-end GPU.
In that case, adjusting the visual effects of your Windows 11 PC should fix this problem. To do that, follow the steps below.
- Use the Windows key + R shortcut to open the Run dialog. Then, type “sysdm.cpl” in the Run input box and press the enter key.
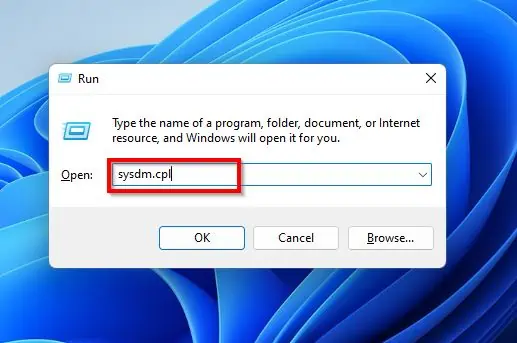
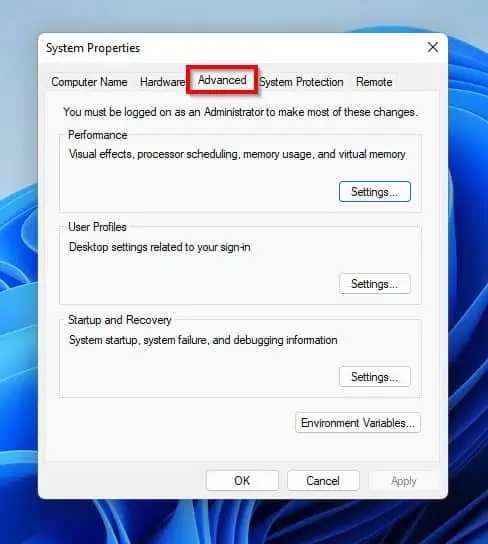
- By doing that, System Properties should automatically open. Hence, switch to the Advanced tab on the System Properties window.
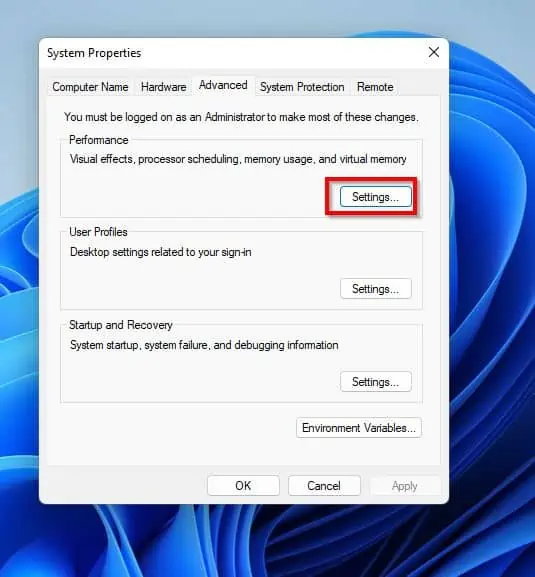
- On the Advanced tab, click the Settings… button in the Performance category. Hence, the Performance Options window will automatically open.
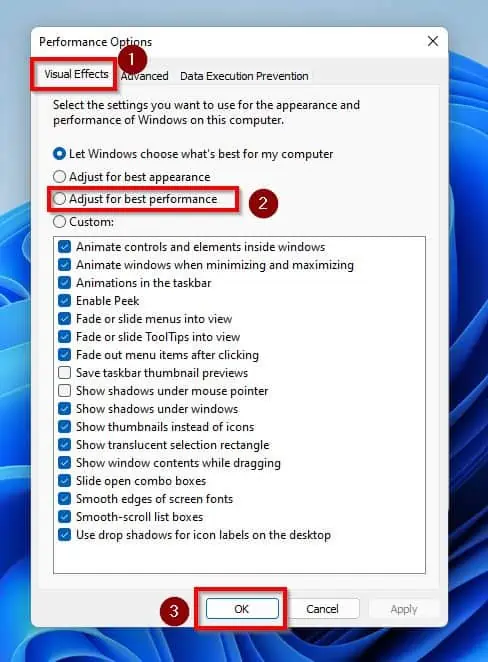
- Following that, ensure you are on the Visual Effects tab in the Performance Options window. Thus, select Adjust for best performance and click the OK button at the bottom of the window.
- After doing all that, reboot your PC. Hence, this slowness issue should be resolved.
Frequently Asked Questions
Based on my personal opinion, the Windows 11 OS is worth installing. This is due to the fact that it comes with a sleeker interface and lots of new security features.
There are lots of reasons why your Windows 11 PC lags. However, some of the major reasons include too many temporary files and unnecessary startup applications.
The RAM on your PC may also be too low. If your PC is slow, consider upgrading the RAM.
Yes, you can. To learn how to uninstall Windows 11, read our guide – How To Uninstall Windows 11 And Roll Back To Windows 10 Manually
The memory requirement to install the Windows 11 operating system is 4 GB or higher. However, to enjoy Windows 11, you need at least 8 GB of RAM or higher, depending on your workload.
If your computer doesn’t meet with the requirements to install Windows 11, Windows 11 will slow down your PC.
Conclusion
I know how frustrating it can be when one’s Windows 11 computer is slow and laggy. However, with the fixes included in this guide, this problem should be resolved once and for all.
To be specific, this guide taught us how to fix the problem by running the Windows update and disabling startup apps. We also learned how to resolve the issue by deleting temporary files and adjusting visual effects.
I hope one of the solutions provided in this guide resolves your computer’s problem. If it did, click on “Yes” beside the “Was this page helpful” question below.
You may also express your thoughts and opinions by using the “Leave a Comment” form at the bottom of this page.
Finally, visit our Windows 11 Fix Guides page for Windows 11 fix guides.


