Is your Windows 11 PC slowing down due to its disk usage reaching 100 percent? This guide contains various possible solutions to fix this issue.
Solution 1: Disable SysMain (Superfetch) Service
The SysMain service, also known as SuperFetch, in Windows 11 helps to reduce boot time and load applications more efficiently by accessing a prefetch file. While this service is very helpful and improves performance, it can cause high disk usage.
Therefore, disabling the service on your PC should be able to fix this problem. The procedures below illustrate how to disable the SysMain service in Windows 11.
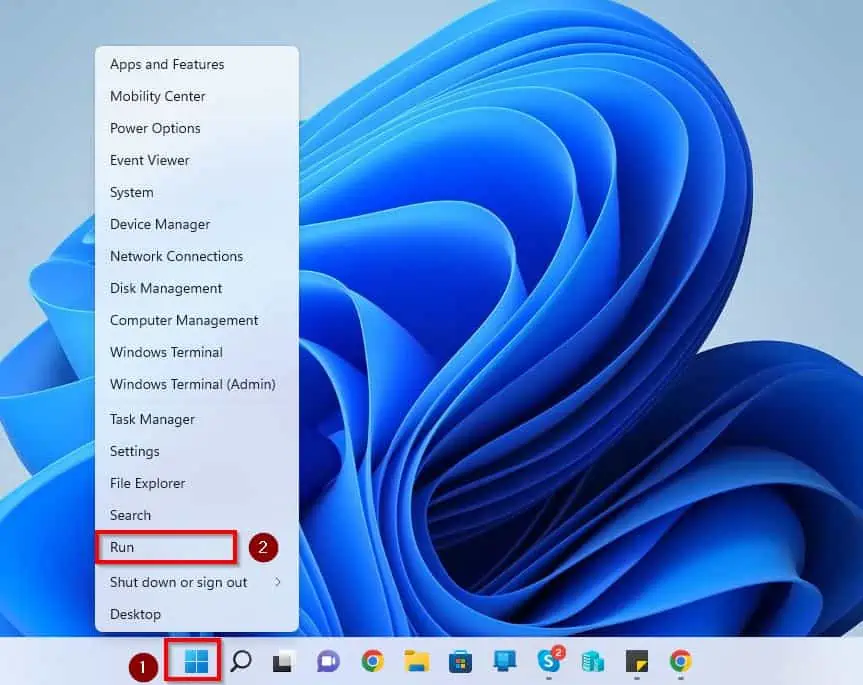
- On your PC’s taskbar, right-click the Start menu button and select Run. You can use the Windows + R shortcut to launch the Run dialog.
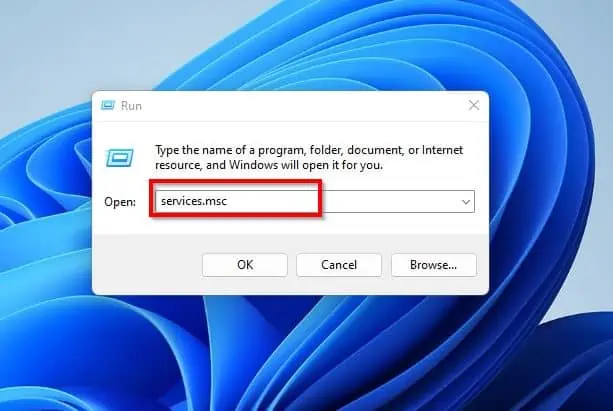
- Following that, type “services.msc” in the Run input field and press Enter on your keyboard.
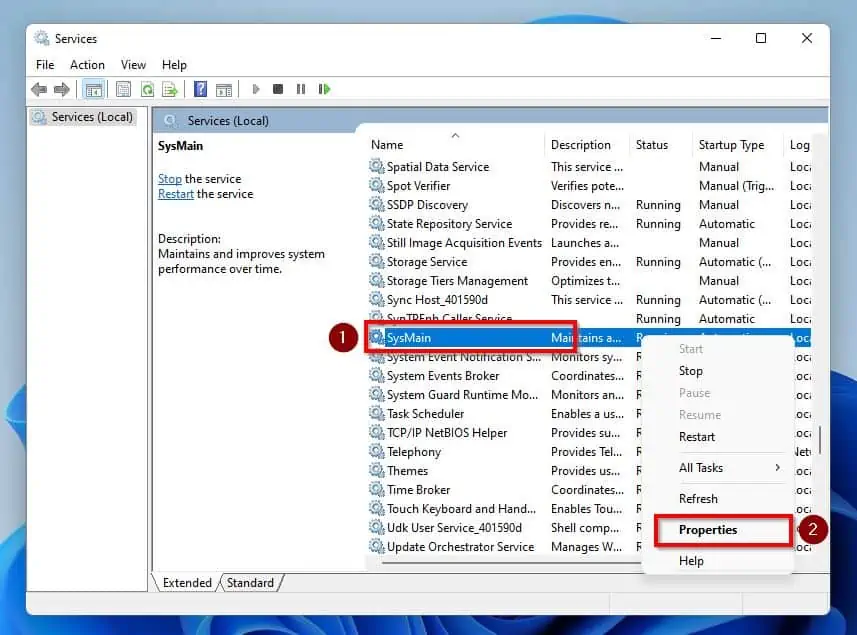
- When the Services window opens, right-click the SysMain service and select Properties from the displayed options.
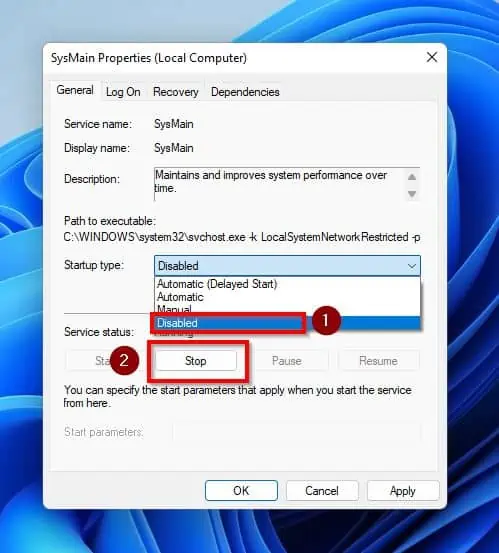
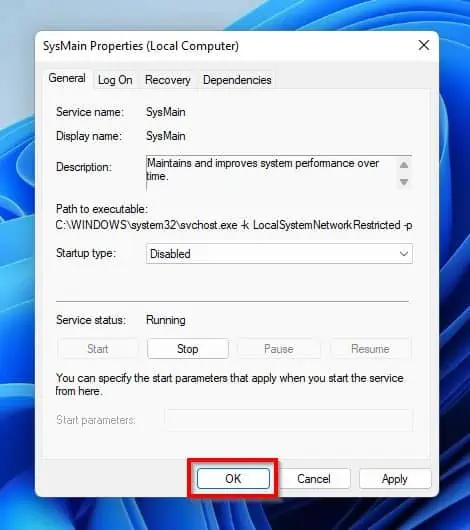
- Then, click the Startup type: drop-down and select Disabled in the SysMain Properties window. Next, click the Stop button.
- Afterward, click the OK button at the bottom of the window to save the changes.
- Finally, restart your Windows 11 PC, and you should notice a drop in your disk usage. If you don’t, try the other solutions below.
Solution 2: Execute SFC and DISM Scans
Another way to fix this disk usage problem is to run the SFC and DISM scan on your Windows 11 PC. To accomplish that, follow the steps below.
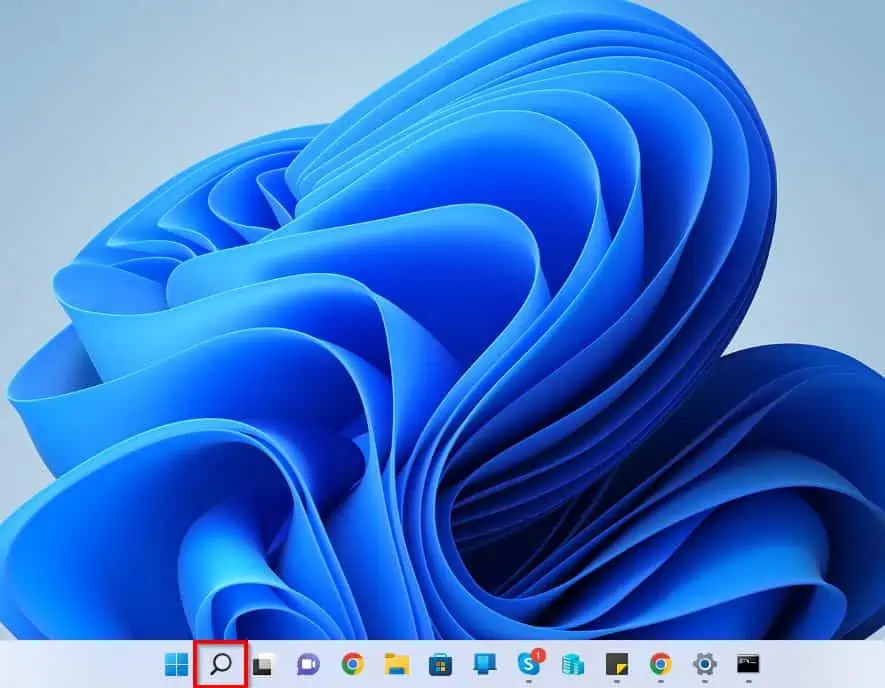
- Click the Search button on your Windows 11 taskbar.
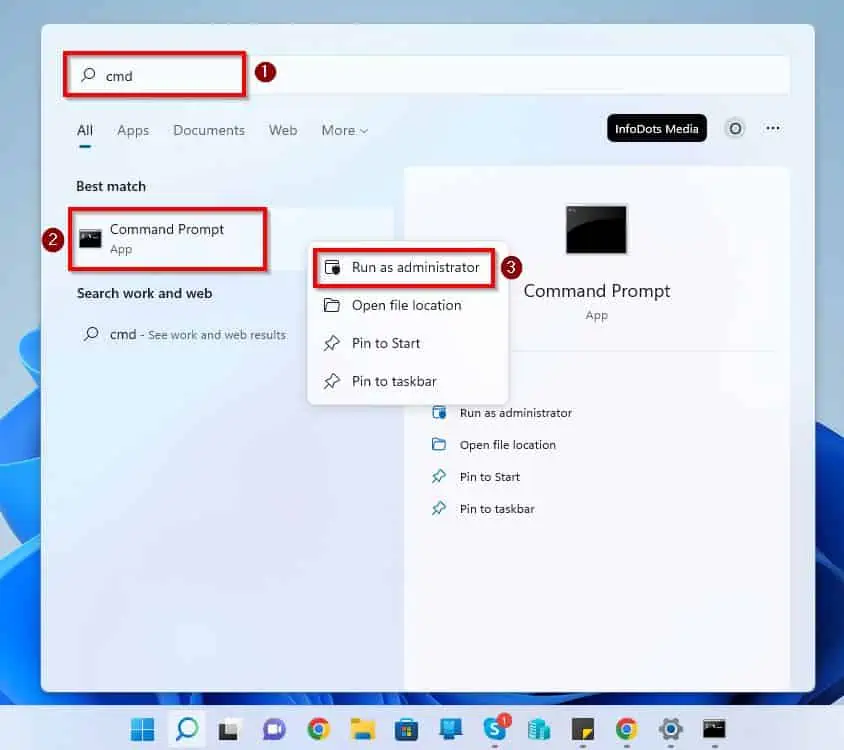
- Then, type “cmd” (without the quotes) in the search box. Hence, right-click Command Prompt under the Best match section and select Run as administrator.
- Consequently, a User Account Control prompt will appear on your PC screen, asking if you want to permit the app to make changes to your PC. Select Yes to proceed.
- When Command Prompt opens, input the commands below sequentially and press Enter.
sfc /scannow
DISM.exe /Online /Cleanup-image /Restorehealth
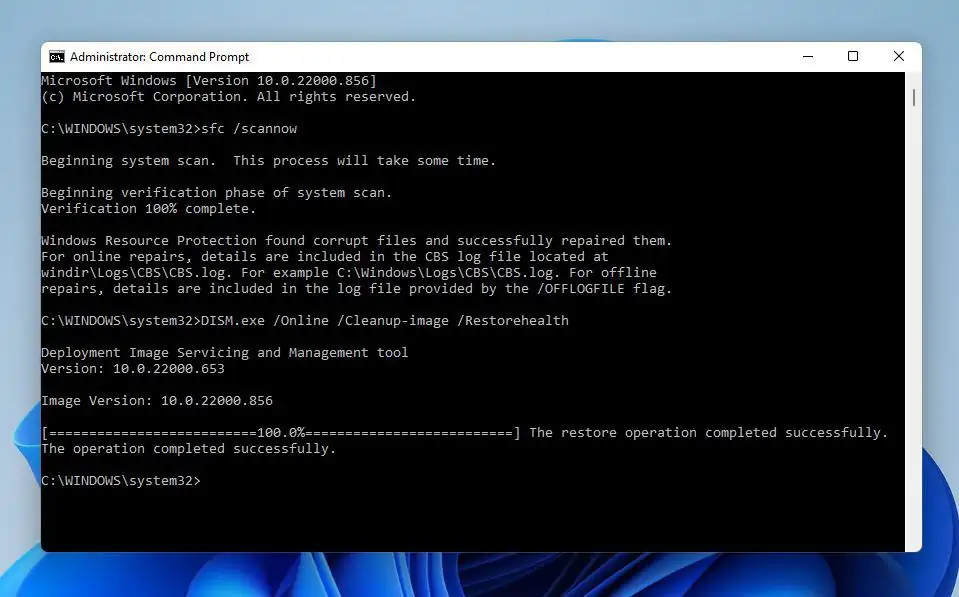
- After both commands have been successfully executed, restart your Windows 11 PC. Optimistically, the issue should be resolved, and the disk usage of your PC will reduce.
Otherwise, try the last solution of the guide below.
Solution 3: Disable MSI Mode for StorAHCI.sys Driver
Some users have reported that disabling the MSI mode for the StorAHCI.sys driver on their Windows 11 computer fixes the high disk usage problem. To accomplish that, follow the subsequent procedures below.
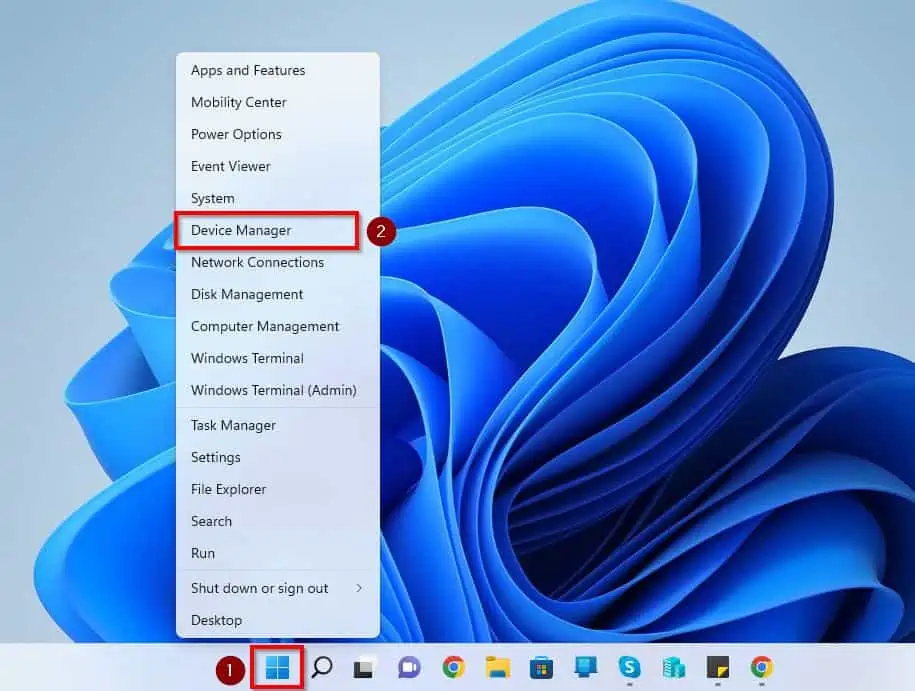
- Right-click your Windows 11 Start menu button and left-click Device Manager from the options that pop up.
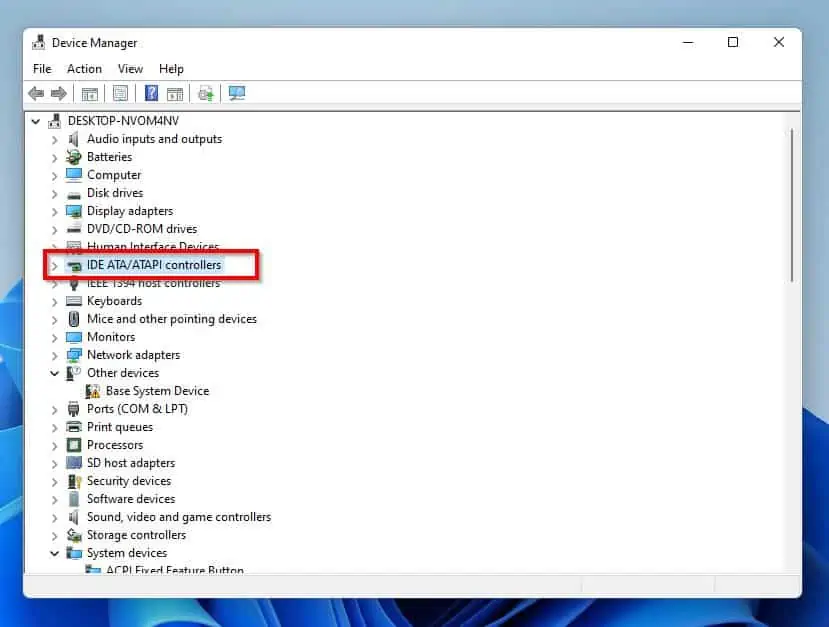
- Following that, double-click IDE ATA/ATAPI controllers in the Device Manager window to expand it.
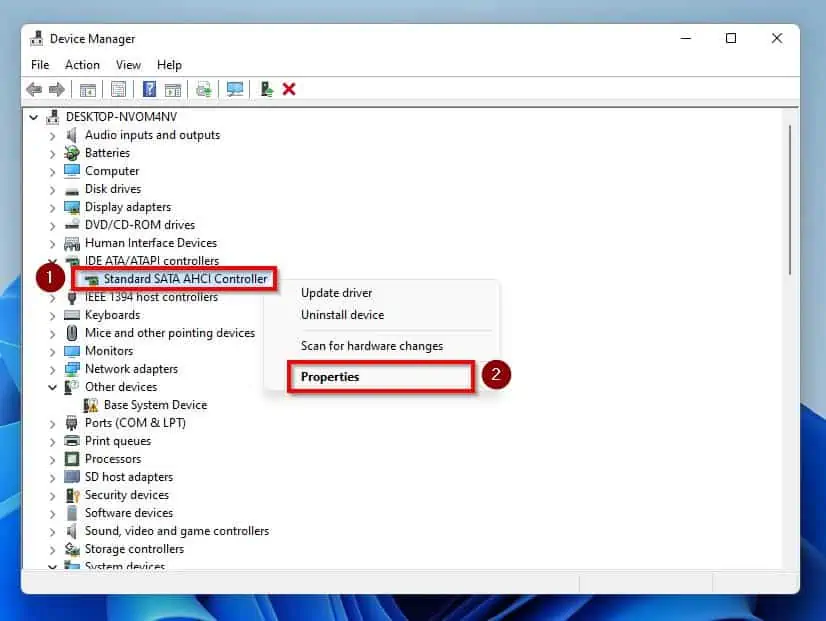
- Then, under IDE ATA/ATAPI controllers, right-click your computer’s SATA AHCI driver and select Properties.
- Afterward, switch to the Drivers tab and select Driver Details on the Properties window.
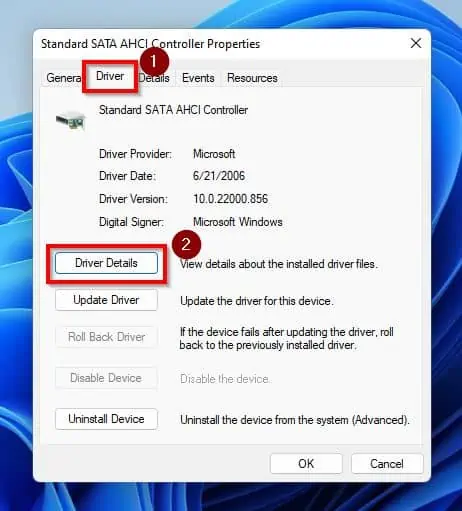
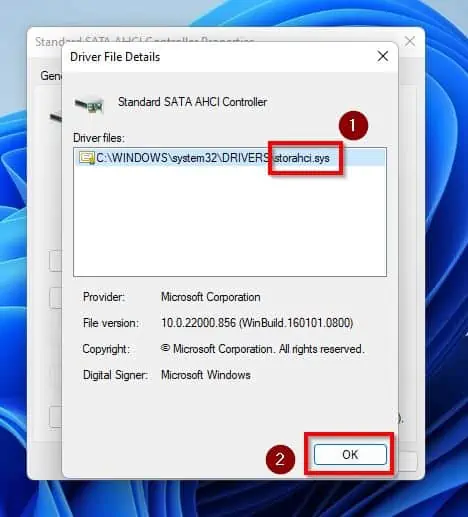
- On the Driver File Details window, ensure that the Driver files path features “storahci.sys” at the end. Then, click the OK button at the bottom of the window.
- After doing that, you should be back in the Properties window. Hence, switch to the Details tab and select Device instance path from the Property drop-down.
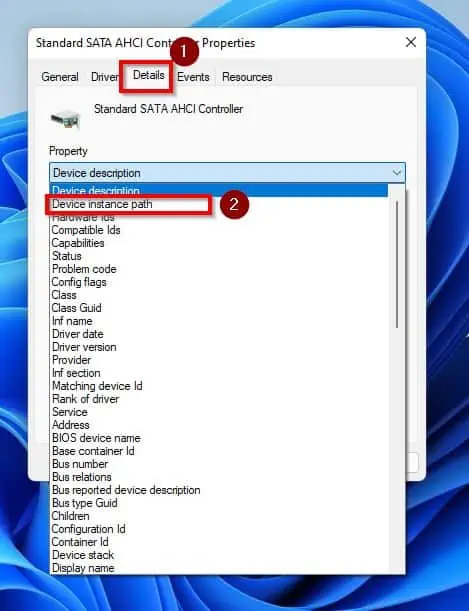
- Following that, take note of the path in the Value box and click the OK button.

Hence, carry out the procedures carefully or create a system restore point before proceeding.
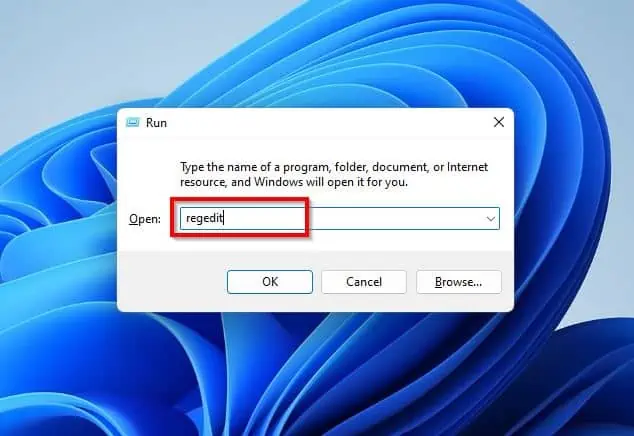
- After that, use the Windows key + R to launch the Run dialog, then type “regedit” in the input field and press Enter. Thus, you will receive a prompt asking if you want to allow the app to make changes to your device – select Yes to proceed.
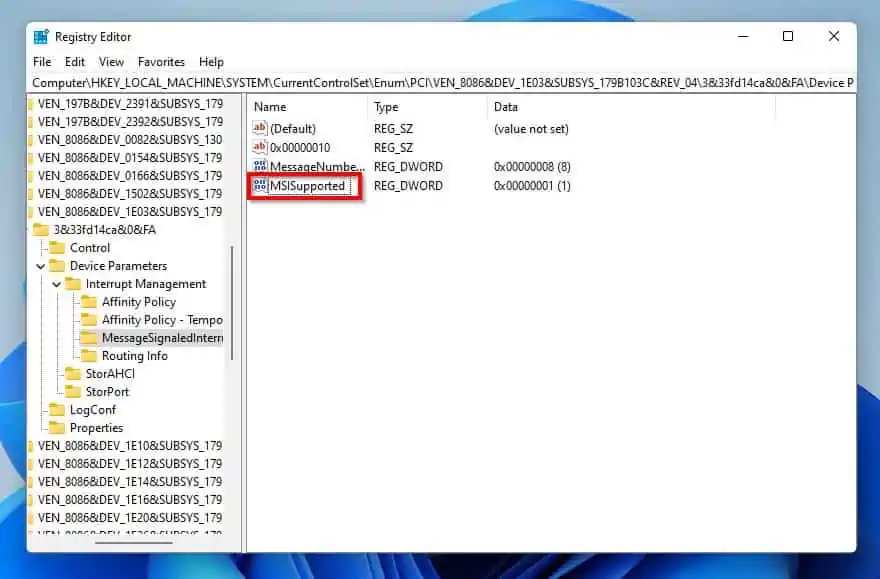
- When Registry Editor opens, navigate to the following path using the folders on the left pane. However, replace “AHCI Controller Value” with the path you took note of in step 8.
Computer\HKEY_LOCAL_MACHINE\SYSTEM\CurrentControlSet\Enum\AHCI Controller Value\Device Parameters\Interrupt Management\MessageSignaledInterruptProperties
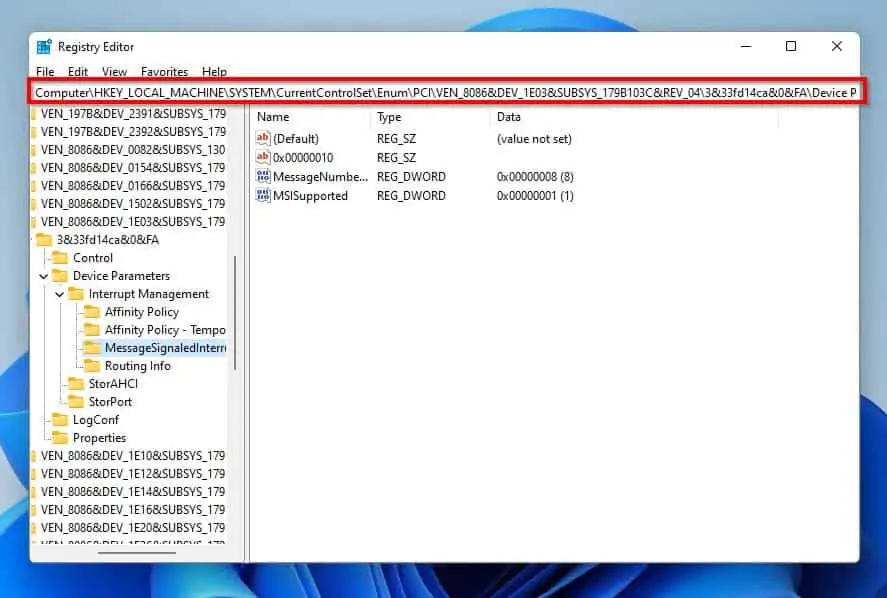
- Then, double-click MSISupported on the right pane of the Registry Editor window.
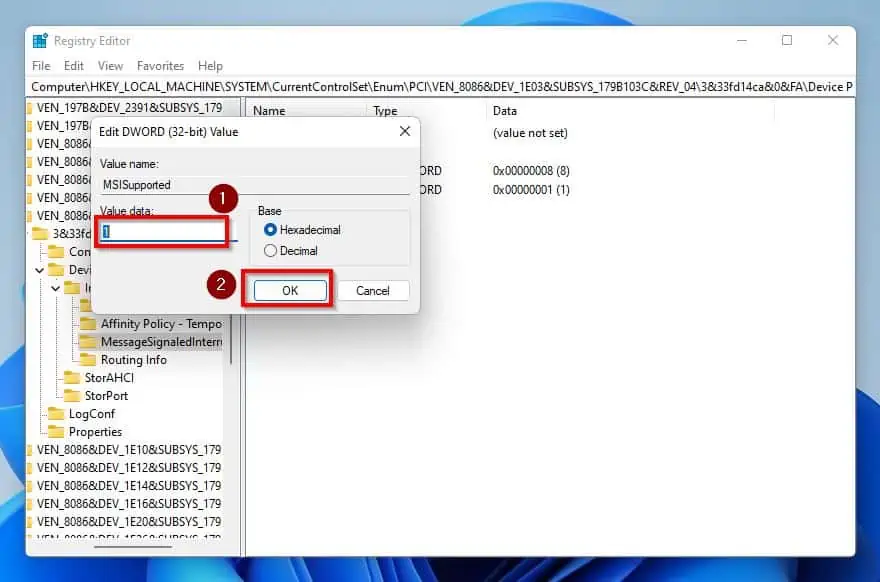
- On the Edit DWORD (32-bit) Value window, change the Value data from “1” to “0” and click the OK button.
- Finally, reboot your Windows 11 PC. Hopefully, the issue will be fixed.
Frequently Asked Questions
a) Right-click your Windows 11 Start menu button and select Task Manager.
b) Then, switch to the Performance tab on the Task Manager window. Hence, you should find the disk usage of your computer.
The full form for HDD is Hard Disk Drive.
A 100% disk usage in Windows 11 indicates that your storage disk usage is maxed out.
Yes! If you choose to disable the Superfetch service on your PC, there are no negative side effects.
Yes, excessive disk usage slows down your computer.
Conclusion
Your computer having 100% disk usage can cause a massive drop in performance and speed. This, in turn, reduces one’s productivity.
Gladly, this guide has provided different solutions to fix this problem. Specifically, we discussed how to resolve the issue by disabling the SysMain (Superfetch) service.
This guide also taught us to fix the issue by executing the SFC and DISM scans. That’s not all; we also learned a solution that involves disabling the MSI mode for your PC’s StorAHCI.sys driver.
I hope one of the solutions in this Windows 11 guide was able to resolve your PC’s problem. If it was, click on “Yes” beside the “Was this page helpful” question below.
You may also express your thoughts and opinions by using the “Leave a Comment” form at the bottom of this page.
Finally, visit our Windows 11 Fix Guides page for more Windows 11 fix guides.