Wondering how to download Windows ADK on your Windows 11 PC? You should read this guide as it teaches how to download and install ADK for Windows 11.
Steps to Install Windows ADK
The Windows ADK (Assessment and Development Kit) is a program that features a set of tools to automate a large-scale deployment of Windows 11. Furthermore, Windows ADK contains the following tools:
- Windows Assessment and Windows Performance Toolkits
- WinPE and Sysprep (Alongside other Windows 11 deployment tool kits)
The steps to be covered in this guide includes:
- Download Windows ADK for Windows 11
- Installation of Windows ADK for Windows 11
- Download and install WinPE Add-on
Step 1: Download Windows ADK
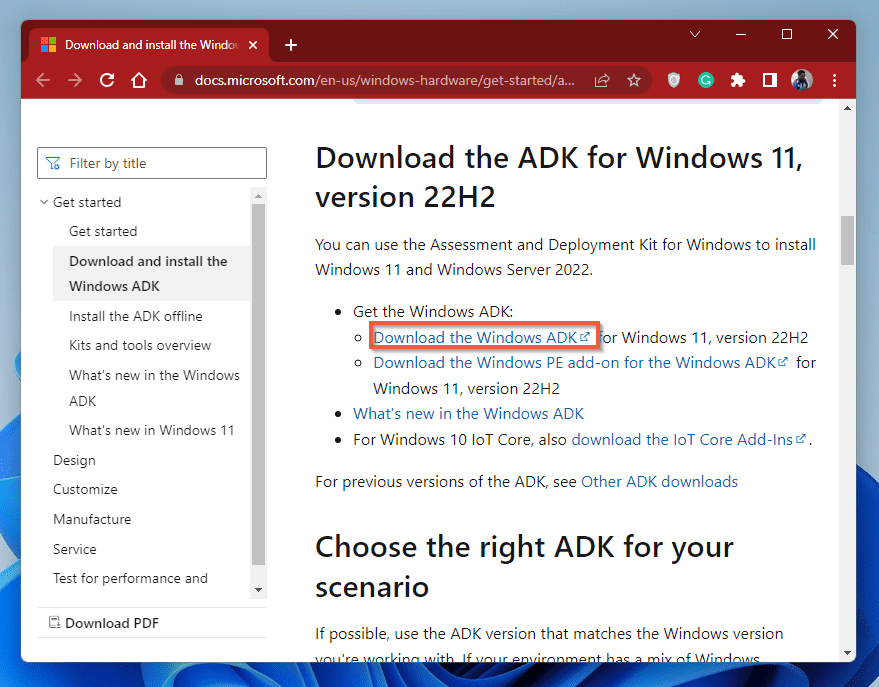
- Go to the Windows 11 ADK download site – it will open in a new browser tab.
- When the web page opens, scroll down to locate the link for the latest version of Windows 11 ADK.
- Click the link to begin download.
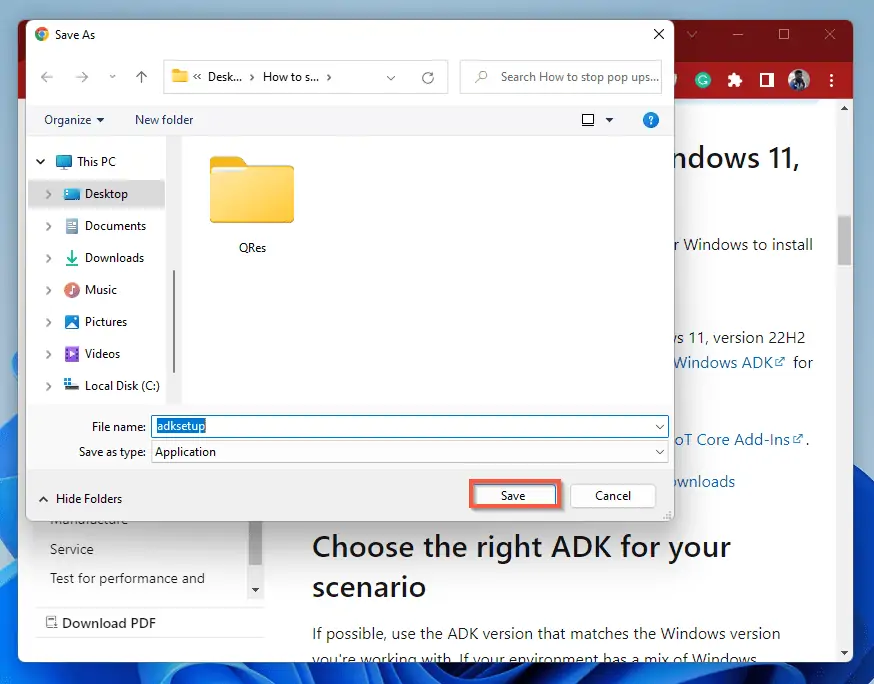
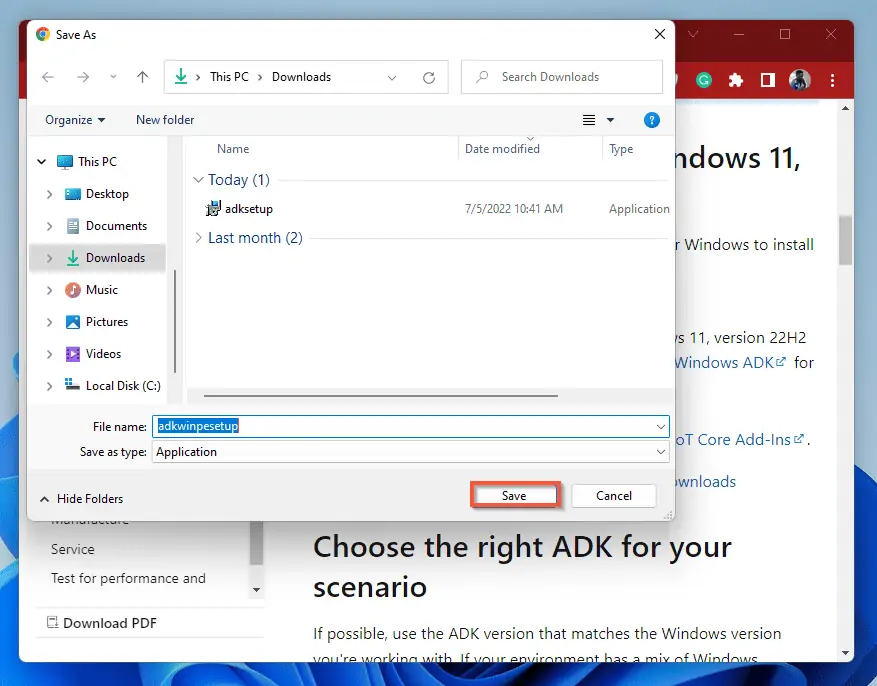
- Upon clicking the link, the site will prompt you to save the application on your computer. Hence, a Save As window will appear on your screen.
- Choose the location you wish to save the application and click the Save button.
Step 2: Install Windows ADK
The steps below will guide you on how to install Windows ADK on your Windows 11 computer.
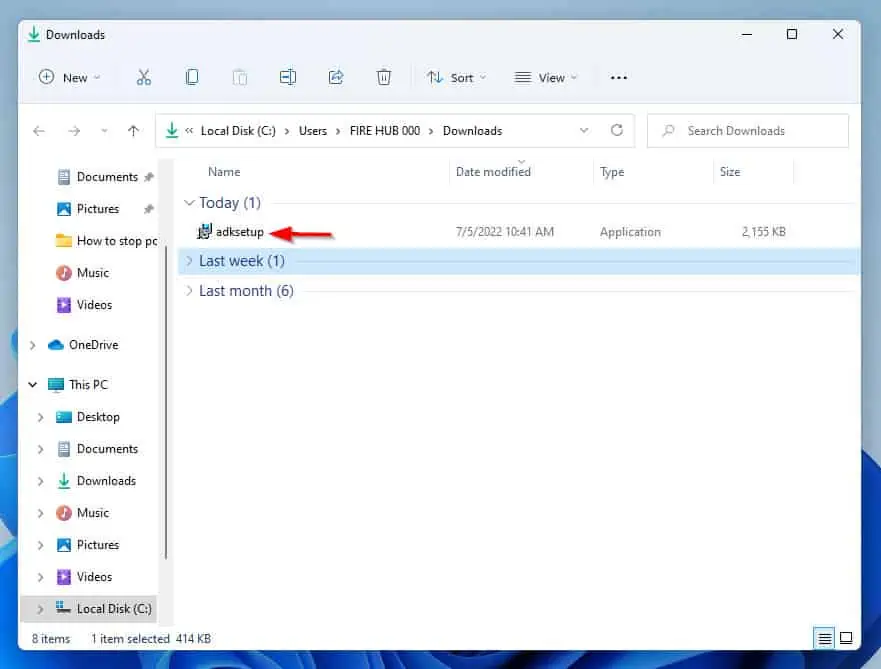
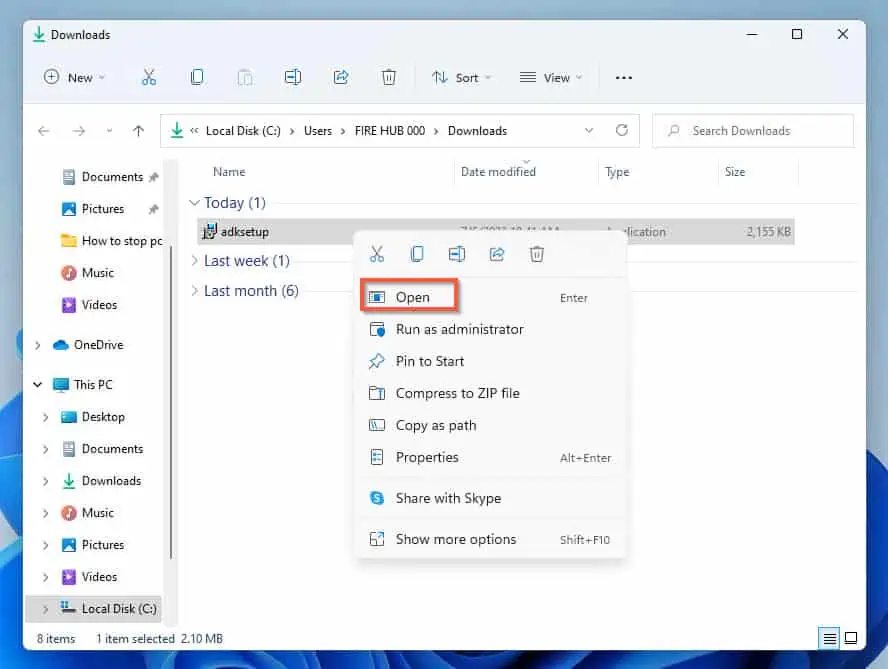
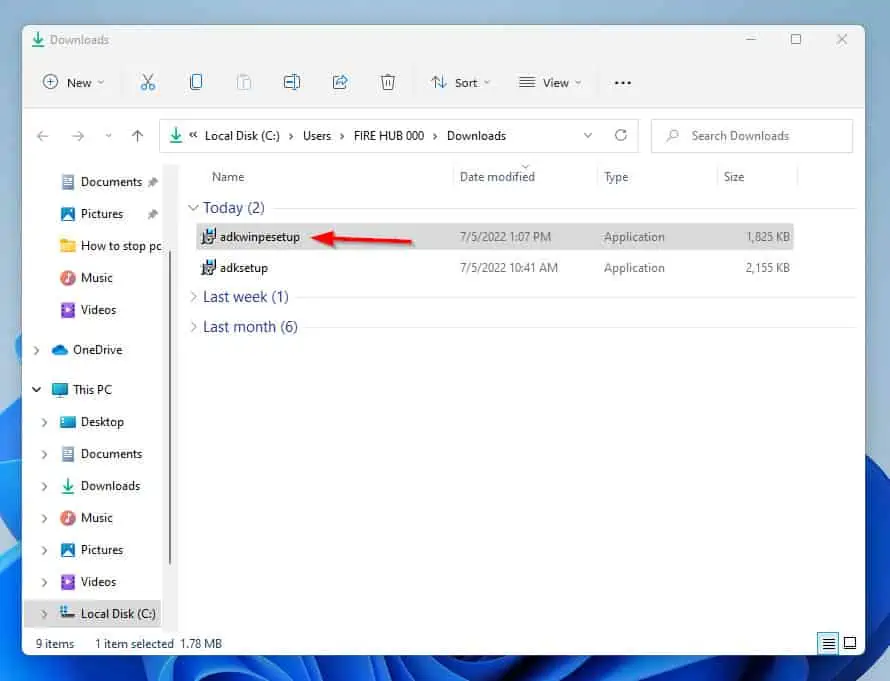
- Go to the location where the downloaded Windows ADK application is saved. Right-click on the application and click Open to begin the installation process.
- At the first screen of the installation, select the first option (default). You may change the installation path if you wish.
When you are done with that, click the Next button.

- That will take you to the Windows Kits Privacy page. Hence, choose an answer to the Allow Microsoft to collect insights for the Windows Kits? question and click Next.
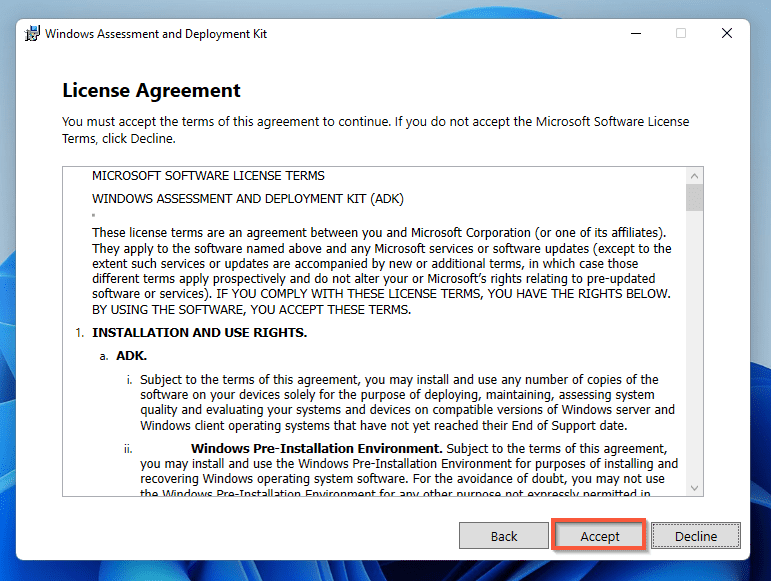
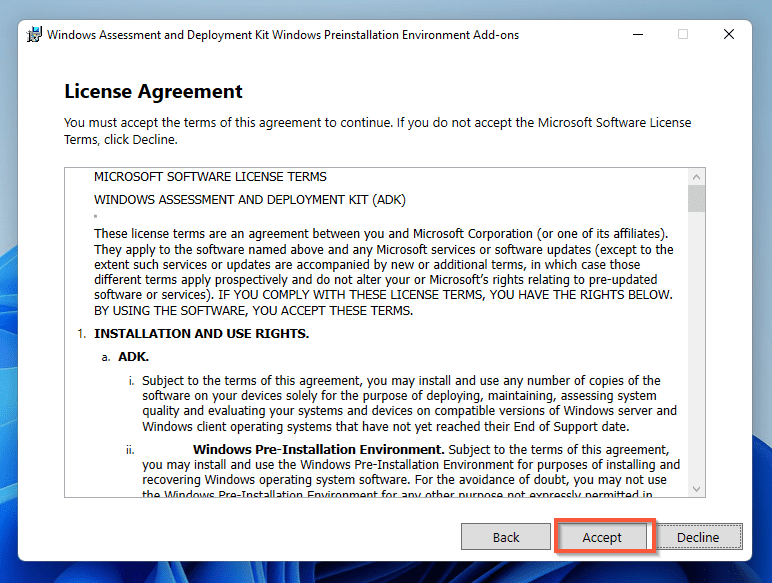
- You will then need to accept the application’s License Agreement. After reading the license agreement and wish to continue, click Accept.
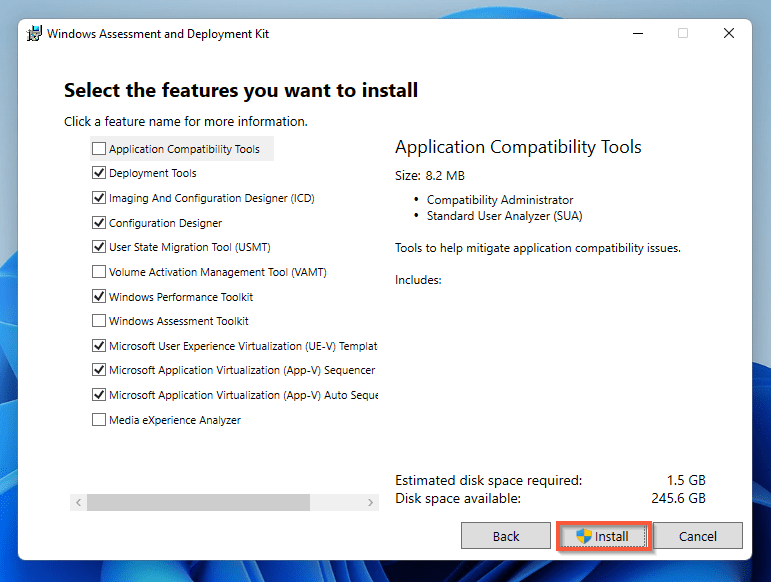
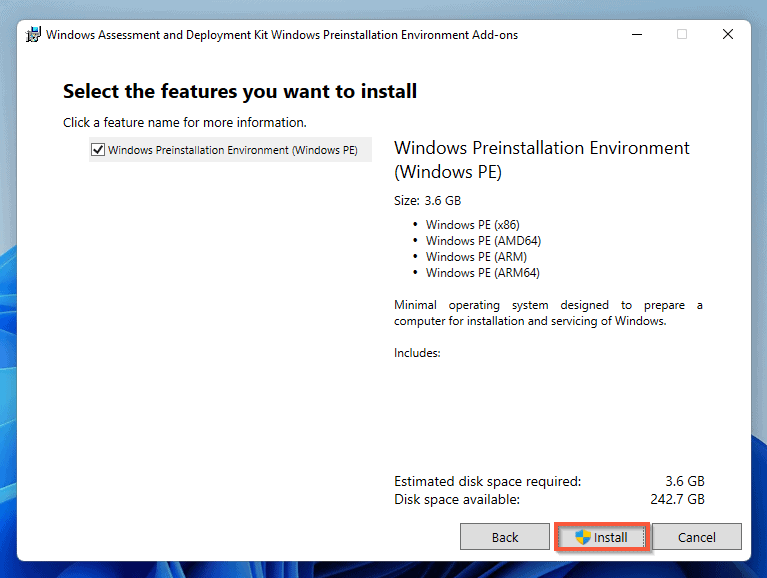
- The Windows ADK has various features that you can install. Moreover, the default features are the ones whose boxes are checked in the screenshot below.
Usually, the default features are enough. However, if you need more features, you can select them by checking their boxes. - Thereafter, click Install – It might take a while for the application to install.
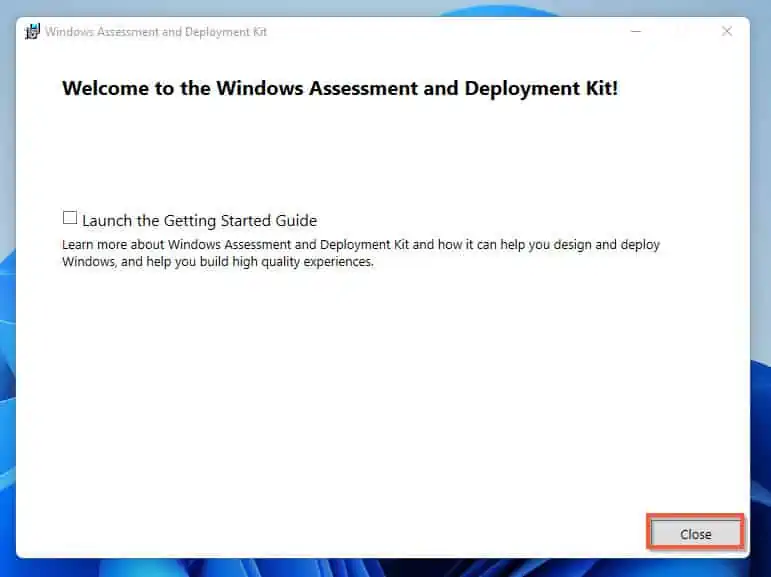
- Click the Close button when installation is done.
Step 3: Download and Install WinPE Add-on
- To download the WinPE add-on, open the Windows 10 ADK download site.
- When the site opens, scroll down, locate, and click Download the Windows PE add-on for the Windows ADK.
- After that, a Save As window will appear on your screen. Hence, choose the location you wish to save the application and click Save.
- After being save on your computer, find the application and double-click it for installation.
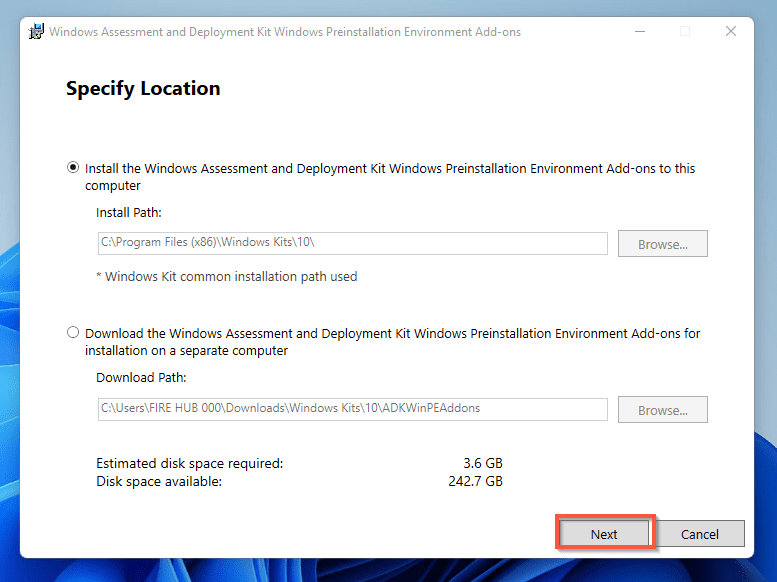
- Afterward, an installation window will appear. Thus, select the installation path for the Windows PE add-on application – It has to be the same path as the installed Windows ADK.
- Click Next to continue the installation process.
- Select an answer to the Allow Microsoft to collect insights for the Windows Kits? question on the Windows Kits Privacy page. Then, click Next.
- Thereafter, click the Accept button to acknowledge the application’s License Agreement.
- Finally, click the Install button on the Select the features you want to install page and you are good to go.
Frequently Asked Questions
The latest version of Windows ADK is version 22H2. Moreover, this version was released in June 2021.
Windows ADK is a part of the Windows System tool. Furthermore, it was developed to give administrators the ability to deploy Windows on a large scale for preparing their computers.
The full meaning of Windows ADK is Windows Assessment Development Kit.
a) Go to the control panel.
b) When the control panel window opens, navigate to the top left corner to find the View By category. Hence, click the drop-down to change from Category to Large icons.
c) After that, find and select Programs and Features from the list.
d) Thereafter, locate Windows ADK and you should see the version.
To find the Windows ADK application after installation, follow the steps below.
a) Click the Windows start icon on the taskbar.
b) Then, click on All apps at the top right corner of the start menu.
c) Scroll down to locate Windows Kits, click to expand it, and you will find the application.
Conclusion
If you want to deploy Windows 11 on a large scale, you need Windows Assessment and Deployment Kit. However, downloading and installing Windows ADK on your PC can be tricky.
Nonetheless, with this guide, the process should be less confusing and convenient. Hence, if you follow this guide step-by-step, you shouldn’t have any issues downloading and installing Windows ADK on your PC.
Besides, this guide taught us how to download and install the WinPE add-on separately. In addition to the demos we’ve provided in this guide, you can also combine Windows Deployment Server to aid your automation.
I hope you found this Itechguide helpful. If you did, click on “Yes” beside the “Was this page helpful” question below.
You may also express your thoughts and opinions by using the “Leave a Comment” form at the bottom of this page.
Finally, visit our Windows 11 How-To page for more Windows 11 guides and fixes.


