Do you need help with the WordPad app on your Windows 11 computer? This extensive guide will teach you everything you need to know about WordPad in Windows 11.
However, if you are new to WordPad in Windows 11, feel free to read through the whole guide.
How to Open WordPad
This section will show you several ways to open WordPad on your Windows 11 PC.
Option 1: Open WordPad via Search
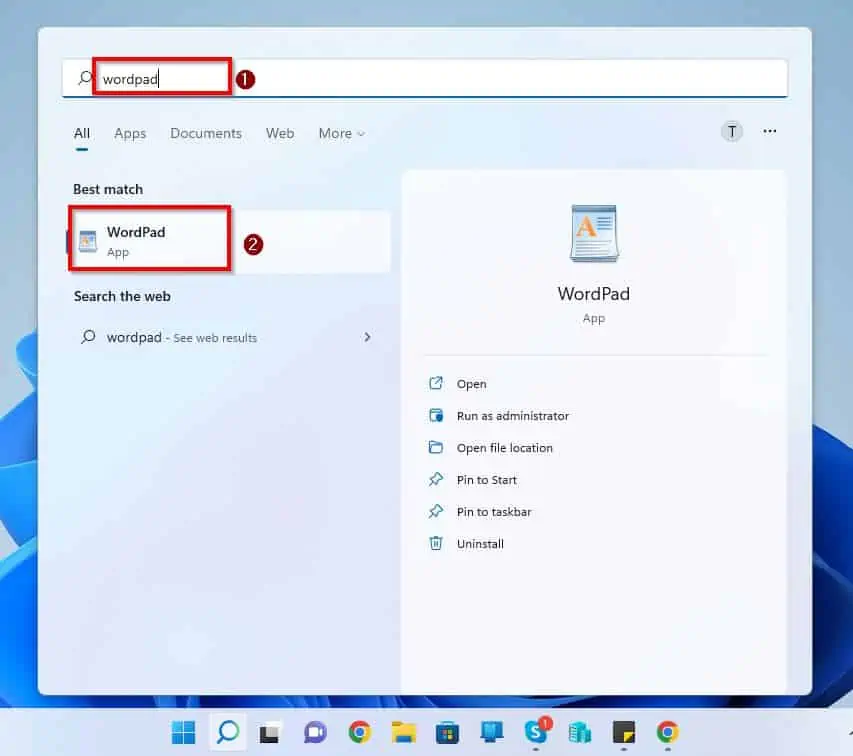
- Click the Windows 11 Search icon on the taskbar.

- Then, type “wordpad” on the search field above and select the WordPad application from the search result.
Option 2: Access WordPad from Run
You can also open the WordPad application on your Windows 11 via the Run command. To do so, follow the steps below.
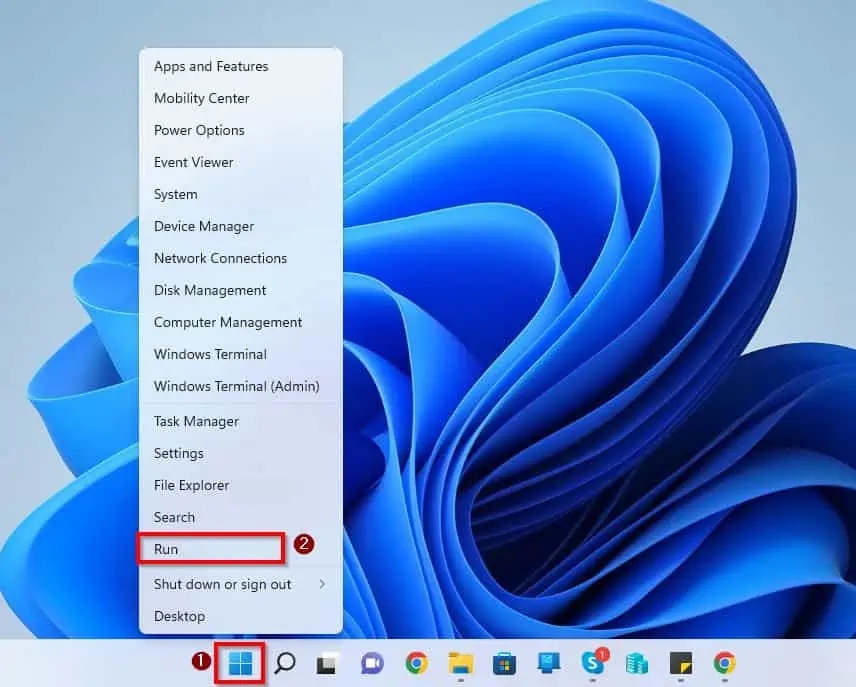
- Right-click the Windows 11 Start menu and select Run from the options that pop up.
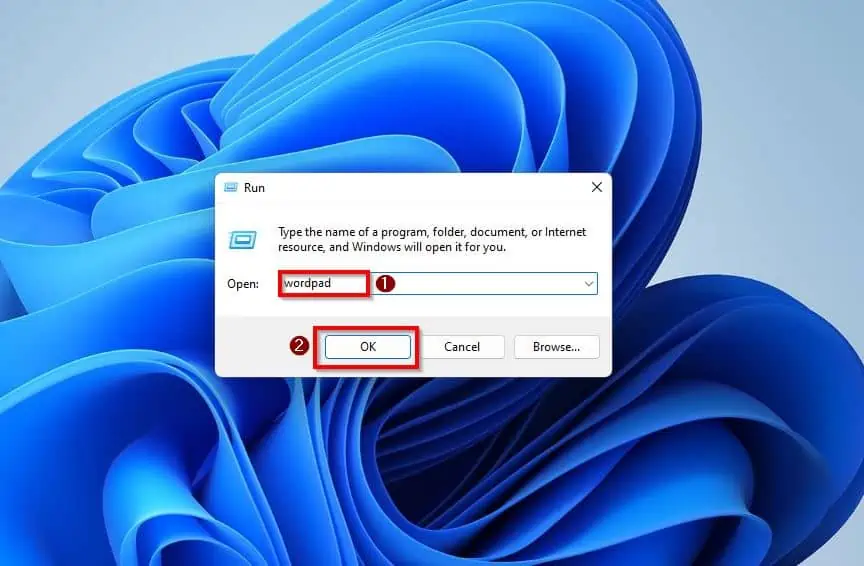
- Following that, type “wordpad” on the Run input field. Then, click the OK button.
How to Open New or Existing WordPad Documents
Apparently, you can create a new, empty document in WordPad. You can also open an existing document in WordPad.
To do these, follow the procedures and screenshots below.
Open a New Document
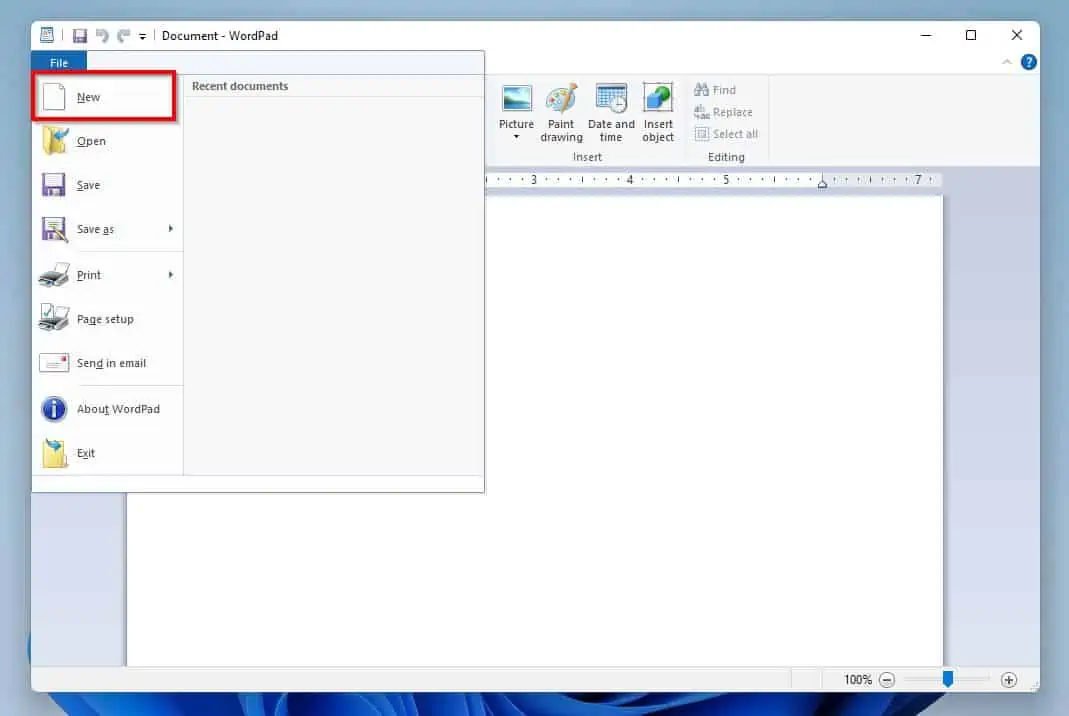
- Click the File tab at the top left corner.
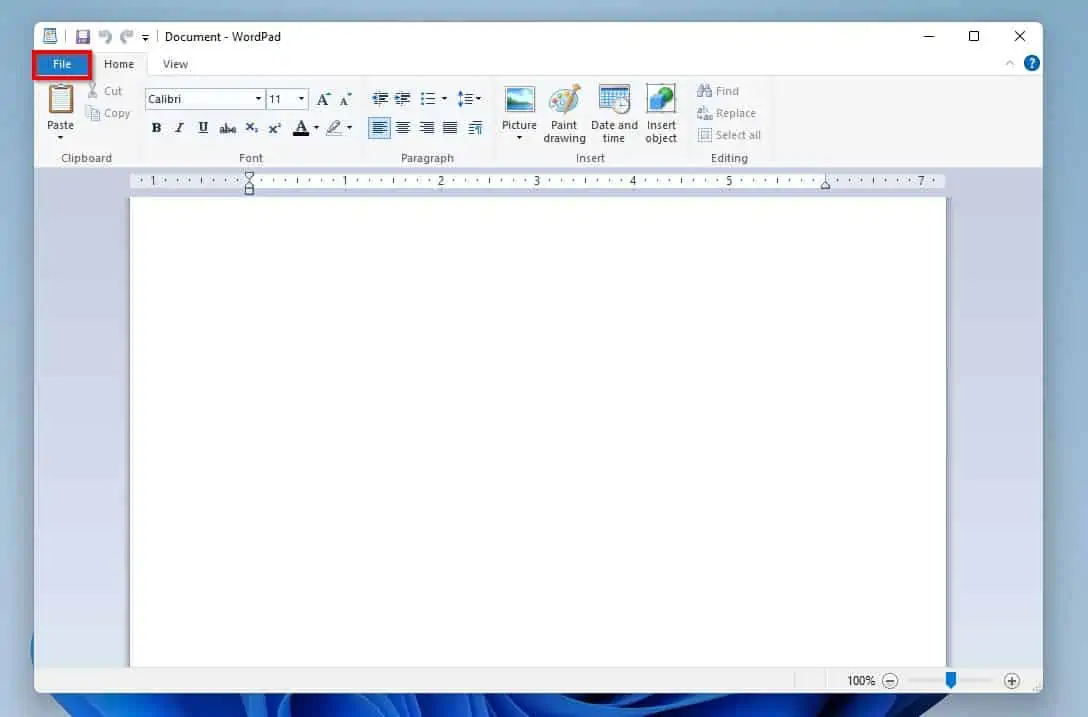
- Then, select New from the options that appear.
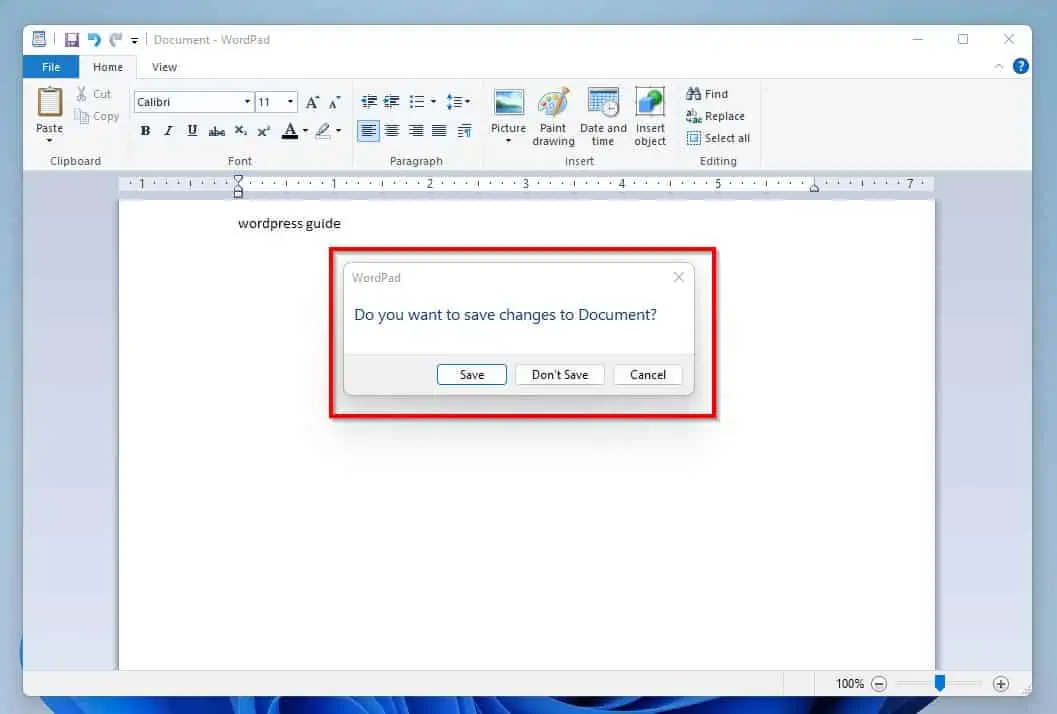
- If you haven’t saved the current document, a small window will appear asking if you wish to save the document. If you wish to save the document, click Save.
However, if you don’t want to save the document, click Don’t Save.
Open Existing Documents
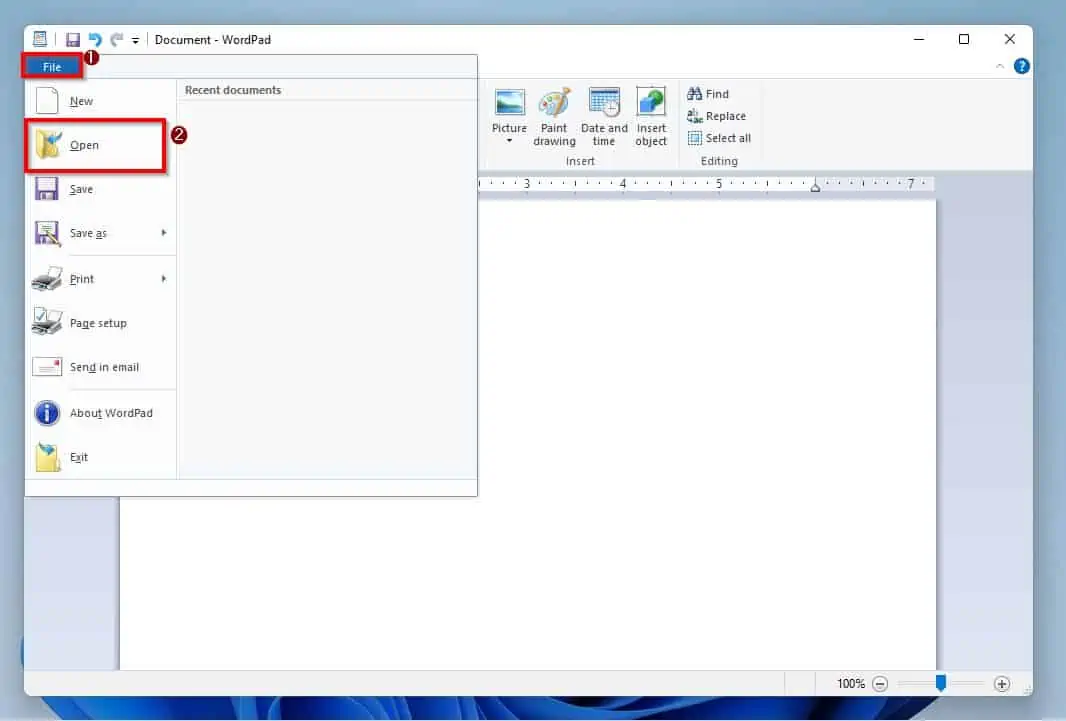
- Click the File tab on the top left corner and select Open from the displayed options.
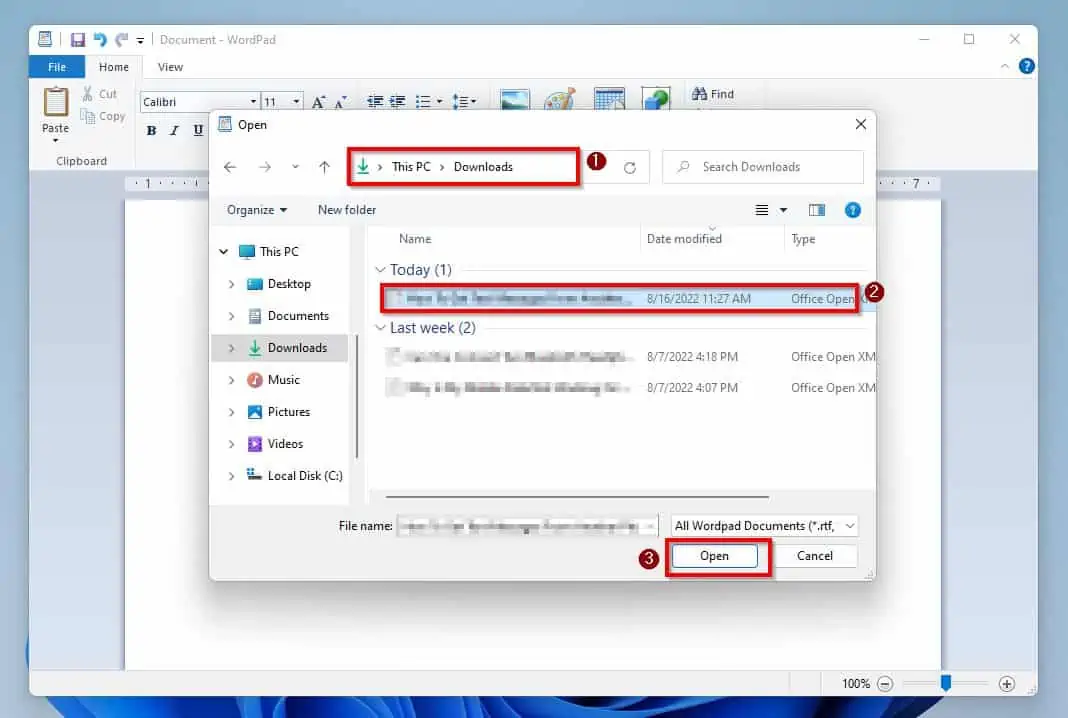
- After that, navigate the WordPad Open window to the folder with the document you wish to open and select the document. Then, click Open at the bottom right of the window.
- Once again, if you haven’t saved the current document, a small window will appear asking if you wish to save the document. If you want to save the document, click Save.
However, if you don’t wish to save the current document, click Don’t Save.
How to Save in WordPad
Saving a WordPad document is another major help topic most Windows 11 users need. Well, in this section, you will learn how to save a WordPad document with the standard WordPad formats.
Speaking of formats, I will explain the various WordPad file formats in this section. Not just that, I will also provide steps and screenshots on how to save a WordPad document as a PDF.
Option 1: Save a Document in the Standard WordPad Format
You can save a WordPad document in various formats. Follow the steps below to do that.
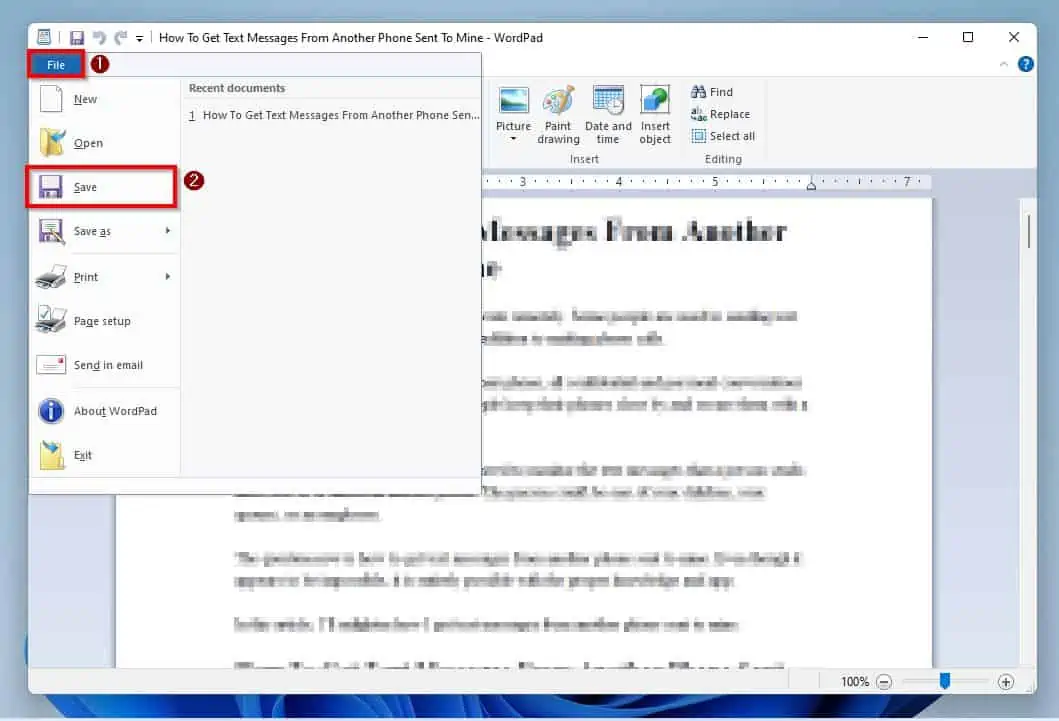
- Click File at the top left of the page and select Save from the displayed options.
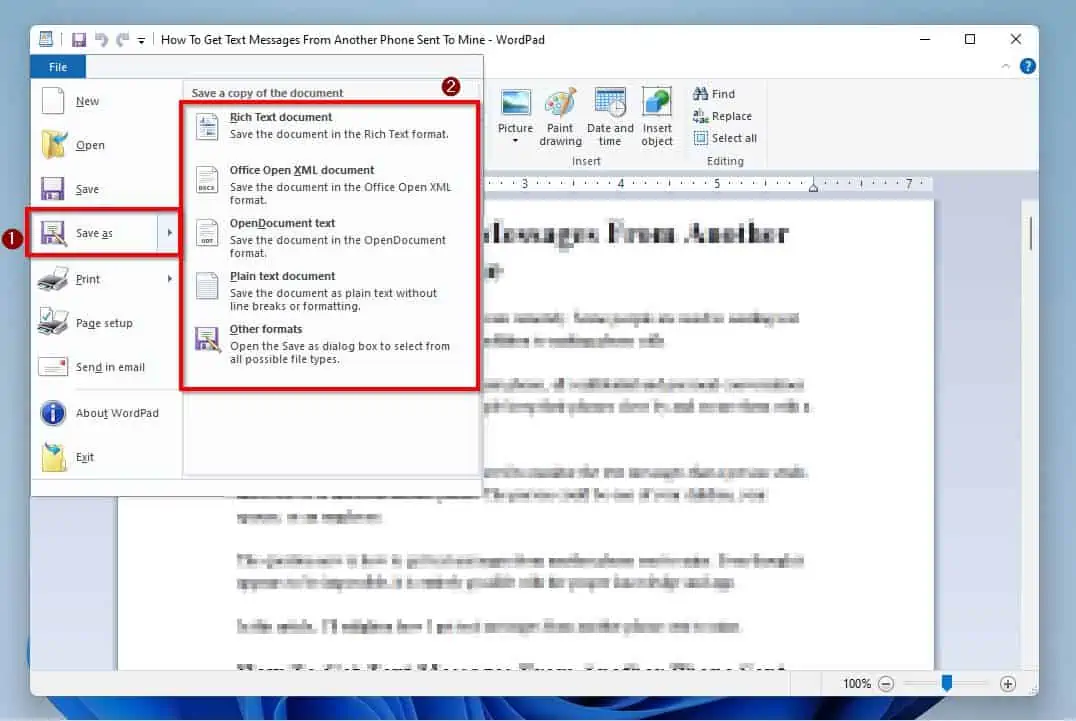
- If you have previously saved the WordPad document but wish to save it in another file format, hover your mouse cursor on Save As. Then, select your preferred file format underneath Save a copy of the document.
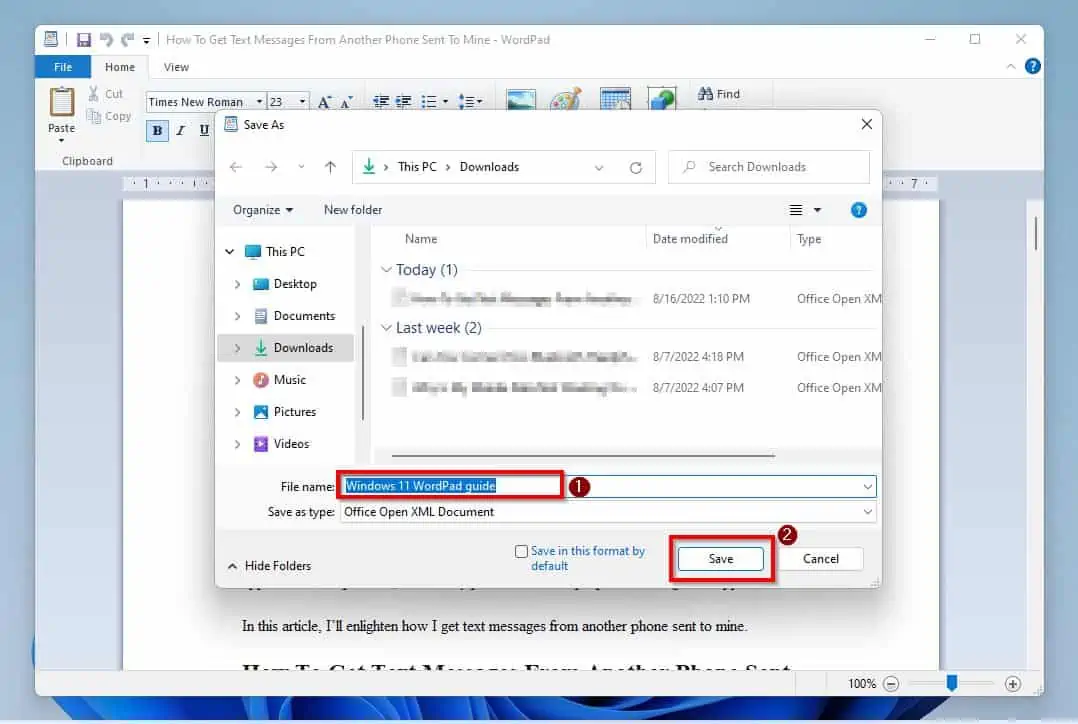
- After doing that, the Save as window should appear. Hence, input the file name and click the Save button.
WordPad File Formats Explained
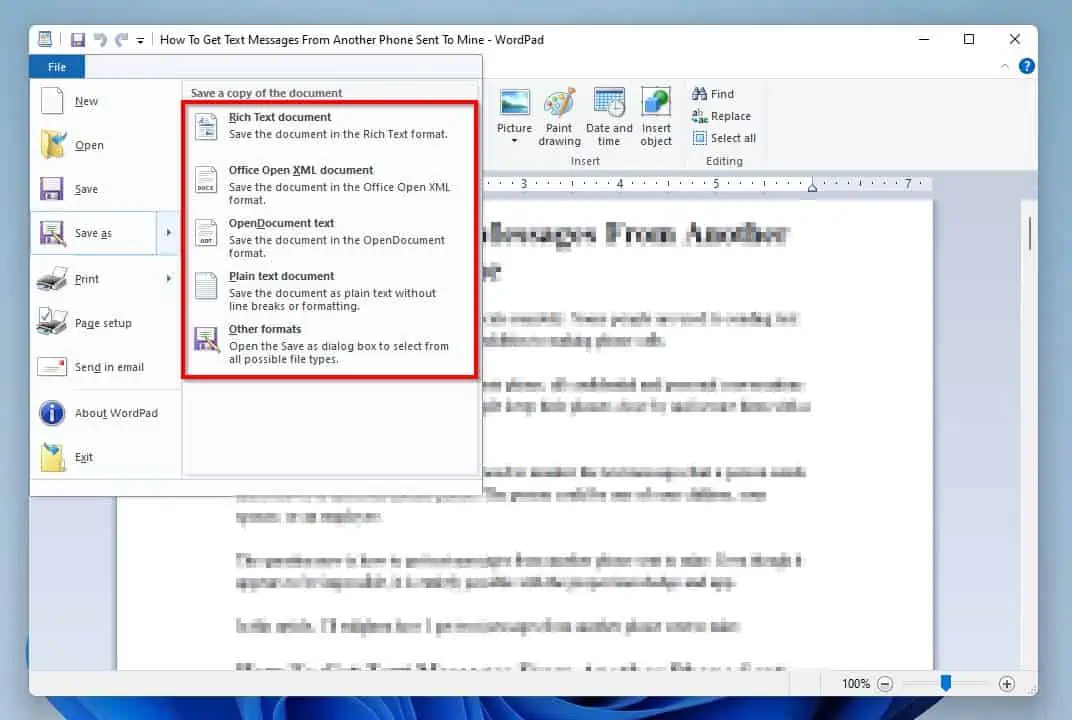
I made a hint in the previous sub-section that the Save As option shows extra file format choices. Well, in this sub-section, I will describe each and every one of the file formats and when you can use them.
1. Rich Text Document
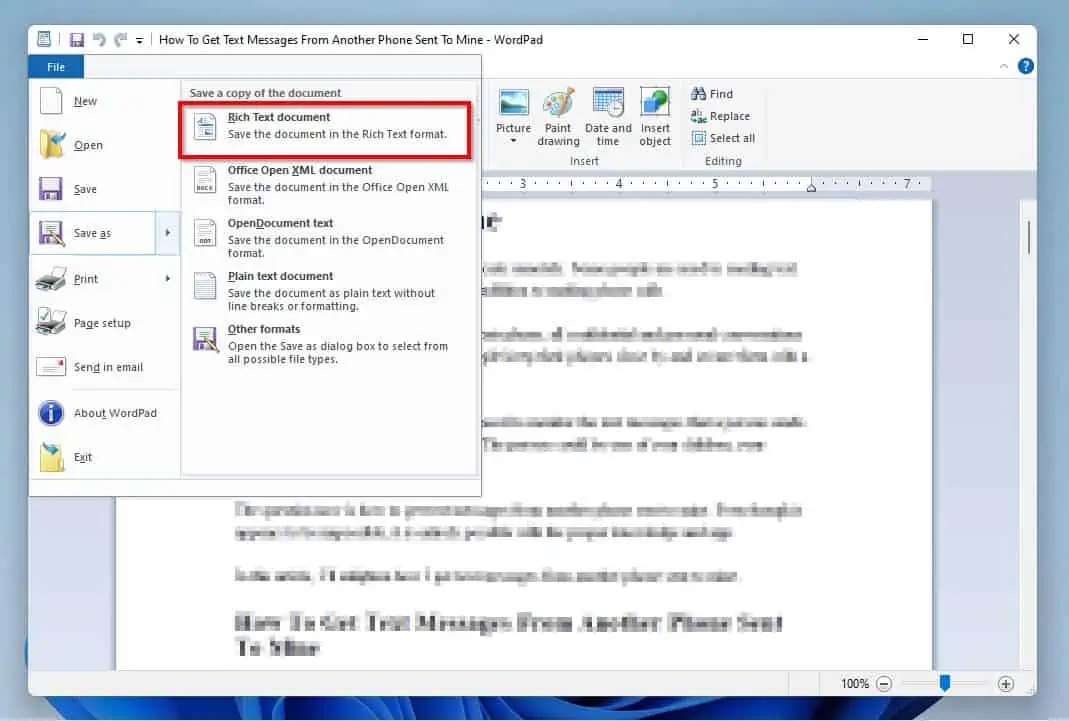
This is the first file format option that you will find from the WordPad file format options. Furthermore, a Rich Text File (.rtf) is a cross-platform document file format that Microsoft developed in 1987.
However, the RTF file format is not as robust as the Microsoft Word File format. Nevertheless, it is far more advanced than the text file format that is mostly used by Notepad.
Besides, unlike the standard text file format – which can only store plain texts – the Rich Text file format supports additional font styles, formatting, and images. To know more about RTFs, read What Is an RTF File (And How Do I Open One)?
2. Office Open XML Document
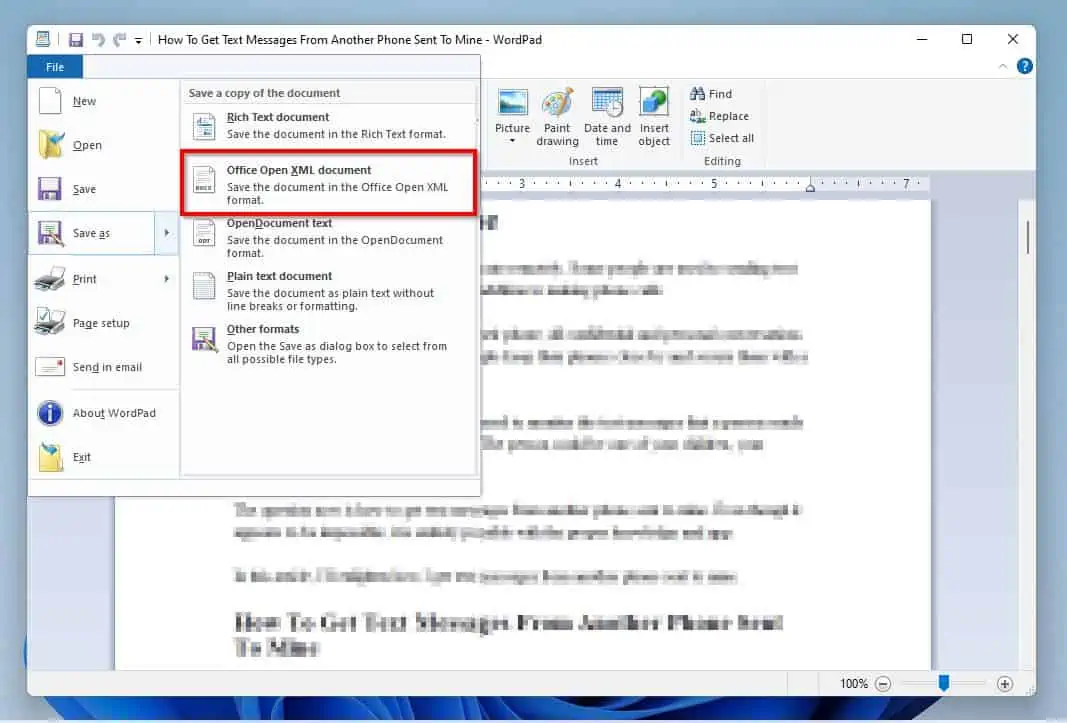
The second file format that WordPad supports is Office Open XML Document. This is an XML-based, zipped file format developed by Microsoft.
Furthermore, documents are stored in this file format using zip compression technology. Also, Microsoft standardized the use of XML-based file formats across all of its office apps, starting with Office 2007.
This implies that the old file formats for Microsoft Office documents were replaced with the newer .docx, .xlsx, and .pptx file extensions for Word, Excel, and PowerPoint, respectively.
You must be wondering how these explanations fit into Windows 11 WordPad. Basically, if you want your WordPad document to be compatible with the new Microsoft Office file format, save the WordPad document as an Office Open XML Document.
To read more about Office Open XML Document, see Open XML Formats and file name extensions. You may also benefit from this Wikipedia page – Office Open XML.
3. OpenDocument Text (.ODF)
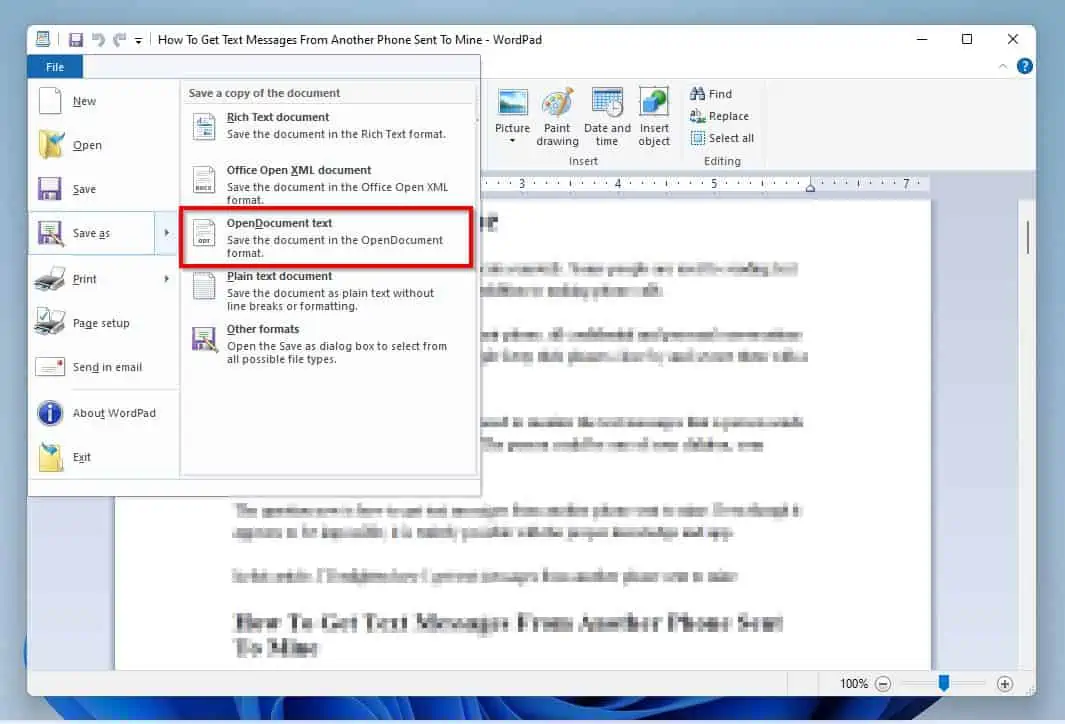
This is another file format option in WordPad. The OpenDocument Text format is a compressed XML-based file format, just like the Office Open XML file format.
Furthermore, the Organization for the Advancement of Structured Information Standards created the Office Open XML file format. Besides, this file format is the default file format for the documents in the majority of Linux distributions.
In fact, ODF is compatible with OpenOffice.org and LibreOffice files. Hence, if you want your Windows 11 WordPad document to be compatible with OpenOffice files, save it in the OpenDocument Text file format.
4. Plain Text Document
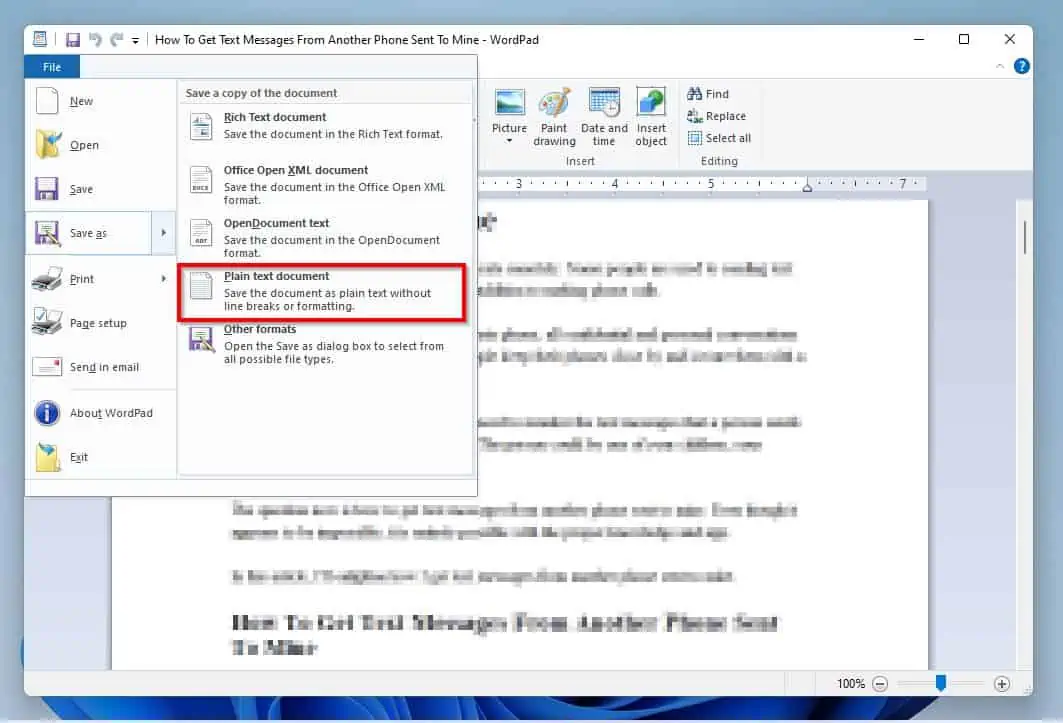
The Plain Text Document is another file format that WordPad supports. Additionally, this file format is a standard notepad text file format.
However, unlike other WordPad formats, this format doesn’t support formatting and line breaks.
Option 2: Save a Document as PDF
Interestingly, you can also save a WordPad document as a PDF. To do that, follow the steps below.
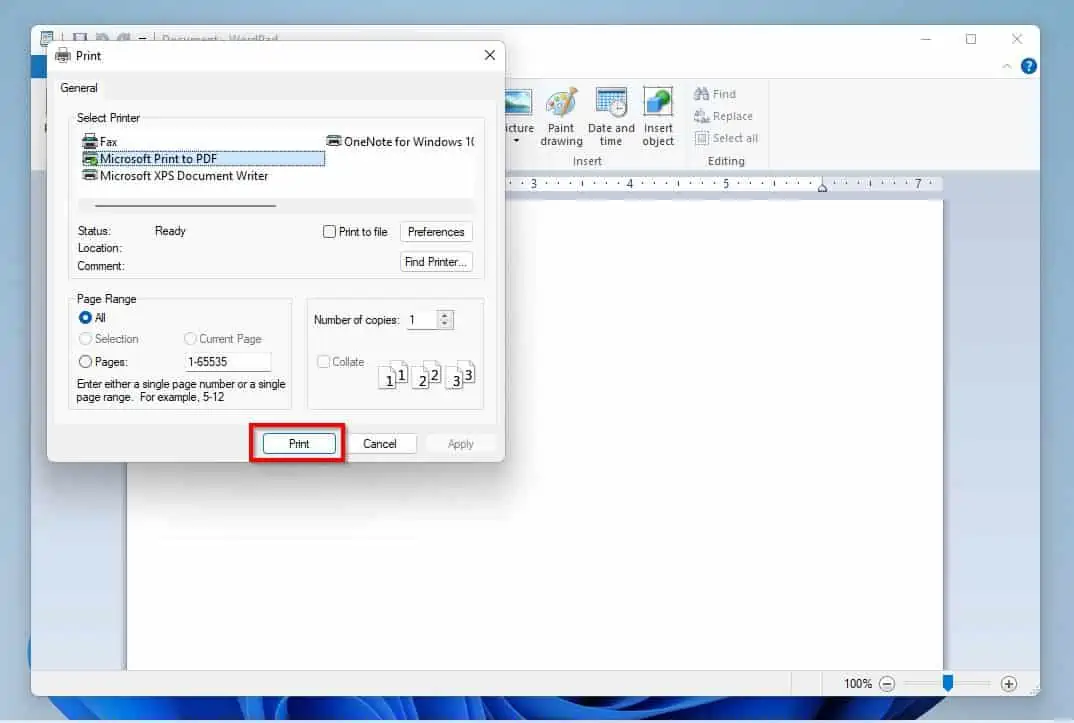
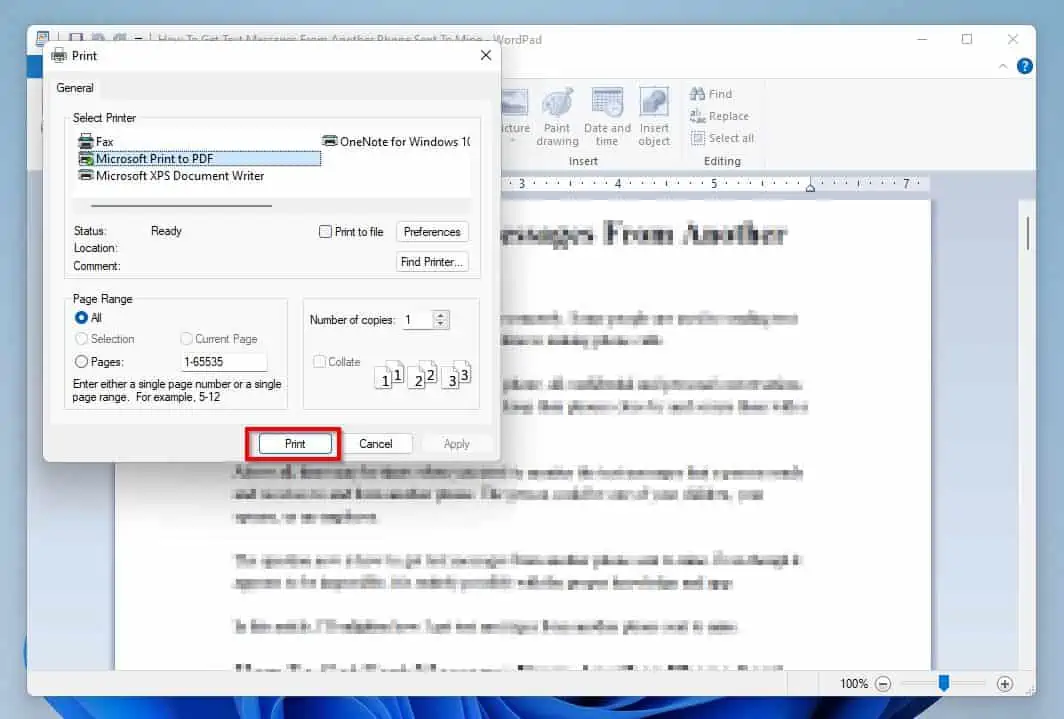
- Click the File tab at the top left of the WordPad page and select Print.
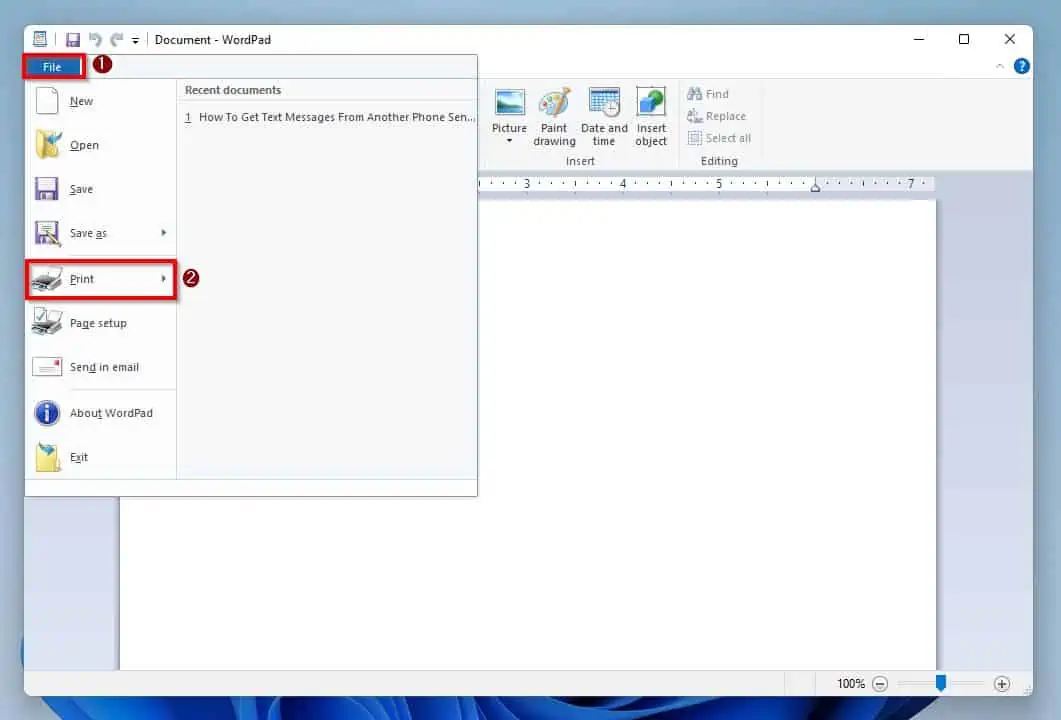
- Then, select Microsoft Print to PDF under the Select Printer category and click the Print bottom at the bottom of the window.
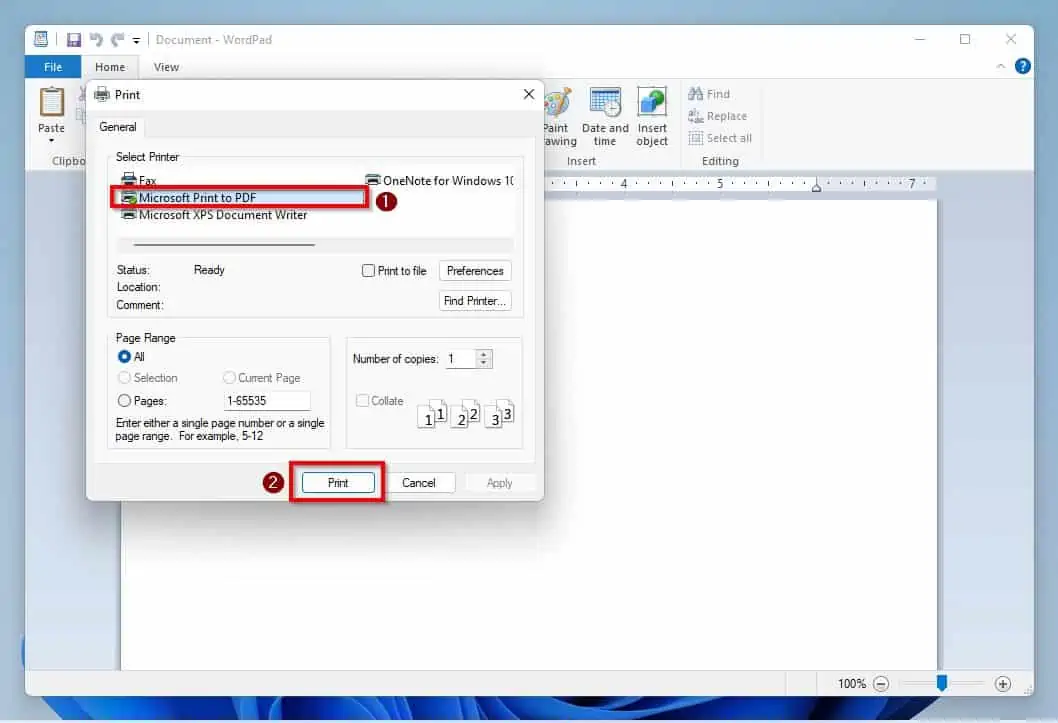
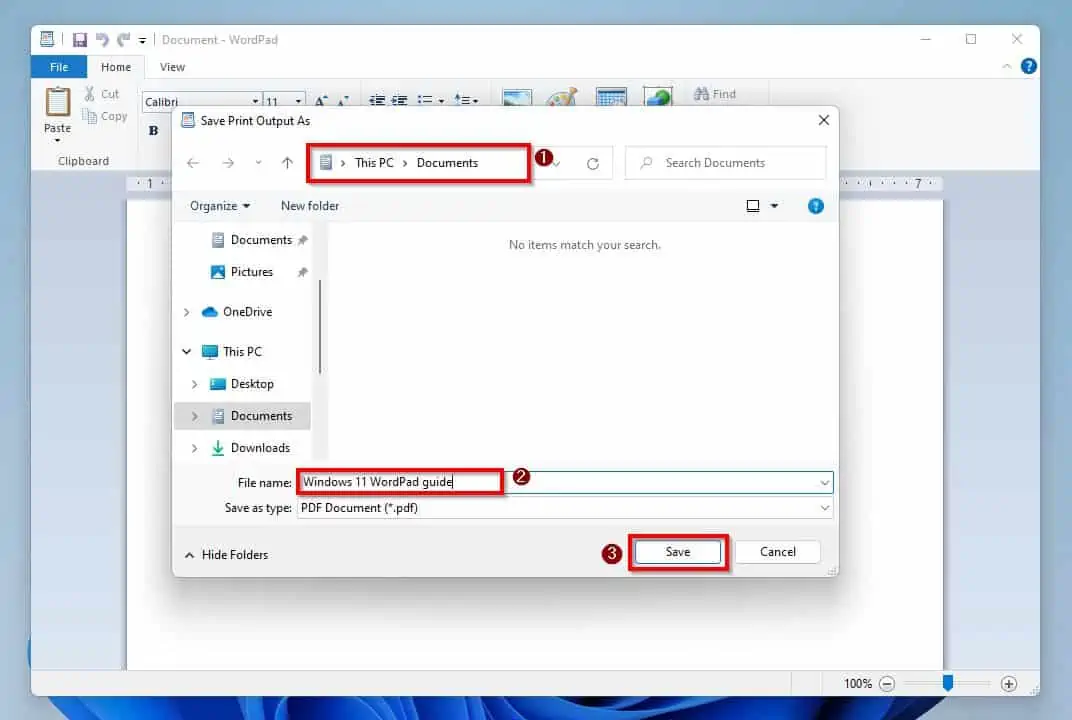
- Finally, on the Save Print Output As window, navigate to the location you wish to save the new PDF. Then, name the PDF and click the Save button.
How to Print in WordPad
This section of the Windows 11 WordPad help guide features two sub-sections. The first sub-section teaches you how to change WordPad print Page Setup.
Meanwhile, in the second section, you will learn how to print on WordPad.
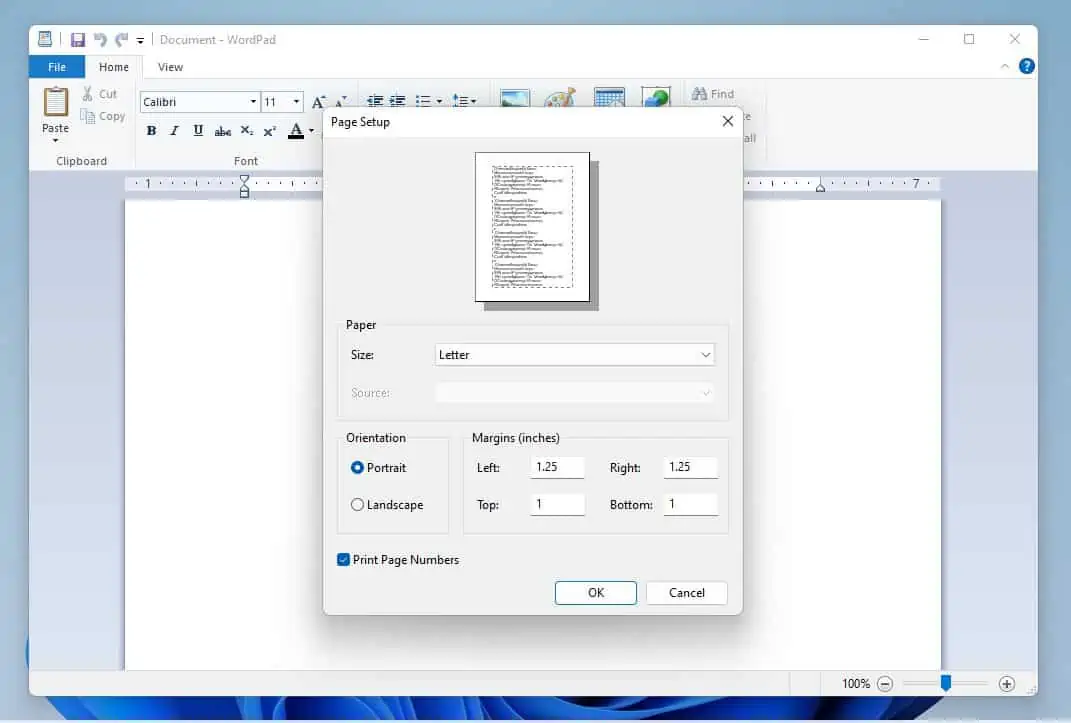
How to Change Print Page Setup
Follow the procedures and screenshots below to change WordPad print paper size, orientation, or margins.
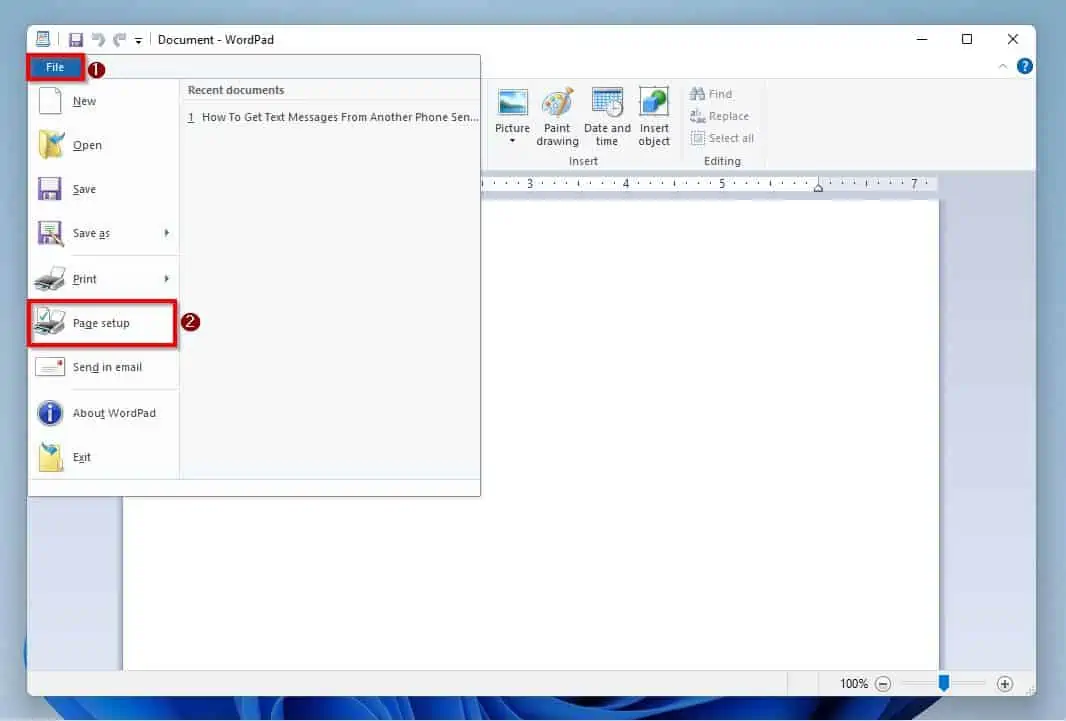
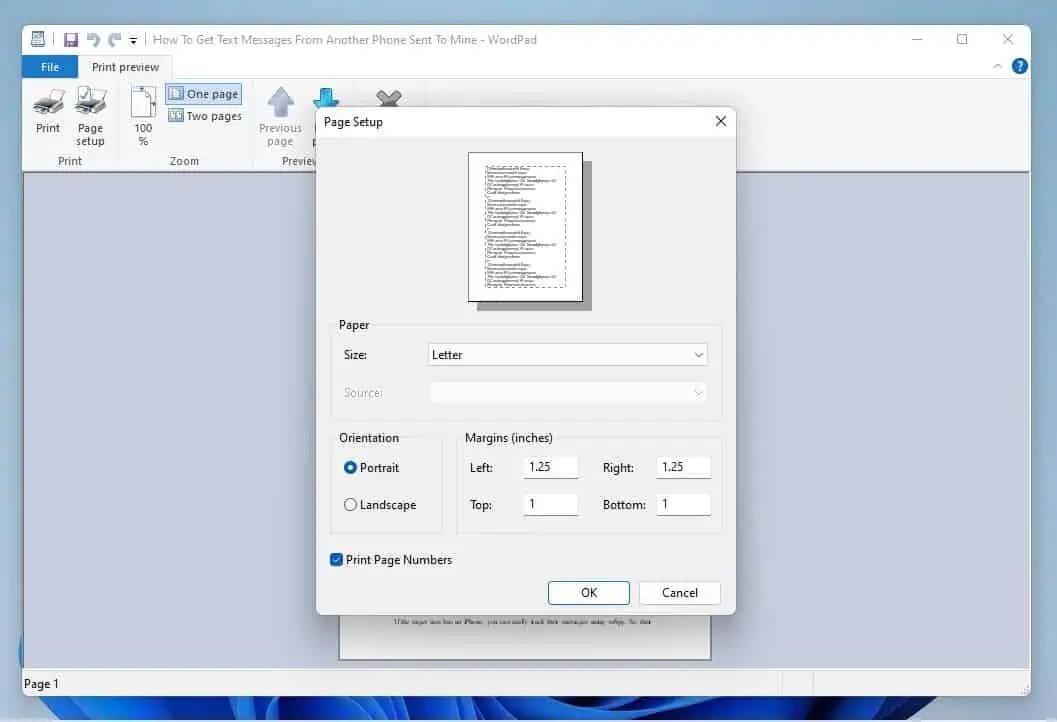
- Click the File menu on the top left corner of the WordPad window and select Page setup.
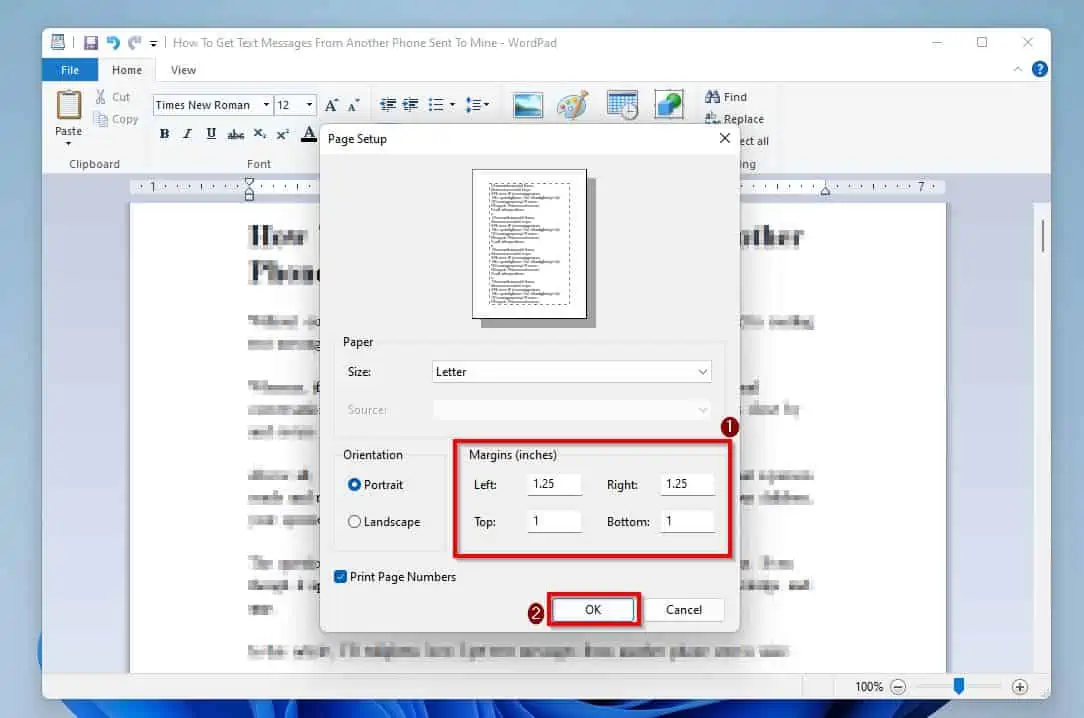
- Then, on the Page setup window, adjust any setting you wish and click OK.
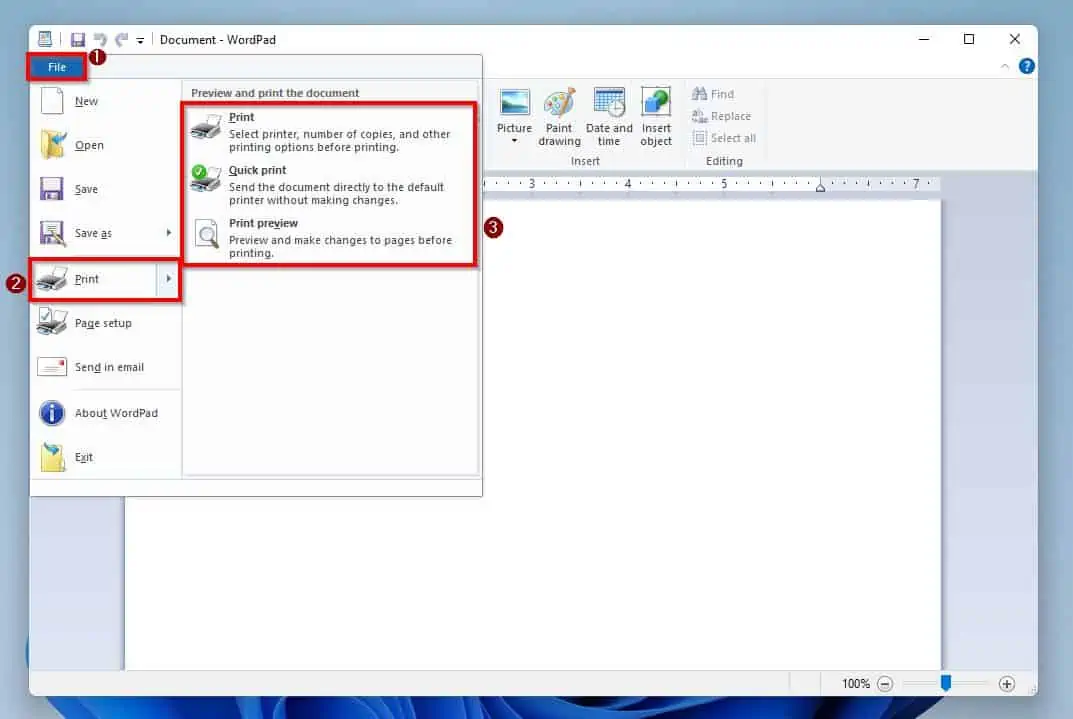
Print a WordPad Document
Once you have modified the WordPad print page setup on your Windows 11 computer, follow the steps below to print.
- On the top left of the WordPad window, click File and hover your mouse cursor on Print. Hence, three print options will appear – I will explain these options in the following sub-sections.
WordPad Print Option
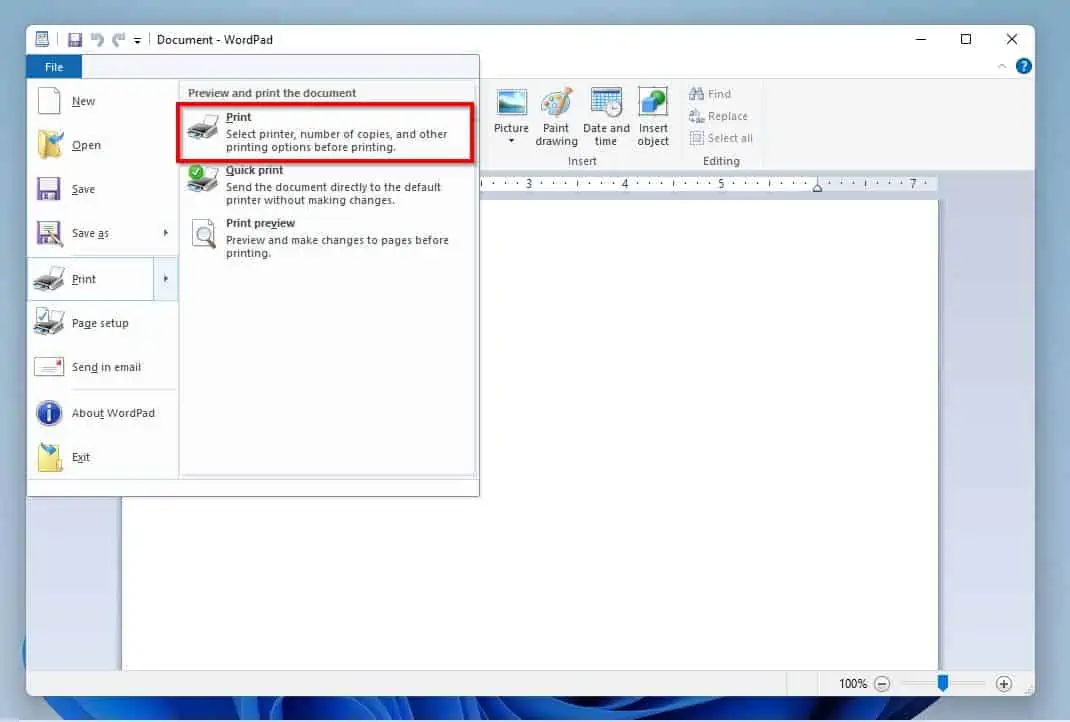
When you click on Print from the WordPad print options, the Print window will be displayed.
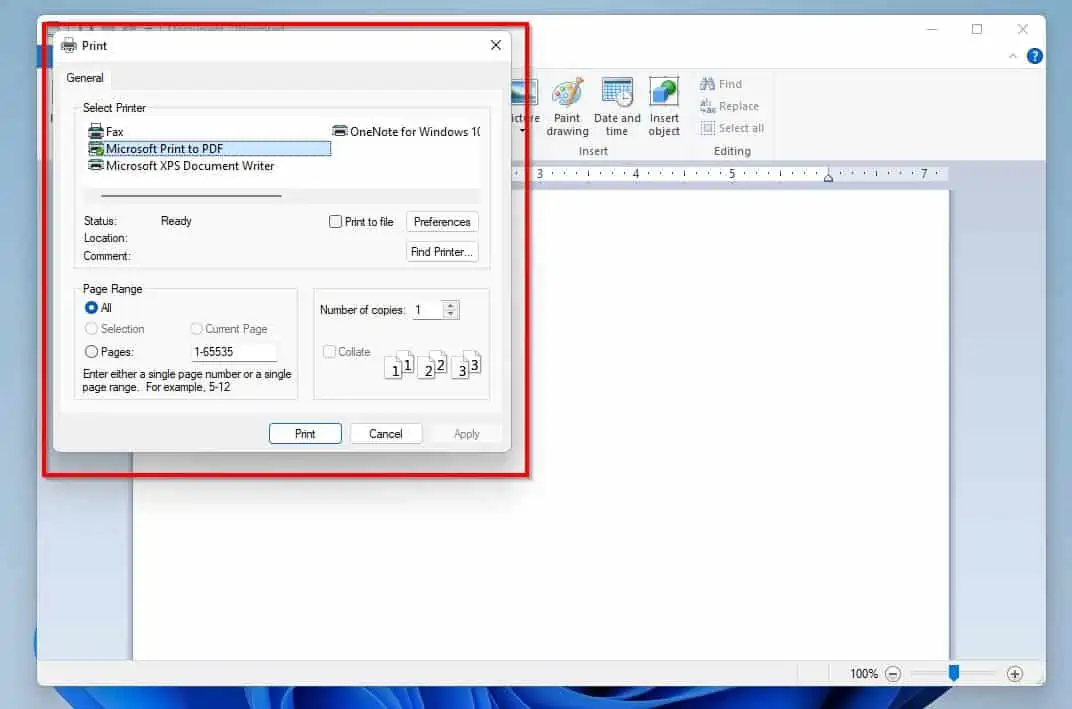
After that, you can select the printer you want to send the document to underneath the Select Printer category. You can also set the number of copies to print, printer preferences, or which WordPad document pages to print.
Then, click the Print button at the bottom of the window.
WordPad Quick Print Option
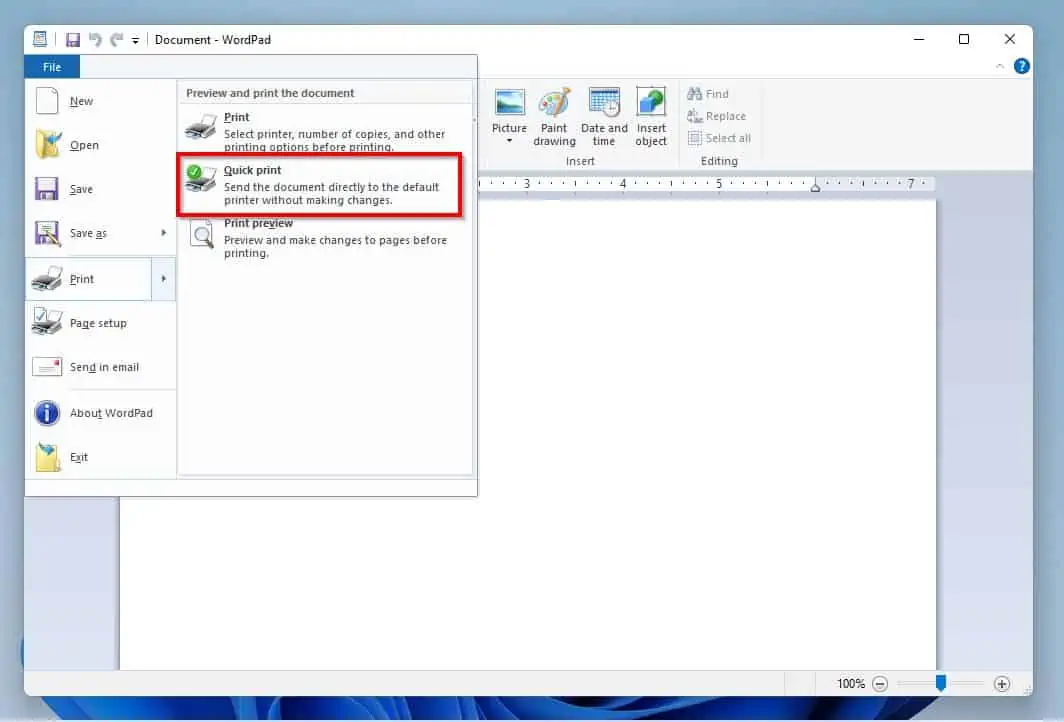
This option literally does exactly what its name suggest. Basically, it bypasses the Print window and sends your WordPad document straight to your default printer when you click it.
This is an outstanding option if you want to print your WordPad document as soon as possible. However, it only works if you have a default printer set up on your Windows 11 computer.
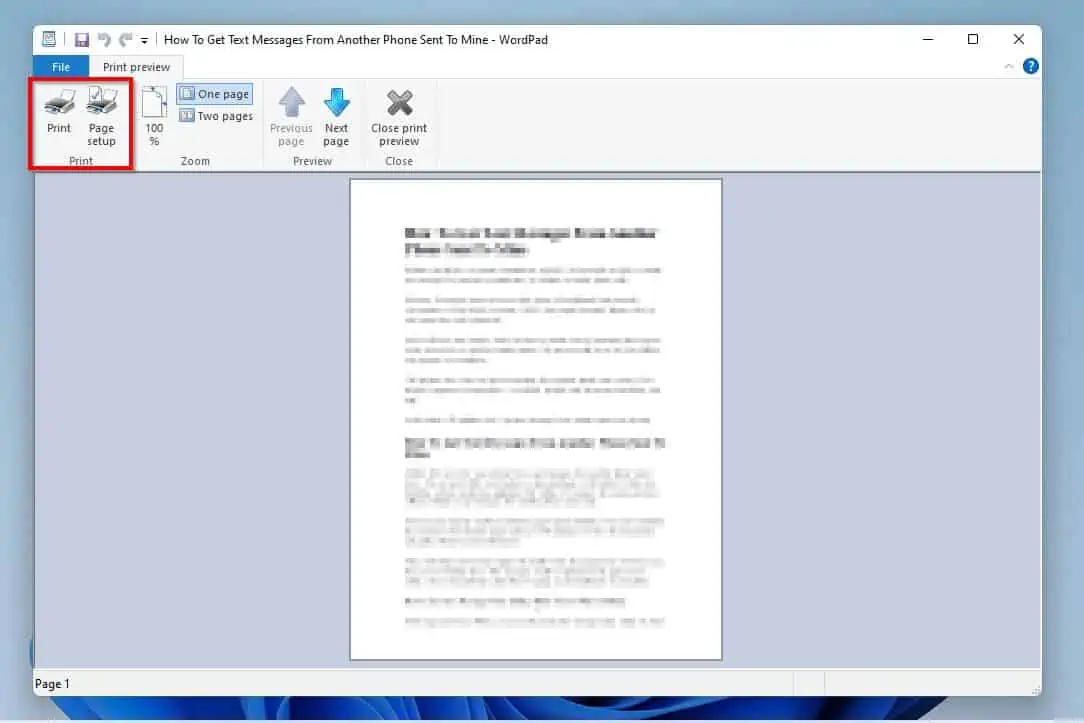
WordPad Print Preview Option
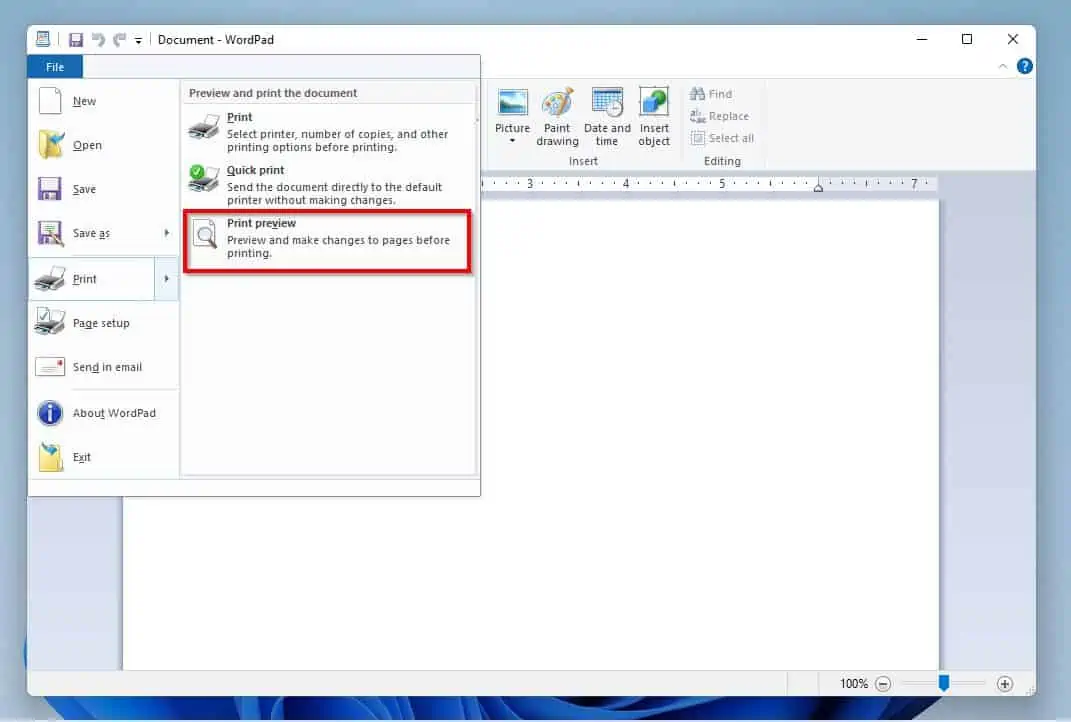
As with the Quick print option, this option does as its name suggest. In essence, it previews the document you want to print.

Moreover, the Print preview page has four menus – Print, Zoom, Preview, and Close.
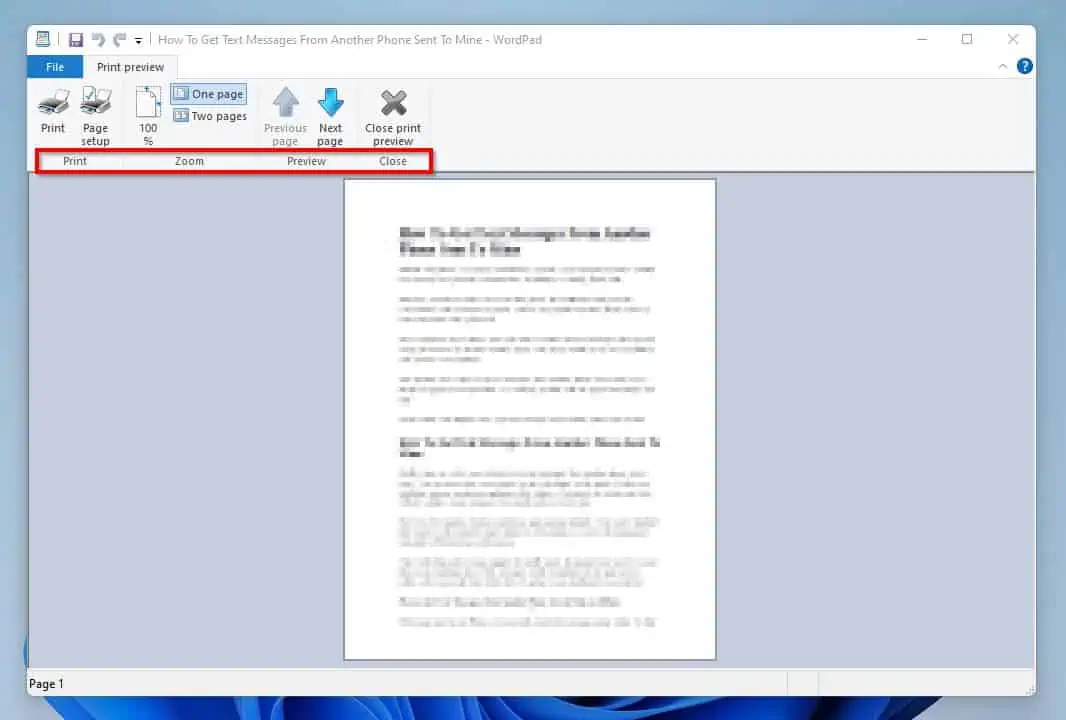
The Print menu features two options: Print and Page setup.
As expected, when you click Print, the Print window will appear. Hence, from this Print window, you can make various settings, like selecting your preferred printer and changing the number of copies to be printed.
Then, when you are done with the settings, click the Print button.
Meanwhile, when you click the Page setup option, the page setup window will appear, as expected.
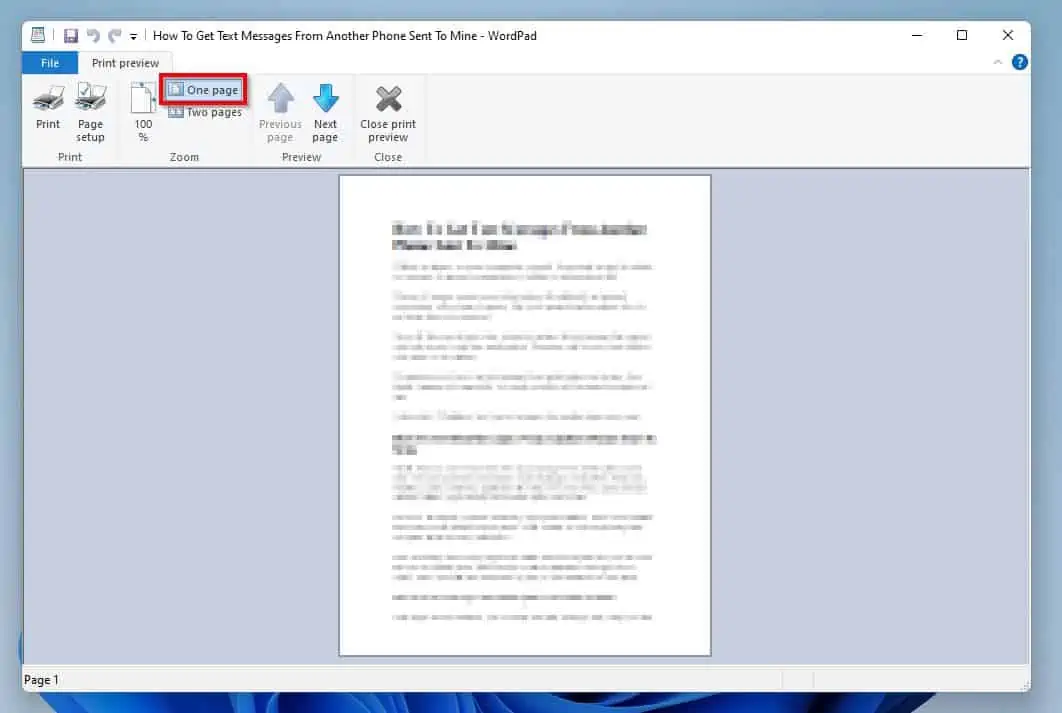
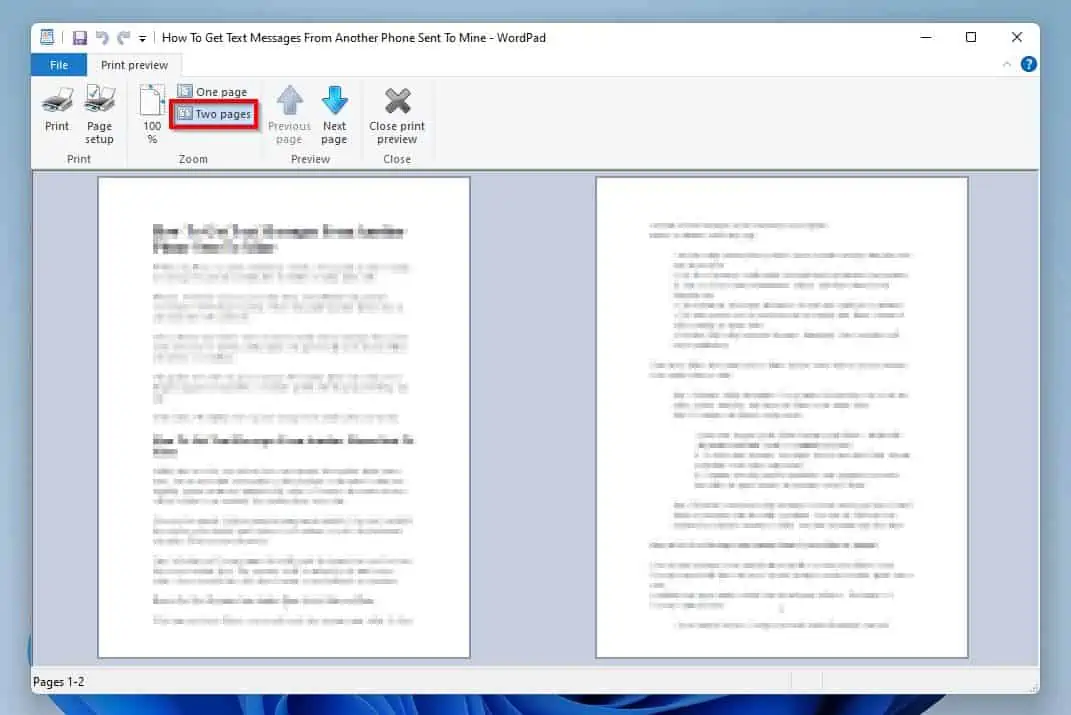
Now, back to the Print preview menus, the Zoom menu allows you to either view One page or Two pages. Basically, if you click One page, the WordPad document will appear on one page.
However, when you click Two pages, the WordPad document will split into two pages.
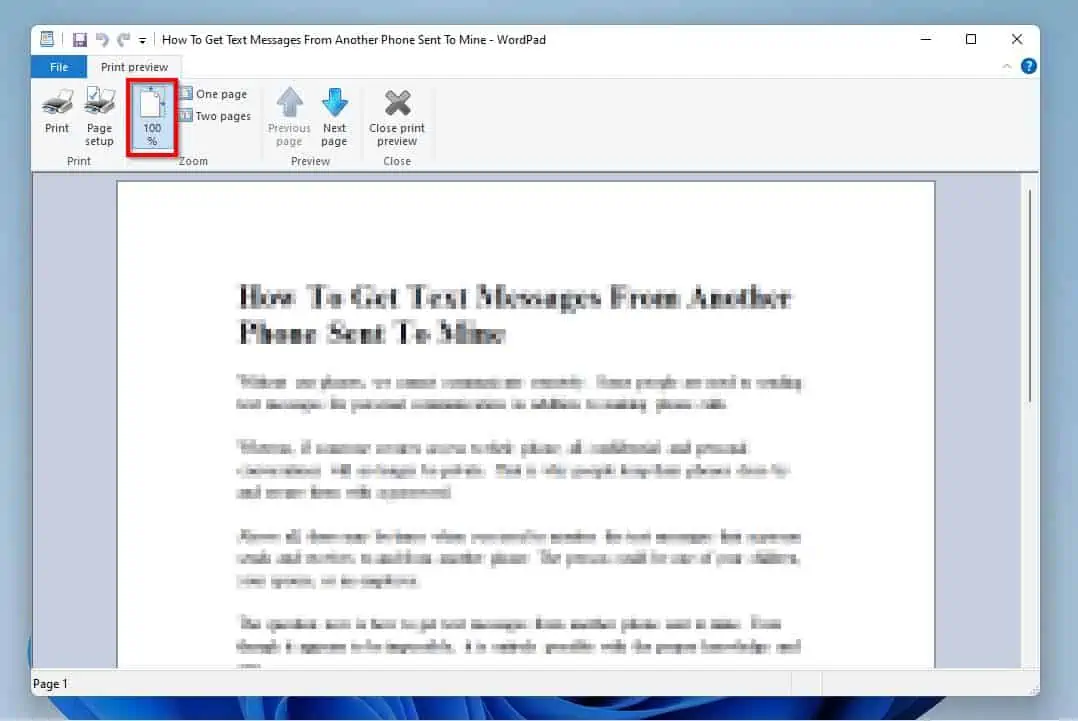
In fact, you can also zoom in on the WordPad document by clicking 100%.
Moving away from the Zoom menu, the Preview menu features two options – Previous page and Next page. As expected, the Previous page option lets you move to the previous page of the document.
Meanwhile, the Next page option lets you move to the next page of the document.

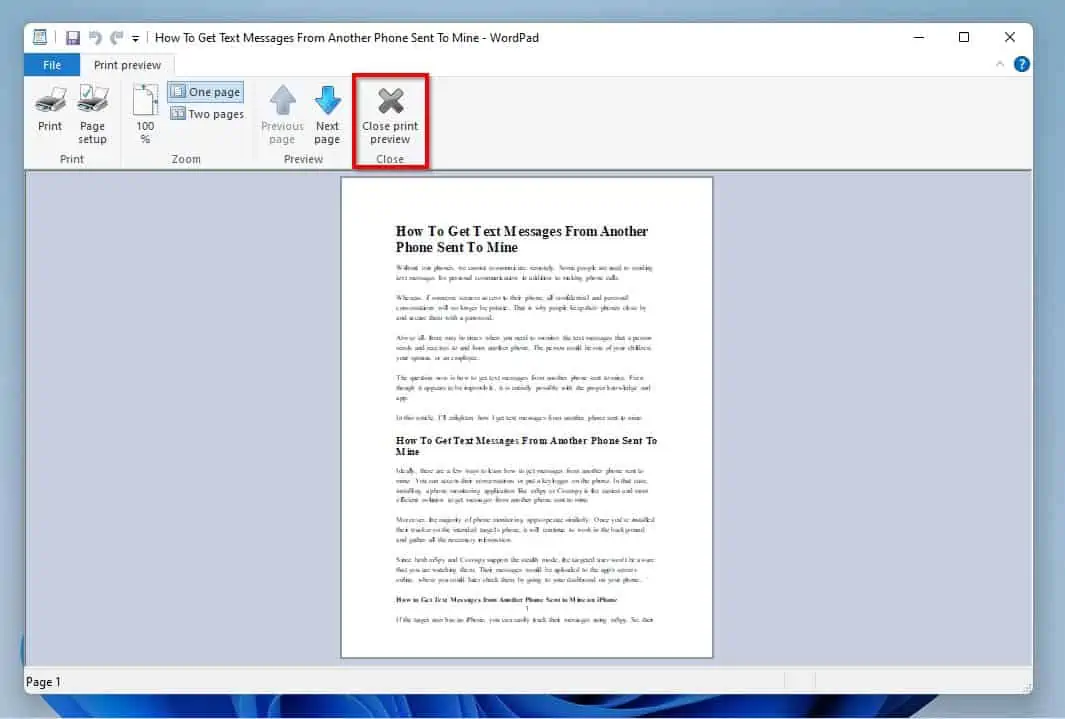
Finally, the Close menu features only one option: Close print preview. Apparently, this option allows you to close the print preview window.
How to Email a WordPad Document
This section of this Windows 11 WordPad help guide features two ways to email a WordPad document.
Option 1: Email a WordPad Document Using Copy and Paste
Although I will use the Windows 11 Mail app for this demonstration, the steps are similar to most email apps. So, follow the steps below to email a WordPad document by copying and pasting.
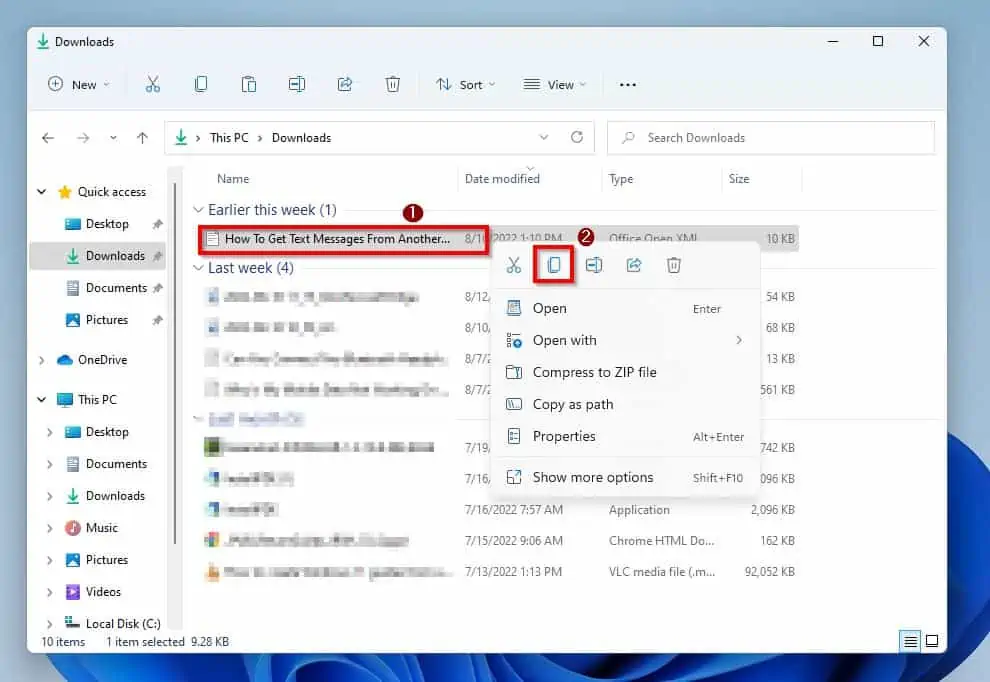
- Locate and right-click the WordPad document and select the Copy icon.
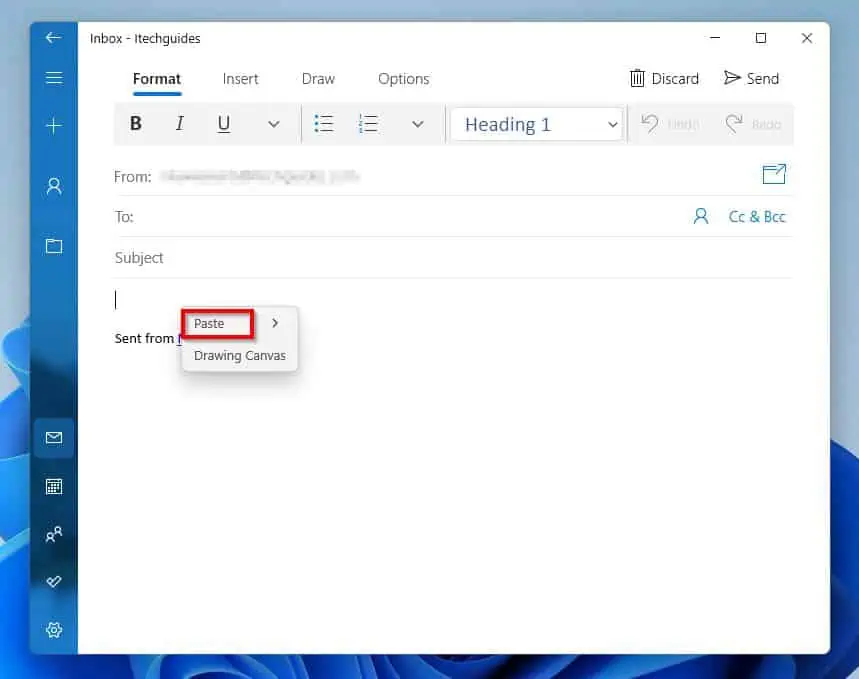
- Then, open a new mail in the Windows 11 Mail app, right-click an empty space in the body of the mail, and click Paste.
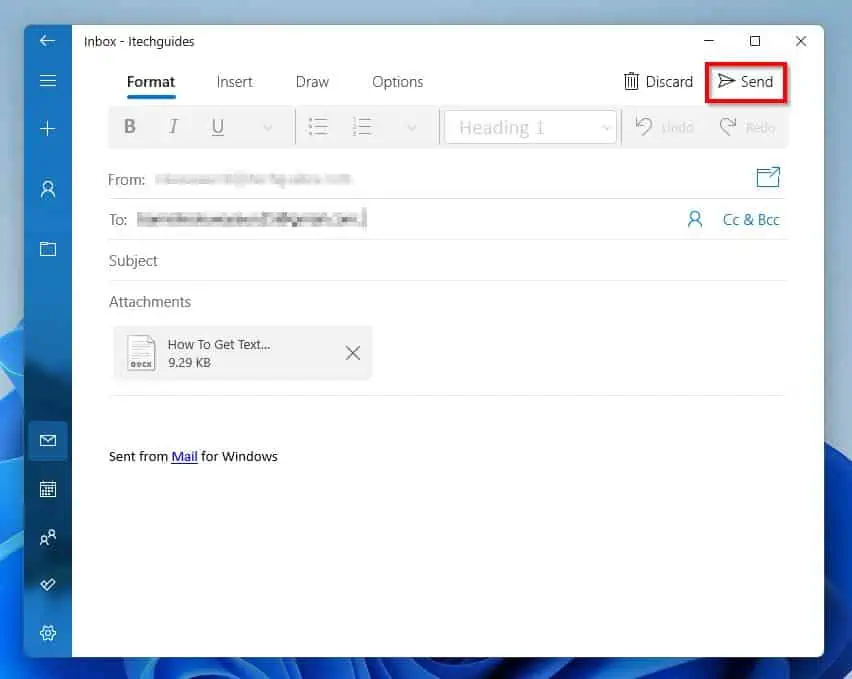
- After inputting the receiver’s email address, you then click Send to send the WordPad document.
Option 2: Email a WordPad Document by Inserting the Document
Another way to email a WordPad document is to insert it from the email app. However, as with the previous sub-section, I will be using the Windows 11 Mail app for this demonstration.
Not to worry, though; the steps are quite similar to most email apps. Hence, follow the procedures below to email a WordPad document by inserting the document.
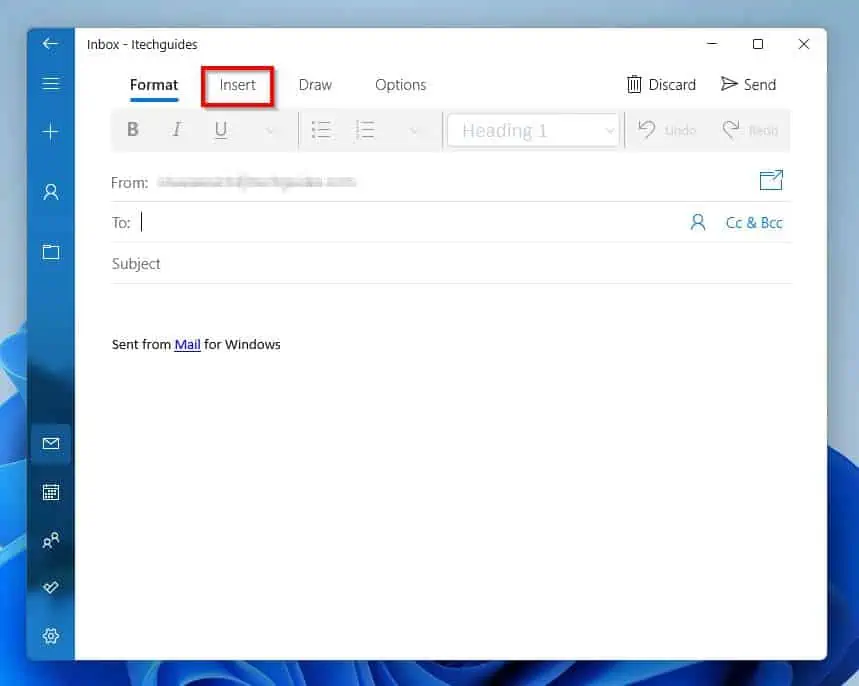
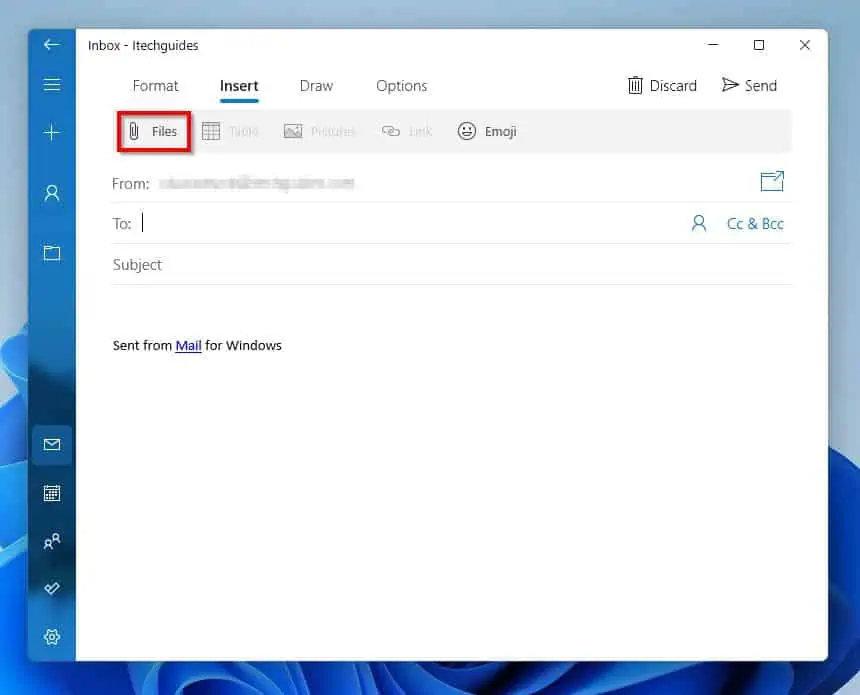
- After opening a new mail on the Mail app, switch to the Insert tab.
- Then, click the Add Files icon.
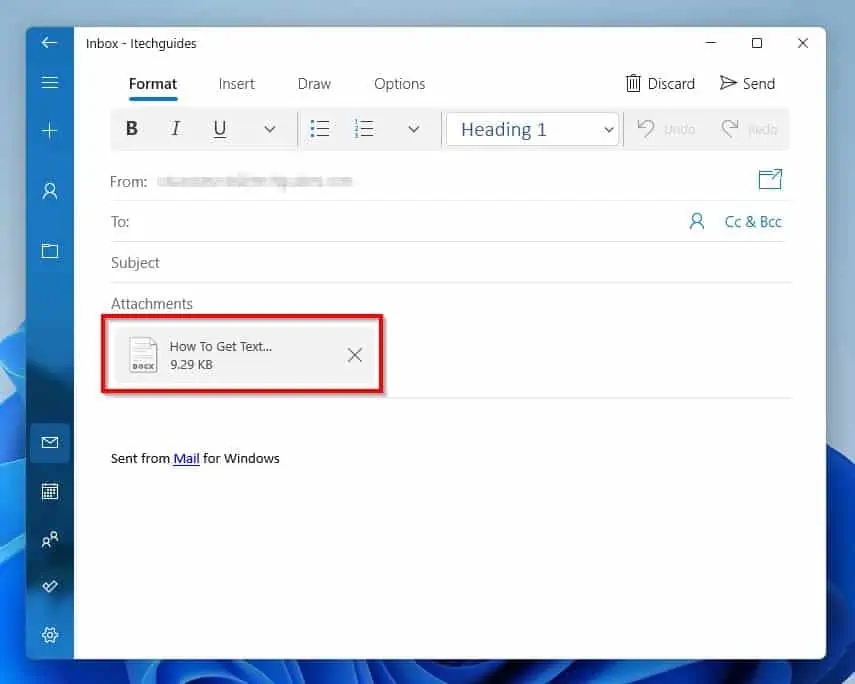
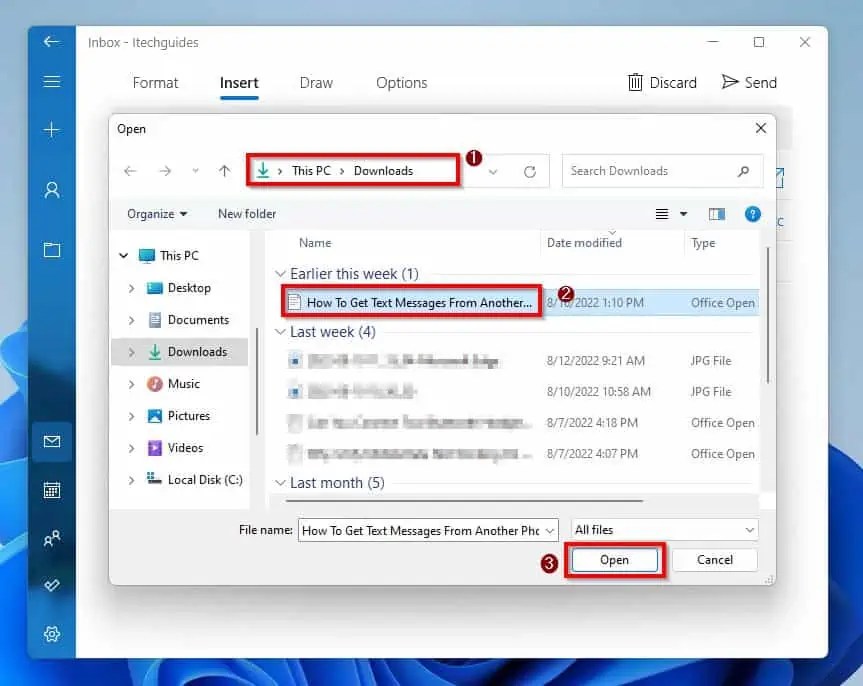
- After that, locate the WordPad document and select it on the Open window. Then, click the Open button at the bottom of the window.
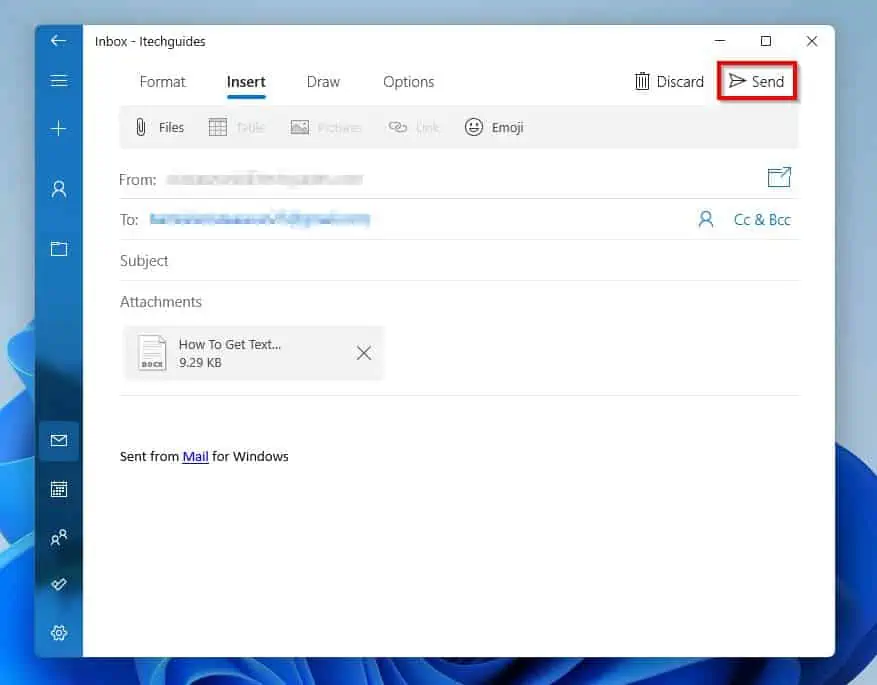
- After inputting the receiver’s email address, click Send to send the WordPad document.
How to Cut, Copy, Paste, or Paste Special
In this section, I will walk you through the steps to cut, copy, paste, or paste special on Windows 11 WordPad.
1. Cut and Copy
To cut or copy in the WordPad application on your Windows 11 computer, follow the steps below.
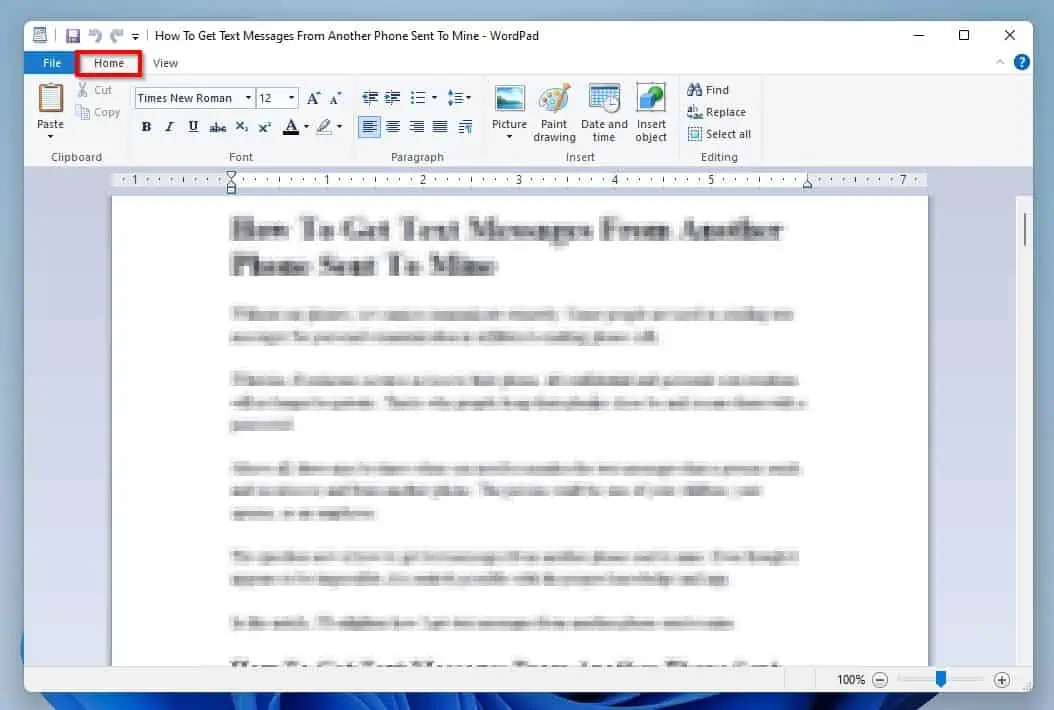
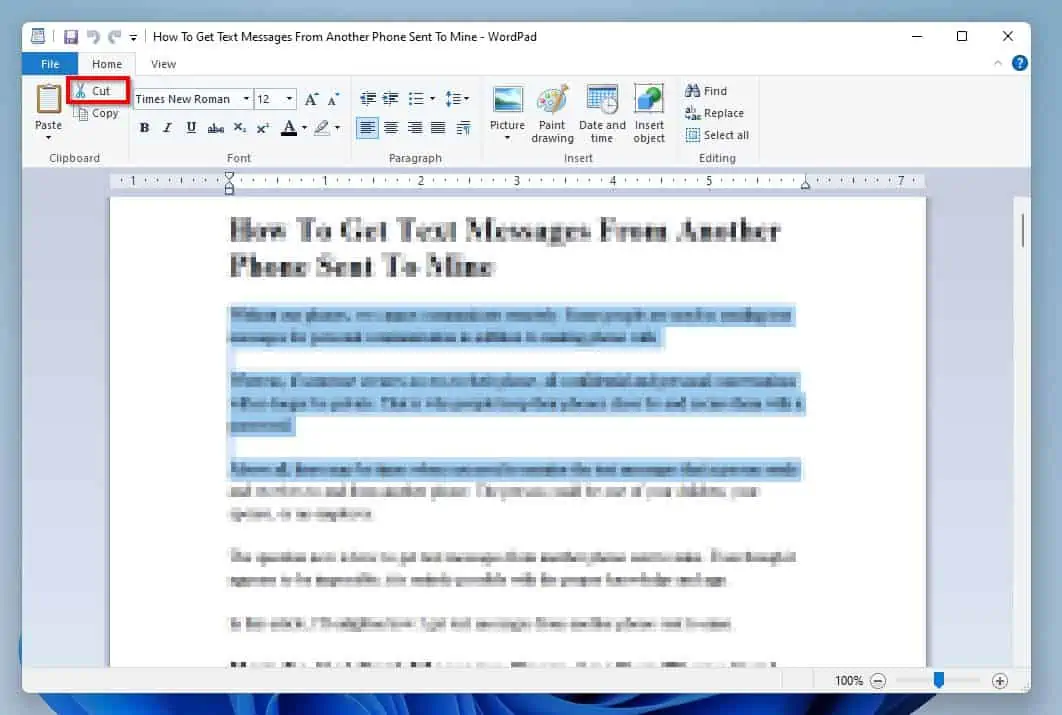
- Highlight the text(s) or select the image you wish to cut or copy. Then, click the Home tab.
- Following that, on the Clipboard section, click the Cut icon (the scissors icon) to cut the highlighted text(s).
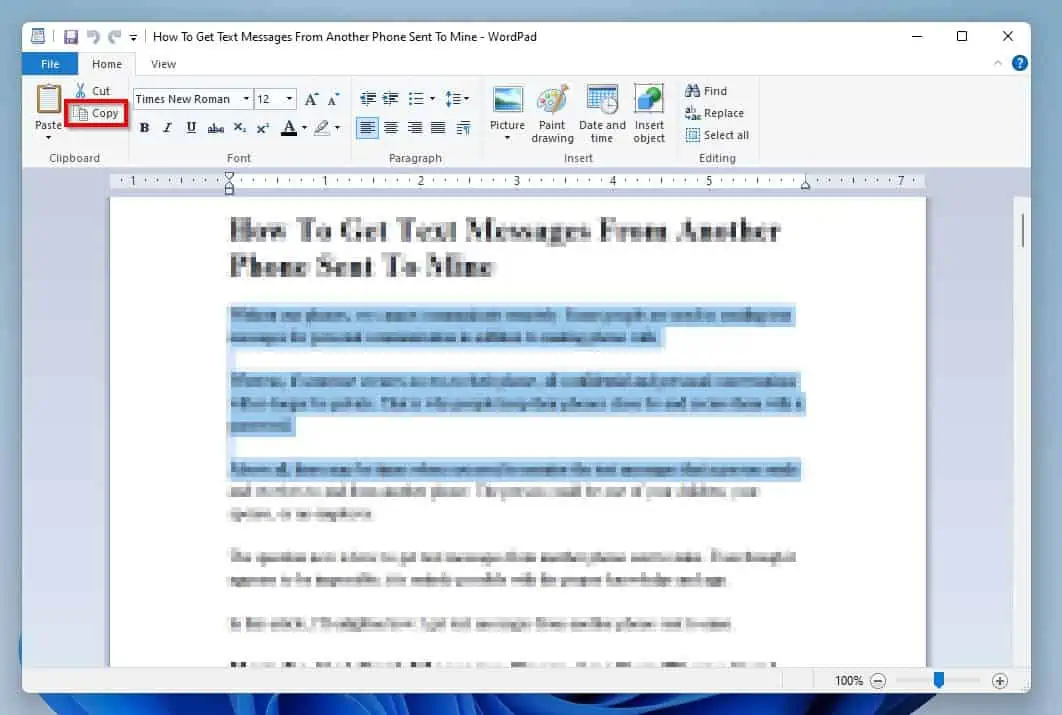
- However, to copy a highlighted text(s), click the Copy icon on the Clipboard section.
2. Paste or Paste Special
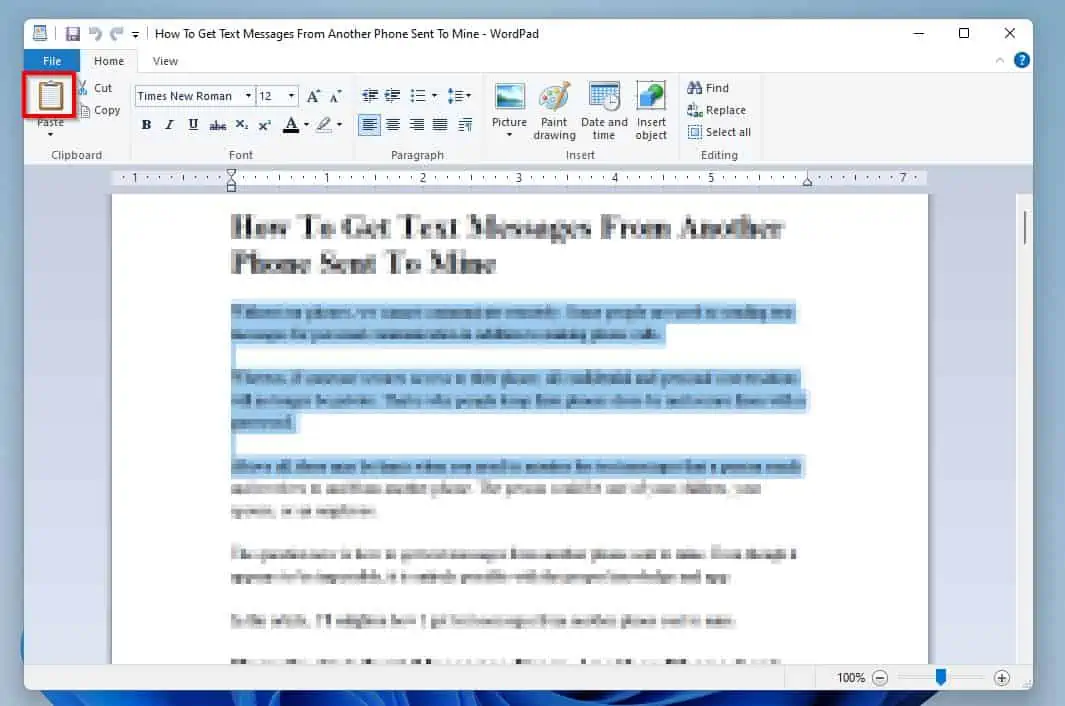
After copying or cutting a text(s) in WordPad, the next thing you would most likely want to do is paste it. To do that, all you have to do is click the Paste icon on the Clipboard section.
However, whenever you paste a text(s) on WordPad, WordPad will paste the text(s) with the source formatting. Nevertheless, you can change the paste formatting option by using the Paste special feature.
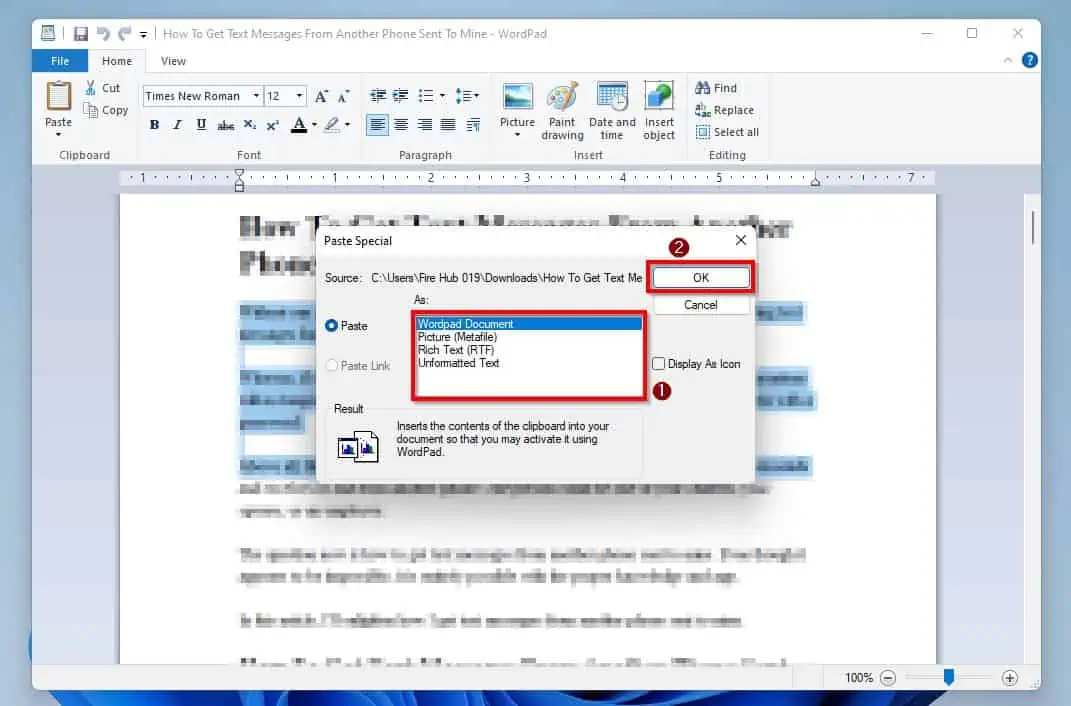
To do so, click the Paste icon drop-down on the Clipboard section and select Paste special.
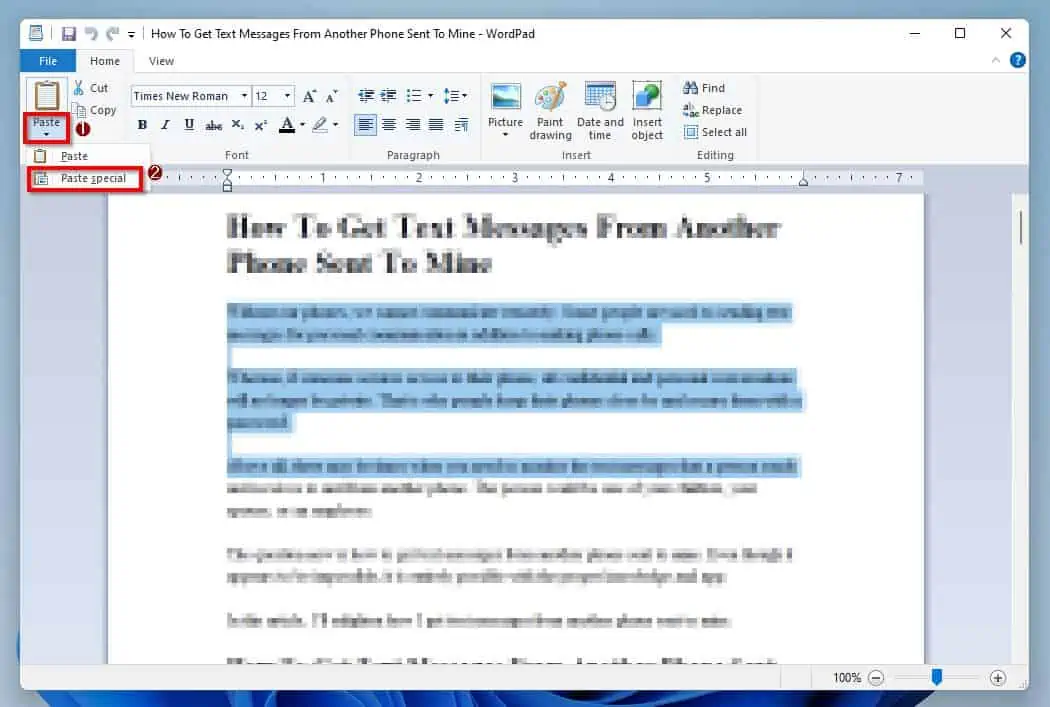
Finally, select your preferred Paste As format on the Paste special pop-up window. Then, click OK.
Managing Fonts in WordPad
Undoubtedly, some Windows 11 users will require assistance with managing WordPad fonts. After all, understanding how to use fonts is fundamental for anyone creating a document.
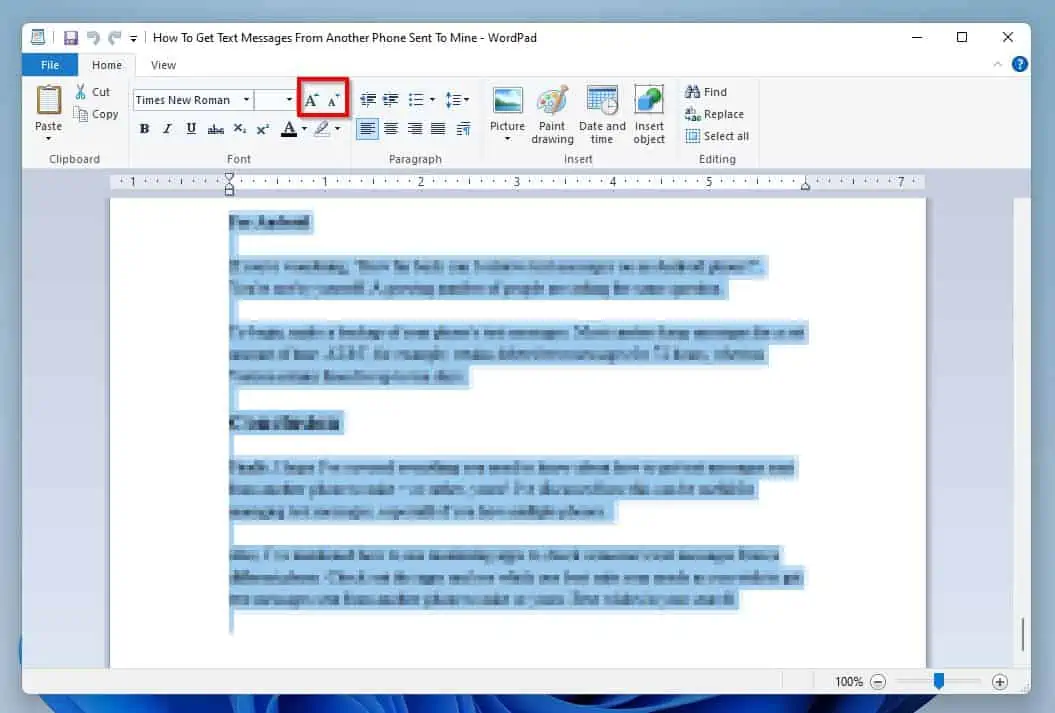
Hence, in this section, I will teach you how to Bold, Italicize, Underline, change the font size, and Strikethrough in WordPad. You will also learn how to use WordPad’s subscript and superscript functions.
Lastly, I’ll show you how to change WordPad’s text and background colors.
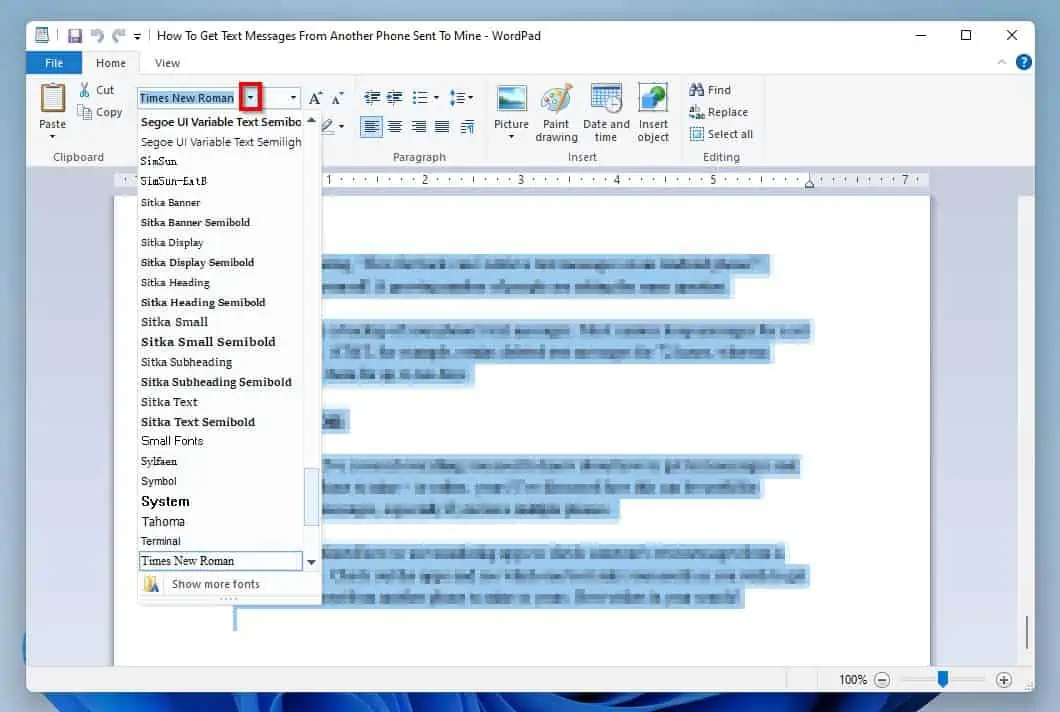
1. Change Fonts and Font Size
To change the font style in WordPad, highlight the parts of the document you wish to change the font style. Then, click the Font style drop-down and select the new font you wish to use.
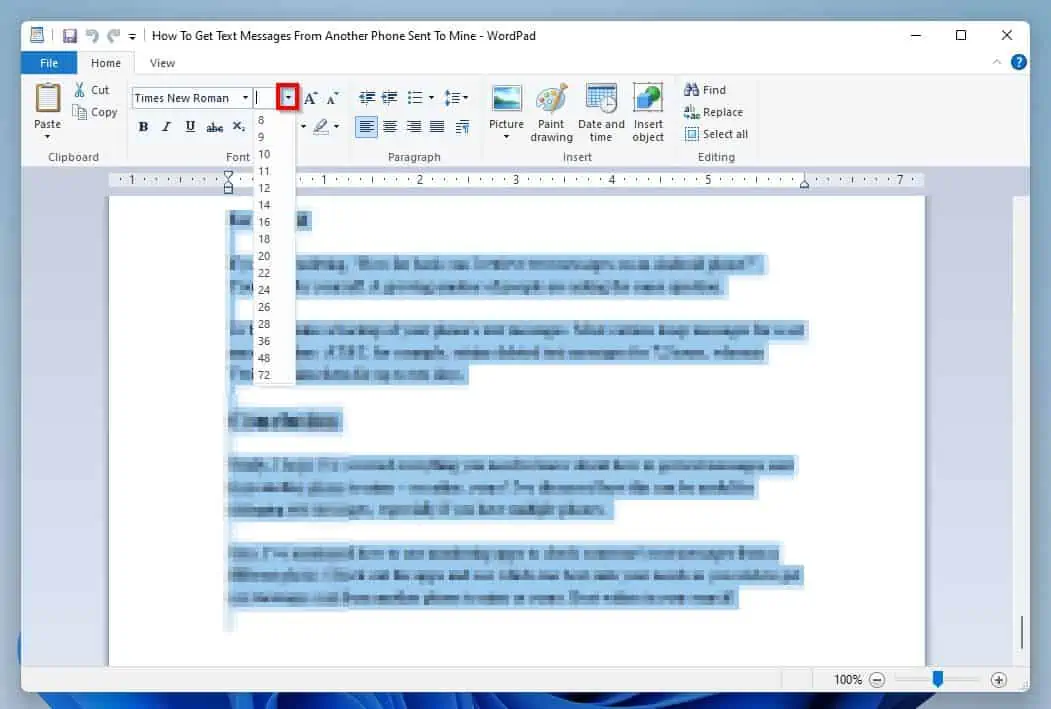
Meanwhile, to increase the font size on WordPad, select the text you want to change its font size. Then, click the Font Size drop-down and select your preferred font size.
2. Bold, Italicize, Underline, and Strikethrough
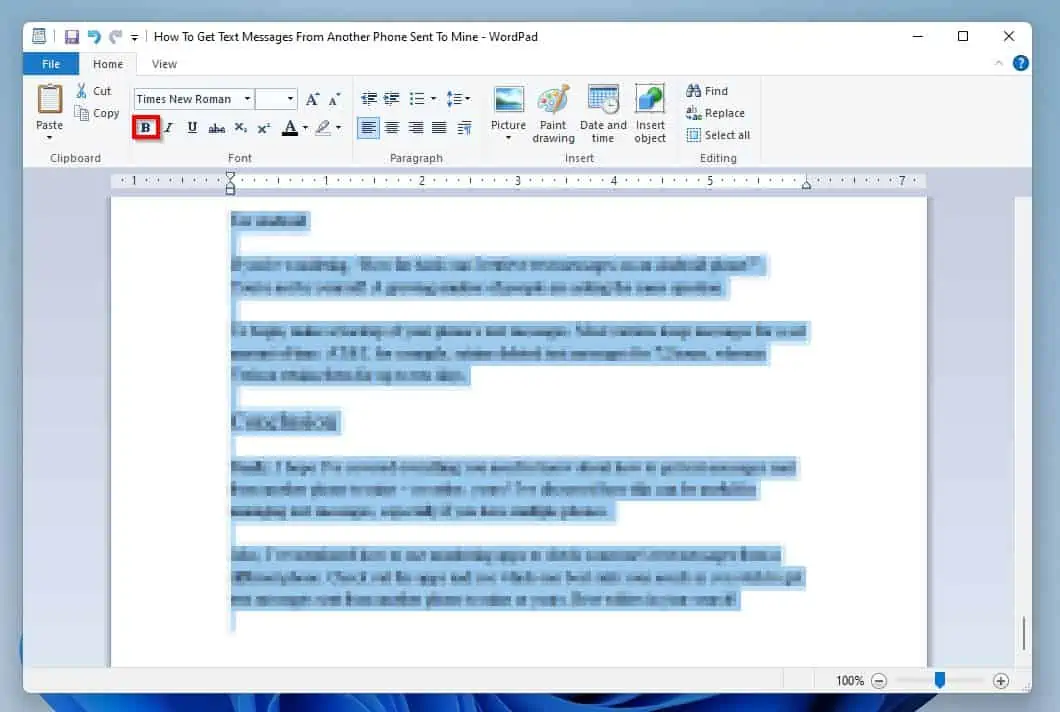
This sub-section teaches you how to bold, italicize, underline, and strikethrough a text in WordPad. Starting with the bold function, to make a text bold in WordPad, simply highlight the text and click the Bold icon.
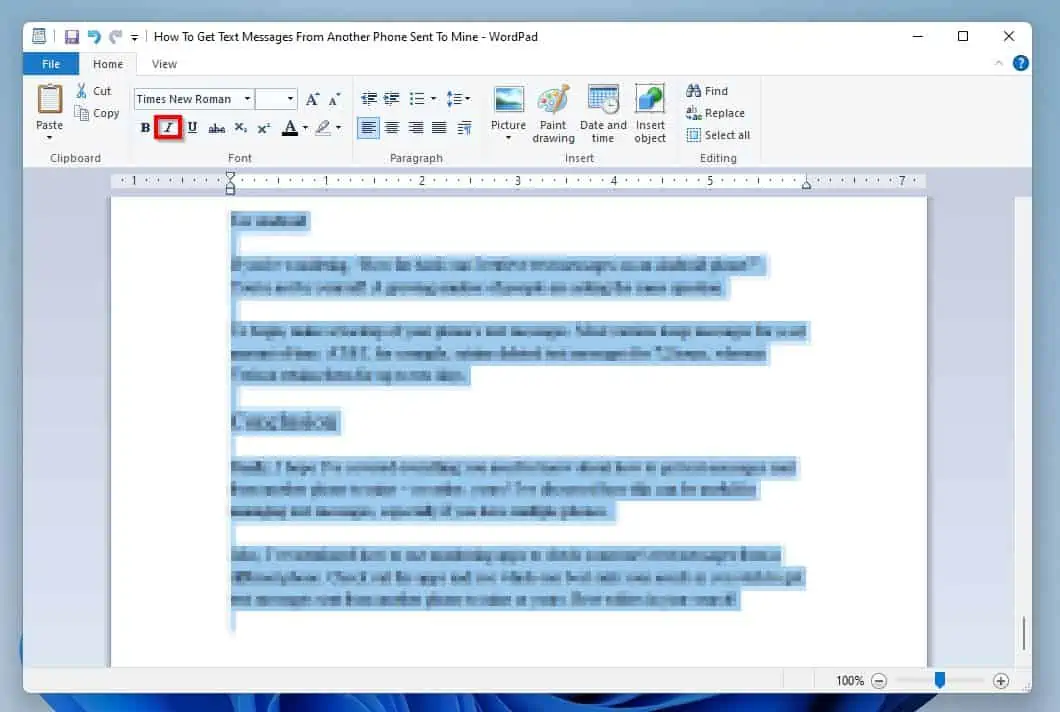
Meanwhile, to make a text italics in WordPad, highlight the text and click the italics icon.
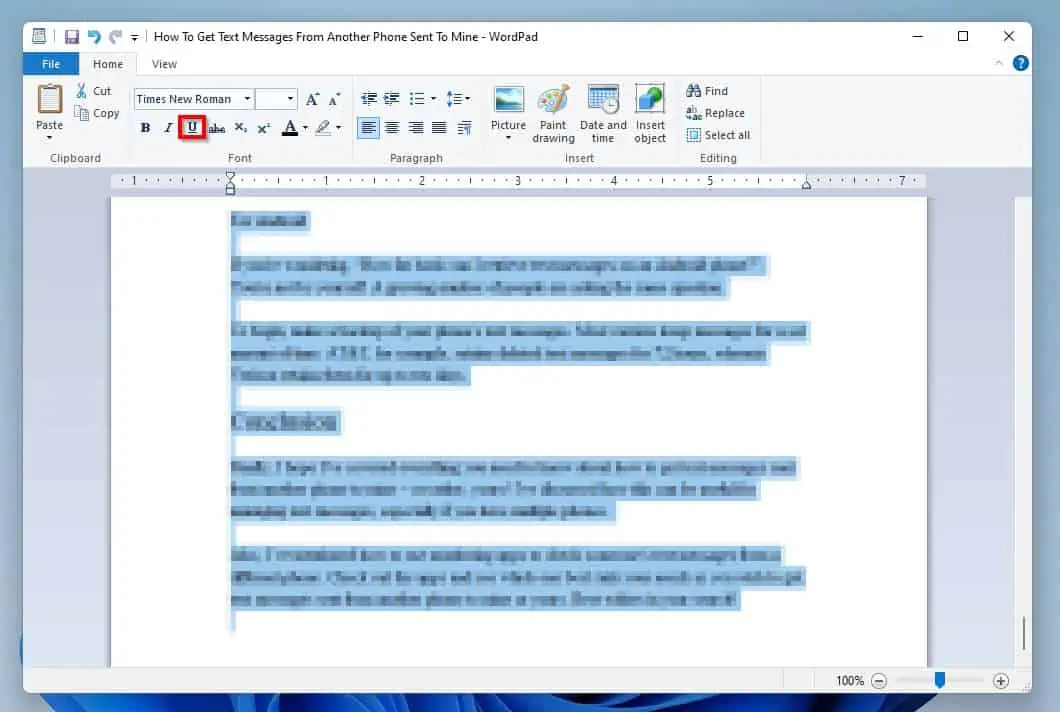
You may also wish to underline a particular text in your WordPad document. To achieve that, simply highlight the text and click the Underline icon.
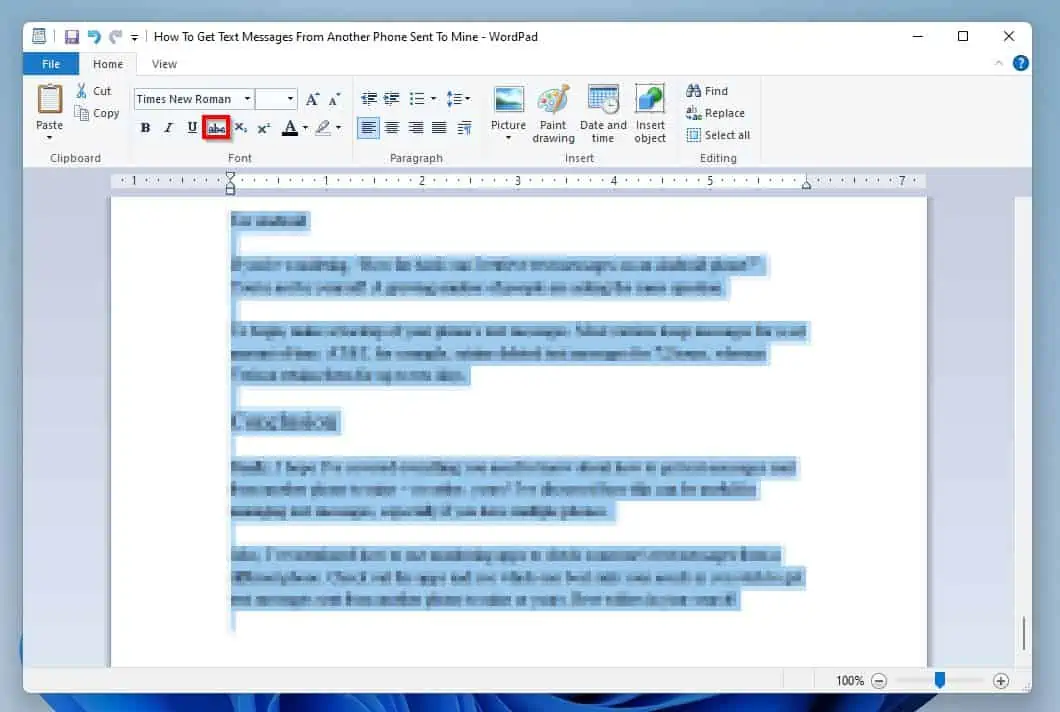
Lastly, to strikethrough a text in WordPad, highlight the text and click the Strikethrough icon.
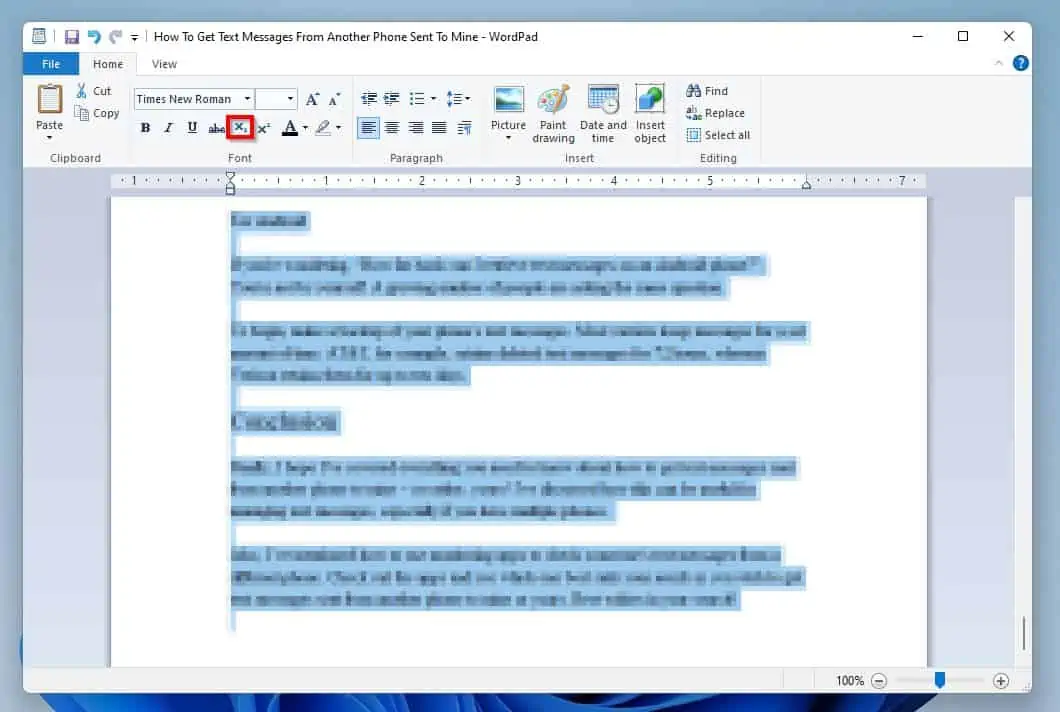
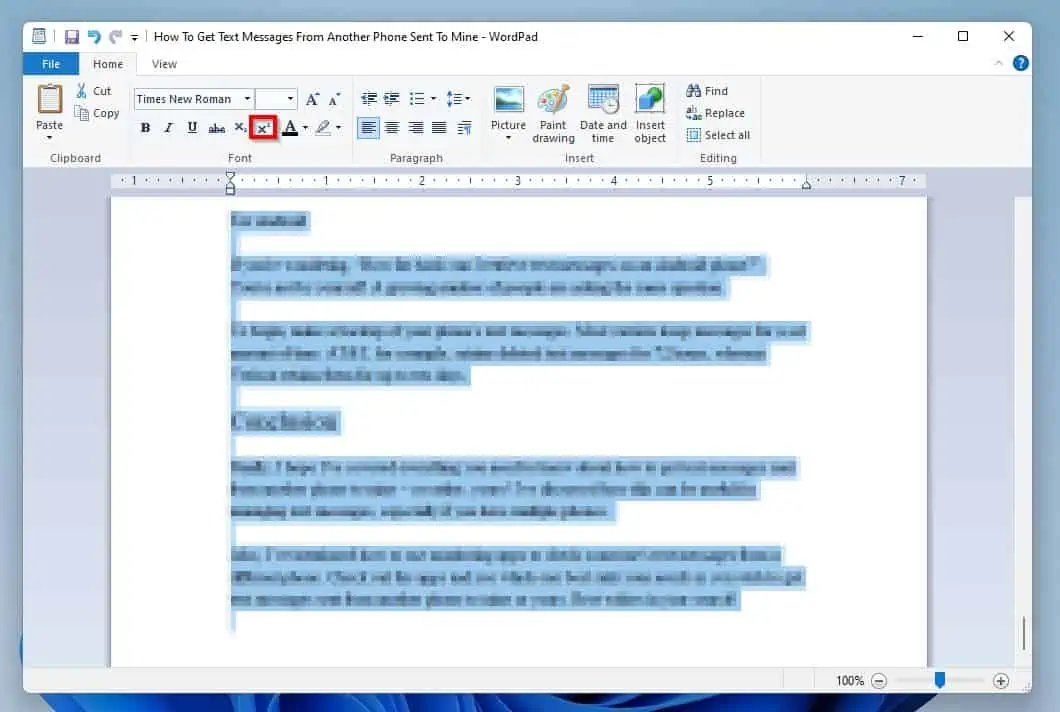
3. Subscript and Superscript
To make a highlighted text subscript, click the Subscript icon as shown in the screenshot below.
However, to make a highlighted text superscripted, you have to click the Superscript icon.
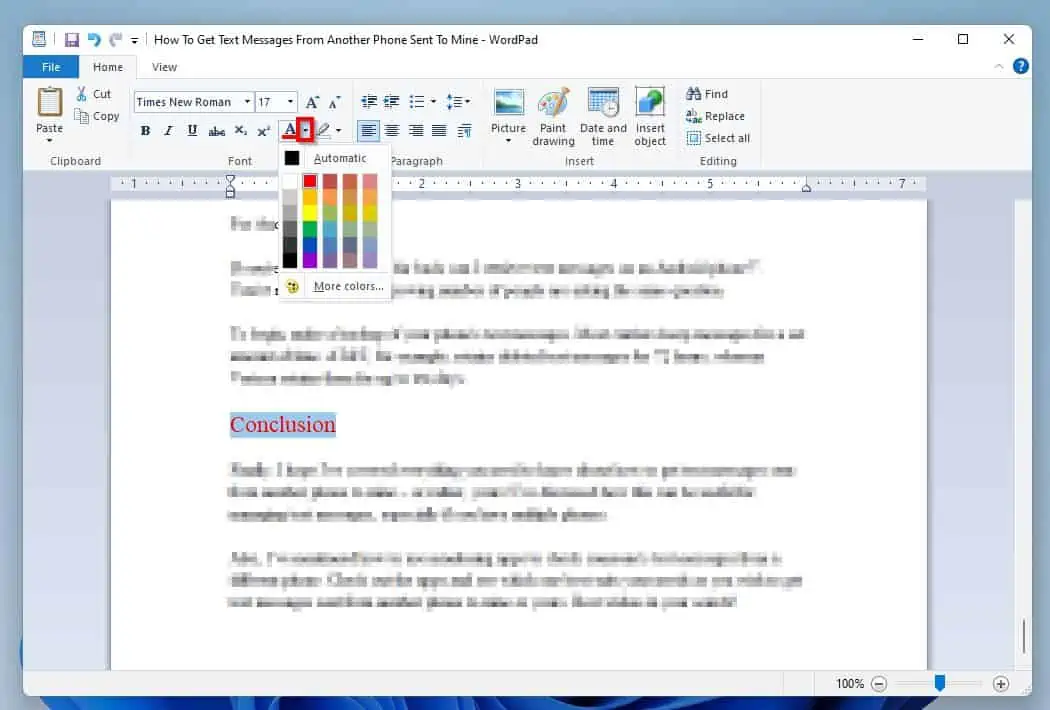
4. Change Text and Background Colors
In this final sub-section, you will learn how to change text and background colors in WordPad.
To change the color of a highlighted text in WordPad, click the Text color drop-down and select your preferred color.
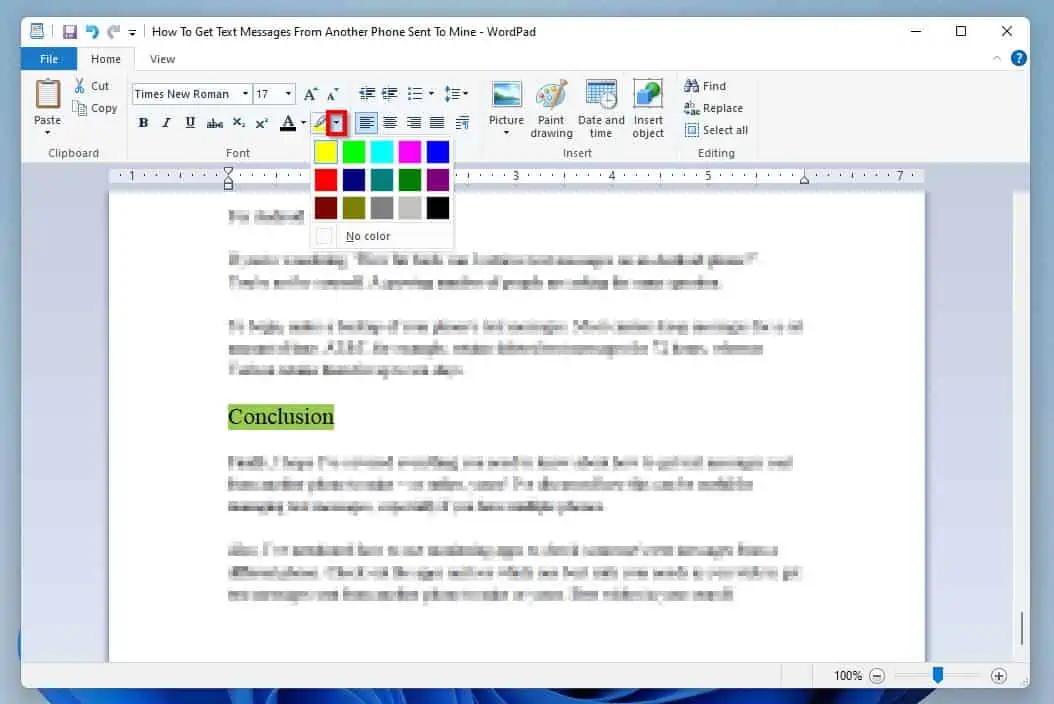
You may also want to change the background color of a text. Simply highlight the text and click the Text highlighter color drop-down.
Then, pick a color of your choice.
Managing Paragraphing in WordPad
Paragraphing in WordPad is quite essential. Hence, it’s not surprising that we included a section that teaches how to manage WordPad paragraphing in this guide.
To be more specific, you will learn how to indent, create a list, and adjust line spaces in this section. That’s not all; this section also covers text alignment and how to use the paragraph dialogue box.
1. Increase or Decrease Indents
A document’s indent is the space separating the paragraph from the right or left margin.
You can modify the indent of a line, a paragraph, or the whole WordPad document. Hence, to decrease the indent of a line, place your mouse cursor on the line and click the Decrease indent icon.
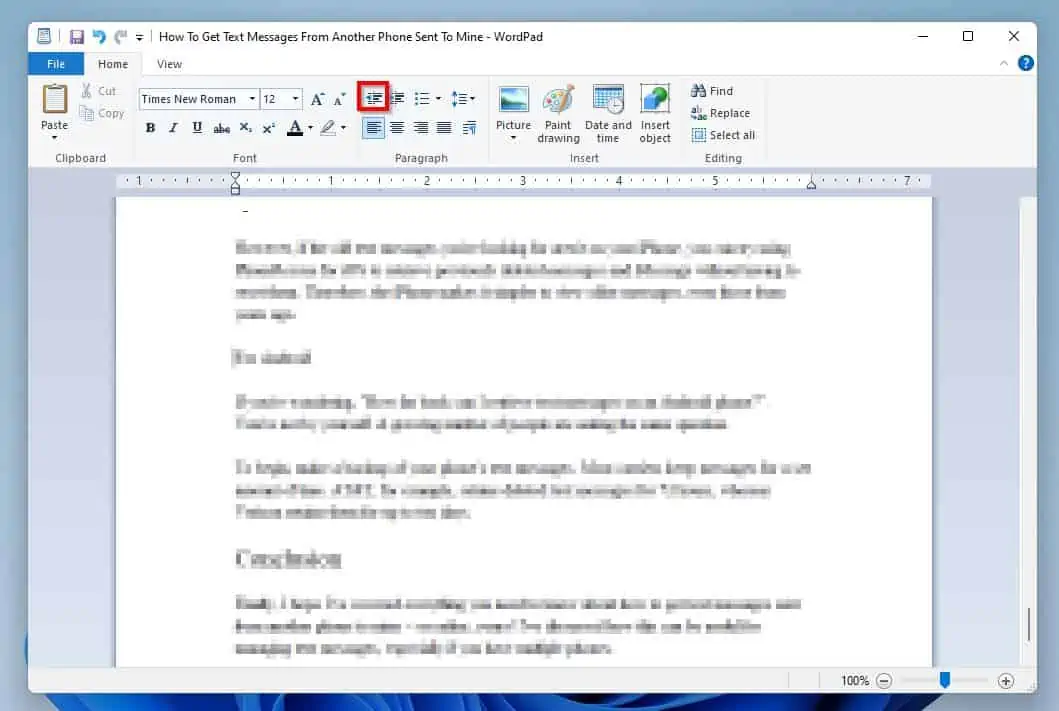
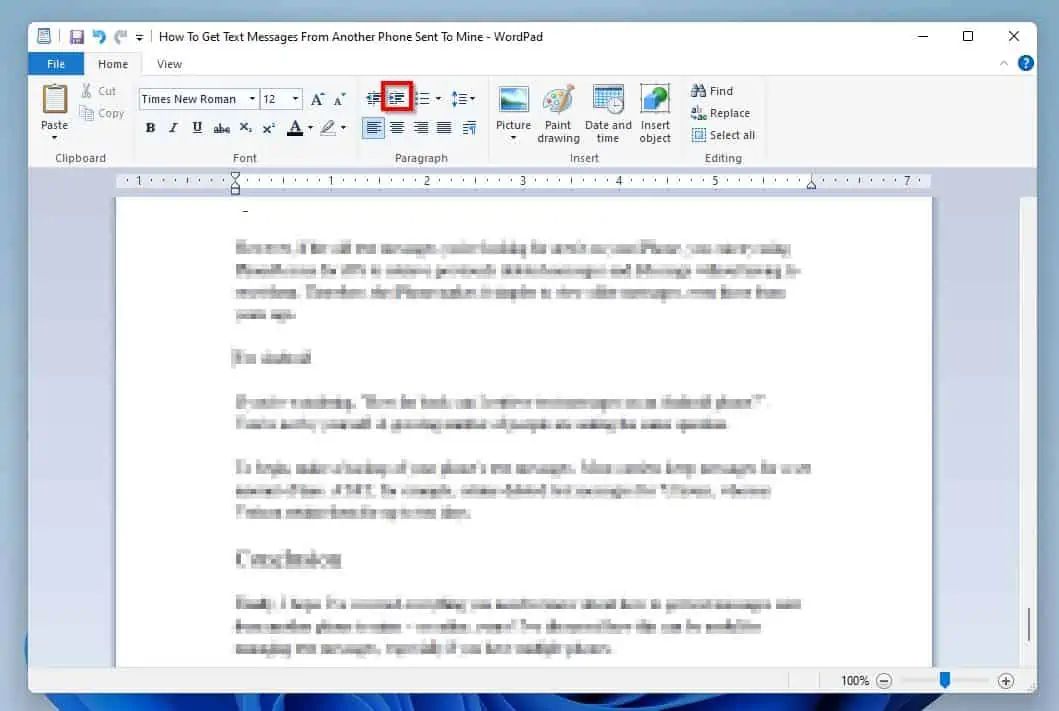
However, if you wish to increase the indent of the line, click the Increase indent icon.
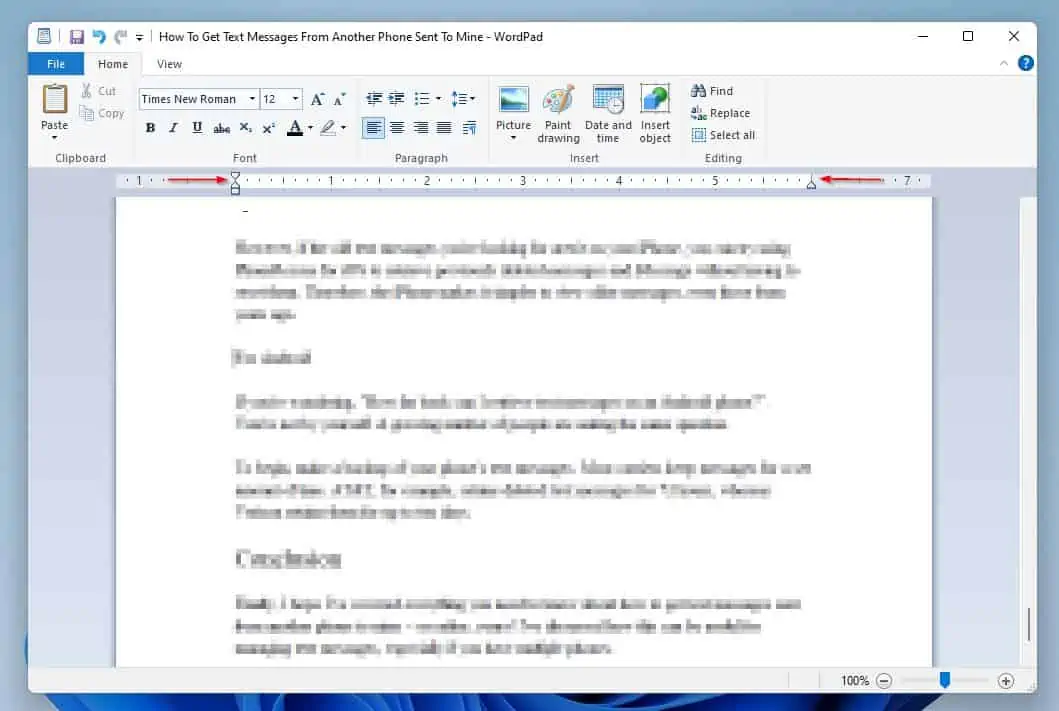
By the way, you can also adjust the indent in WordPad using the indent ruler. See the arrows in the screenshot below.
2. Add Lists
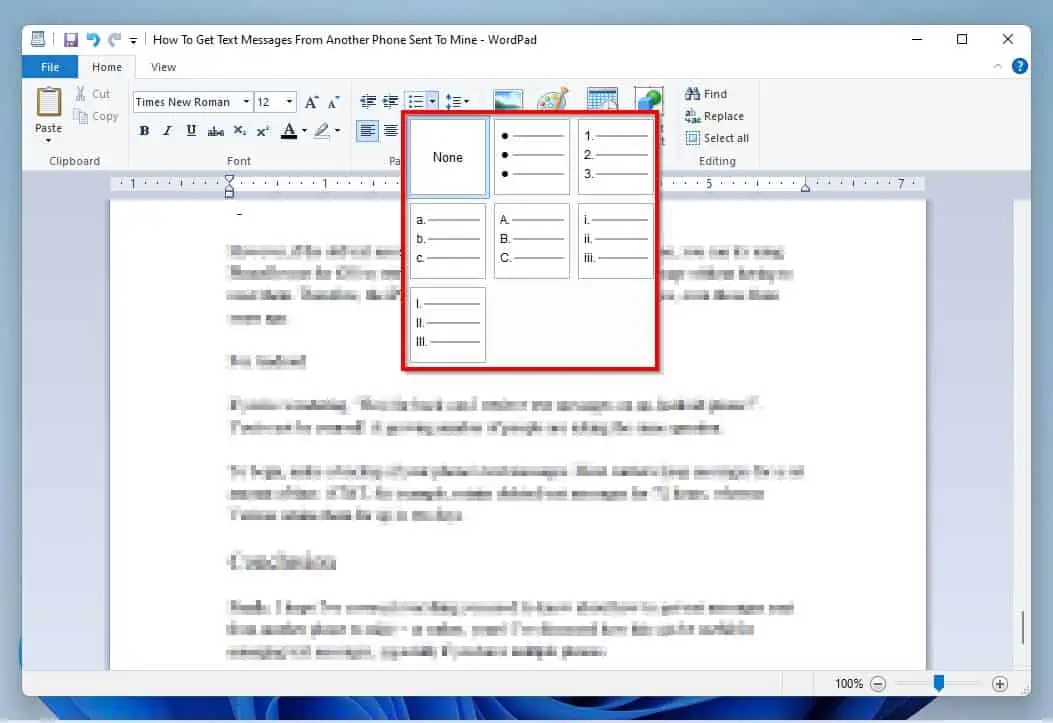
The listing feature makes it easy for you to offer a set of points in an easy-to-follow way. Thankfully, Bullets, Numbering, Alphabets, and Roman numerals are available in WordPad.
To create a list in a WordPad document, place your mouse cursor where you want to add the list. Then, click the Start a list drop-down in the Paragraph section of the WordPad Home tab.
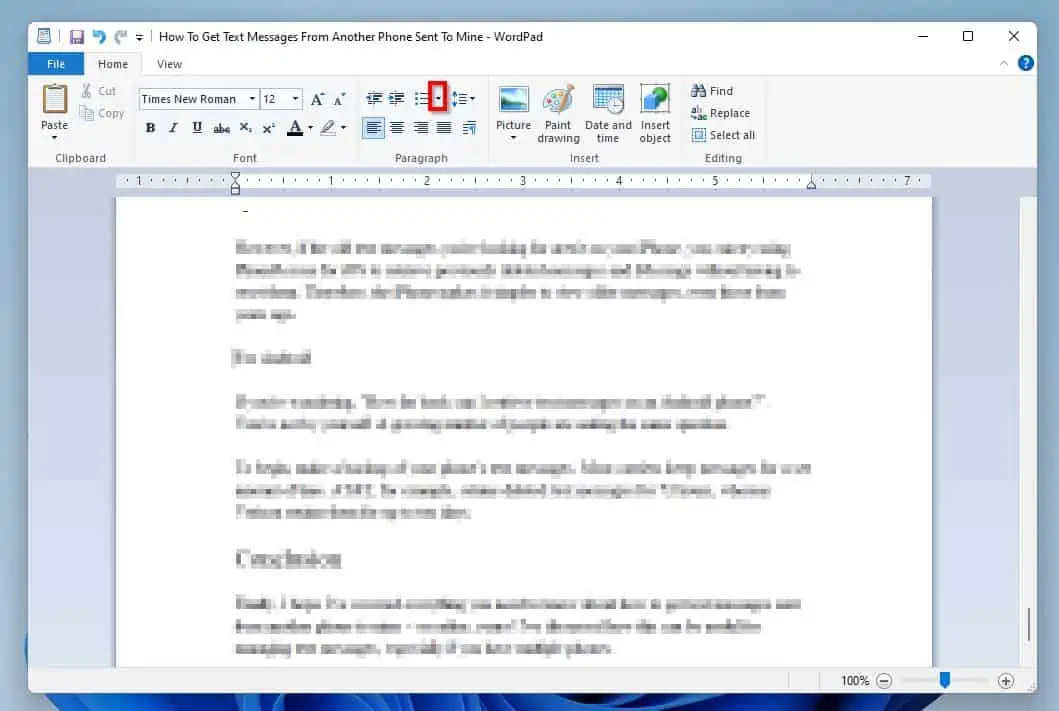
After that, select your list type from the options that appear.
When you have done that, input the first thing or text on your list. Then, place your mouse cursor at the end of the first text on the list and press Enter on your keyboard.
This will automatically create the next line of the list.

3. Adjust Line Spacing and Align Texts
The Home tab’s paragraph section offers additional functions. You will be learning how to use these functions in this sub-section.
You will specifically learn how to add or remove space after paragraphs and alter the spacing between lines of text. The steps to center, right, left, or justify texts are also covered in this sub-section.
In a WordPad document, you can change the spacing between texts by highlighting the texts you want to change. Then, click the Line spacing drop-down and select the line spacing of your choice from the displayed line spacing options.

There is one unique option in the Line spacing options – Add 10pt space after paragraphs. This option allows additional space below a selected text.
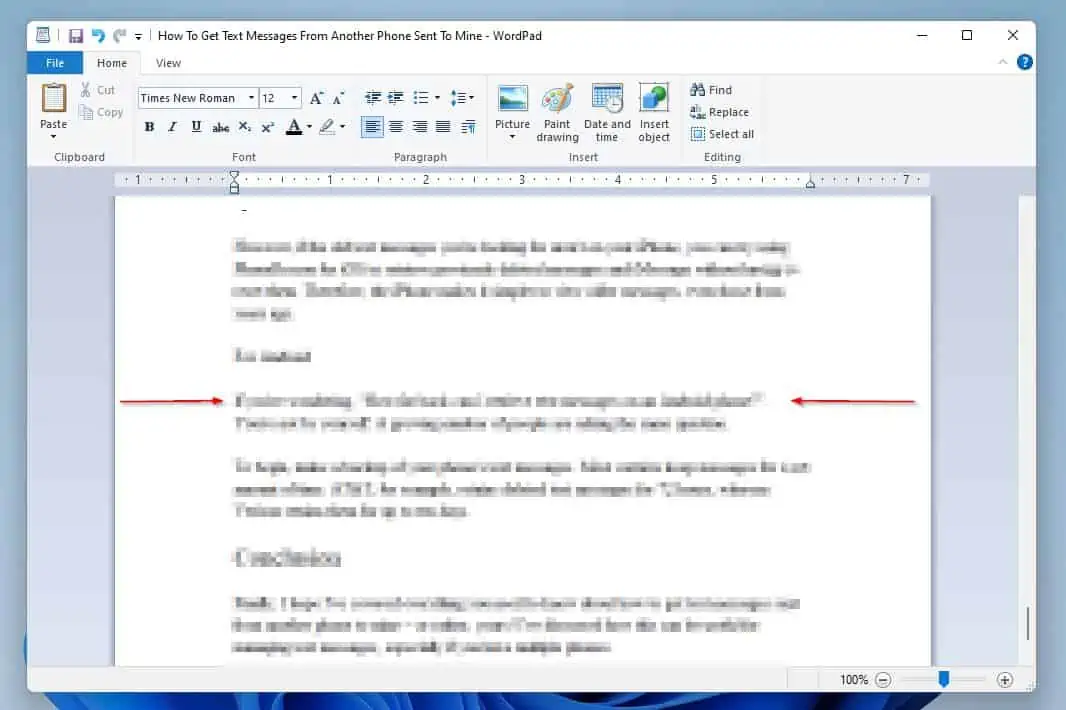
For example, the option is disabled for the highlighted text (“Conclusion”) in the screenshot below – note the minimal space underneath the text.
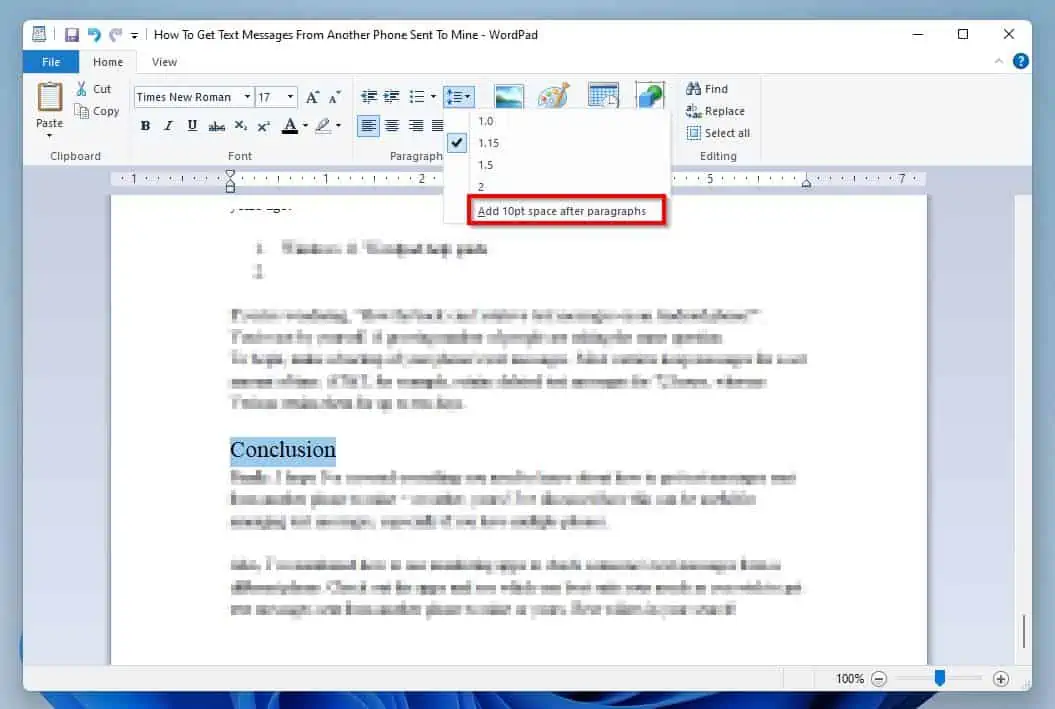
However, when I enable the Add 10pt space after paragraphs option, the space underneath the highlighted text increases.

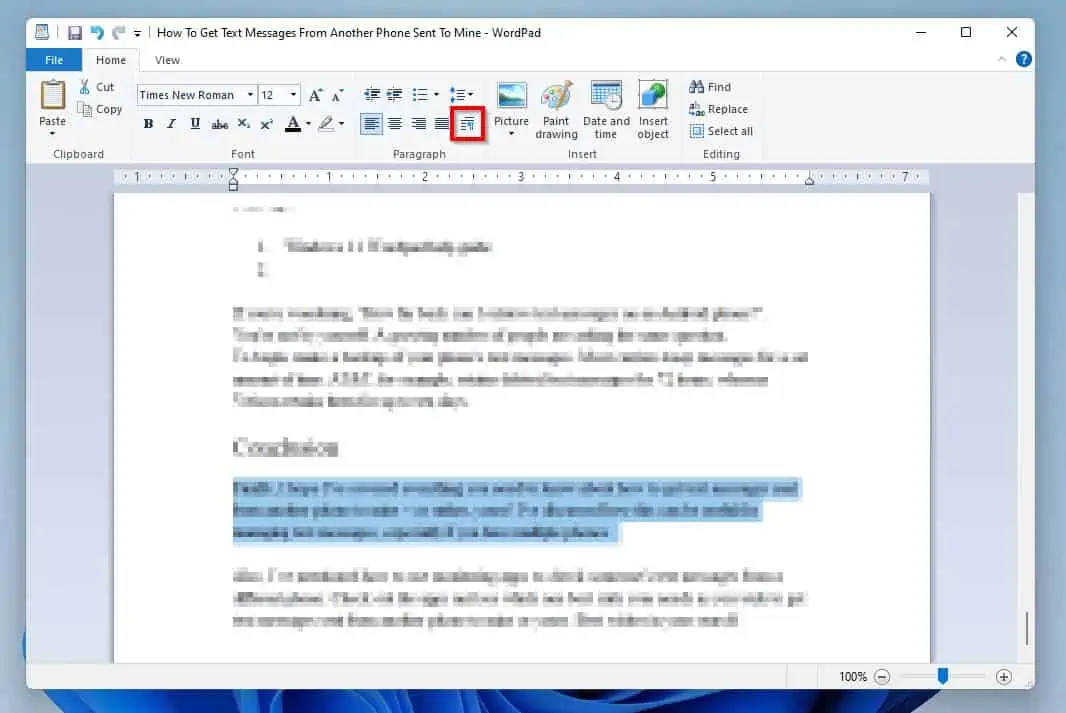
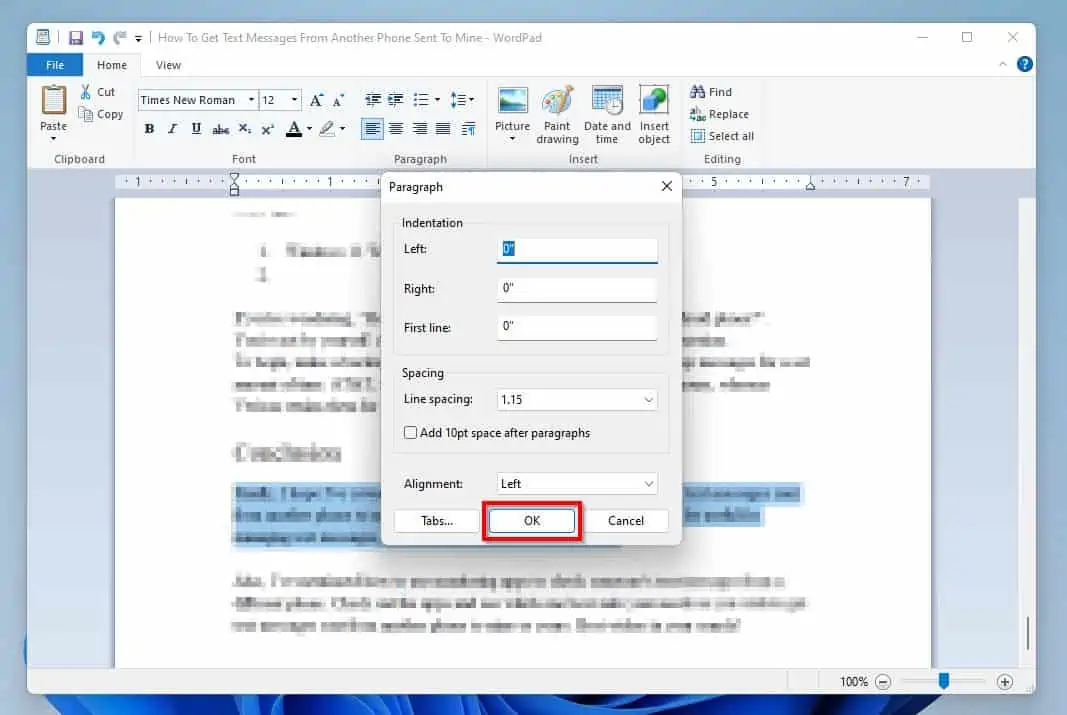
4. Use the Paragraph Dialogue Box
Windows 11 WordPad has a Paragraph dialogue box located at the Home tab’s Paragraph section. The Paragraph dialogue box provides a single dialogue box that users can use to adjust all the features discussed in this section.
However, you cannot use the dialogue box to add lists. Nonetheless, you can use the dialogue box to adjust indents, Line spacing, and text alignment.
As a matter of fact, this dialogue box also offers the Add 10pt space after paragraphs option. To invoke this dialogue box, highlight the text(s) you wish to adjust and click the Paragraph dialogue box icon.
Then, make the necessary adjustments on the Paragraph dialogue box and click OK.
How to Insert Objects in WordPad
Like Microsoft Word, WordPad has features to insert Pictures and insert Dates and Times. As a matter of fact, you can even insert other documents in WordPad.
You will learn how to use these exciting WordPad features in the four subsequent sub-sections below.
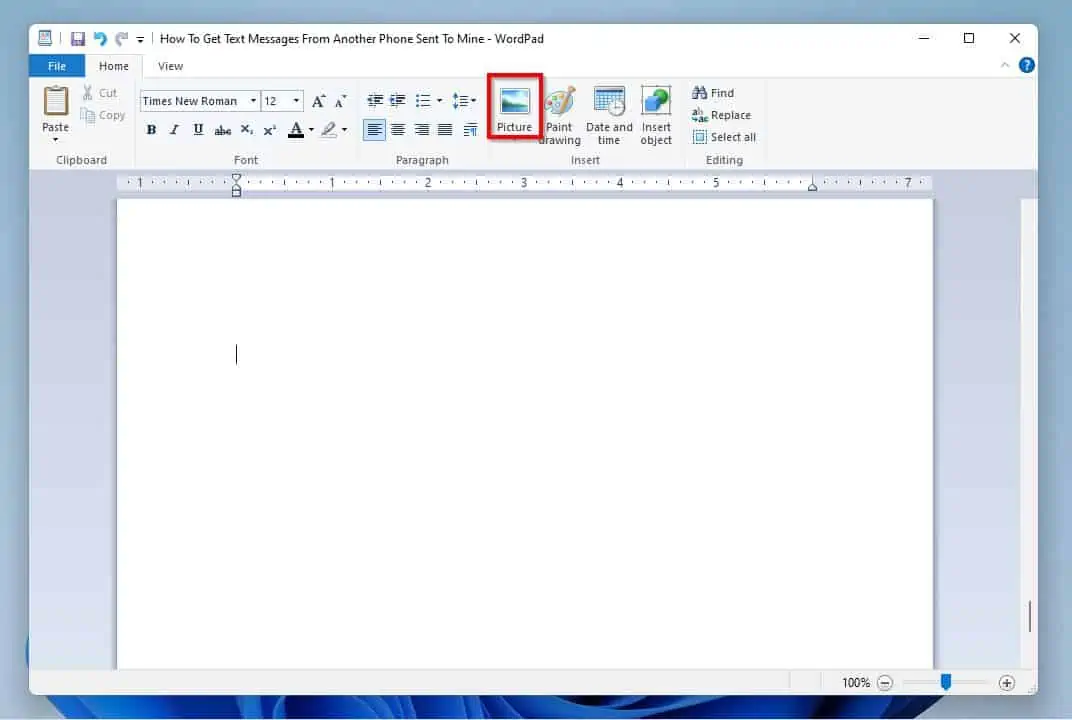
1. Insert Picture
Follow the steps below to insert a picture in WordPad.
- Click where you wish to insert the picture in the WordPad document. Then, click the Picture icon on the Home tab’s Insert section.
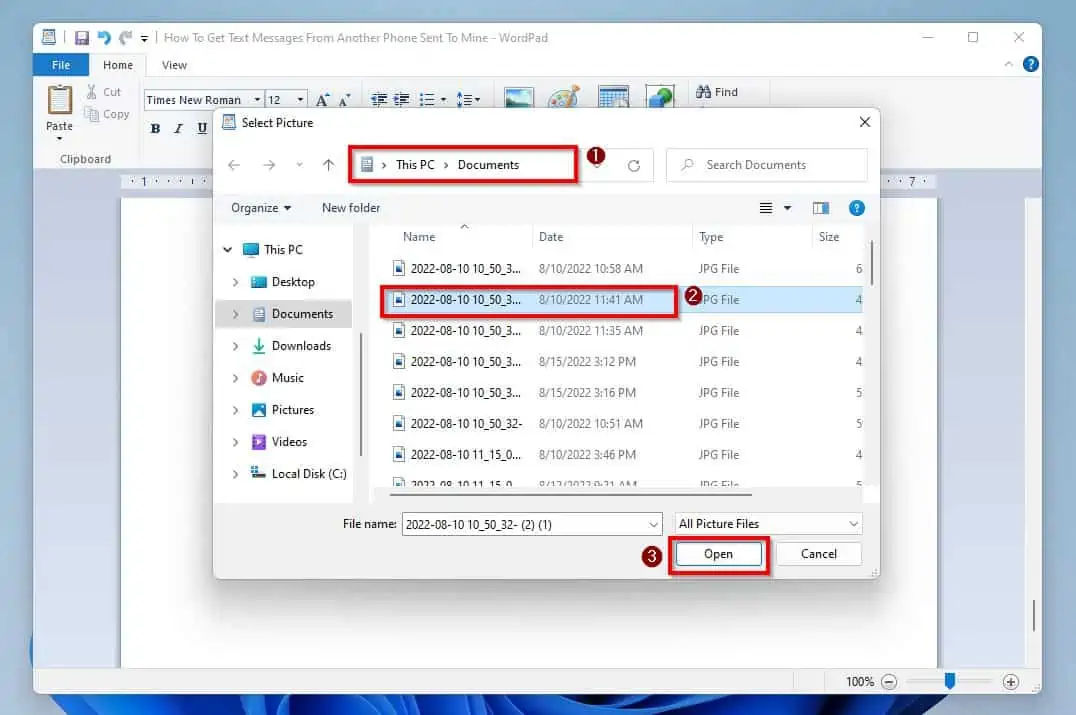
- On the Select Picture window, navigate to the folder that features the picture you want to insert. Then, select the picture and click the Open button.
- Once you do that, the selected picture should appear automatically on your WordPad document.
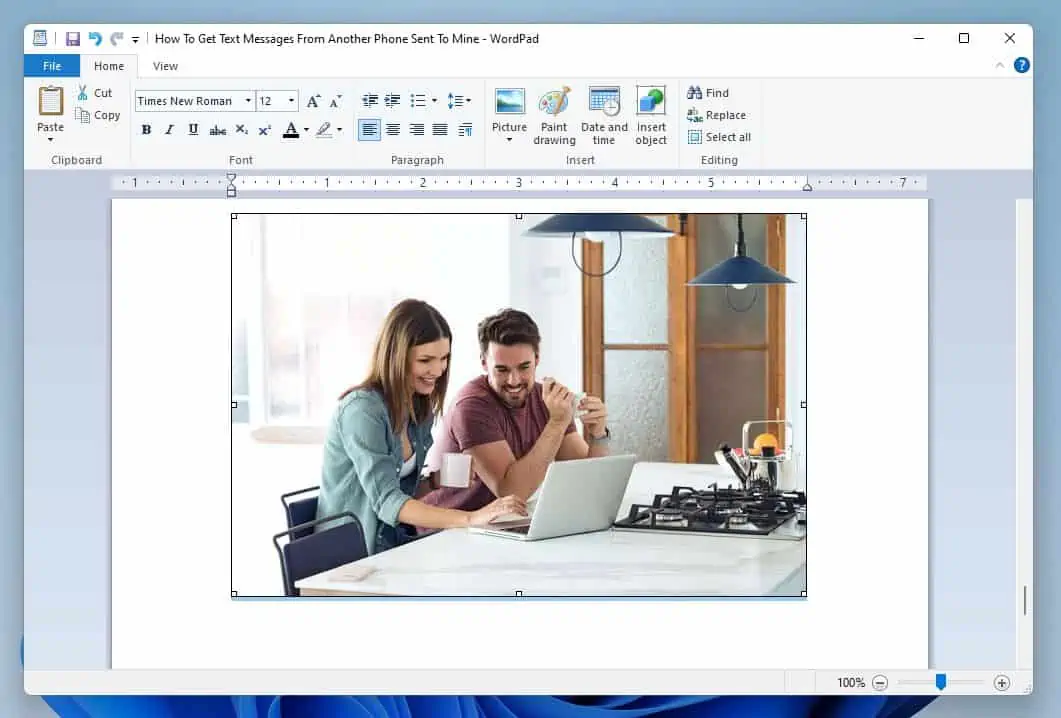
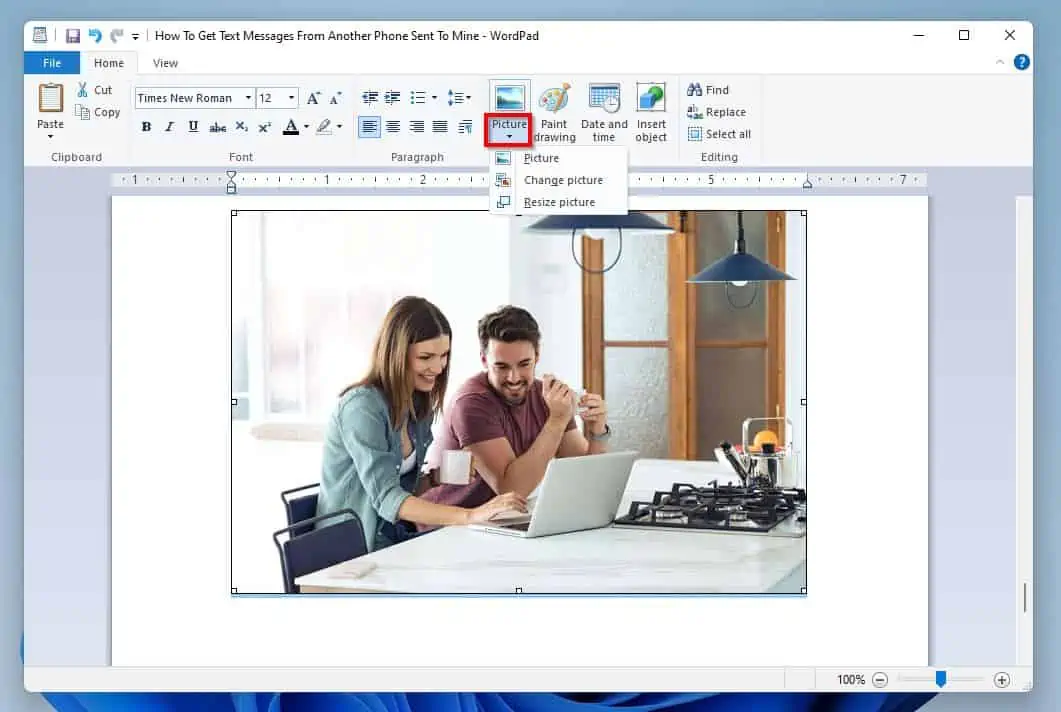
If you want to resize or change the picture, select the picture. Then, click the Picture icon drop-down and select the required option.
2. Insert Date and Time
To insert the date and time in WordPad, follow the steps below.
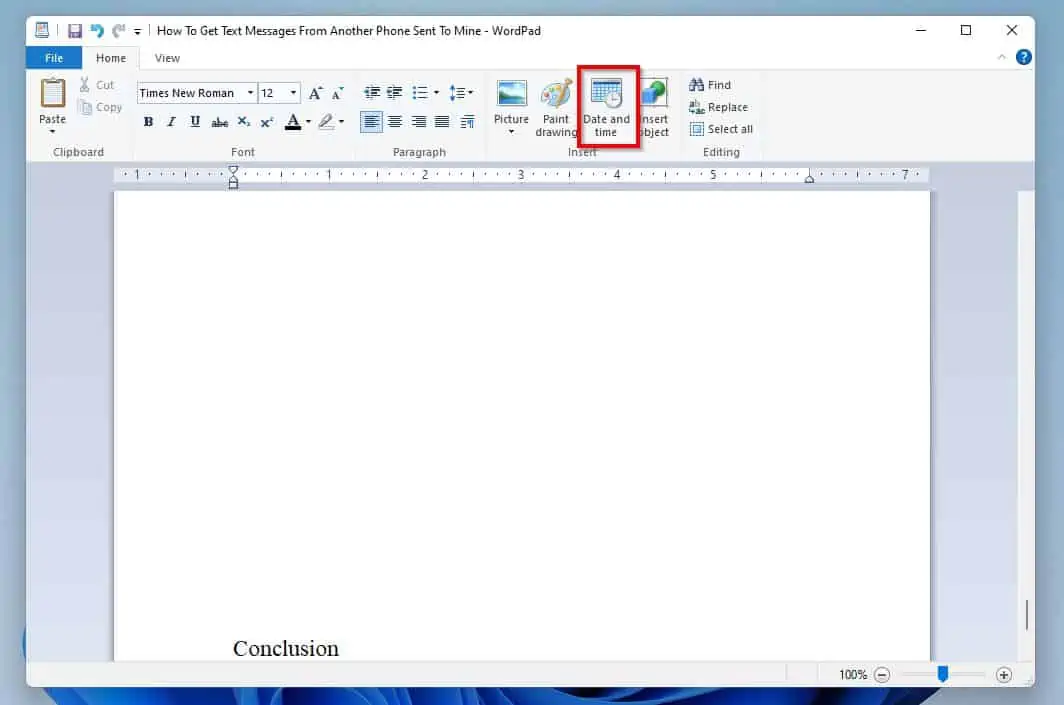
- Click where you wish to insert the date and time on the WordPad document. Then, click the Date and Time icon on the Insert section of the Home tab.
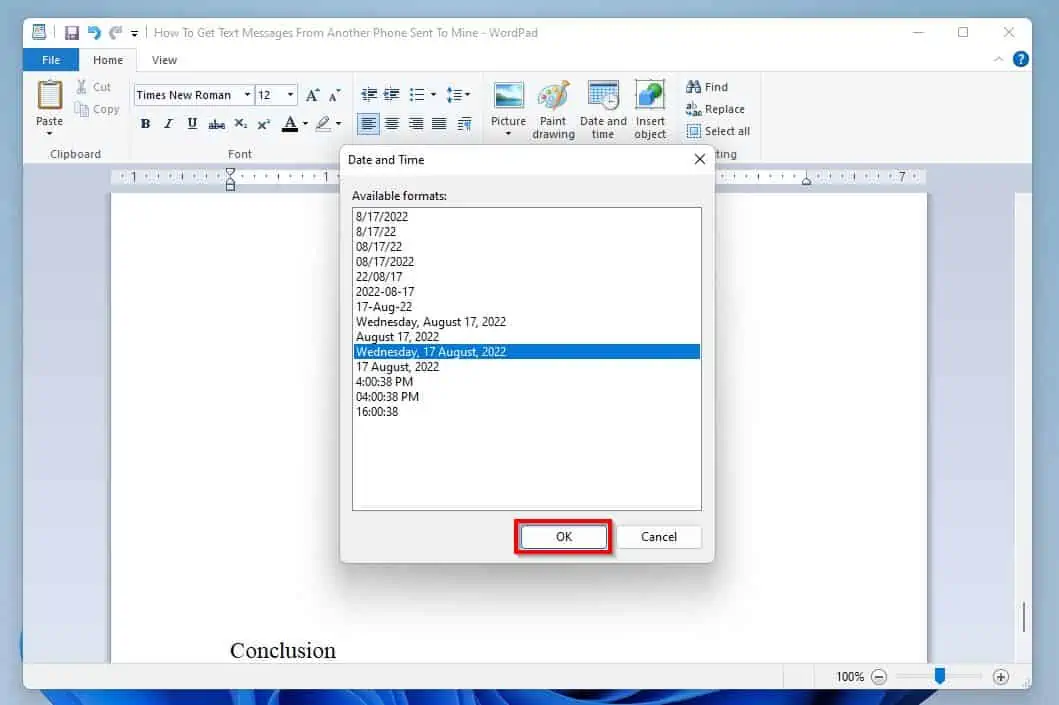
- After that, select your preferred date and time format and click the OK button.
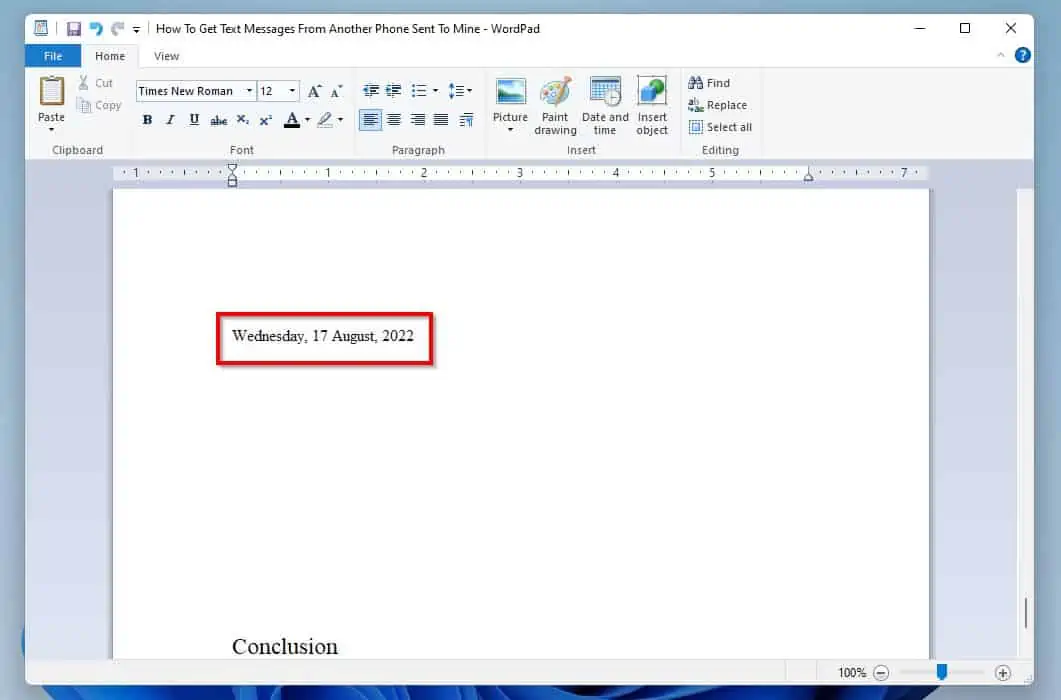
- Then, the current date and time will appear in the format you selected.
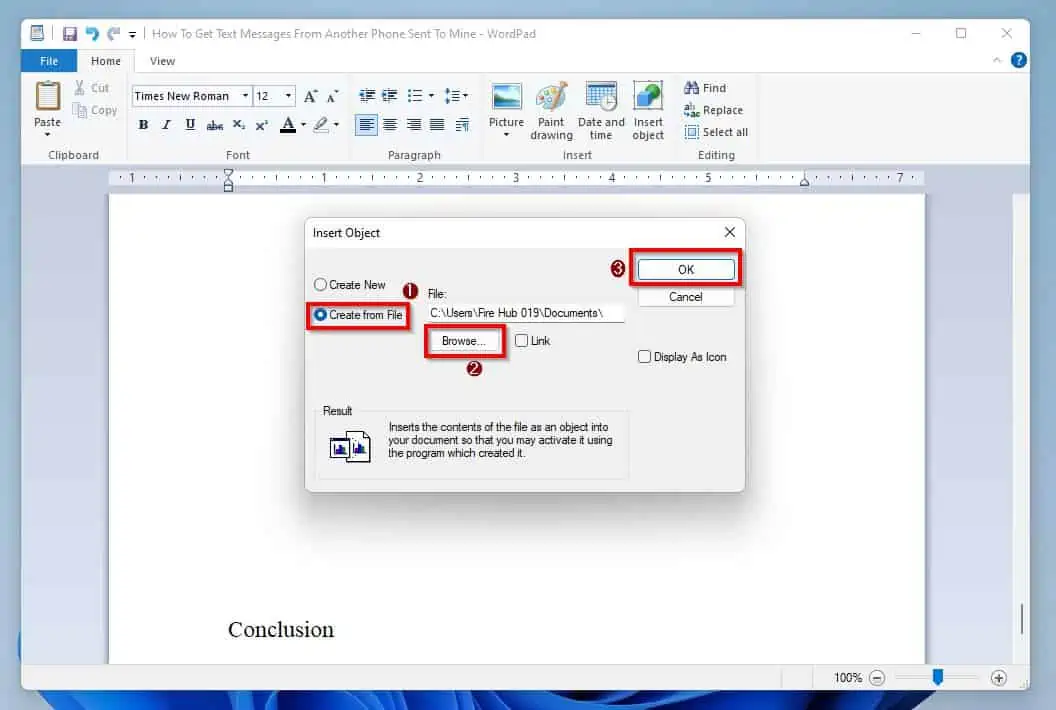
3. Insert Other Documents
Depending on what you are doing on WordPad, you may need to insert objects, charts, and other documents. To do this, follow the steps below.
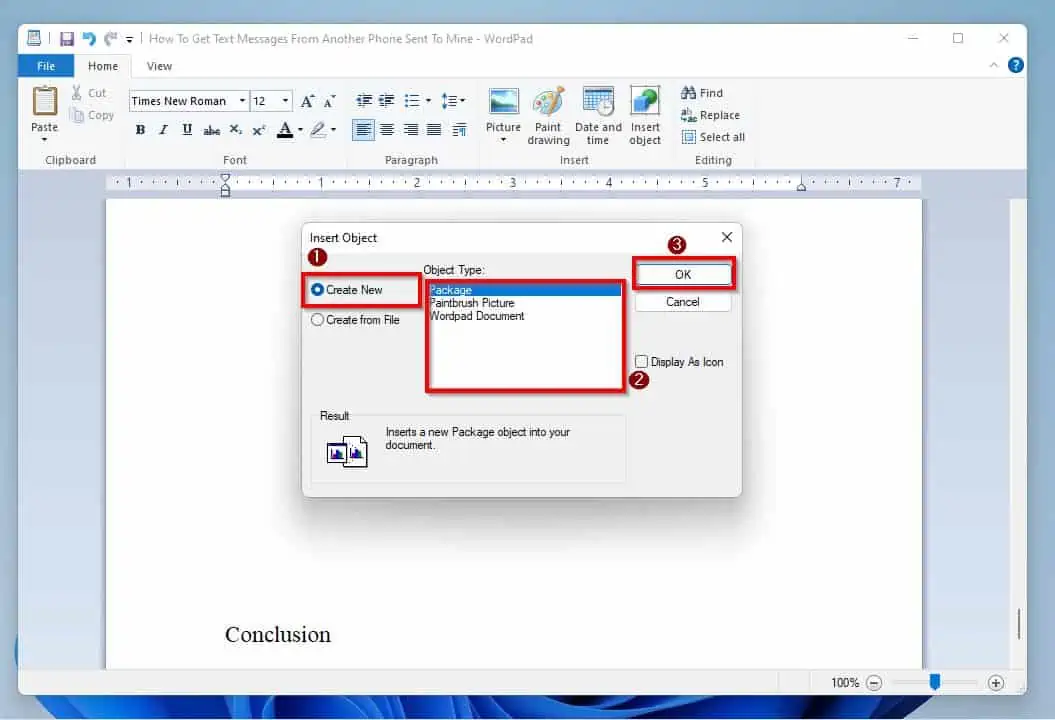
- Click the Insert object icon on the Insert section.
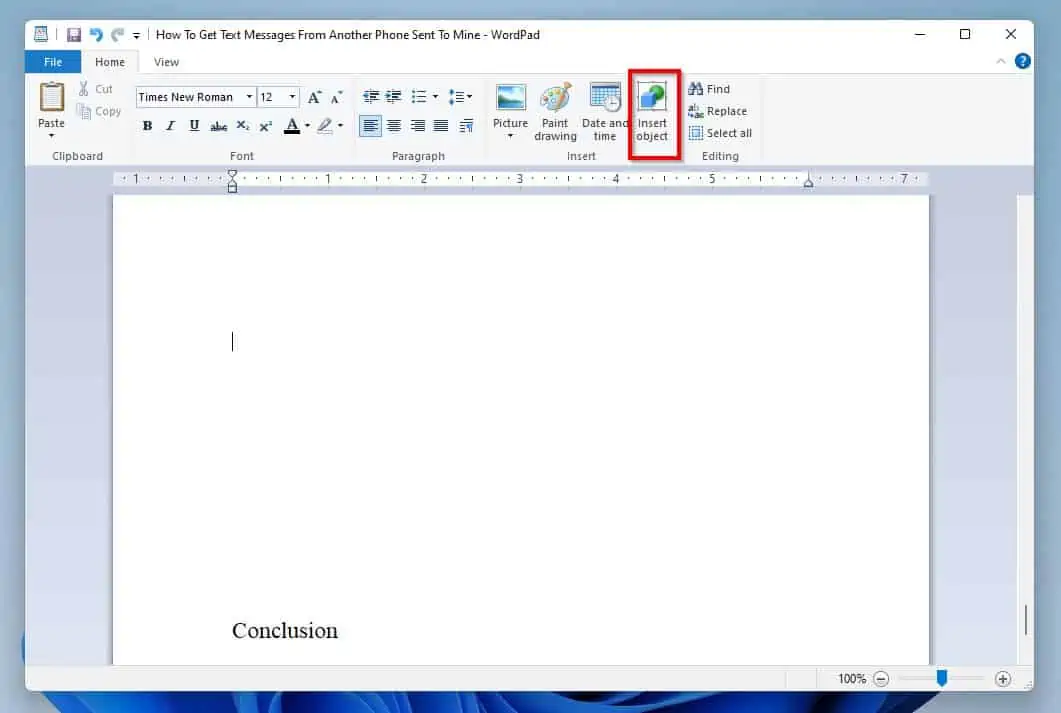
- Then, the Create New option should be selected by default. Hence, select the Object Type you want to insert and click OK.
How to Find, Find and Replace, and Select All
If your WordPad document has thousands of words, you will need a feature to find particular words or phrases. Besides, there may be words or phrases that you need to replace that appear numerous times in the document.
Thankfully, Windows 11 WordPad has a feature that allows you to find a word or phrase and, if you want to, replace it with another word. You will learn how to use this feature in this section.
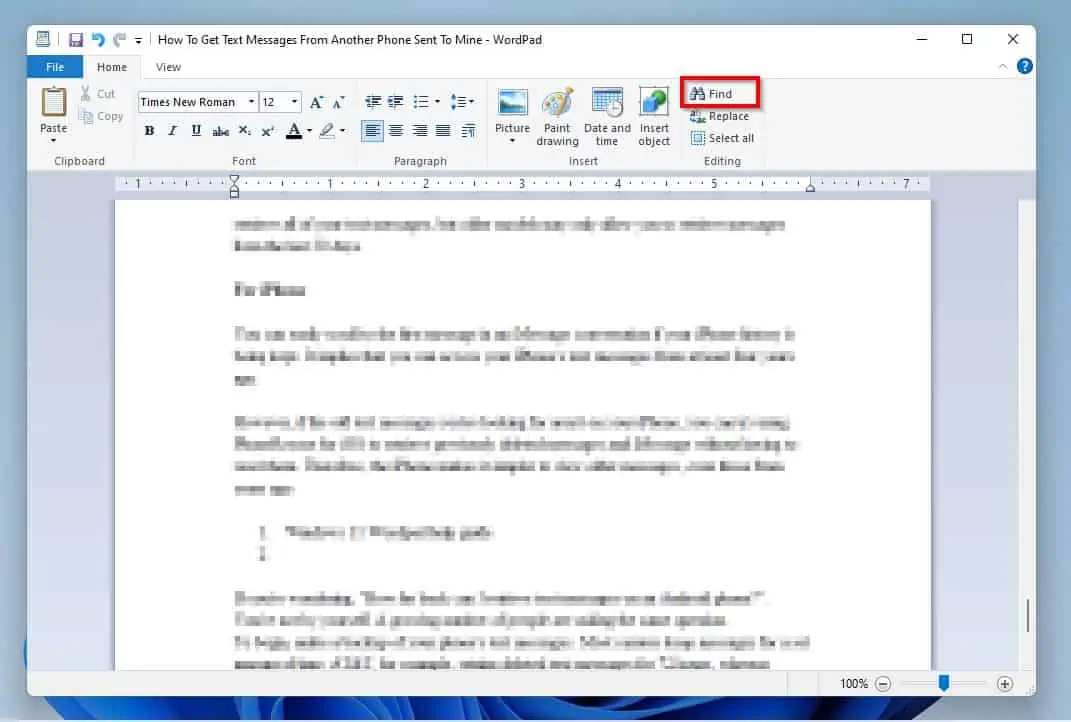
1. “Find” Search Feature
To launch the Find feature in WordPad, click the Find icon in the Editing section on the Home tab.
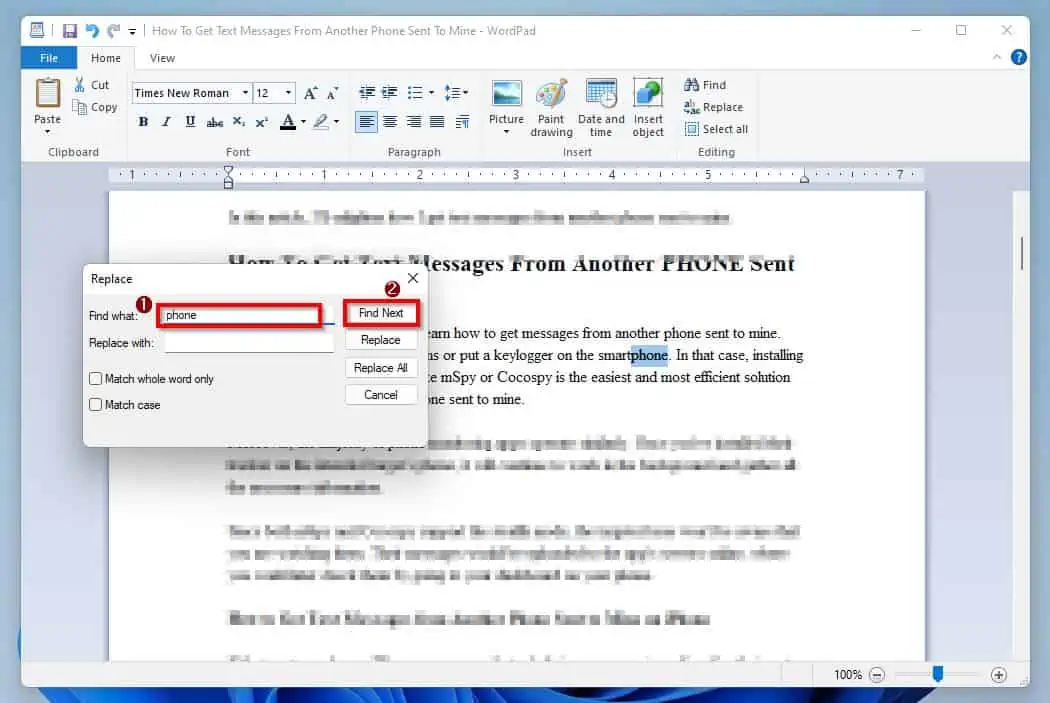
On the Find dialogue box, input the word or phrase you wish to search for in the Find what input field and click Find Next.
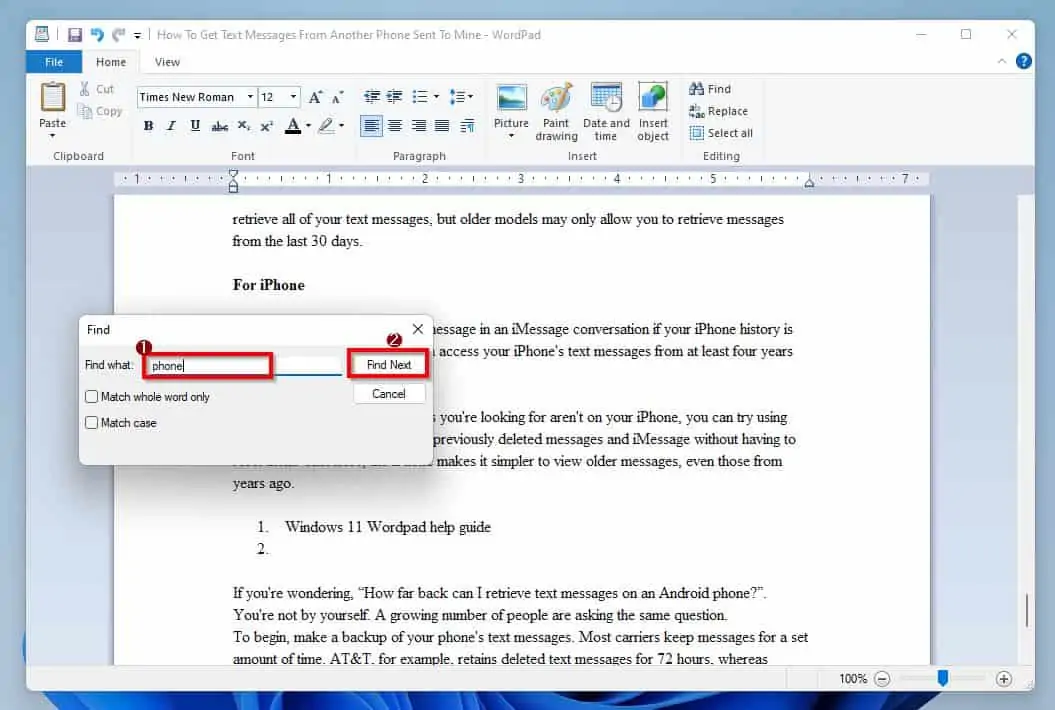
As you can see from the screenshot above, the Find dialogue box has two search criteria – Match whole word only and Match case. You use the Match whole word only feature if you want to find the exact word you inputted in the Find what input field.
For example, the WordPad document in the screenshot below features the word “phone” several times. Also, the word “smartphone” appears several times in the article.
Hence, if I search for the word “phone” without using the Match whole word only feature, WordPad search will highlight all occurrences of the word “phone” including its occurrences in “smartphone“.
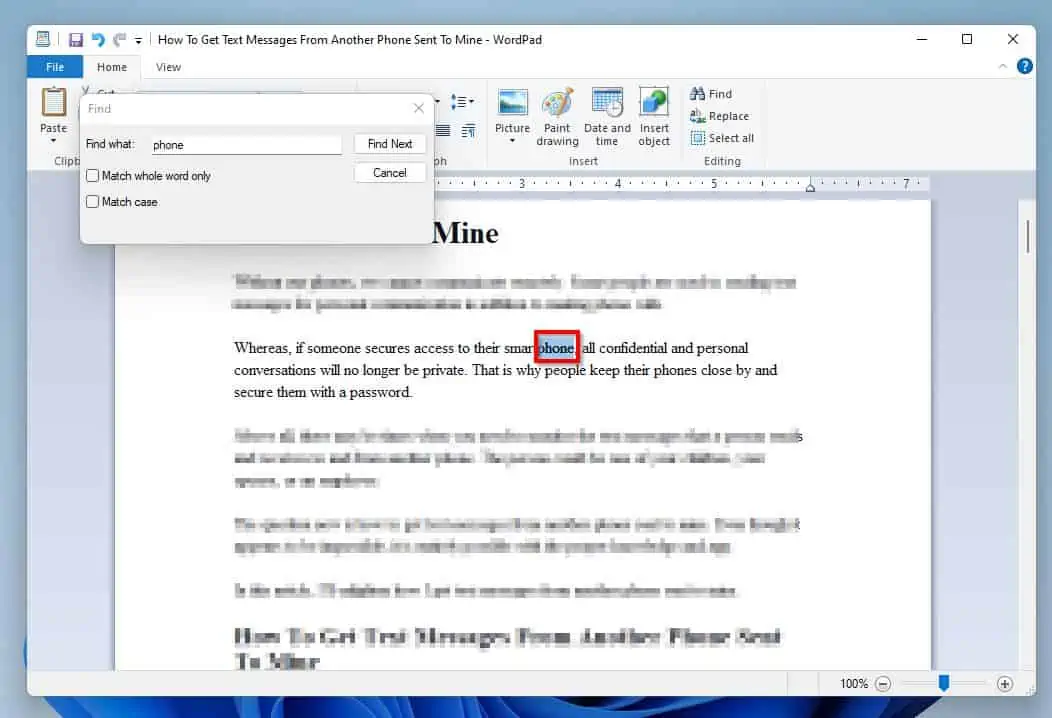
However, if I use the Match whole word only feature by checking its box, WordPad search will highlight actual occurrences of the word “phone”. This means it will exclude occurrences in “smartphone“.

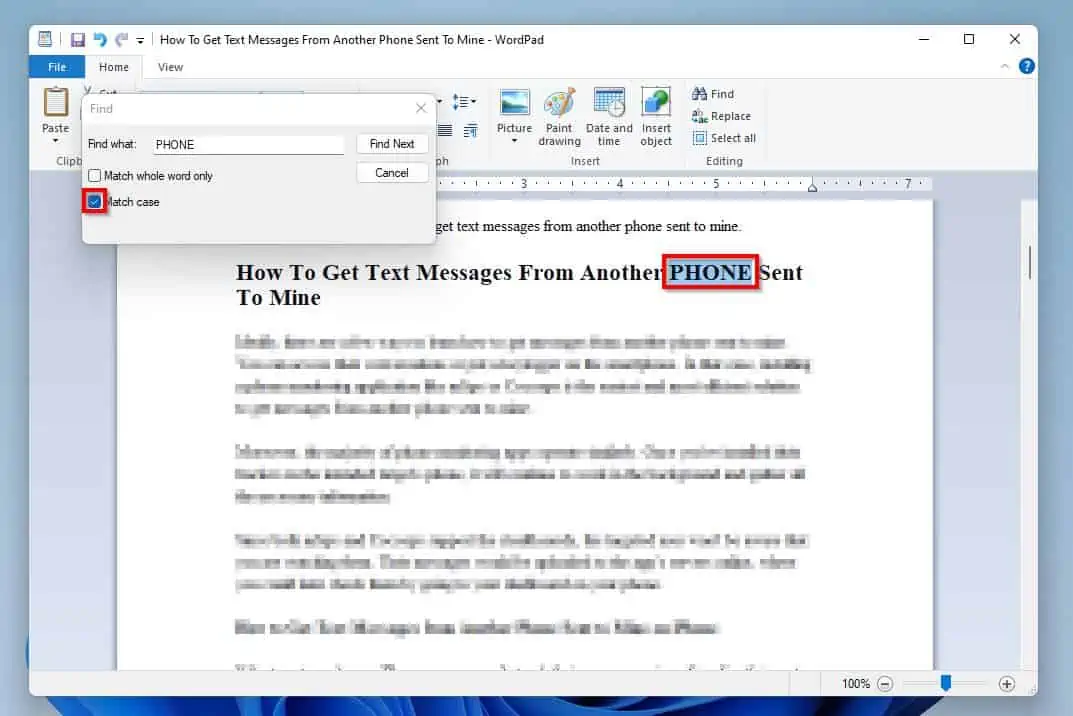
Now, for the Match case feature. This is very helpful if you want to find the exact case of the word entered in the Find what input field.
For example, if I search for the word “PHONE” with the Match case feature, the search will NOT return “phone” or “Phone”. Instead, it will return “PHONE”, which is all in capital letters.
2. “Find and Replace”
Before starting this sub-section, I strongly suggest you read the previous sub-section – How To Use The “Find” Search Feature In WordPad.
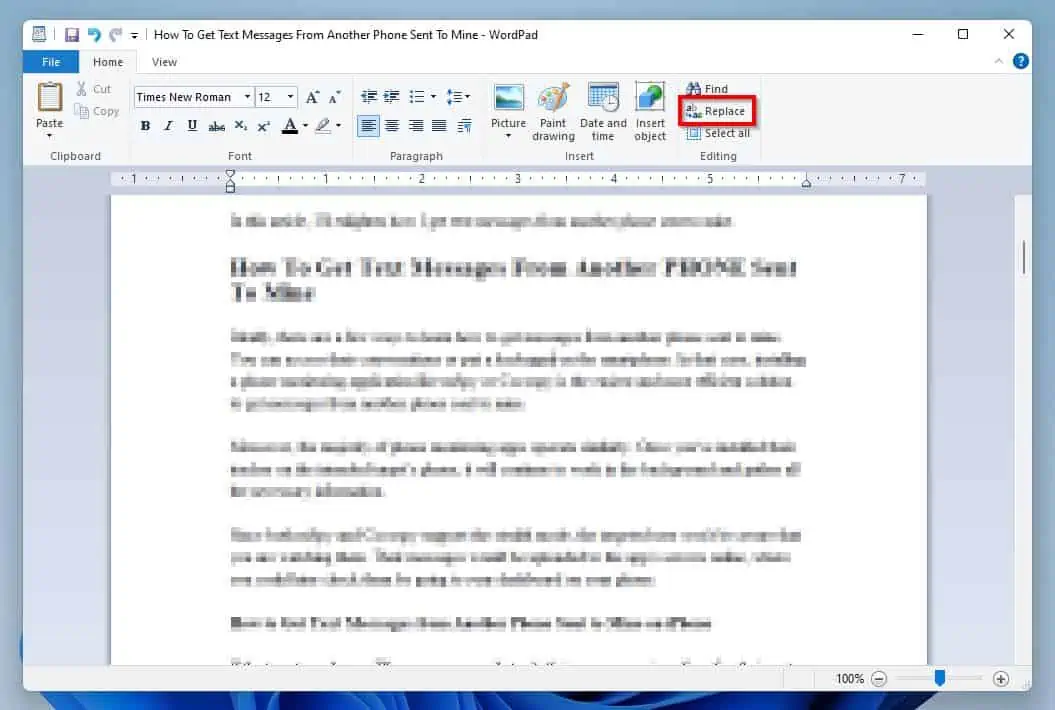
As expected, the “Find and Replace” feature is to find and replace words or phrases in WordPad. To launch the Replace dialogue box, click the Replace icon on the Home tab’s Editing section.
The Replace dialogue box is very similar to the Find dialogue box, which we discussed in the previous sub-section. The only difference is that the Replace dialogue box features a Replace input field.
Also, the Replace dialogue box features two additional buttons – Replace and Replace All.

So, to use the Find and Replace feature, you just have to input the text or phrase you wish to find in the Find what input field. Then, click the Find Next button to find the text or phrase.
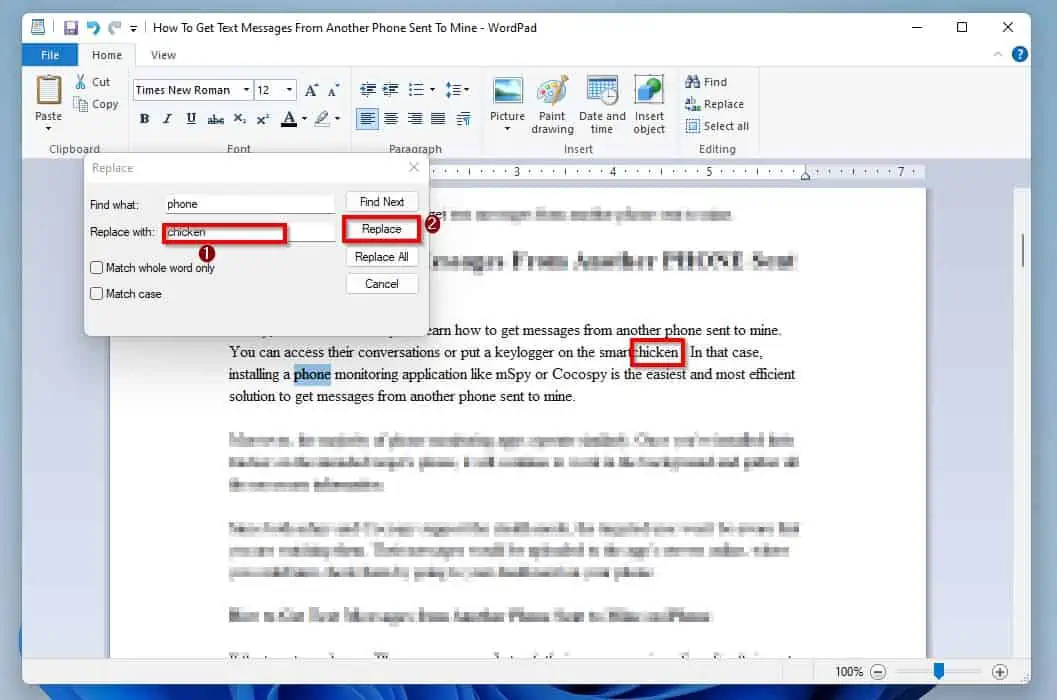
After that, input the text or phrase you want to replace it with in the Replace with input field. Then, you can click the Replace button to replace the single text or phrase that you found.
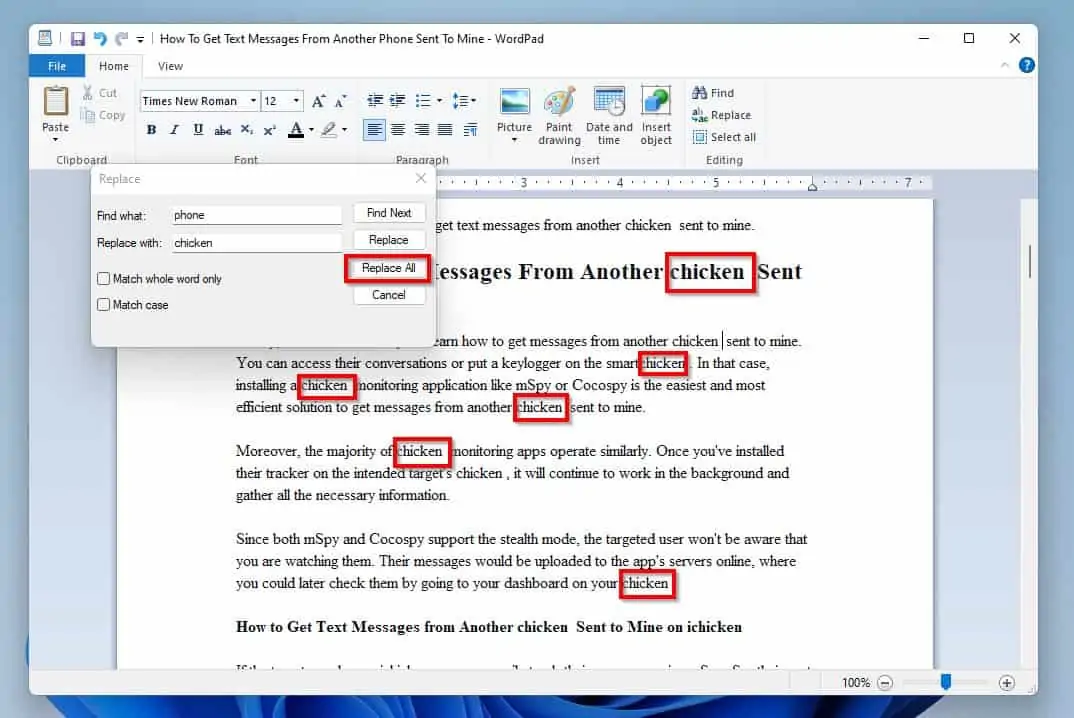
Likewise, you can click the Replace All button to replace the text or phrase wherever it appears in the document.
3. Select All
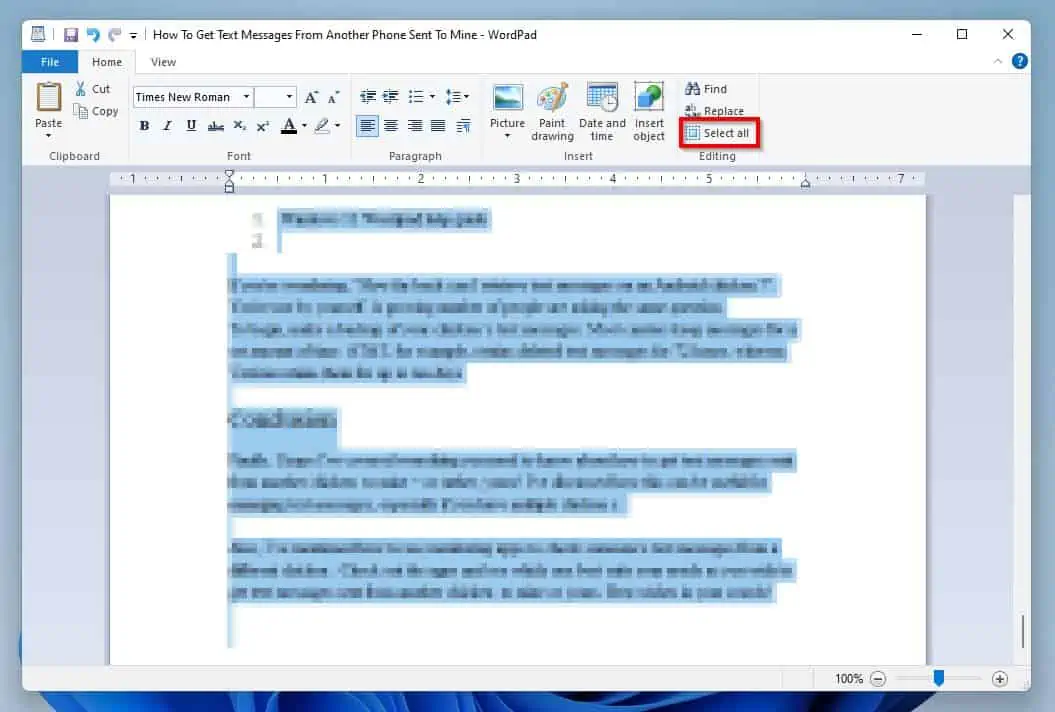
The Select All feature in WordPad is used to select everything in the document, including images. You can simply click Select All on the Editing section of the Home tab to use this feature.
Once you do that, you can copy, cut, delete, or do whatever you wish with the selected texts.
Working with “View” Tab in WordPad
So far in this Windows 11 WordPad help guide, we have covered topics regarding the File and Home tabs in WordPad. Hence, in this section, we will be looking at the View tab in Windows 11 WordPad.
The View tab is the home to some useful features on WordPad. These features include zoom, show/hide rule, status bar, and so much more.
We will be learning how to use these features in the sub-sections below.
1. Zoom In and Zoom Out
The zoom feature is very useful in WordPad as it allows users to increase their document size for more visibility. However, it is important to note that this feature does not modify the font size – it only increases or decreases the size of the WordPad document on your screen.
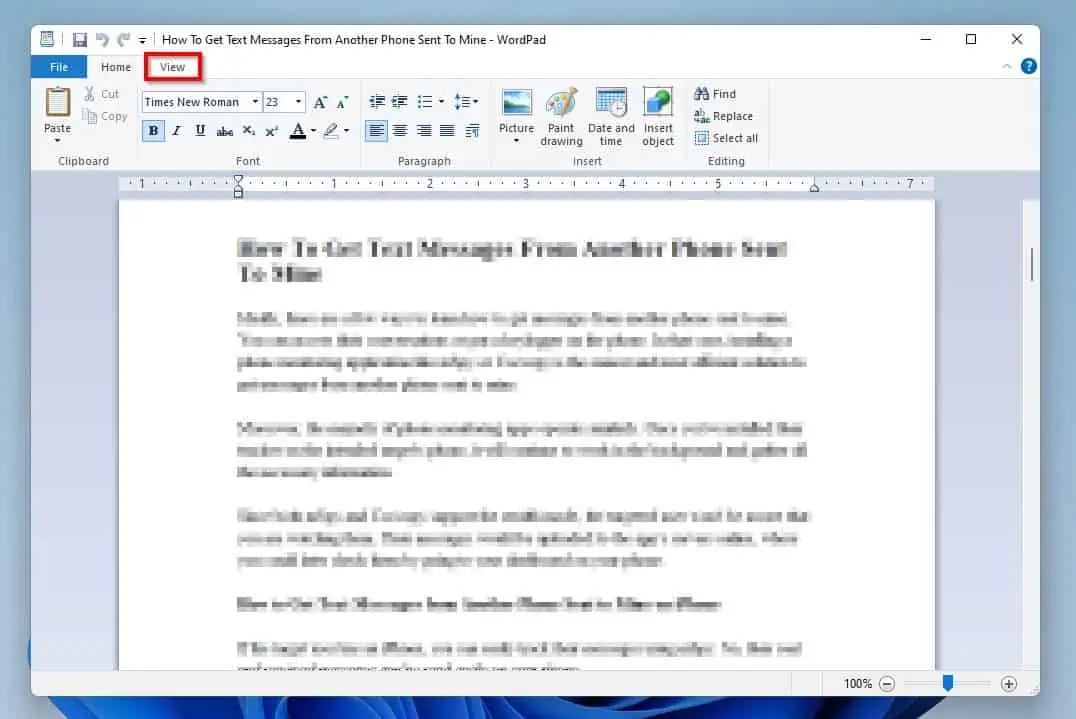
To access the WordPad Zoom feature, click the View tab.
Hence, to increase the size of the WordPad document on your screen, click Zoom in. However, to decrease the size of the document, click Zoom out.
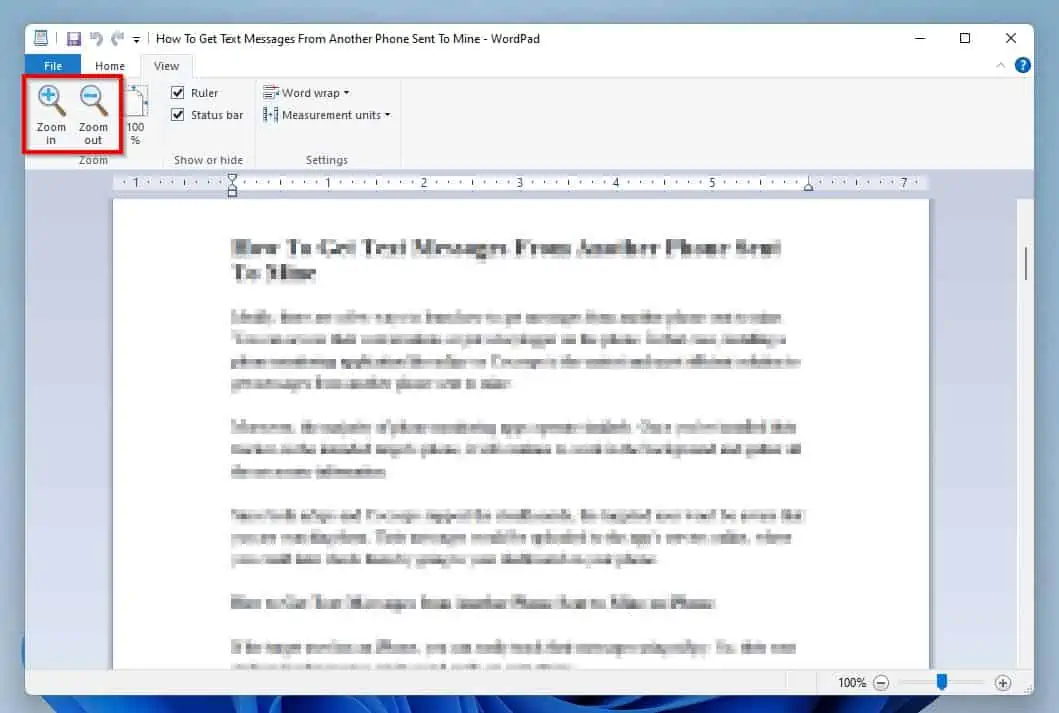
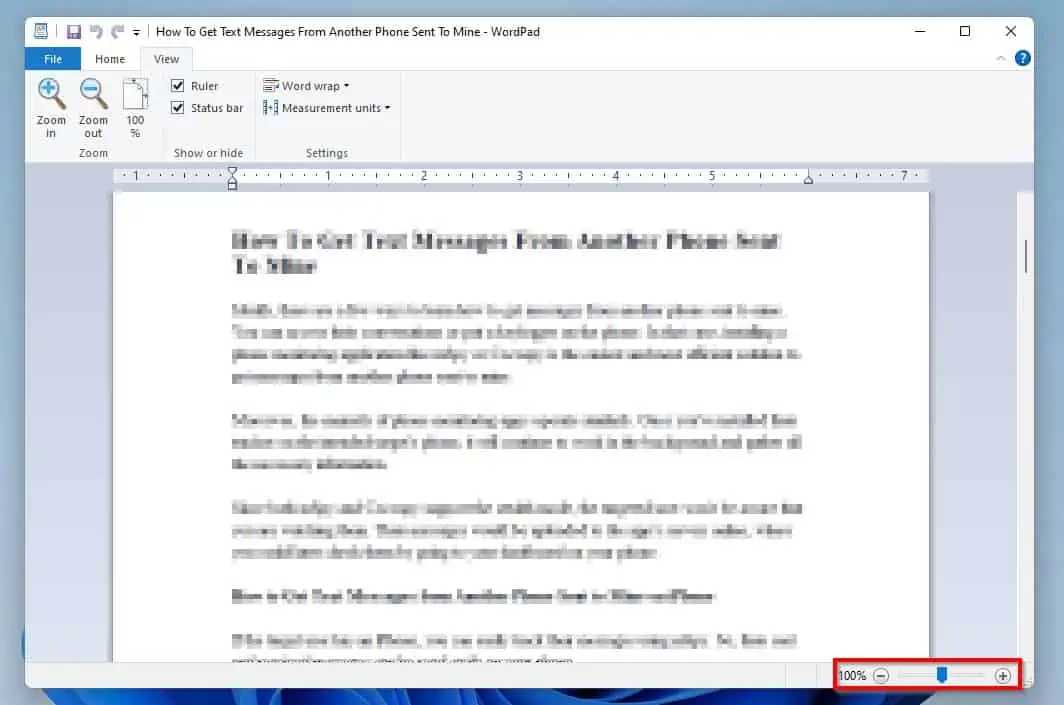
However, moving the slider to the left zooms out the document.
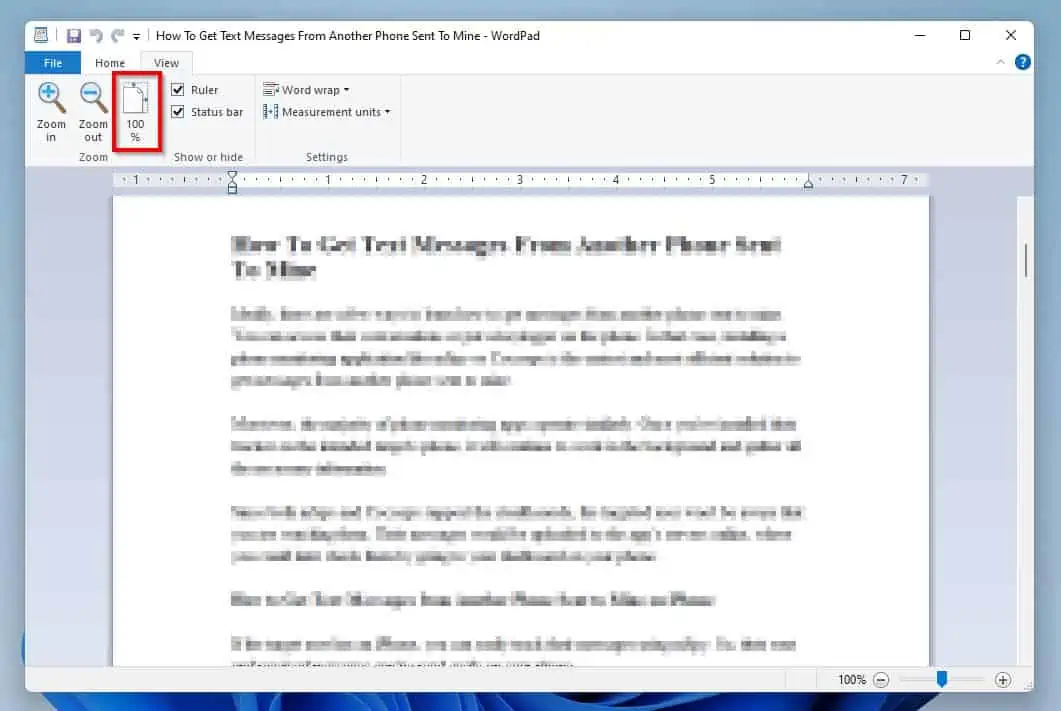
Finally, to return back to the original size of the document, click the 100% icon on the View tab’s Zoom section.
2. Show/Hide Rulers or Status Bar
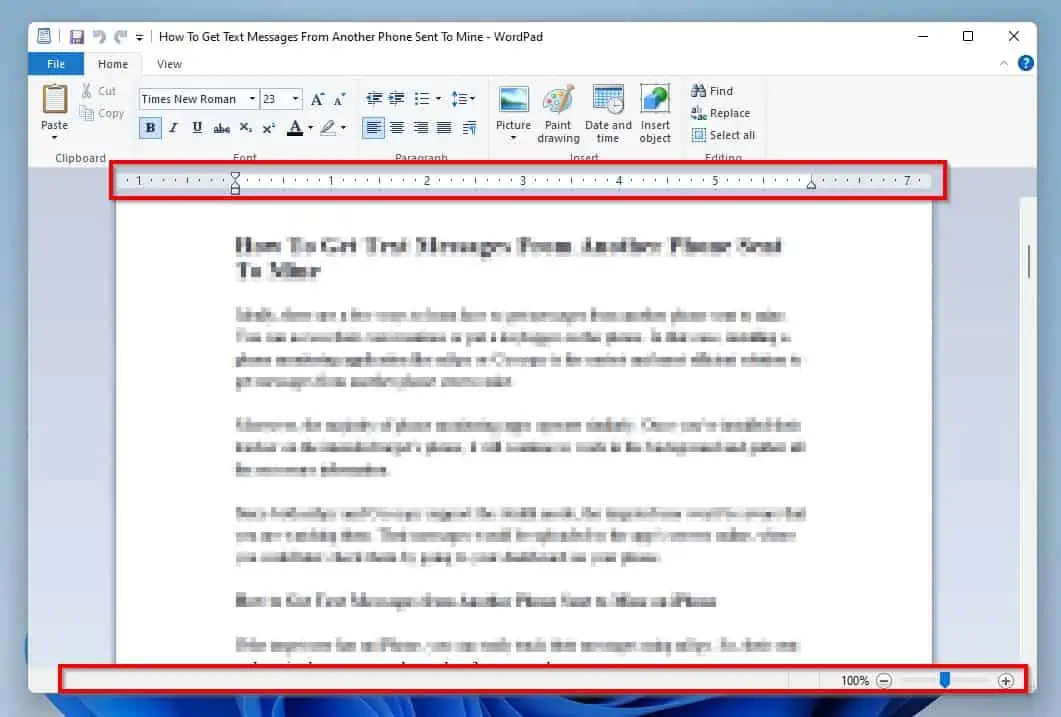
The top of a WordPad document displays a ruler by default. Likewise, the bottom displays a status bar.
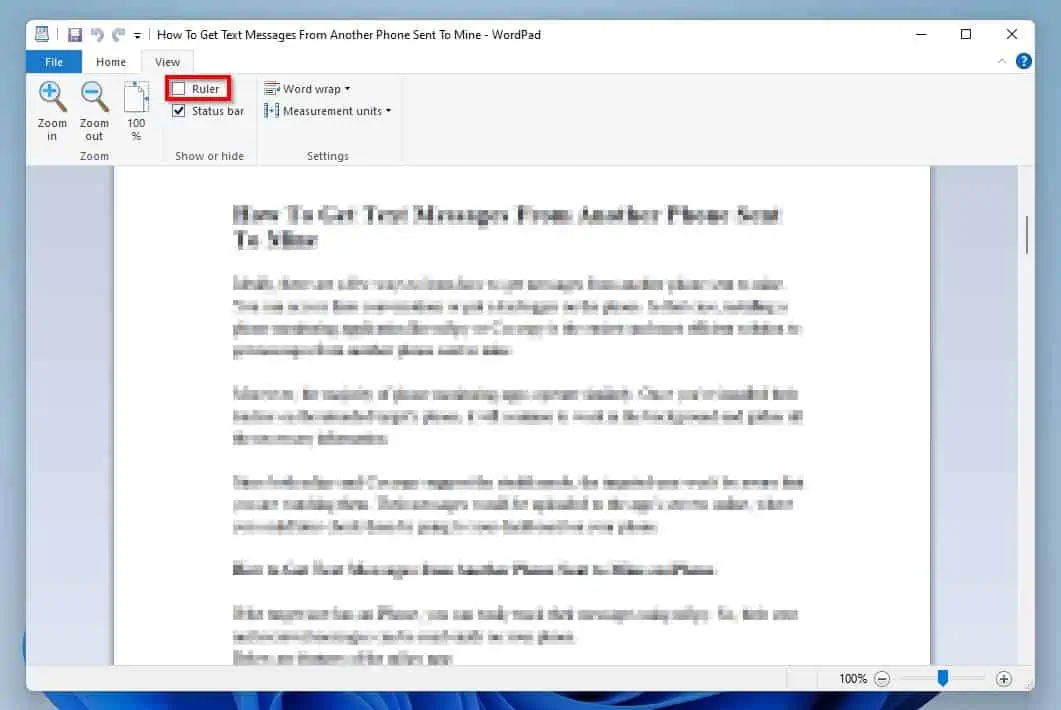
However, you can actually disable these features. To disable the ruler, simply uncheck the Ruler box in the View tab’s Show or hide section.
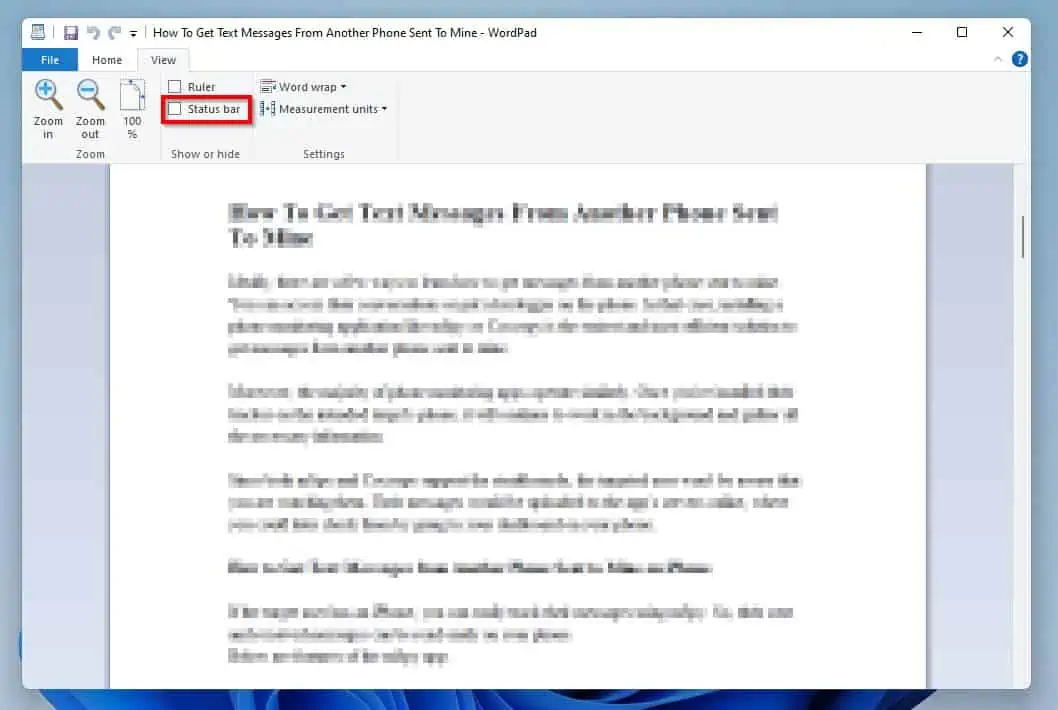
Meanwhile, to remove the status bar, uncheck the Status bar box in the View tab’s Show or hide section.
3. Word Wrap and Change Measurement Units
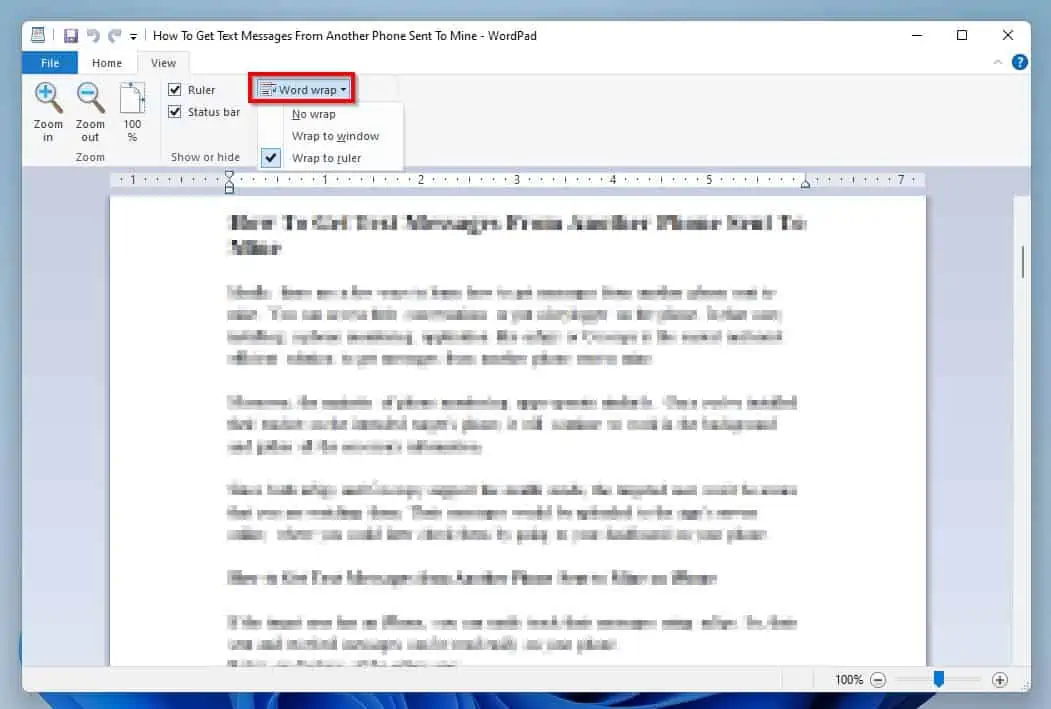
The Word Wrap feature in WordPad determines how your WordPad document fits into the window.
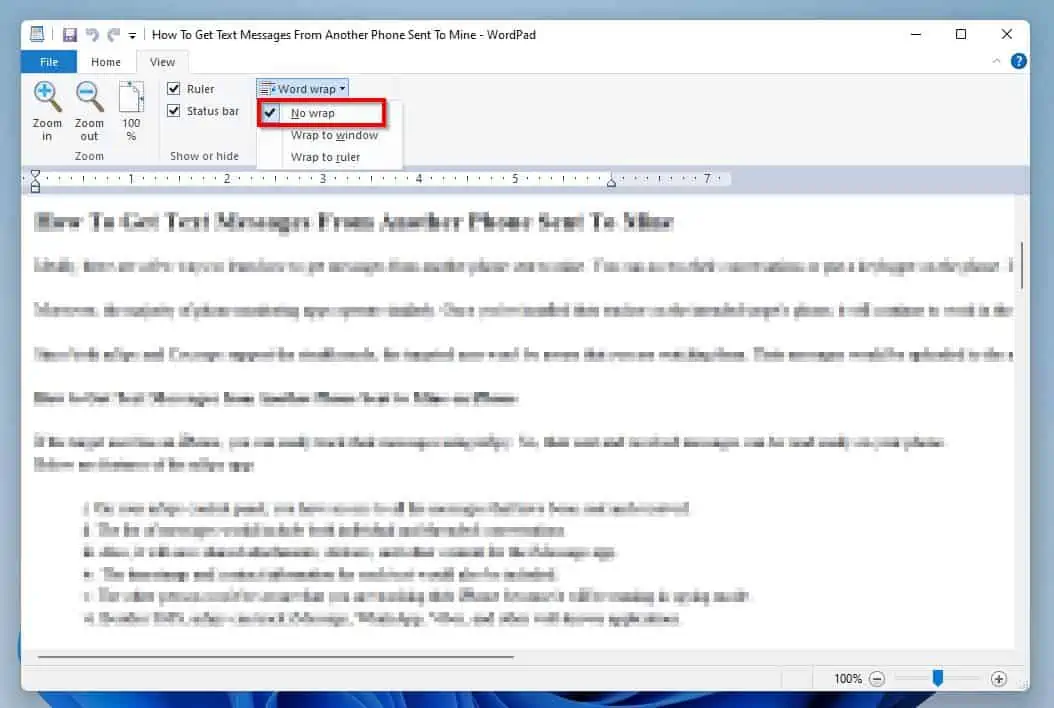
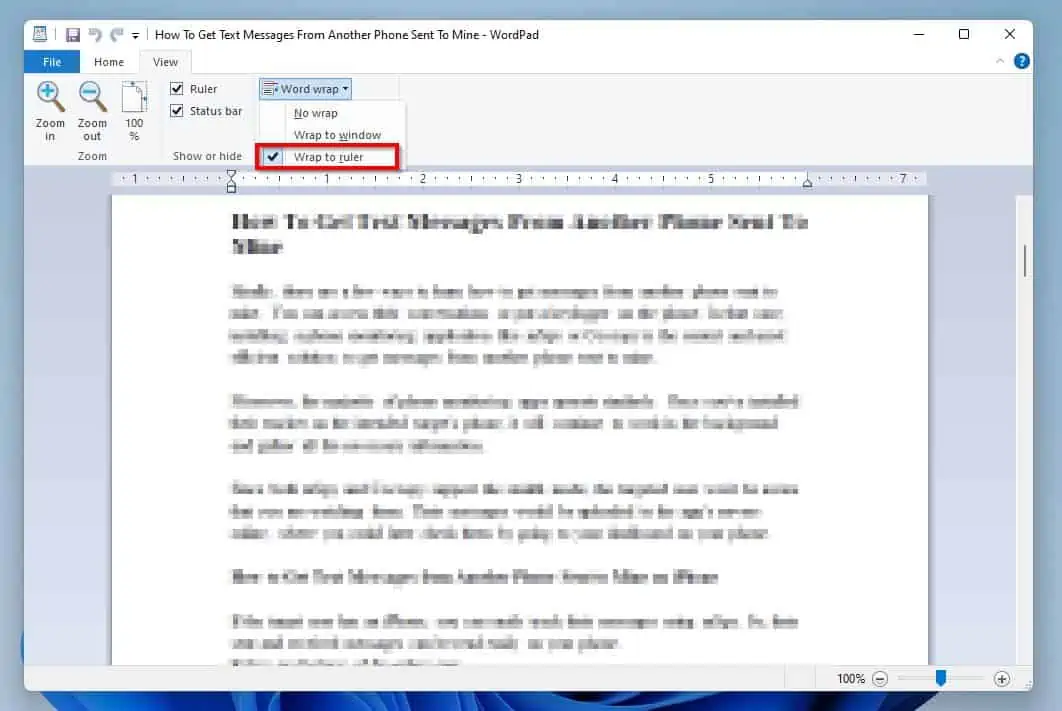
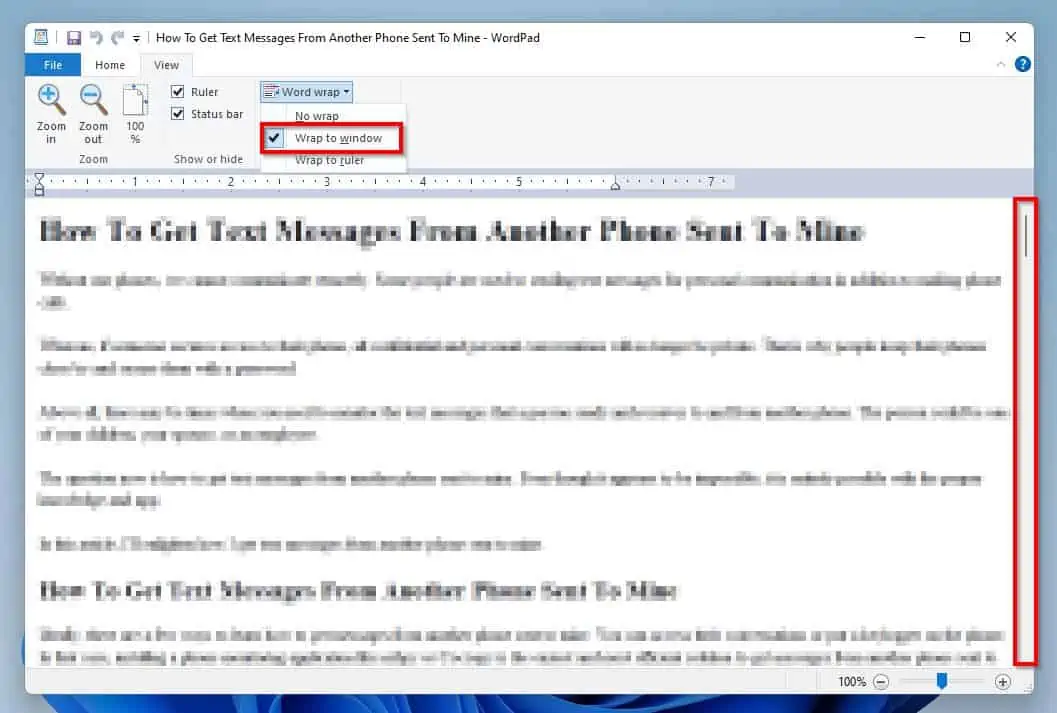
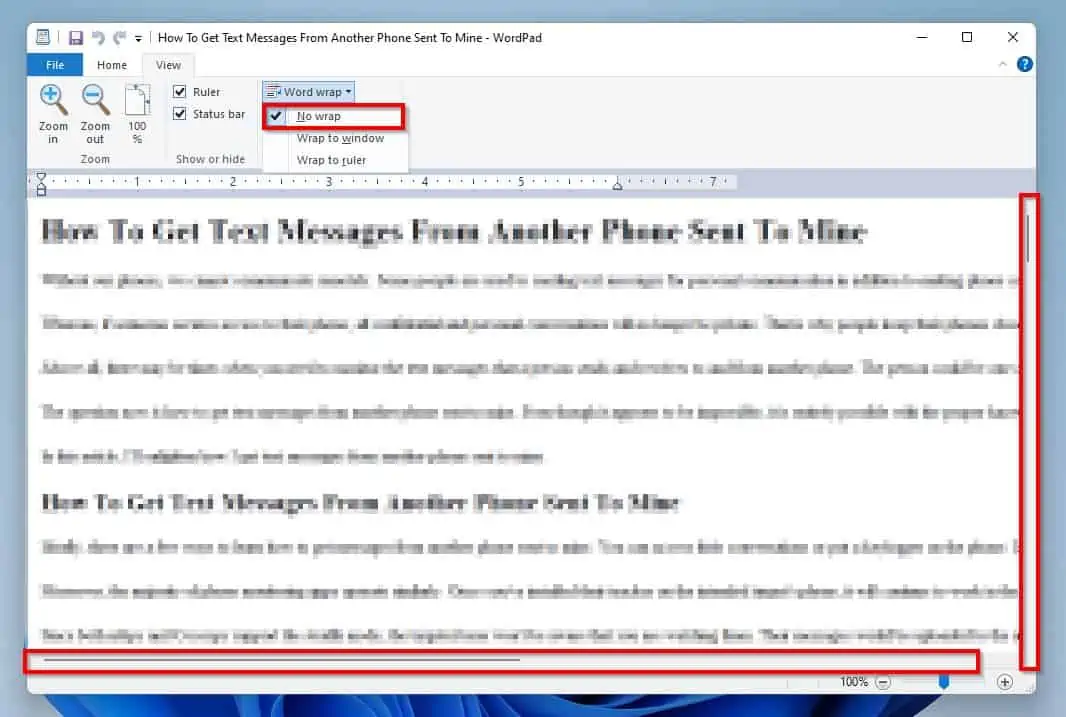
To access this feature, click the Word Wrap drop-down on the Settings section of the View tab. This drop-down offers three options – No Wrap, Wrap to ruler (default), and Wrap to window.
The No Wrap option does exactly as its name suggests – it removes any wrapping around the WordPad document. Thereby effectively allowing the document to fit the entire WordPad window.
However, if you select the Wrap to ruler (default) option, your document will be wrapped around the ruler, as expected.
Finally, select the Wrap to window option if you want your document to fit into the entire WordPad window. At first glance, this option looks like the No Wrap option.
However, the Wrap to window option wraps the document around the WordPad window and only allows users to scroll vertically.
Meanwhile, the No Wrap option hides part of the document’s content on the side. Thereby allowing users to be able to scroll both vertically and horizontally.
How to Add Spell Checker in WordPad
Unlike Microsoft Word, WordPad does not feature an in-built spell-check tool. However, the Autocorrect misspelled words feature in Windows 11 can serve as a substitute for that.
Follow the steps below to enable the Autocorrect misspelled words feature on your Windows 11 computer.
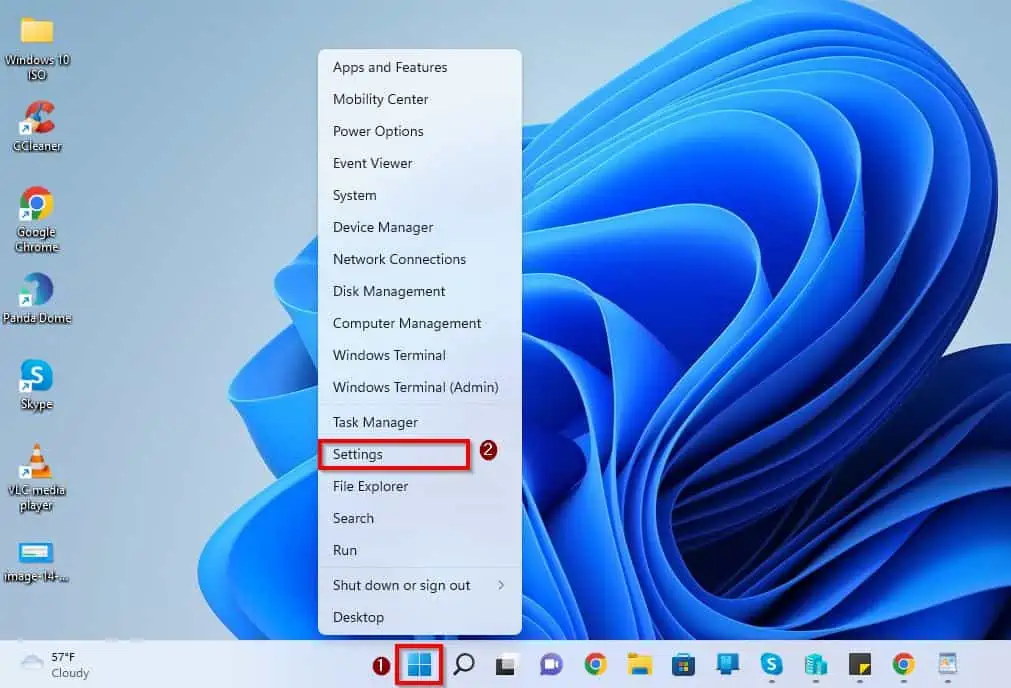
- Right-click the Windows 11 Start menu and select Settings from the options that appear.
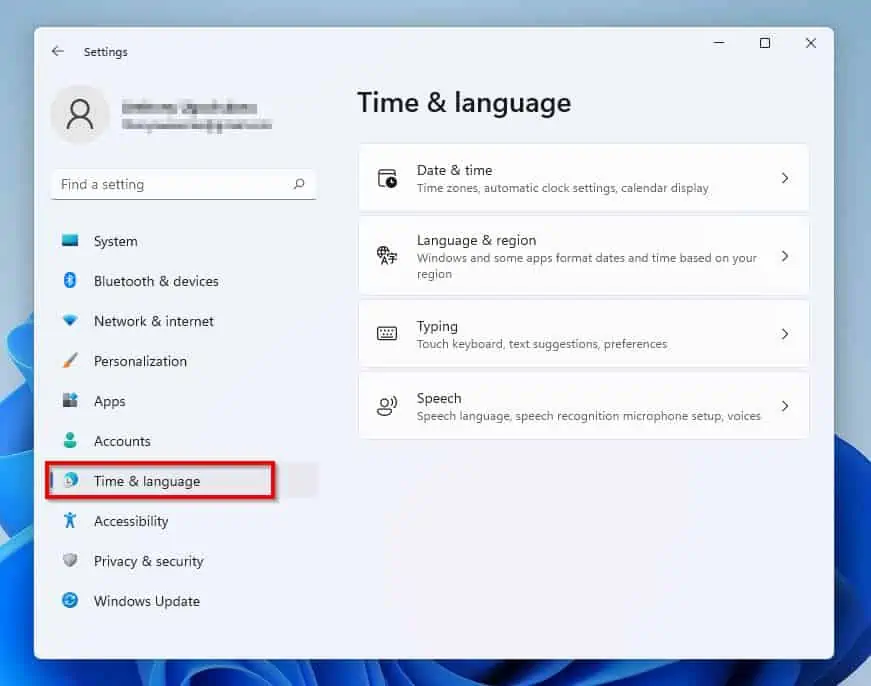
- Then, click Time & language on the left pane.
- After that, select Typing on the right pane of the Setting window.

- Then, turn on Show Text Suggestions when typing on the physical keyboard. Also, turn on Autocorrect misspelled words and Highlight misspelled words.
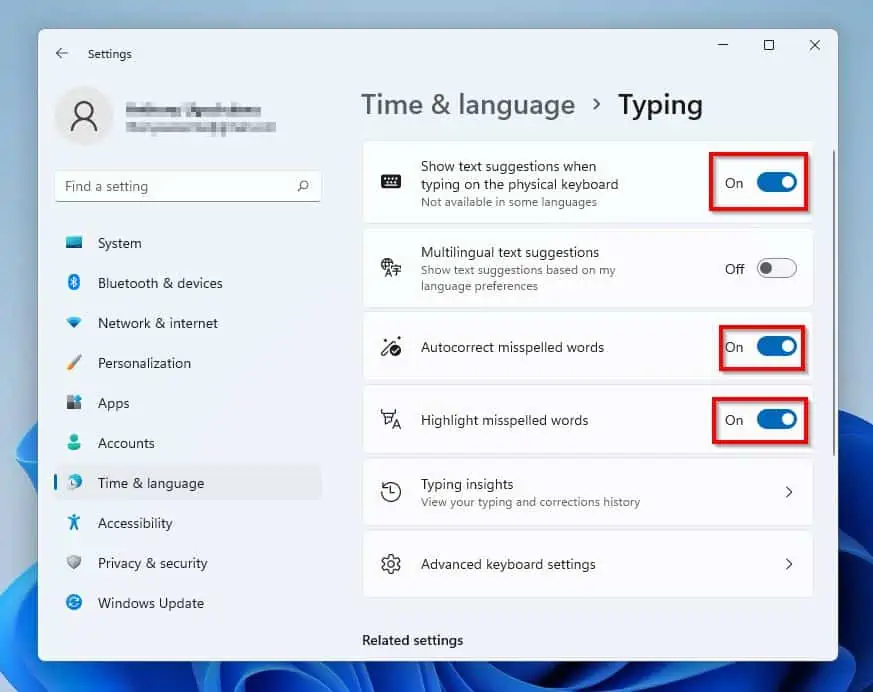
- After doing that, Windows 11 will suggest suitable words and auto-corrections whenever you type on WordPad.

WordPad Keyboard Shortcuts
Learning WordPad keyboard shortcuts is unquestionably a key Windows 11 WordPad help topic. After all, keyboard shortcuts can greatly boost your productivity and make things easier.
The complete list of WordPad keyboard shortcuts is shown in the table below.
| WordPad Keyboard Shortcut | Actions Performed |
|---|---|
| Ctrl and N keys | Opens a new WordPad document on the current window. When you press Ctrl + N, WordPad will prompt you to save the current document. |
| Ctrl and O keys | Displays the “Open” dialogue box – allowing you to open an existing WordPad document |
| Ctrl and C keys | Copies a selected text |
| Ctrl and V keys | Pastes a copied text |
| Ctrl and S keys | Saves changes made in the document. If you haven’t saved the document previously, WordPad opens the “Save As” dialogue box. |
| F12 key | Opens the “Save As” dialogue box – to save the document as a new document |
| Ctrl and Z keys | Undo the last action |
| Ctrl and Y keys | Redo the last action |
| Ctrl and X keys | Cuts a selected text |
| Ctrl and P keys | Opens the Print dialogue box |
| Ctrl and B keys | Makes a selected text Bold. |
| Ctrl, Shift and A | Capitalizes/un-capitalizes the selected text |
| Alt and F4 keys | Closes WordPad. If the document is not saved yet, WordPad will prompt you to save it. |
| Ctrl and I keys | Italicizes the selected text |
| Ctrl and A keys | Selects the entire document |
| Ctrl and L keys | Aligns the selected text left |
| Ctrl and E keys | Aligns the selected text center |
| Ctrl and R keys | Aligns the selected text right |
| Ctrl and J keys | Justifies the selected text |
| Ctrl and U keys | Underlines the selected text |
| Ctrl, Shift and > | Increase the font size of selected text |
| Ctrl, Shift and < | Decrease the font size of selected text |
| Ctrl, Shift and = keys | Makes the selected text superscript |
| Ctrl and = keys | Makes the selected text subscript |
| Ctrl and 1 keys | Sets the document to use single line spacing |
| Ctrl and 2 keys | Sets the double line spacing |
| Ctrl and 5 keys | Set the line spacing to 1.5 |
| Ctrl, Shift and A | Makes the selected text upper case/lower case |
| Ctrl, Shift and L | Creates a bullet list |
| Ctrl and Left Arrow keys | Move the cursor one word to the left |
| Ctrl and Right Arrow keys | Move the cursor one word to the right |
| Ctrl and Up Arrow keys | Move the cursor to the line above the current line |
| Ctrl and Down Arrow keys | Move the cursor to the line below the current line |
| Ctrl and Page Up keys | Move up one page from the current page |
| Ctrl and Page Down keys | Move down one page from the current page |
| Ctrl and Delete keys | Delete the next word |
| Shift and F10 | Displays the current shortcut menu |
| F1 key | Opens “help with WordPad in Windows 11” search results in Bing.com |
| F10 key | Display key tips |
| Ctrl and Home keys | Move the cursor to the beginning of the document |
| Ctrl and End keys | Move the cursor to the end of the document |
| Ctrl and F keys | Opens the “Find” dialogue box |
| F3 key | Used when the “Find” dialogue box is open – searches the next instance of the text you are searching for. |
| Ctrl and H keys | Opens the “Replace” dialogue box |
| Ctrl and D keys | Inserts a Microsoft Paint drawing |
Other Common WordPad Tasks
Sometimes, people may find it difficult to carry out some common WordPad tasks. Hence, I will teach us how to perform some common WordPad tasks in this section.
1. Insert Symbols and Characters
Unlike Microsoft Word, WordPad doesn’t have a built-in feature for inserting symbols and characters. However, Windows 11 comes with a feature called Character Map that you can use to copy various symbols.
Thus, with this feature, you can simply copy any symbol or character you wish and paste it onto your WordPad document. To achieve that, follow the steps below.
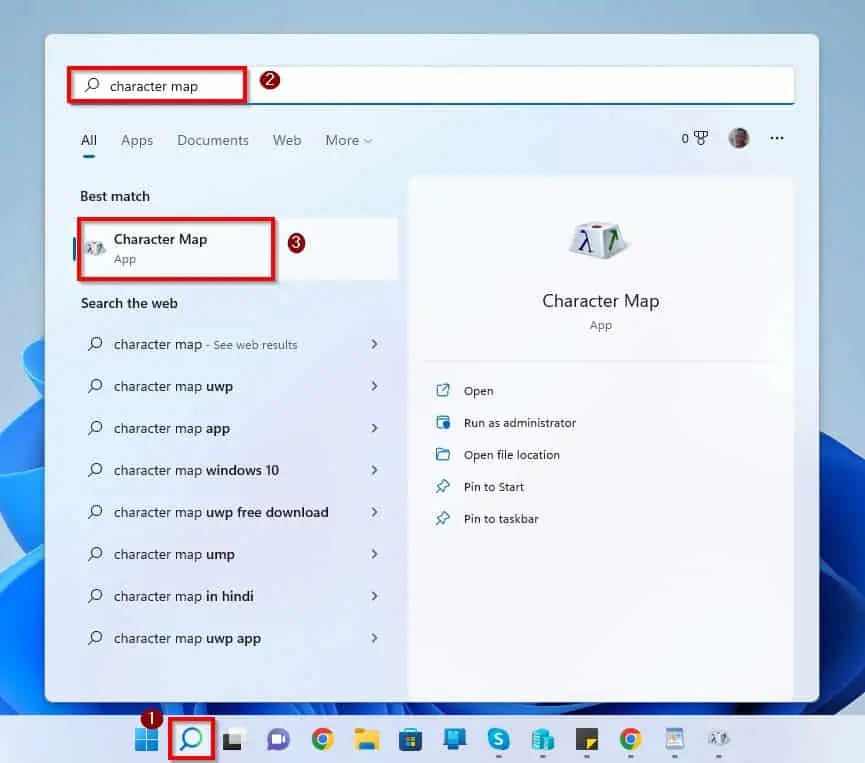
- Click on the Windows 11 Search icon and type “character map”. Then, select the Character Map application from the search result.
- When the Character Map app opens, select your preferred symbol or character and click the Copy button.
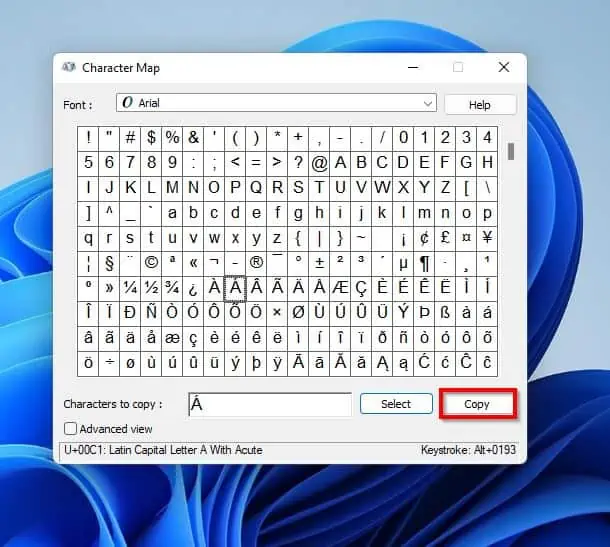
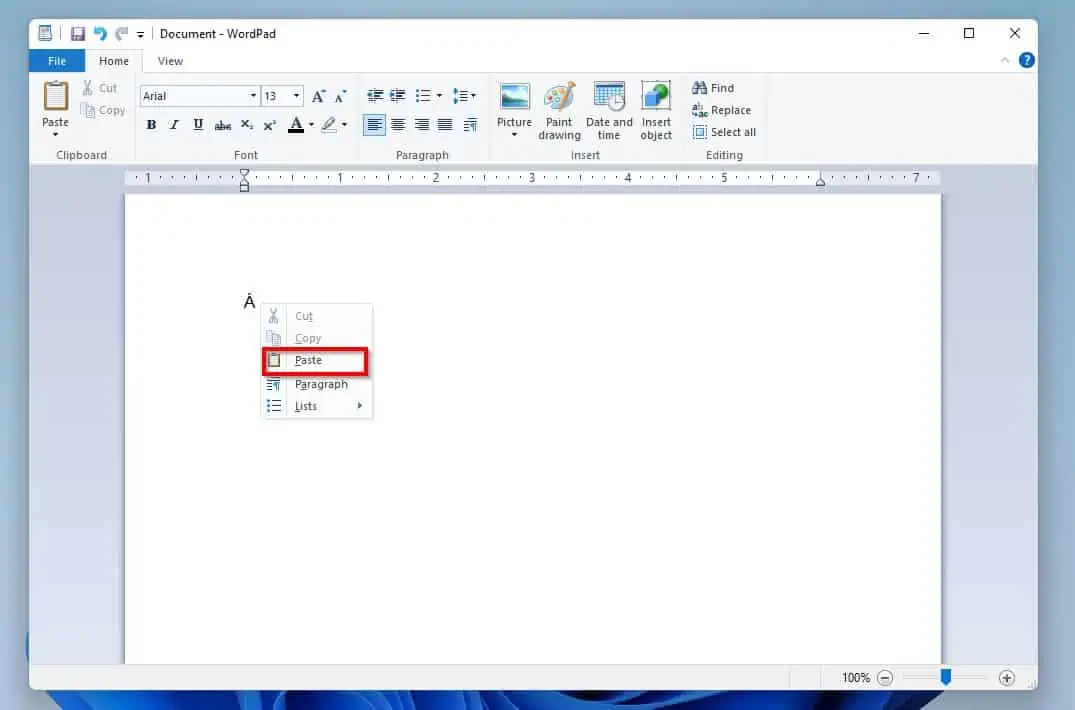
- Then, you can right-click where you want to paste the copied symbol or character on your WordPad document and select Paste.
2. Change Page Margin
To change the page margin of your WordPad document in Windows 11, follow the steps below.
- Click File at the top left corner of the WordPad window and select Page setup.
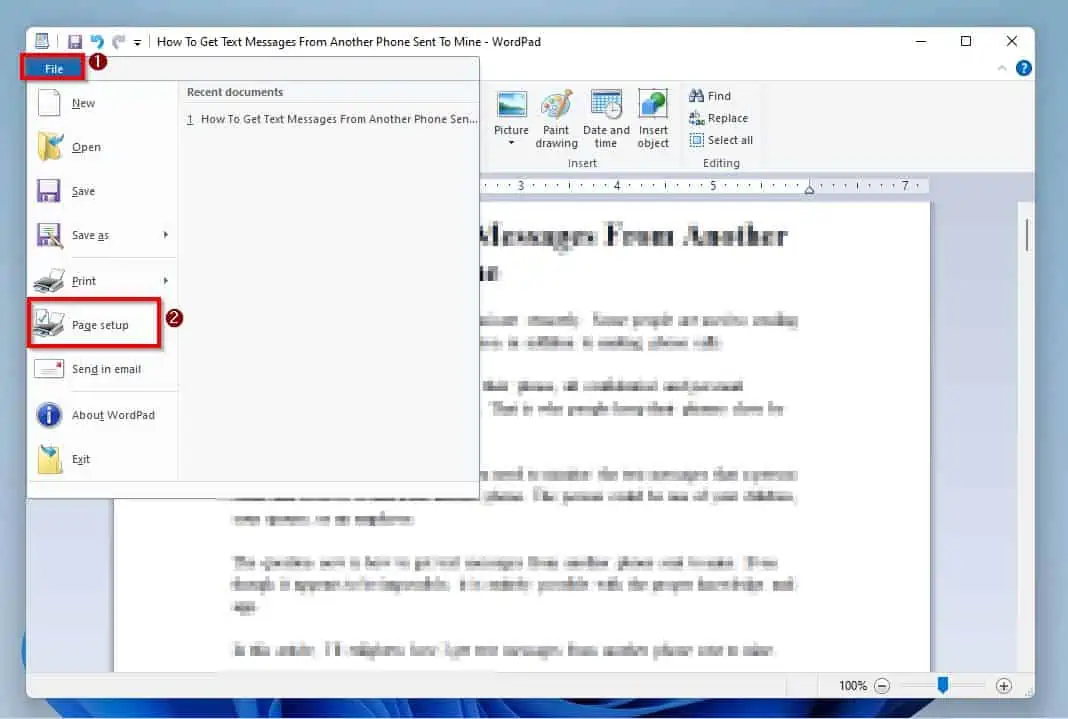
- After that, adjust your WordPad document’s page margin from the Margins (inches) section on the Page Setup window. Then, click the OK button to save the changes.
Frequently Asked Questions
Yes, you can uninstall WordPad on your Windows 11 computer. To do that, follow the steps below.
a) Right-click the Windows 11 Start menu and select Settings
b) After that, click Apps on the left pane of the Settings window
c) Then, select Optional features on the right pane of the window
d) Following that, under the Installed features category, select WordPad and click the Uninstall button.
e) After that, restart your computer.
Although they are similar, they are not the same. They are both word processing apps, but Microsoft Word is more like an advanced version of WordPad.
In essence, Microsoft Word comes with some features that you won’t find on WordPad.
To create a new document in Windows 11 WordPad, follow the simple steps below.
a) Click the File tab at the top left corner of the WordPad window.
b) Then, select New from the options that appear.
c) If you haven’t saved the current document, a pop-up will appear asking if you want to save the document or not. Hence, make a choice, and the new document should open.
WordPad was introduced in 1995, alongside Windows 95. Furthermore, it replaced the older Microsoft Write.
WordPad is a word processing app used to edit and create text documents.
Conclusion
Even though WordPad is pretty simple, we might have difficulties using some features. However, with this guide, Windows 11 WordPad has never been easier and more simple to use.
To be more specific, this guide explained the major features of the WordPad app in Windows 11. Also, we learned how to use these features in this guide using detailed steps and screenshots.
Hence, with the help of this detailed guide, you should be able to use Windows 11 WordPad like a pro!
I hope you found this Windows 11 guide helpful. If you found it helpful, click on “Yes” beside the “Was this page helpful” question below.
You may also express your thoughts and opinions by using the “Leave a Comment” form at the bottom of this page.
Finally, for more Windows 11 Itechguides, visit our Windows 11 How-To page.
Sadly, WordPad doesn’t support these features as it is just a simple word processing application. So, to use these features, you need a more advanced word-processing app like Microsoft Word or Google Docs.


