Some Windows 10 users may not like Cortana. Solution? Disable Cortana. You are probably reading this because you belong to this group that wants Cortana out of your computer! This guide offers you 2 ways to disable Cortana in Windows 10.
The options discussed in this guide were all tested with Windows 10 Update 1903.
Option 1: Disable Cortana Using Group Policy
Here are the steps to disable Cortana with Group Policy:
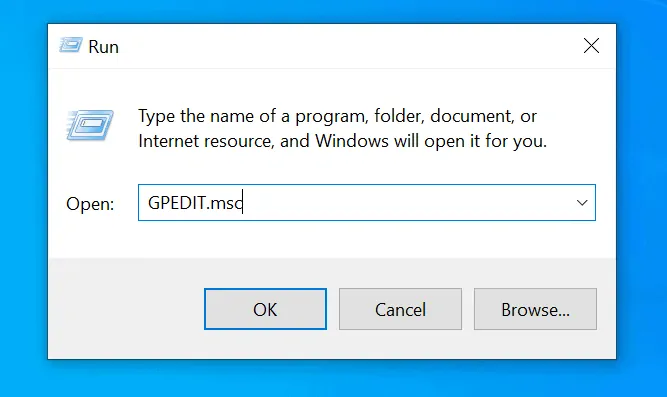
- Type Windows + R (Windows logo on your keyboard pressed simultaneously with the R key). Run command will open.
- At the Run command type GPEDIT.msc and press OK.
- When Local Group Policy opens, navigate to:
Computer Policy -> Computer Configuration -> Administrative Templates -> Windows Components -> Search
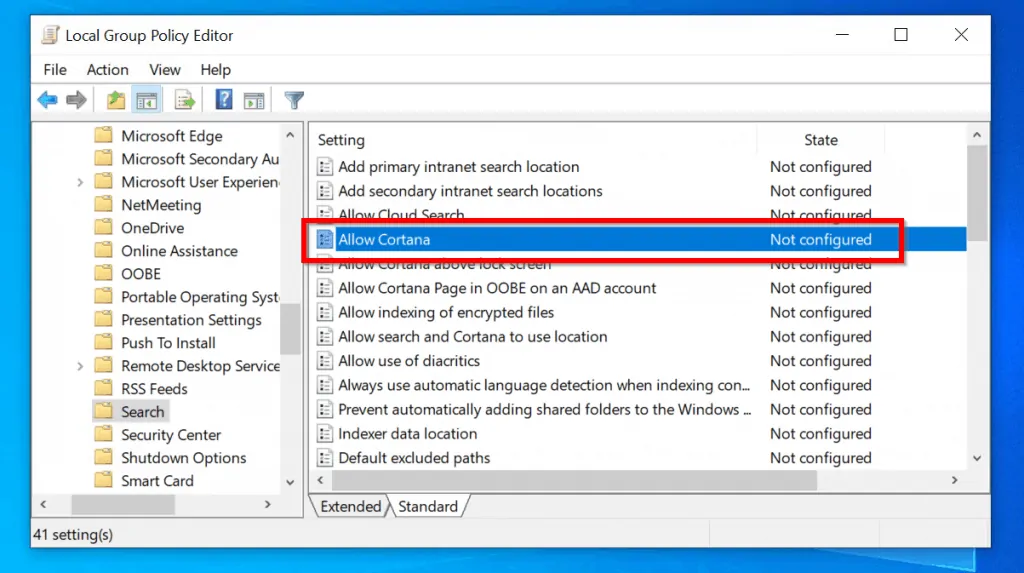
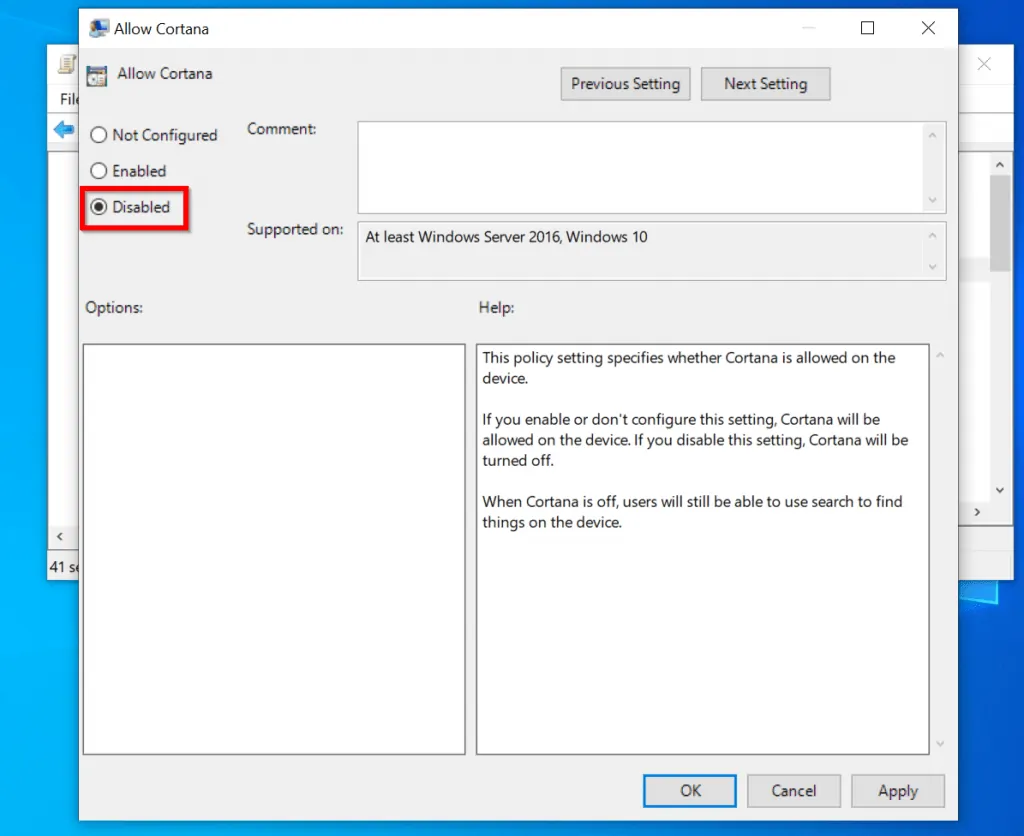
- Locate and double-click the policy called Allow Cortana. Then click Disabled, then Apply.
- When you finish the policy Allow Cortana will now show Disabled. Restart your computer.
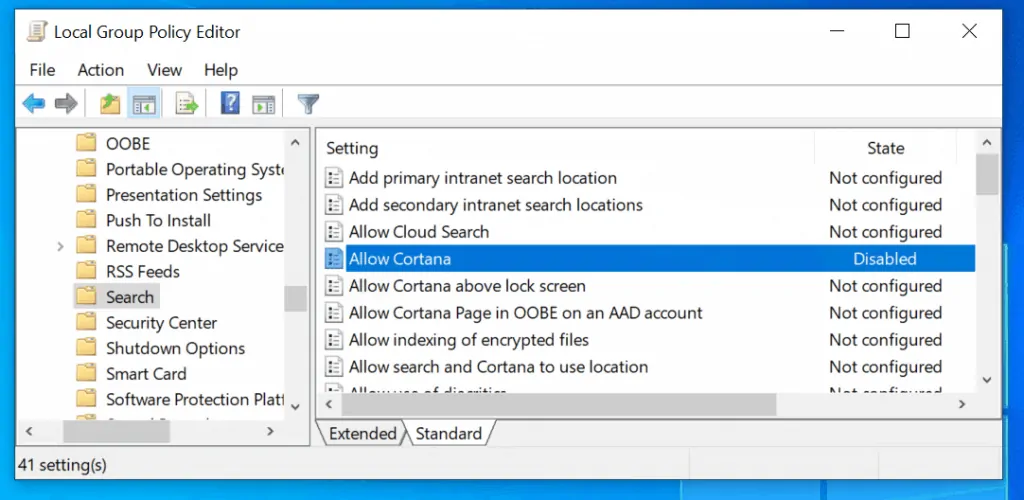
If you prefer not to restart your computer. You can enter GPUpdate /force in an elevated command prompt. Then click enter.
Option 2: Disable Cortana Using Registry
The second option to disable Cortana is to do it via Registry.
Warning!
Editing Windows registry may render your PC unusable. Before you proceed Create a restore point first.
Editing Windows registry may render your PC unusable. Before you proceed Create a restore point first.
Here are the steps:
- Type Windows + R (Windows logo pressed simultaneously with the R key). Run command will open.
- At Run command type Regedit. Then press OK to open Windows registry editor.
- Nedxt, navigate to this registry key:
HKEY_LOCAL_MACHINE\SOFTWARE\Policies\Microsoft\Windows
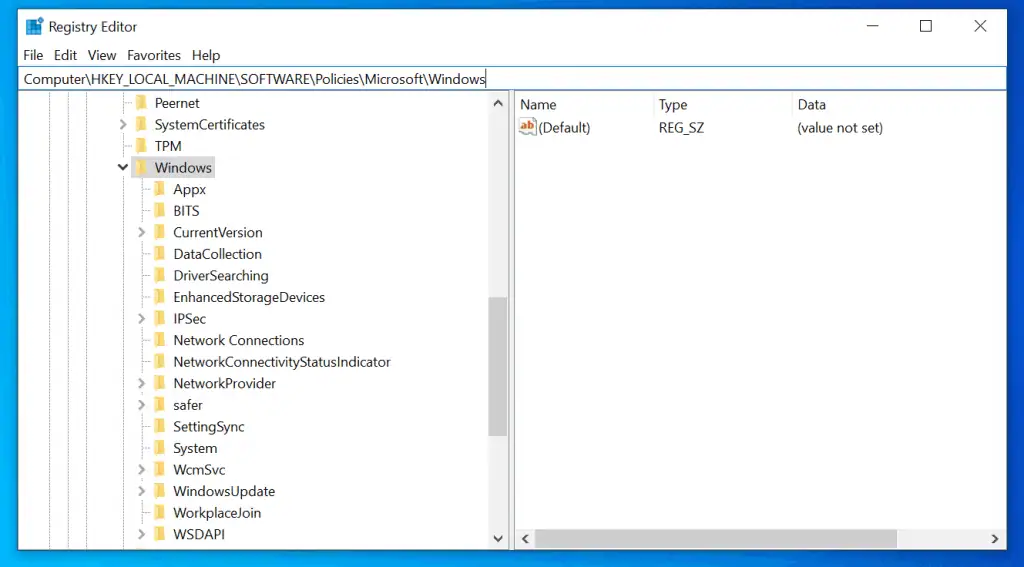
- Locate a key called Windows Search. If this key does not exist, create it.
- To create Windows Search:
- Right-click Windows key, point to New. Then select Key.
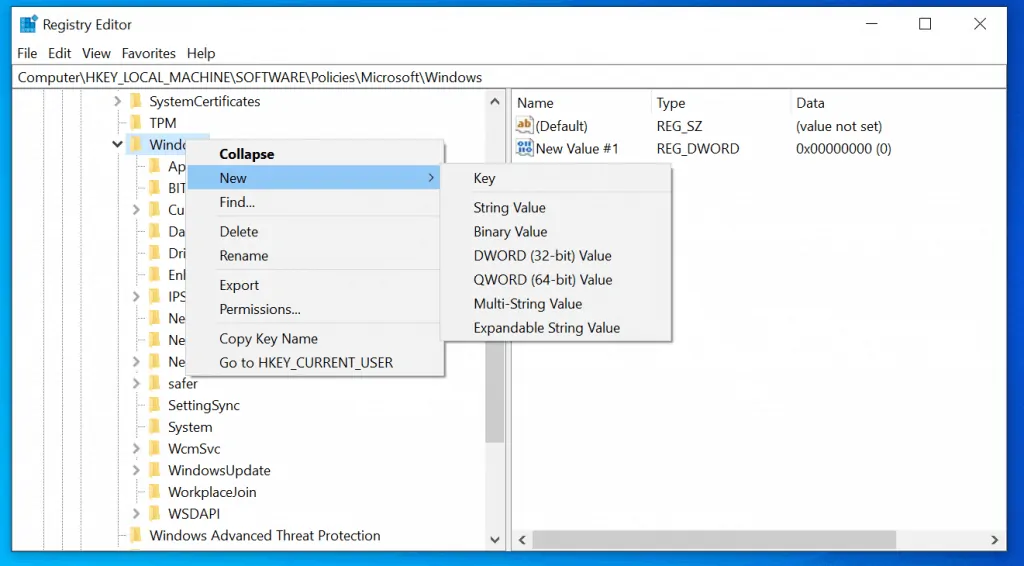
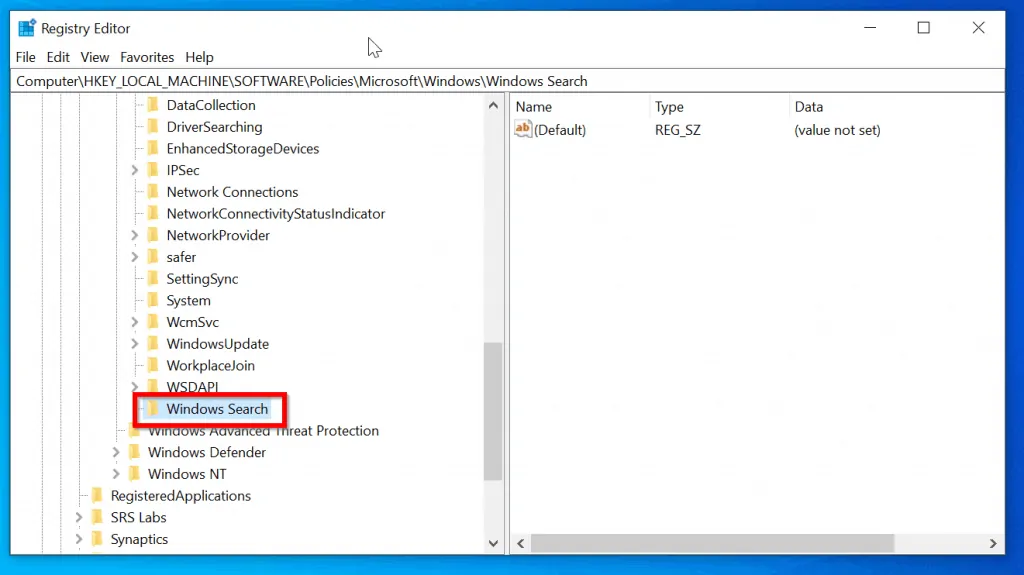
- On the new key, enter Windows Search.
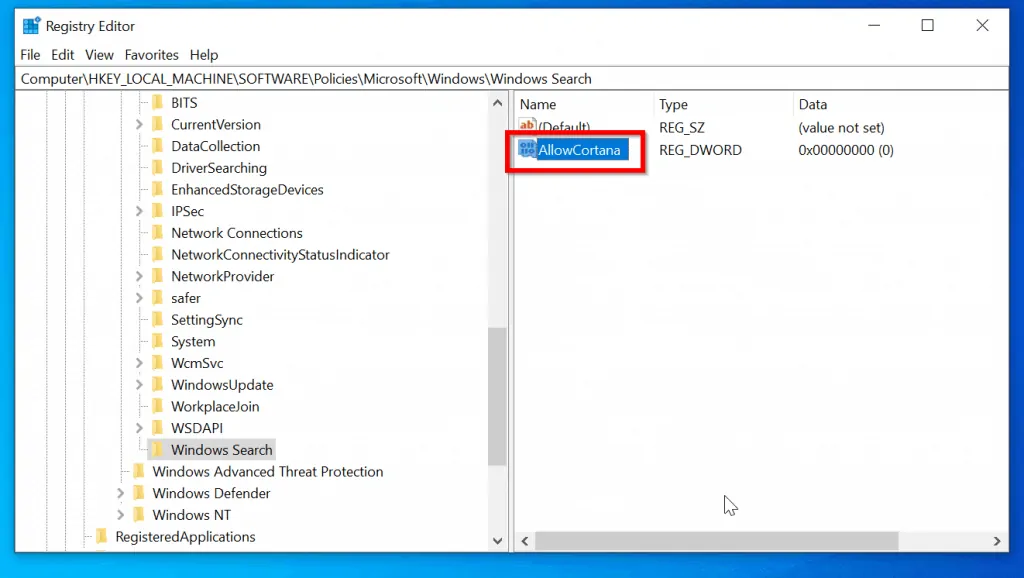
The next task is to create a DWord value called AllowCortana. To do this:
- Right-click Windows Search, point to New. Then select DWORD (32-bit) Value
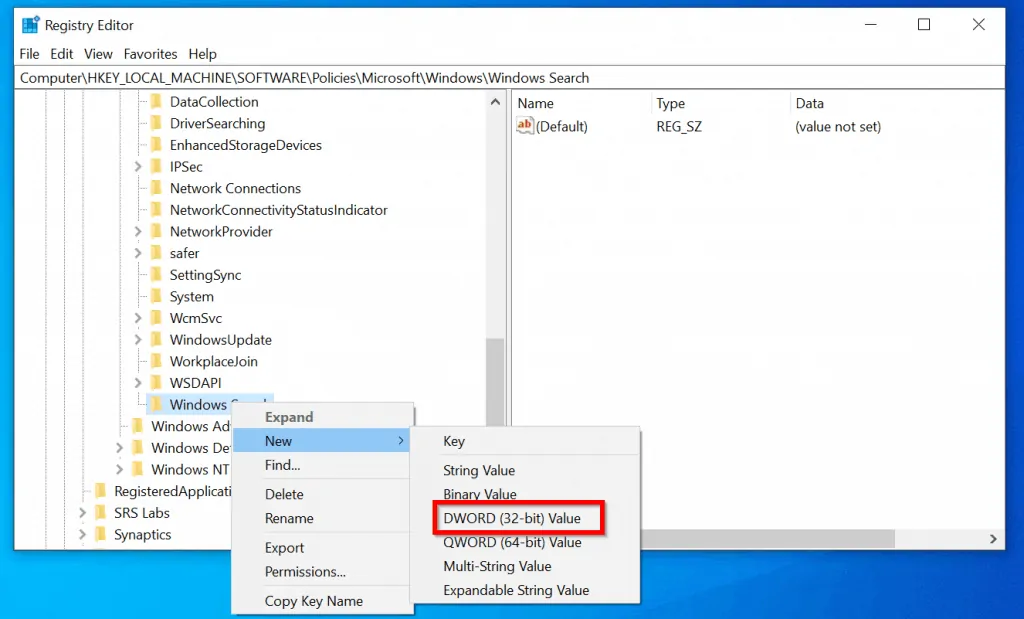
- Name the DWord AllowCortana.
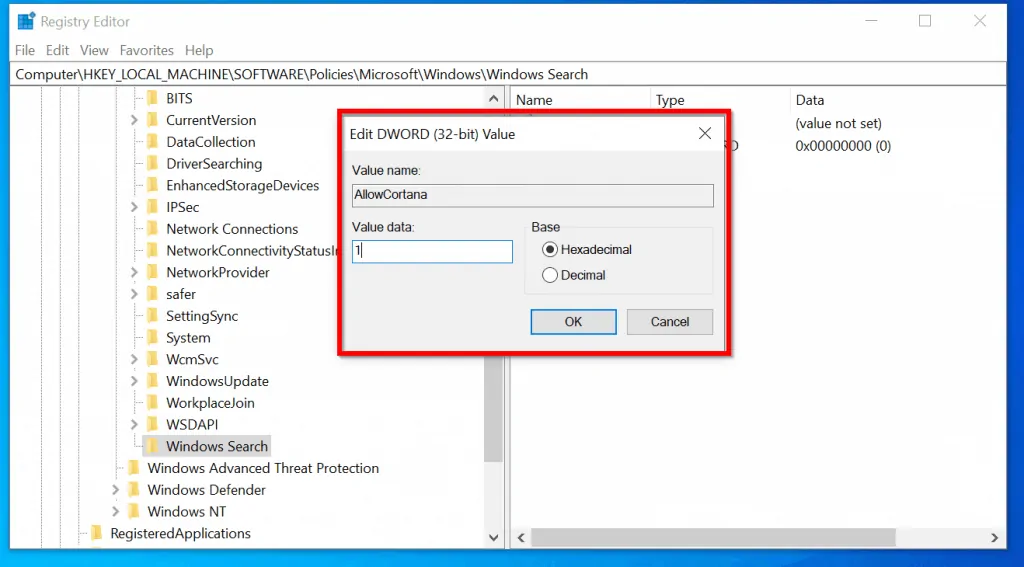
- Double-click AllowCortana. Then change the Value data from 0 to 1 and click OK.
- Restart your computer and Cortana will be gone for good!
Conclusion
The two methods presented in this guide will disable Cortana in Windows 10. Kindly spare 2 minutes to share the method you used and why. Let us know by responding to the “Was this page helpful?” question below.
Want more Windows 10 guides or fixes? Visit our Windows 10 How-To page.


![How To Run Sysprep (Generalize) In Windows 10 [2 Methods]](https://www.itechguides.com/wp-content/uploads/2022/05/8-2.webp)