If you receive “Skype Can’t Connect” Error on Windows 10, it may be caused by a number of things.
Here are our top 6 fixes for “Skype Can’t Connect” error:
- Check that Skype Service is NOT down
- Confirm that you can connect to the internet
- Check your Skype version and Update if necessary
- Uninstall and Reinstall Skype
- Check that Skype is Allowed Windows 10 Firewall
- Update Windows 10
The next sections provides detailed steps for each fix.
Option 1: Check that Skype Service is NOT Down
This is the logical first step to fix your Skype connection problem. If Skype service is down, then it is a waste of time too try to fix it!
Here are the steps to check the current status of Skype services:
- Open Skype App on your desktop.
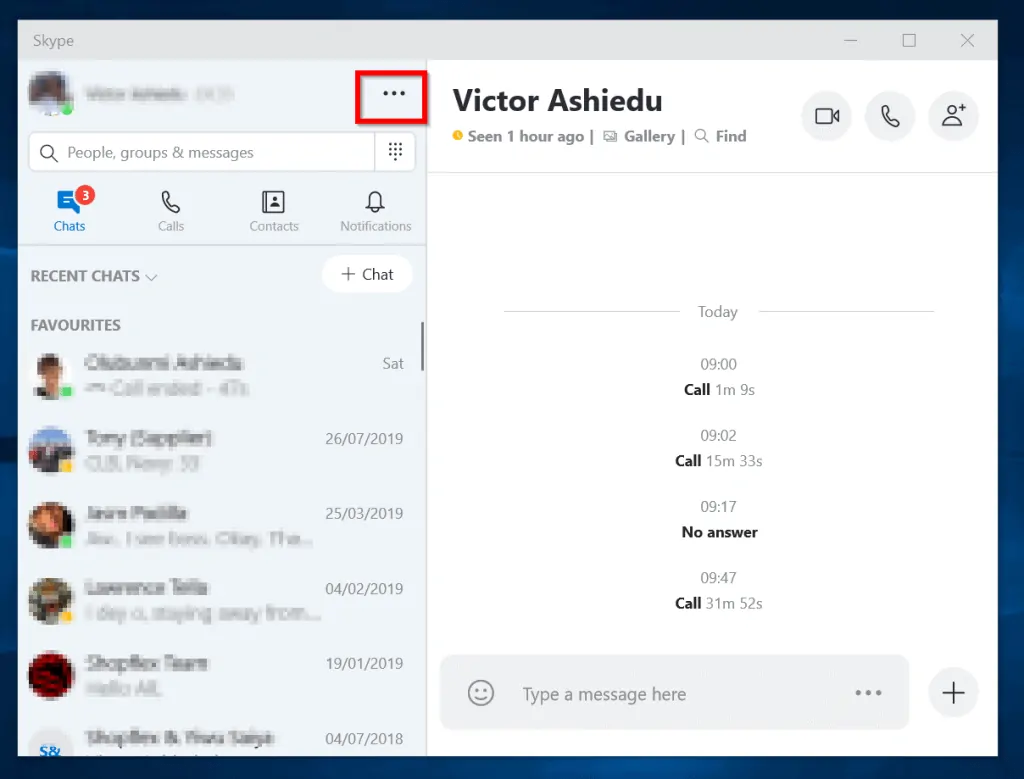
- Then click the 3 dots on the top left of the app (highlighted above).
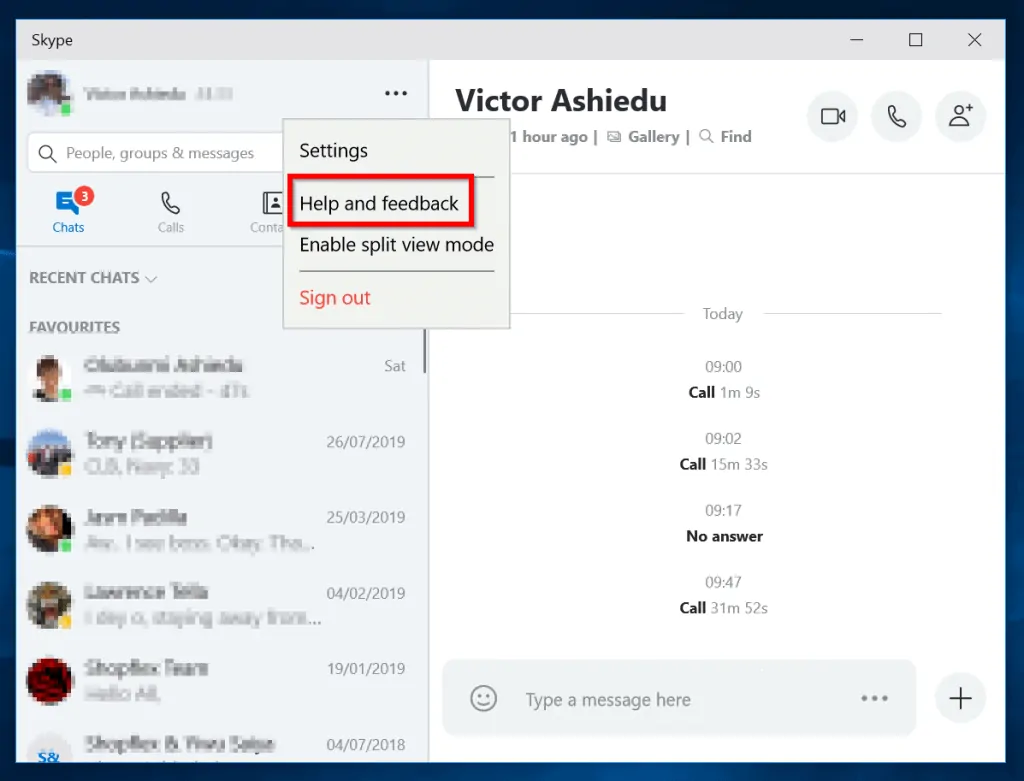
- Next, click Help and feedback (highlighted above).

- Finally, click Skype Status. The Skype status page below will open in your default browser. If Skype Status is anything but Normal Service then Skype may be down. You do not need to do anything until the service returns to normal.

If on the other hand, Skype is fine, then proceed to the next fix.
Option 2: Check Your Internet Connection
One way you can confirm that you can connect to the internet is to load a webpage.
If you opened the Skype status page successfully in the previous section, then your internet connection is okay. You can move on to the next suggested fix in this guide.
But, if you are not able to load a webpage successfully, follow the steps below to fix your internet connection problem:
- If you connect to the internet via a modem, check that the modem is on and is not displaying any error lights. One way to fix issues with your modem is to restart it.
- Check that you have an active data subscription.
- If you connect to the internet via Wifi, check that you are connected to the Wifi. Alternatively, if you connect using a network cable, check that the cable is properly connected to your computer.
- Open command prompt and run the commands below to release and renew your IP address:
ipconfig /release
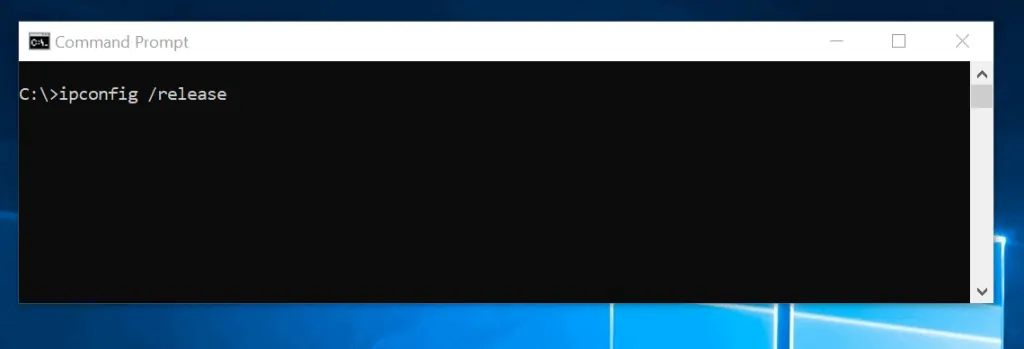
then…
ipconfig /renew

If none of the steps in this fix resolved “Skype can’t connect” error, proceed to the next suggested fix.
Option 3: Update Skype if Required
If you receive “Skype Can’t Connect” error it may be that you have an outdated version or Skype.
Follow the steps below to check the your current version number and update if necessary:
- Open Skype App on your desktop.
- Then click the 3 dots top left of the app and click Help and feedback.
On Mac:
1. Sign into Skype, 2. In the menu bar, select Skype > About Skype.
On Linux:
1. Sign into Skype, 2. Select your Profile, 3. Scroll down and select About.
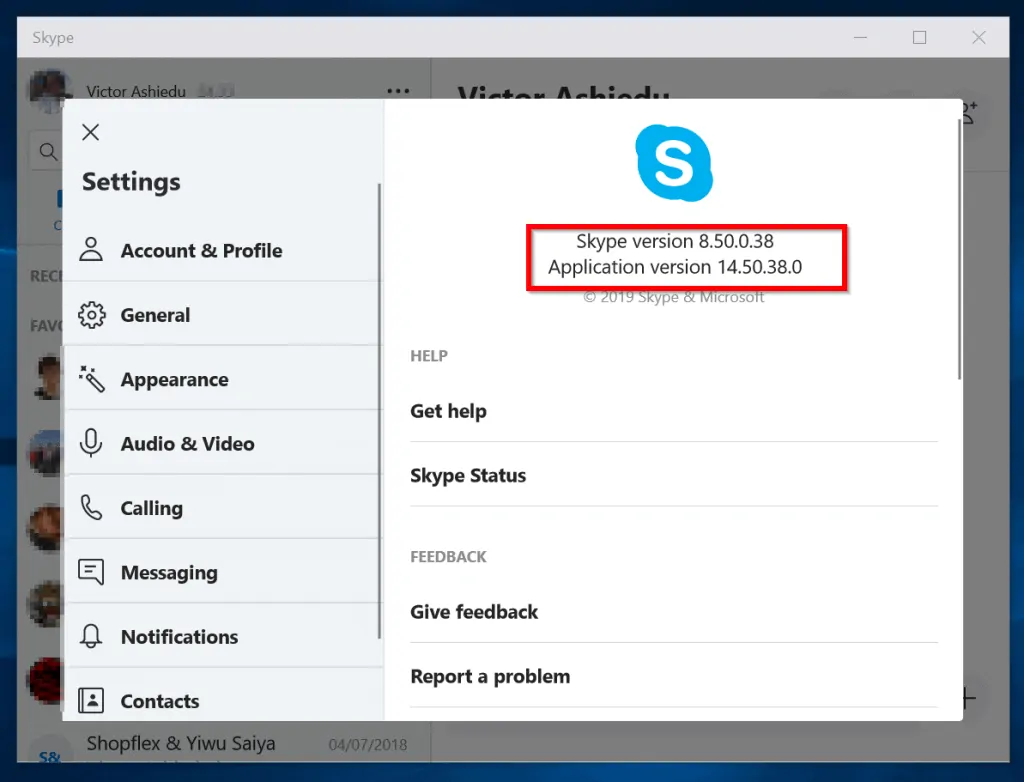
Note your Skype Application version similar to the highlighted portion of the image above.
Then follow the steps below to determine whether you need to update.
- If your application version is number is 12 and above, you do not need to update.
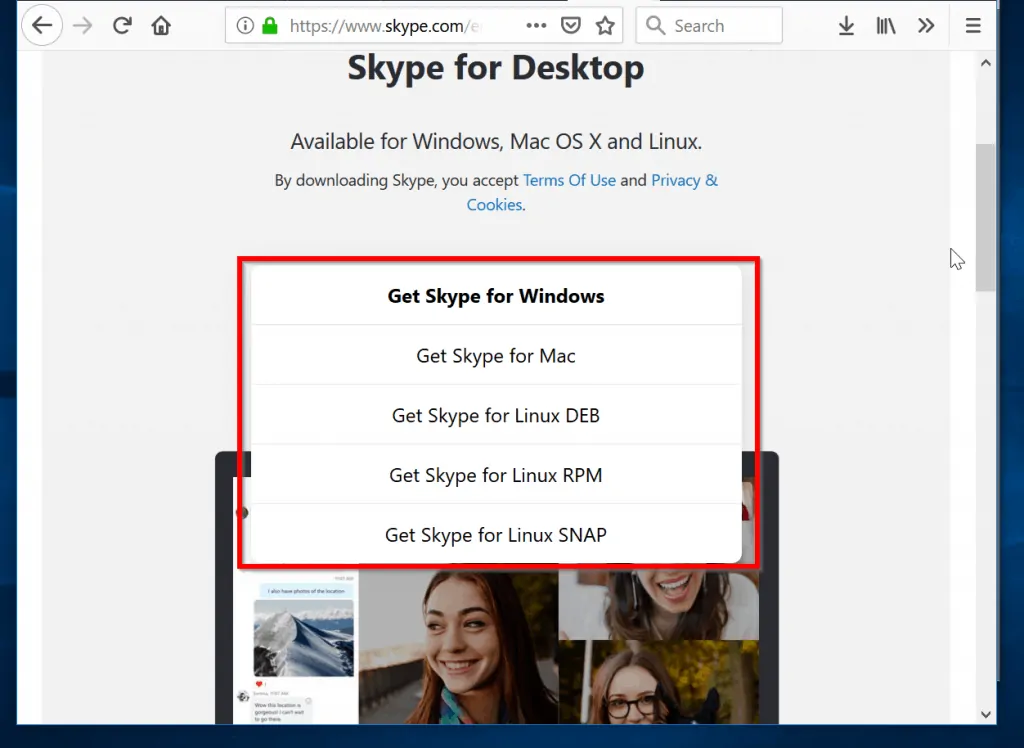
- But if your application version is lower than 12, click download the latest version to get the latest version from Microsoft store.
- For other platforms, click download Skype.

- To select your platform, click the drop-down beside Get Skype for Windows.
Option 4: Uninstall and Reinstall Skype
If any of the suggested fixes so far have failed, you may need to uninstall and reinstall Skype. This is particularly useful if your Skype version is up to date but you still receive “Skype Can’t Connect” error.
To uninstall Skype:
- Right-click Windows logo and click Settings. Windows Settings will open. See the second image below.
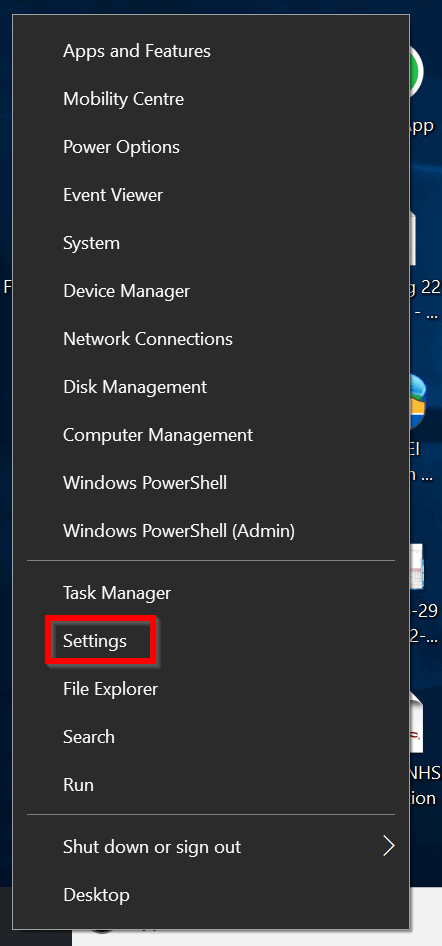

- Next, click Apps.
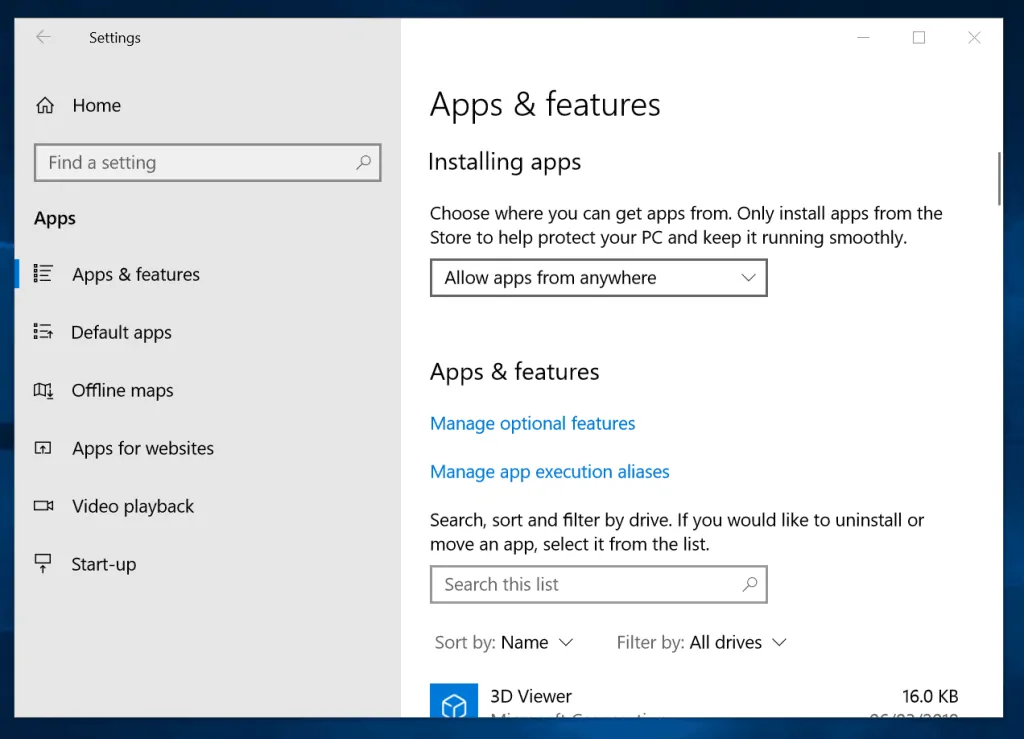
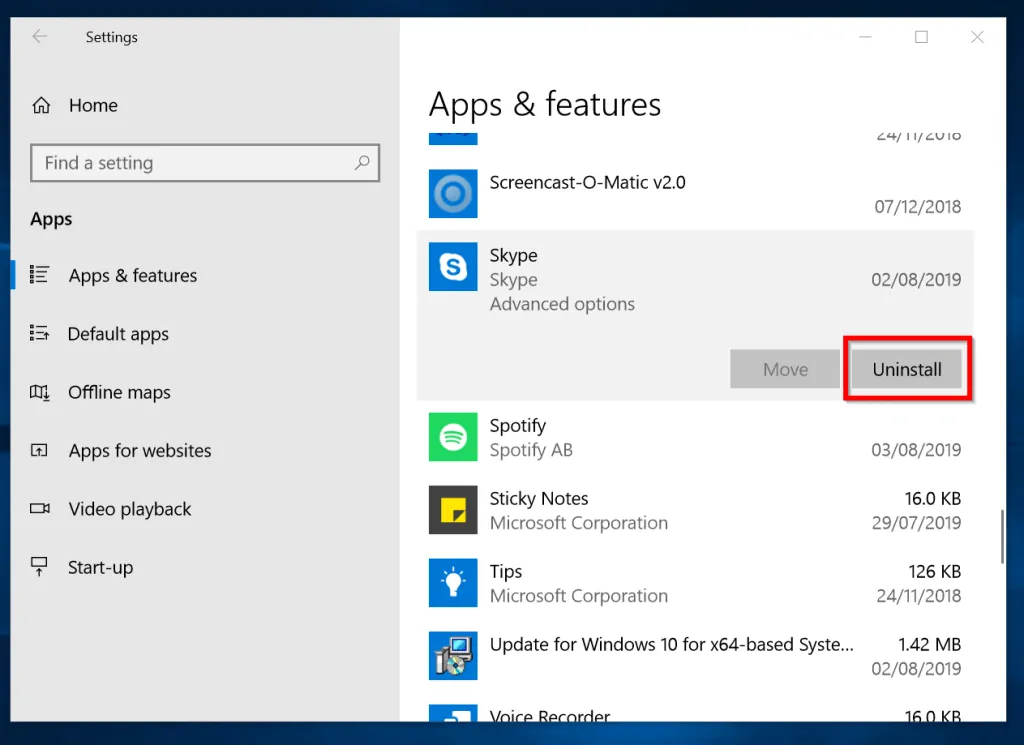
- When Apps & features open, scroll down until you can find Skype. Then click on it. To uninstall Skype, click Uninstall.
To reinstall Skype:
- Click download the latest version to get the latest version of Skype for Windows 10 from Microsoft store.
- For other platforms, click download Skype.
- To select your platform, click the drop-down beside Get Skype for Windows.
Option 5: Check the Windows 10 Firewall
Ideally, Skype should be allowed in Windows firewall. But if you have tried the above suggested fixes and still receiving “Skype Can’t Connect” error, it will not harm you to try this.
Follow the steps below to check that Skype is in the “allowed” list apps in Windows 10 firewall:
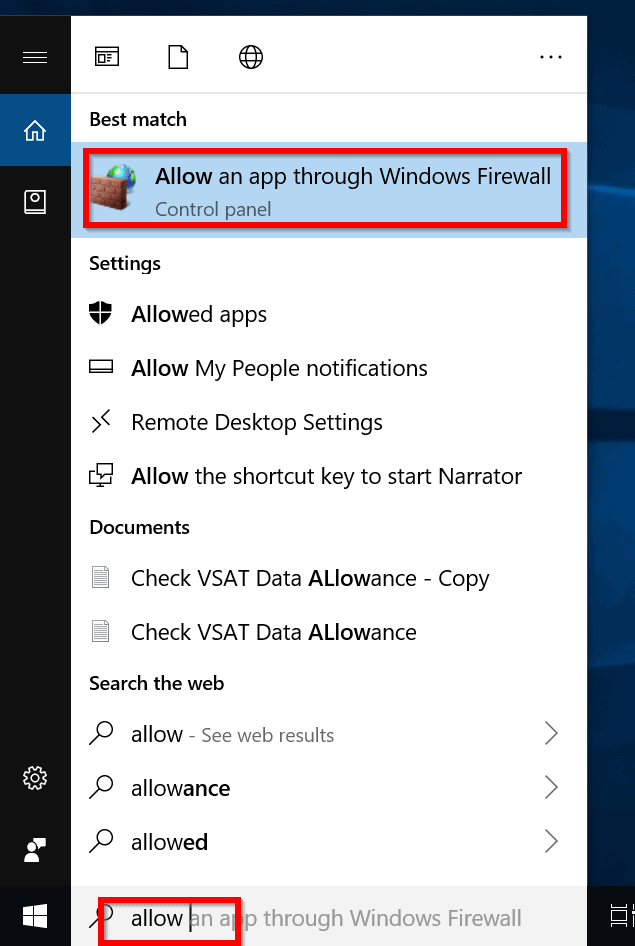
- On the Windows 10 search, type allow. Then click Allow an app through Windows Firewall.
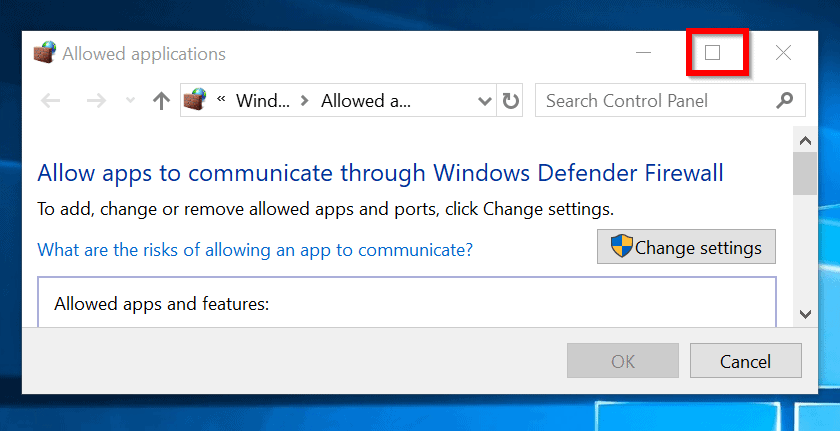
- If the Firewall settings opens in a small window as shown below, click the maximize button or simply expand it.
- Locate Skype on the list and confirm that the box beside it is checked. Also confirm that the boxes on the Private and Public columns are checked.
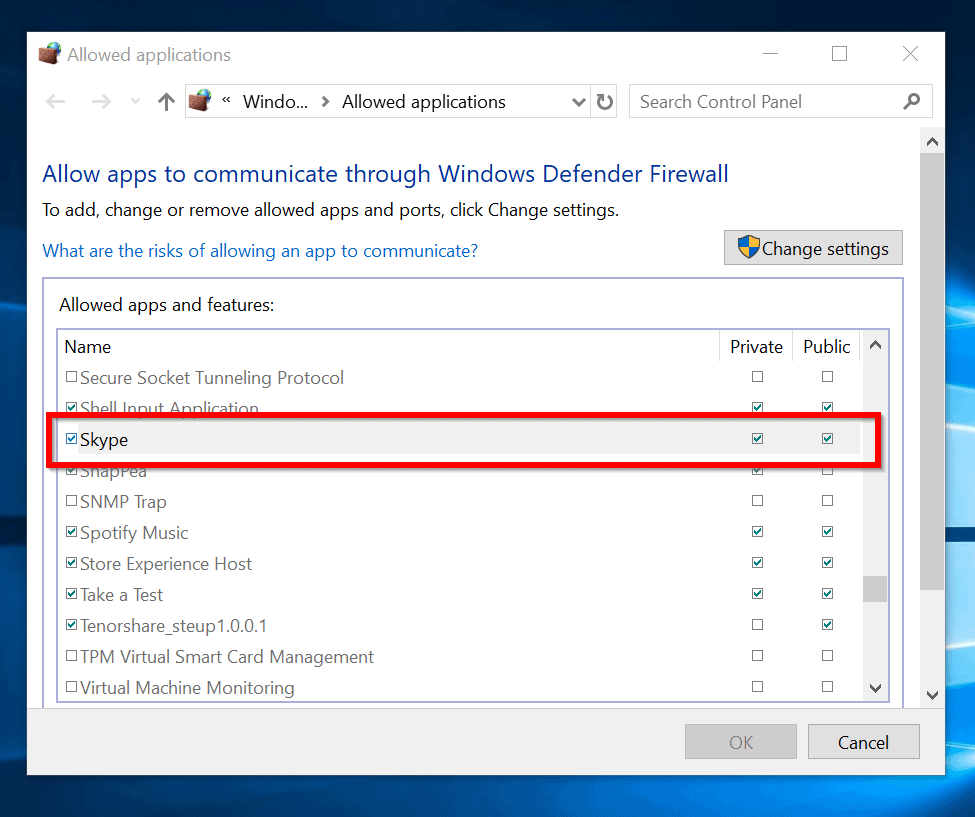
- If you need to change any of the settings, click Change Settings. Then make your changes and click Ok.
Option 6: Update Windows 10
After going through all the suggested fixes in this guide you are still receiving “Skype Can’t Connect” error, follow the steps in How to Install Latest Windows 10 Update to update Windows 10.
Conclusion
“Skype Can’t Connect” error can be frustrating. I hope you were able to fix this annoying problem with one of the fixes above. If you have a question or comment, use the “Leave a Comment” form found at the end of this page.
Alternatively, use our quick feedback, “Was this page helpful?” question below.


Thank you for this detailed guide! I was really struggling with the Skype Can’t Connect error on my Windows 10, but following your steps helped me resolve the issue quickly. I appreciate the clear explanations and screenshots. Keep up the great work!