Do you want to install PowerShell on your Windows Subsystem for the Linux Ubuntu distro? Follow these quick steps:
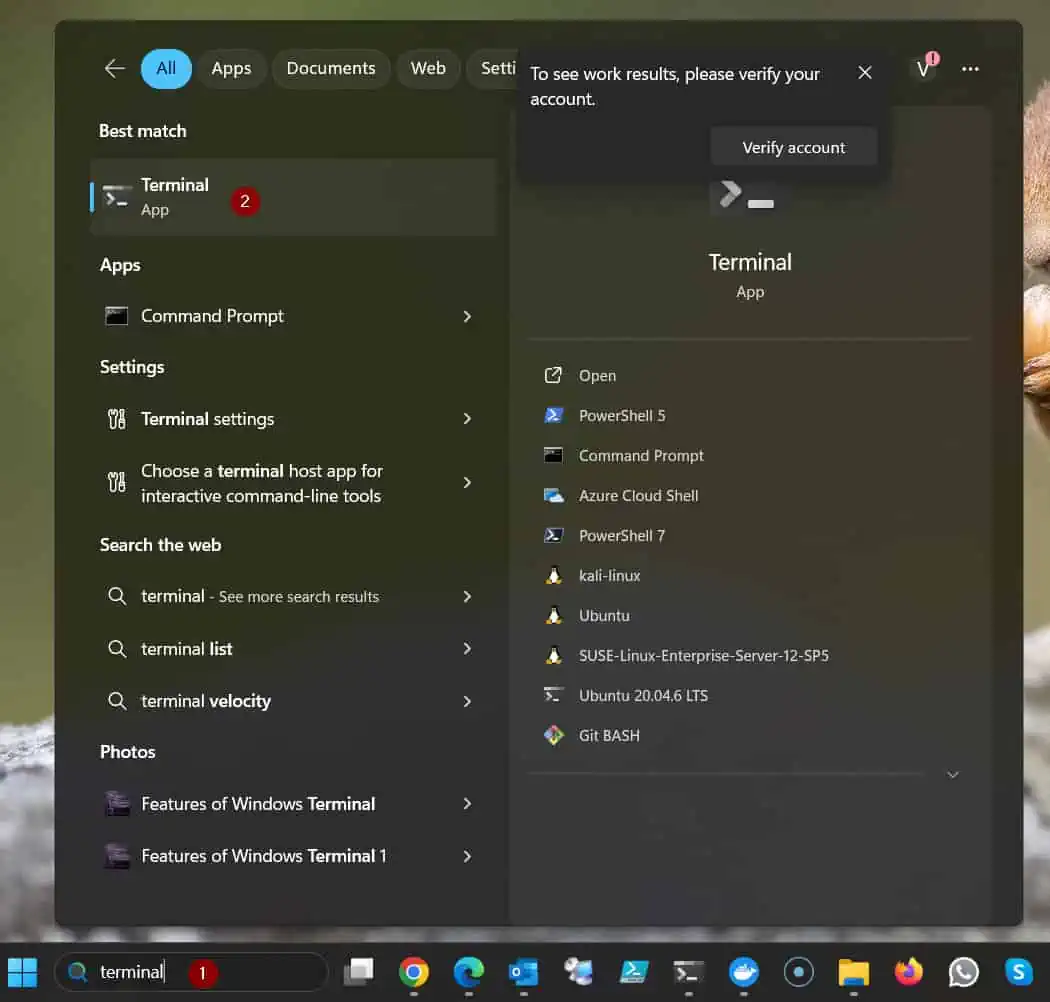
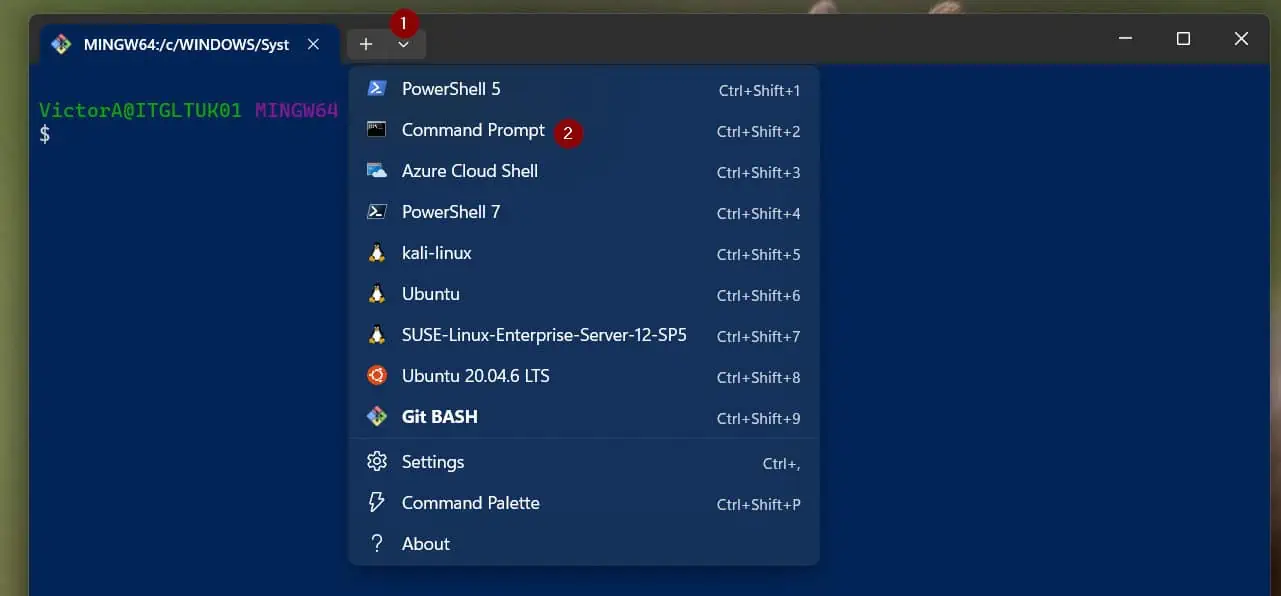
- Open CMD on Windows Terminal:
- After CMD opens, run the “wsl –list” command to display the Linux distros available on the Windows Subsystem for Linux.
wsl --list
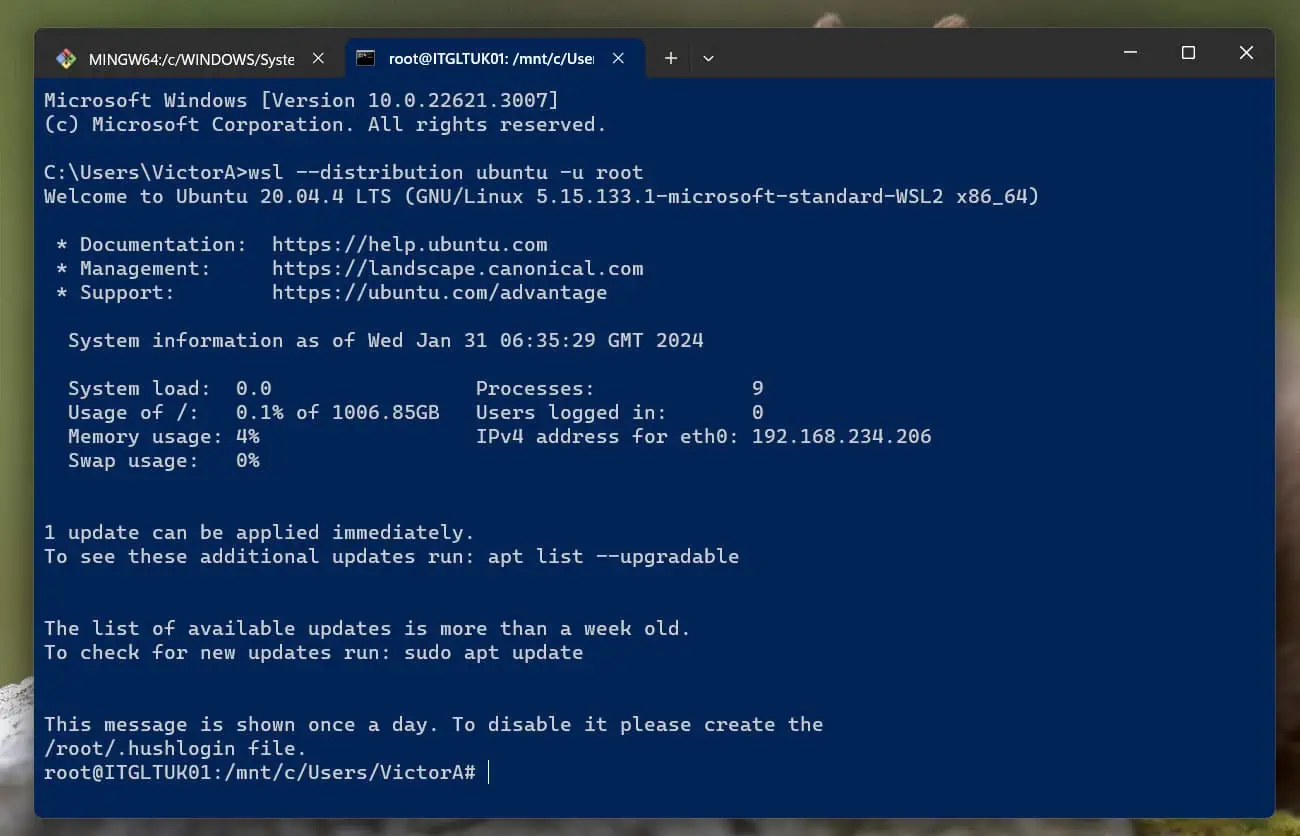
- Then, execute the command below to launch the Ubuntu distro you want to install PowerShell – this signs into the distro as root:
wsl --distribution Ubuntu-20.04 -u root
The above command launches the Ubuntu distro, “Ubuntu-20.04”.
- After that, update the Ubuntu package manager by running the “apt update” command.
apt update
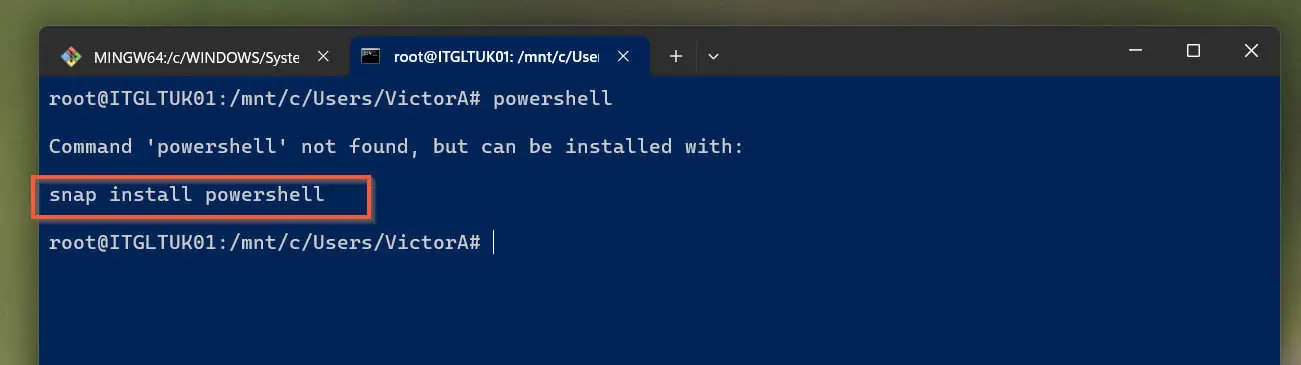
- Then, get the command to install PowerShell by running the “powershell” command from the Ubuntu terminal.
Ubuntu returns a message “Command ‘powershell’ not found, but can be installed with:”
Then, it displays the command you need to run to install PowerShell on the Ubuntu WSL distro.
To install PowerShell on your WSL Ubuntu distribution, run the highlighted command. I included the –classic argument for Ubuntu to allow the installation.
snap install powershell --classic
After installing PowerShell on Windows Subsystem for Linux Ubuntu Distro, start the app by running the “pwsh” command. This will start PowerShell 7.
Once PowerShell launches, you can run any available command. In my screenshot below, I ran the “Get-ChildItem” command on the /home/ directory.
We hope you found this quick step-by-step guide helpful. Kindly share your thoughts – feedback, questions, or comments – using the comments form at the end of this page.
Alternatively, you can respond to the “Was this page helpful?” question below.