In this Itechguide, Victor teaches you how to zip a folder in Windows 10.
Option 1: Zip a Folder with File Explorer
Windows 10 has a built-in zip facility. You can use the built-in zip app to zip a single or multiple folders.
Metho 1: Zip a Single Folder with File Explorer
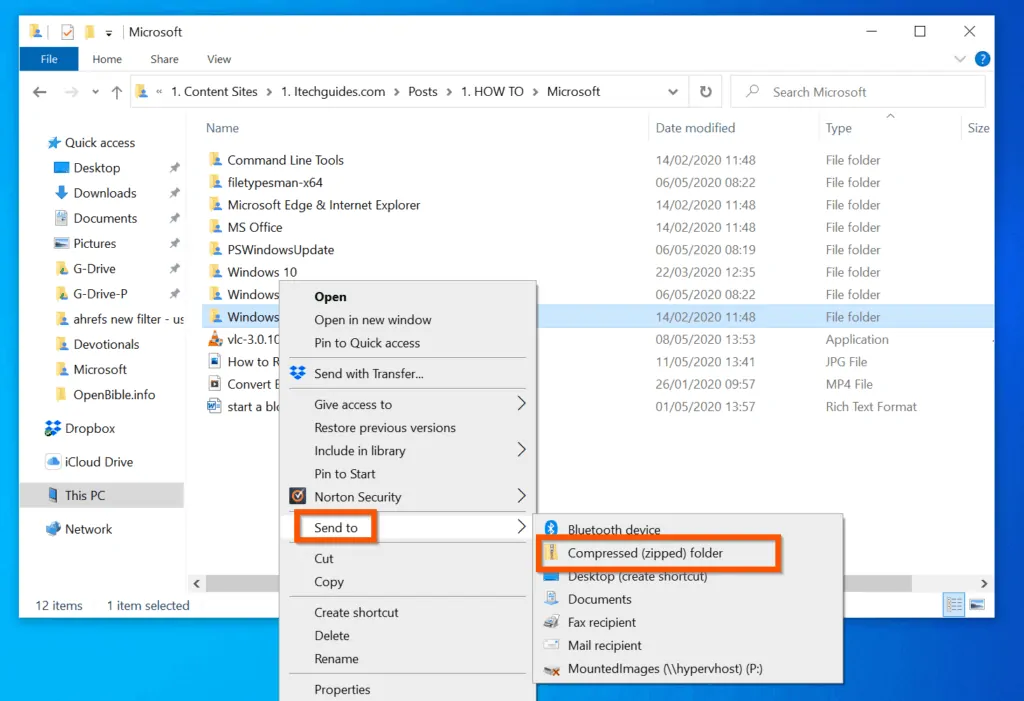
- Open the folder with the folder you want to zip. In this example, I want to zip the folder called “Windows Server”.

- Then, right-click the folder you want to zip, point to Send to and select Compressed (zipped) folder.
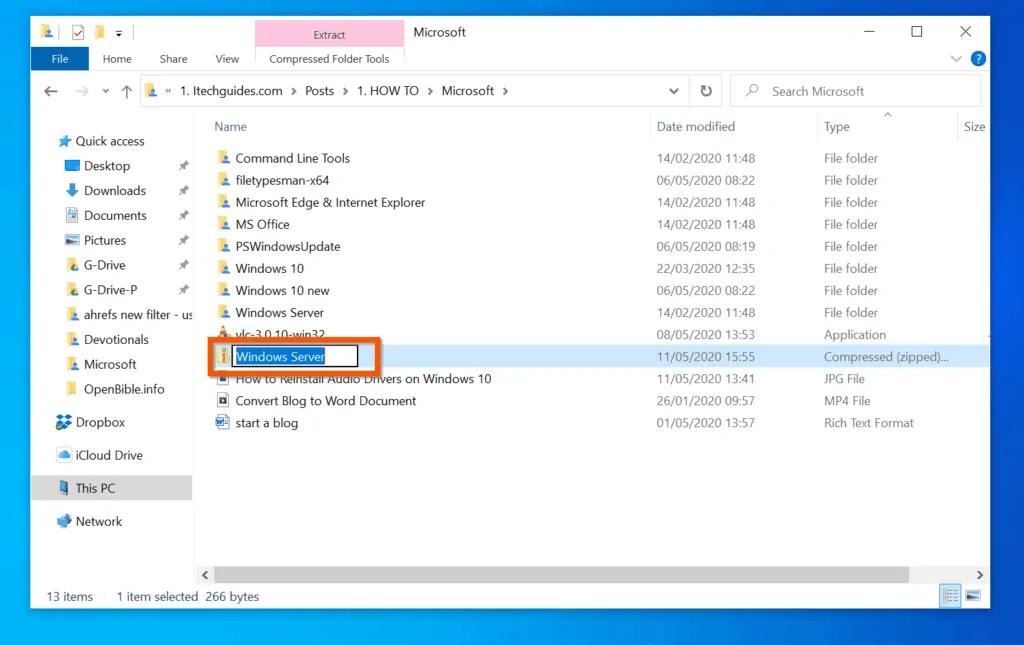
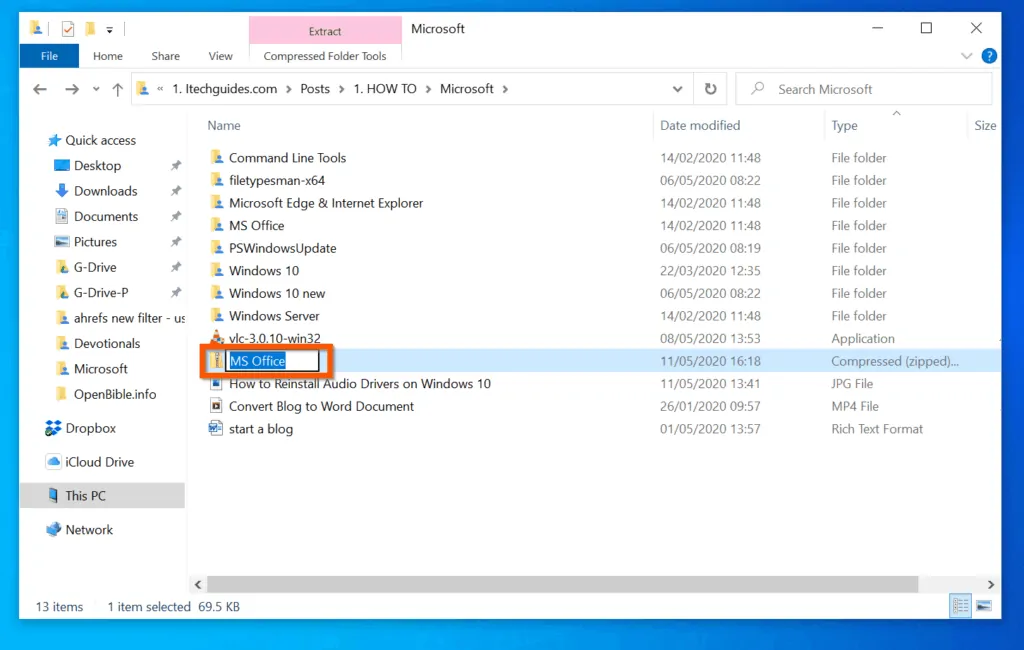
- A zip file with the name of the original folder will be created with the option to rename the zip file name. To use the default file name, press enter.
- However, to create the zip file with a new name, enter a new file name and press enter.
Method 2: Zip Multiple Folders with File Explorer
You can also zip multiple folders. To zip more than one folder:
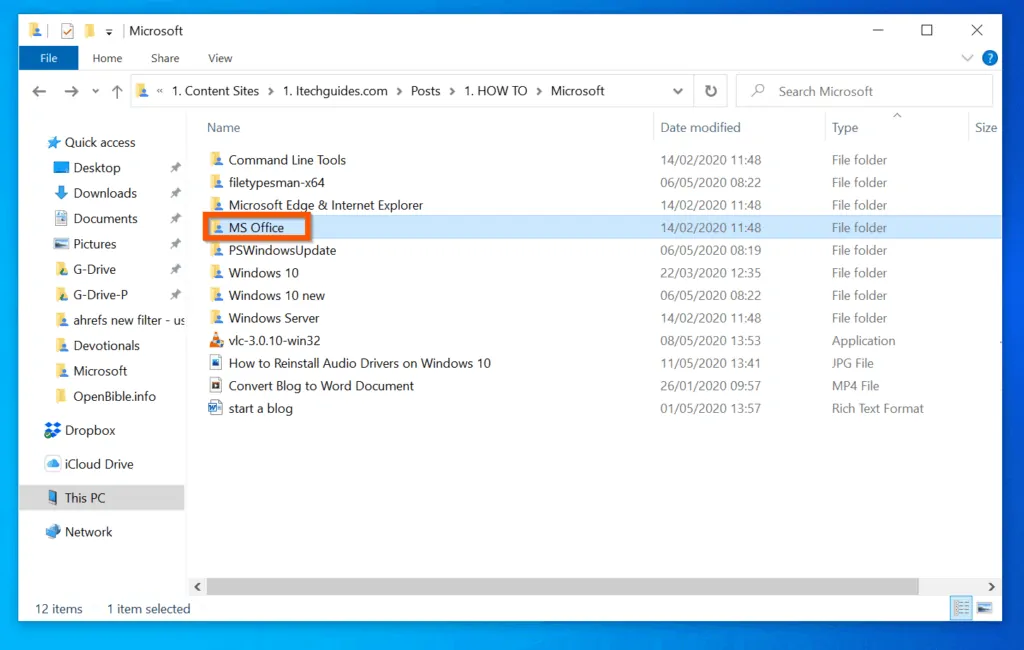
1. Select the first folder. In this example I want to zip “MS Office”, “PSWindowsUpdate” and “Windows Server”.
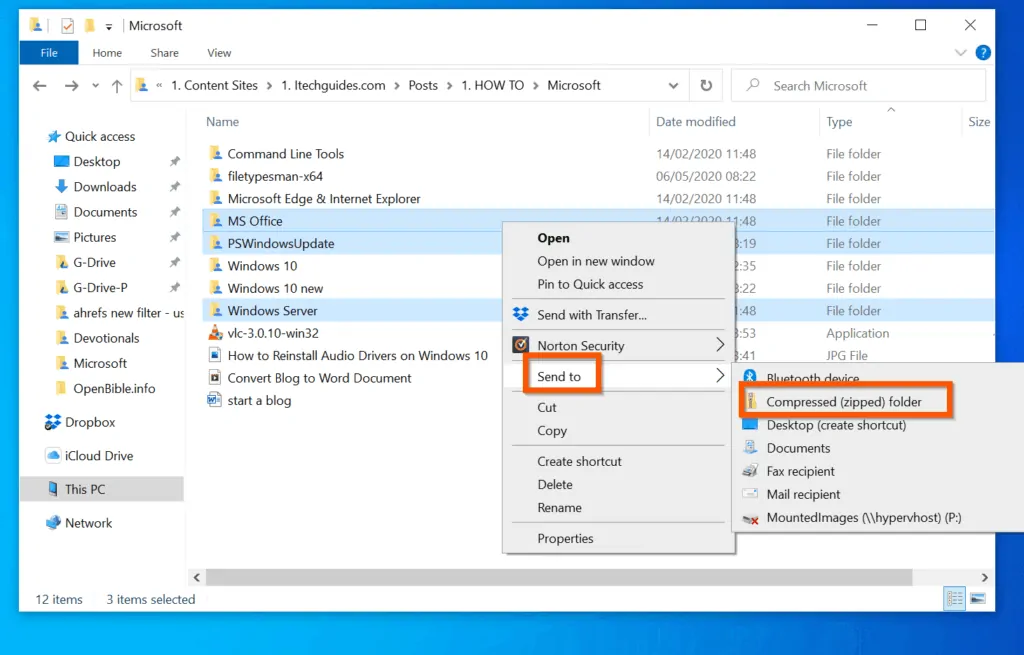
- Then, press the Ctrl key on your keyboard and select other folders you want to include into the zipped file.

- Once you select all the folders you want to zip, right-click one of the folders, point to Send to and select Compressed (zipped) folder.
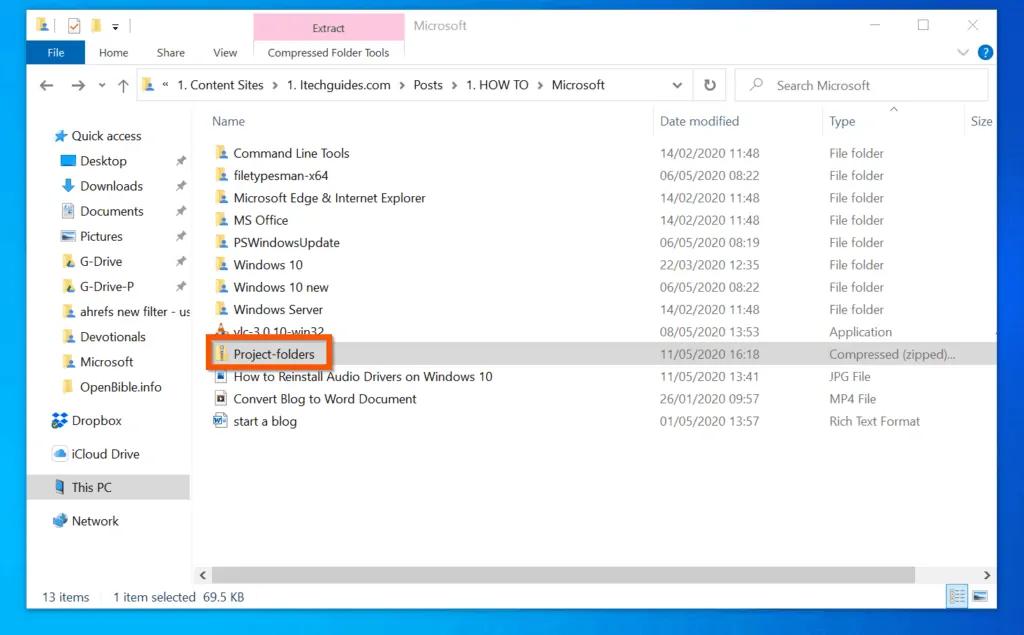
- The folders will be zipped – the zipped file will take the name of the first folder on the list. If you want to retain the default name, press enter. Alternatively, enter a new name and press enter.
Option 2: Zip a Folder with PowerShell
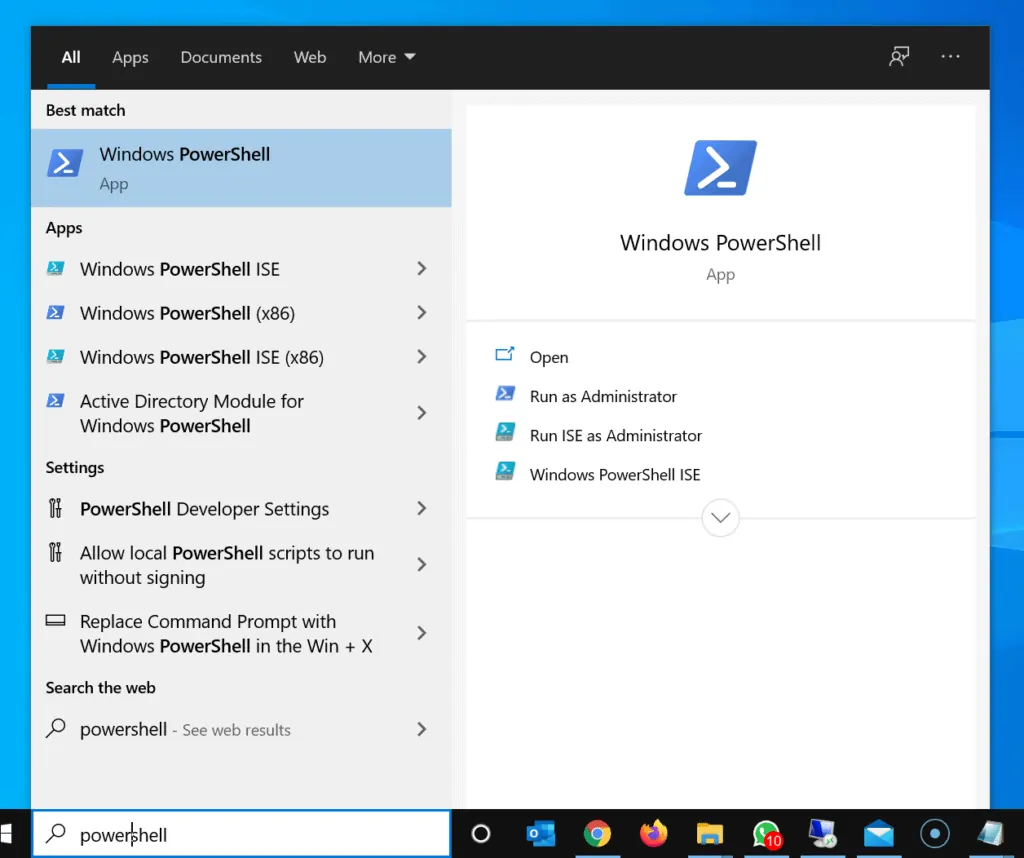
- Enter powershell in the Windows 10 search. Then, from the search result, click Windows PowerShell.
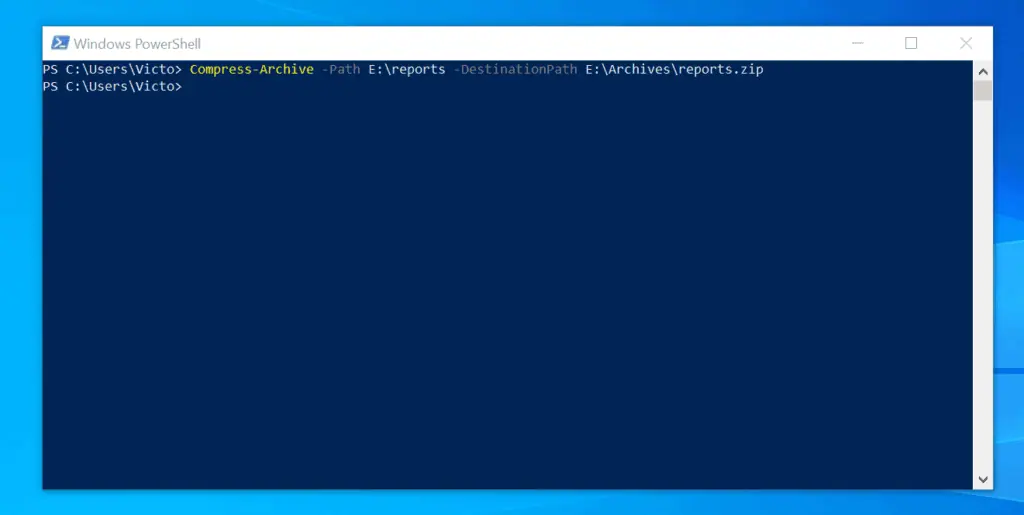
- Then, on the PowerShell prompt, to zip a single folder, enter a command like the one below and press enter.
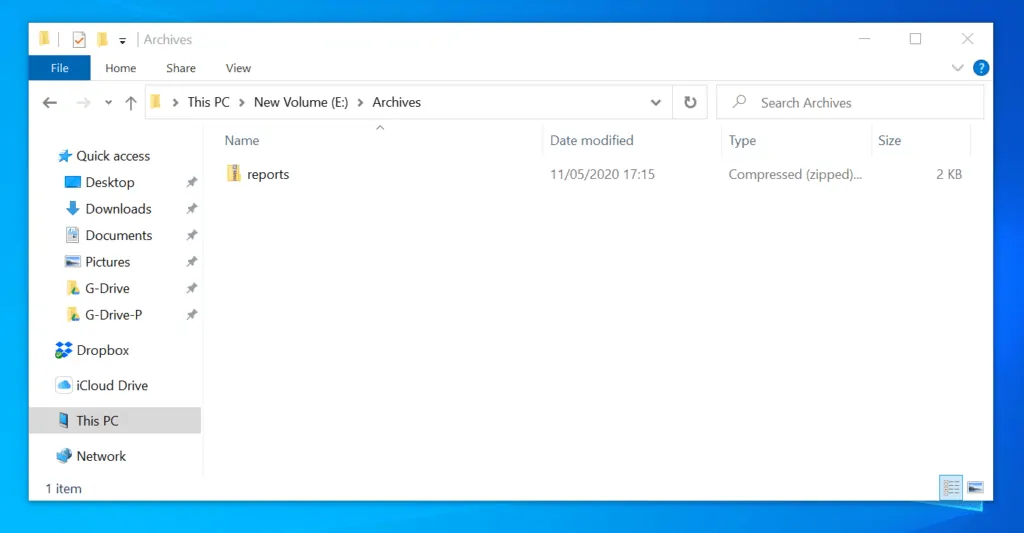
Compress-Archive -Path E:\reports -DestinationPath E:\Archives\reports.zip
Change E:\reports to the folder you want to zip. Also change E:\Archives\reports.zip to the path and the name of the zip file.
The command will execute and PowerShell will return to its prompt. The zip file will also be created in the DestinationPath specified.
- For more example, enter the command below in PowerShell and press enter.
Get-Help Compress-Archive -Examples
You may also visit the Compress-Archive page.
Conclusion
You can use the methods covered in this Itechguide to zip a folder in Windows 10! I hope you found this Itechguide helpful. If you found it helpful, click on “Yes” beside the “Was this page helpful” question below.
You may also express your thoughts and opinions by using the “Leave a Comment” form at the bottom of this page.
Finally, for more Windows 10 Itechguides, visit our WINDOWS 10 HOW-TO page. You may also find our Work from Home page very helpful.


![How To Run Sysprep (Generalize) In Windows 10 [2 Methods]](https://www.itechguides.com/wp-content/uploads/2022/05/8-2.webp)