In this Itechguide, Victor teaches you how to make a slideshow on Windows 10.
Option 1: Make a Slideshow with PowerPoint
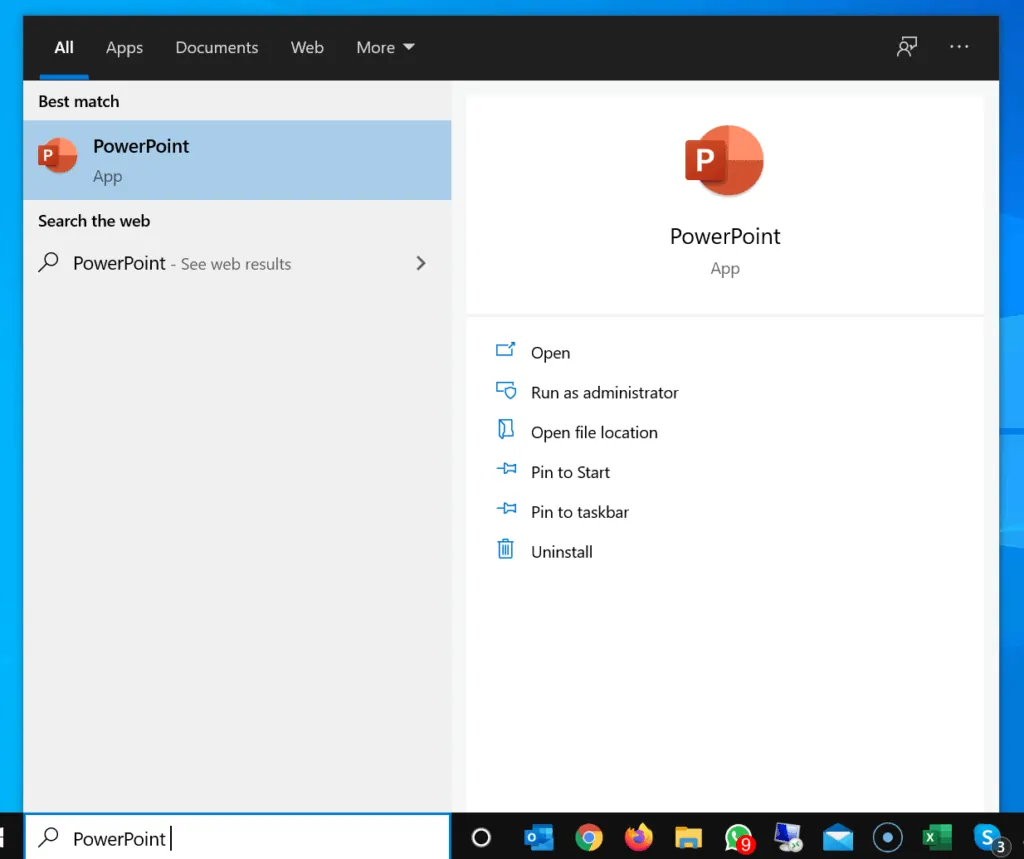
- Open PowerPoint – type PowerPoint in the Windows 10 search. Then, click PowerPoint App.
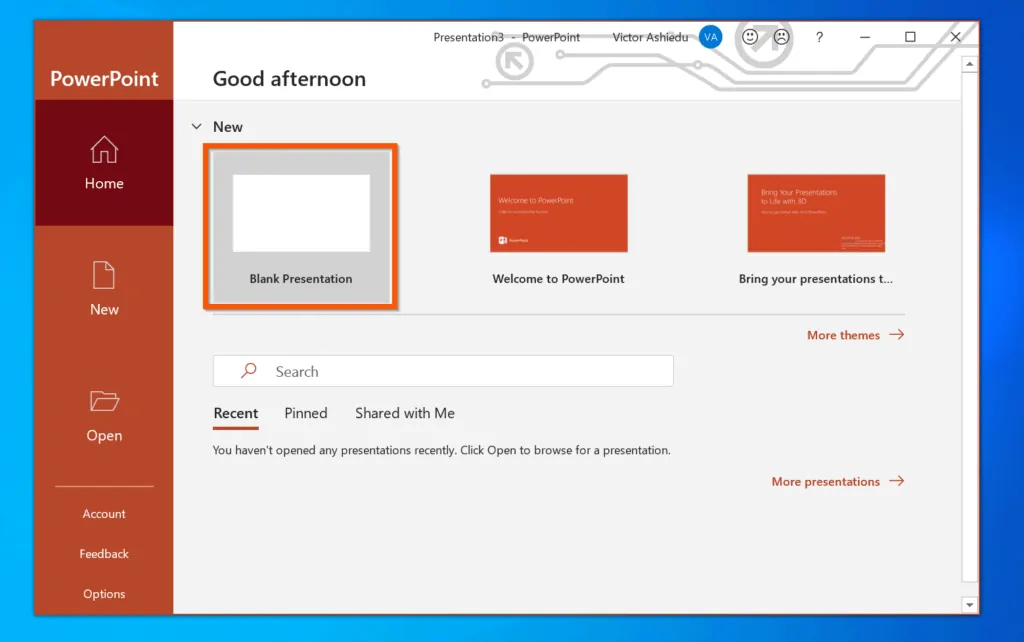
- On the welcome page, click Blank Presentation.
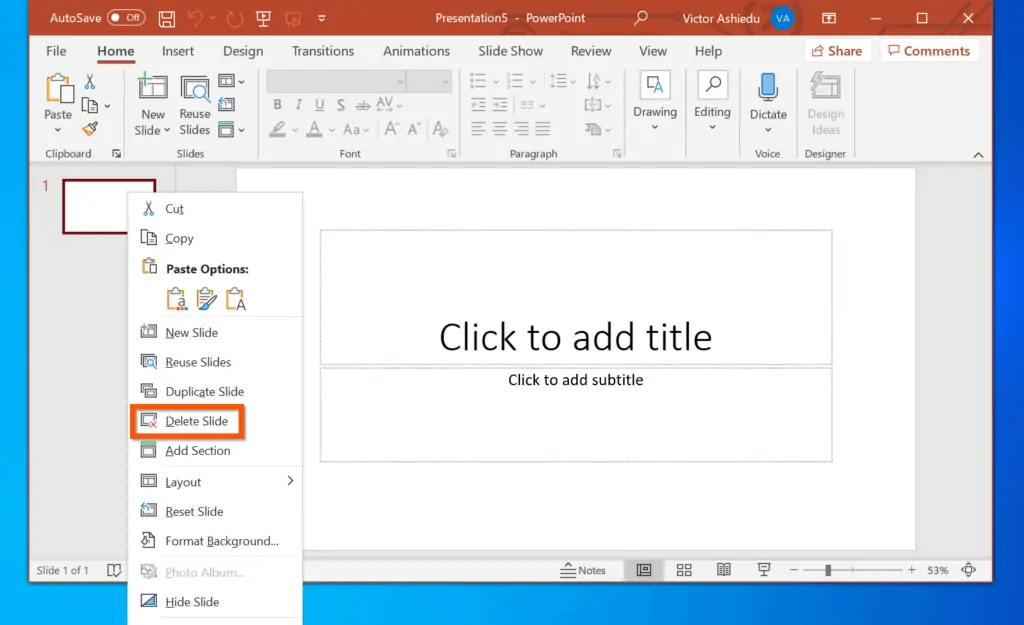
- Then, on the slide page, right-click slide 1 and select Delete Slide.
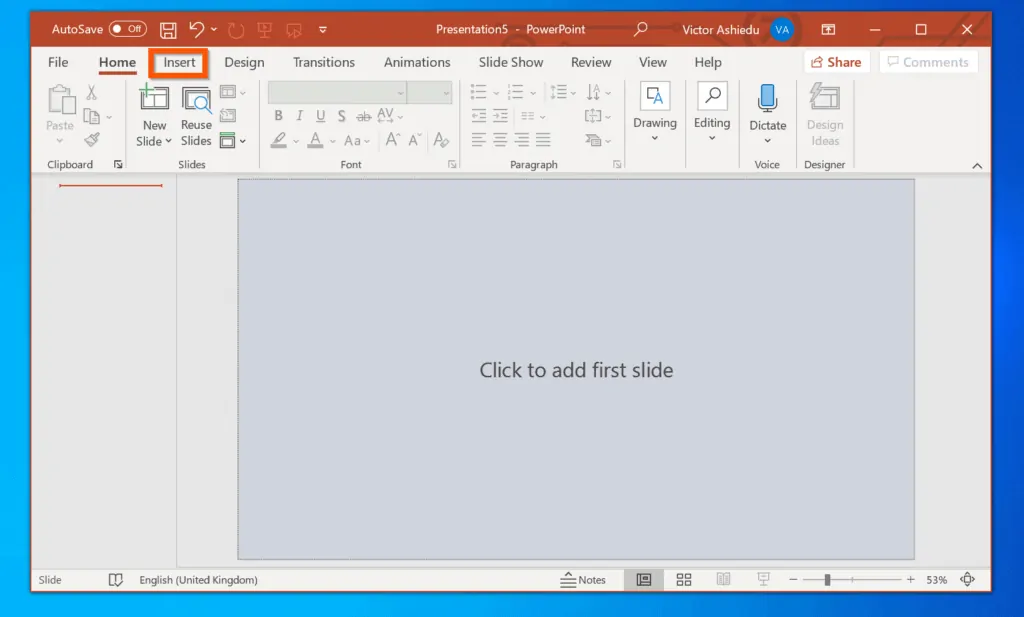
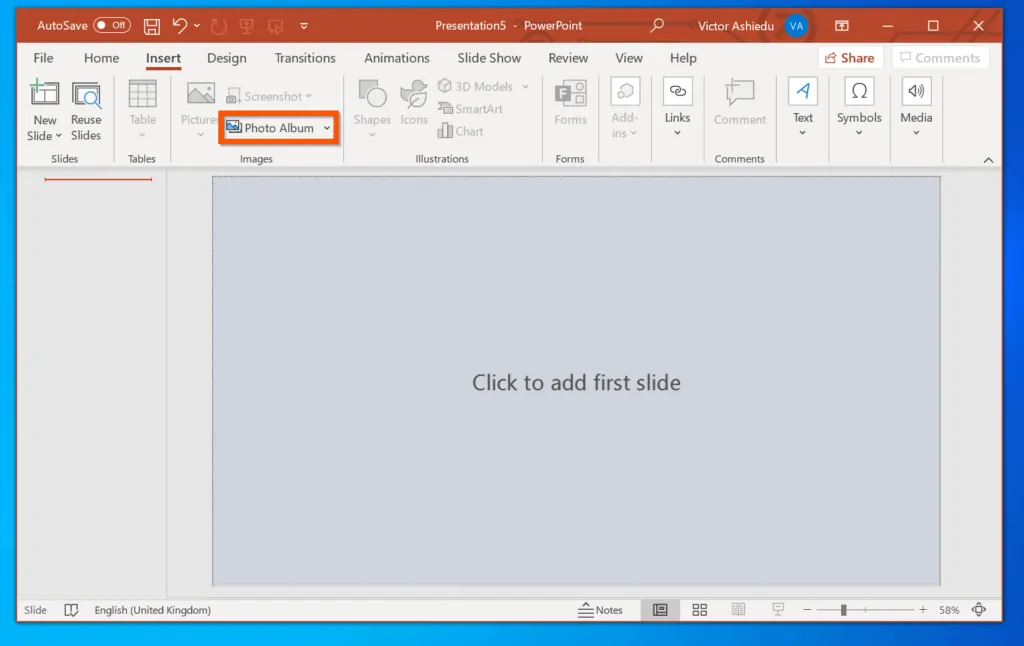
- Once you have deleted the slide, click the Insert tab.
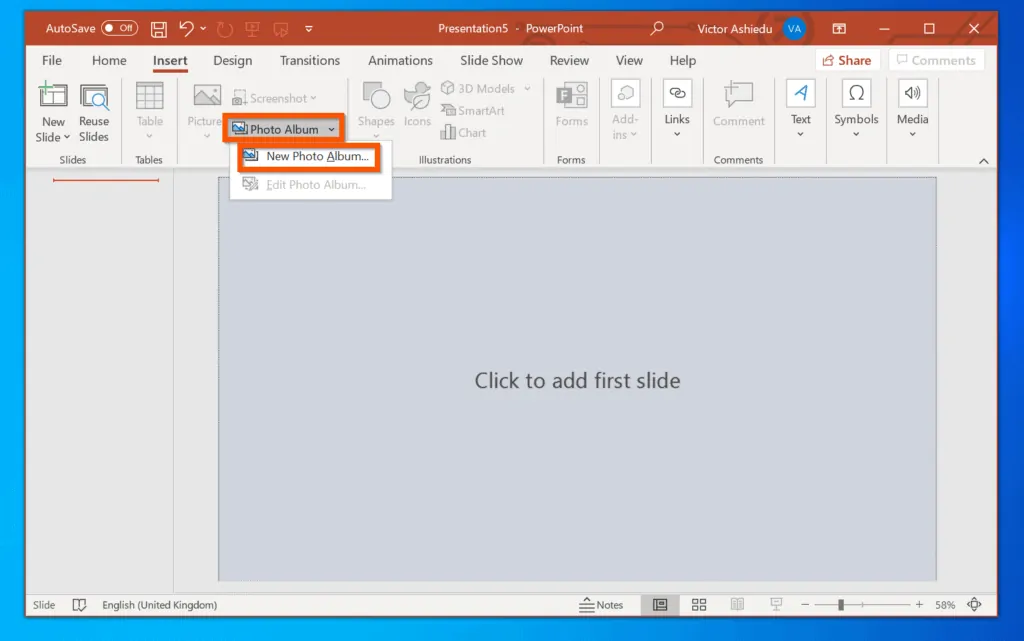
- Then, on the Images section of the Insert tab, click Photo Album and select New Photo Album.
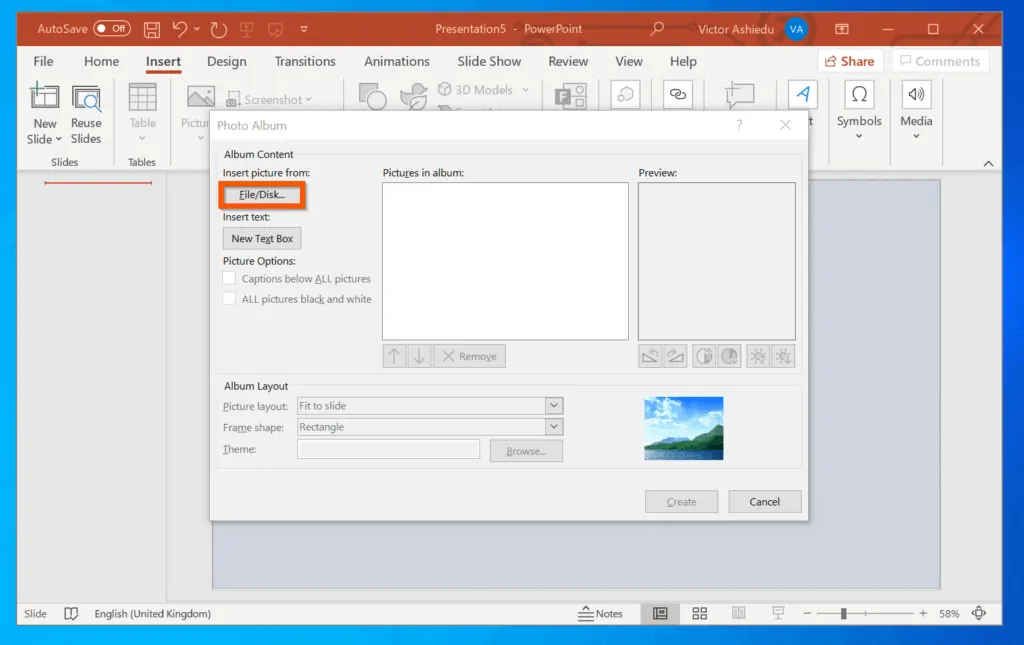
- On the top left of the Photo Album pop-up, beneath Insert picture from:, click File/Disk.
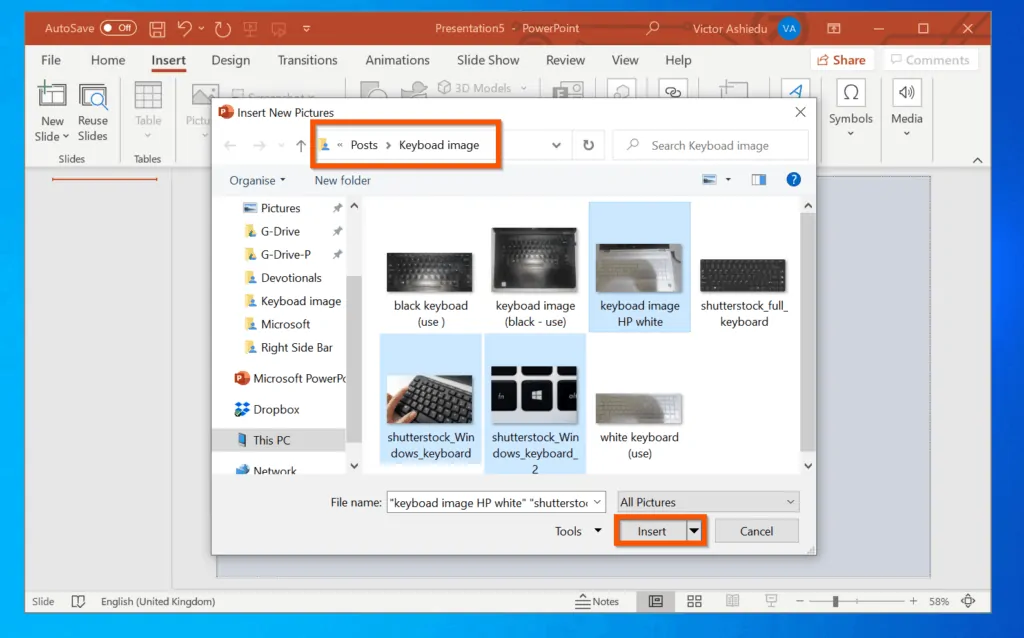
- Navigate to the folder you saved the pictures you want to use to make a slideshow on Windows 10. Then, hold the Ctrl key on your keyboard and select all the pictures you want to include in the slideshow. Finally, click Insert.
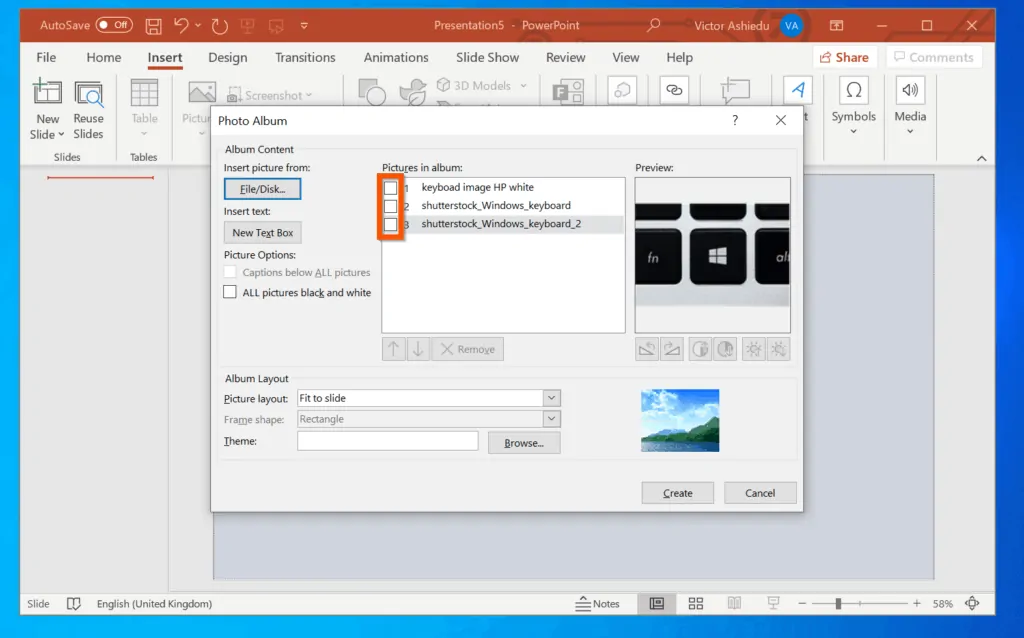
- On the Pictures in the album section, check all the pictures you just inserted into the album. However, if you want to re-arrange the picture, check just the picture you want to move. Then, use the up and down arrow to move the picture – see the second image below.
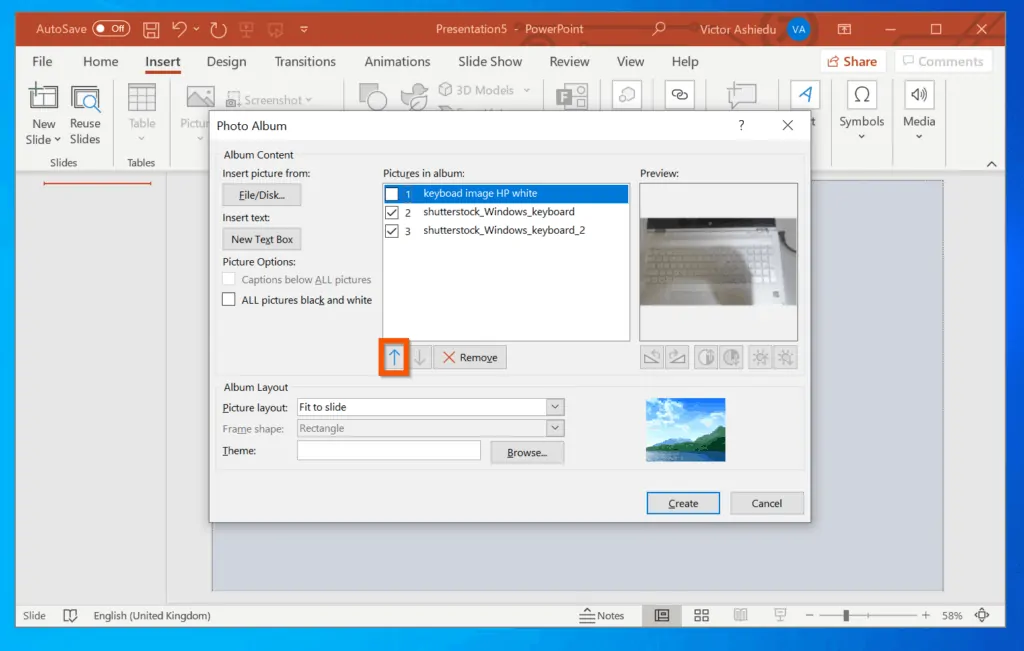
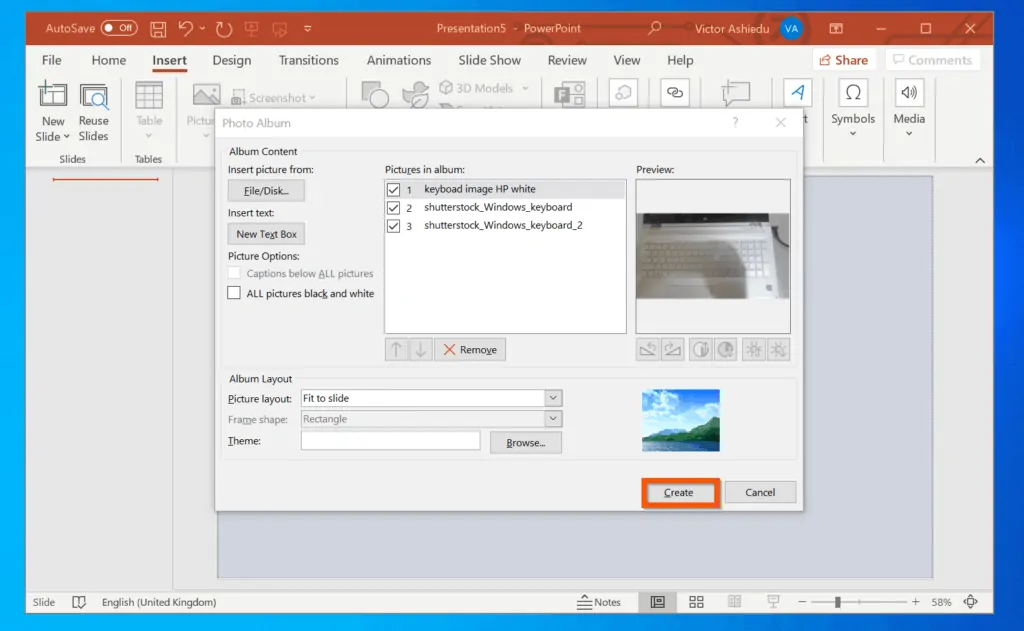
- Once you have rearranged the pictures the way you want them, check all of them so they are included in the slideshow you want to create.
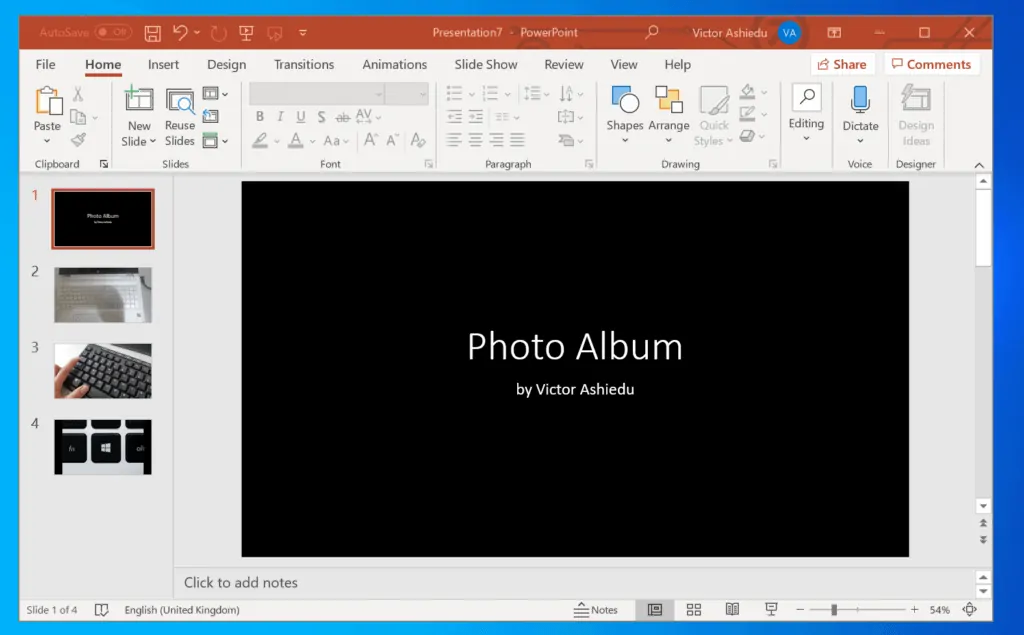
- Then, on the bottom right of the New Photo album, click Create. The album will be created.
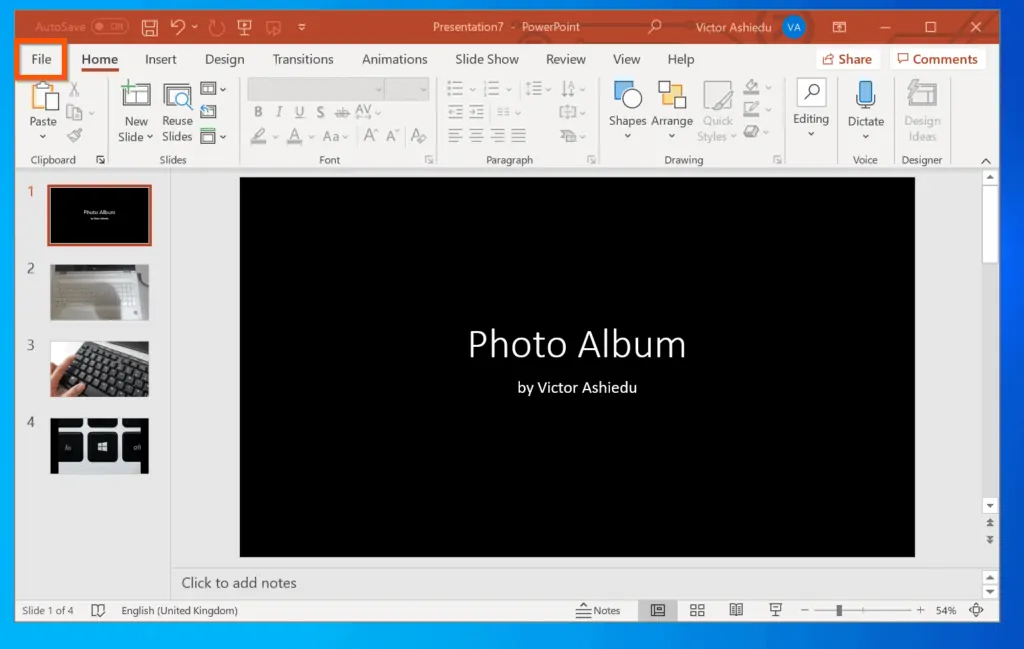
- To make a slideshow on Windows 10 with PowerPoint album you created, on the top left of PowerPoint, click File.
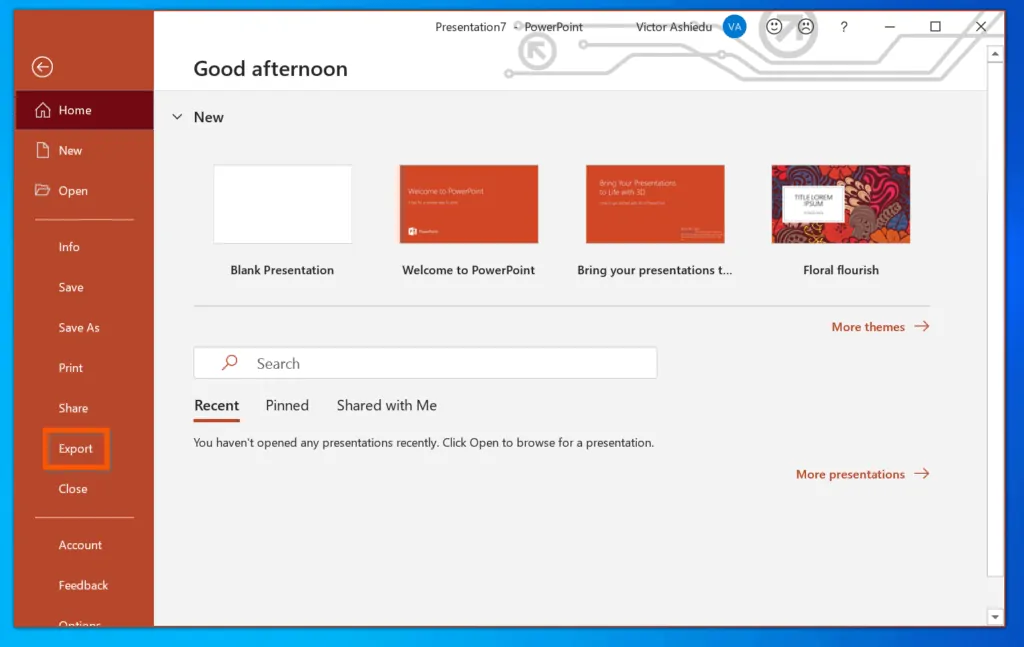
- Then, from the displayed options, click Export.
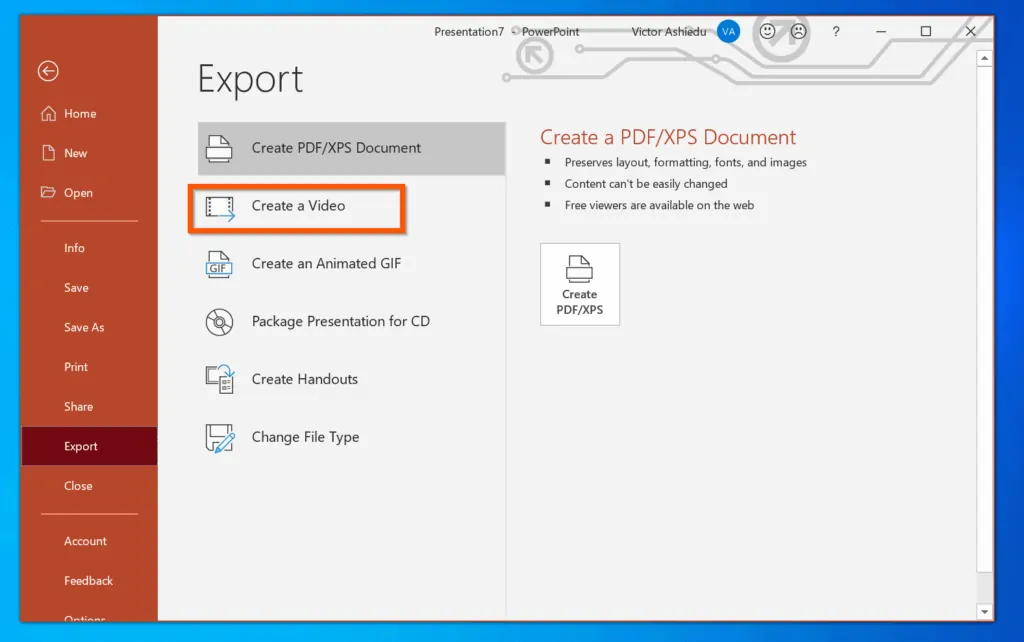
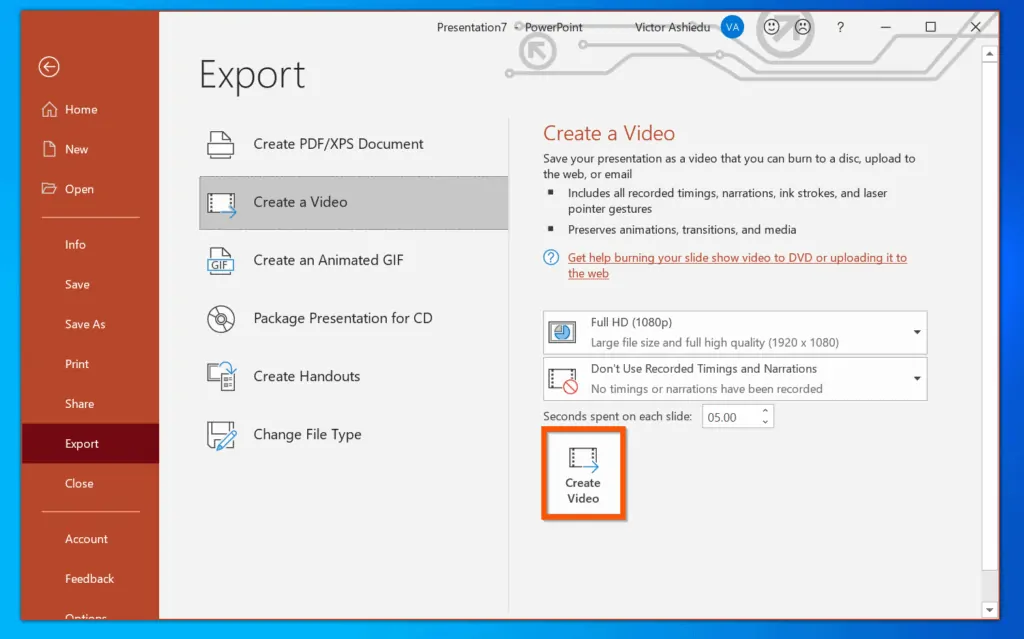
- On the displayed Export options, click Create a Video.
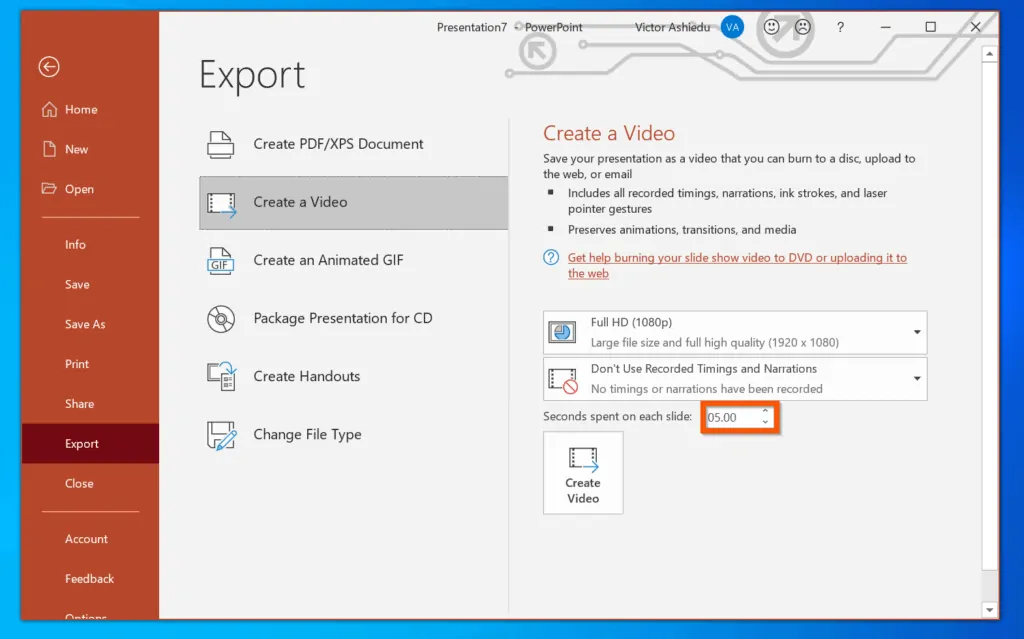
- Beneath Create a Video, adjust how long each photo should display – adjust the Seconds spent on each slide setting. Then, to create a video of the slideshow, click Create Video.
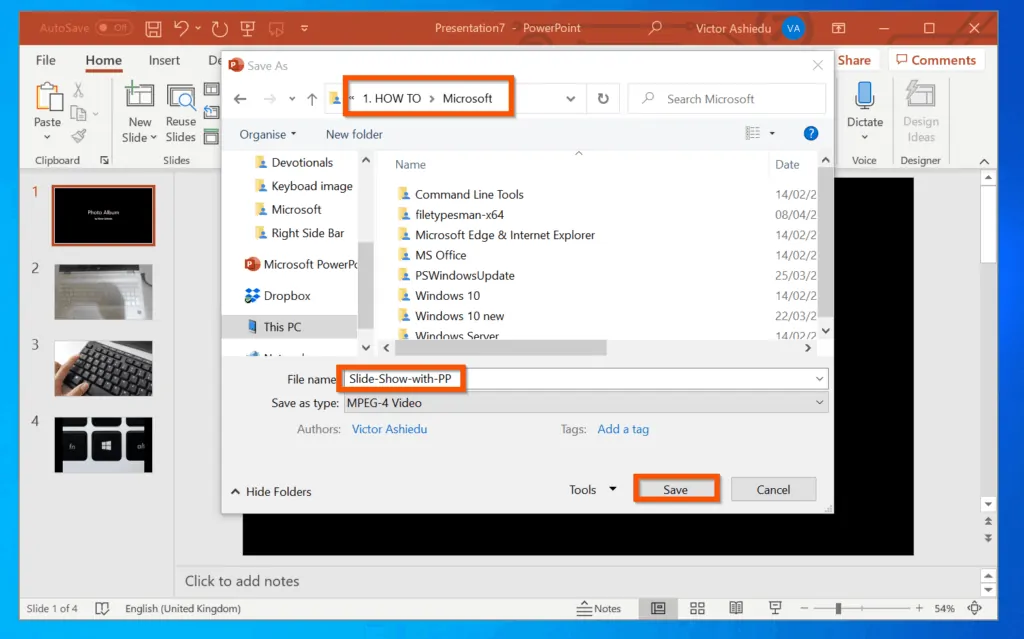
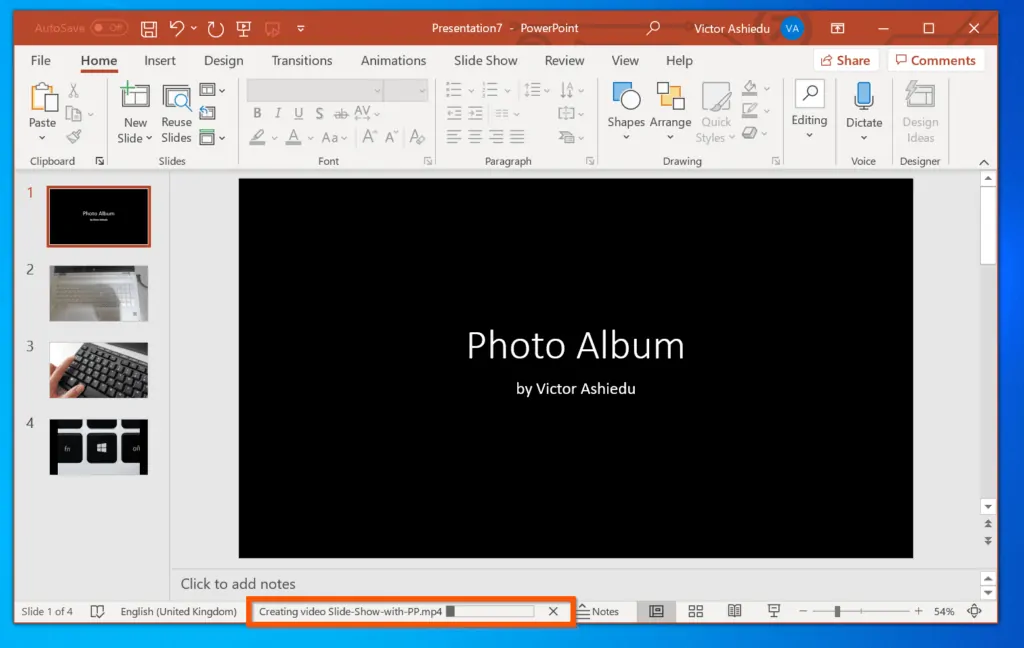
- Finally, select the folder you want to save the video slideshow, give the video file a name and click Save. PowerPoint will start creating the video – see the second screenshot below – wait for the video to be created.
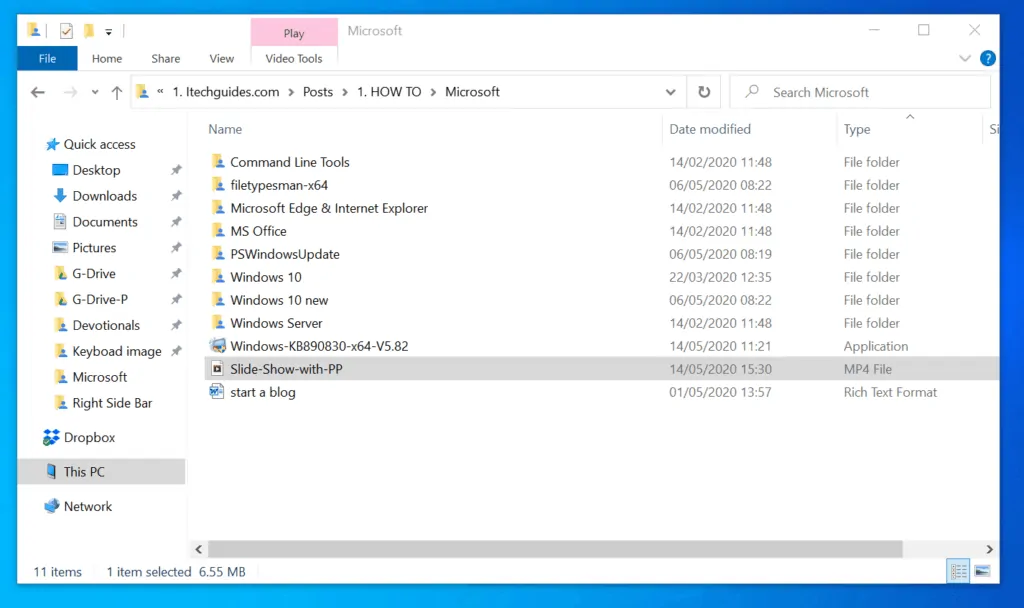
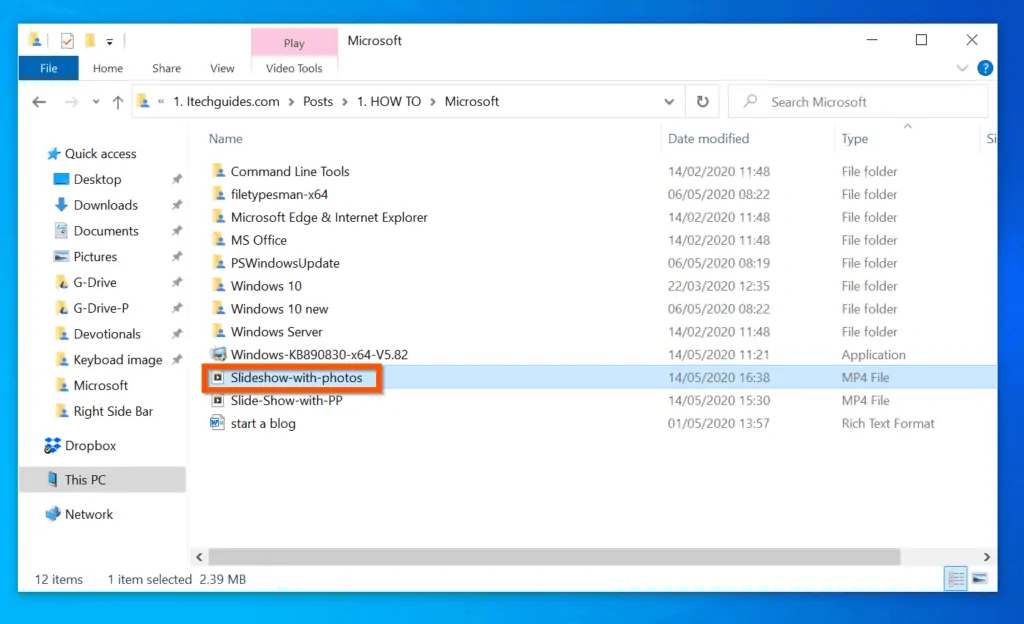
- To play the video slideshow, open the folder you saved it and play it like any other video. Your slideshow will roll!
Option 2: Make a Slideshow with Photos App
You can also make a slideshow on Windows 10 with Microsoft Photos app. Here are the detailed steps for this method…
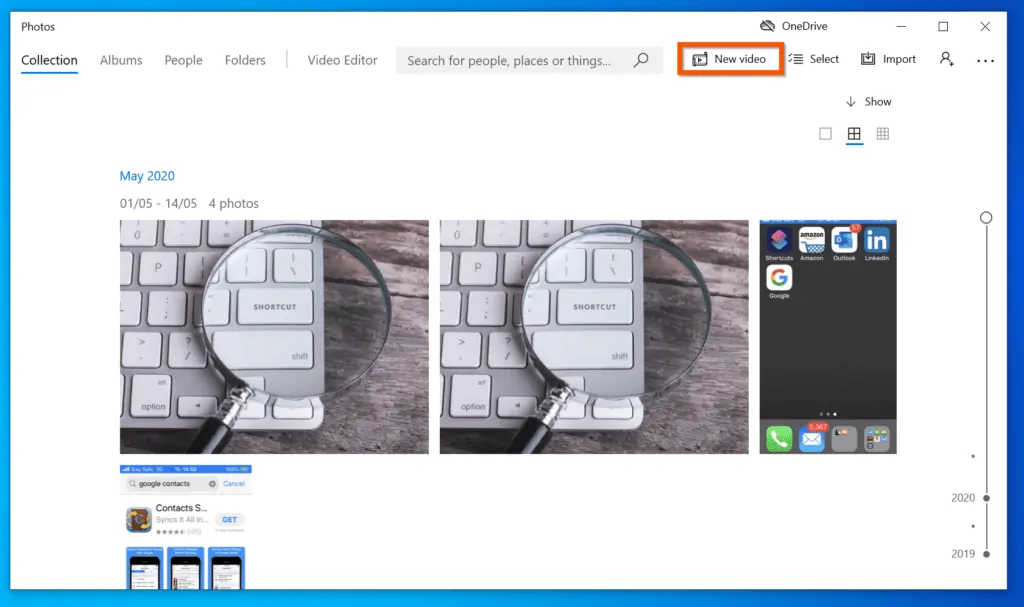
- Type Photos in the Windows 10 search box. From the search results, click Photos App.

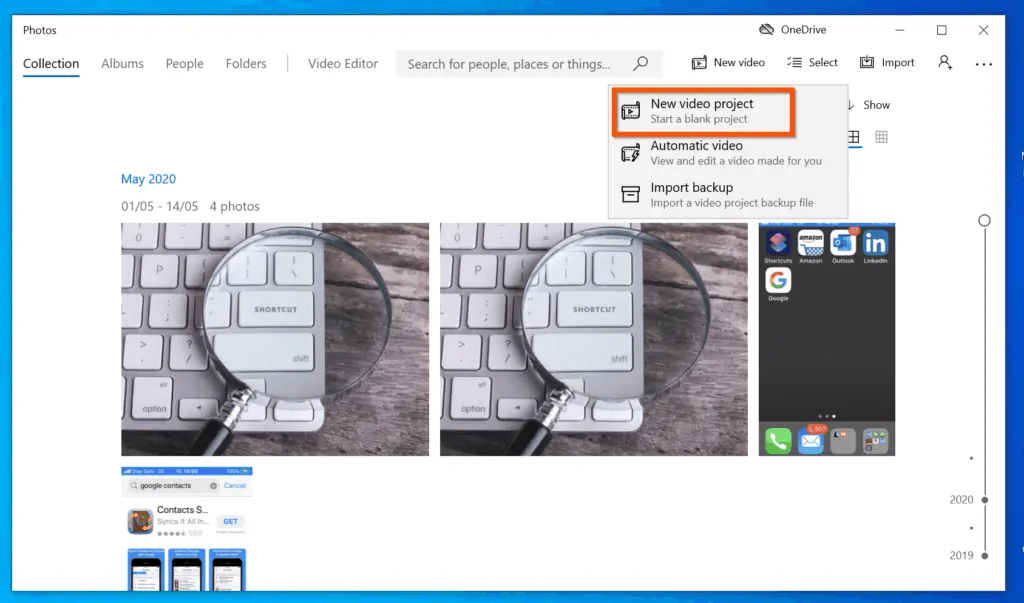
- Then, on the top right of the Photos app, click New video and select New video project. You will be prompted to name your video.
- On the Name your video pop-up, enter a name for the video and click OK.

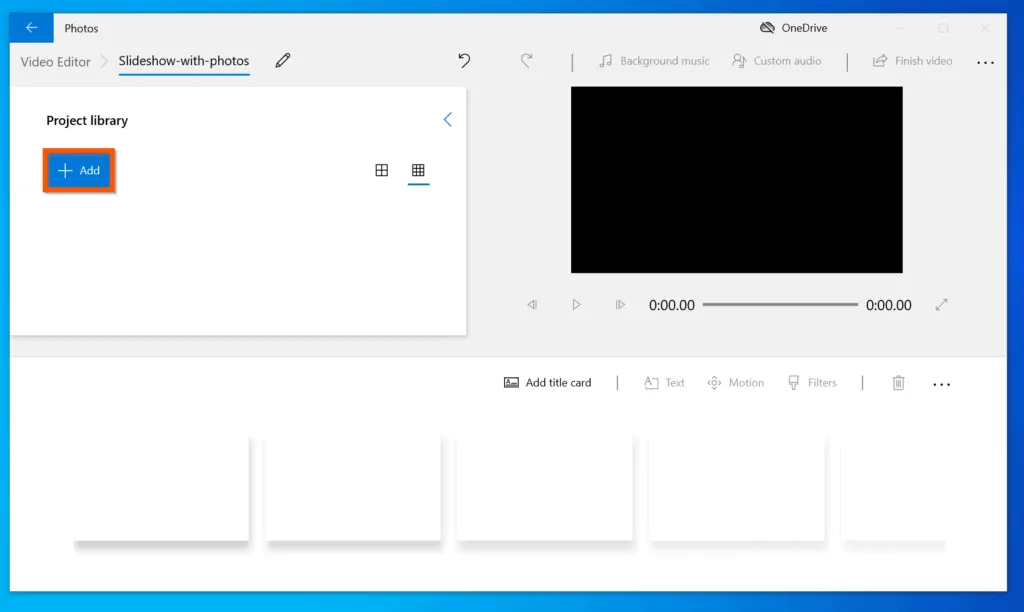
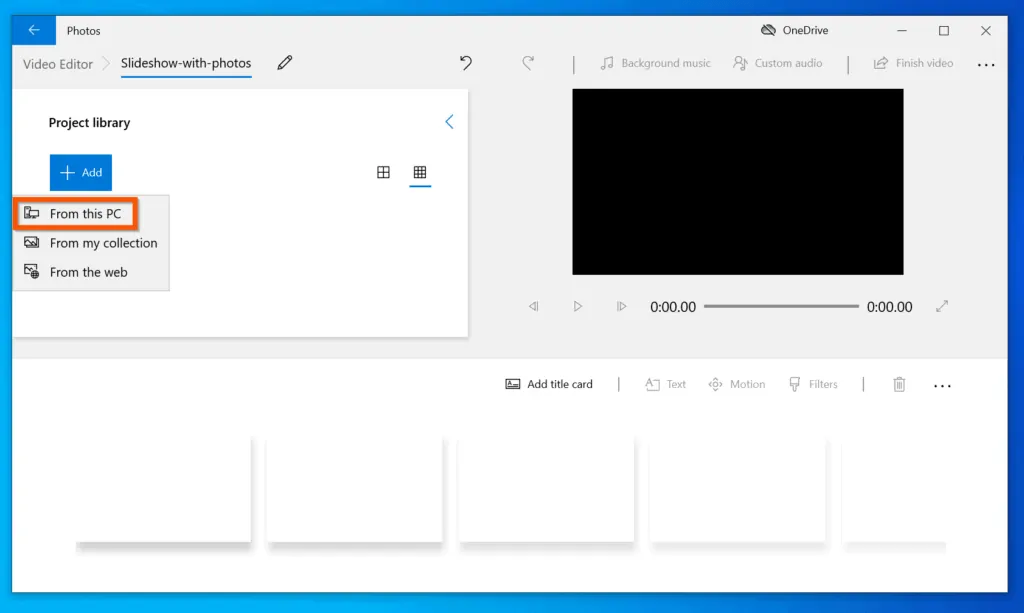
- On the top left of the video project, beneath Project library, click +Add. Then, select From this PC.
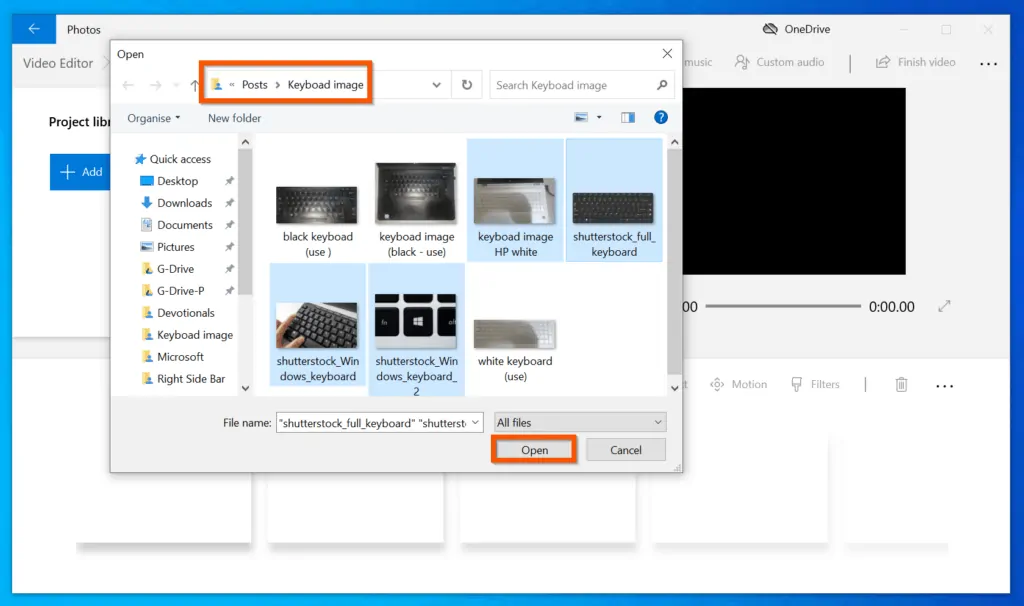
- On the Open window, navigate to the folder you have the photos you want to use to create the slideshow. Then, hold down the Ctrl key and select all the photos you want to include in the slideshow. When you finish selecting the photos, on the bottom right, click Open.
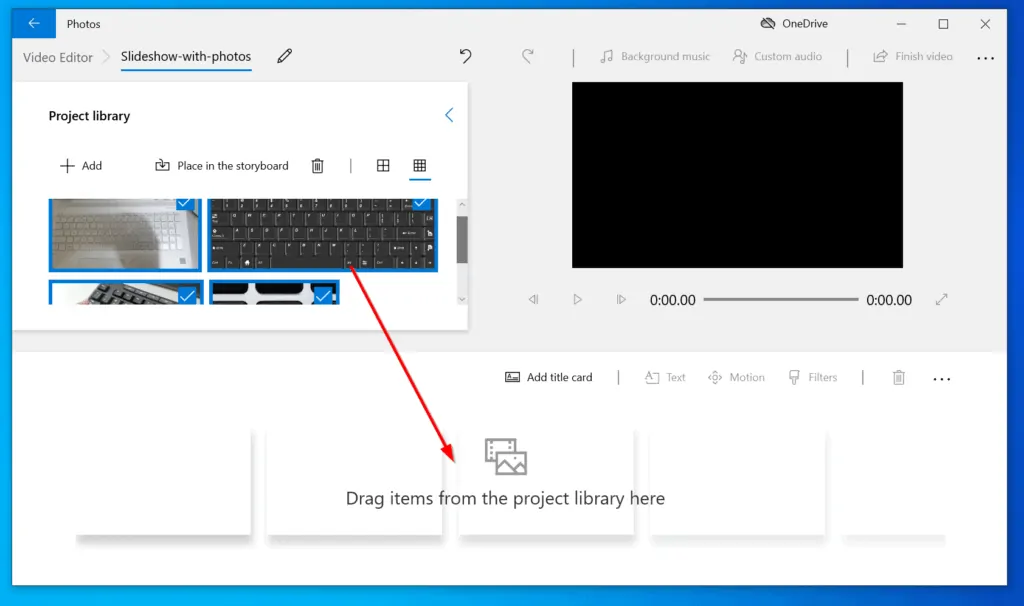
- Drag all the selected photos from the Project library section to the location that says “Drag items from the Project library here”.
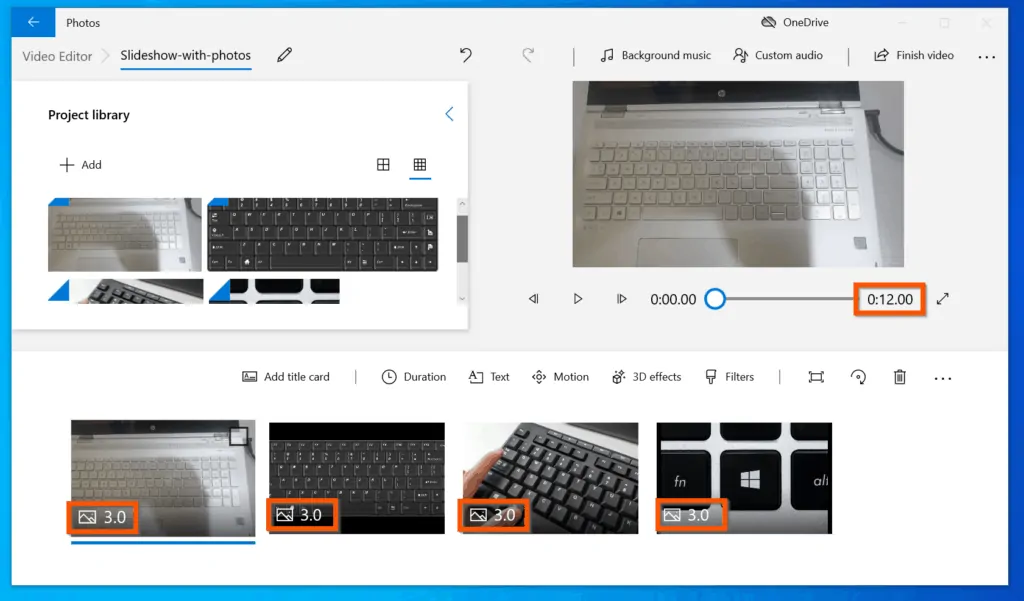
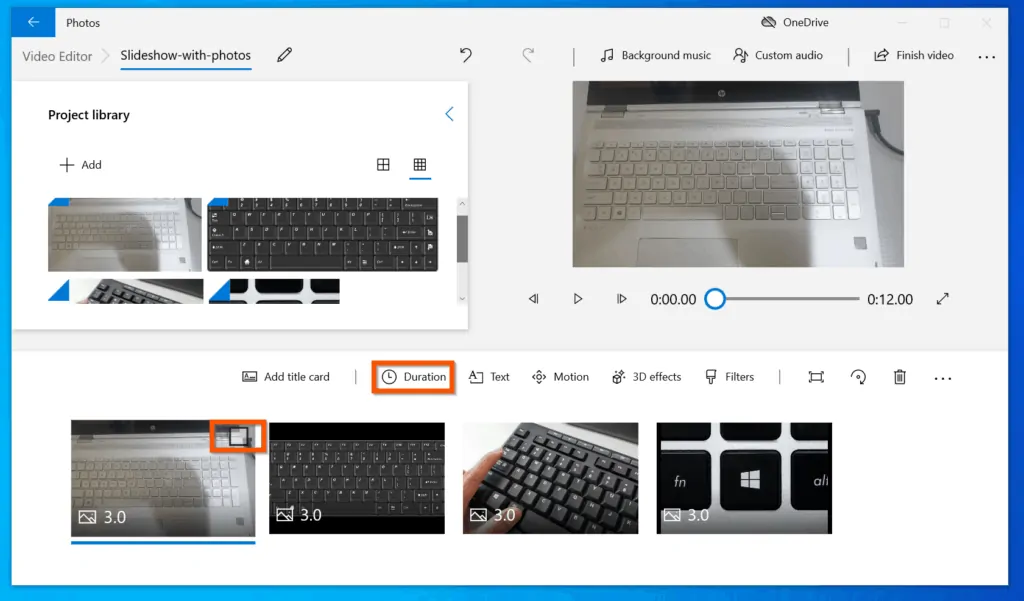
- To adjust the display time for a photo, select the photo by checking the checkbox on the top right of the photo. To see the checkbox, hover your mouse over the photo. Then, click the Duration icon.
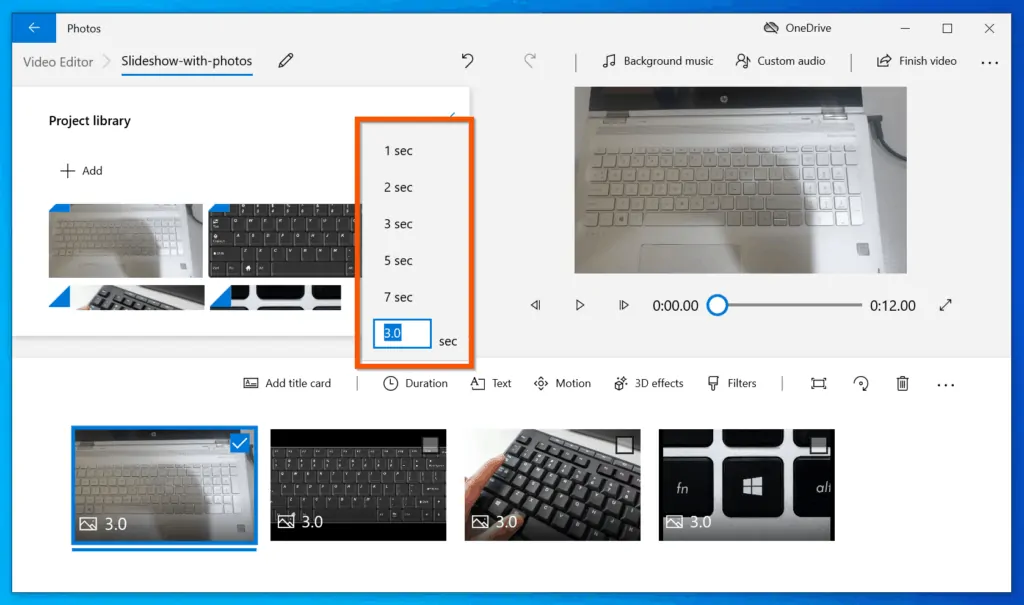
- When you click Duration, Photos will display time (in seconds) to select from. You can select one of the options or enter your own time.
- To add a title card, click Add title card. The title card will be inserted and displayed on the preview window.

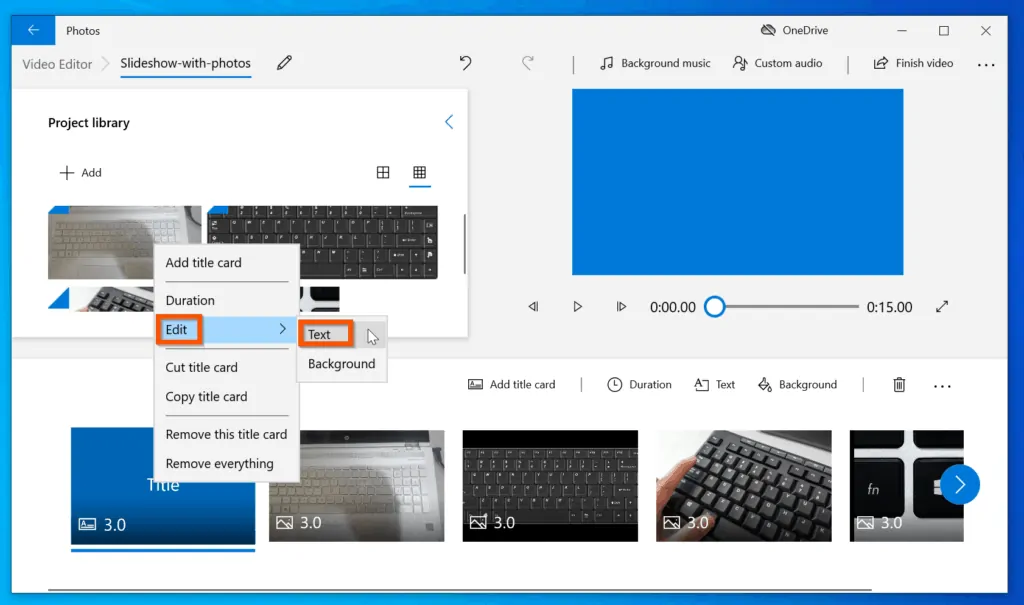
- To edit the title of the title card, right-click the title card, point to Edit and select Text.
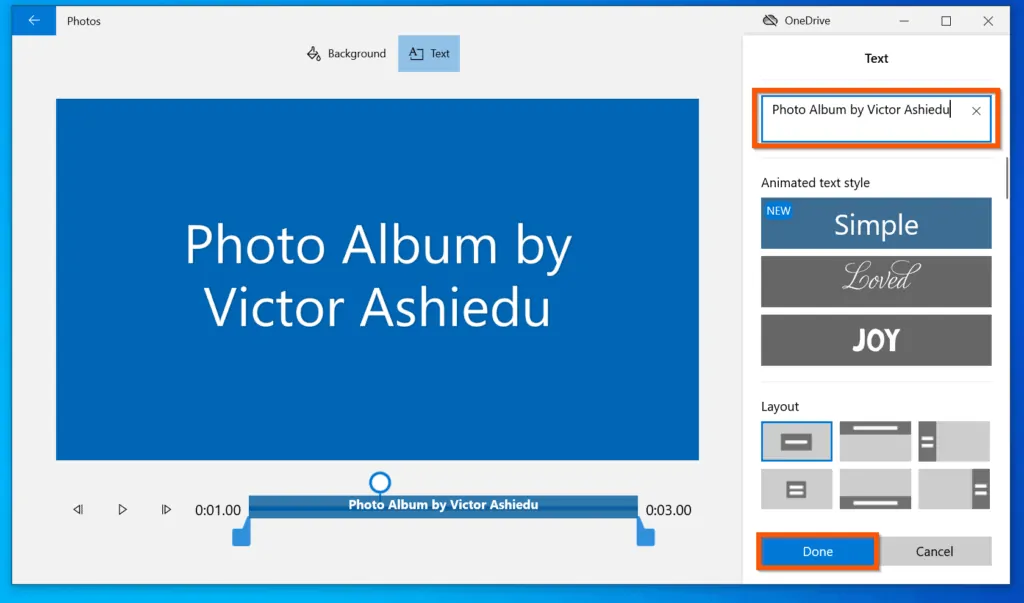
- On the top right of the edit options screen, modify the title of the album that will be displayed on the Slideshow’s title card. You can also adjust the display time of the title card (bottom left of the screen).
- When you finish making your changes, on the bottom right, click Done.
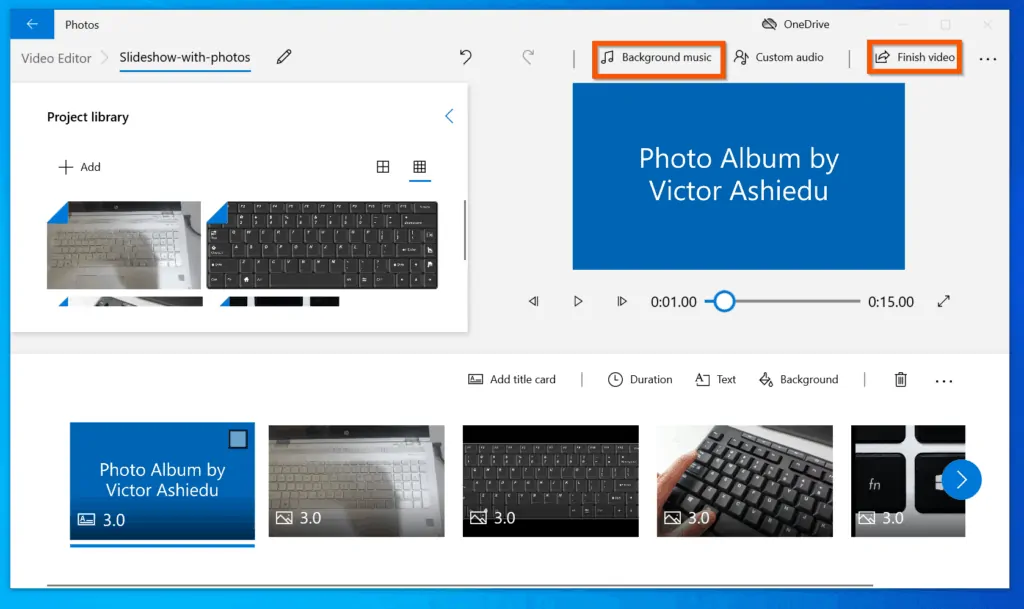
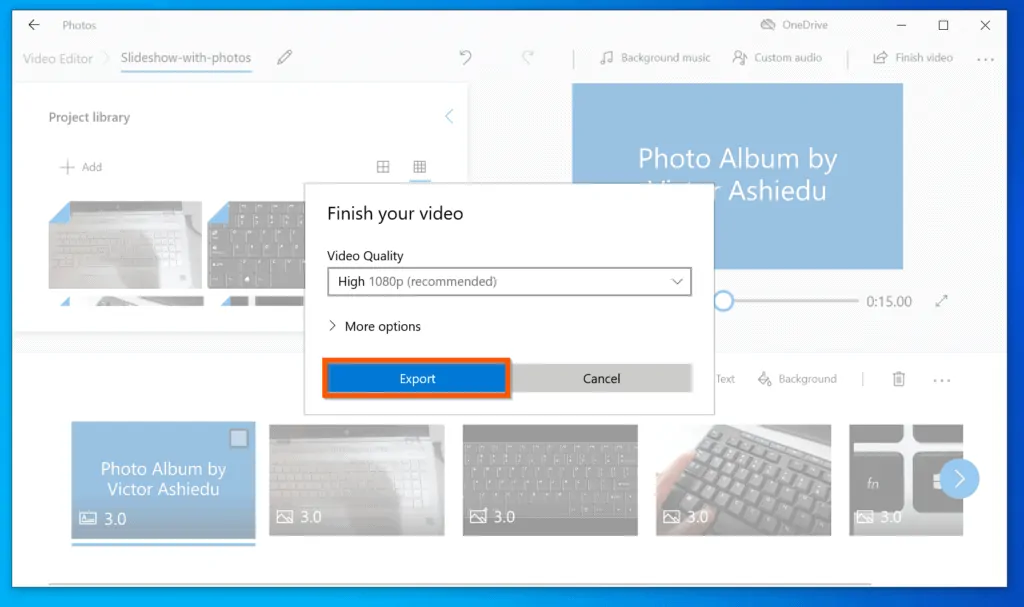
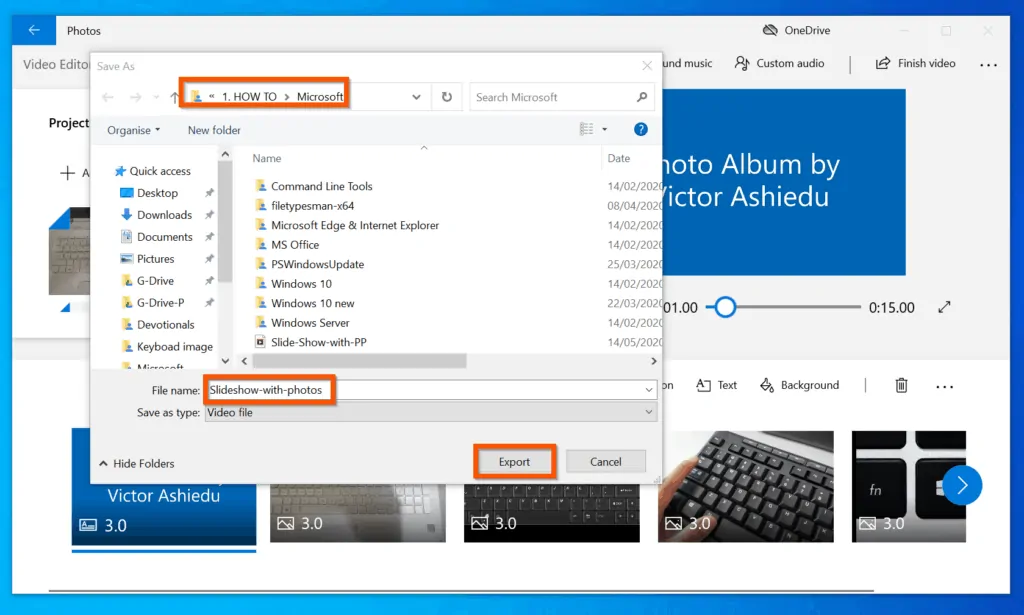
- Finally, to make a slideshow on Windows 10 with Photos app, on the top right of the screen, click Finish video. Then, on the Finish your video pop-up, click Export, select a folder to save the video and click Export.
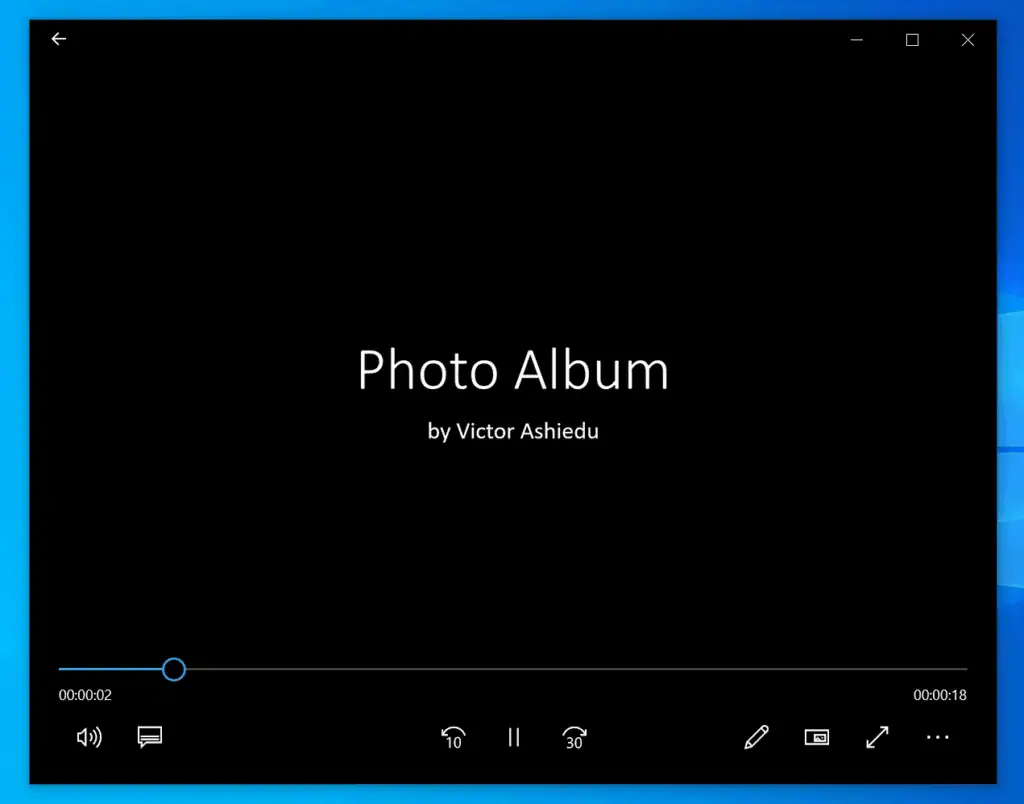
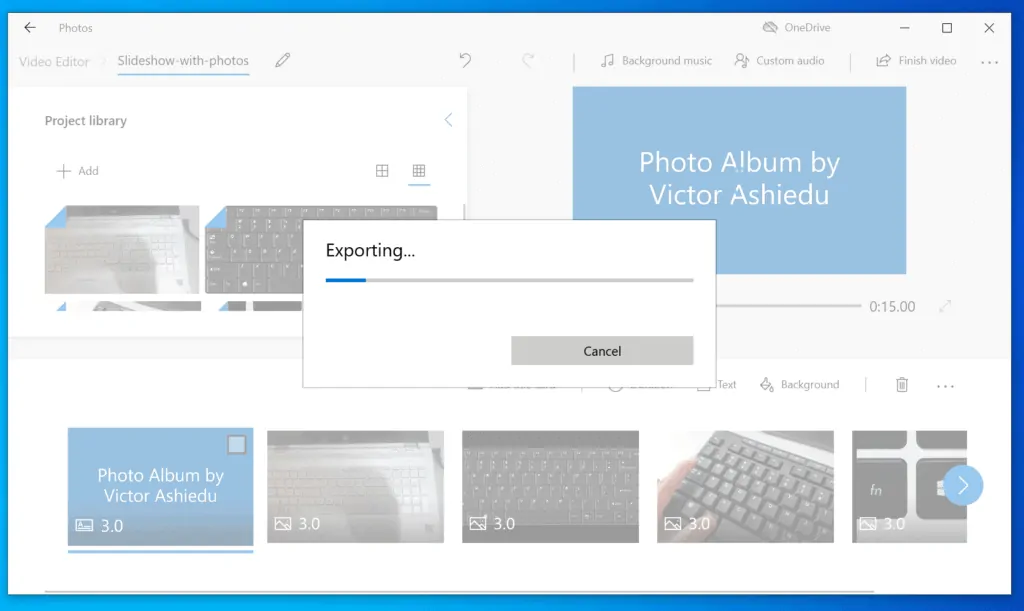
The slideshow video will be exported. When it is exported, open the folder you saved it and play it like any other video. The slideshow will roll! – see the third screenshot below.

Conclusion
You can use methods covered in this Itechguide to make a slideshow on Windows 10!
If you were able to make a slideshow by following the steps in this guide, click on “Yes” beside the “Was this page helpful” question below.
You may also express your thoughts and opinions by using the “Leave a Comment” form at the bottom of this page.
Lastly, for more Windows 10 Itechguides, visit our WINDOWS 10 HOW-TO page. You may also find our Work from Home page very helpful.


![How To Run Sysprep (Generalize) In Windows 10 [2 Methods]](https://www.itechguides.com/wp-content/uploads/2022/05/8-2.webp)