Did you encounter the kernel security check failure error on your Windows 11 PC? This guide features several solutions to fix this BSOD error.
Solution 1: Run Windows Update
Running an older version of the Windows 11 OS is most likely the cause for this BSOD error. In fact, it could be due to a bug in the current version of the OS that you are experiencing this error.
Hence, it’s possible that the bug has been fixed in the subsequent updates. Therefore, running the Windows update on your Windows 11 computer should be able to fix this error.
The subsequent procedures illustrate how to run the Windows update on your Windows 11 computer.
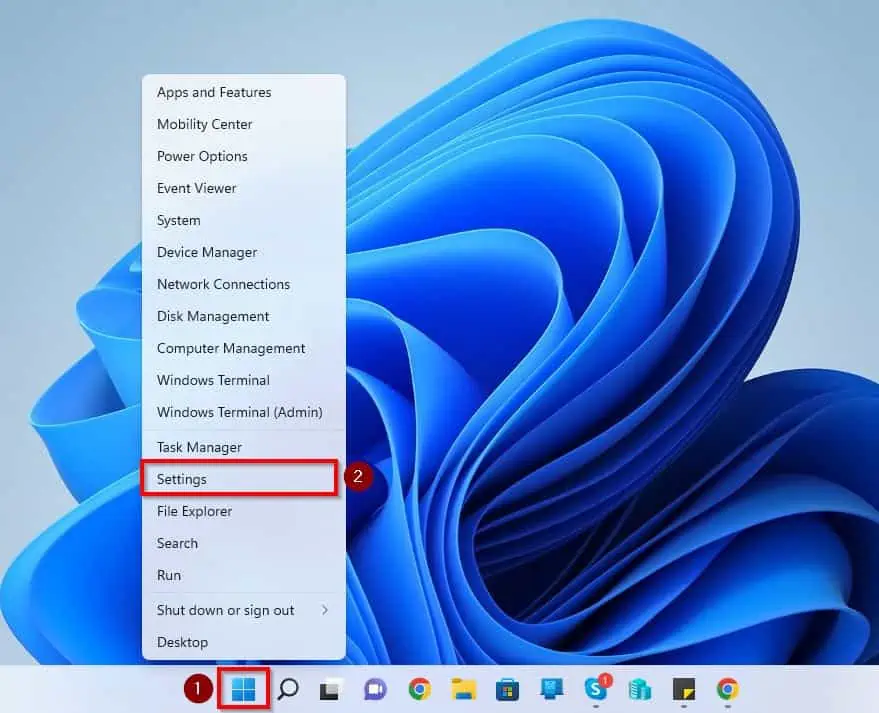
- Right-click the Start menu button on your Windows 11 taskbar and left-click Settings.
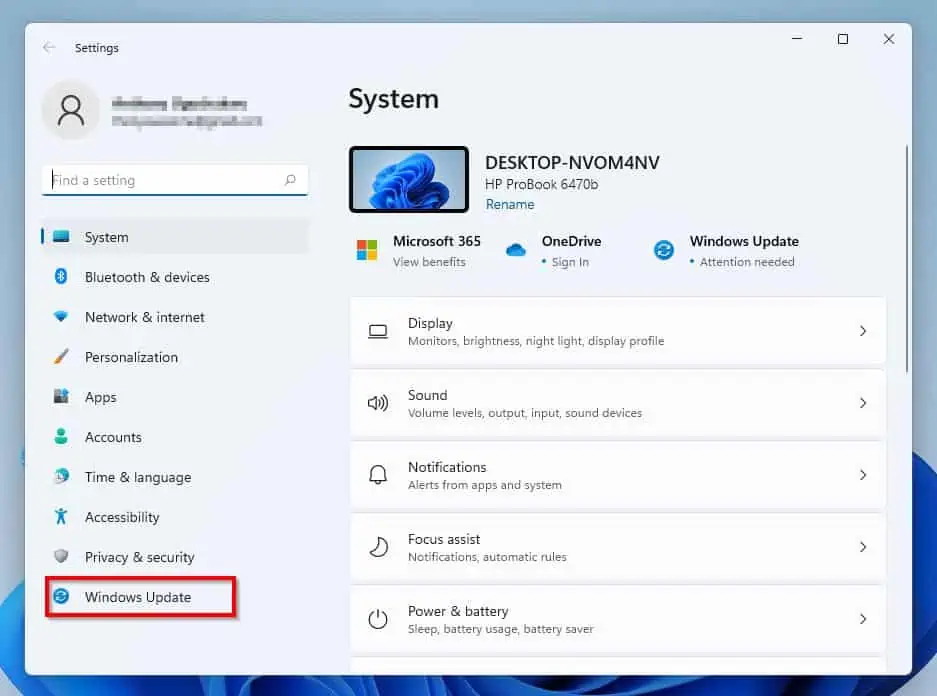
- When Settings open, click Windows Update on the left pane.
- Following that, click Check for updates on the window’s right pane.
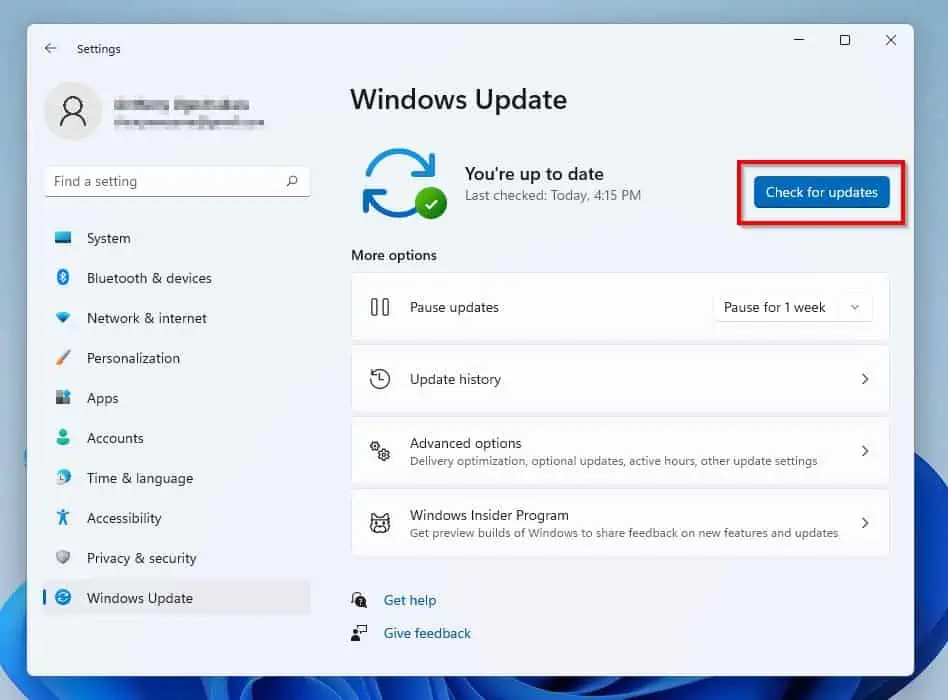
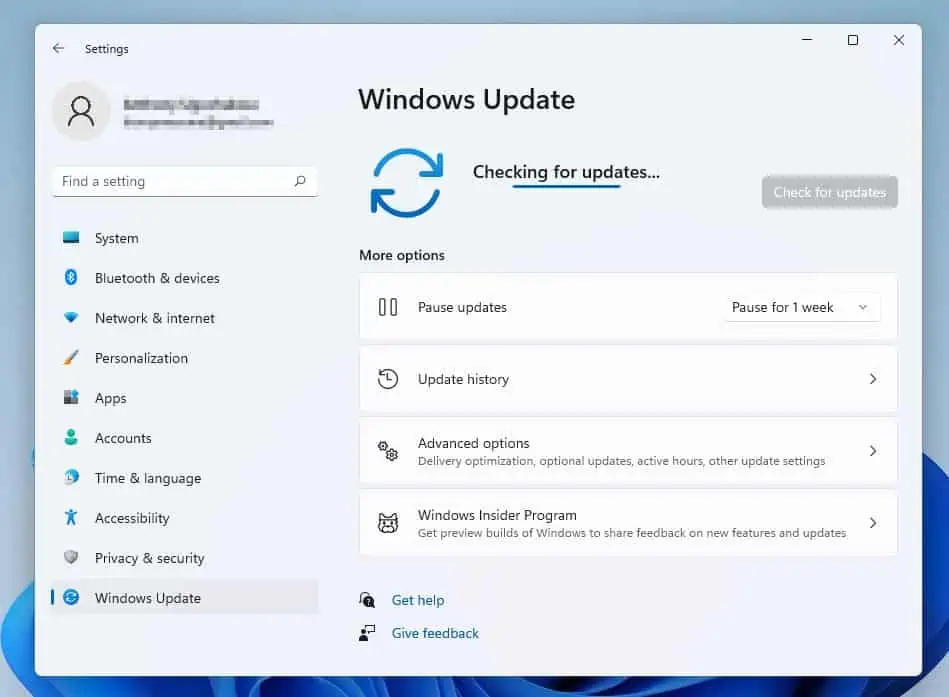
- Then, Windows should start searching online for any available updates. If there are any updates, you will be prompted to install them.
- After updating your PC, reboot it, and this BSOD error should be fixed. If the error isn’t fixed, try the other solutions in this guide below.
Solution 2: Execute the SFC Scan
In some cases, this BSOD error can be caused by a corrupt system file. If that’s the case, executing the SFC scan on your Windows 11 should fix the issue.
Follow the steps below to execute the SFC scan on your PC.
- On your Windows 11 taskbar, click the Search button.

- Following that, type “command prompt” in the search box above. Then, right-click Command Prompt under the Best match section and select Run as administrator.
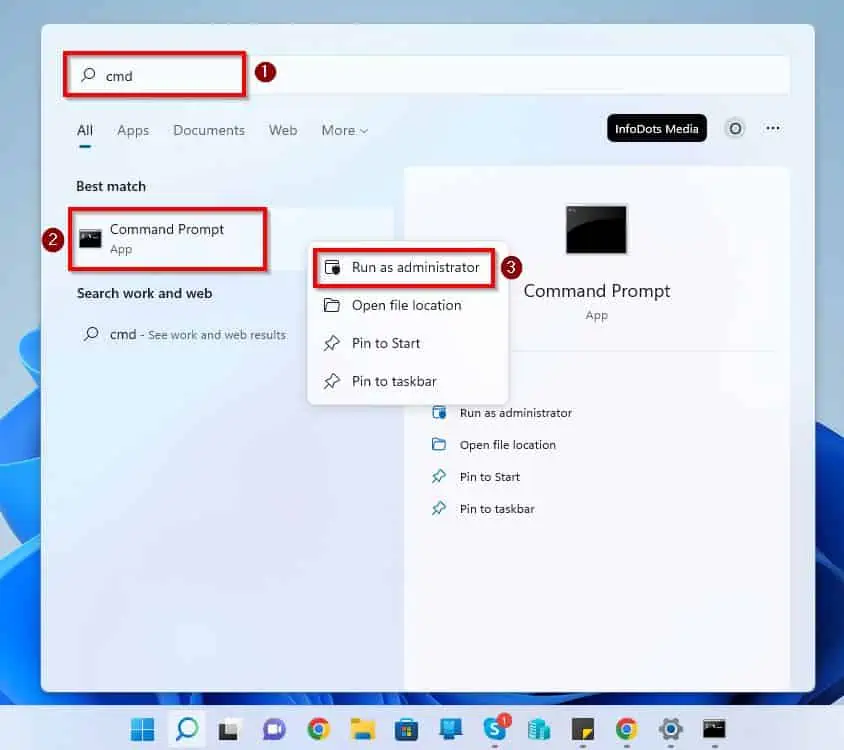
- Consequently, you will receive a User Account Control prompt requesting if you want to permit the app to make changes to your device – select Yes to continue.
- After doing that, the Command Prompt application should open. Hence, input the command below and press the Enter key on your keyboard.
sfc /scannow
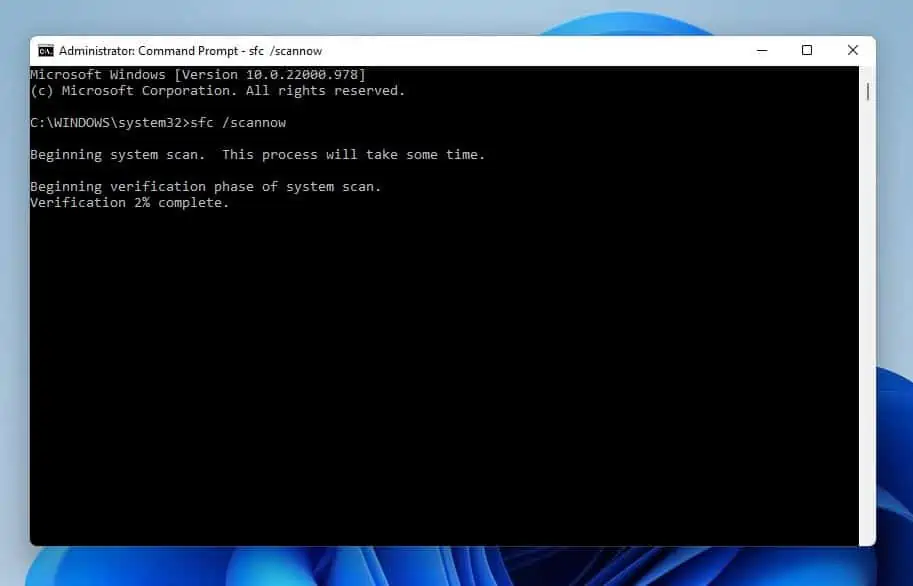
- After the SFC scan has been completed, restart your Windows 11 computer. Optimistically, this BSOD error should be resolved.
If it isn’t resolved, check out the last solution of this guide.
Solution 3: Run Windows Memory Diagnostic Tool
A memory-relating issue can also cause this BSOD error. Thus, running the Windows Memory Diagnostic tool should be able to fix the error.
Follow the subsequent procedures to run the Windows Memory Diagnostic tool on your Windows 11 computer.
- Click the Search button on your Windows 11 taskbar. Then, type ” windows memory diagnostic” in the search box and select the Windows Memory Diagnostic app from the search result.
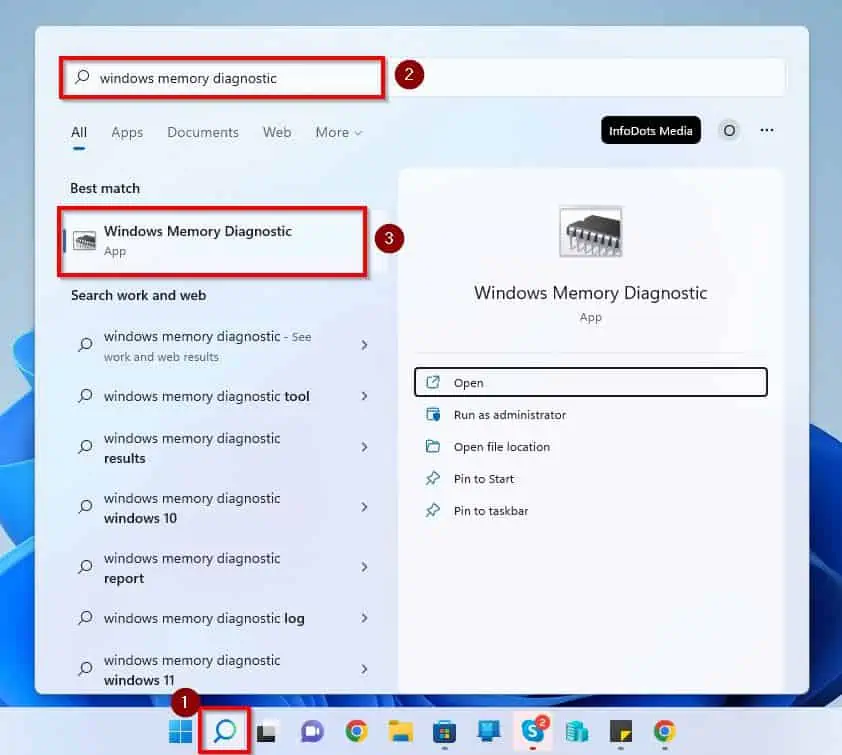
- Then, click the Restart now and check for problems option.

- After your computer has been restarted, this BSOD error should be fixed.
Frequently Asked Questions
A variety of reasons can cause this error. However, some of the major reasons for this error are an outdated Windows OS and corrupt system files.
Yes, the kernel security check failure error is a BSOD (Blue Screen Of Death) error.
Yes, a faulty RAM or memory-related issue can cause the kernel security check failure BSOD error.
The kernel is a major component of an operating system. It serves as the interface between the PC’s hardware and its processes.
The kernel is system software that is part of the operating system of a computer.
Conclusion
Getting the kernel security check failure error on your Windows 11 computer can be bothersome. Nevertheless, this guide has provided several solutions to fix this BSOD error.
Specifically, we learned how to fix the error by running the Windows update on the Windows 11 PC. This guide also taught us how to solve the error by executing the SFC scan and running the Windows Memory Diagnostic tool.
I hope one of the solutions included in this guide was able to fix this error on your Windows 11 PC. If it was, click on “Yes” beside the “Was this page helpful” question below.
You may also express your thoughts and opinions by using the “Leave a Comment” form at the bottom of this page.
Finally, visit our Windows 11 Fix Guides page for more Windows 11 fix guides.